
How to Mask in Canva
Learn how to mask images in Canva using frames, shapes, and clipping techniques. Follow this step-by-step tutorial and create clear design walkthrough videos with Trupeer.
This document provides a concise walkthrough on how to add masks in Canva, guiding you from selecting frames to sharing your completed design.
Masking in Canva helps you creatively crop images or layer content using shapes, text, or custom overlays. There are a few different methods depending on your design needs.
Method 1: Using Frames (Easiest Way to Mask Images)
Upload or Select an Image
Use Canva’s image library or upload your own.Add a Frame
Go to "Elements" in the sidebar.
Search for “Frame” and choose a shape (e.g., circle, heart, letter, etc.).
Drag and Drop the Image into the Frame
The image will automatically conform to the frame shape.Adjust the Image
Double-click inside the frame to reposition or resize the image as needed.
Method 2: Using “Set as Mask” (Text or Shape Masking)
Select the Masking Shape or Text
Choose the element you want to use as the mask (e.g., bold text).Add Your Image
Drag in the image you want to appear inside the shape or text.Right-Click and Choose “Set as Mask”
The image will be clipped inside the shape or text.
Method 3: Using the “Clipping Mask” App (Advanced & Creative Masks)
Go to “Apps” in the Sidebar
Scroll down to “Apps” from the main editor sidebar.Search for “Clipping Mask”
Click to open and install the app if necessary.Apply the Mask
Choose your image and apply it to a shape or custom overlay provided by the app
Step-by-Step Guide: How To Mask in Canva
Step 1
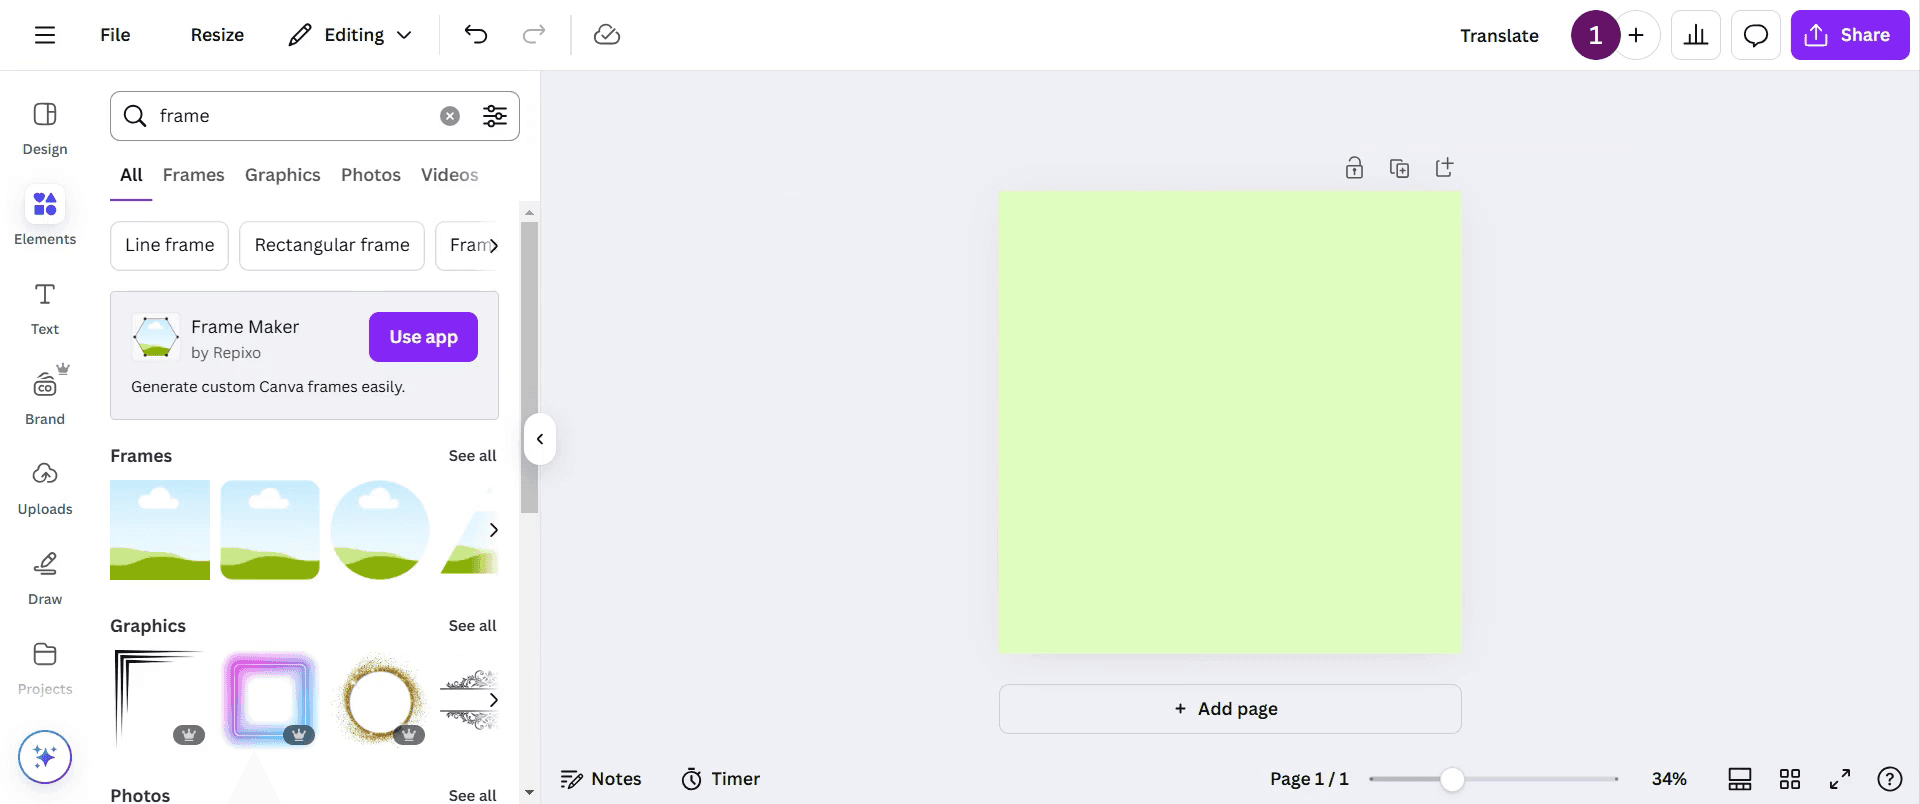
To add a mask in Canva, first navigate to the toolbar and click on Elements.

Step 2
In the search bar, type frame to find different shapes available for use.
Step 3
Select any shape that fits your requirement. In this example, I have chosen this particular frame.
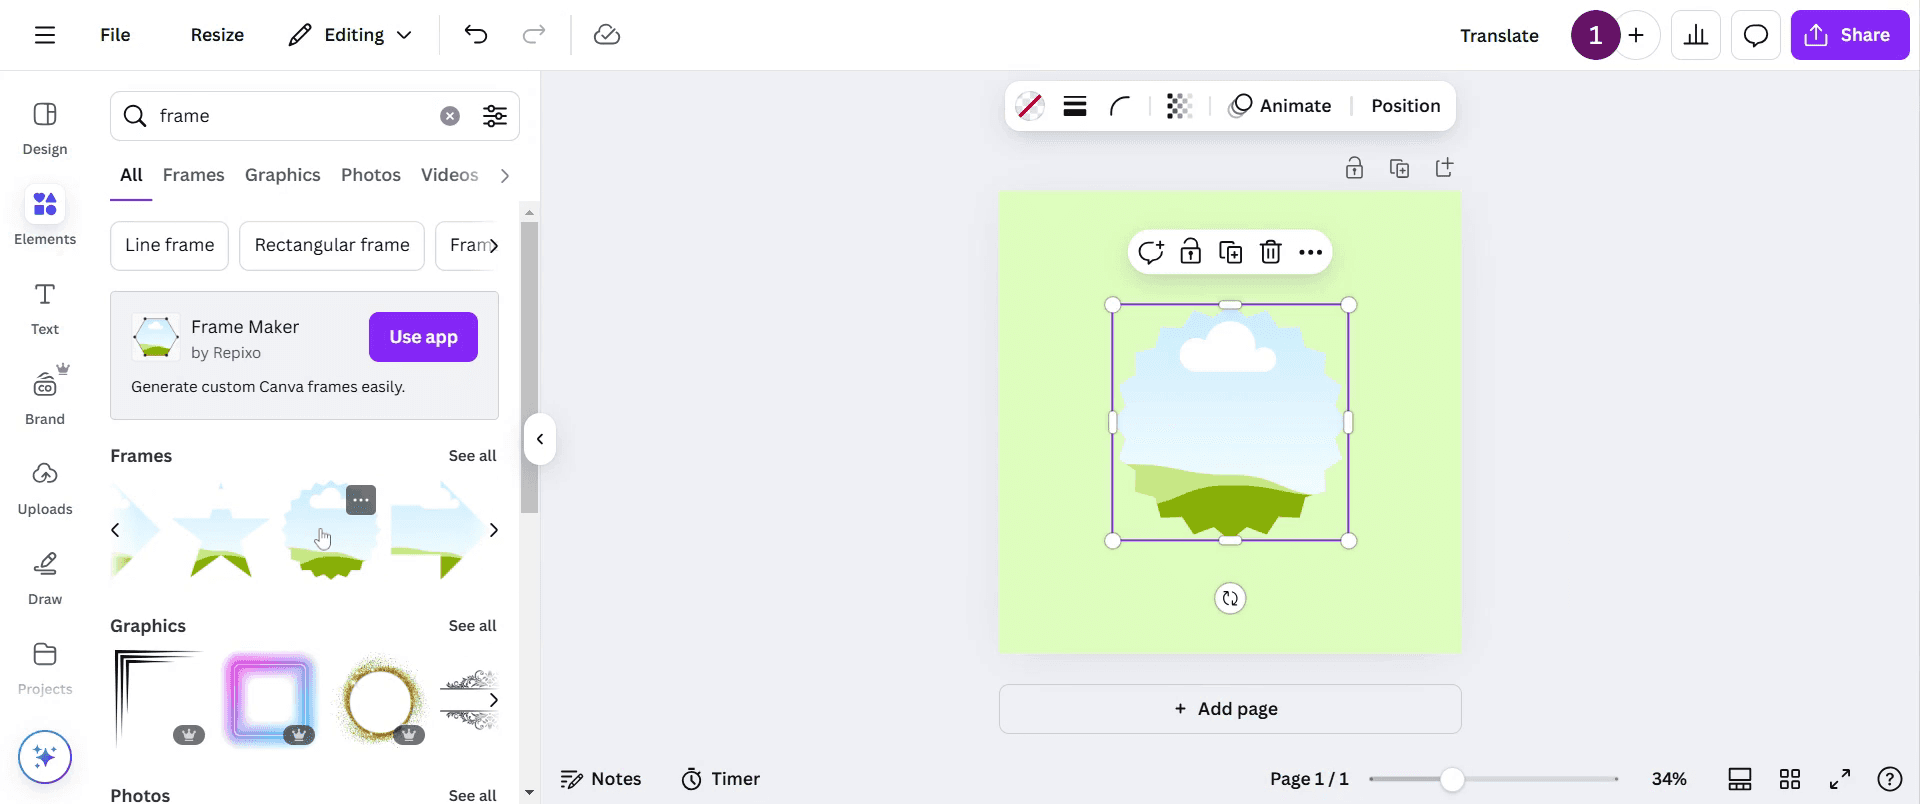
Step 4
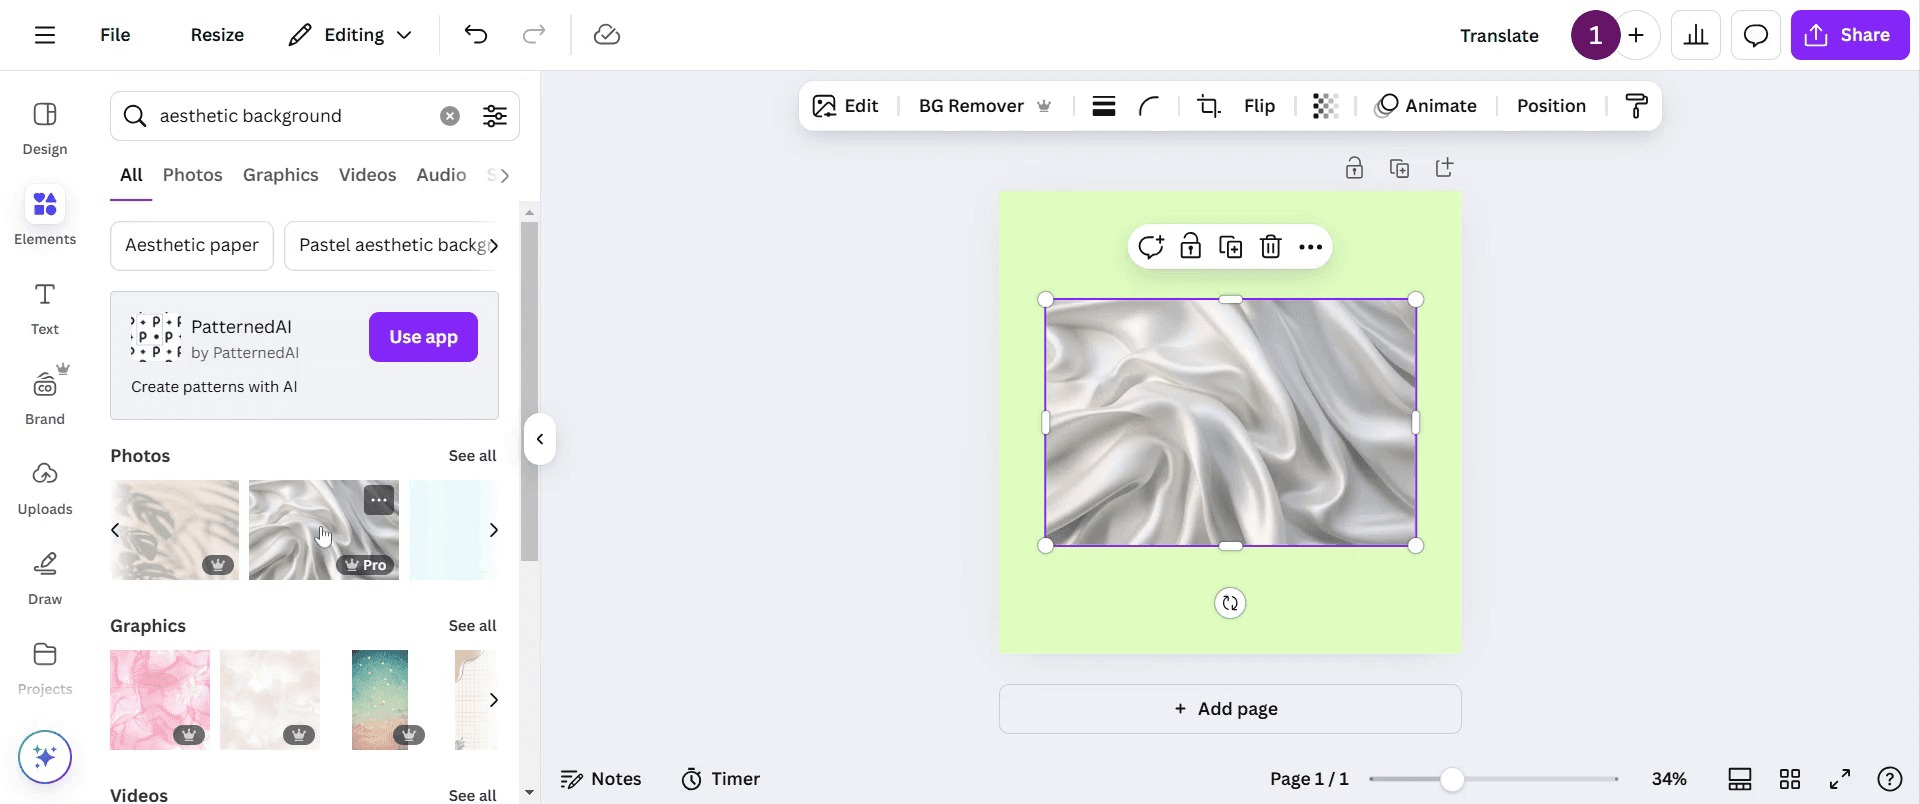
After selecting your frame, return to the search bar and type aesthetic background to explore various options.
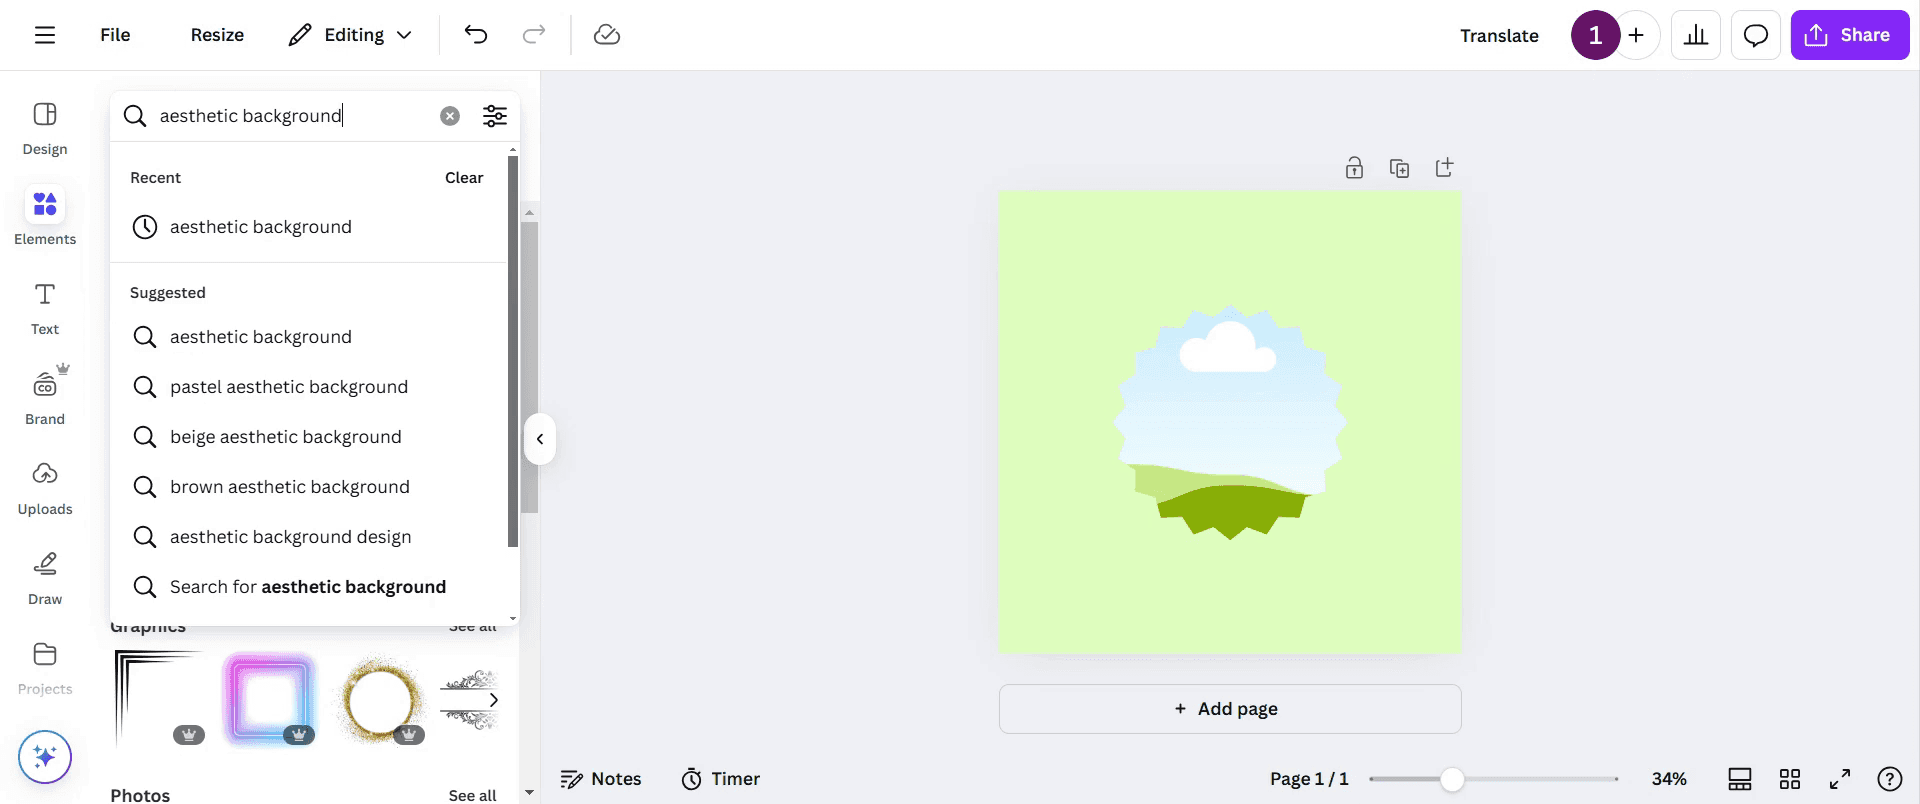
Step 5
Choose any option that suits your design needs. Add the selected frame to your design.
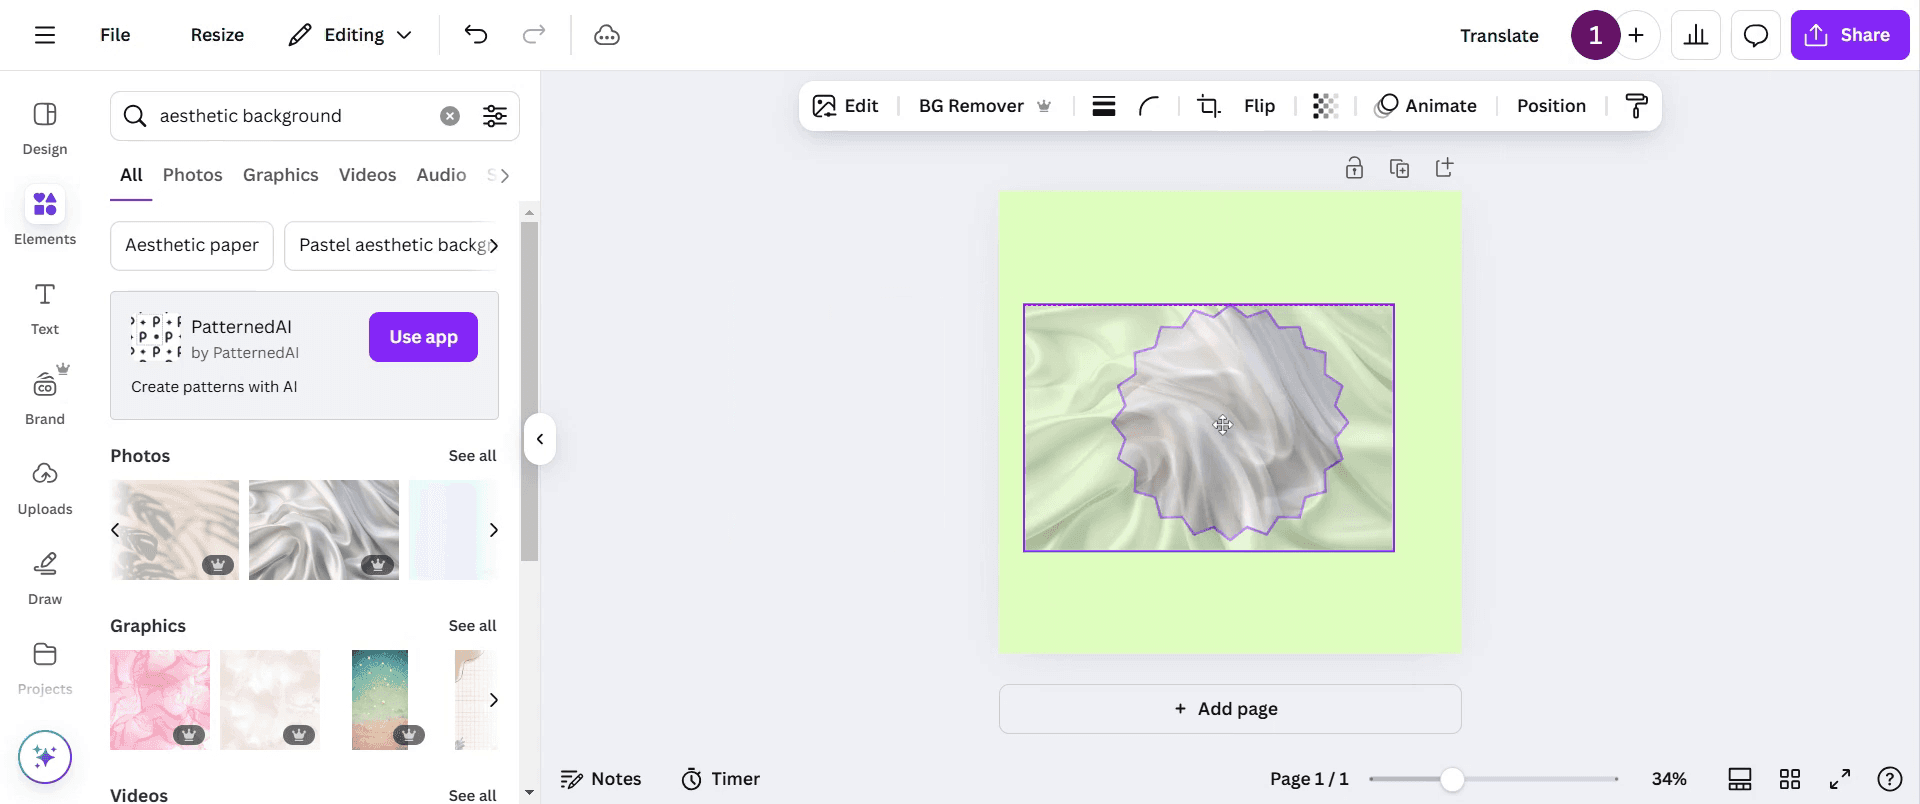
Step 6
Click on the frame image, and use drag-and-drop to position it as desired within your design. Adjust until you are satisfied with the layout.
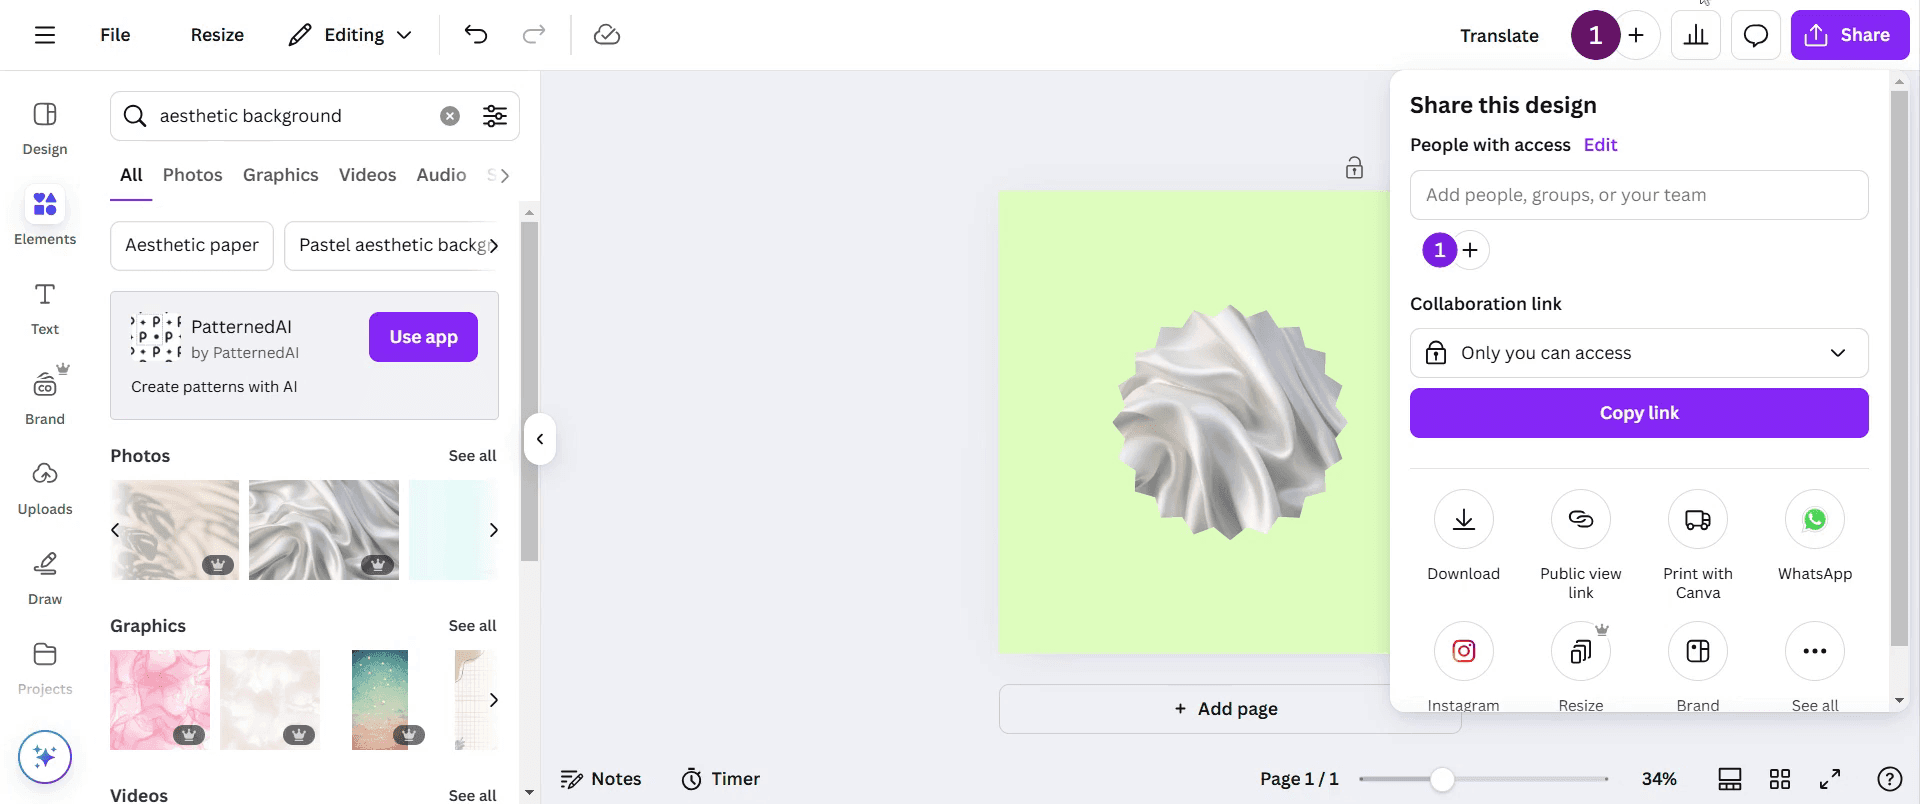
Step 7
Once you have finalized your design, click on the Share button to share your creation. Thank you.
Pro-tips for masking in Canva
Use the Frame tool to easily mask images into specific shapes and enhance your design aesthetics.
Adjust the positioning and scaling of your image within the frame by double-clicking and dragging for a perfect fit.
Experiment with different frame shapes and effects to create unique and eye-catching visuals.
Common pitfalls & how to avoid them while masking in Canva
Uploading low-resolution images can result in pixelation always use high-quality images for better results.
Not properly aligning the image inside the mask can lead to awkward cropping adjust positioning carefully.
Forgetting that text and other elements cannot be directly masked use creative layering techniques instead.
Common FAQs for masking in Canva
Can I mask text in Canva?
Canva does not have a direct text masking feature, but you can use letter frames and insert images into each letter as a workaround.How do I adjust an image inside a mask in Canva?
Double-click on the image inside the frame, then drag and resize it to fit the mask perfectly before finalizing your design.How to screen record on mac?
To screen record on a Mac, you can use Trupeer AI. It allows you to capture the entire screen and provides AI capabilities such as adding AI avatars, add voiceover, add zoom in and out in the video. With trupeer’s AI video translation feature, you can translate the video into 30+ languages.How to add an AI avatar to screen recording?
To add an AI avatar to a screen recording, you'll need to use an AI screen recording tool. Trupeer AI is an AI screen recording tool, which helps you create videos with multiple avatars, also helps you in creating your own avatar for the video.How to screen record on windows?
To screen record on Windows, you can use the built-in Game Bar (Windows + G) or advanced AI tool like Trupeer AI for more advanced features such as AI avatars, voiceover, translation etc.How to add voiceover to video?
To add voiceover to videos, download trupeer ai chrome extension. Once signed up, upload your video with voice, choose the desired voiceover from trupeer and export your edited video.How do I Zoom in on a screen recording?
To zoom in during a screen recording, use the zoom effects in Trupeer AI which allows you to zoom in and out at specific moments, enhancing the visual impact of your video content.
Suggested Reads
Technical Documentation Generator
How to Rotate a Document in Canva
Related Tutorials

