
How to Add Fonts to Canva
Want to use your own fonts in Canva? Here’s how to upload and apply custom fonts to your brand kit with Canva Pro.
This process will guide you through the steps to easily add custom fonts to your Canva designs.
By following these instructions, you will be able to personalize your templates with the fonts of your choice.
To use custom fonts in Canva, you need to upload them to your Brand Kit. This feature is available for Canva Pro, Teams, Education, or Nonprofits users.
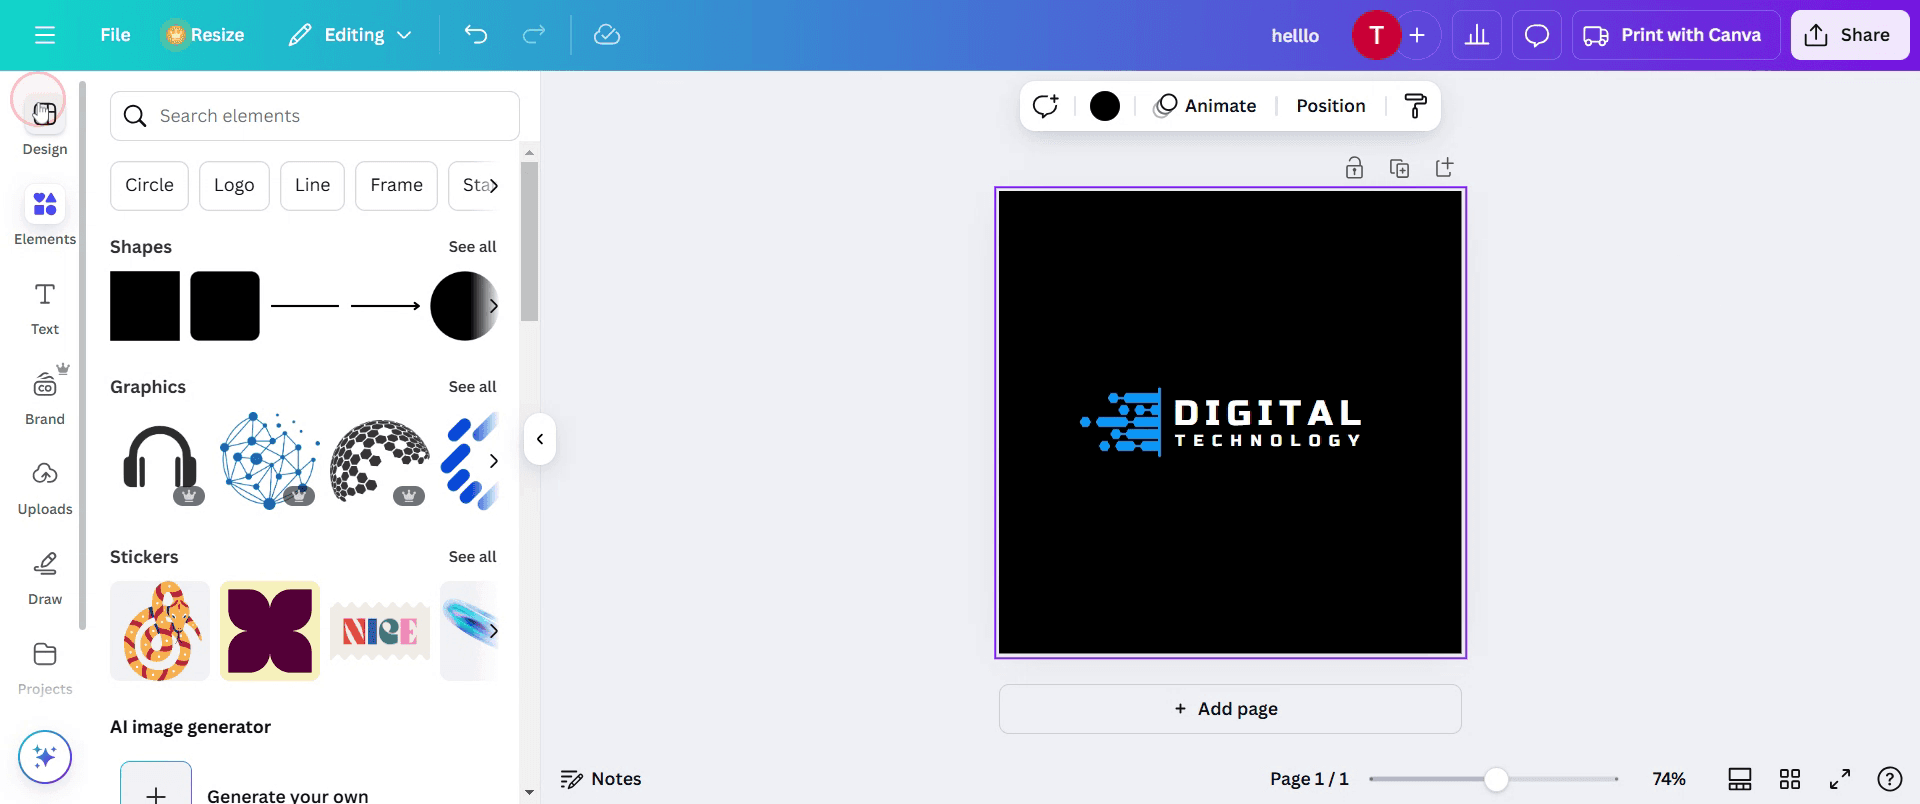
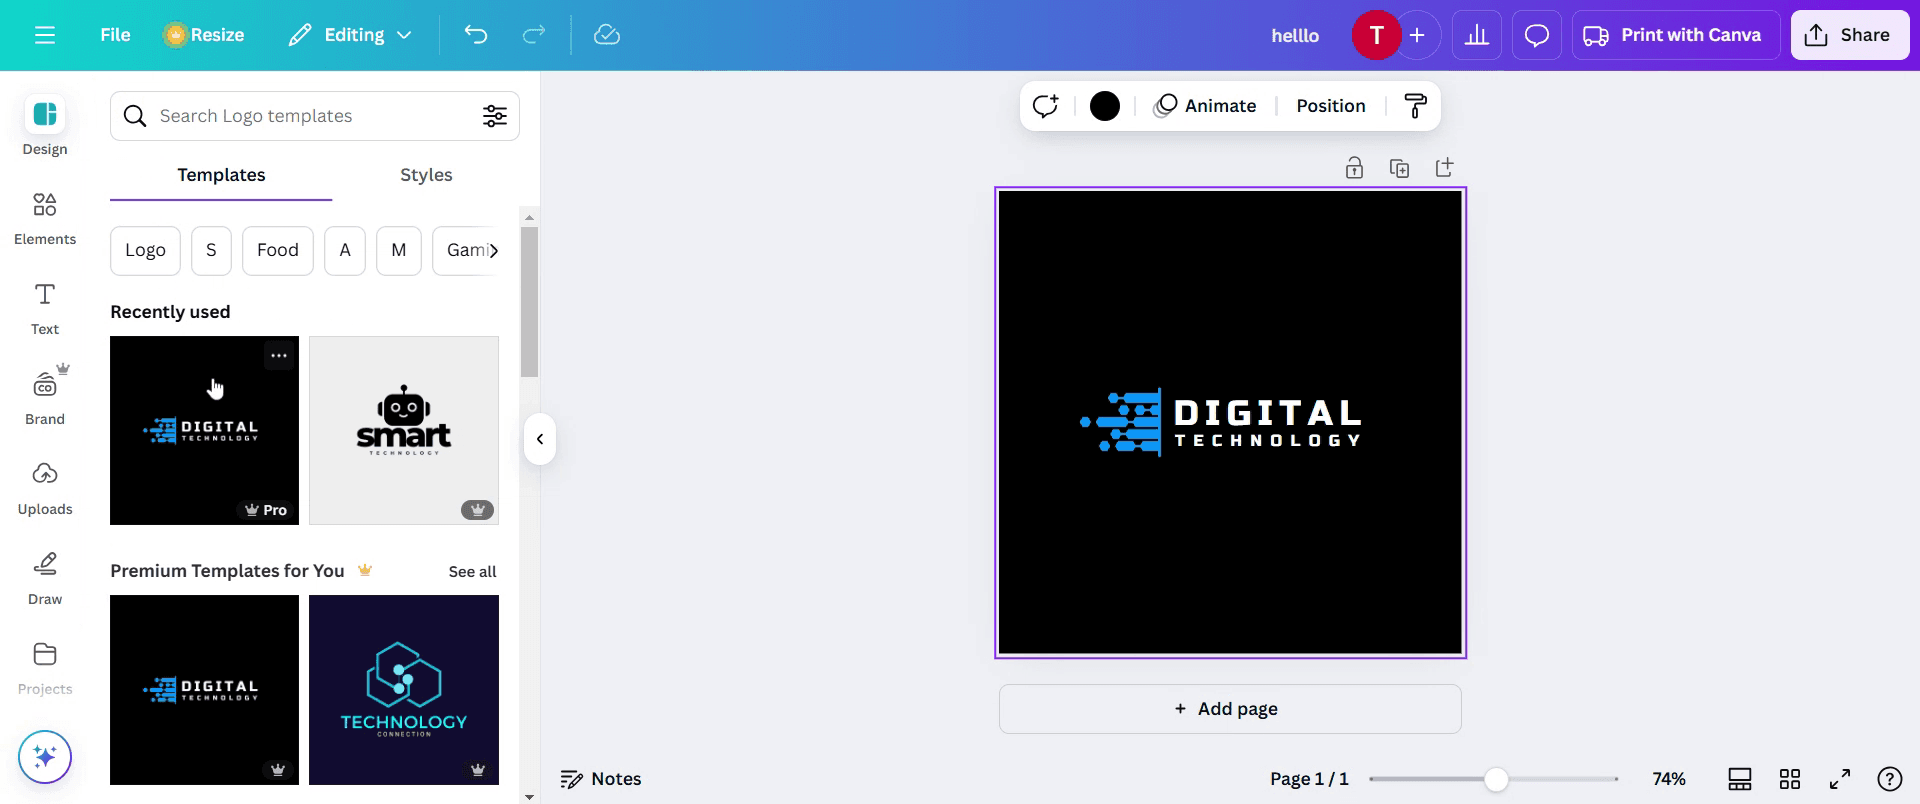
Step 1: Access the Brand Kit
Log in to your Canva account.
In the left sidebar, click Brand > Brand Kit.
If you have multiple brand kits, choose the one you want to update.
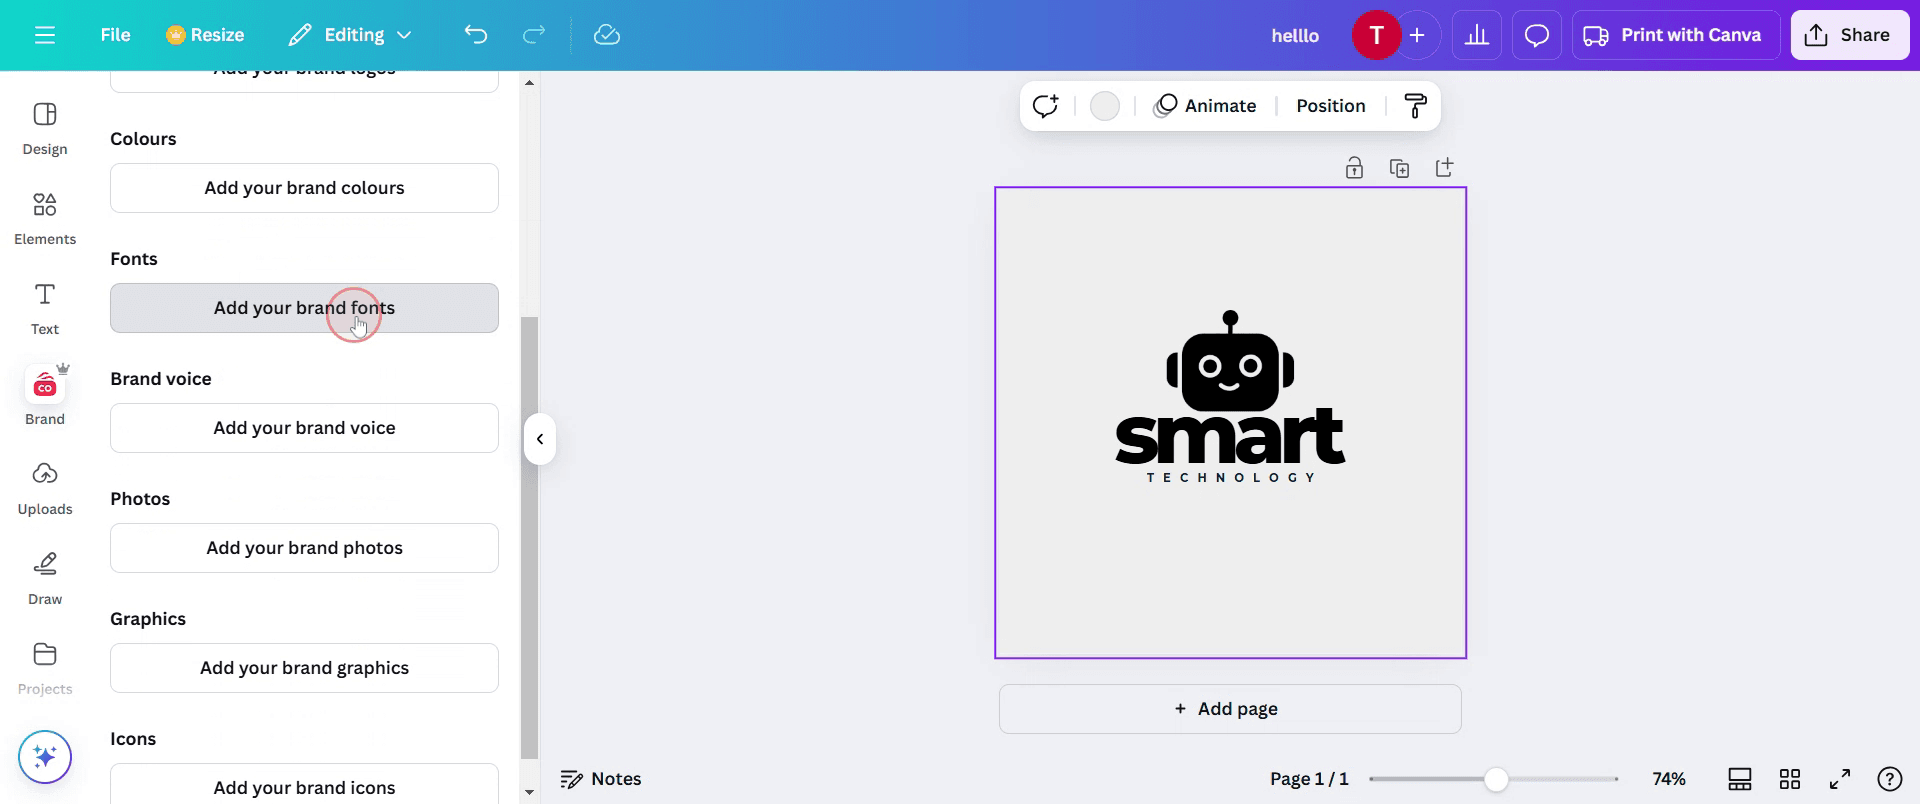
Step 2: Upload a Font
Scroll to the Fonts section.
Click “Upload a font” or “Add new” under Uploaded Fonts.
Select a font file from your computer (formats supported:
.OTF,.TTF, or.WOFF).Confirm that you have the rights to use the font if prompted.
Wait for the upload to complete.
Step 3: Use the Uploaded Font in Your Design
Open or create a new Canva design.
Add or select a text box.
Open the Font dropdown in the top toolbar.
Scroll to Uploaded Fonts and click the font you uploaded.
The text will update to the selected font.
Step-by-Step Guide: How To Add Fonts To Canva
Step 1
Begin by opening Canva. Once opened, click on the design section.
Step 2
Within the design section, locate the templates option and select it. Choose your desired template.
Step 3
After selecting a template, proceed by clicking on the 'Brand' option to customize the text.

Step 4
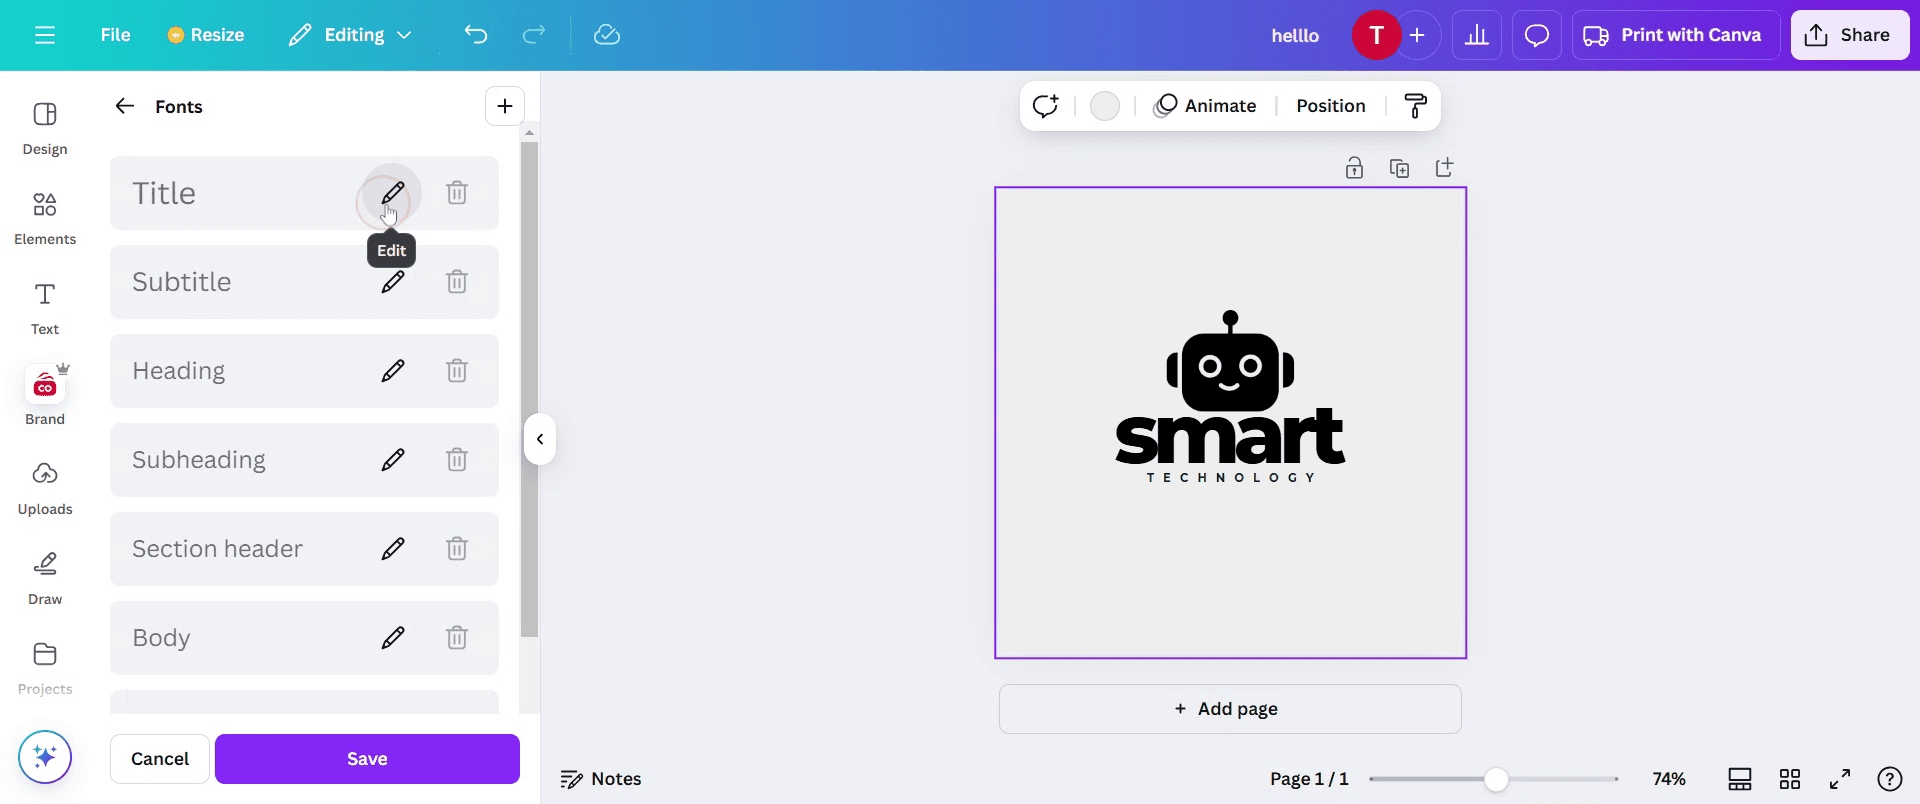
Scroll down and select the 'Fonts' option. In that select add your fonts
Step 5
Now click on 'Edit' to access font selection and title customization.
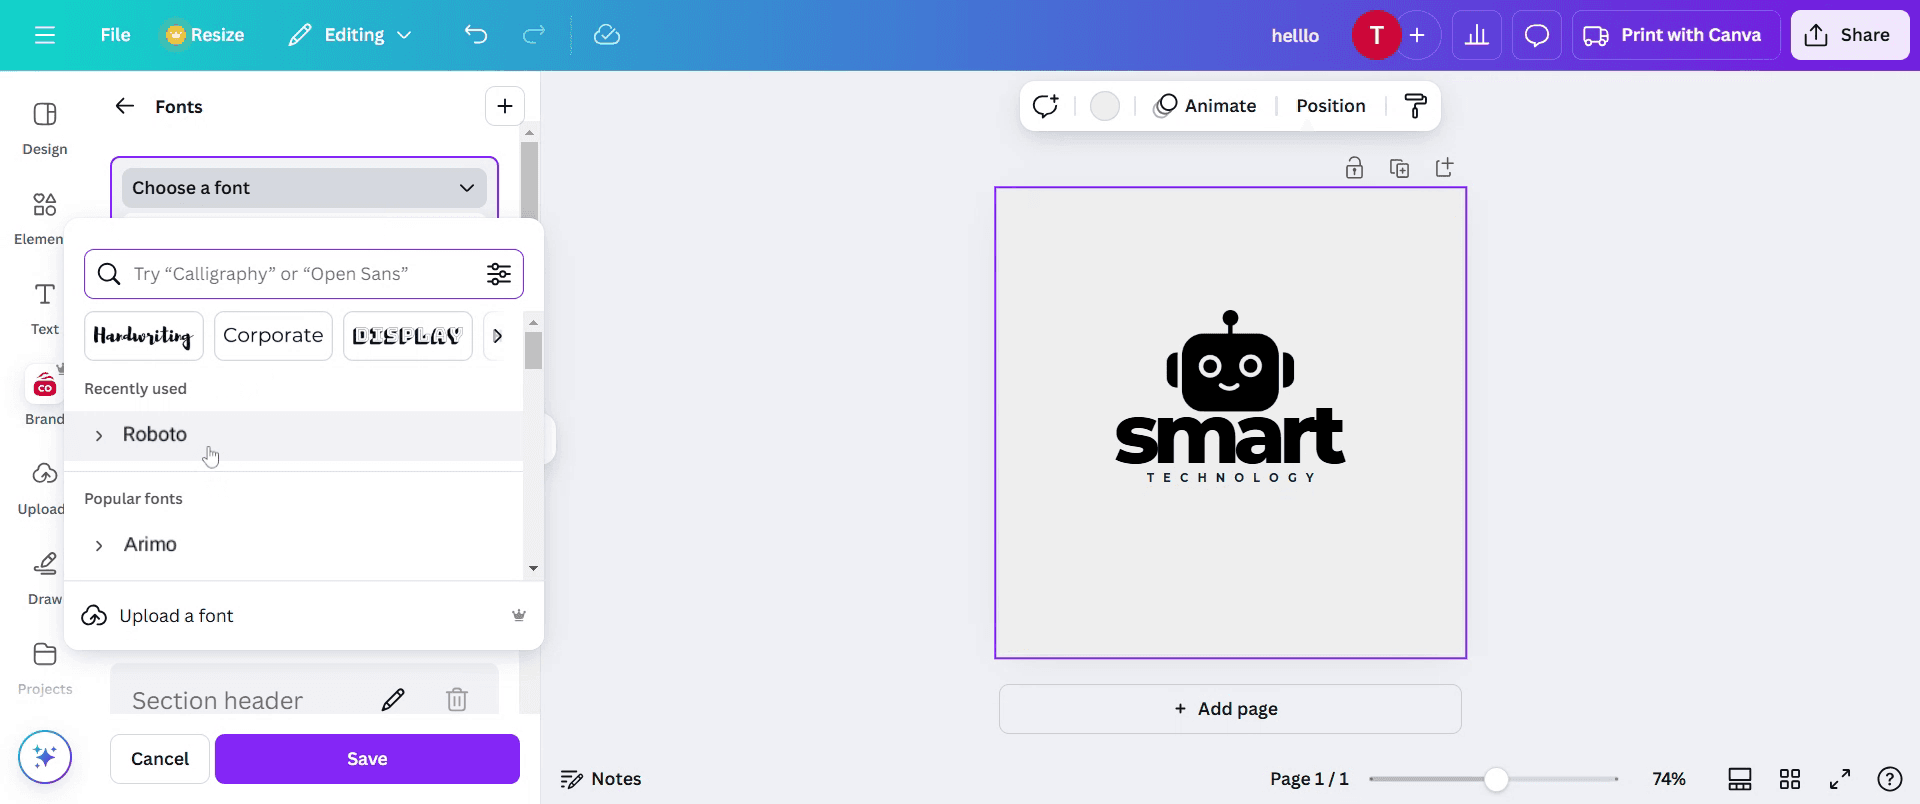
Step 6
Here, choose the font you wish to use for your design from the available options.
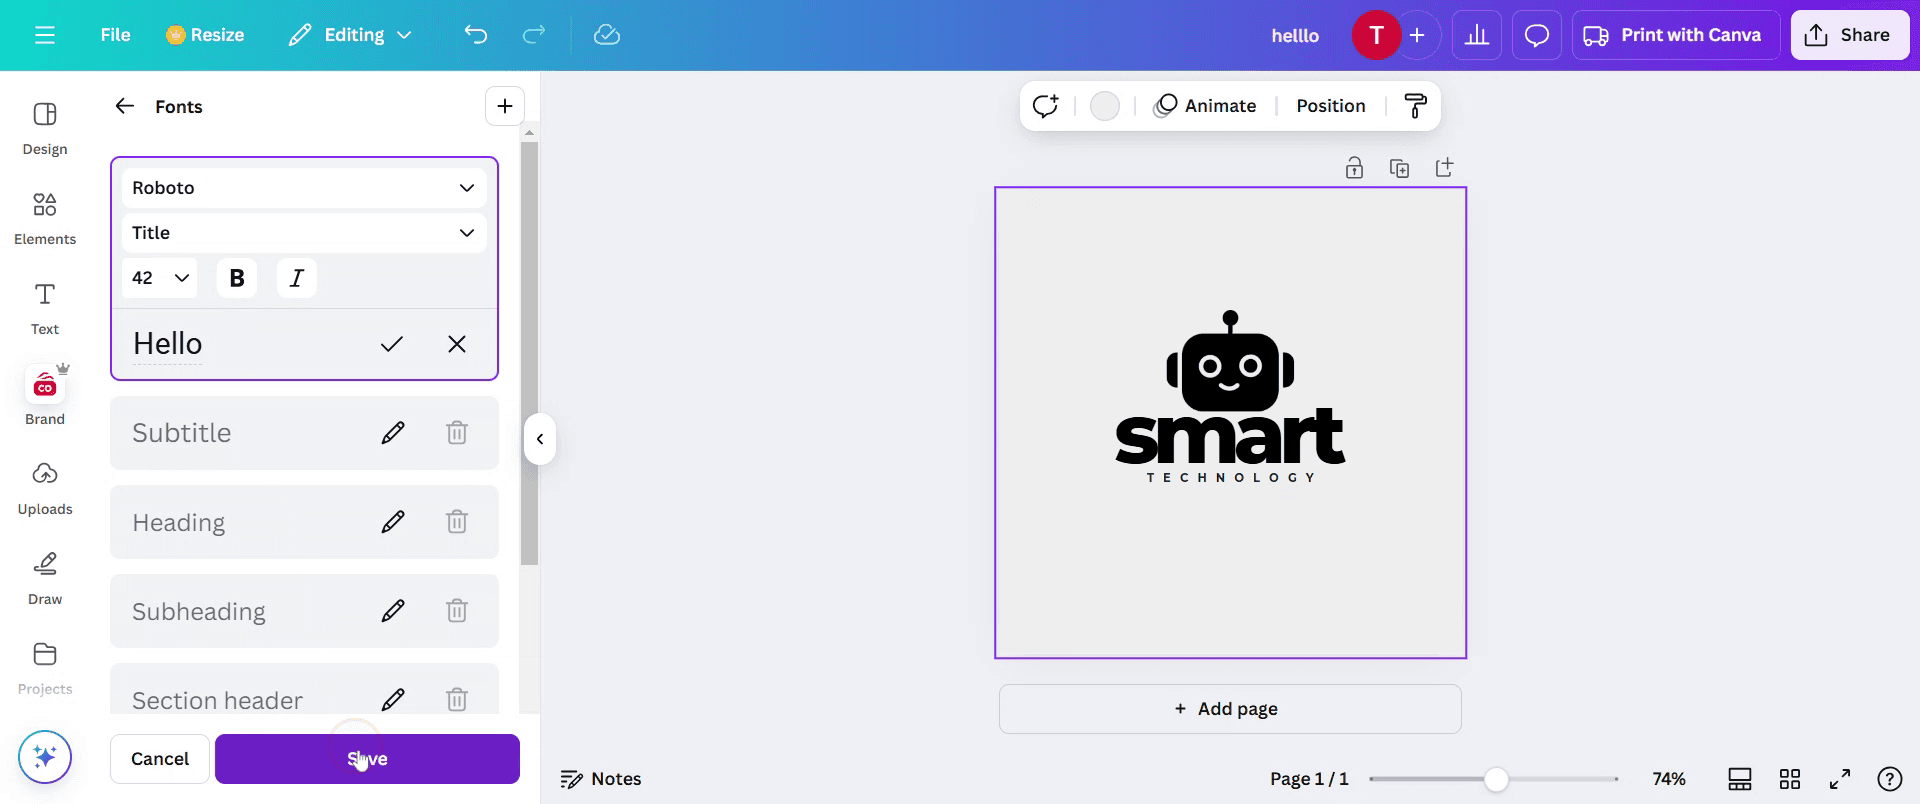
Step 7
Proceed to the title section and enter your desired title to include it in the template.

Step 8
After entering the title, click on the save button. The new font will appear, and you can select it for use.
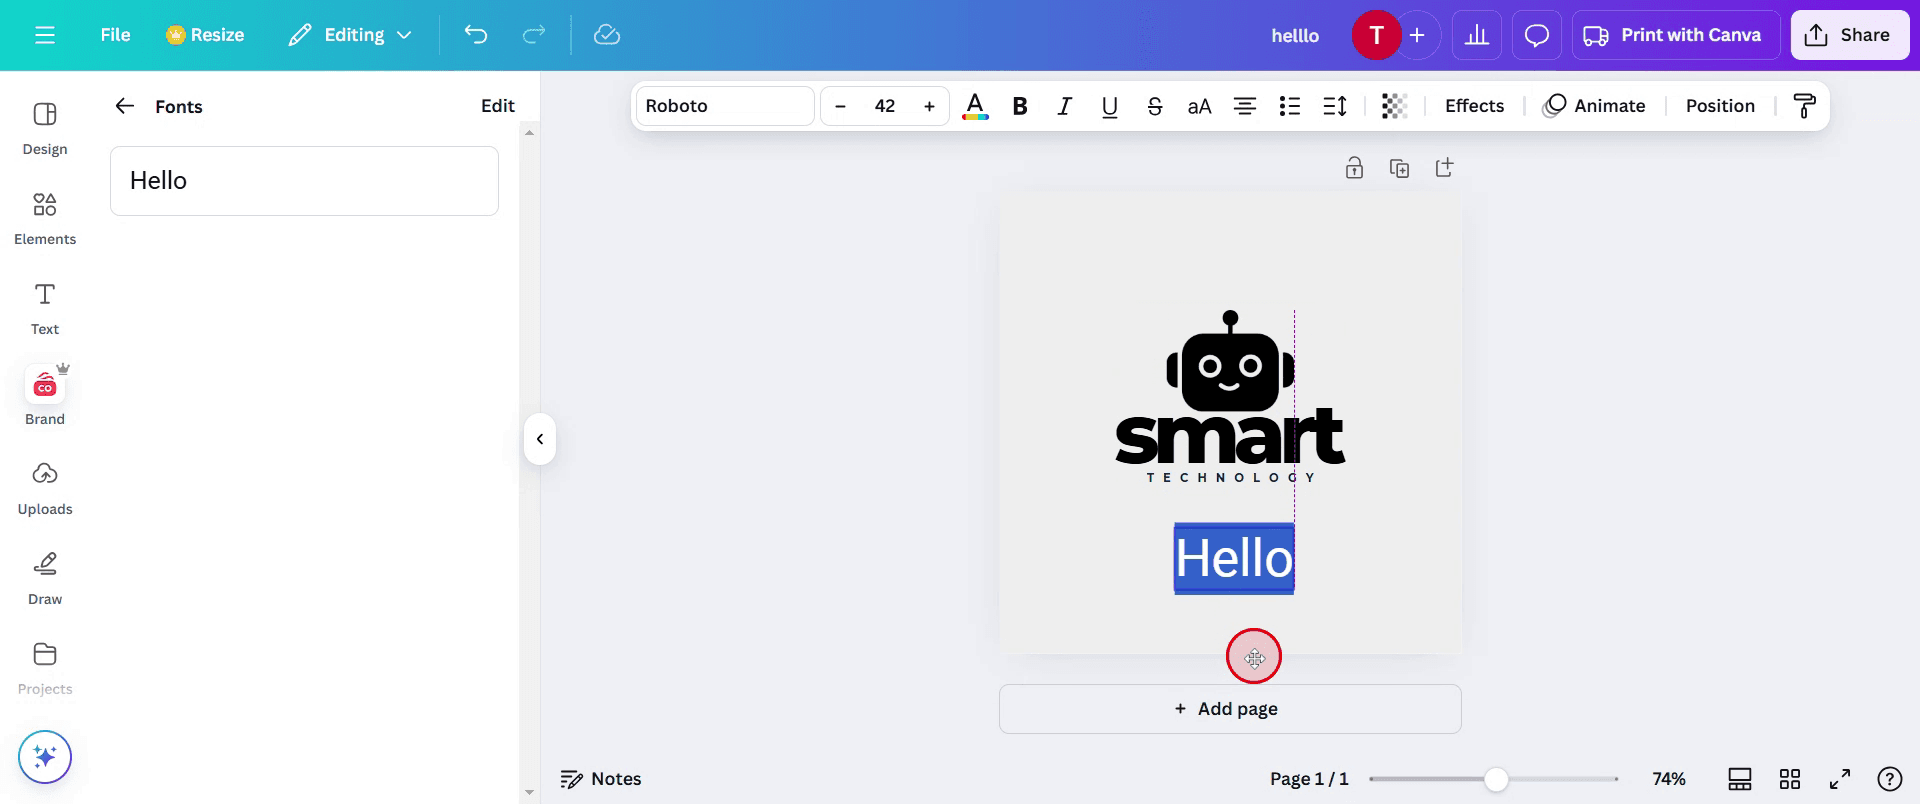
Step 9
Finally, you will be able to see the chosen font applied in your design.
Pro tips for how to add fonts to Canva
Use supported formats – Canva only supports font files in OTF, TTF, or WOFF formats, so ensure your font is in the correct format before uploading.
Organize your fonts – Name and categorize your fonts properly in Canva Brand Kit to easily find and apply them to different designs.
Check font licensing – Before uploading, verify that your font is licensed for commercial use to avoid copyright issues.
Common pitfalls and how to avoid them
Uploading an unsupported font format – If your font isn’t in OTF, TTF, or WOFF, Canva won’t recognize it, so convert it before uploading.
Not using Canva pro – Custom fonts can only be uploaded with Canva Pro, so free users won’t have access to this feature.
Ignoring font visibility issues – Some custom fonts may appear blurry or distorted, so test them in different sizes before using them in final designs.
Common FAQs for how to add fonts to Canva
Can I add fonts in Canva without a Canva Pro account?
No, the ability to upload custom fonts is only available in Canva Pro, Canva for Teams, and Canva for Education accounts.What file types are accepted when adding fonts to Canva?
Canva supports OTF, TTF, and WOFF font formats. Ensure your font file is in one of these formats before uploading.Why isn’t my font appearing after adding fonts to Canva?
Check if your font is in a supported format, has been properly uploaded, and that you have Canva Pro access. Refresh the page if necessary.How to screen record on mac?
To screen record on a Mac, you can use Trupeer AI. It allows you to capture the entire screen and provides AI capabilities such as adding AI avatars, add voiceover, add zoom in and out in the video. With trupeer’s AI video translation feature, you can translate the video into 30+ languages.How to add an AI avatar to screen recording?
To add an AI avatar to a screen recording, you'll need to use an AI screen recording tool. Trupeer AI is an AI screen recording tool, which helps you create videos with multiple avatars, also helps you in creating your own avatar for the video.How to screen record on windows?
To screen record on Windows, you can use the built-in Game Bar (Windows + G) or advanced AI tool like Trupeer AI for more advanced features such as AI avatars, voiceover, translation etc.How to add voiceover to video?
To add voiceover to videos, download trupeer ai chrome extension. Once signed up, upload your video with voice, choose the desired voiceover from trupeer and export your edited video.How do I Zoom in on a screen recording?
To zoom in during a screen recording, use the zoom effects in Trupeer AI which allows you to zoom in and out at specific moments, enhancing the visual impact of your video content.
Suggested Reads
Technical Documentation Generator
How to Rotate a Document in Canva
How to Create Pattern out of text in Canva
Related Tutorials

