
How to Wrap Text in Canva – Easy Text Formatting
Learn how to wrap text in Canva using text boxes, spacing tools, and line breaks to create clean, professional-looking designs.
In the following document, you will learn how to wrap text around shapes in Canva. It provides a detailed guide on how to position text creatively around different shapes, enhancing your designs with customized, visually appealing elements.
By following the simple steps outlined, you’ll be able to incorporate wrapped text that is easily adjustable and perfect for your projects.
Canva doesn’t offer traditional text-wrapping like in Word, but you can create similar effects using manual resizing and creative positioning.
1. Resize the Text Box
Select your text box.
Click and drag the white handles on the sides to adjust the width.
As the width decreases, the text will automatically wrap to the next line.
2. Use the “Curve” Effect (Optional)
To wrap text around a circular shape:
Select your text box.
Go to Effects > Shape > Curve.
Adjust the Curve slider to shape the text around your object.
3. Wrap Around Images or Shapes (Workaround)
Place your image or shape.
Use multiple text boxes placed strategically to mimic wrapping around the object.
Adjust spacing, alignment, and line height for precision.
Step-by-Step Guide: How To Wrap Text in Canva
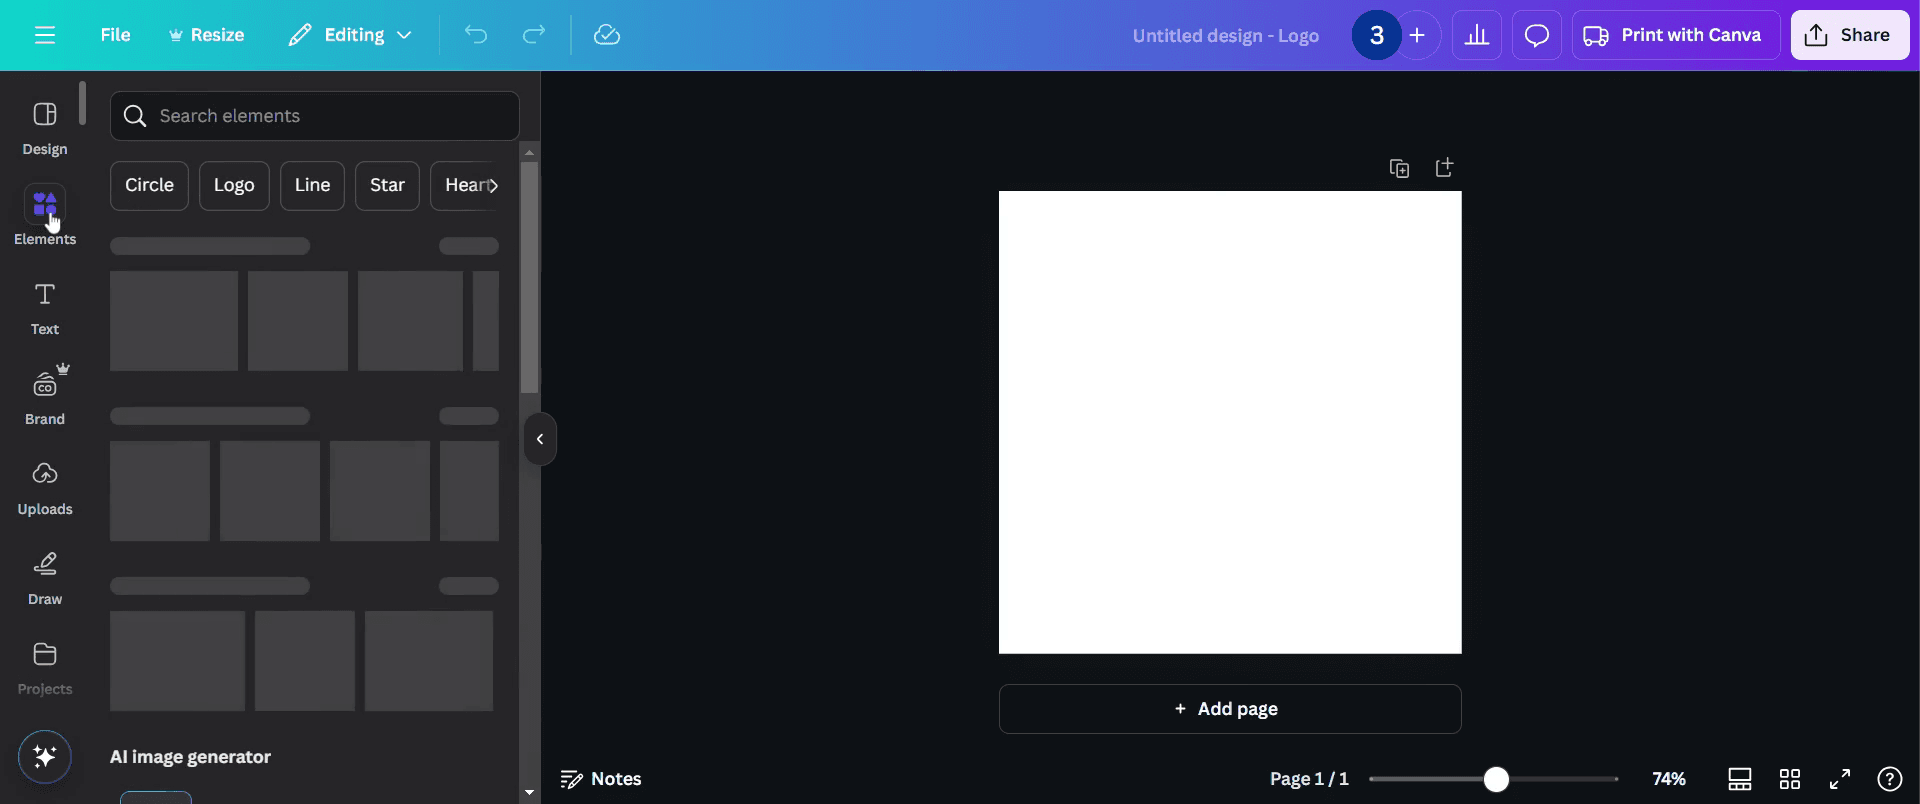
Step 1
Start by opening the Canva editor toolbar and clicking on Elements.
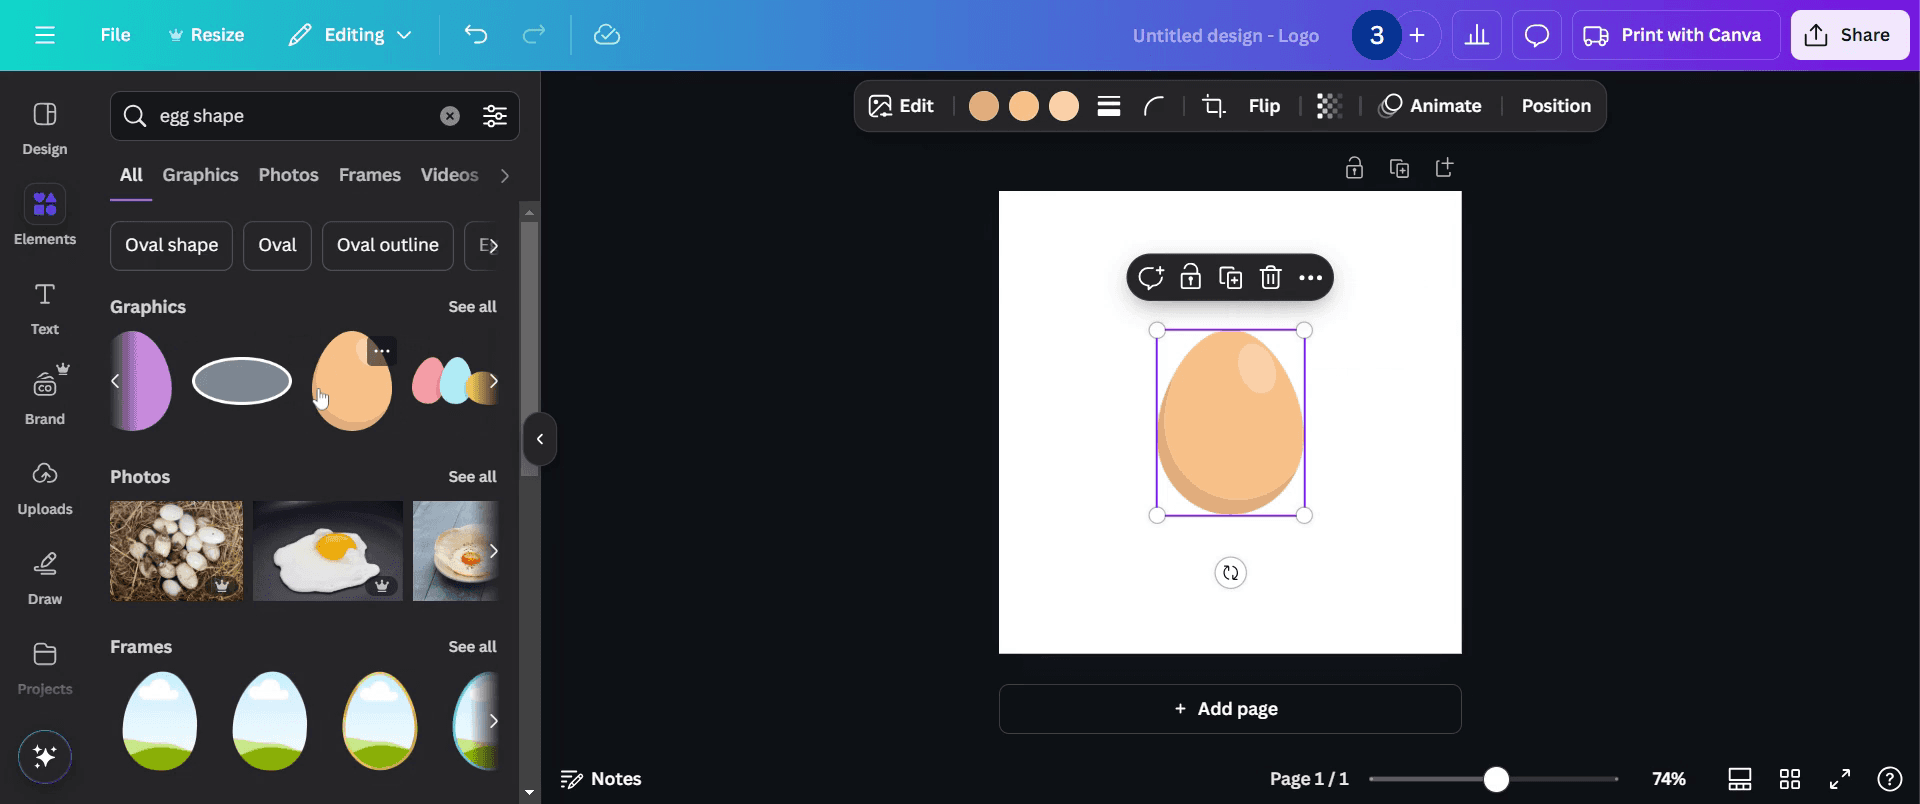
Step 2
Browse through the available options and select an image, shape, or any desired design element. For illustration purposes, we have selected an egg shape. You can select any shape you prefer.
Step 3
Click 'Text' button from the editor toolbar on the left
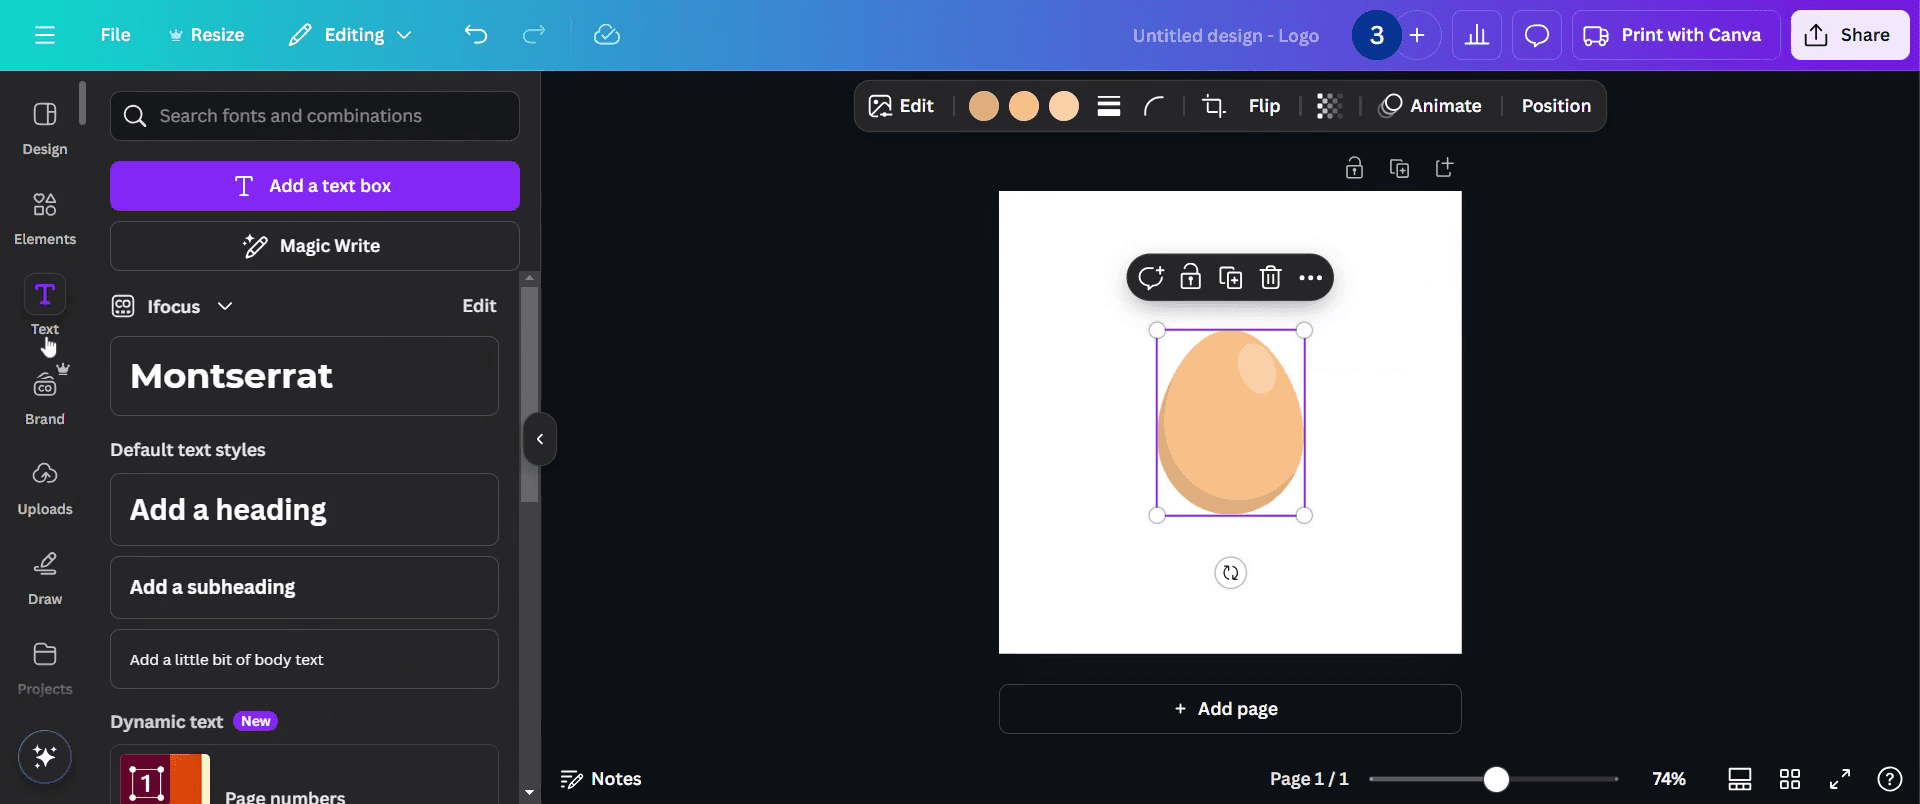
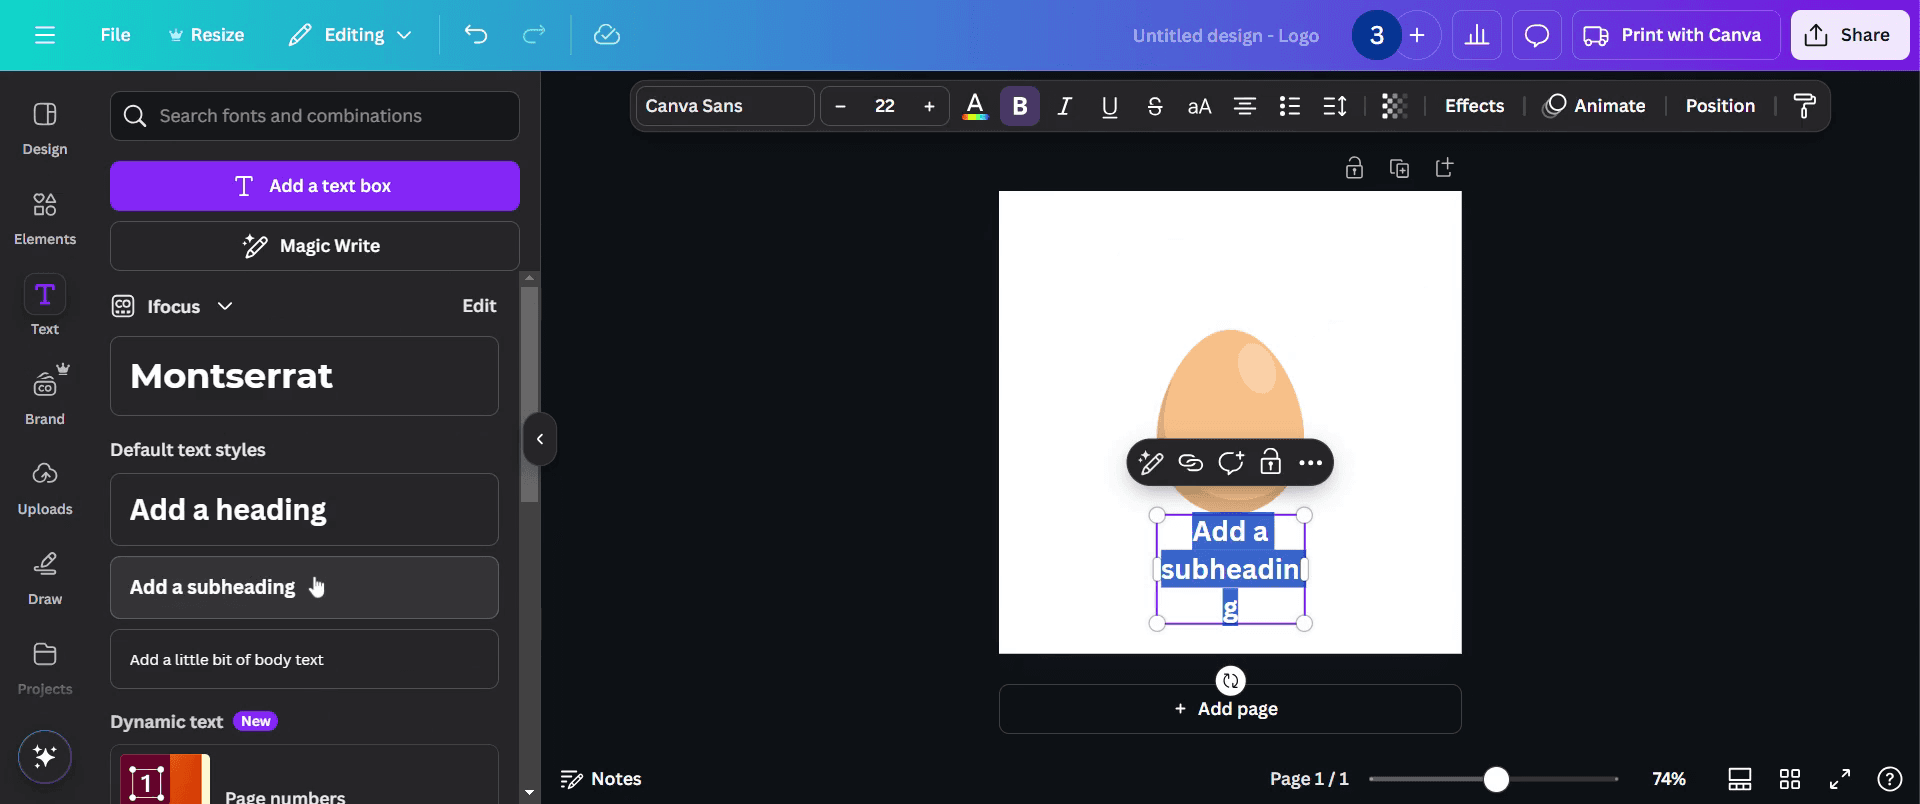
Step 4
Select 'Add Subheading' as shown in the screenshot below.
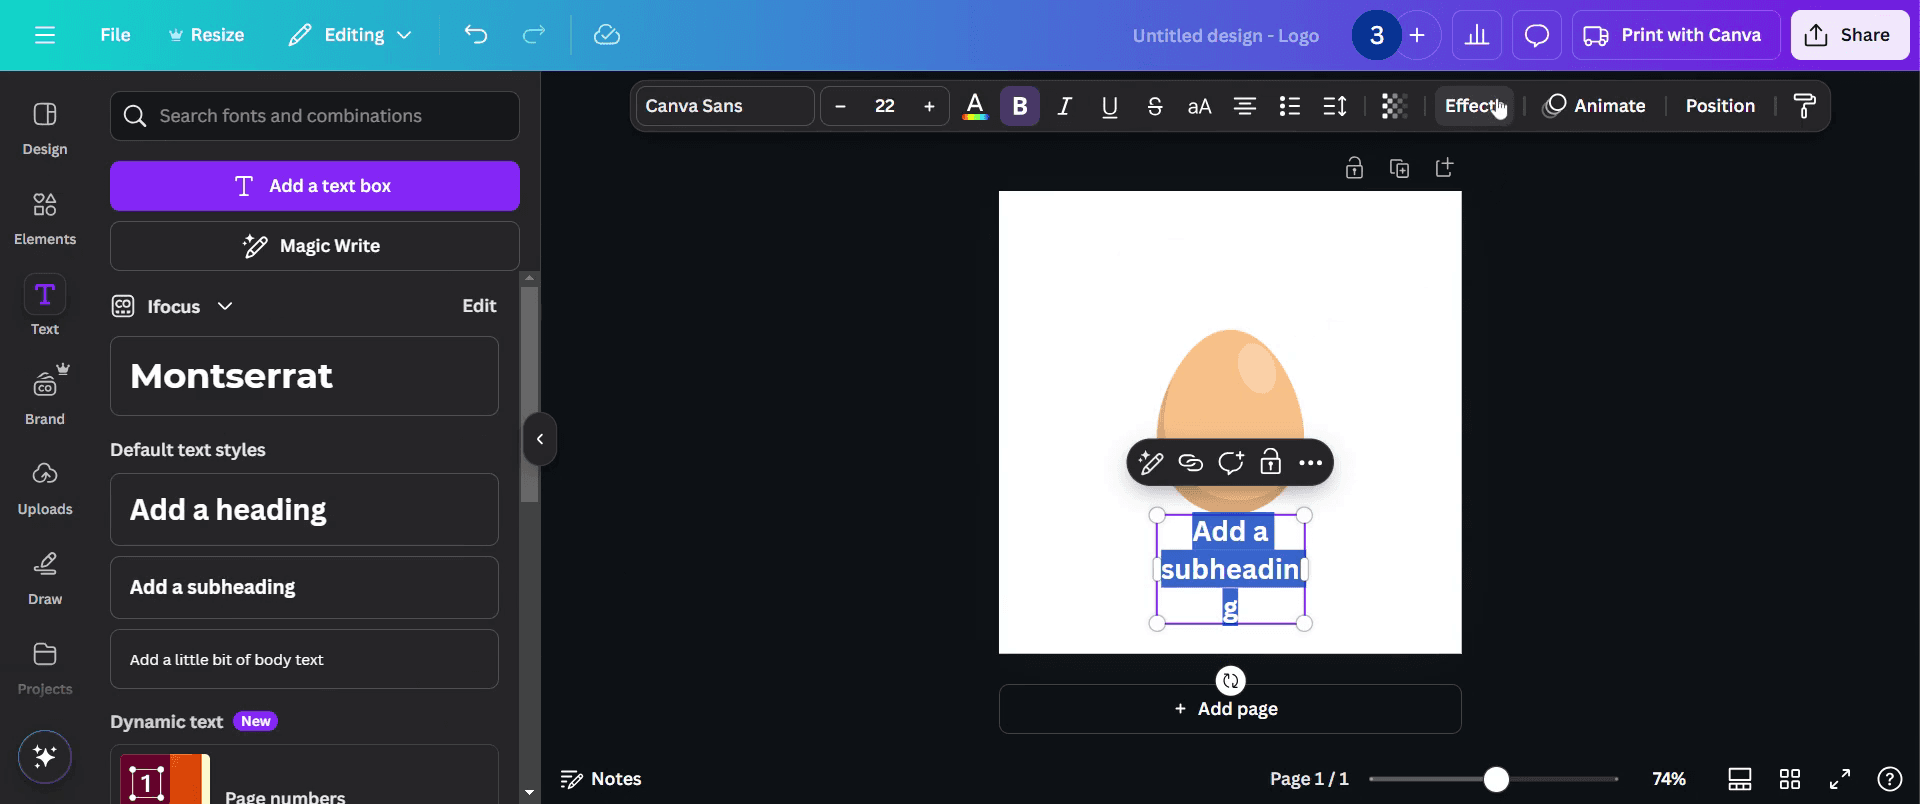
Step 5
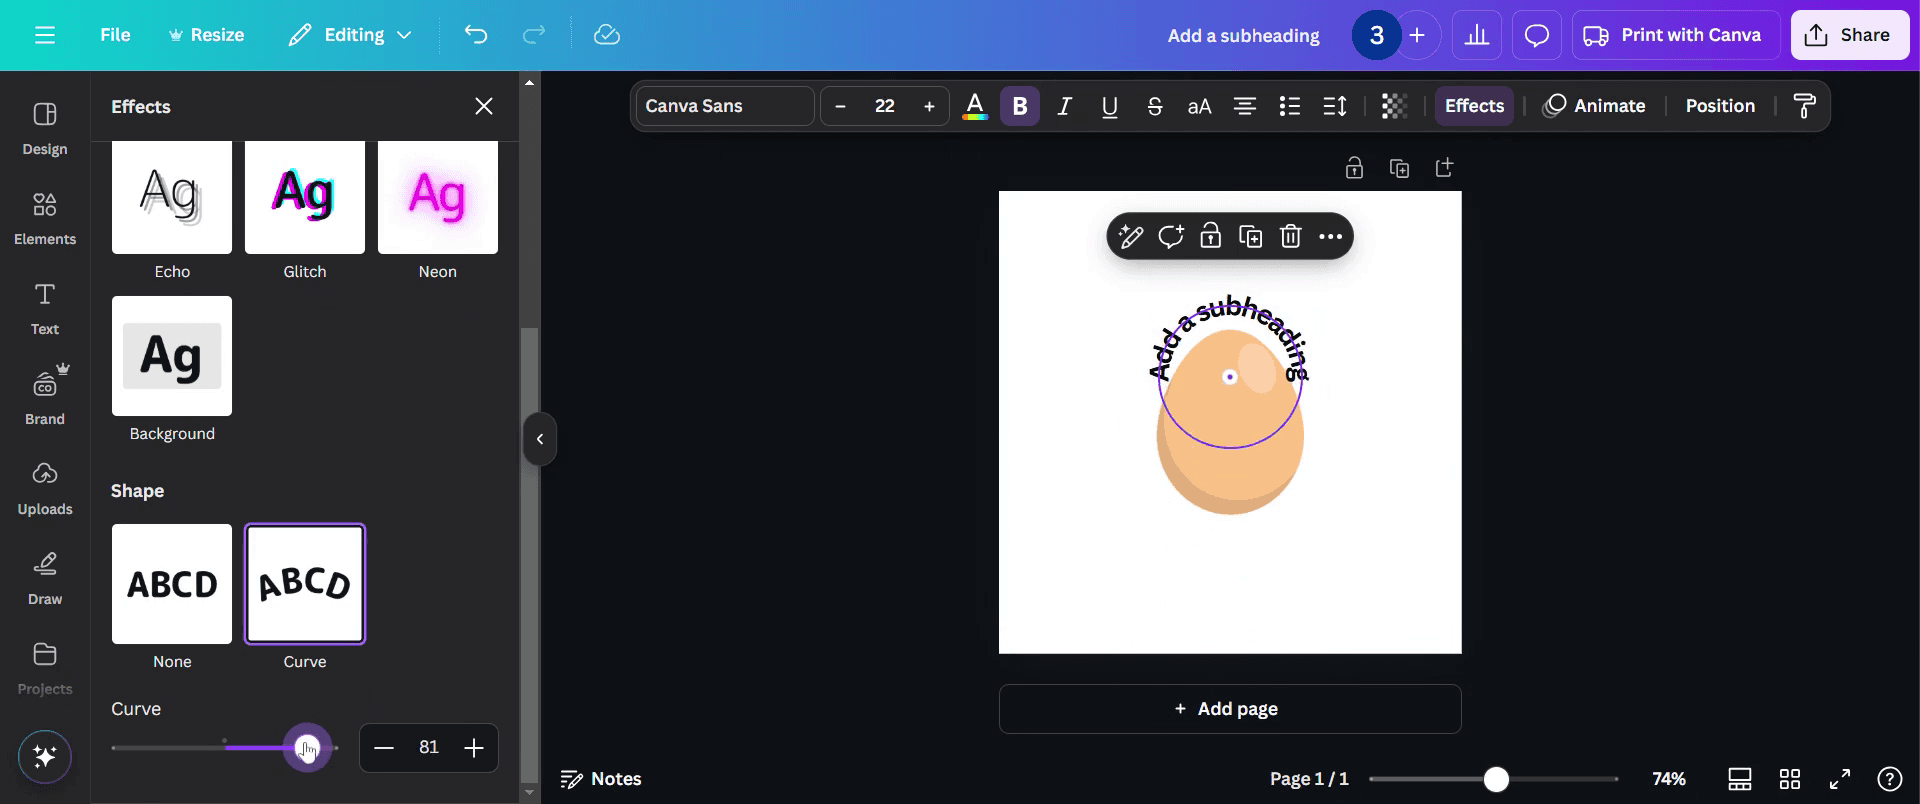
After adding the subheading, go to the Effects button at the top.
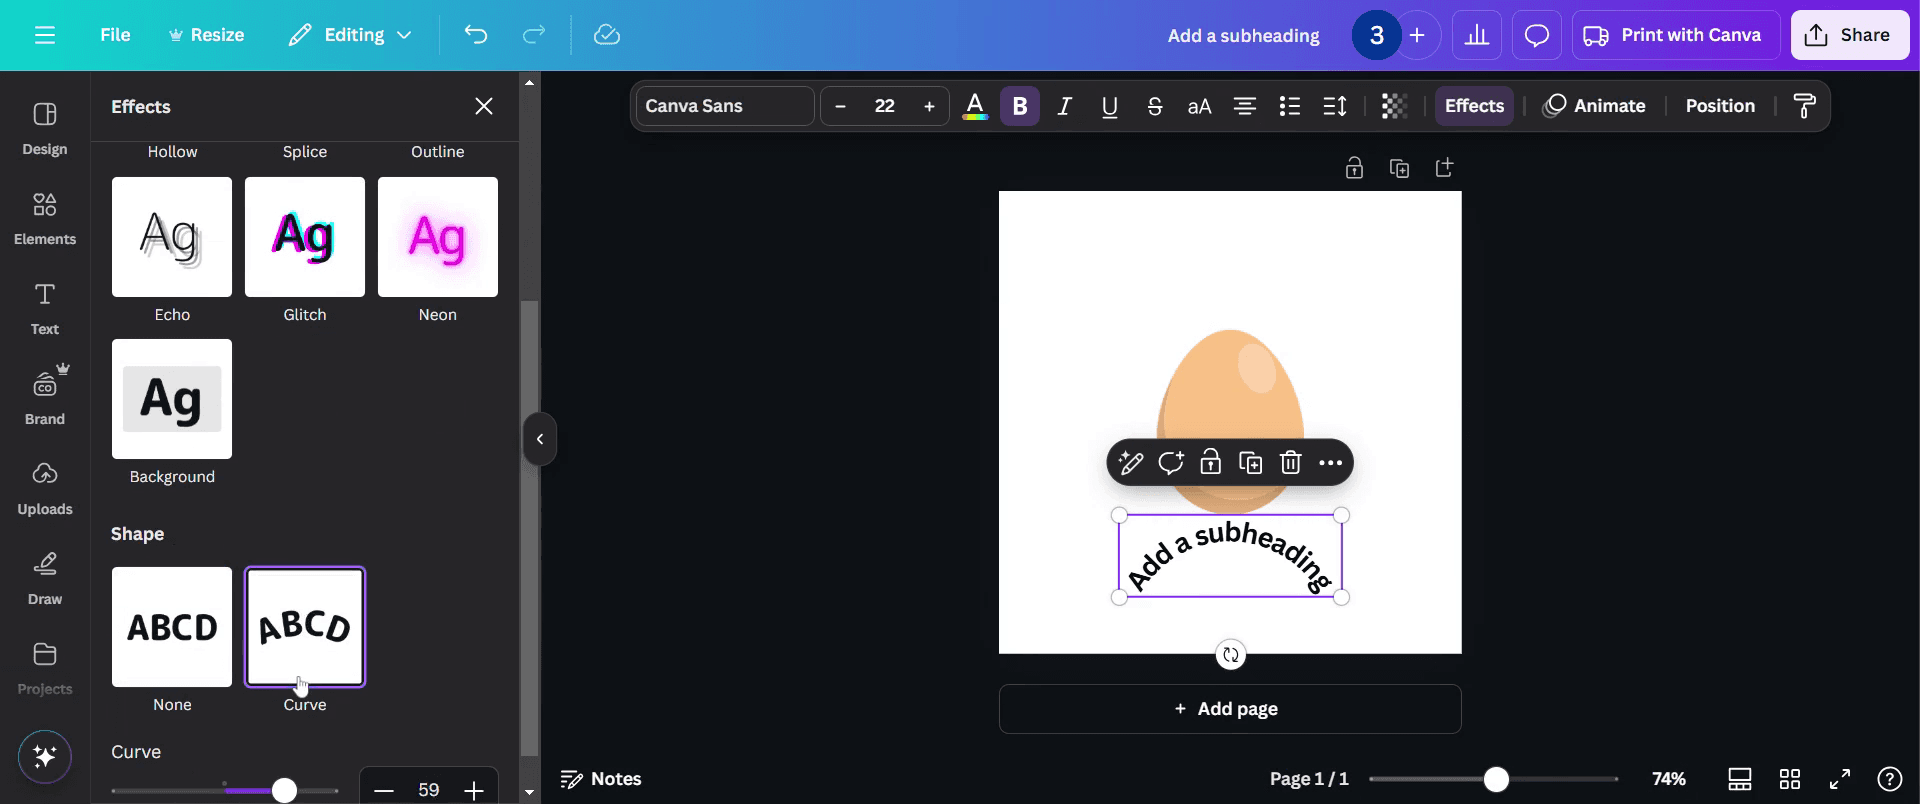
Step 6
In the Effects section, change the text shape to Curve.
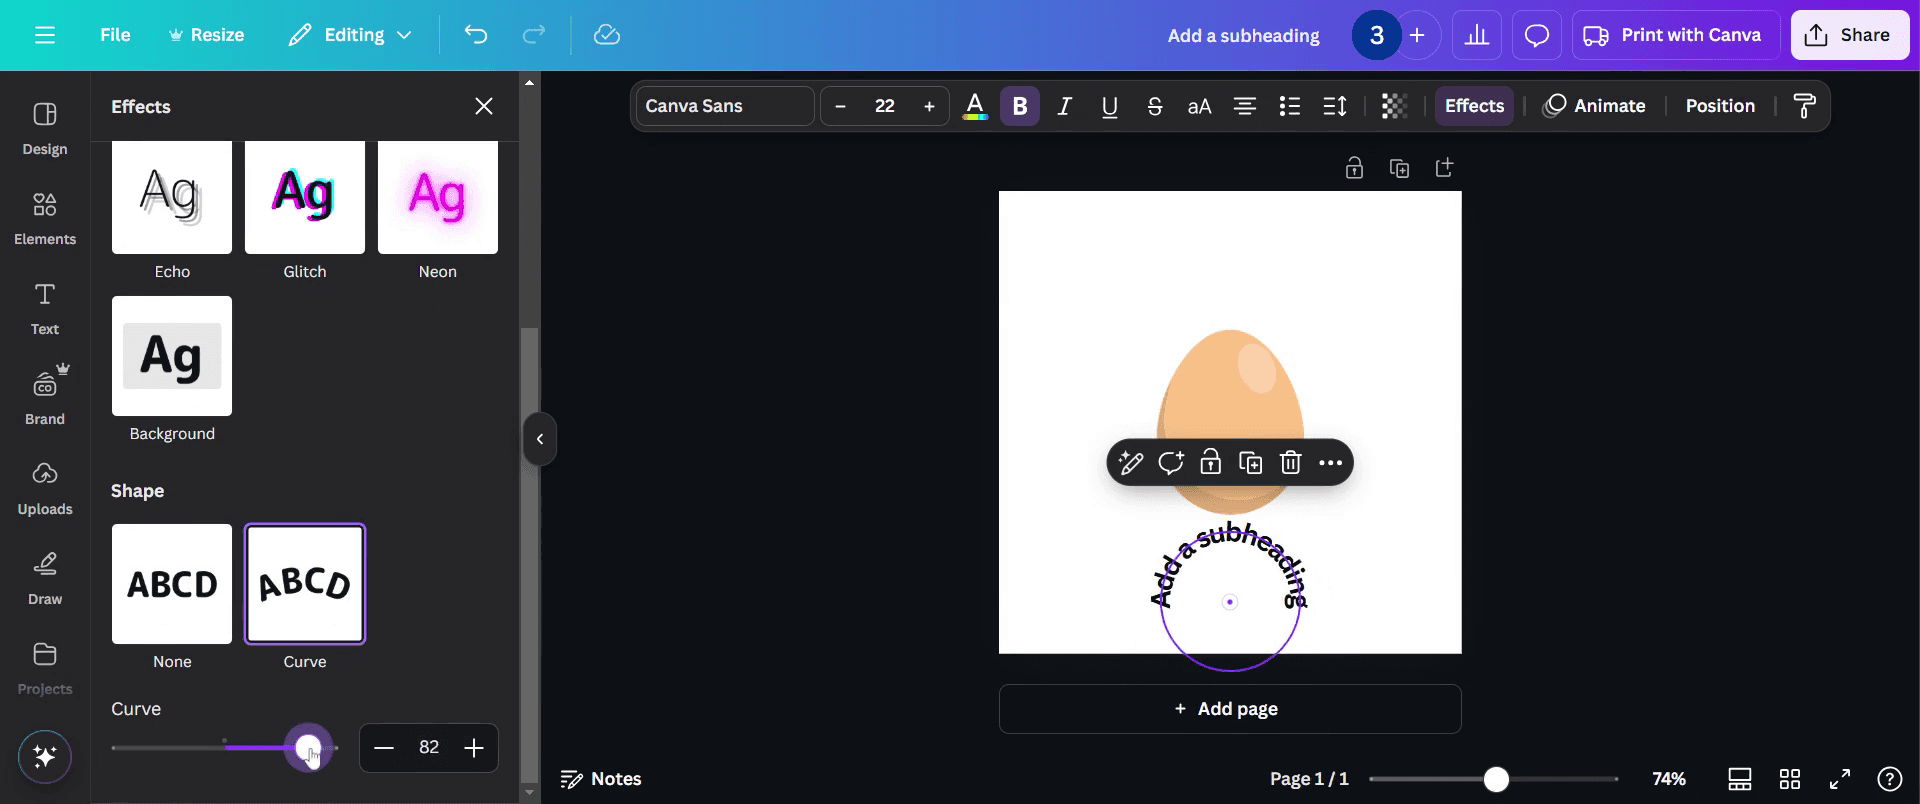
Step 7
Once this adjustment is made, fine-tune the curve size to suit your design needs and ensure it aligns with your layout.
Step 8
That's it. Your image with text wrapper around it is ready to use.
Pro-tips for to wrap text in Canva
Use the text box resize handles. Always adjust the width of the text box by dragging its edges. This ensures the text flows naturally and avoids awkward line breaks.
Check out Canva’s alignment tools Use Canva’s alignment and spacing tools to center or justify text for a clean and professional look. These tools help in balancing your wrapped text within the design.
Experiment with line spacing Adjust the line spacing settings to create the perfect balance between text blocks. This is especially useful when wrapping text around images or shapes.
Common pitfalls to avoid them when wrapping text in Canva
Overcrowding text in a single box can create a cluttered design, so break the text into smaller sections and use multiple text boxes for better readability.
Misaligned text with other design elements can make your layout look off; ensure you use Canva’s alignment guides to position text correctly with images or shapes.
Using the wrong font size can make wrapped text look unbalanced, so scale your font size proportionally to the text box and overall design for a balanced, readable look.
Common FAQs to wrap text in Canva
Can I wrap text around shapes in Canva?
Yes, you to position text around shapes by resizing and aligning text boxes. While there’s no direct text-wrapping tool, you can achieve this effect with careful placement.Why doesn’t my text wrap properly in Canva?
If text wrapping isn’t working as expected, make sure your text box is resized correctly. Check your font size and line spacing to maintain proper text flow.Is text wrapping available on Canva’s free plan?
Yes, you can wrap text in Canva using the free plan. However, advanced features like precise alignment tools might work better with Canva Pro. The process remains similar across all versionsHow to screen record on mac?
To screen record on a Mac, you can use Trupeer AI. It allows you to capture the entire screen and provides AI capabilities such as adding AI avatars, add voiceover, add zoom in and out in the video. With trupeer’s AI video translation feature, you can translate the video into 30+ languages.How to add an AI avatar to screen recording?
To add an AI avatar to a screen recording, you'll need to use an AI screen recording tool. Trupeer AI is an AI screen recording tool, which helps you create videos with multiple avatars, also helps you in creating your own avatar for the video.How to screen record on windows?
To screen record on Windows, you can use the built-in Game Bar (Windows + G) or advanced AI tool like Trupeer AI for more advanced features such as AI avatars, voiceover, translation etc.How to add voiceover to video?
To add voiceover to videos, download trupeer ai chrome extension. Once signed up, upload your video with voice, choose the desired voiceover from trupeer and export your edited video.How do I Zoom in on a screen recording?
To zoom in during a screen recording, use the zoom effects in Trupeer AI which allows you to zoom in and out at specific moments, enhancing the visual impact of your video content.
Suggested Reads
Technical Documentation Generator
How to Create a Journal in Canva
How to Create Pattern out of text in Canva
How to Increase Time on Canva Videos
Related Tutorials

