
How to Rotate a Document in Canva – Easy Page & Element Rotation
Learn how to rotate a document in Canva by swapping page dimensions or rotating elements using the rotate handle. Follow this quick tutorial and create guides with Trupeer.
This guide provides clear, step-by-step instructions on how to rotate a Canva document using the resize option.
By interchanging the width and height dimensions, you can effectively rotate the document to your desired orientation.
Rotating Individual Elements
Select the Element
Click on the image, text box, shape, or video you want to rotate.Use the Rotate Handle
A circular handle will appear beneath or beside the selected element.
Click and drag it to manually rotate the element to any angle.Use the Position Tool for Precision
Select the element.
Click "Position" from the top toolbar.
Enter a specific angle (e.g., 45°) in the "Rotate" input field for exact control.
Rotate Inside Frames or Grids
Select the element inside the frame.
Click "Crop", then use the rotate slider to adjust its angle within the frame.
Rotating the Page (Changing Orientation)
Click “Resize & Magic Switch”
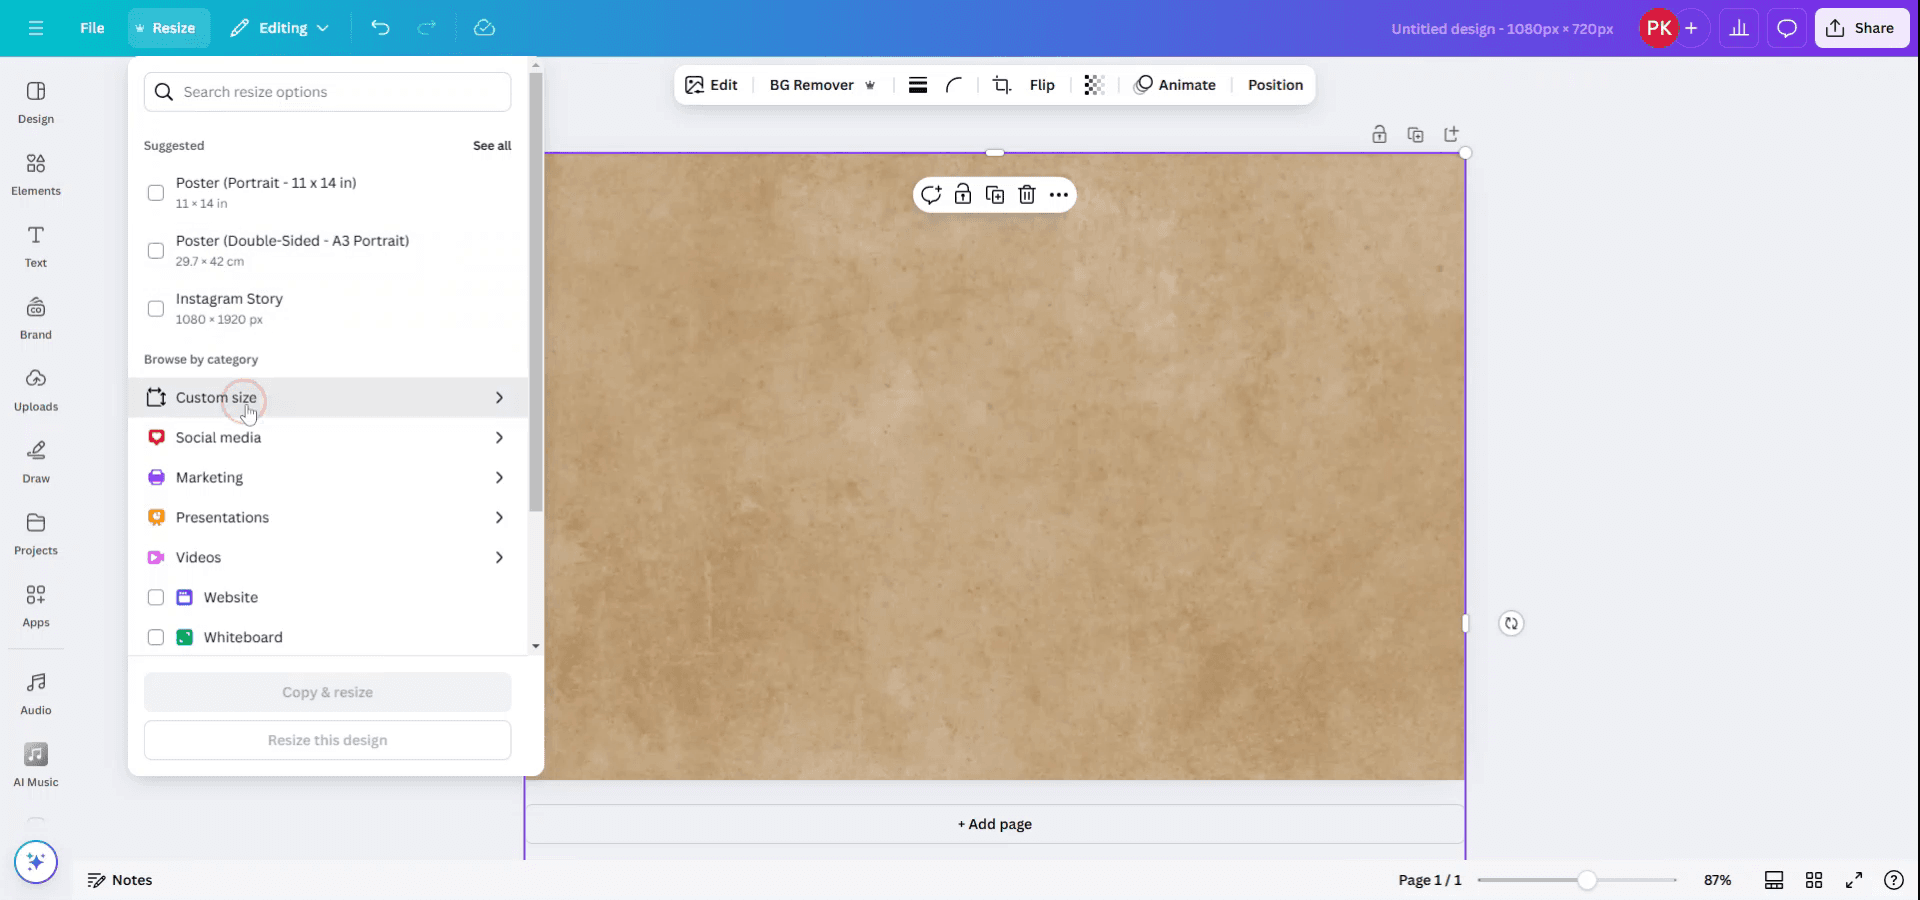
Located at the top toolbar (available to Pro users).Choose “Custom Size”
Swap the width and height to change from portrait to landscape (or vice versa).
Example: Change from 1080×1920 (portrait) to 1920×1080 (landscape).Click “Resize” or “Copy & Resize”
Your design will adjust to the new orientation. You may need to manually reposition elements
Step-by-Step Guide: How To Rotate Document in Canva
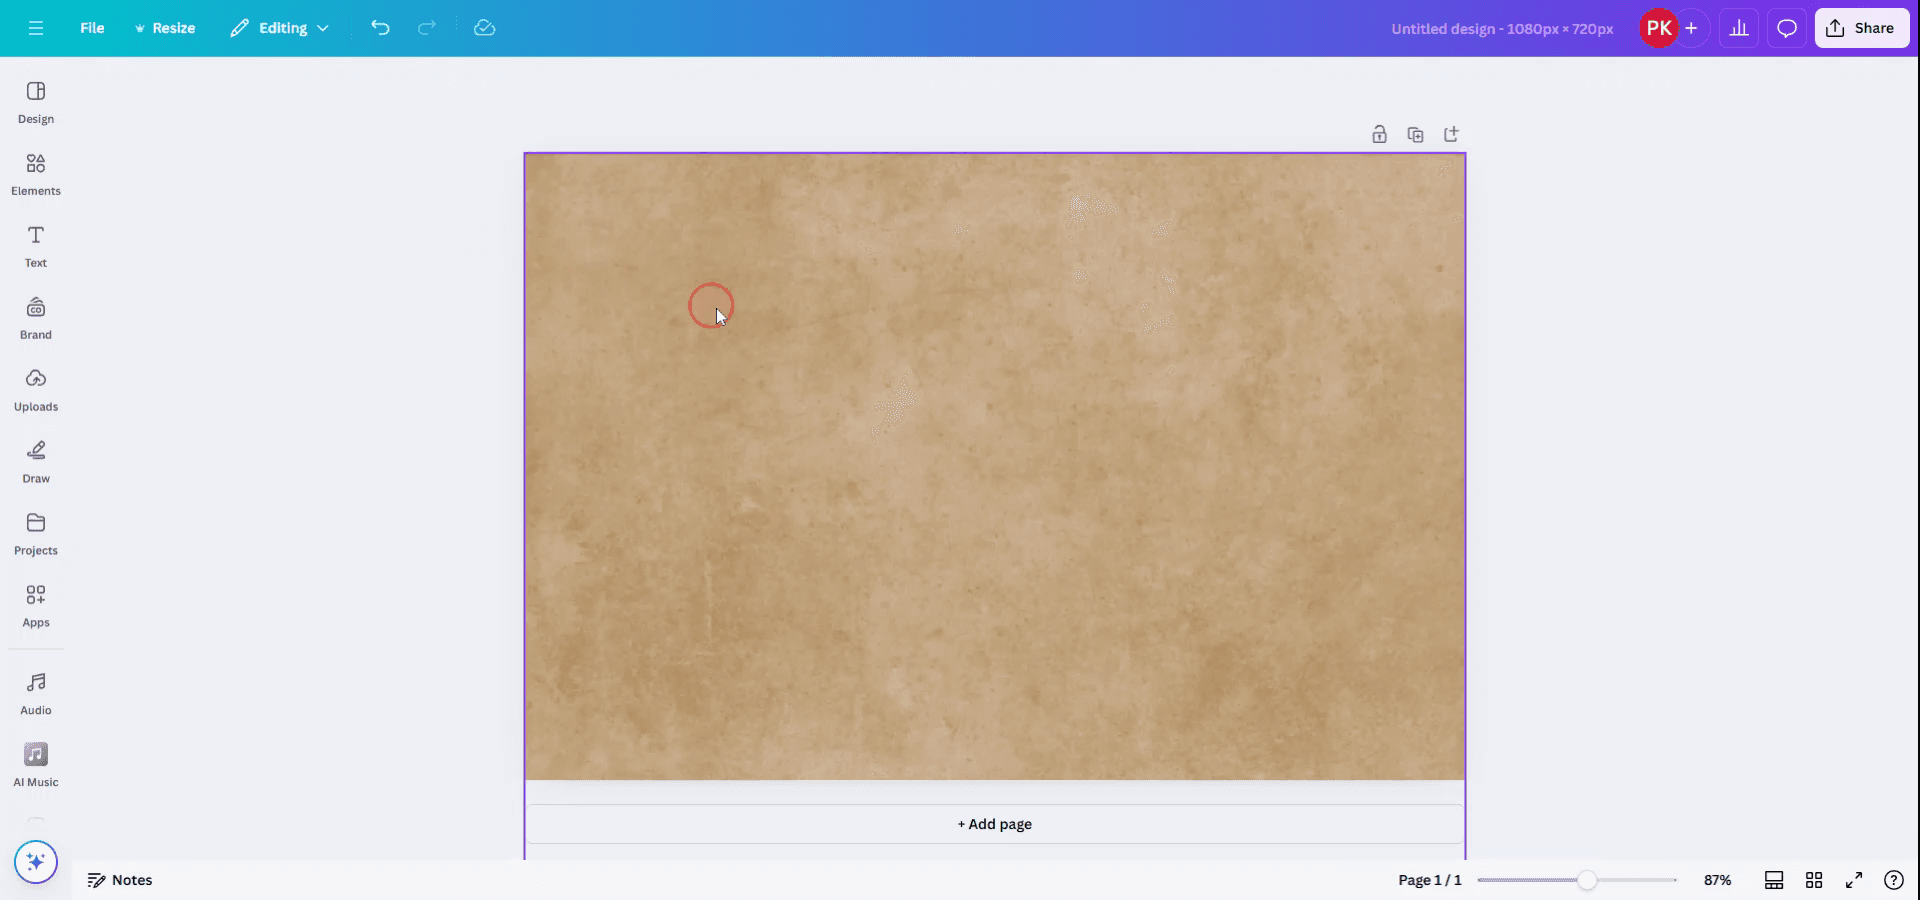
Step 1
To rotate an entire Canva document, you must utilize the resize option. Begin by opening the document and navigating to the top bar.
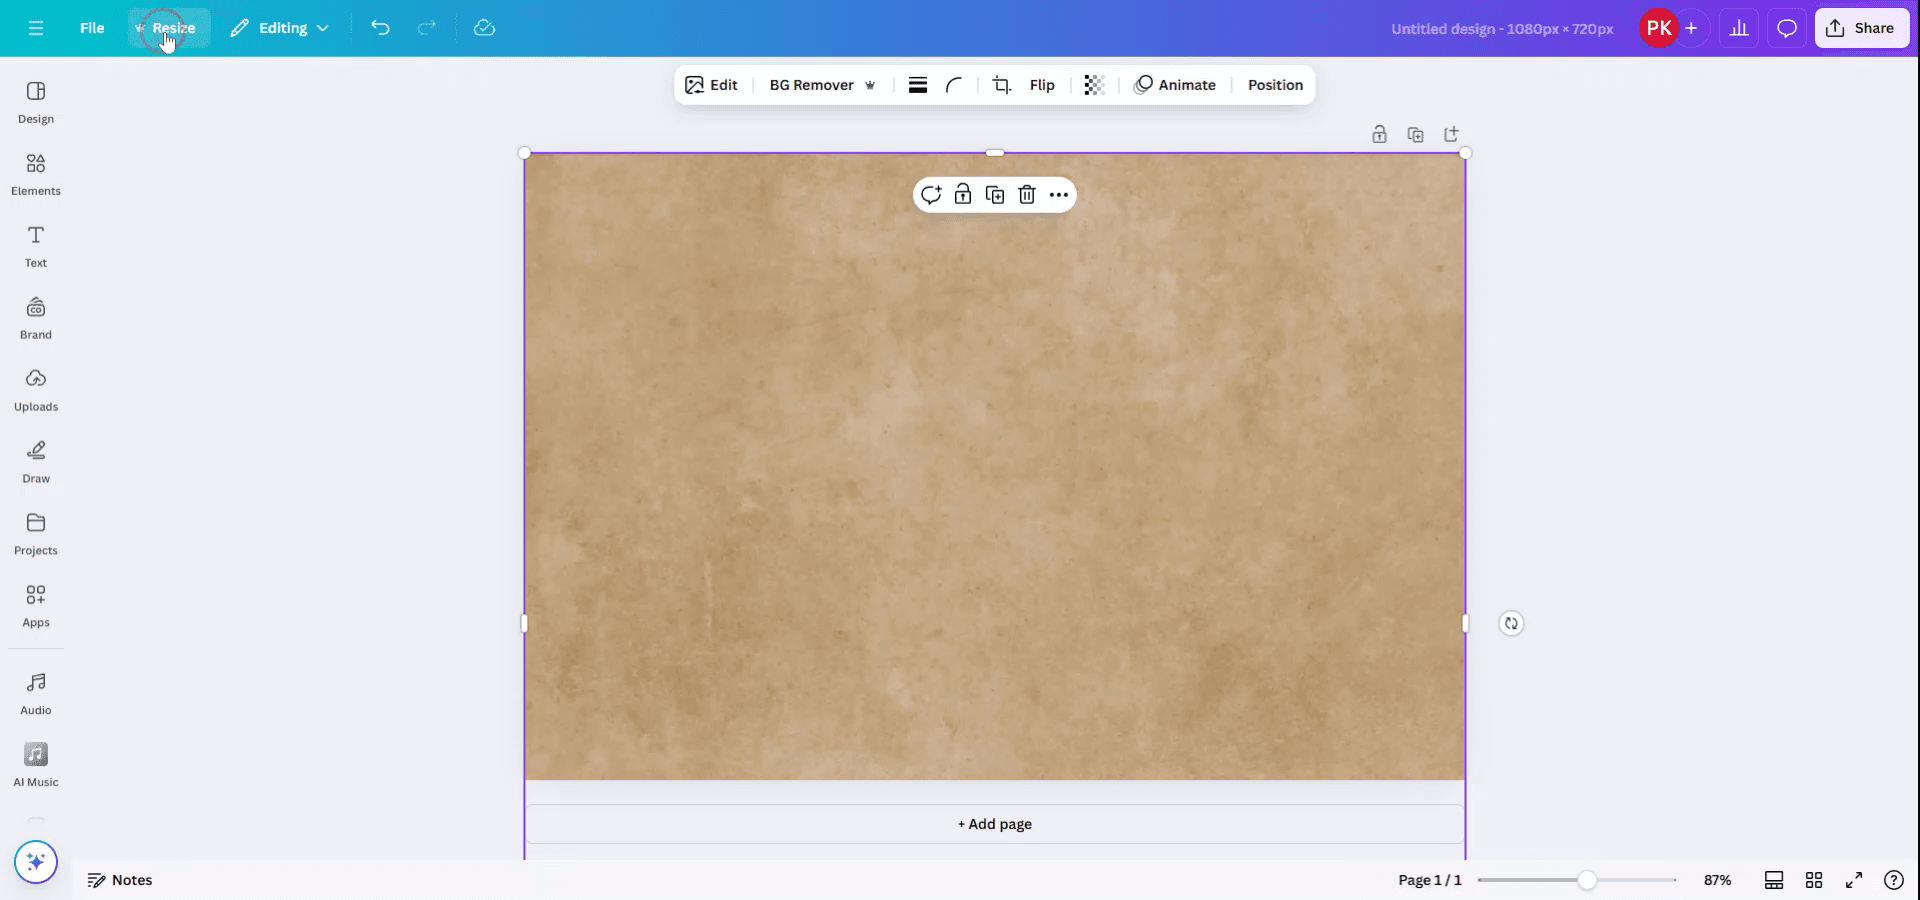
Step 2
Click on the "Resize" button located in the top menu.
Step 3
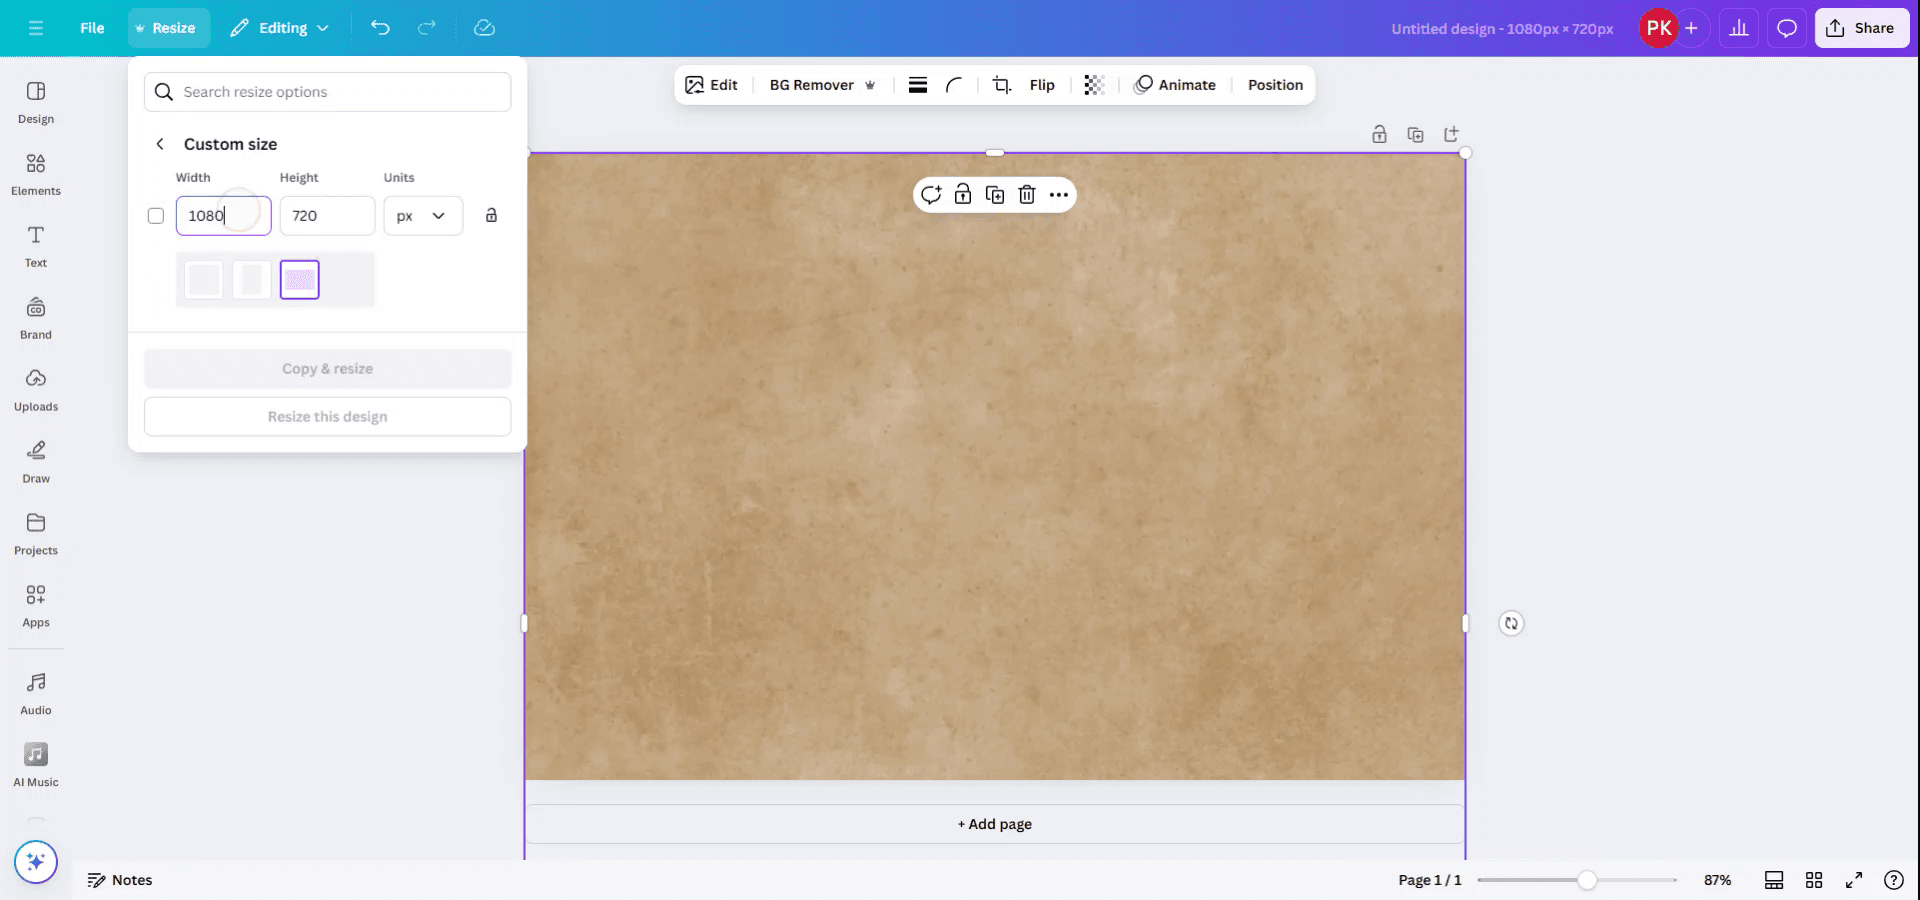
Select from the available sizes or enter a custom size to suit your needs.
Step 4
To rotate the document, interchange the width and height dimensions.
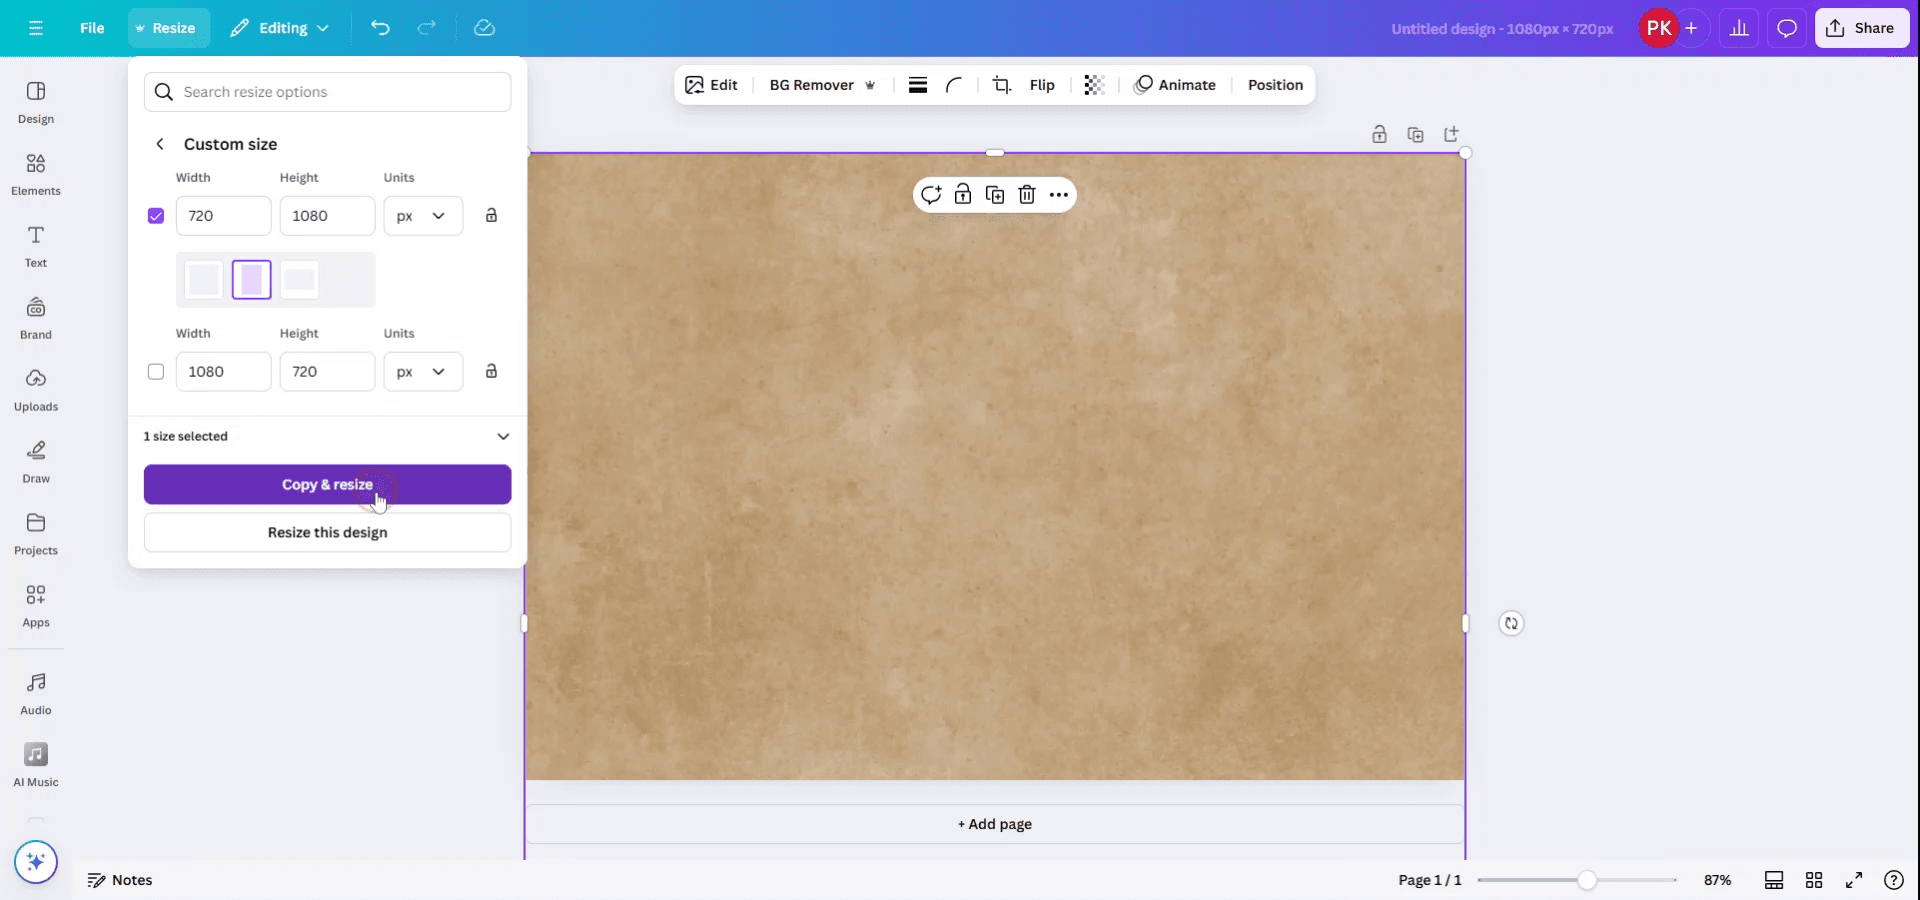
Step 5
You have two choices: apply the rotation by copying the existing template to a new file, or resize the current file directly. Choose the option to copy and resize in the same file.
Step 6
The document will now be resized and rotated to the desired orientation.

Pro tips for rotating document in Canva
Select All Elements:
Click and drag to select all elements on the page. Alternatively, you can use the "Ctrl + A" (Windows) or "Cmd + A" (Mac) keyboard shortcut to select everything on the canvas.Group Elements (Optional):
If you want to rotate all elements together as one unit, click on the grouped items and select the "Group" button in the top menu. This makes it easier to rotate everything uniformly.Rotate Using the Handle:
Once all elements are selected, you'll see a rotation handle above the selection box. Click on the rotation handle and drag to rotate the entire document by the desired angle.Use the "Position" Tool:
After selecting the elements, you can also rotate them more precisely by clicking "Position" in the top menu and adjusting the rotation in the provided settings.Rotate the Page Itself (Pro Feature):
To rotate the entire page (including its background), you can use the "Rotate" feature available in Canva Pro. Go to the "File" menu > "Page setup" > "Rotate page" to rotate the entire canvas.
Common pitfalls and how to avoid them for rotating document in Canva
Accidentally Rotating Elements Instead of the Whole Page:
Make sure all elements are selected or grouped before rotating, and check that you’re using the correct rotation handle for the whole page.Not Grouping Items Before Rotating:
If you want to rotate everything together without losing alignment, group all elements before rotating to keep them in the same position relative to each other.Losing Alignment After Rotation:
After rotating, use the "Position" tool to realign elements or use Canva's alignment guides to ensure everything stays in the right place.Unable to Rotate the Page (Free Version):
If you're using the free version, rotating the page itself isn't possible. Consider upgrading to Canva Pro to access this feature.Not Adjusting Text After Rotation:
After rotating, double-check any text elements for legibility. You might need to adjust the text box alignment or font size after rotating the document.
Common FAQs for rotating document in Canva
How can I rotate an entire Canva document?
Select all elements, group them if necessary, and use the rotation handle above the selection box to rotate everything. You can also rotate the page itself if you're on Canva Pro.Can I rotate the page in Canva?
Yes, this is a Canva Pro feature. Go to "File" > "Page setup" > "Rotate page" to rotate the entire canvas.How do I group items before rotating?
Select all elements and click on the "Group" button in the top menu to lock everything together before rotating.Why can’t I rotate the page in the free version of Canva?
The page rotation feature is only available with a Canva Pro subscription. You will need to upgrade to access this option.Can I rotate my text after rotating the entire document?
Yes, you may need to manually adjust text alignment or size after rotating the document, especially if it affects readability.How to screen record on mac?
To screen record on a Mac, you can use Trupeer AI. It allows you to capture the entire screen and provides AI capabilities such as adding AI avatars, add voiceover, add zoom in and out in the video. With trupeer’s AI video translation feature, you can translate the video into 30+ languages.How to add an AI avatar to screen recording?
To add an AI avatar to a screen recording, you'll need to use an AI screen recording tool. Trupeer AI is an AI screen recording tool, which helps you create videos with multiple avatars, also helps you in creating your own avatar for the video.How to screen record on windows?
To screen record on Windows, you can use the built-in Game Bar (Windows + G) or advanced AI tool like Trupeer AI for more advanced features such as AI avatars, voiceover, translation etc.How to add voiceover to video?
To add voiceover to videos, download trupeer ai chrome extension. Once signed up, upload your video with voice, choose the desired voiceover from trupeer and export your edited video.How do I Zoom in on a screen recording?
To zoom in during a screen recording, use the zoom effects in Trupeer AI which allows you to zoom in and out at specific moments, enhancing the visual impact of your video content.
Suggested Reads
Technical Documentation Generator
How to Adjust Opacity in Canva
How to Create Pattern out of text in Canva
Related Tutorials

