
How to Delete a Canva Presentation – Step-by-Step Tutorial
Need to remove a presentation from Canva? Learn how to delete a Canva presentation permanently from your designs in just a few clicks.
This guide provides step-by-step instructions on how to delete a presentation in Canva. Follow these detailed instructions to ensure the presentation is removed correctly from your account.
Please note that the process involves moving the presentation to the Trash first, with an option to permanently delete it from there.
If you want to remove a presentation from your Canva workspace, you can easily do so by moving it to the trash. Here’s how:
Step-by-Step Instructions:
Go to Your Canva Homepage
Navigate to canva.com and log in to your account.Locate the Presentation
Find the design thumbnail of the presentation you wish to delete under “Recent designs” or “Projects.”Click the Three Dots (More icon)
Hover over the thumbnail and click the three dots in the top-right corner.Select “Move to Trash”
From the dropdown menu, choose “Move to Trash” to remove the design from your workspace.
Additional Tips:
While Editing: You can also move a presentation to trash from the editor view by clicking File > Move to trash.
Shared Designs: If the design was shared with you, you can remove it from your view, but only the original owner can permanently delete it.
Recover from Trash: Trashed designs stay in the Trash section for 30 days (unless permanently deleted). You can restore them if needed.
Step-by-Step Guide: How to delete canva presentation
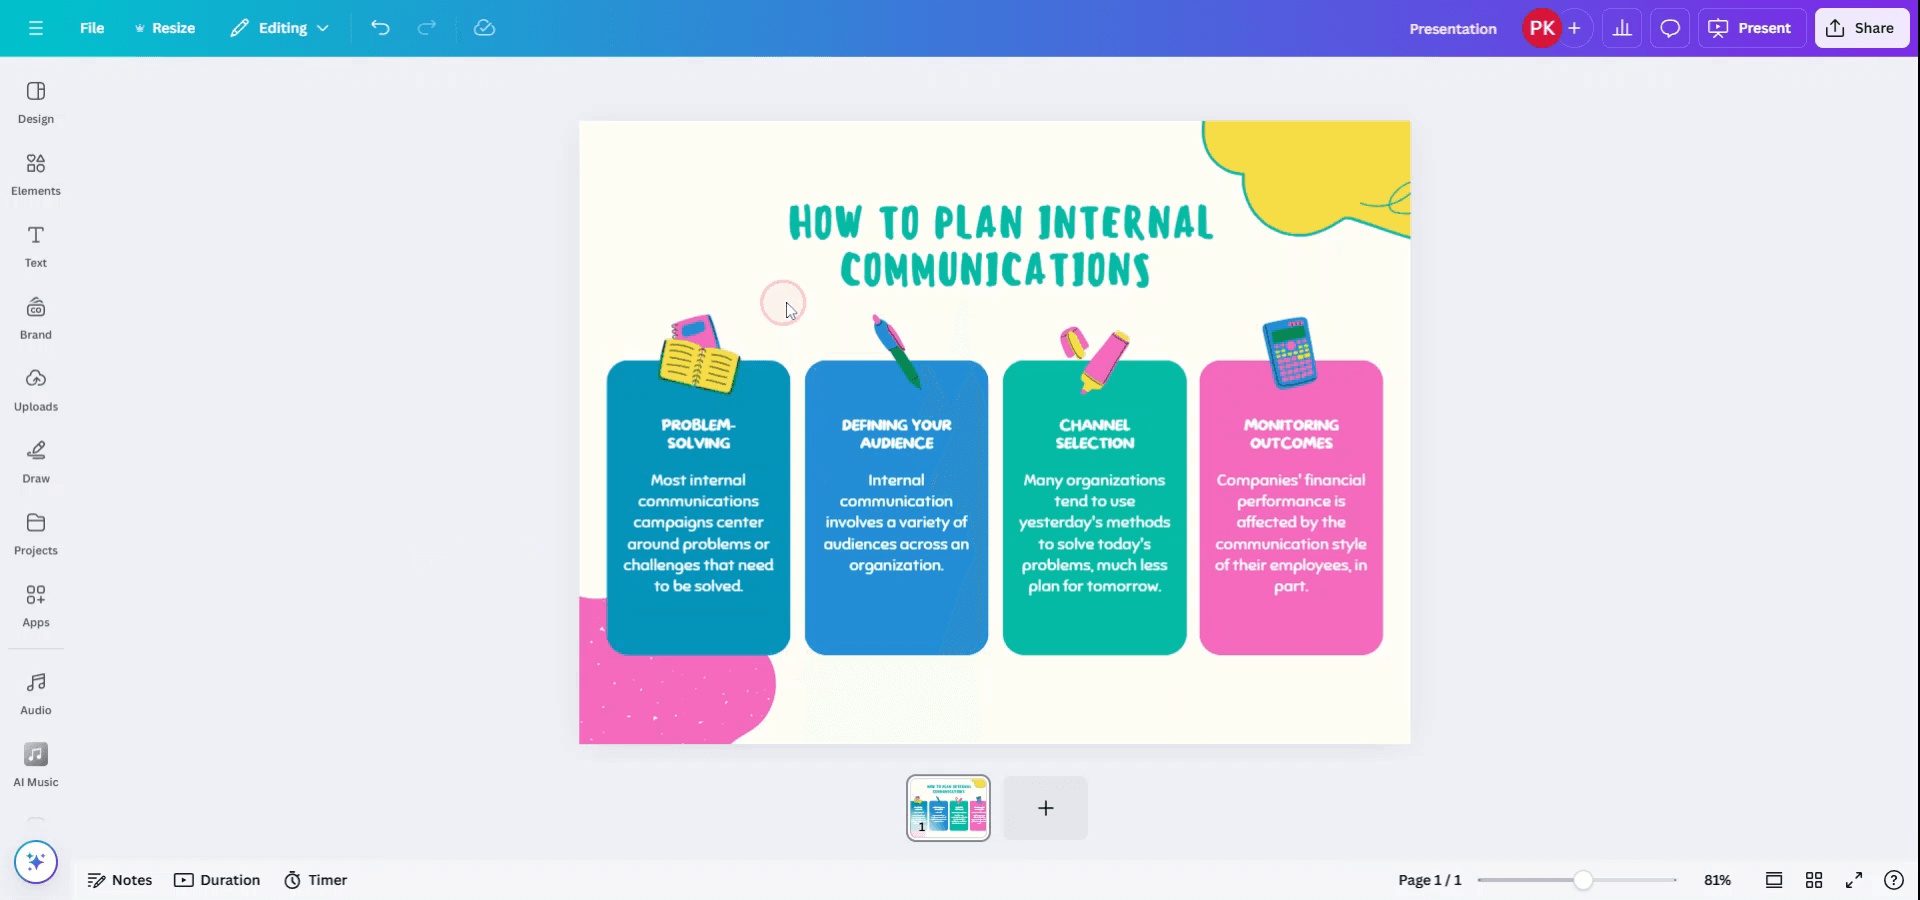
Step 1
Access your Canva account and open the presentation you wish to delete.
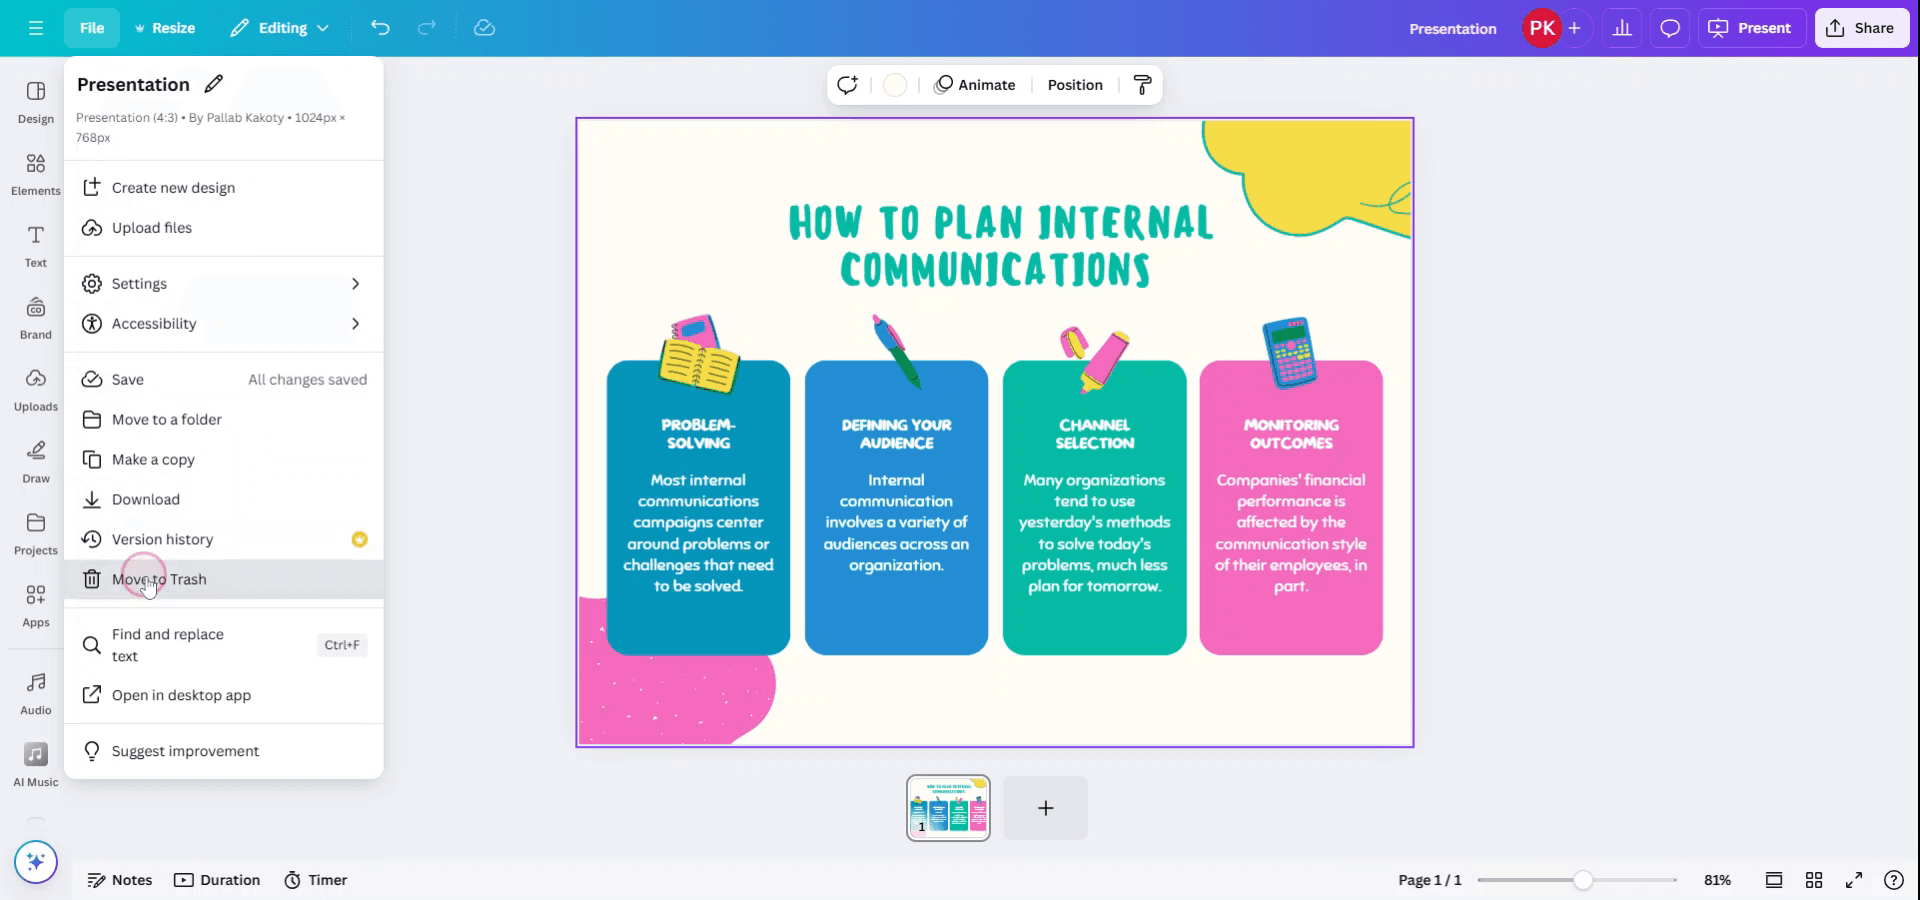
Step 2
In the opened presentation, navigate to the top menu and select 'File.'

Step 3
From the 'File' drop-down menu, choose the option 'Move to Trash.'
Step 4
A pop-up will appear asking for confirmation to move the presentation to Trash.

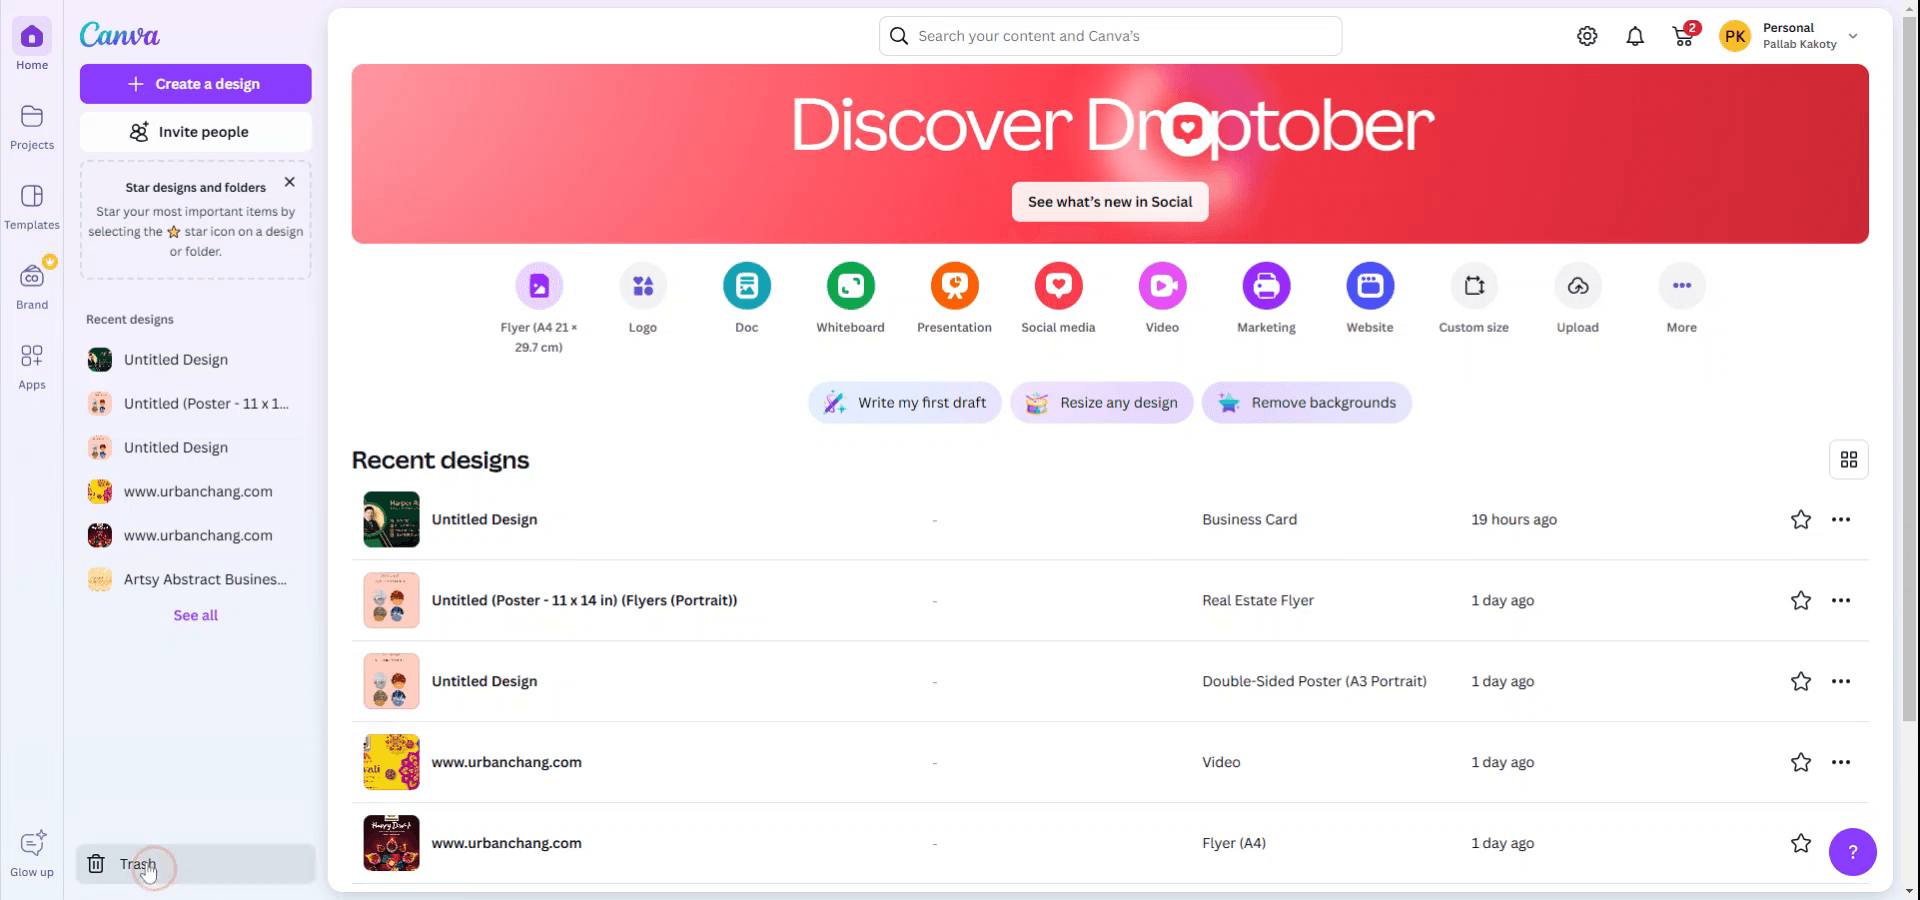
Step 5
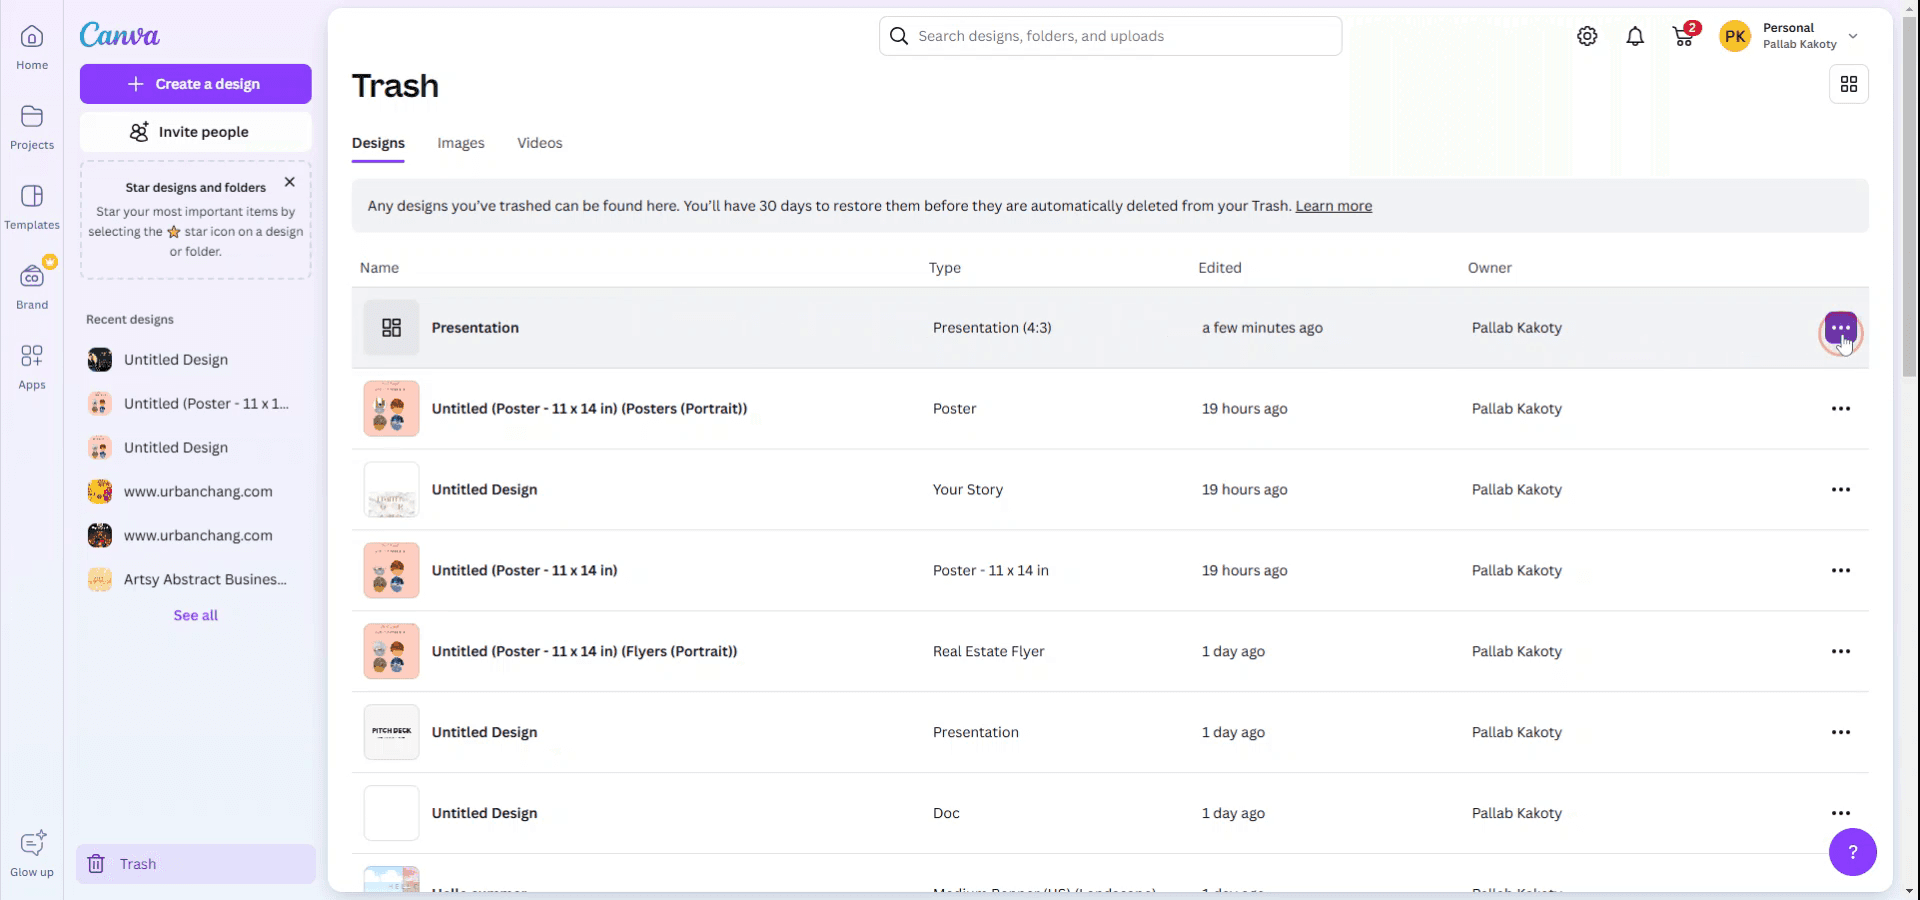
Once confirmed, the file will be automatically moved to the Trash. To delete it permanently, click on 'Trash' in the Home menu.
Step 6
Locate the presentation in the Trash. Click on the three-dot menu associated with the presentation and select 'Delete from Trash.'
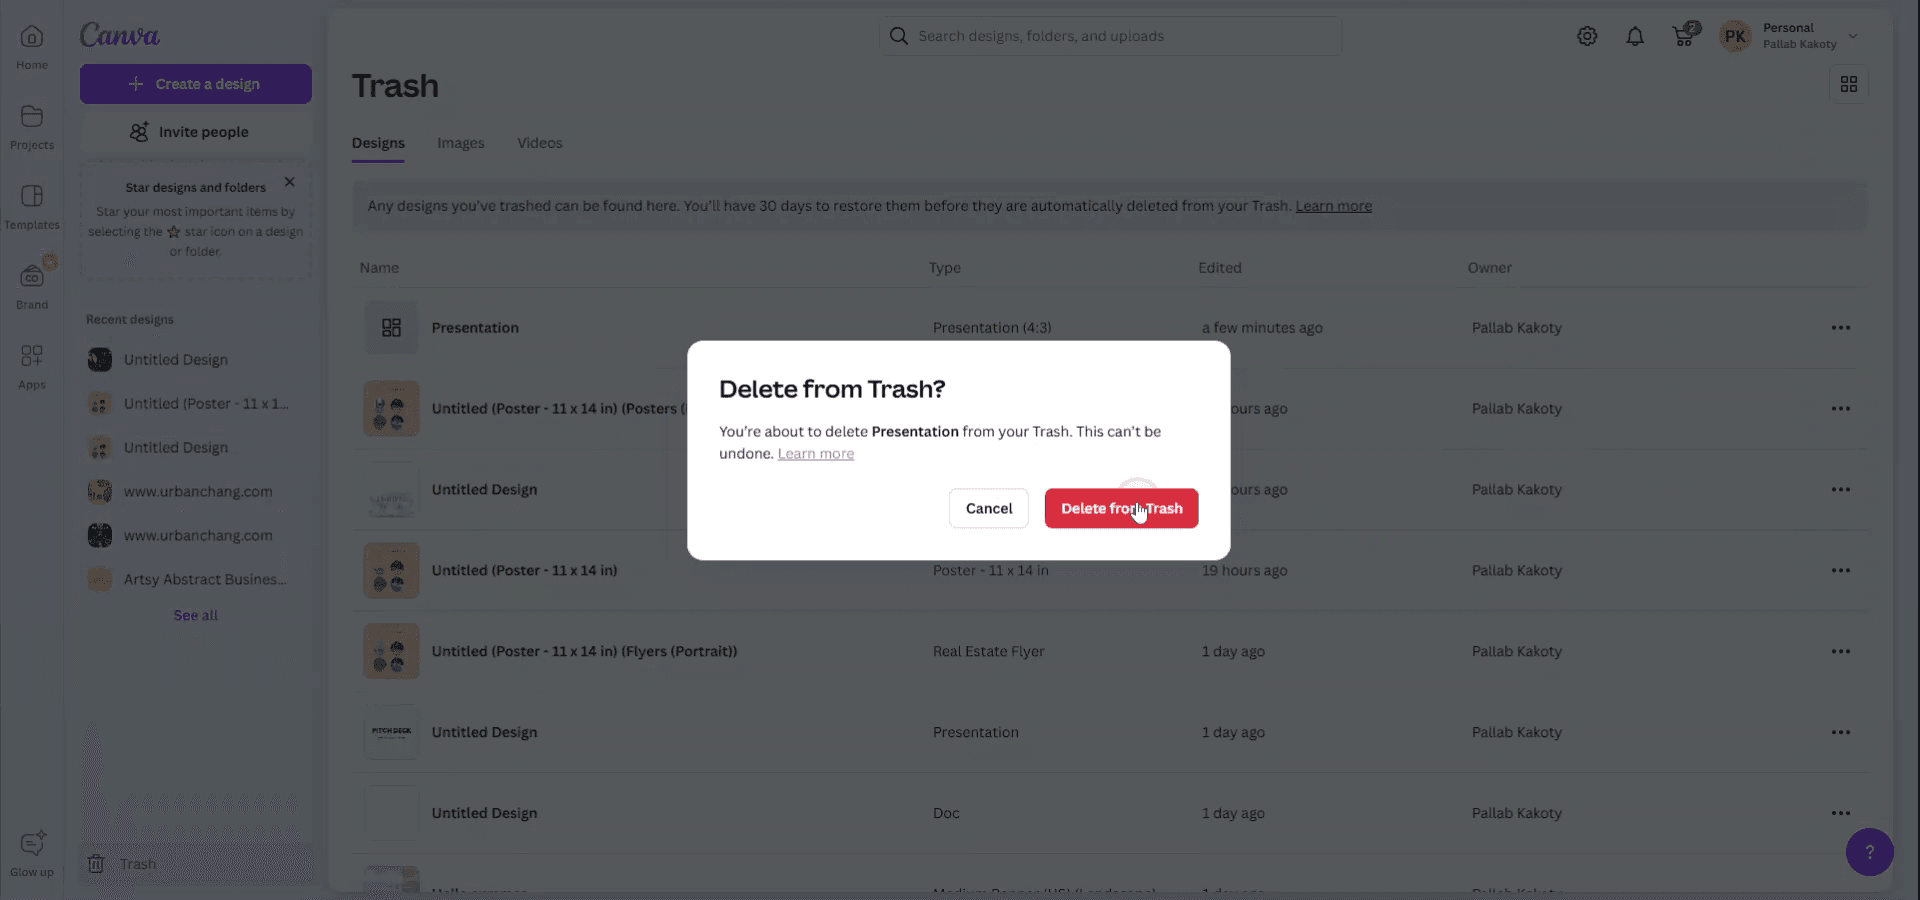
Step 7
A final confirmation will be required to permanently delete the presentation from the Trash.
Pro tips for deleting a Canva presentation
Open the Design in Canva:
Navigate to your Canva homepage and open the design you wish to delete.Go to the "All your designs" Section:
On the left-hand sidebar, click on "All your designs" to view your list of saved presentations.Select the Presentation:
Hover over the presentation you want to delete. Three dots (more options) will appear on the thumbnail.Click the Three Dots and Select "Move to Trash":
From the dropdown, choose "Move to Trash" to delete the design. This will move the presentation to your trash bin.Empty the Trash (Optional):
To permanently delete the presentation, go to your Trash (found in the left sidebar), find the presentation, and click "Delete Forever."
Common pitfalls and how to avoid them for deleting a Canva presentation
Accidentally Deleting the Wrong File:
Fix: Double-check the design before clicking "Move to Trash" to ensure you're deleting the correct presentation.Not Emptying the Trash:
Fix: After moving a design to Trash, remember that it isn't permanently deleted until you empty the Trash. If you're sure you want to delete the file, go to the Trash folder and permanently remove it.Design Still Appears After Deletion:
Fix: Sometimes, it takes a moment for the design to disappear from your workspace after being moved to Trash. Refresh the page if the design is still visible.Confusing Trash with Archive:
Fix: Ensure you are moving the design to "Trash" and not archiving it. Archived designs are not deleted and can be restored later.Not Being Able to Undo Deletion:
Fix: Canva offers a 30-day window to restore items from Trash. If you need to recover a deleted design, do so within that time frame.
Common FAQs for deleting a Canva presentation
How can I permanently delete a Canva presentation?
Open "All your designs," hover over the presentation, click on the three dots, and select "Move to Trash." Then, go to your Trash and click "Delete Forever."Can I undo the deletion of a Canva presentation?
Yes, you can restore a presentation from the Trash within 30 days of deletion by going to the Trash and clicking "Restore."Will deleting my presentation affect other users?
If you're working on a shared presentation, only your access is removed when you delete it. Other users may still have access unless they delete it from their accounts as well.Is there a way to delete multiple presentations at once?
Currently, Canva doesn't support batch deletion. You will need to delete each presentation individually.What happens to a presentation in Trash?
Presentations in Trash are still recoverable for up to 30 days. After that, they will be permanently deleted.How to screen record on mac?
To screen record on a Mac, you can use Trupeer AI. It allows you to capture the entire screen and provides AI capabilities such as adding AI avatars, add voiceover, add zoom in and out in the video. With trupeer’s AI video translation feature, you can translate the video into 30+ languages.How to add an AI avatar to screen recording?
To add an AI avatar to a screen recording, you'll need to use an AI screen recording tool. Trupeer AI is an AI screen recording tool, which helps you create videos with multiple avatars, also helps you in creating your own avatar for the video.How to screen record on windows?
To screen record on Windows, you can use the built-in Game Bar (Windows + G) or advanced AI tool like Trupeer AI for more advanced features such as AI avatars, voiceover, translation etc.How to add voiceover to video?
To add voiceover to videos, download trupeer ai chrome extension. Once signed up, upload your video with voice, choose the desired voiceover from trupeer and export your edited video.How do I Zoom in on a screen recording?
To zoom in during a screen recording, use the zoom effects in Trupeer AI which allows you to zoom in and out at specific moments, enhancing the visual impact of your video content.
People also ask
Technical Documentation Generator
Related Tutorials

