

How To Create A Gantt Chart In Click Up
Learn how to create a Gantt chart in ClickUp to plan, schedule, and manage projects visually. This guide walks you through setting timelines, dependencies, and milestones.
Here's a more detailed breakdown:
Open your Workspace: Access the relevant Workspace, Folder, or List where your project tasks are located.
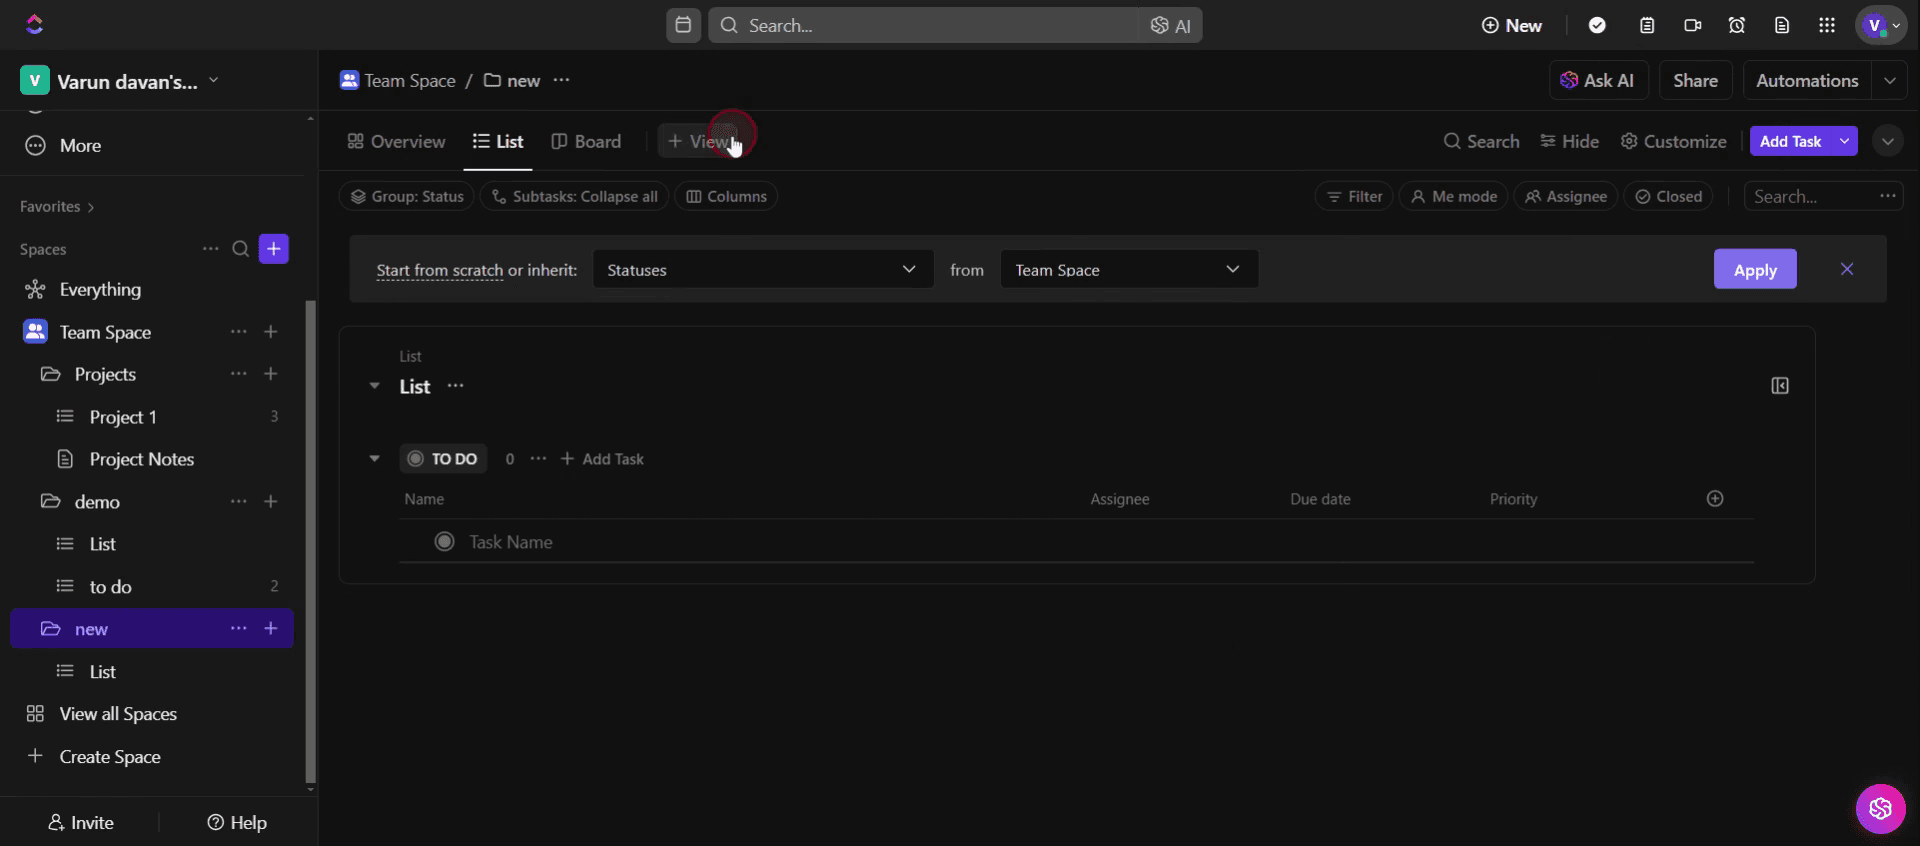
Add a Gantt View: Click the "+ View" button, typically located at the top of the screen. Select Gantt: From the view options, choose "Gantt".
Name your View: You can give your Gantt chart a descriptive name to easily identify it.
Customize the Chart: Click "Customize" to adjust various settings, such as: Name: Change the name of your Gantt chart.
Settings: Modify the chart's appearance and behavior, like showing/hiding weekends or enabling automatic rescheduling of dependencies.
Sharing Options: Control who can access and interact with the Gantt chart.
Visualize Your Project: ClickUp will automatically generate the Gantt chart, displaying your tasks and their dependencies on a timeline.
Step-by-Step Guide: How To Create A Gantt Chart In Click Up
Step 1
Click on Projects.

Step 2
Then click on the three dots,

Step 3
And select create new option ,

Step 4
Then click on Folder.

Step 5
Enter the name in the folder and click on save,

Step 6
And click on the view option,
Step 7
Then click on Gantt ,

Step 8
Enter the name in the customize view according to your needs ,

Step 9
You can see the auto updated name in the menu ,

Step 10
In that we can see the new chart created in that select Plus icon to create the list ,
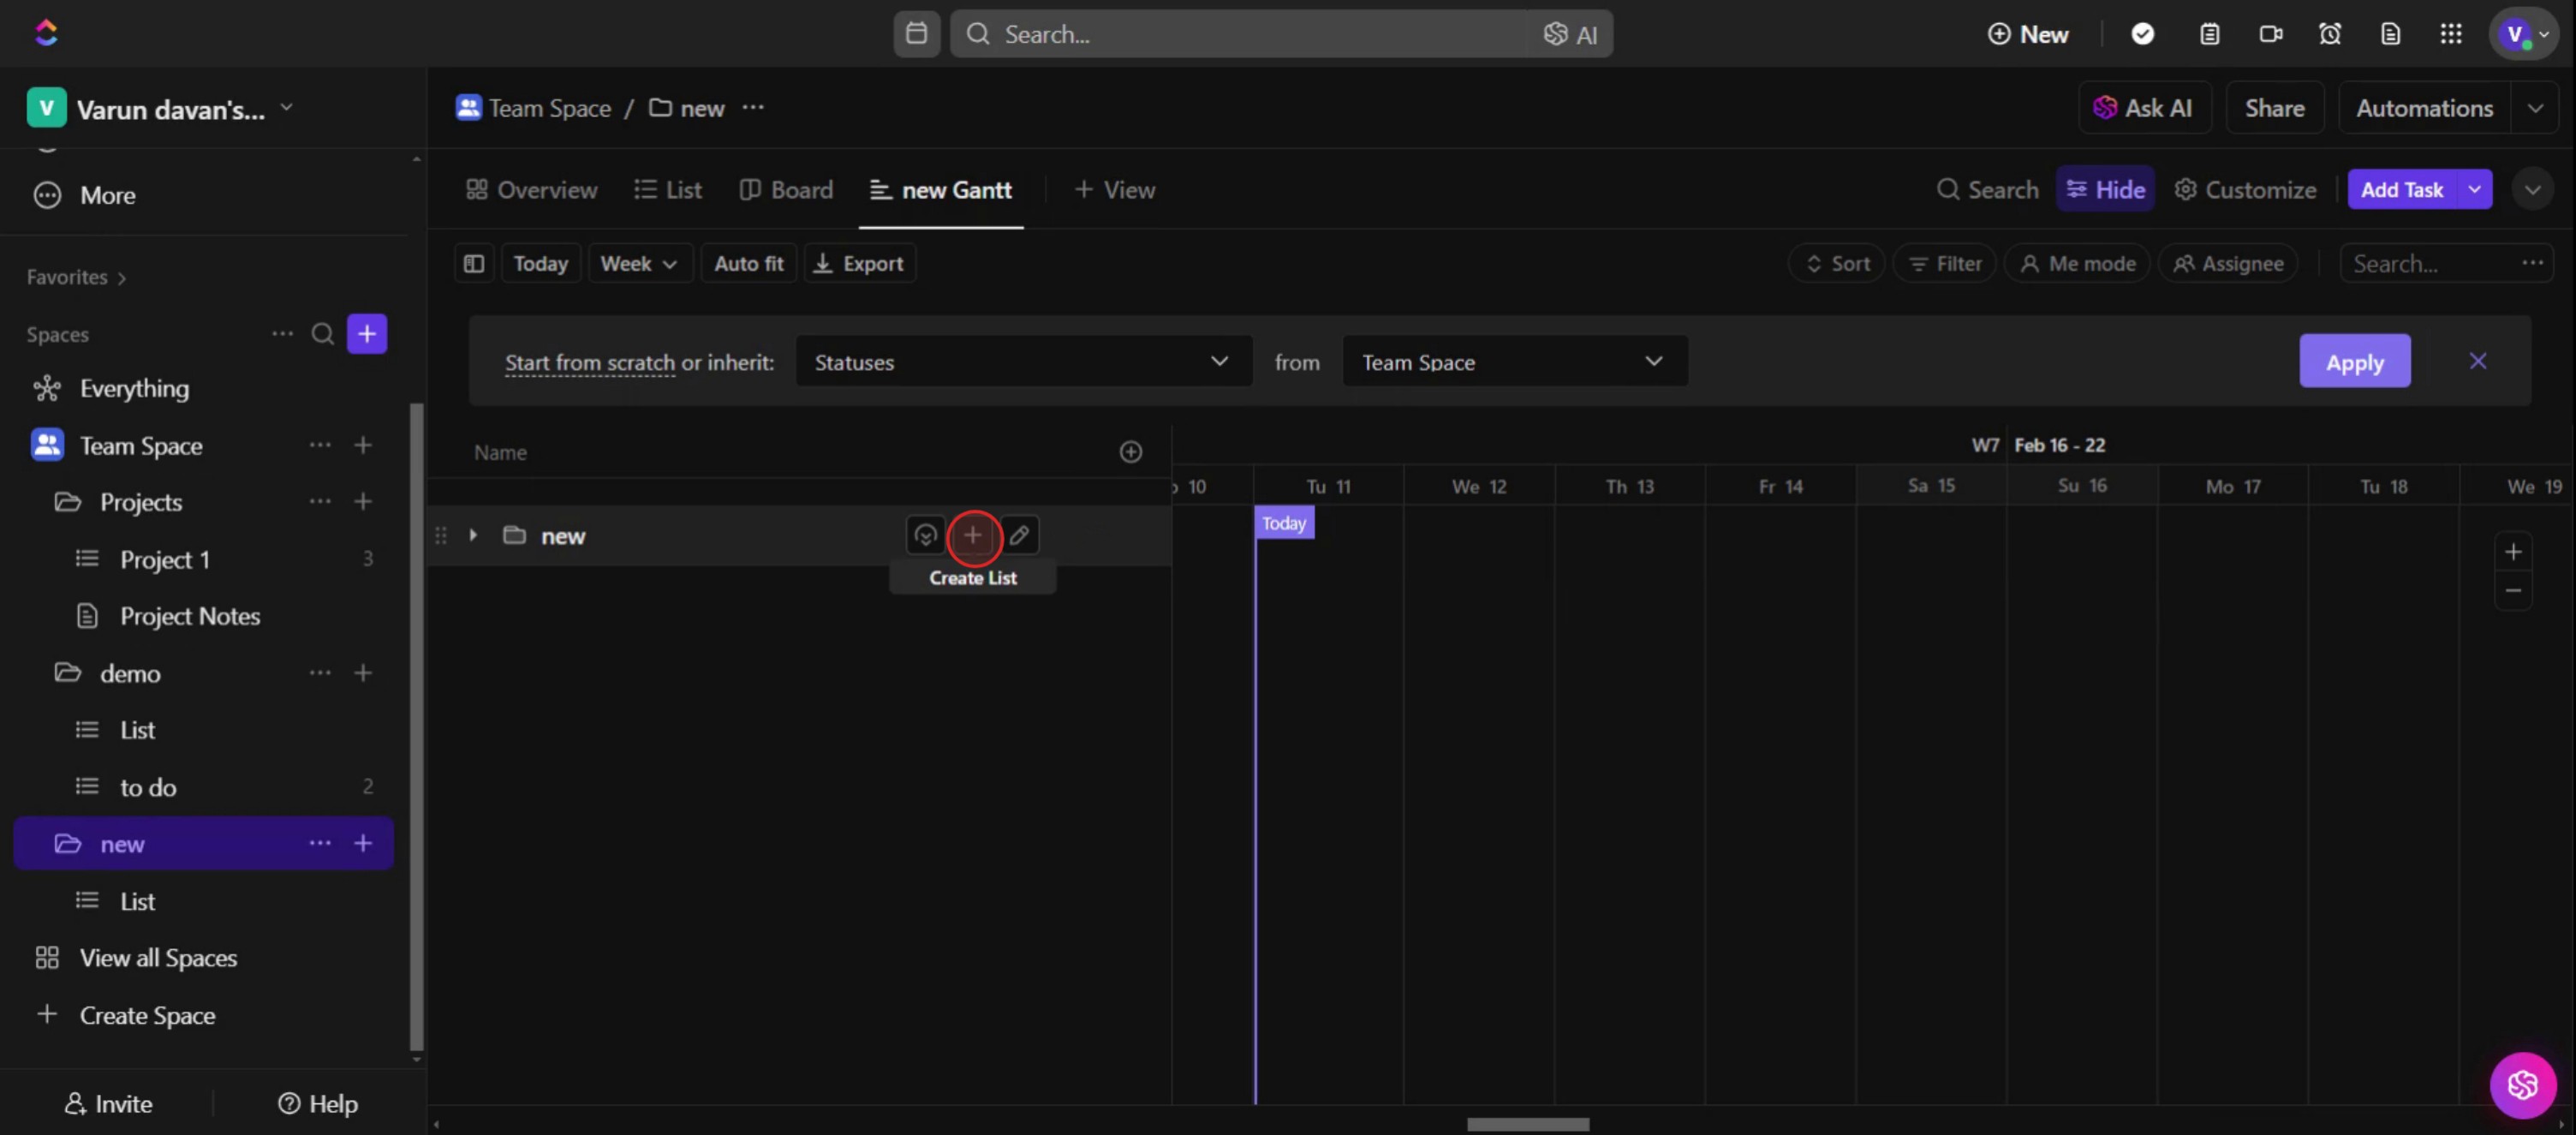
Step 11
Enter the name in the create list .

Pro tips for creating a Gantt chart in Click Up
Use task dependencies – Ensure tasks are linked correctly using dependencies to maintain a smooth workflow and prevent scheduling conflicts.
Adjust the timeline for better clarity – Drag and resize tasks directly on the Gantt chart to reflect accurate deadlines and workload distribution.
Color-code tasks for better visualization – Assign different colors to tasks based on priority, team, or project phase to improve readability.
Common pitfalls & how avoid them
Not setting task dependencies can lead to confusion in task execution, so always define dependencies to maintain workflow order.
Overloading the chart with too many tasks can make it hard to read; group related tasks into subtasks for a cleaner view.
Ignoring timeline adjustments may cause scheduling mismatches, so always review and update task durations based on actual project progress.
Common FAQs about creating a Gantt chart in Click Up
Can i share my Gantt chart with my team?
Yes, Click Up allows you to share Gantt charts with team members, ensuring everyone stays aligned with the project timeline.Does Click Up’s free plan support Gantt charts?
Yes, Gantt charts are available in the free plan, but some advanced features like workload management may require a paid plan.How do i adjust task dependencies in a Gantt chart?
Click and drag the dependency lines between tasks to define the order in which they should be completed.Can i customize the Gantt chart view in Click Up?
Yes, Click Up allows you to customize Gantt charts by filtering tasks, adjusting colors, and modifying timeline views.How to screen record on mac?
To screen record on a Mac, you can use Trupeer AI. It allows you to capture the entire screen and provides AI capabilities such as adding AI avatars, add voiceover, add zoom in and out in the video. With trupeer’s AI video translation feature, you can translate the video into 30+ languages.How to add an AI avatar to screen recording?
To add an AI avatar to a screen recording, you'll need to use an AI screen recording tool. Trupeer AI is an AI screen recording tool, which helps you create videos with multiple avatars, also helps you in creating your own avatar for the video.How to screen record on windows?
To screen record on Windows, you can use the built-in Game Bar (Windows + G) or advanced AI tool like Trupeer AI for more advanced features such as AI avatars, voiceover, translation etc.How to add voiceover to video?
To add voiceover to videos, download trupeer ai chrome extension. Once signed up, upload your video with voice, choose the desired voiceover from trupeer and export your edited video.How do I Zoom in on a screen recording?
To zoom in during a screen recording, use the zoom effects in Trupeer AI which allows you to zoom in and out at specific moments, enhancing the visual impact of your video content.
Related Tutorials

