

How to Check History in Google Sheets
Learn how to check version history in Google Sheets to see past edits, track changes, and restore previous versions. A simple guide for managing collaboration.
This document provides a comprehensive guide on how to track and manage the edit history of a Google Sheets document.
Learn to navigate the version history, identify past edits, and restore previous versions efficiently.
If you need to track changes or restore a previous version of your spreadsheet, Google Sheets makes it easy with its built-in version history feature.
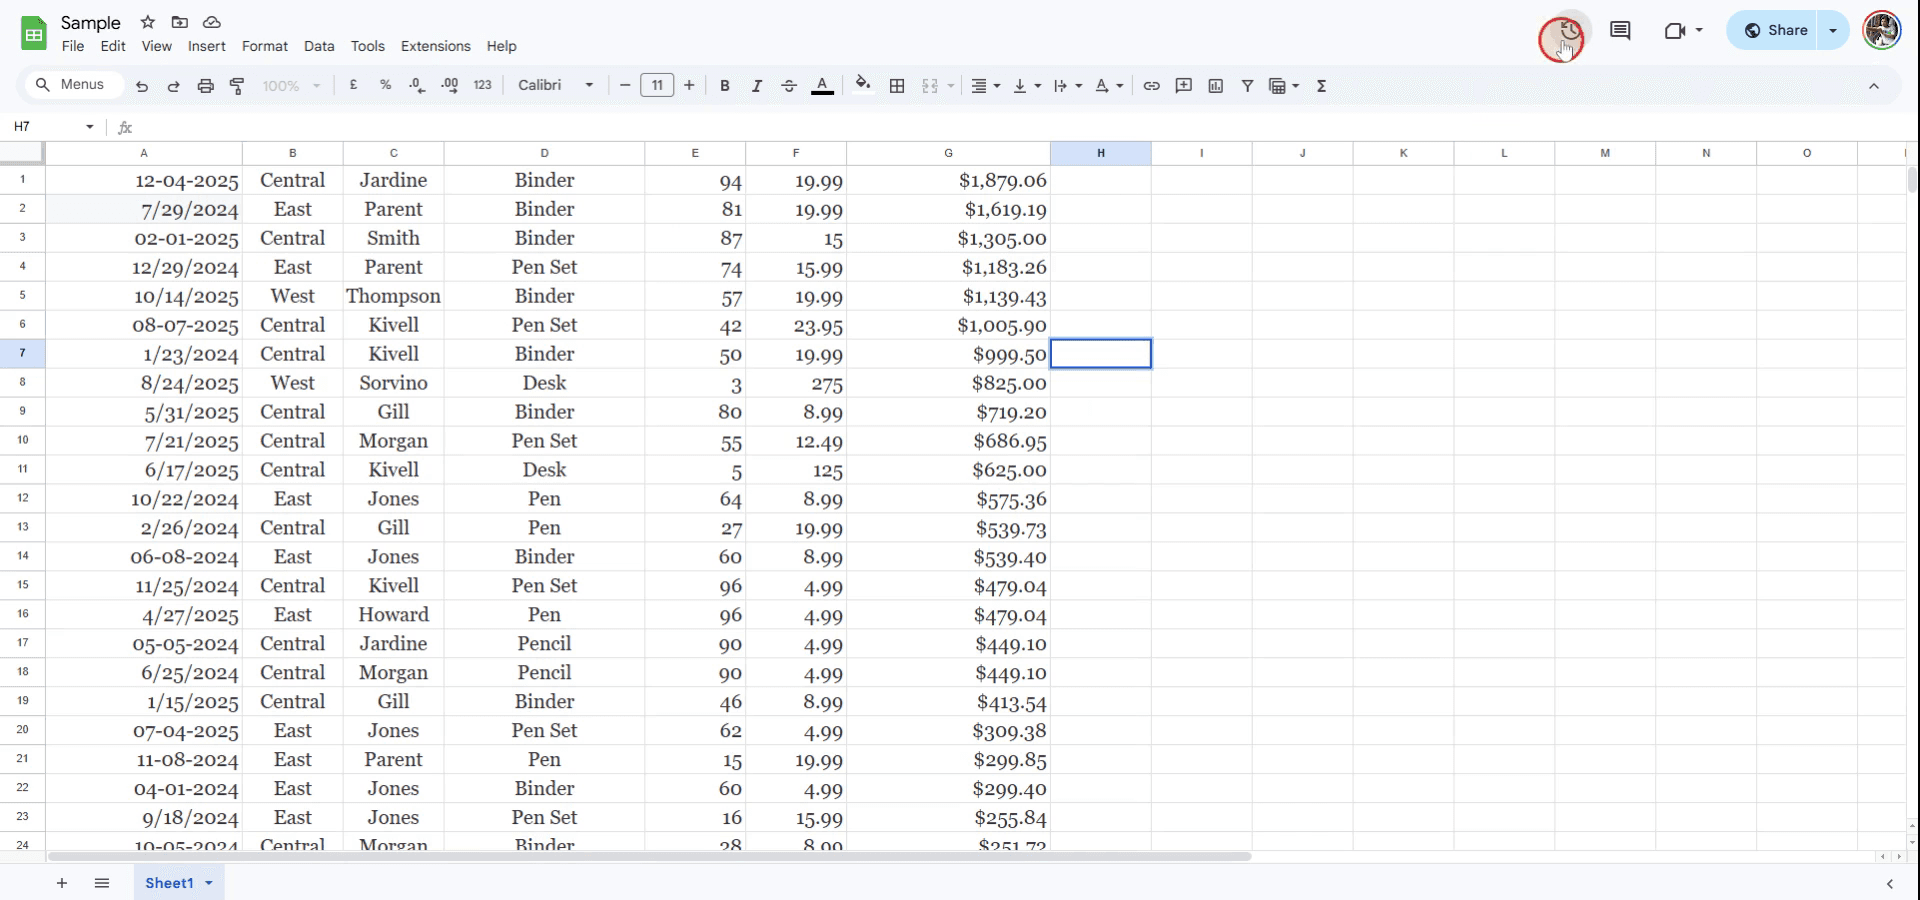
1. Open Version History:
Start by opening the spreadsheet you want to check.
Click File > Version history > See version history.
You can also click the “Last edit was…” link at the top of your sheet, or use the shortcut:
Windows: Ctrl + Alt + Shift + H
Mac: Cmd + Option + Shift + H
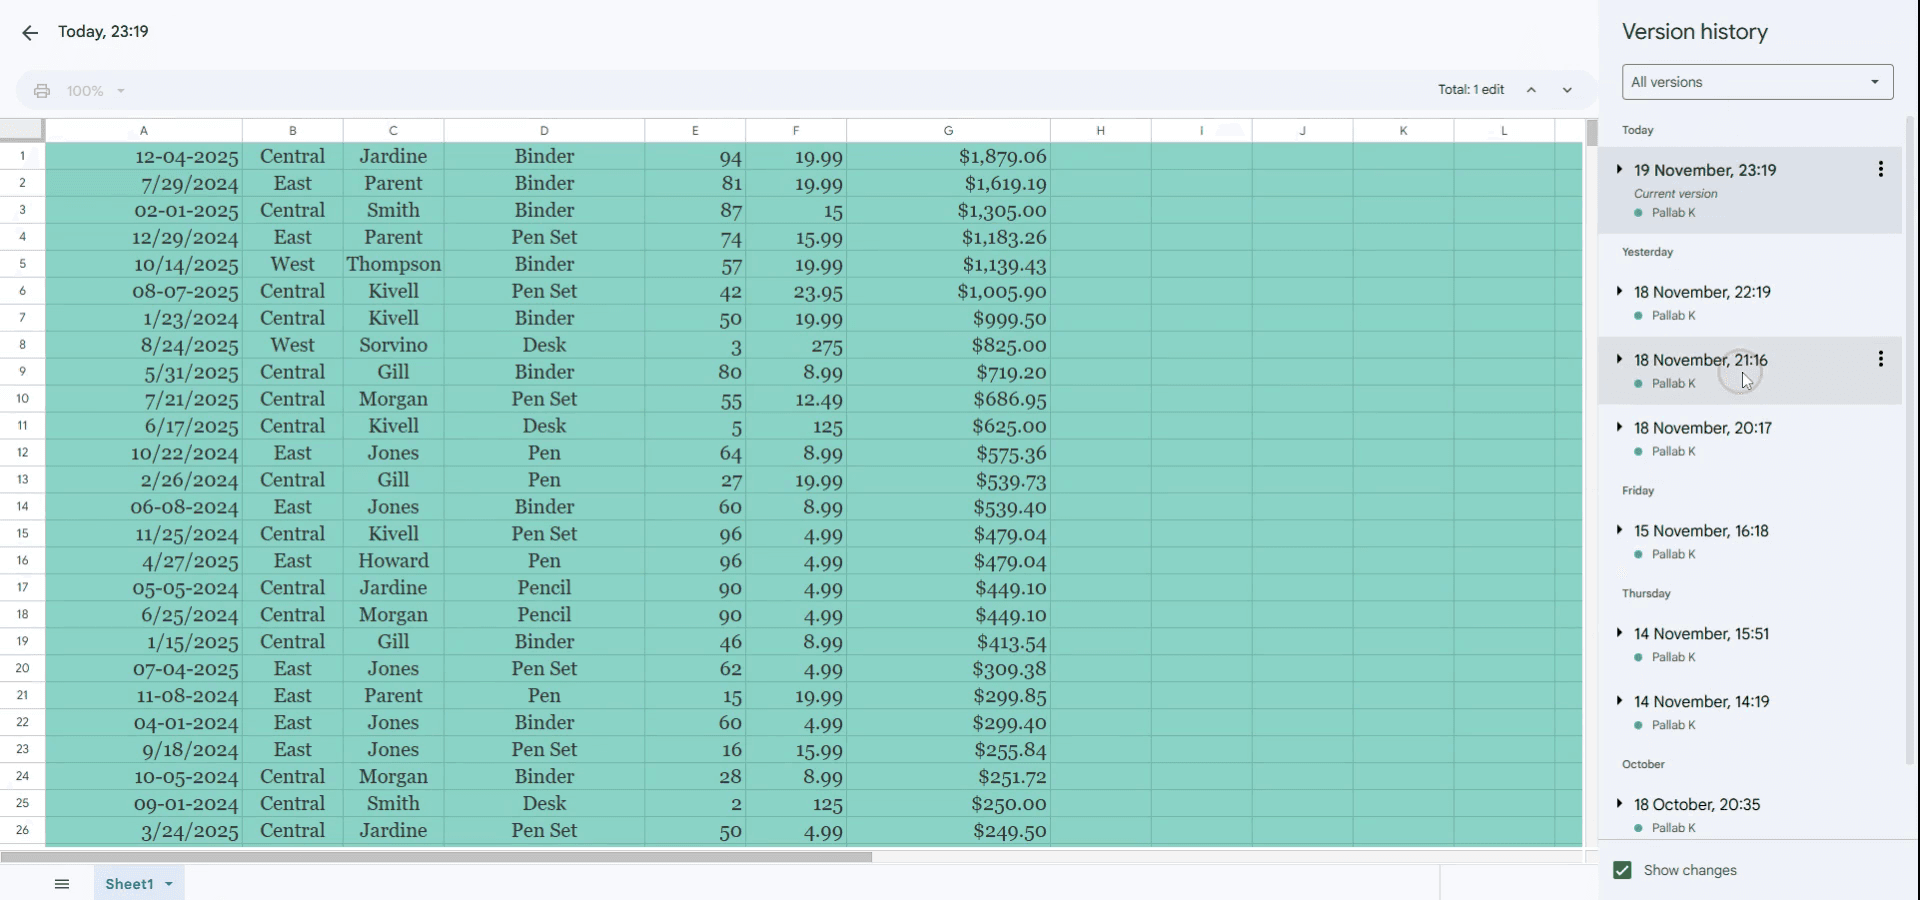
2. Browse Through Past Versions:
A panel will appear on the right, showing all saved versions of your file.
They’re grouped by date and time, and if others made edits, their names will show up too.
Click on a version to preview what the sheet looked like at that point.
You can also expand groups to see more detailed changes made within a day or hour.
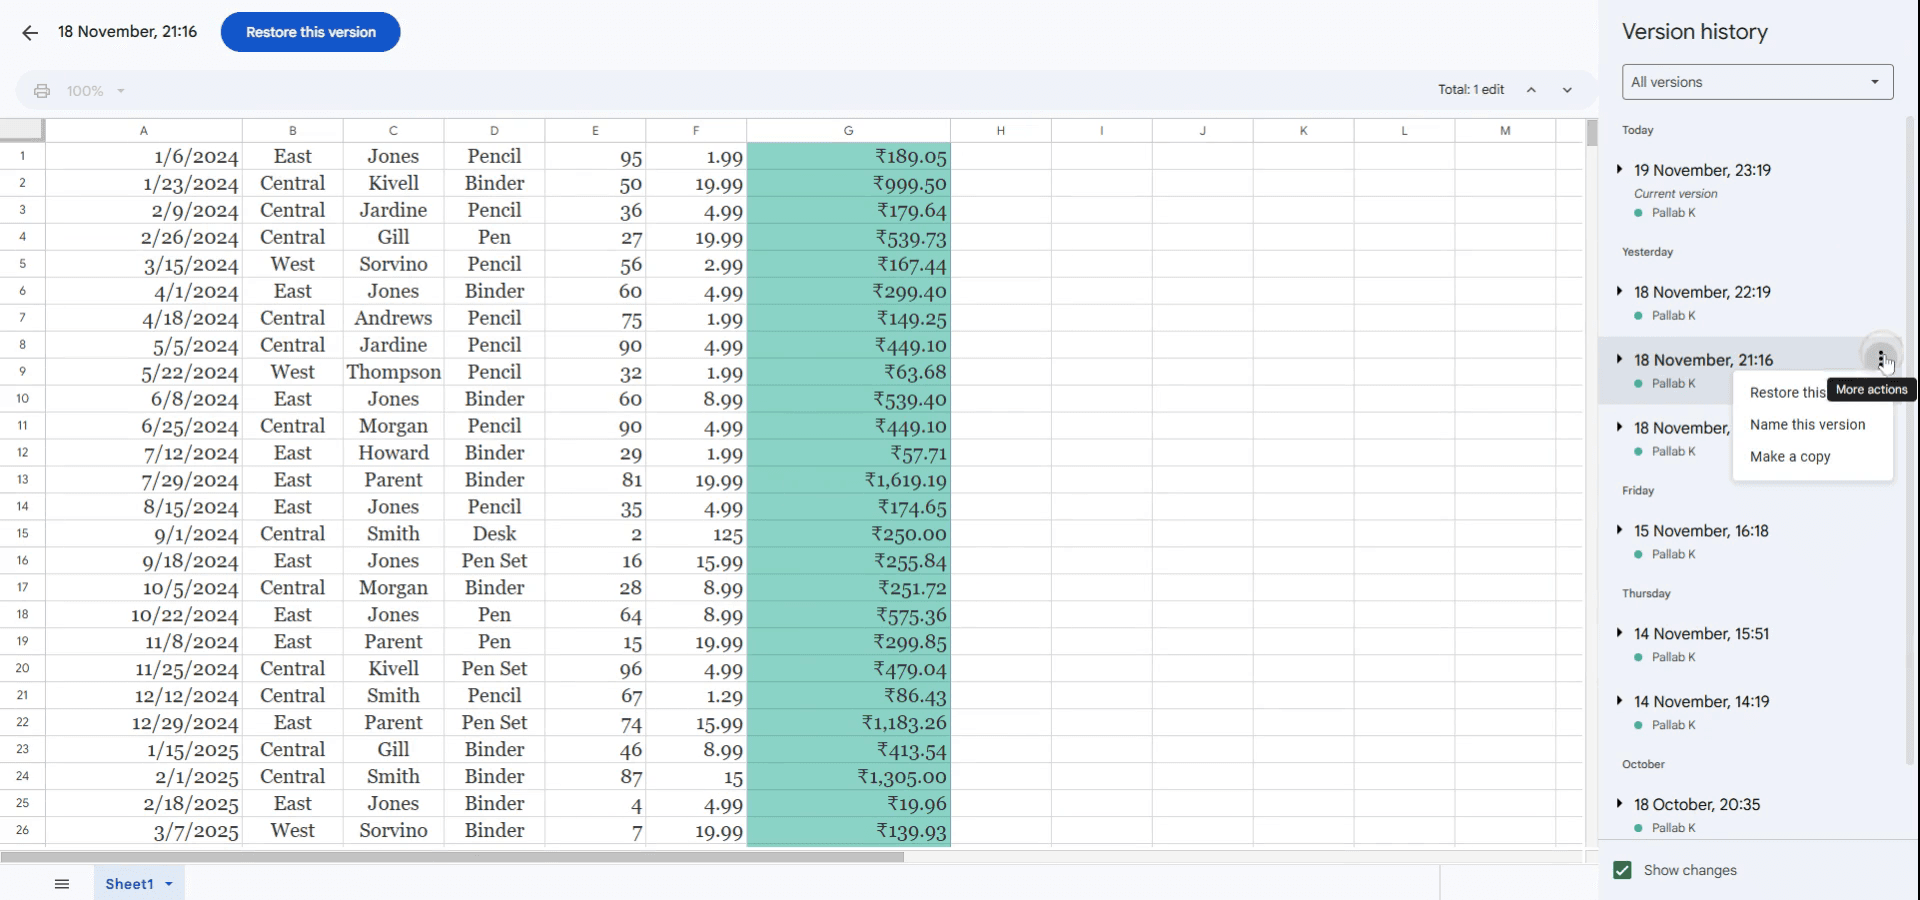
3. Restore a Previous Version:
If you want to go back to an earlier version, select it and click "Restore this version" at the top of the panel.
This will replace your current sheet with the chosen version—don’t worry, you can always go back again.
4. Helpful Tips:
Name key versions: Click the three dots next to a version to give it a name. This helps track major updates or milestones.
Track collaboration: Version history shows who made what changes, which is great for group projects.
Fix mistakes: Use it to troubleshoot errors by identifying when and where things went wrong.
Step-by-Step Guide: How to Check History in Google Sheets
Step 1
To review the edit history in Google Sheets, navigate to the "History" option located in the top menu. This will provide access to the document's version history.
Step 2
Here, you can view the edits made along with their respective timestamps.
Step 3
If you wish to revert to a specific version, click on "More actions" next to the desired timestamp. Then, select "Restore this version.
Pro tips for checking history in Google Sheets
Use version history: To view the edit history of your sheet, go to "File" > "Version history" > "See version history" to access all past changes made to your document.
Restore previous versions: If you need to revert to an earlier version, you can restore any version from the version history by selecting the timestamp of the version and clicking "Restore this version."
Name versions: For easier tracking, you can name important versions by clicking on the three dots next to a version and selecting "Name this version."
Common pitfalls and how to avoid them for checking history in Google Sheets
Not naming important versions: Without naming key versions, it may be hard to quickly find important changes. Fix: Name significant versions so you can easily identify and restore them when needed.
Overlooking changes in non-visible sheets: If your sheet has multiple tabs, make sure you're checking history for all tabs, not just the active one. Fix: Check history for the entire document by selecting different tabs as needed.
Not saving versions before major edits: If you make significant changes, it's helpful to save a version first to avoid losing your work. Fix: Regularly save versions by naming them before large changes.
Common FAQs for checking history in Google Sheets
Can I see the history of a specific cell in Sheets? You can view the change history for an entire sheet, but not individual cells. However, by checking the version history, you can see what changes were made in a specific time frame.
How far back can I view history in Sheets? Google Sheets keeps version history indefinitely unless the file is deleted or moved to trash.
Can I track changes made by specific users? Yes, in the version history, you can see who made each change and when. This is helpful for tracking contributions from collaborators.
How to screen record on mac?
To screen record on a Mac, you can use Trupeer AI. It allows you to capture the entire screen and provides AI capabilities such as adding AI avatars, add voiceover, add zoom in and out in the video. With trupeer’s AI video translation feature, you can translate the video into 30+ languages.How to add an AI avatar to screen recording?
To add an AI avatar to a screen recording, you'll need to use an AI screen recording tool. Trupeer AI is an AI screen recording tool, which helps you create videos with multiple avatars, also helps you in creating your own avatar for the video.How to screen record on windows?
To screen record on Windows, you can use the built-in Game Bar (Windows + G) or advanced AI tool like Trupeer AI for more advanced features such as AI avatars, voiceover, translation etc.How to add voiceover to video?
To add voiceover to videos, download trupeer ai chrome extension. Once signed up, upload your video with voice, choose the desired voiceover from trupeer and export your edited video.How do I Zoom in on a screen recording?
To zoom in during a screen recording, use the zoom effects in Trupeer AI which allows you to zoom in and out at specific moments, enhancing the visual impact of your video content.
People also ask
Technical Documentation Generator
How to Add Rupee Symbol in Google Sheets
How to Change Currency Format in Google Sheets
How to Add Bullet Points in Google Sheets
Related Tutorials

