

How To Change Ownership Of A Google Sheet – Step-by-Step Guide
Learn how to transfer ownership of a Google Sheet to someone else. Follow this quick guide to change file ownership securely and ensure continued access.
In this process, you will learn how to transfer ownership of a Google Sheet to another person.
If you want to change the owner of a Google Sheet, you can easily transfer ownership to someone you've already shared the file with. Here's how to do it step by step:
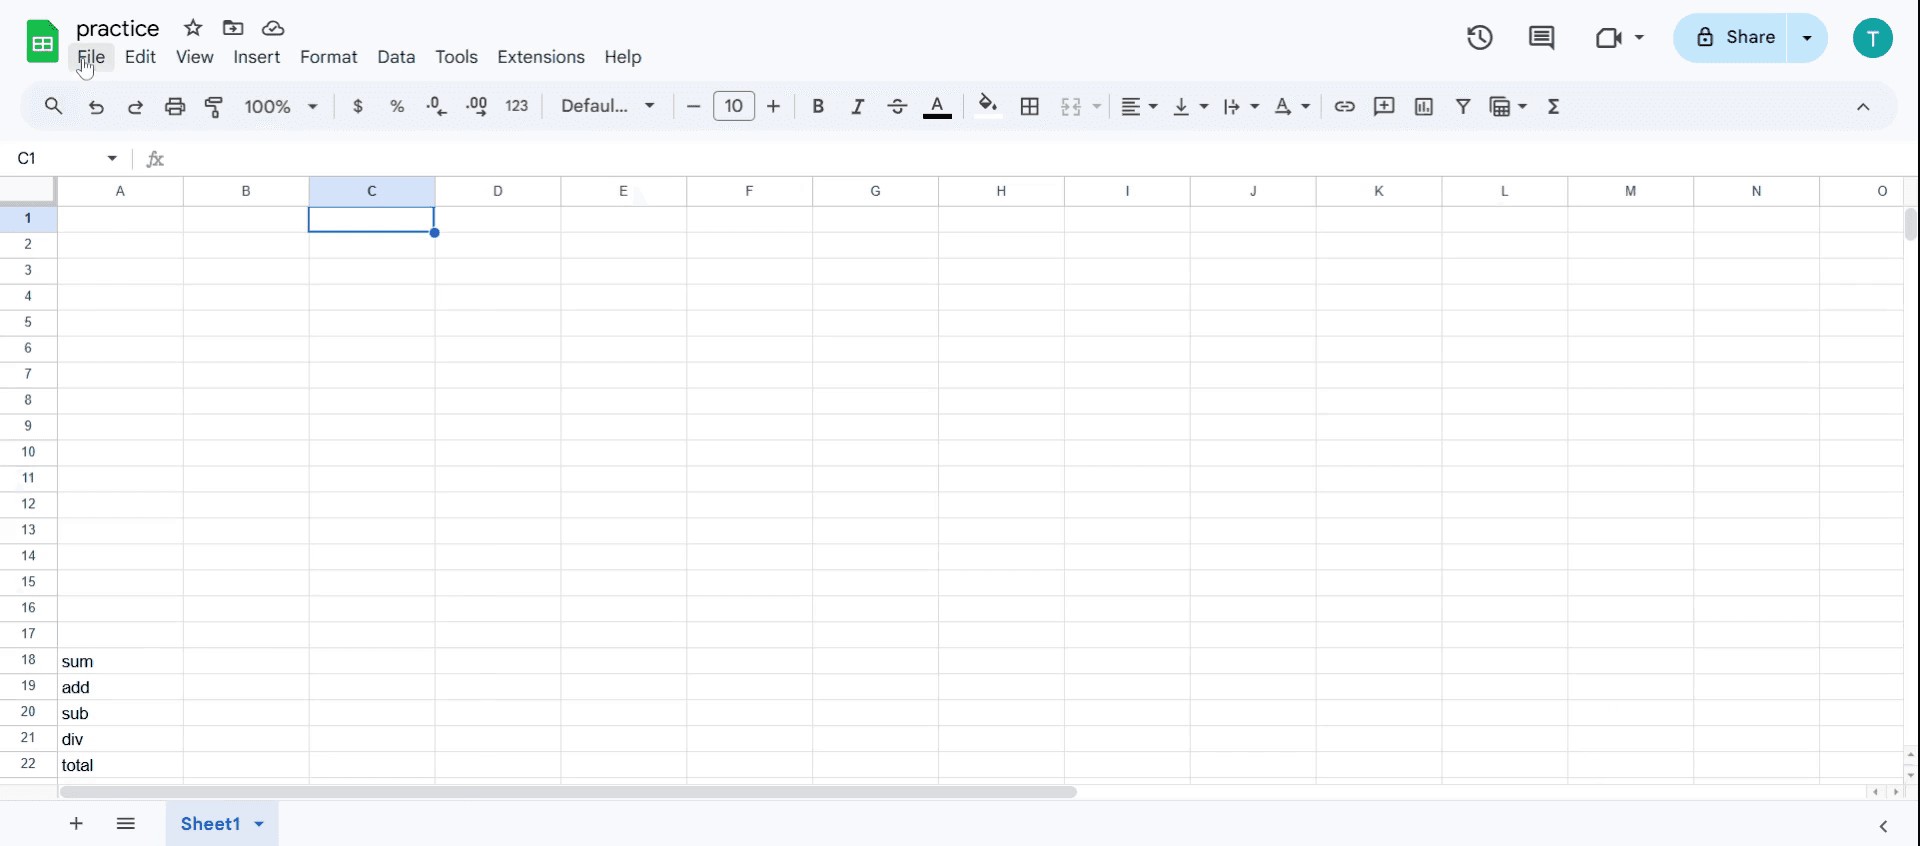
1. Open the Google Sheet
Go to your Google Drive, find the sheet you want to transfer, and open it.
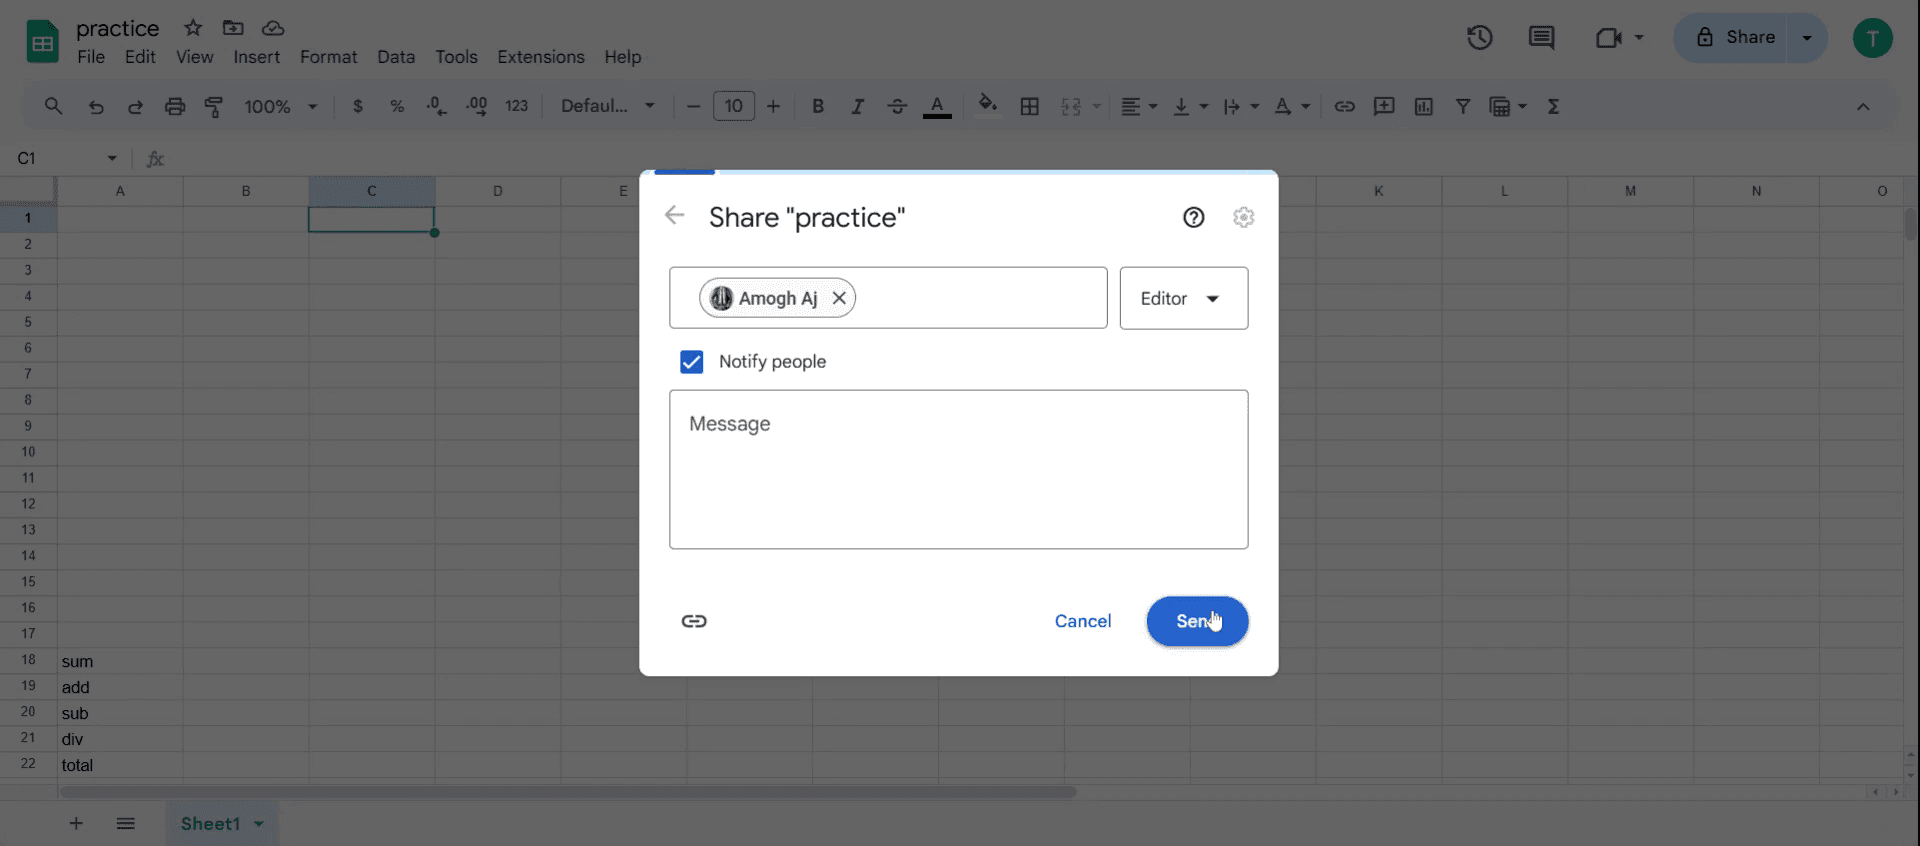
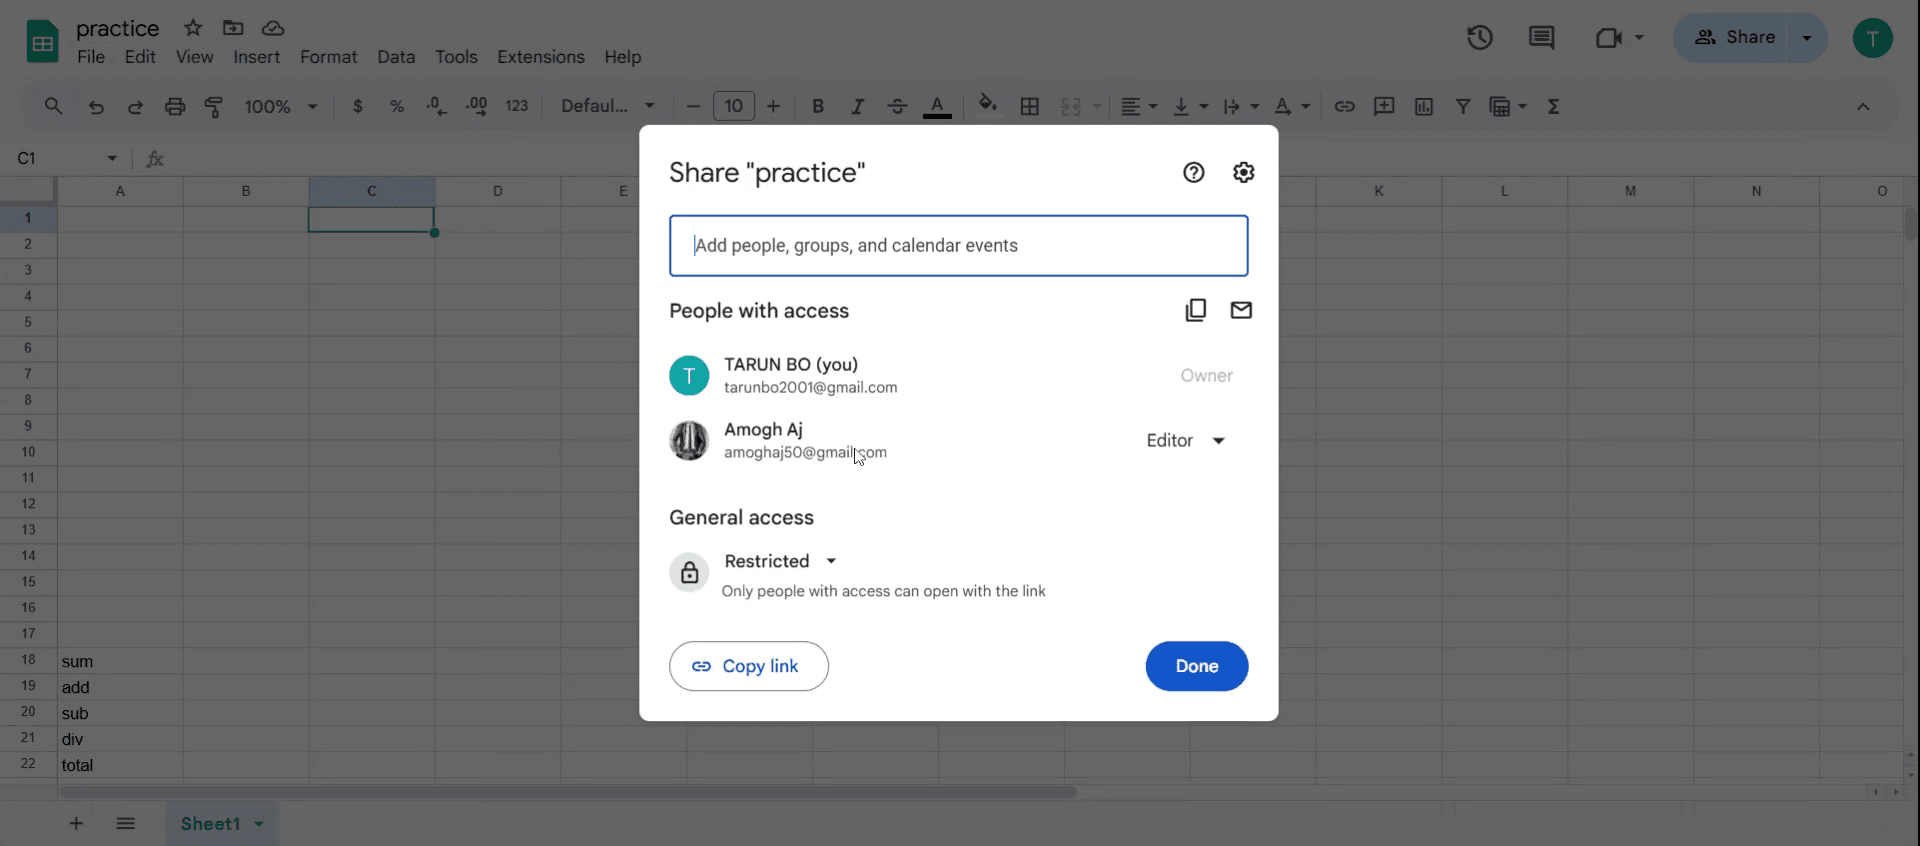
2. Click "Share"
In the top right corner of the sheet, click the Share button.
3. Find the new owner
In the “People with access” section, look for the person you want to make the new owner. If you haven’t shared the file with them yet, you'll need to do that first.
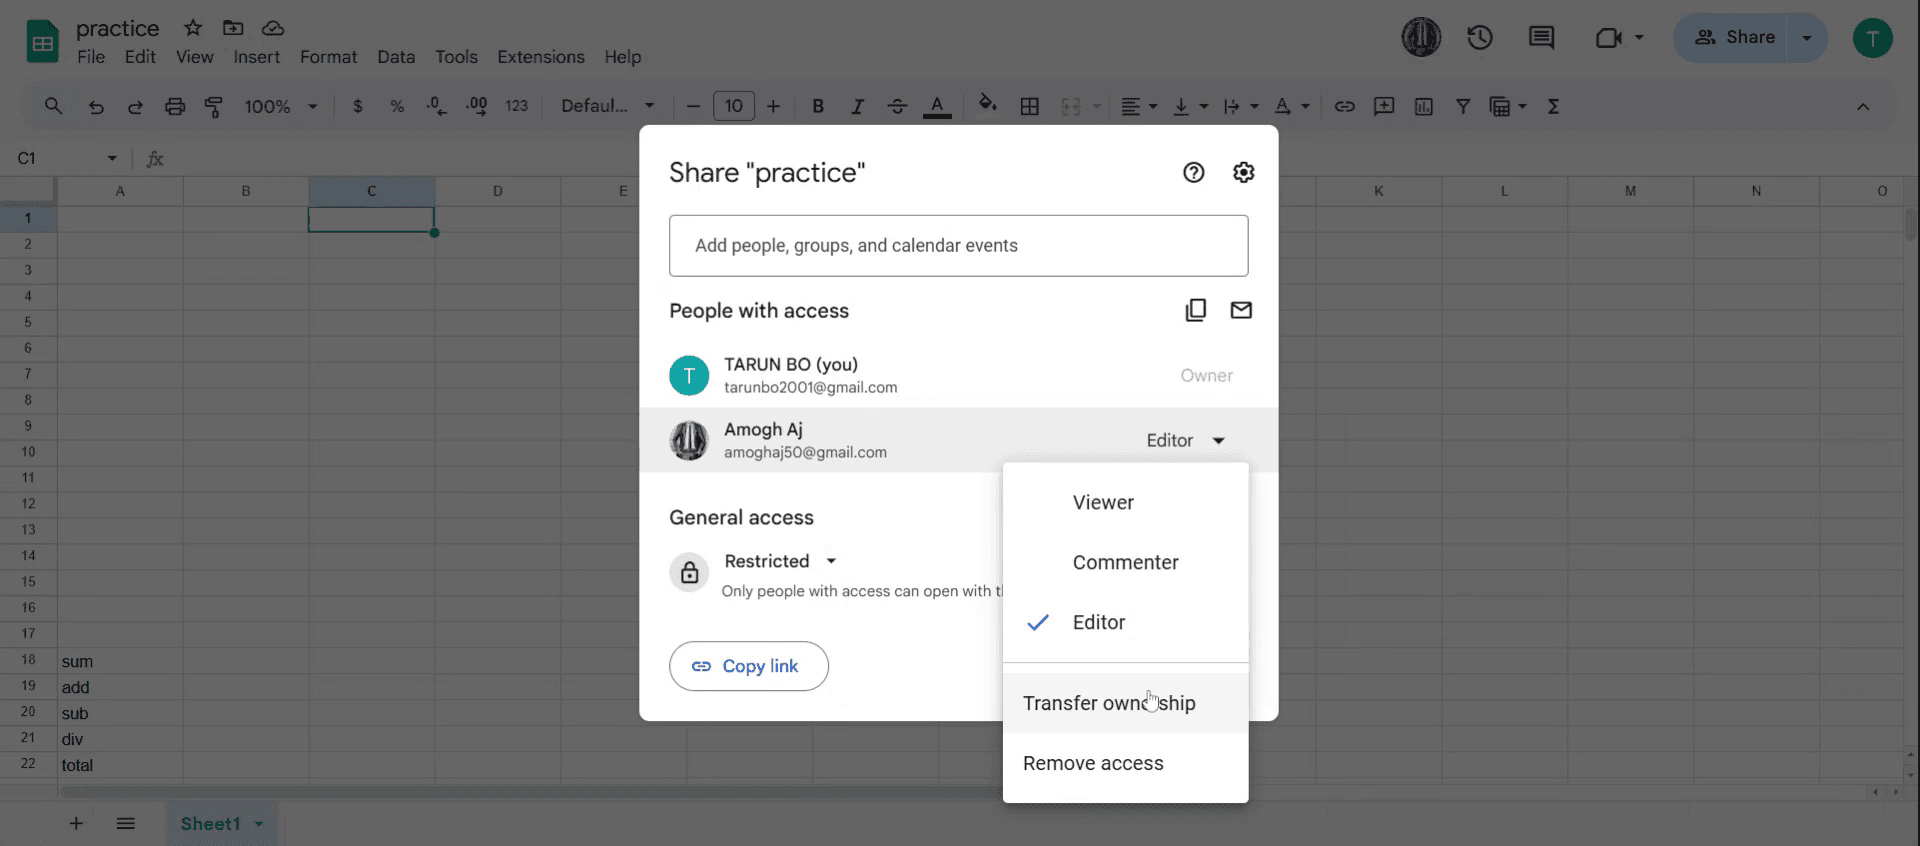
4. Transfer ownership
Next to their name, click the dropdown arrow and select Transfer ownership.
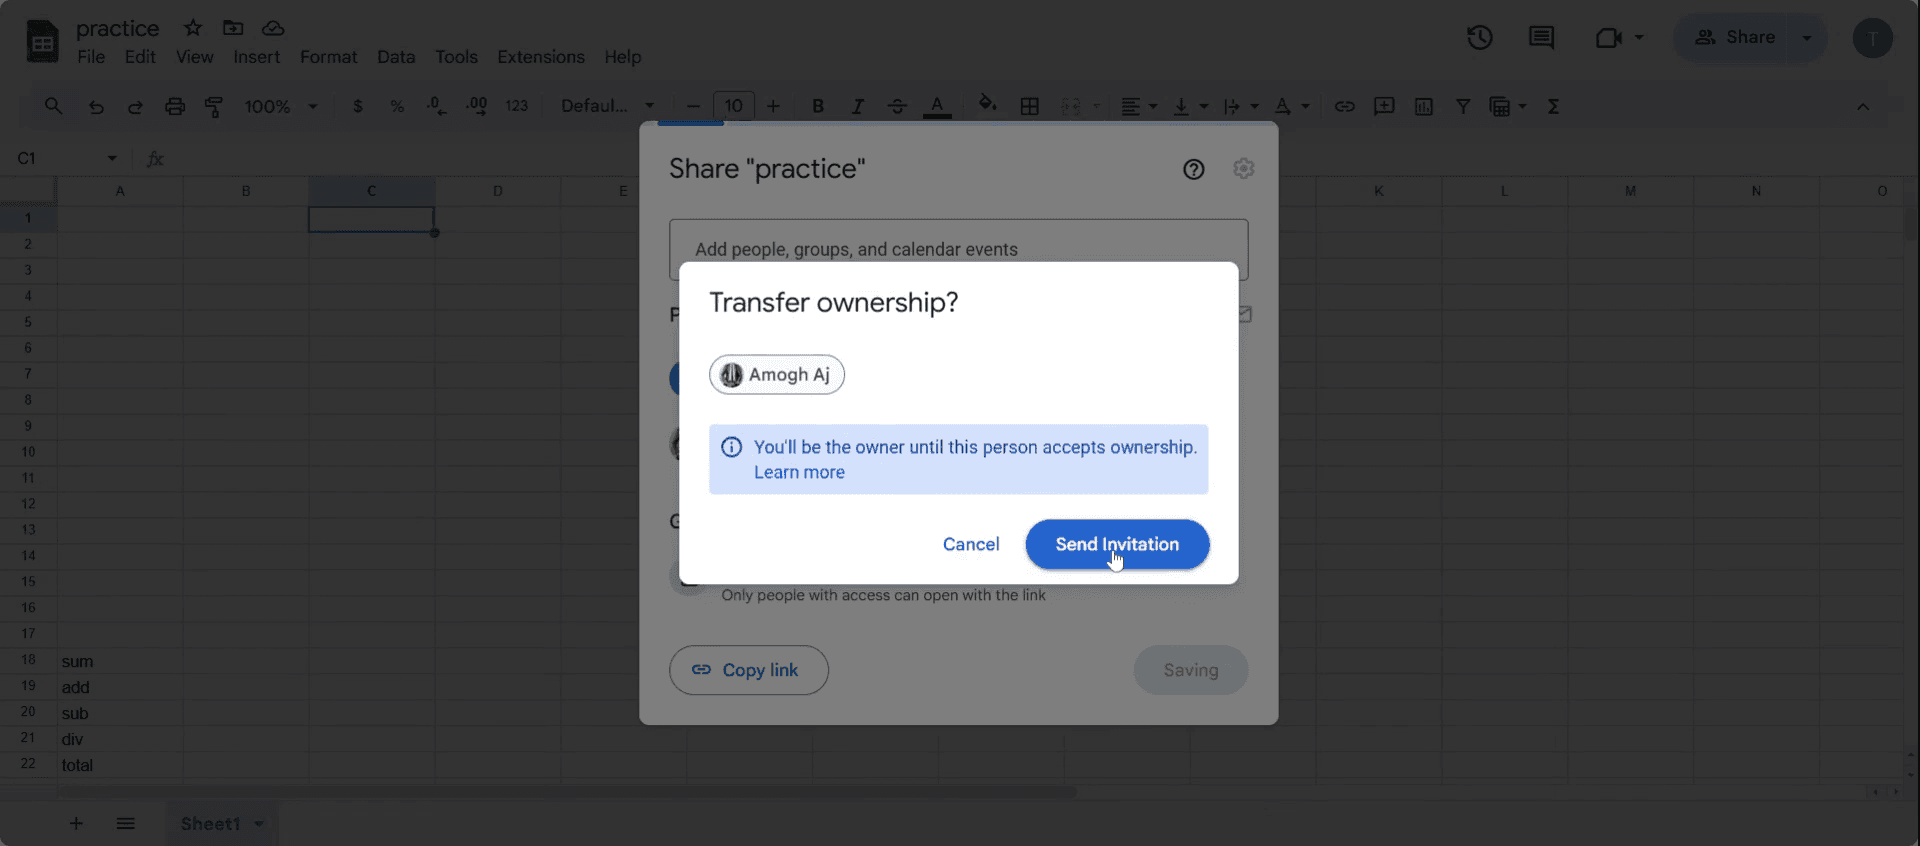
5. Confirm the transfer
Google will ask you to confirm the change. Click Yes to complete the process.
Step-by-Step Guide: How To Change Ownership Of A Google Sheet
Step 1
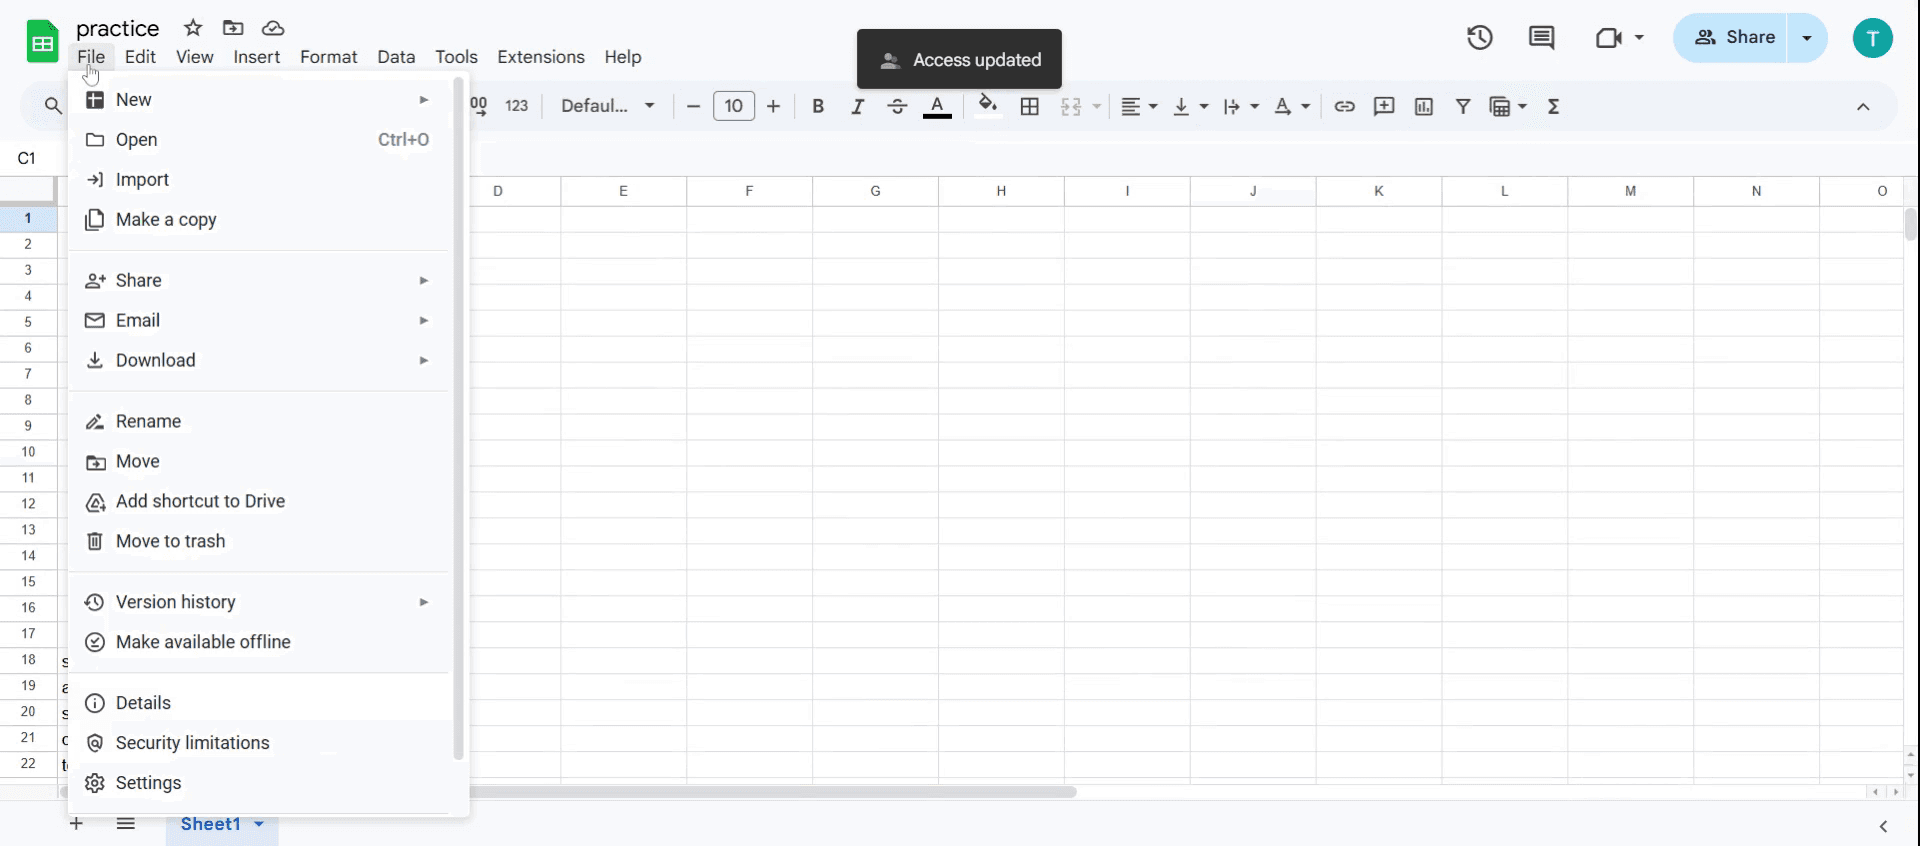
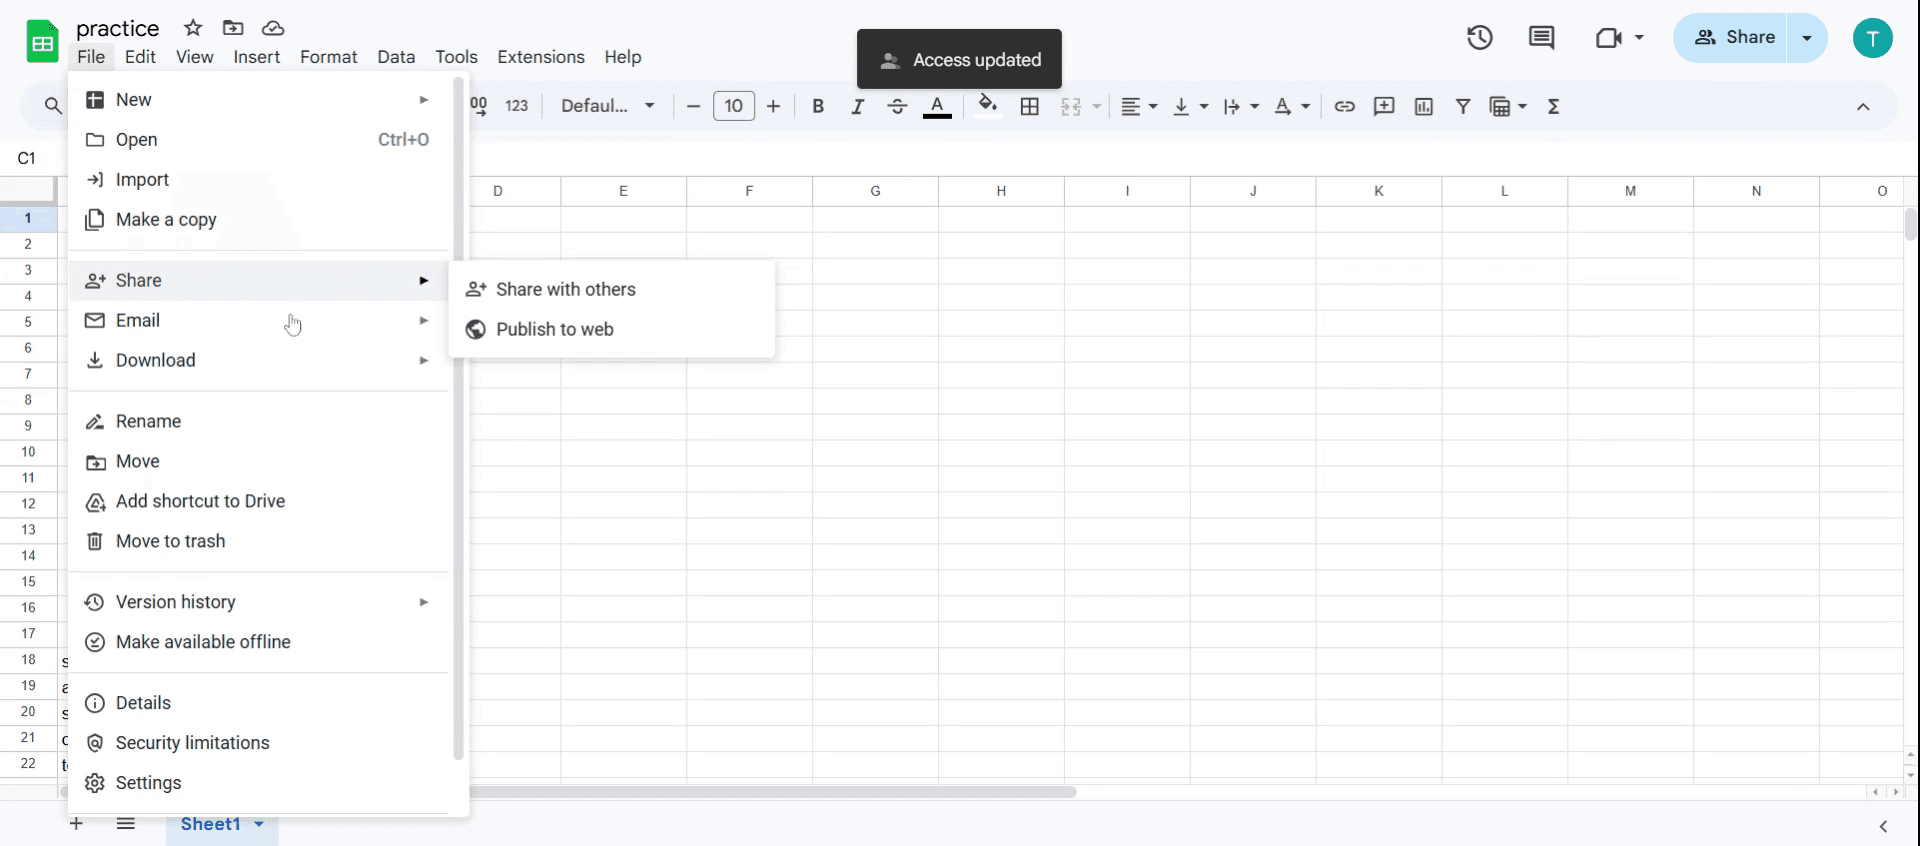
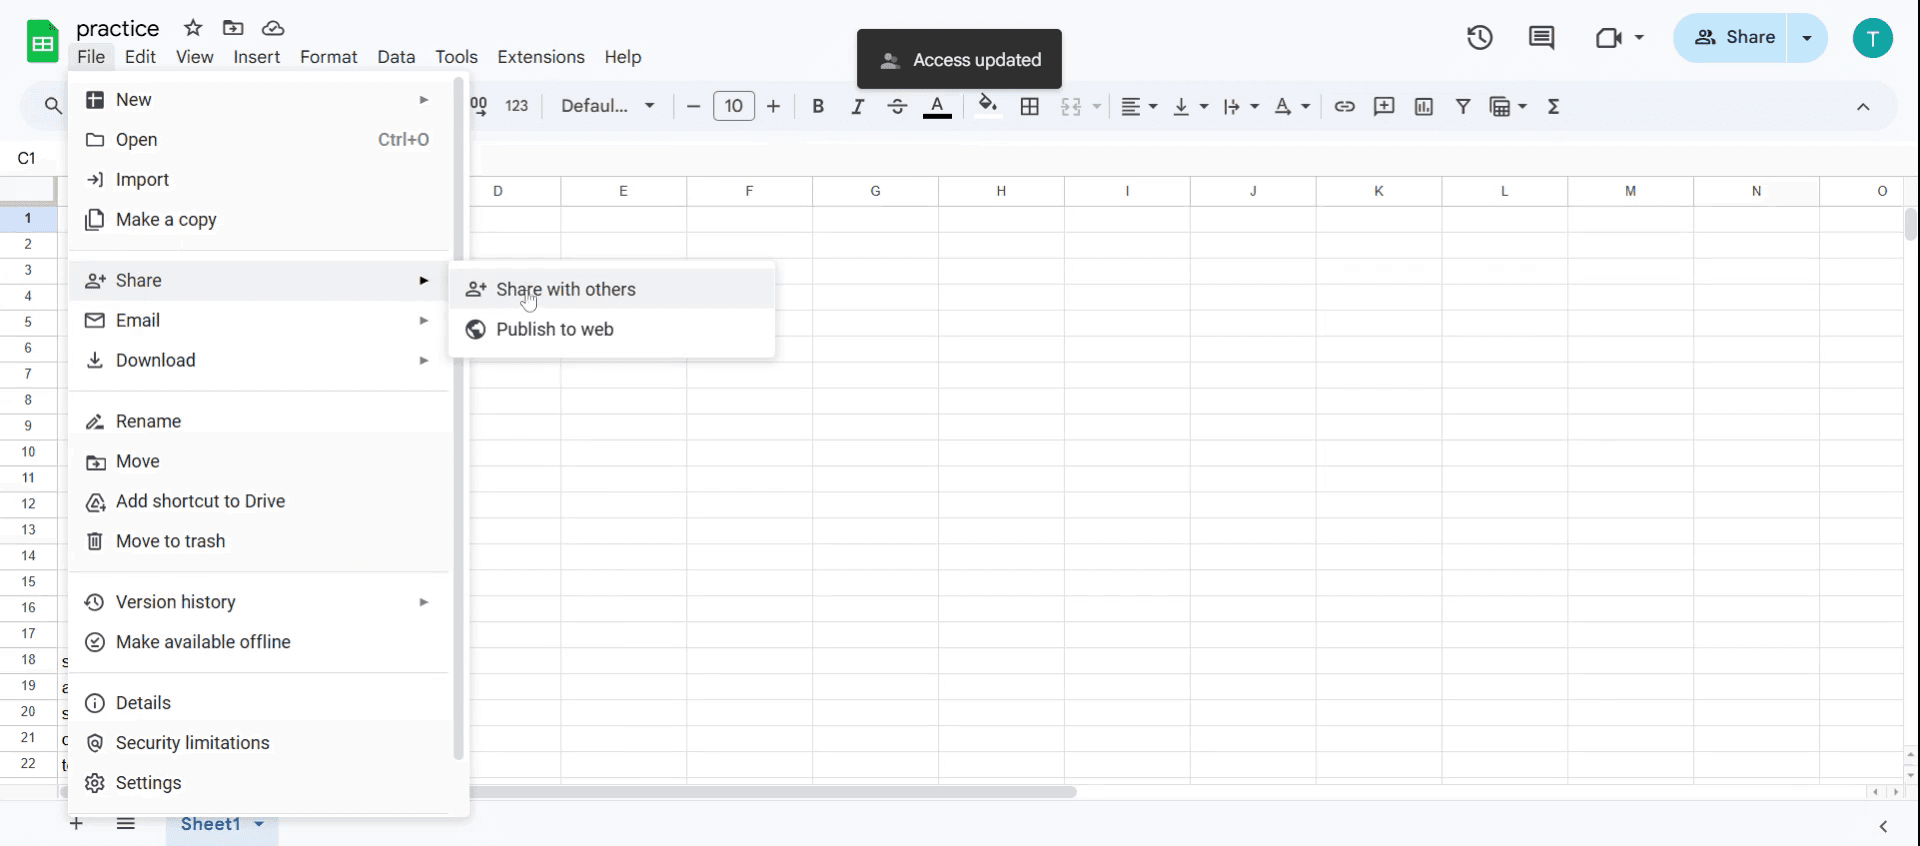
Open the Google Sheet you wish to transfer ownership of and click on the File menu.
Step 2
Select the Share option,
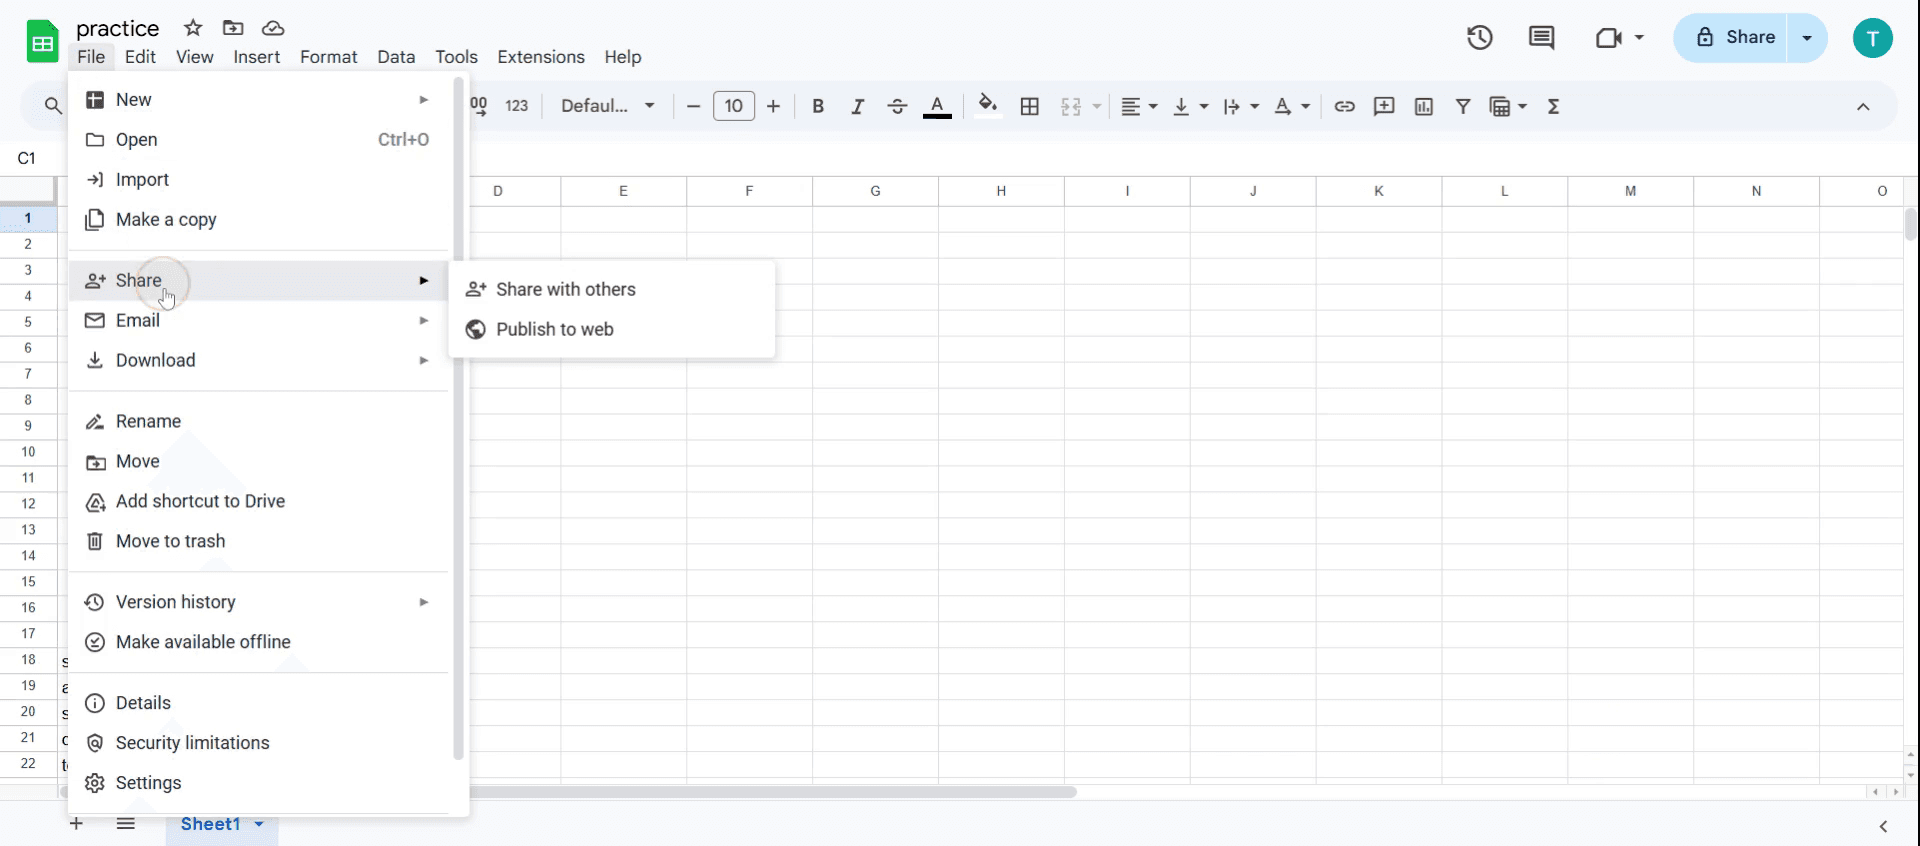
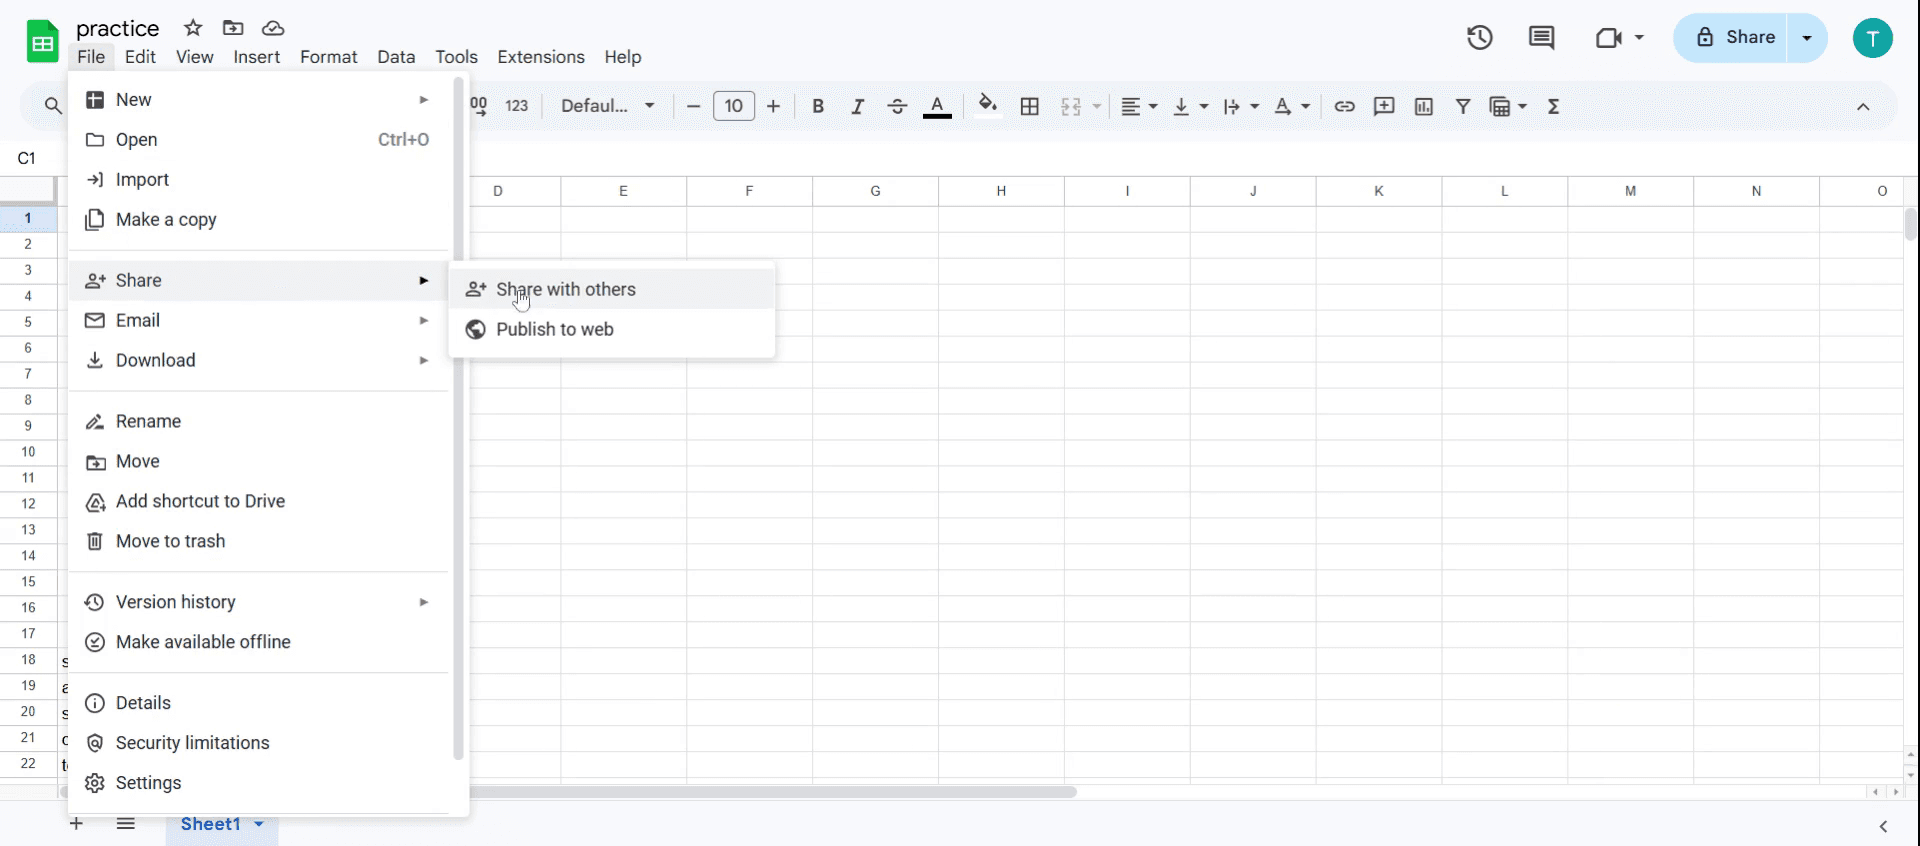
Step 3
Click on Share with others.
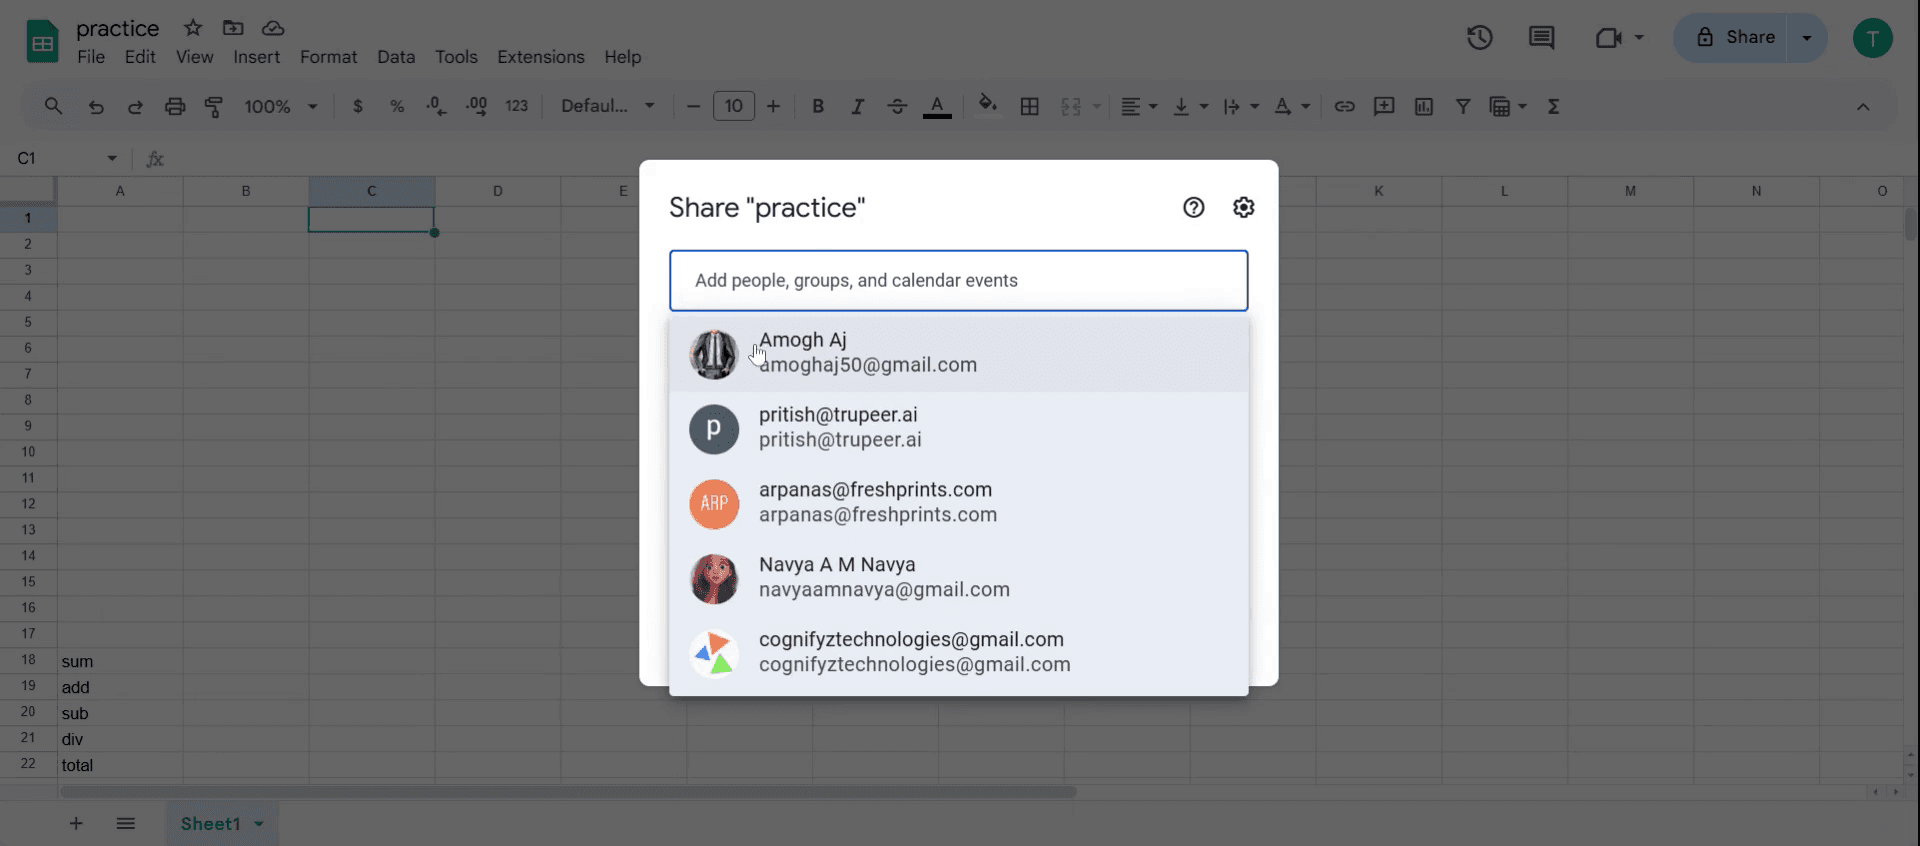
Step 4
Locate the name of the person with whom you have shared the document
Step 5
Click on the Send option again and then on share with others.
Step 6
Again click on the File menu.
Step 7
Next, select the share option,
Step 8
Followed by clicking on share with others
Step 9
Locate the name of the person with whom you have shared the document
Step 10
Click on the Editor in the dropdown menu,
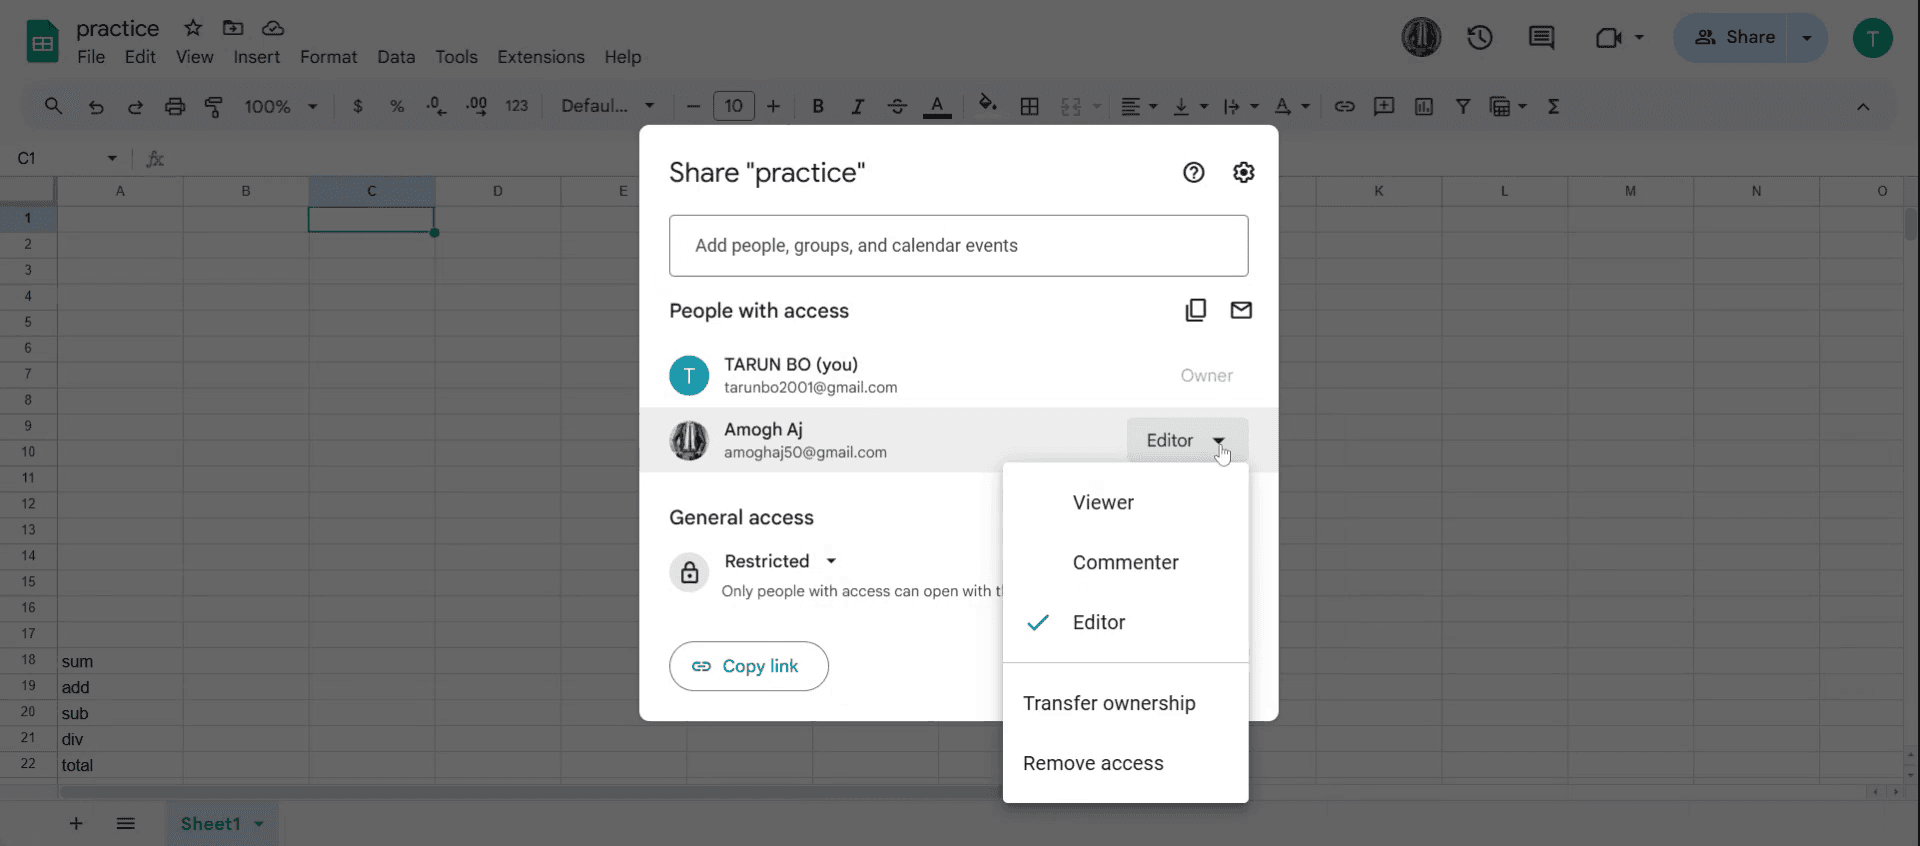
Step 11
Select Transfer ownership, in the menu then send the invitation to transfer ownership
Step 12
By clicking send invitation. Please note, it may take some time to process
Pro tips for how to change ownership of a Google Sheet
Ensure the new owner has a Google account – Ownership can only be transferred to users with a Google account linked to their email.
Use business workspace for better control – If using Google Workspace, admins can restrict ownership transfers, so check admin settings beforehand.
Confirm ownership transfer before removing yourself – Always verify the new owner has accepted access before revoking your own permissions.
Common pitfalls and how to avoid them
Trying to transfer ownership of a non-Google sheet – Ownership can only be changed for Google Sheets, not Excel files stored in Drive.
Transferring ownership to an email without Google access – If the recipient doesn’t have a Google account, they won’t be able to take ownership.
Assuming ownership change is reversible – Once ownership is transferred, only the new owner can reassign it, so proceed with caution.
Common FAQs on how to change ownership of a sheet
What are the steps for how to change ownership of a sheet?
Open the sheet, go to share, enter the new owner's email, set them as Editor, then click Transfer ownership under advanced settings.Can I undo the process after using how to change ownership of a sheet?
No, once you transfer ownership, only the new owner can change it back, so double-check before confirming.Why don’t I see the option for how to change ownership of a sheet?
If you’re using a work or school account, the admin may have disabled ownership transfers check with your Google Workspace administratorHow to screen record on mac?
To screen record on a Mac, you can use Trupeer AI. It allows you to capture the entire screen and provides AI capabilities such as adding AI avatars, add voiceover, add zoom in and out in the video. With trupeer’s AI video translation feature, you can translate the video into 30+ languages.How to add an AI avatar to screen recording?
To add an AI avatar to a screen recording, you'll need to use an AI screen recording tool. Trupeer AI is an AI screen recording tool, which helps you create videos with multiple avatars, also helps you in creating your own avatar for the video.How to screen record on windows?
To screen record on Windows, you can use the built-in Game Bar (Windows + G) or advanced AI tool like Trupeer AI for more advanced features such as AI avatars, voiceover, translation etc.How to add voiceover to video?
To add voiceover to videos, download trupeer ai chrome extension. Once signed up, upload your video with voice, choose the desired voiceover from trupeer and export your edited video.How do I Zoom in on a screen recording?
To zoom in during a screen recording, use the zoom effects in Trupeer AI which allows you to zoom in and out at specific moments, enhancing the visual impact of your video content
Suggested Reads
Technical Documentation Generator
How to Add a Calendar in Google Sheets
How to Add Rupee Symbol in Google Sheets
How to Add Bullet Points in Google Sheets
Related Tutorials

