
How to Make a GIF in Figma
Want to create animated GIFs in Figma? Follow this step-by-step guide to design, animate, and export your own GIFs using Figma and third-party tools.
1. Install the plugin:
Open Figma and go to "Plugins" > "Manage Plugins".
Search for and install either "Export to GIF/Video" or "Animated GIF Maker".
Alternatively, you can find and install plugins from the Figma community website.
2. Select your frames:
Create the frames you want to animate and arrange them in the order you want them to appear in the GIF.
Select all the frames you want to include in the GIF.
3. Configure GIF settings:
Open the plugin you installed.
Choose the GIF format if available.
Set the frame rate (how fast the animation plays).
Choose the desired dimensions for your GIF.
Decide if you want the GIF to loop or play only once.
Some plugins might offer additional features like adding a transparent background.
4. Export the GIF:
Once you're happy with the settings, click the "Export" or "Generate GIF" button.
The plugin will create the GIF file and allow you to download it to your computer.
Step-by-Step-Guide: How to Make a GIF in Figma
Step 1
Choose the template you want to convert into an animated GIF.
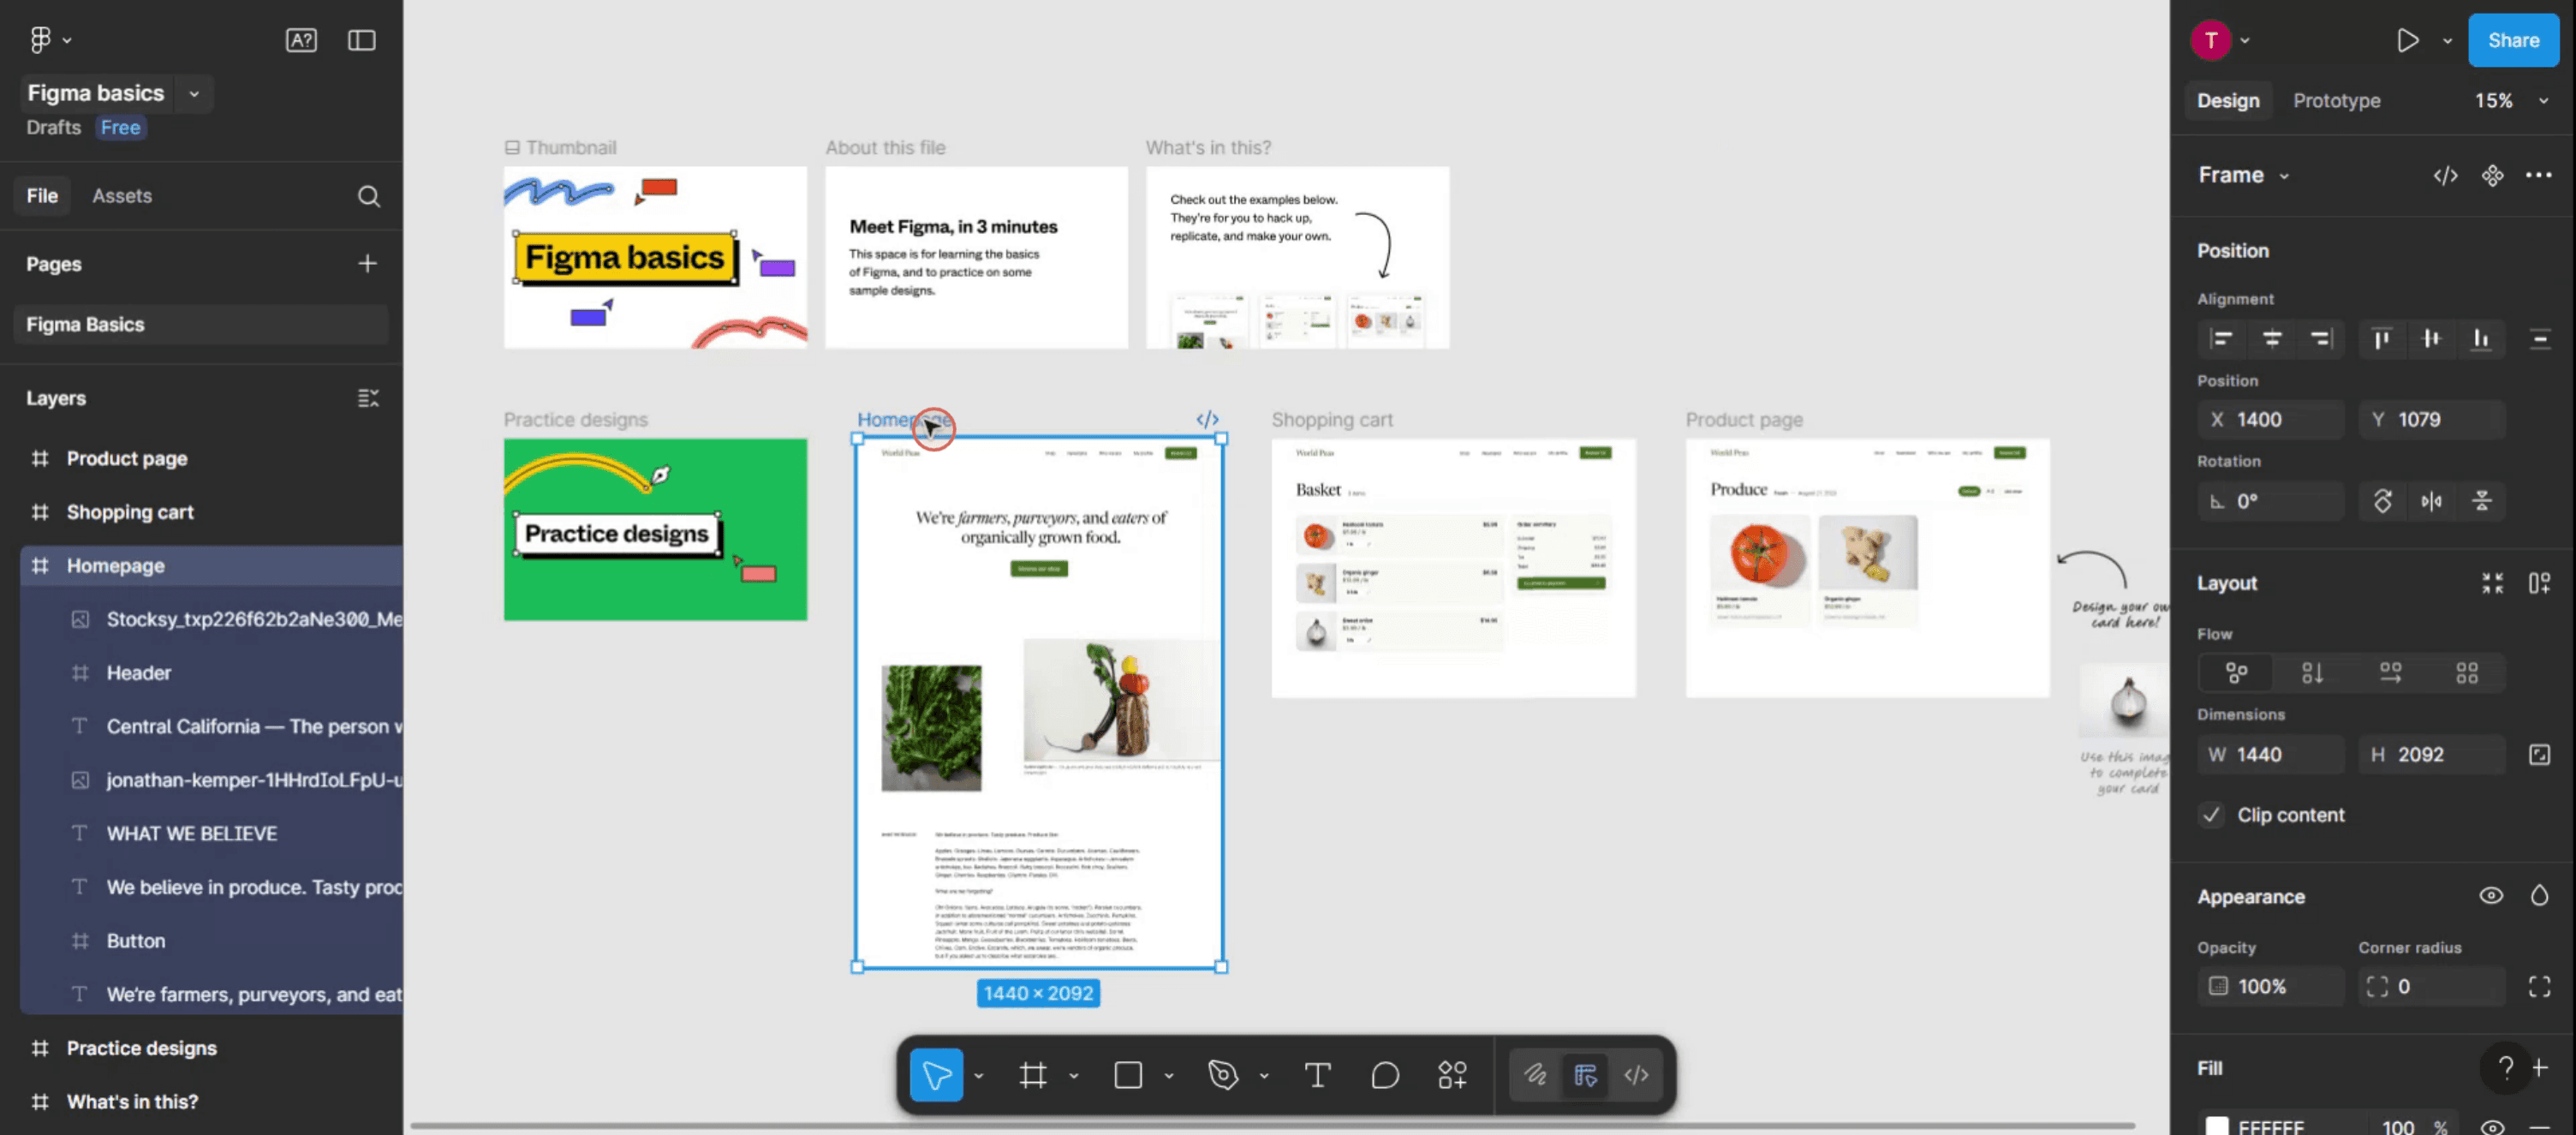
Step 2
Next, Click on the Actions menu within Figma.

Step 3
In the search bar, look for the "animated GIF maker" plugin.
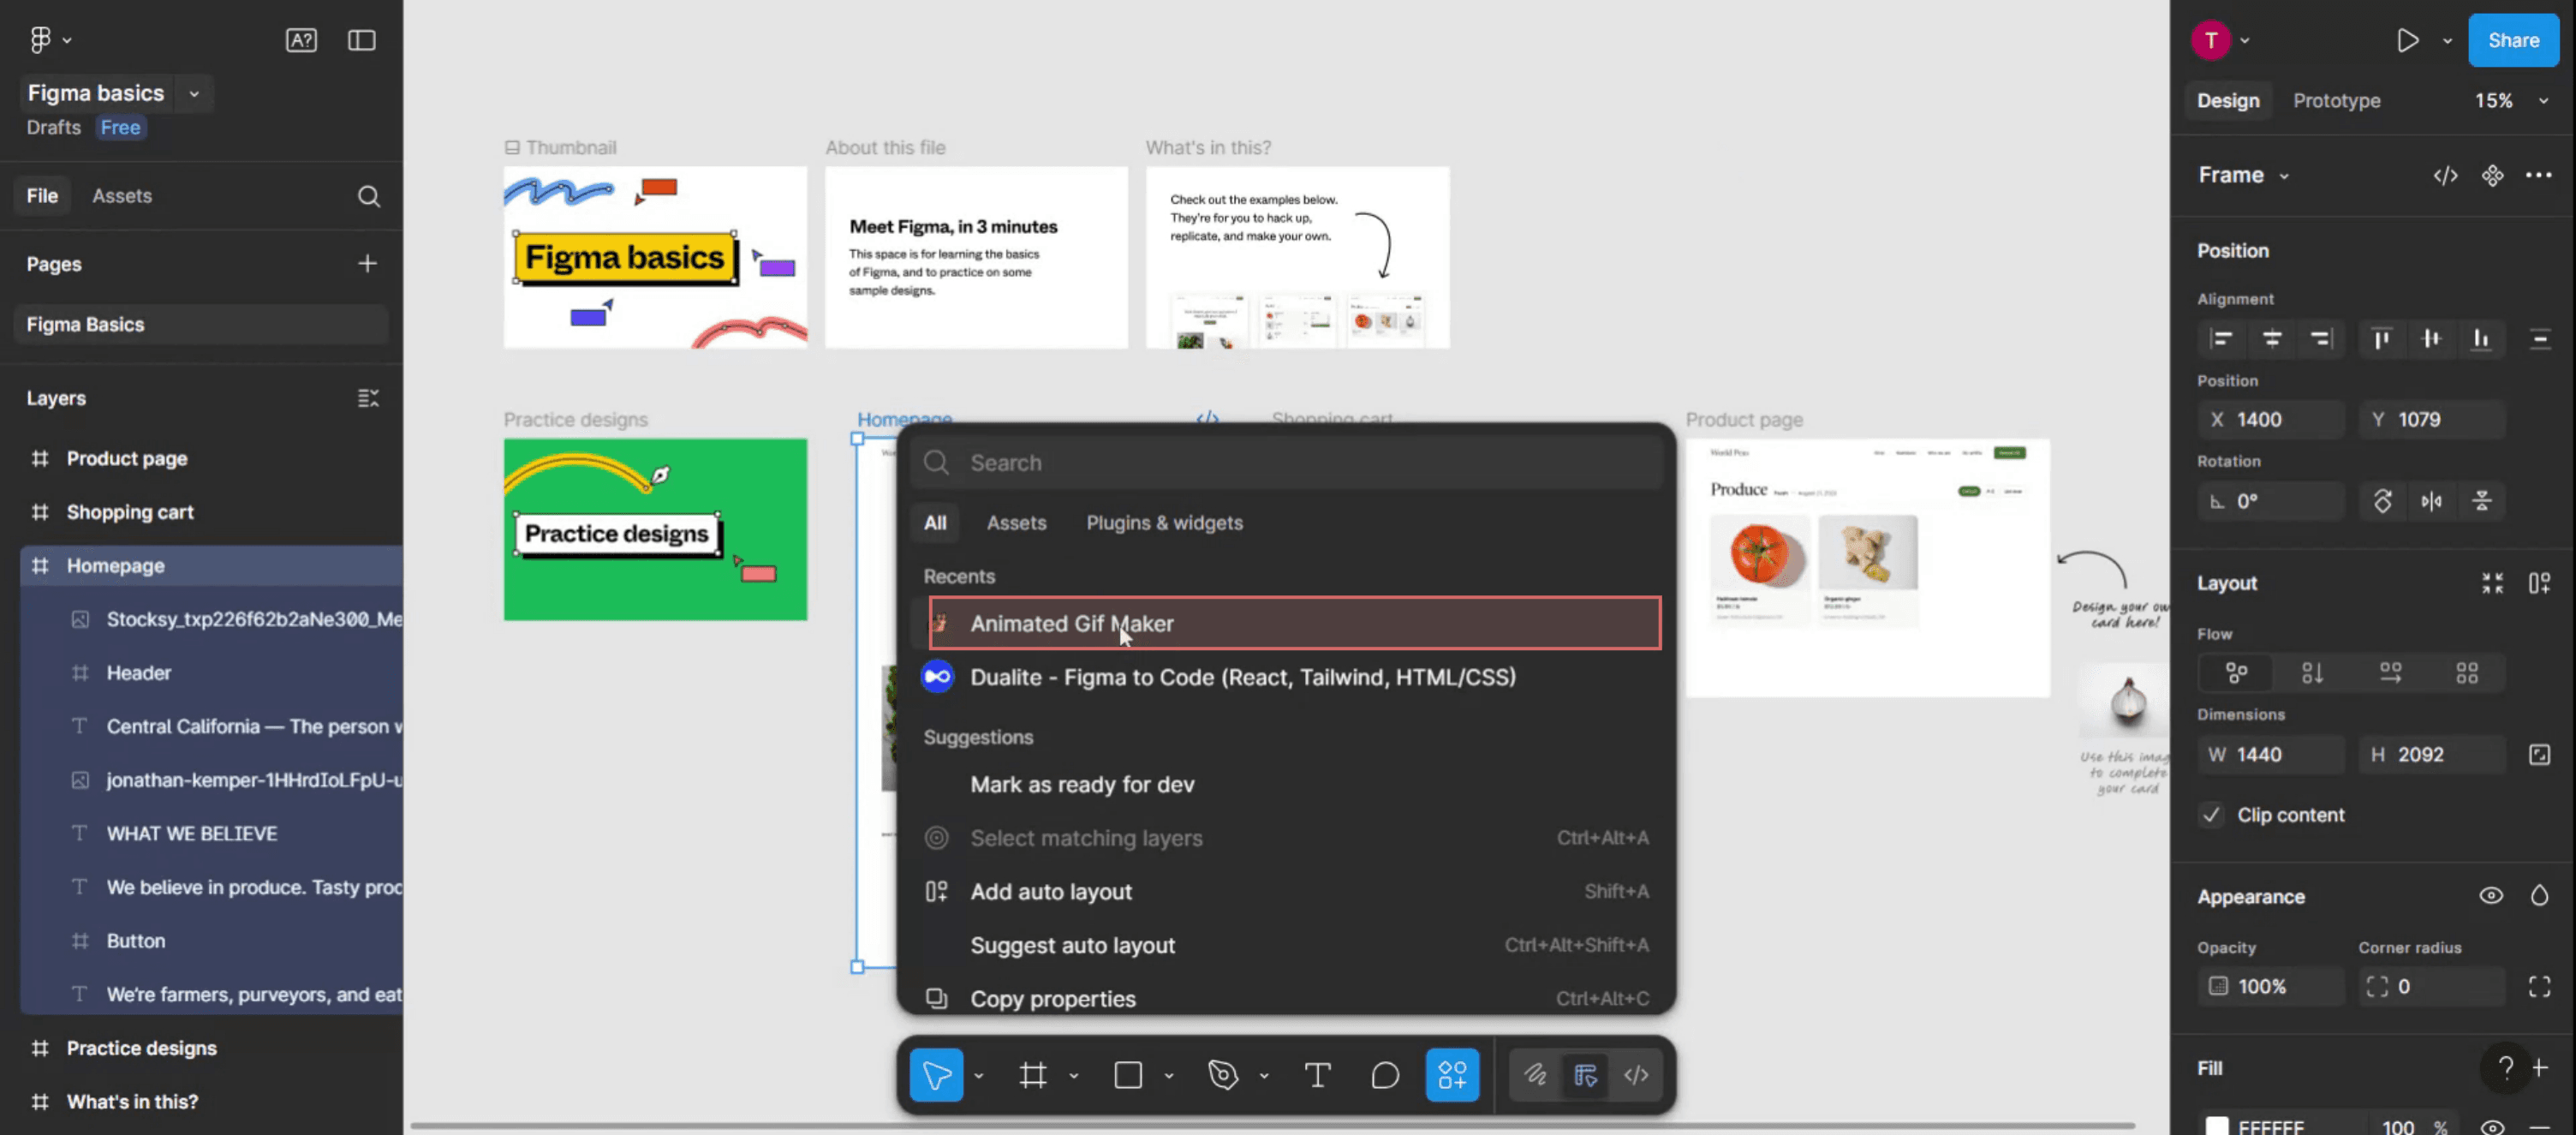
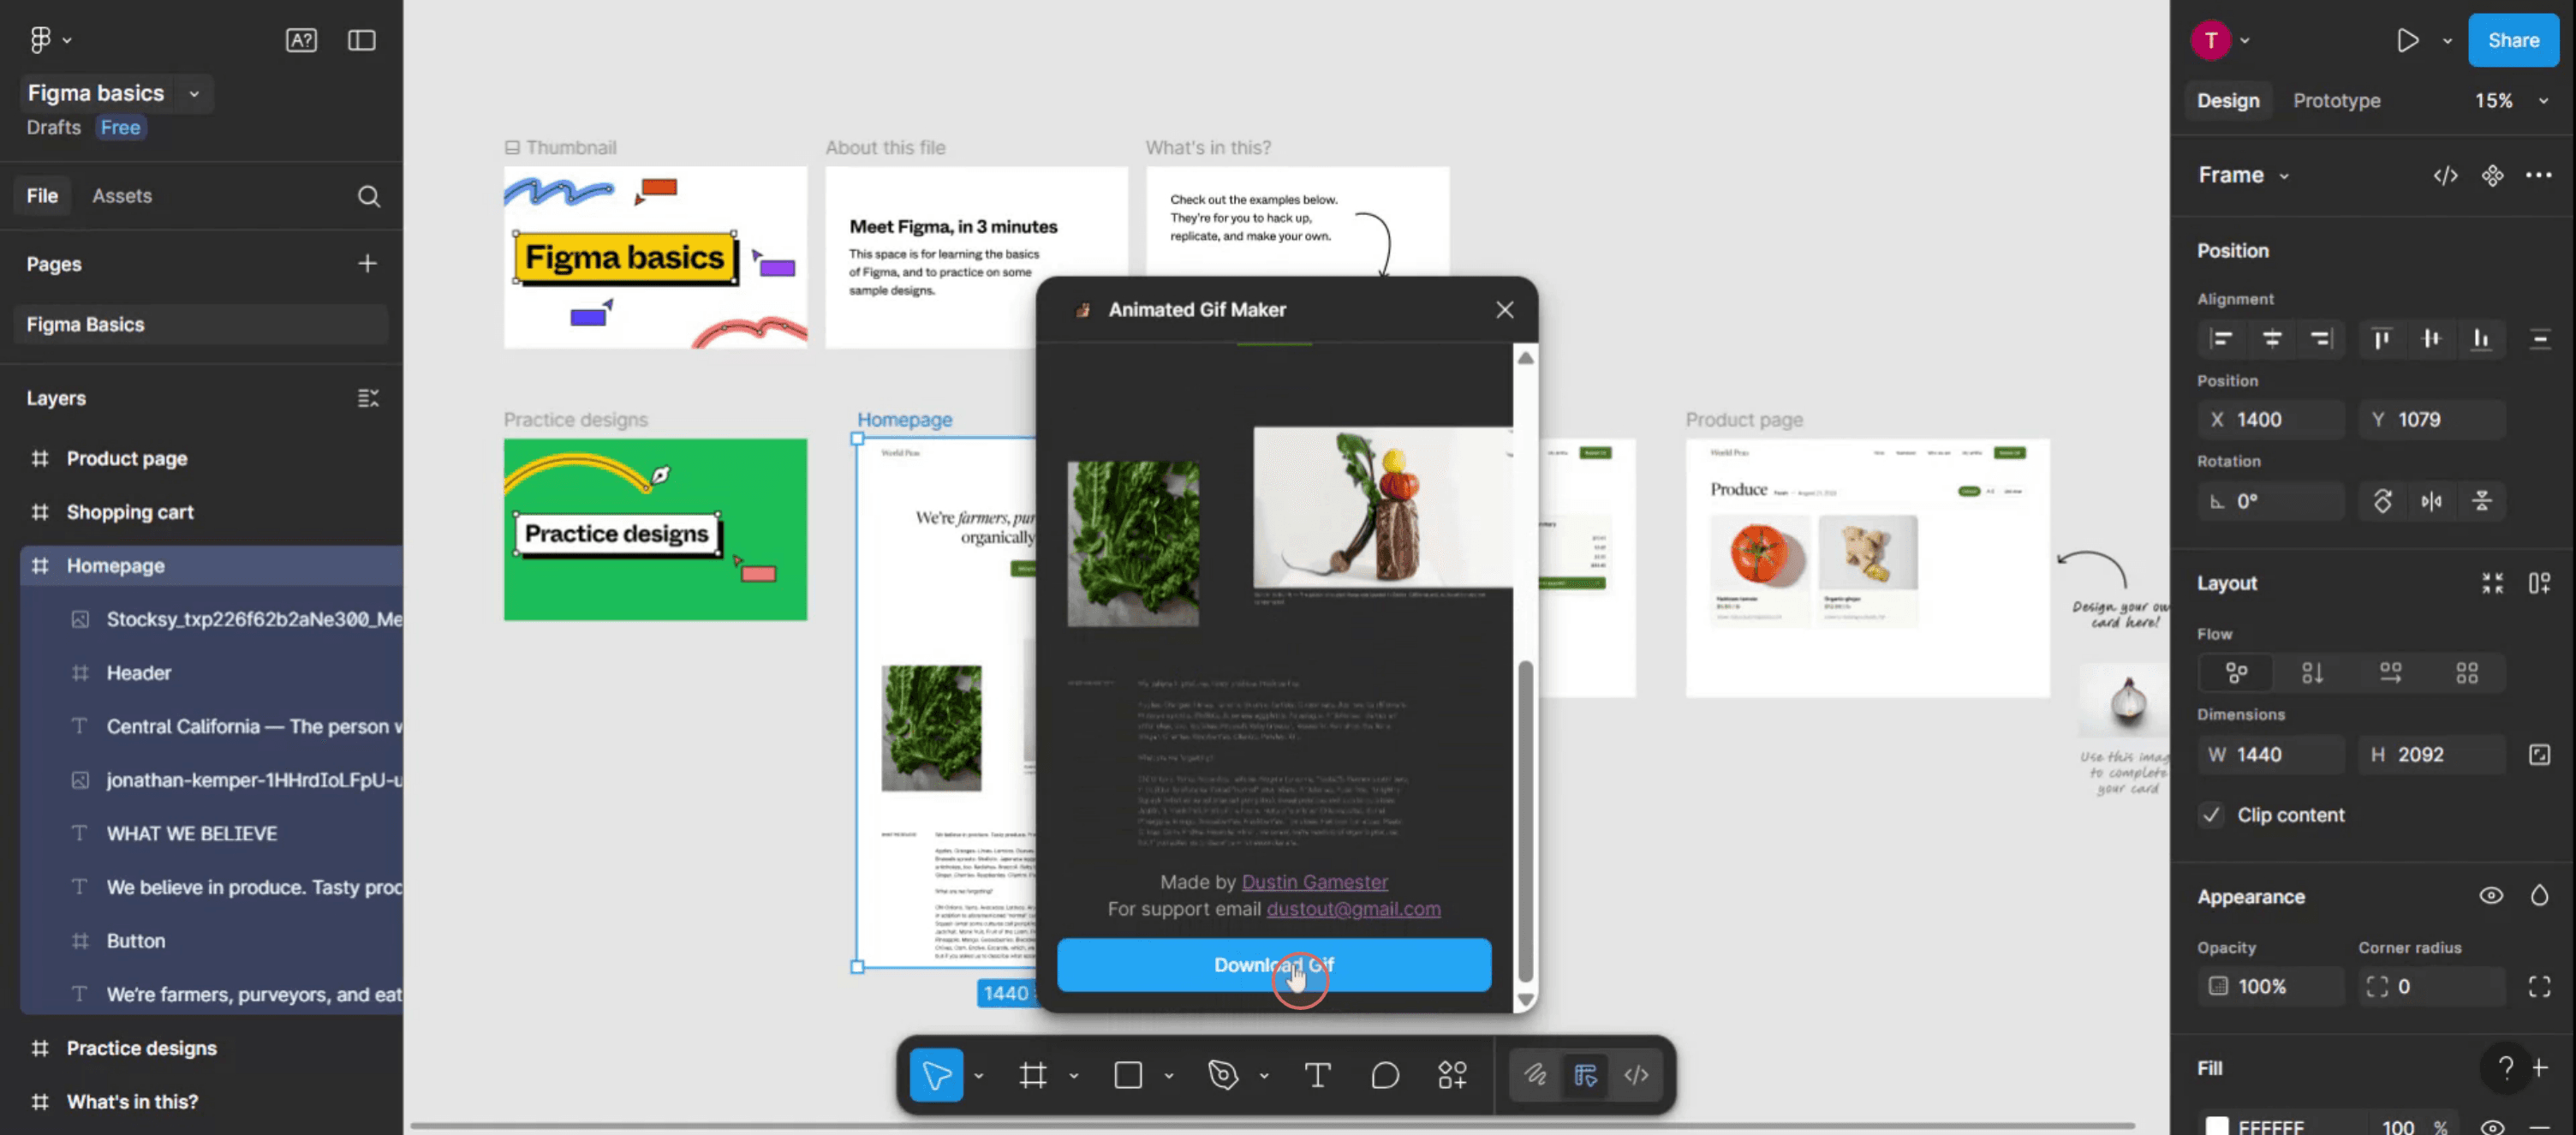
Step 4
Then pop-up window will appear, in this you can customize gif requirements,
Step 5
Click on Download GIF to save your creation.
Pro Tips for Making a GIF in Figma
Design Your Frames in Figma
Create the sequence of frames you want to animate by duplicating artboards (frames) and making changes in each one to reflect motion or transformation.Name Frames in Sequence
Label each frame clearly in order (like Frame 1, Frame 2, etc.) so it’s easier to identify them later during the export process.Export Frames as PNGs
Select each frame, click the Export option in the bottom right panel, and export them as PNG files. Keep the size and scale consistent for all frames.Use an External GIF Maker
Open a GIF creation tool such as ezgif.com, Photoshop, or any online GIF maker. Upload all your exported PNGs in the correct order.Set Frame Duration and Looping
Adjust the delay time between frames and enable looping to make your GIF play continuously.Export the Final GIF
Once your settings are finalized, export and download the GIF file. You can now use it in your presentations, websites, or UI previews.
Common Pitfalls and How to Avoid Them
Misaligned Frames
Ensure all elements are aligned consistently across each frame to avoid jittery or shaky GIFs.Skipping Naming Conventions
If your frames aren’t named sequentially, it can be hard to maintain order while uploading to a GIF maker.Exporting at Different Sizes
Always double-check that each frame is the same resolution and scale to ensure a smooth animation.Low-Quality Output
When using online GIF makers, choose one that supports high-resolution output to avoid pixelation.Oversized File
If your GIF becomes too large, reduce the number of frames or compress the images slightly before uploading.
Common FAQs About Creating GIFs in Figma
Can I export a GIF directly from Figma?
No, Figma doesn’t have a built-in GIF export option. You need to export frames and use an external tool.What’s the best format to export frames from Figma?
PNG is preferred for its quality and transparency support.Which external tools can I use to create GIFs from Figma designs?
Popular tools include ezgif.com, Adobe Photoshop, and Giphy.How many frames should I use for a smooth GIF?
Typically, 10–20 frames are enough for short animations. More frames result in smoother motion but larger file sizes.Can I control the speed of the animation?
Yes, most GIF tools allow you to set delay times between frames to adjust playback speed.How to screen record on mac?
To screen record on a Mac, you can use Trupeer AI. It allows you to capture the entire screen and provides AI capabilities such as adding AI avatars, add voiceover, add zoom in and out in the video. With trupeer’s AI video translation feature, you can translate the video into 30+ languages.How to add an AI avatar to screen recording?
To add an AI avatar to a screen recording, you'll need to use an AI screen recording tool. Trupeer AI is an AI screen recording tool, which helps you create videos with multiple avatars, also helps you in creating your own avatar for the video.How to screen record on windows?
To screen record on Windows, you can use the built-in Game Bar (Windows + G) or advanced AI tool like Trupeer AI for more advanced features such as AI avatars, voiceover, translation etc.How to add voiceover to video?
To add voiceover to videos, download trupeer ai chrome extension. Once signed up, upload your video with voice, choose the desired voiceover from trupeer and export your edited video.How do I Zoom in on a screen recording?
To zoom in during a screen recording, use the zoom effects in Trupeer AI which allows you to zoom in and out at specific moments, enhancing the visual impact of your video content.
People also ask
Technical Documentation Generator
How to Hide Frame Names in Figma
Related Tutorials

