
How to Zoom In Figma using Sidebar
1 min video tutorial and guide on how to zoom in figma sidebar
This guide provides a detailed walkthrough on how to effectively use the zoom feature in the Figma Toolbar.
By following these steps, you will be able to zoom in and out on your objects with ease using both menu options and keyboard shortcuts.
Figma offers multiple ways to control your zoom level, including the sidebar, shortcuts, and gestures. Here's how you can do it:
1. Using the Zoom/View Options in the Sidebar
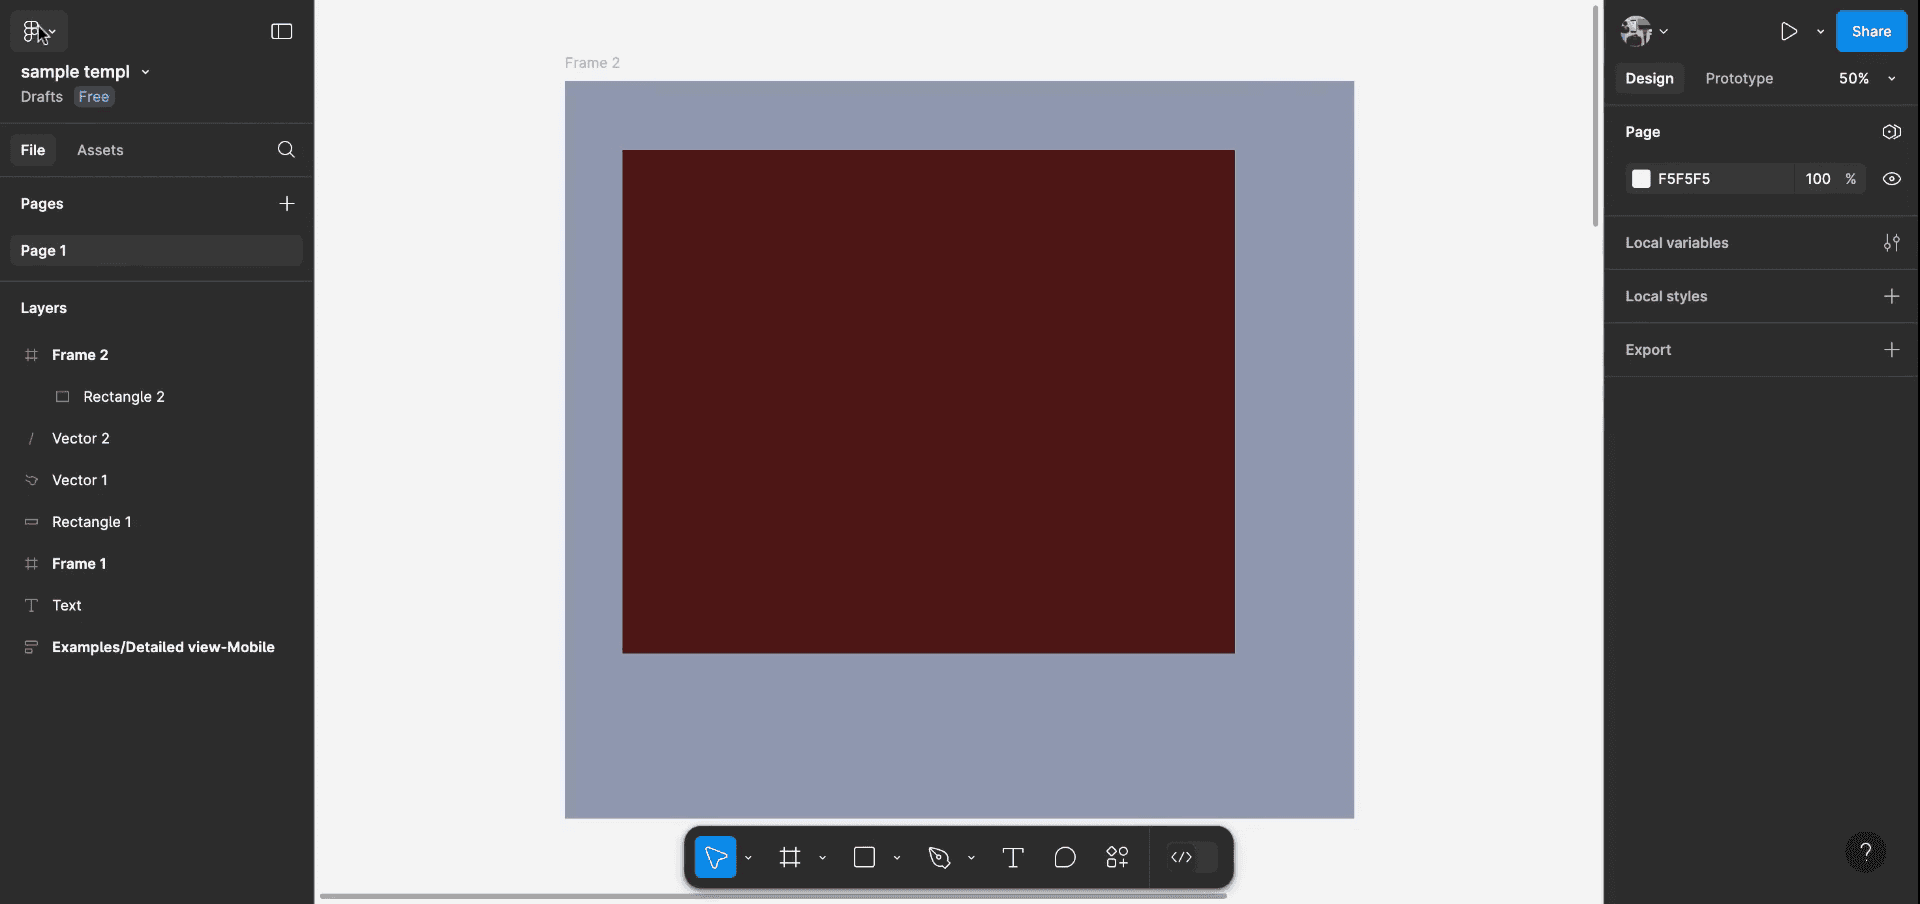
Navigate to the top-right corner of the canvas where the current zoom level is displayed (e.g., “100%”).
Click on the zoom percentage to open the Zoom/view options dropdown.
From here, you can:
Enter a custom percentage (e.g., 150%).
Select preset values: Zoom to 50%, 100%, 200%, etc.
Choose special views: Zoom to Fit, Zoom to Selection.
Use the plus ( + ) or minus ( – ) icons to zoom in or out incrementally.
2. Using Keyboard Shortcuts
Zoom in:
Ctrl(Windows) /Cmd(Mac) ++Zoom out:
Ctrl(Windows) /Cmd(Mac) +-Zoom to Fit:
Shift + 1Zoom to Selection:
Shift + 2
3. Using Mouse or Trackpad Gestures
Scroll wheel + Ctrl/Cmd: Zoom in/out smoothly.
Pinch or expand with two fingers (trackpad): Zoom in or out naturally.
4. Quick Actions (Command Palette)
Press
Cmd/Ctrl+/to open the Quick Actions menu.Type “Zoom” and choose from options like “Zoom to Fit,” “Zoom to Selection,” or custom levels.
Step-by-Step Guide: How To Zoom In Figma Using Sidebar
Method 1
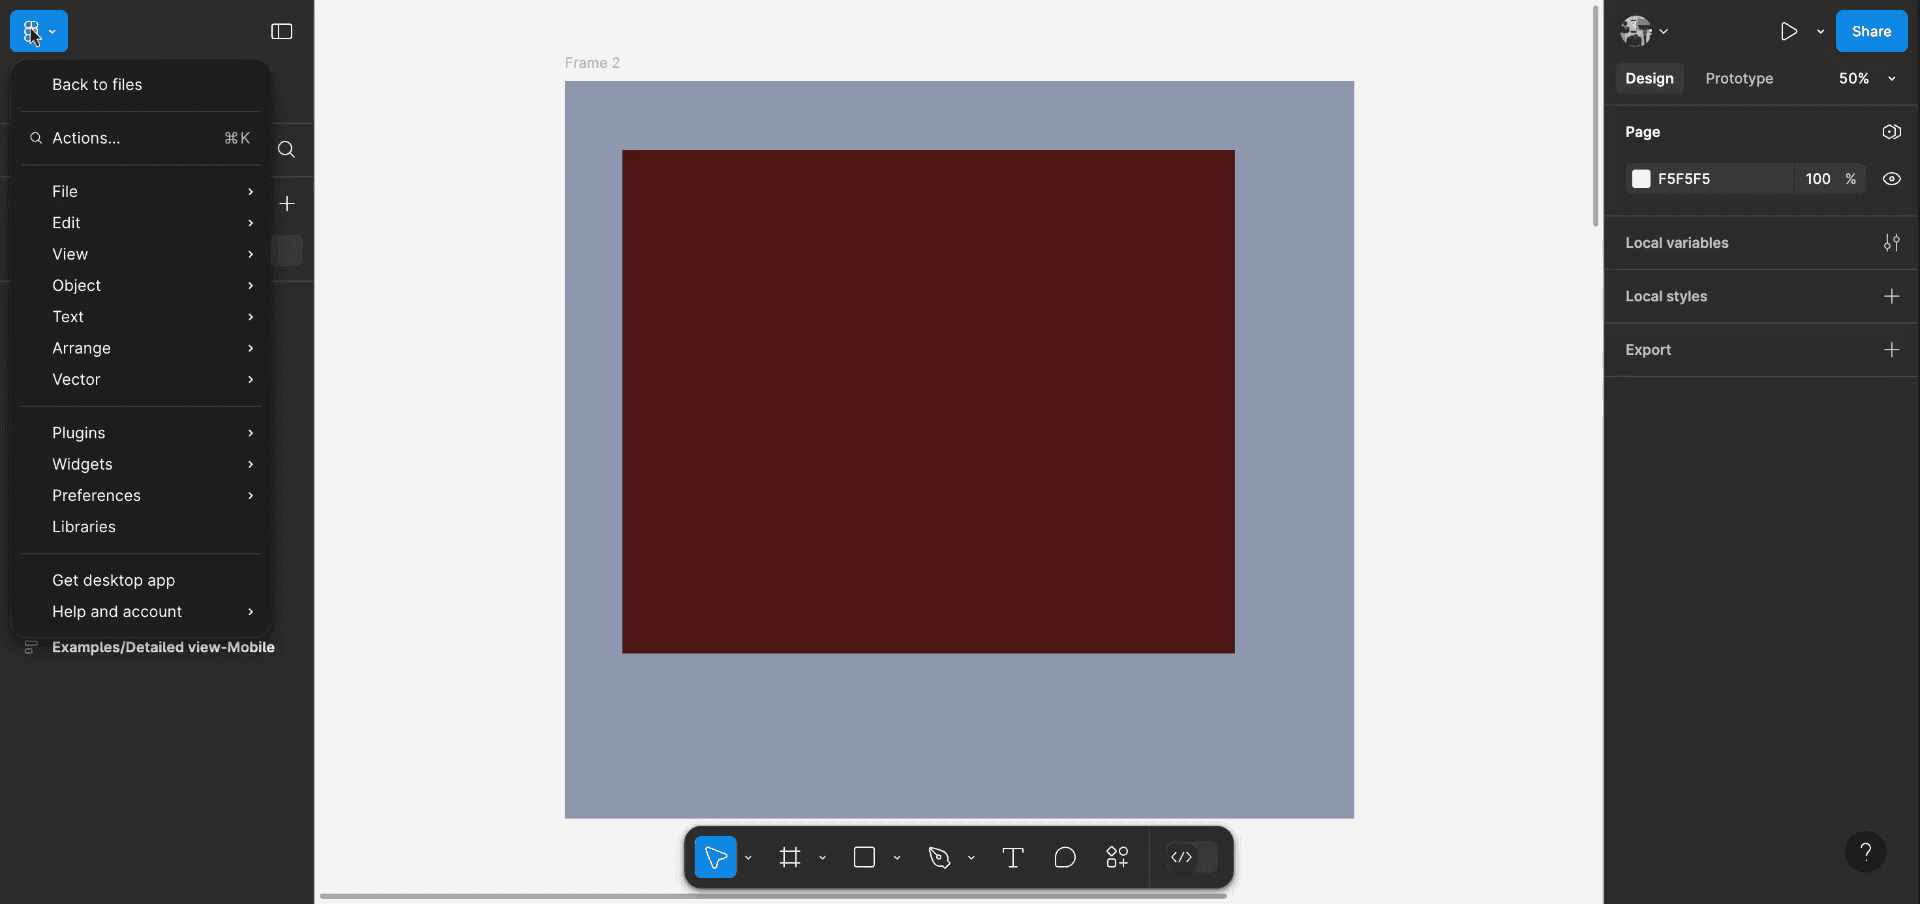
Step 1
Begin by focusing on the Figma sidebar. We will explore how to zoom in using the available options.
Step 2
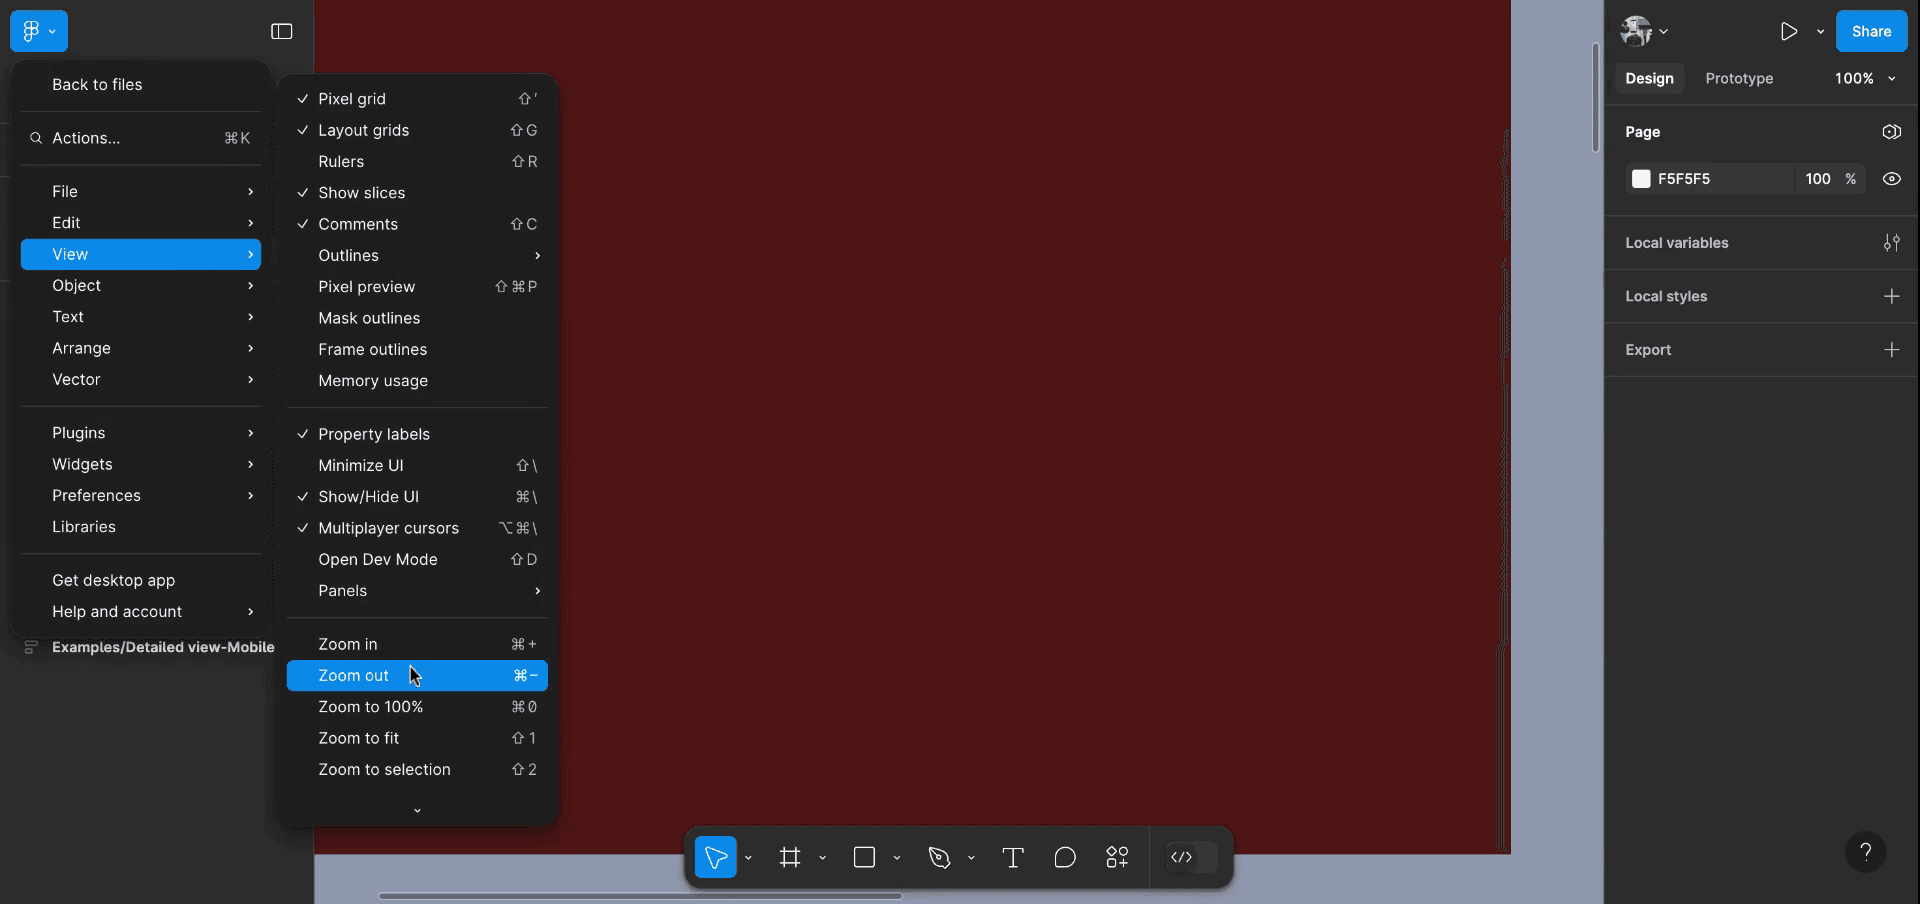
To proceed, open the menu located at the top left corner of your screen. Navigate to the 'View' option, then select 'Zoom In' to enlarge your object.
Step 3
After zooming in, you can follow the same steps to select 'Zoom Out' when you need to reduce the magnification of your object.
Method 2
For keyboard shortcuts, Windows users can press 'Alt + Shift + 2'. On a Mac, use 'Command + Left Arrow' for zooming in and 'Command + Right Arrow' for zooming out.
Pro tips for zooming in Figma using the sidebar
Use the Zoom Dropdown in the Sidebar:
On the left-hand sidebar, you'll find a zoom control option. Click the Zoom Level dropdown (which displays the current zoom percentage) and select your desired zoom level. You can zoom in or out based on your preference.Custom Zoom Options:
You can manually input a specific zoom percentage in the sidebar's zoom dropdown (e.g., 200%) for more precision if you're working on detailed designs.Zoom In on a Specific Area:
Click on the Zoom dropdown in the sidebar, then choose a zoom level that lets you focus on a specific area of your design, helping you edit with greater accuracy.Use the Zoom To Fit Option:
In the sidebar, click on the Fit option to zoom your design to fit the canvas. This automatically adjusts the zoom level to display the entire design within the window.
Common pitfalls and how to avoid them for zooming In Figma using the sidebar
Over-zooming and Losing Context:
Fix: Avoid zooming in too much and losing track of the overall design. Use the Fit option frequently to return to a full view of your design.Zooming in Without Adjusting Frame Size:
Fix: When zooming in, ensure that your frame is large enough to accommodate all your elements. Sometimes, zooming in excessively can cause a loss of visibility for larger components.Forgetting to Zoom Out for Review:
Fix: Frequently zoom out to ensure your design looks well-balanced at a smaller scale. This helps in reviewing overall layout and positioning.
Common FAQs for zooming In Figma using the sidebar
Can I zoom in using the mouse instead of the sidebar?
Yes, you can also zoom in by holding Ctrl (Windows) or Command (Mac) and scrolling with your mouse wheel. This is a faster way to zoom in and out.How do I set a default zoom level in Figma?
Figma doesn't have a default zoom setting, but you can quickly adjust zoom levels using the zoom dropdown in the sidebar or keyboard shortcuts.Can I zoom to a specific section of my design?
Yes, use the zoom dropdown in the sidebar to adjust the zoom level, and then drag your canvas to focus on the section you need.How do I reset the zoom to fit my entire design?
Click on the Fit button in the sidebar’s zoom controls to automatically adjust the view to fit the entire design within your canvas.Is there a shortcut to zoom in and out?
Yes, you can use Ctrl + Mouse Wheel (Windows) or Command + Mouse Wheel (Mac) to zoom in and out quickly. Alternatively, use Ctrl + (plus) or Ctrl + (minus) for zooming in and out using the keyboardHow to screen record on mac?
To screen record on a Mac, you can use Trupeer AI. It allows you to capture the entire screen and provides AI capabilities such as adding AI avatars, add voiceover, add zoom in and out in the video. With trupeer’s AI video translation feature, you can translate the video into 30+ languages.How to add an AI avatar to screen recording?
To add an AI avatar to a screen recording, you'll need to use an AI screen recording tool. Trupeer AI is an AI screen recording tool, which helps you create videos with multiple avatars, also helps you in creating your own avatar for the video.How to screen record on windows?
To screen record on Windows, you can use the built-in Game Bar (Windows + G) or advanced AI tool like Trupeer AI for more advanced features such as AI avatars, voiceover, translation etc.How to add voiceover to video?
To add voiceover to videos, download trupeer ai chrome extension. Once signed up, upload your video with voice, choose the desired voiceover from trupeer and export your edited video.How do I Zoom in on a screen recording?
To zoom in during a screen recording, use the zoom effects in Trupeer AI which allows you to zoom in and out at specific moments, enhancing the visual impact of your video content.
Suggested Reads
Technical Documentation Generator
Related Tutorials

