
How To Insert Checkbox In Google Docs – Quick Formatting Guide
Learn how to add checkboxes in Google Docs for to-do lists, forms, or task tracking. Follow these simple steps to insert interactive or static checkboxes easily.
This guide provides a step-by-step process for inserting checkboxes into a Google Doc.
By following these instructions, users can easily convert selected text into checkable items, making it simple to create lists or to-do items within a document.
You can insert a checkbox in Google Docs using a keyboard shortcut, the Format menu, or the toolbar. The quickest way is by typing [] (two square brackets with no space) and hitting the spacebar. You can also turn existing text into a checklist by using the Format menu.
Using the Keyboard Shortcut:
Type
[]without any space between the brackets.Press the spacebar.
A checkbox will appear automatically. You can type your list item and hit Enter to add another checkbox.
Using the Format Menu:
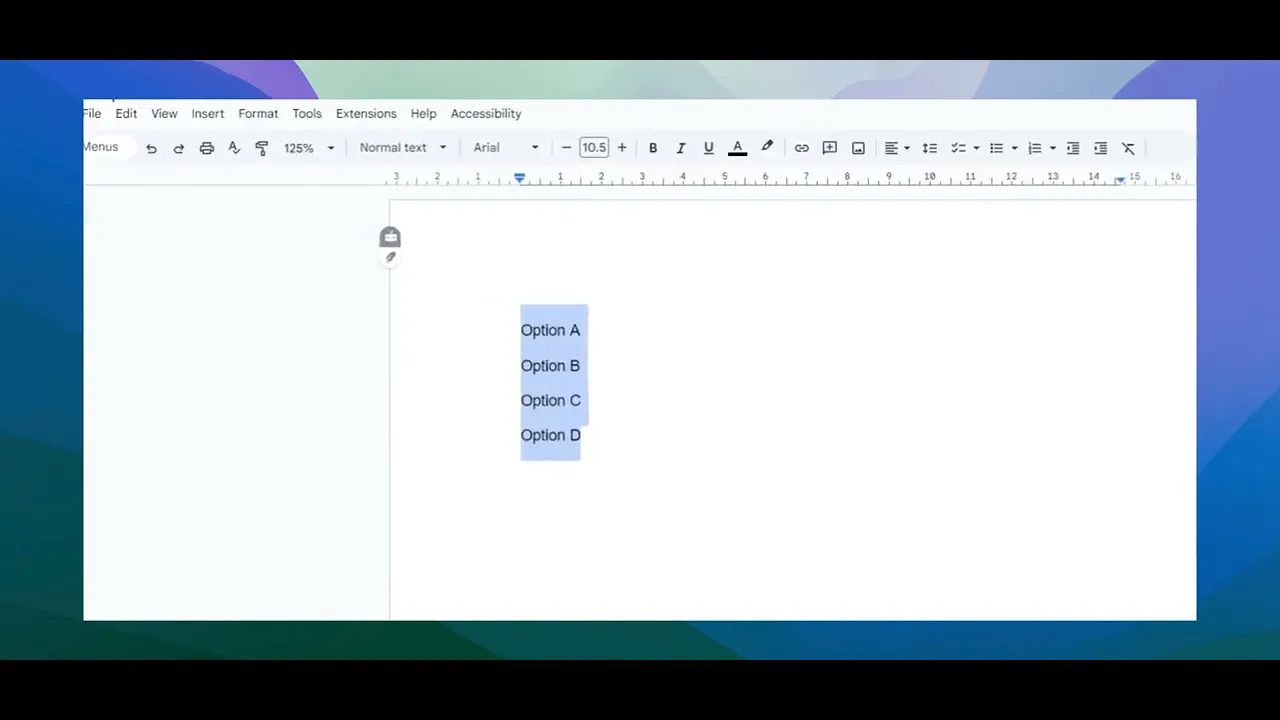
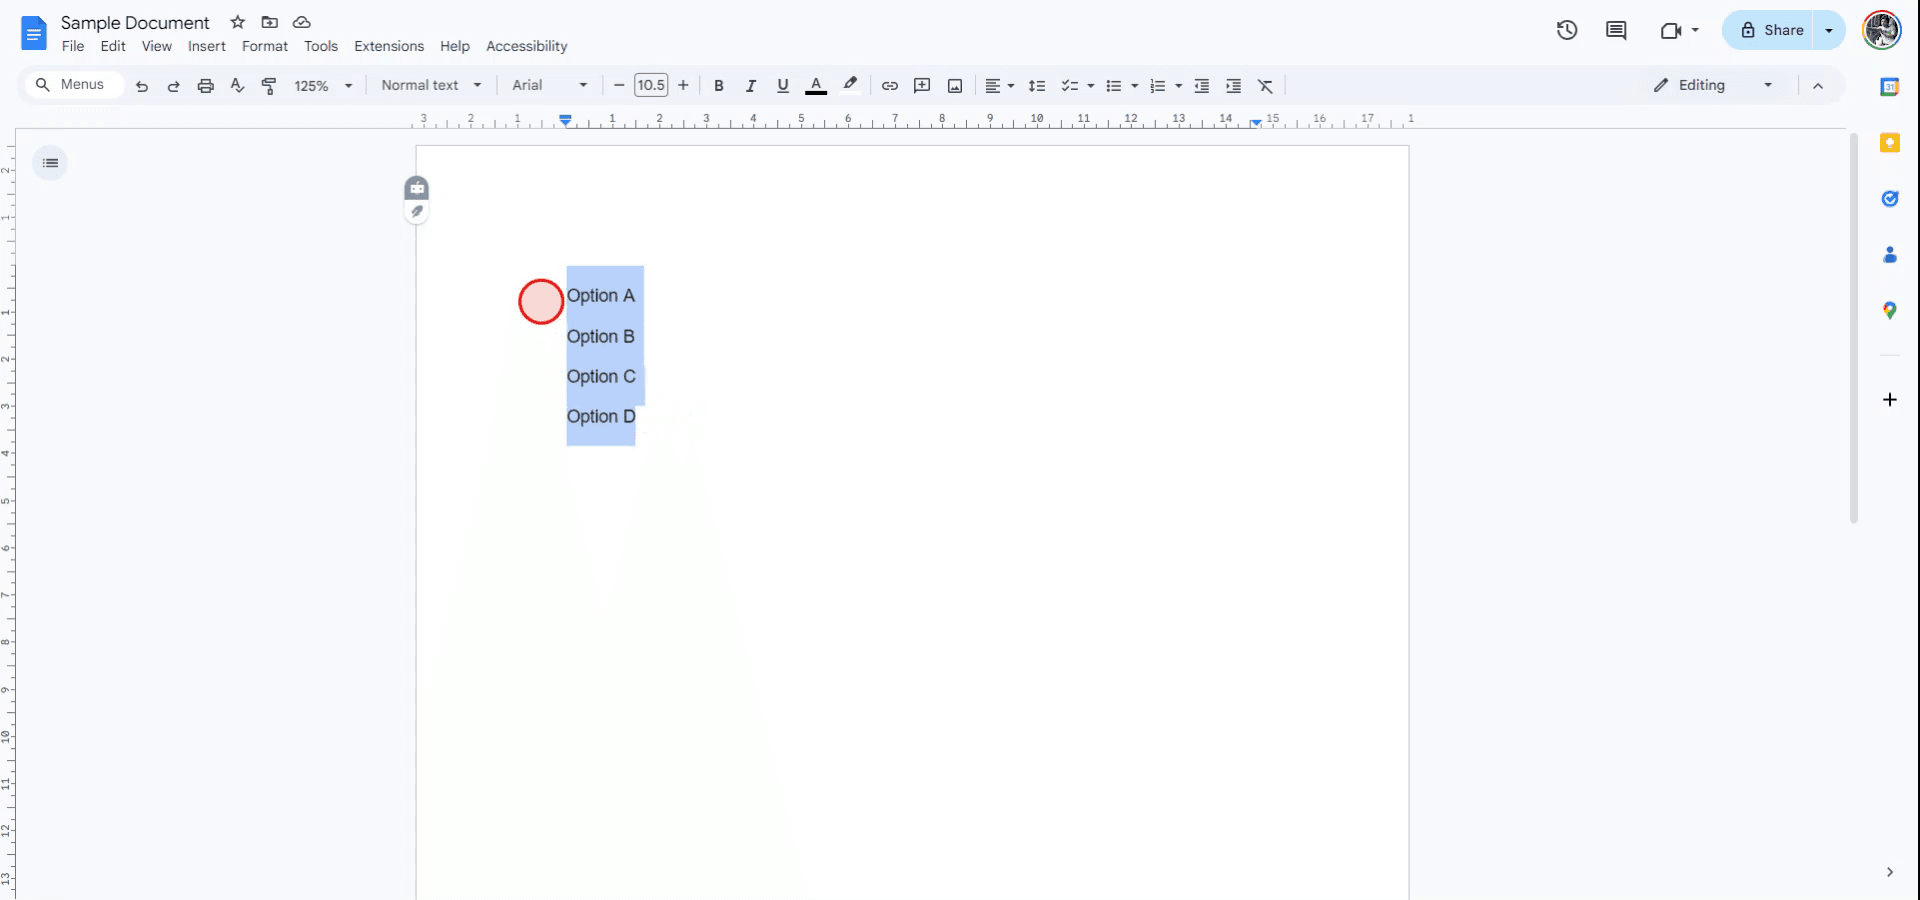
Highlight the text you want to turn into a checklist.
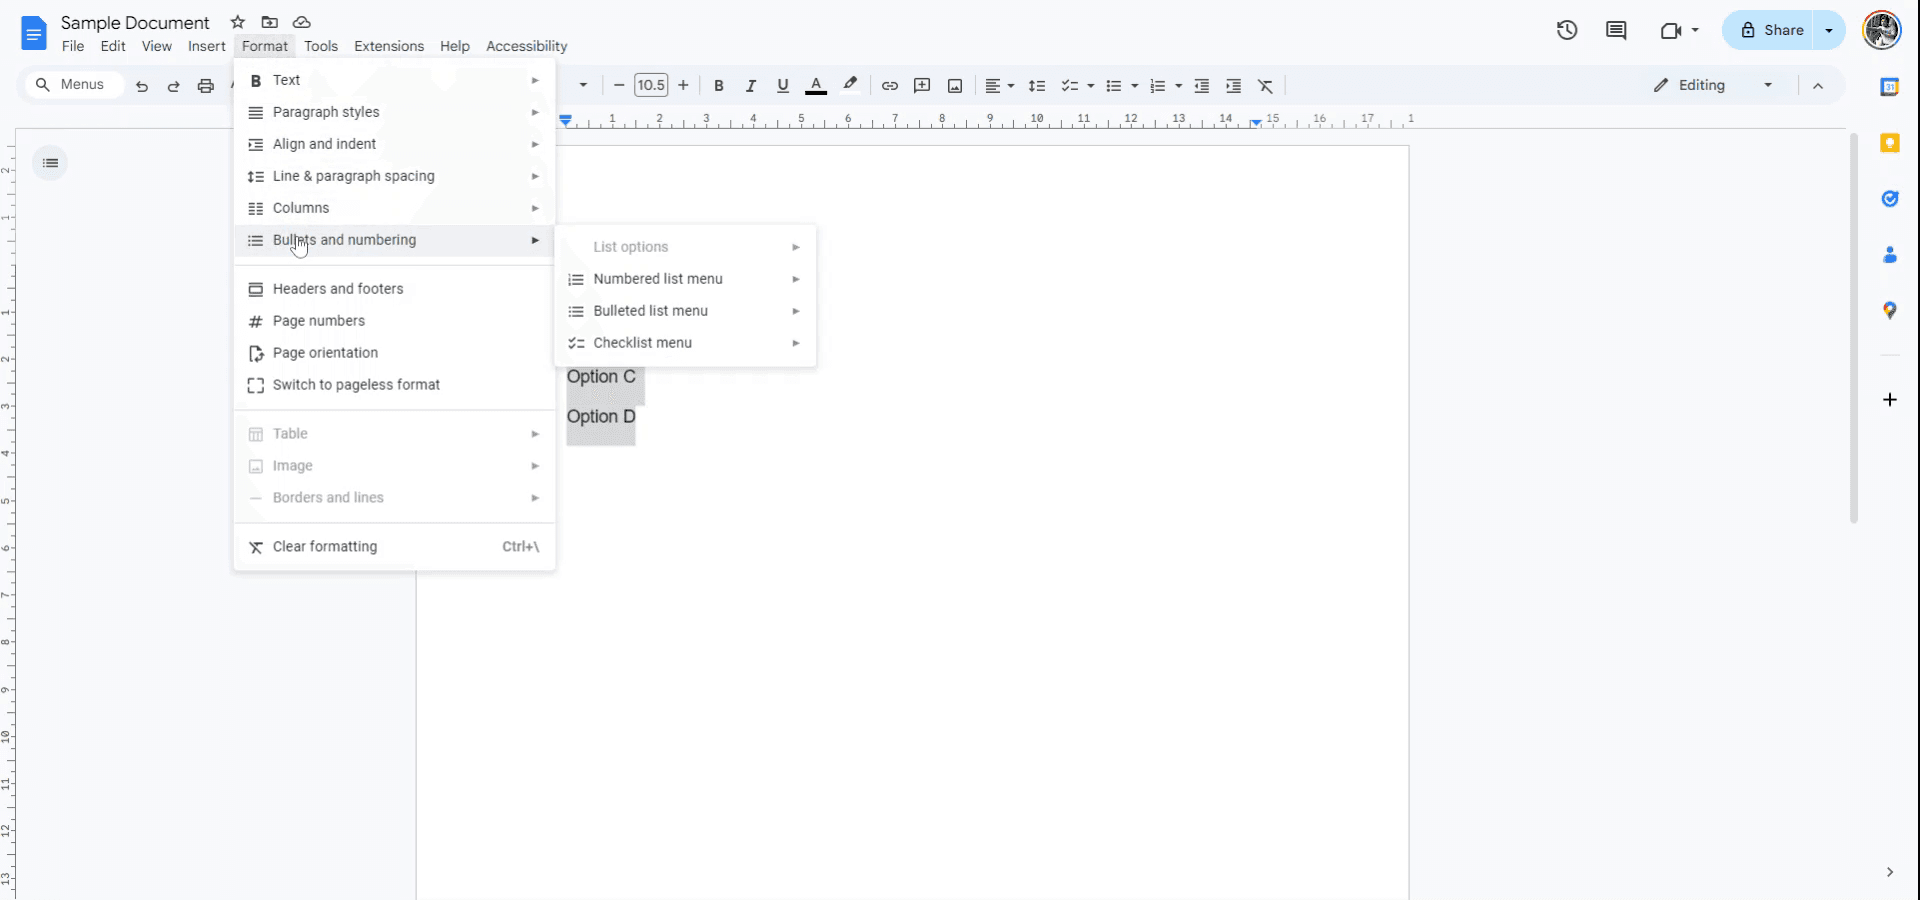
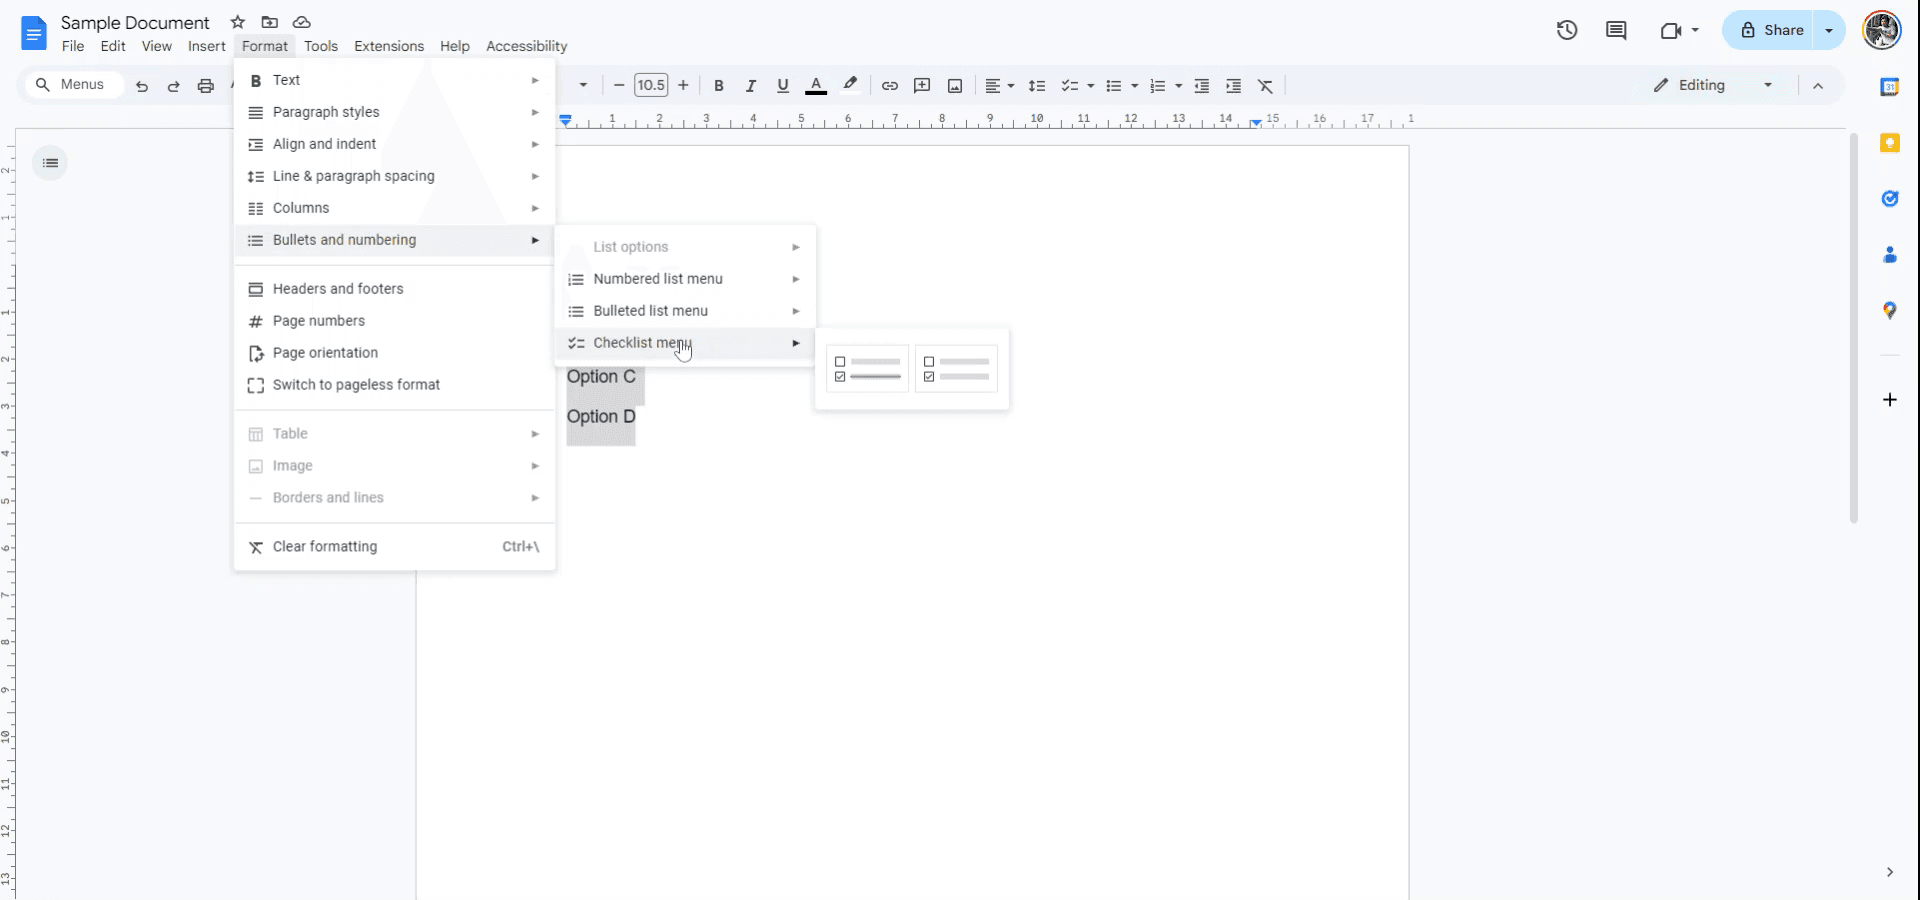
Go to Format > Bullets & numbering > Checklist.
Pick your preferred checkbox style — with or without a strikethrough.
Using the Toolbar:
Find the checklist icon in the toolbar (a small square with a checkmark).
Click it to insert checkboxes into your selected text or convert a list into a checklist.
Click the small arrow next to the icon to see more style options, like adding strikethrough on checked items.
Additional Notes:
If you don’t see the checklist icon, click the More button (three vertical dots) in the toolbar to reveal hidden tools.
On mobile, the process is pretty much the same — just use taps instead of clicks.
Step-by-Step Guide: How To Insert Checkbox In Google Docs
Step 1
To begin, open the Google Document in which you wish to insert checkboxes. After opening the document, select the text where you want the checkboxes to appear.
Step 2
With the text selected, navigate to the 'Format' menu. From the drop-down menu, locate the 'Bullets and Numbering' option.
Step 3
Within the 'Bullets and Numbering' sub-menu, choose the 'Checklist' option to convert the selected text into checkboxes.
You will now have two choices: one option allows for a checkbox to be crossed out when checked, and the other option displays a regular checkbox.
The selected text will now display the checkboxes according to your choice.
Pro Tips for successfully inserting checkboxes in google docs
Use the Built-In Checkbox Feature: To insert a checkbox, go to Insert > Checkbox. This automatically inserts an interactive checkbox that can be ticked on or off in Google Docs.
Create Interactive Lists: Use checkboxes in bulleted lists or as a task list by adding checkboxes before each item to create a to-do list or checklist.
Keyboard Shortcut for Checkboxes: Use Ctrl + Shift + 8 (Windows) or Cmd + Shift + 8 (Mac) to quickly add a checkbox list to your document.
Customize Checkbox Lists: You can customize the size, font, and style of the checkbox list items to make your checkboxes stand out or fit into the overall design of your document.
Use Checkboxes in Google Docs for Collaboration: Checkboxes are great for collaborative documents, allowing multiple users to mark tasks as completed or check off items on a shared checklist.
Common pitfalls and how to avoid them for Inserting checkboxes in google docs
Checkboxes Not Appearing in Print or Exported Document: Interactive checkboxes may not appear properly when the document is printed or exported as a PDF.
Fix: Use non-interactive checkboxes or ensure the document is viewed in a format that supports interactive features.Accidental Checkbox Removal: It’s easy to accidentally delete checkboxes while editing the document.
Fix: Ensure you’re only selecting the checkbox itself and not the whole line or paragraph to avoid removing the checkbox.Checkboxes Misaligned with Text: Sometimes the checkboxes might misalign with the text, especially in large documents with multiple columns.
Fix: Ensure proper alignment by adjusting the list format or using tables to keep items properly aligned.Checkbox Not Being Ticked Properly: In collaborative environments, checkboxes might not appear ticked when others are editing the document.
Fix: Refresh the document or ensure that each collaborator has edit access and is using compatible versions of Google Docs.Difficulty Managing Large Checkbox Lists: A long checklist might become hard to manage or visually overwhelming.
Fix: Break the list into smaller sections or use headings to group related tasks, keeping it organized and easy to navigate.
Common FAQs for inserting checkboxes in google docs
How do I insert a checkbox in Google Docs?
Go to Insert > Checkbox to add an interactive checkbox. Alternatively, use Ctrl + Shift + 8 (Windows) or Cmd + Shift + 8 (Mac) to quickly create a checkbox list.Can I create a checklist with checkboxes in Google Docs?
Yes, you can insert checkboxes in a bulleted or numbered list to create a checklist for tasks or items.Can the checkboxes in Google Docs be interacted with?
Yes, checkboxes in Google Docs are interactive and can be ticked on or off when viewing the document in editing mode.How do I format a checkbox list in Google Docs?
After inserting the checkboxes, you can customize the font, size, and alignment of the text next to the checkboxes to match the document’s style.Can I print checkboxes from Google Docs?
Checkboxes are interactive within Google Docs, but if you want them to appear correctly when printed, ensure the document is formatted appropriately for print (consider non-interactive checkboxes for printing).How to screen record on mac?
To screen record on a Mac, you can use Trupeer AI. It allows you to capture the entire screen and provides AI capabilities such as adding AI avatars, add voiceover, add zoom in and out in the video. With trupeer’s AI video translation feature, you can translate the video into 30+ languages.How to add an AI avatar to screen recording?
To add an AI avatar to a screen recording, you'll need to use an AI screen recording tool. Trupeer AI is an AI screen recording tool, which helps you create videos with multiple avatars, also helps you in creating your own avatar for the video.How to screen record on windows?
To screen record on Windows, you can use the built-in Game Bar (Windows + G) or advanced AI tool like Trupeer AI for more advanced features such as AI avatars, voiceover, translation etc.How to add voiceover to video?
To add voiceover to videos, download trupeer ai chrome extension. Once signed up, upload your video with voice, choose the desired voiceover from trupeer and export your edited video.How do I Zoom in on a screen recording?
To zoom in during a screen recording, use the zoom effects in Trupeer AI which allows you to zoom in and out at specific moments, enhancing the visual impact of your video content.
Suggested Reads
Technical Documentation Generator
How to Add a Drop-Down Menu in Google Docs
How to Add Subheading in Google Docs
How to Type the TM (™) Symbol in Google Docs
Related Tutorials

