

Google スプレッドシートでセルのサイズを大きくする方法
行と列のサイズを変更して、Google スプレッドシートのセルサイズを調整する方法を学びましょう。このガイドでは、スプレッドシートのレイアウトをカスタマイズするための簡単な方法を紹介します。
この手順では、行または列のサイズを調整して Google スプレッドシートのセルの大きさを変更する方法を説明します。
セル内で縦横どちらか、または両方のスペースを広げたい場合は、行の高さや列の幅を簡単に調整できます。 Google スプレッドシート では、手動でドラッグする方法と、正確な数値を入力してサイズ変更する方法の両方を利用できます。
1. 列のサイズ変更:
列の境界をドラッグする:
列見出し(文字が表示されている部分)の右端にマウスを移動します。両矢印が表示されたら、クリックしてドラッグし、列を広げます。
右クリックしてサイズを変更する:
列の文字を右クリックし、「列のサイズを変更」を選択して、幅をピクセルで入力します。または、「データに合わせる」を選択して、Google スプレッドシートが内容に基づいて自動調整するようにすることもできます。
2. 行のサイズ変更:
行の境界をドラッグする:
カーソルを行番号の下端に合わせます。両矢印が表示されたら、境界をドラッグして行の高さを高くします。
右クリックしてサイズを変更する:
行番号を右クリックし、「行のサイズを変更」を選択して、希望の高さを入力します。必要に応じて、ここでも「データに合わせる」を選択できます。
3. その他のオプション:
自動サイズ調整:
行または列の端をダブルクリックすると、内容にぴったり合うように自動でサイズ変更されます。
複数を一度にサイズ変更する:
複数の行または列を選択し、いずれかの境界をドラッグするか、右クリックしてサイズを変更することで、まとめて調整できます。
[書式]メニューを使用する:
さらに細かく調整したい場合は、[書式]メニューに移動すると、他のレイアウトオプションとともにセルのサイズを細かく設定できます。
ステップごとのガイド: Google スプレッドシートでセルサイズを大きくする方法
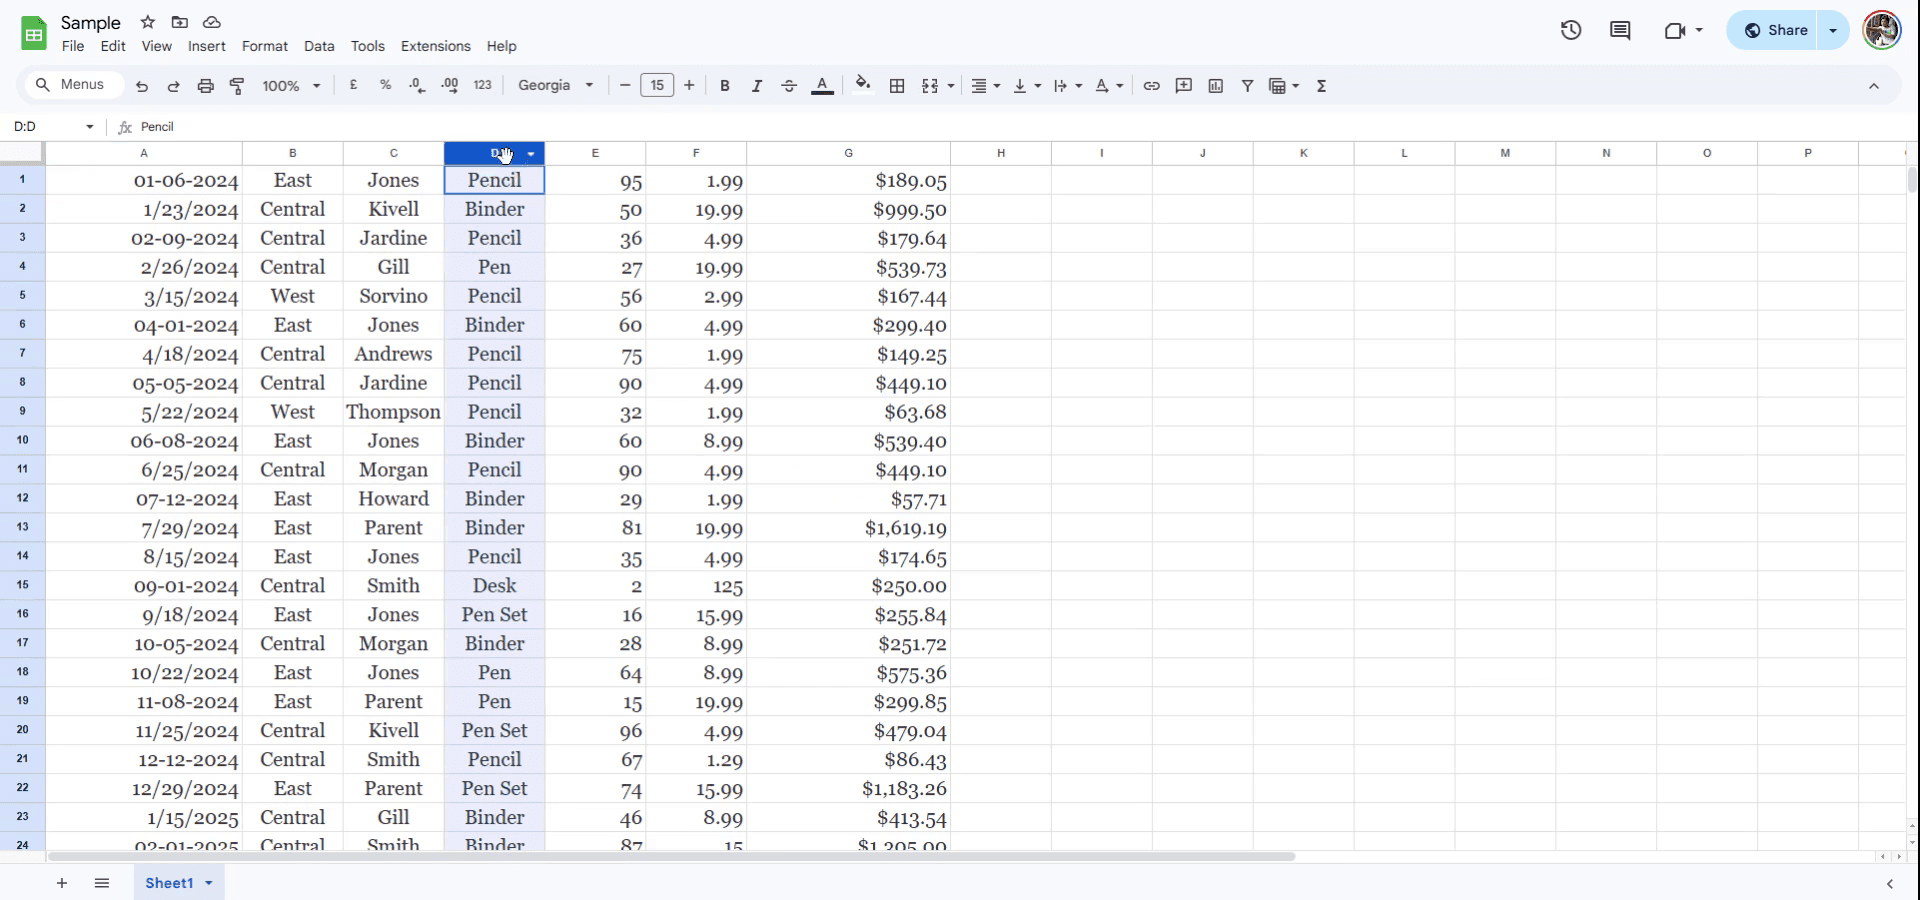
ステップ 1
行または列のサイズを変更するには、まず対象の行番号または列の文字見出しを選択します。この例では、列 D が選択されています。
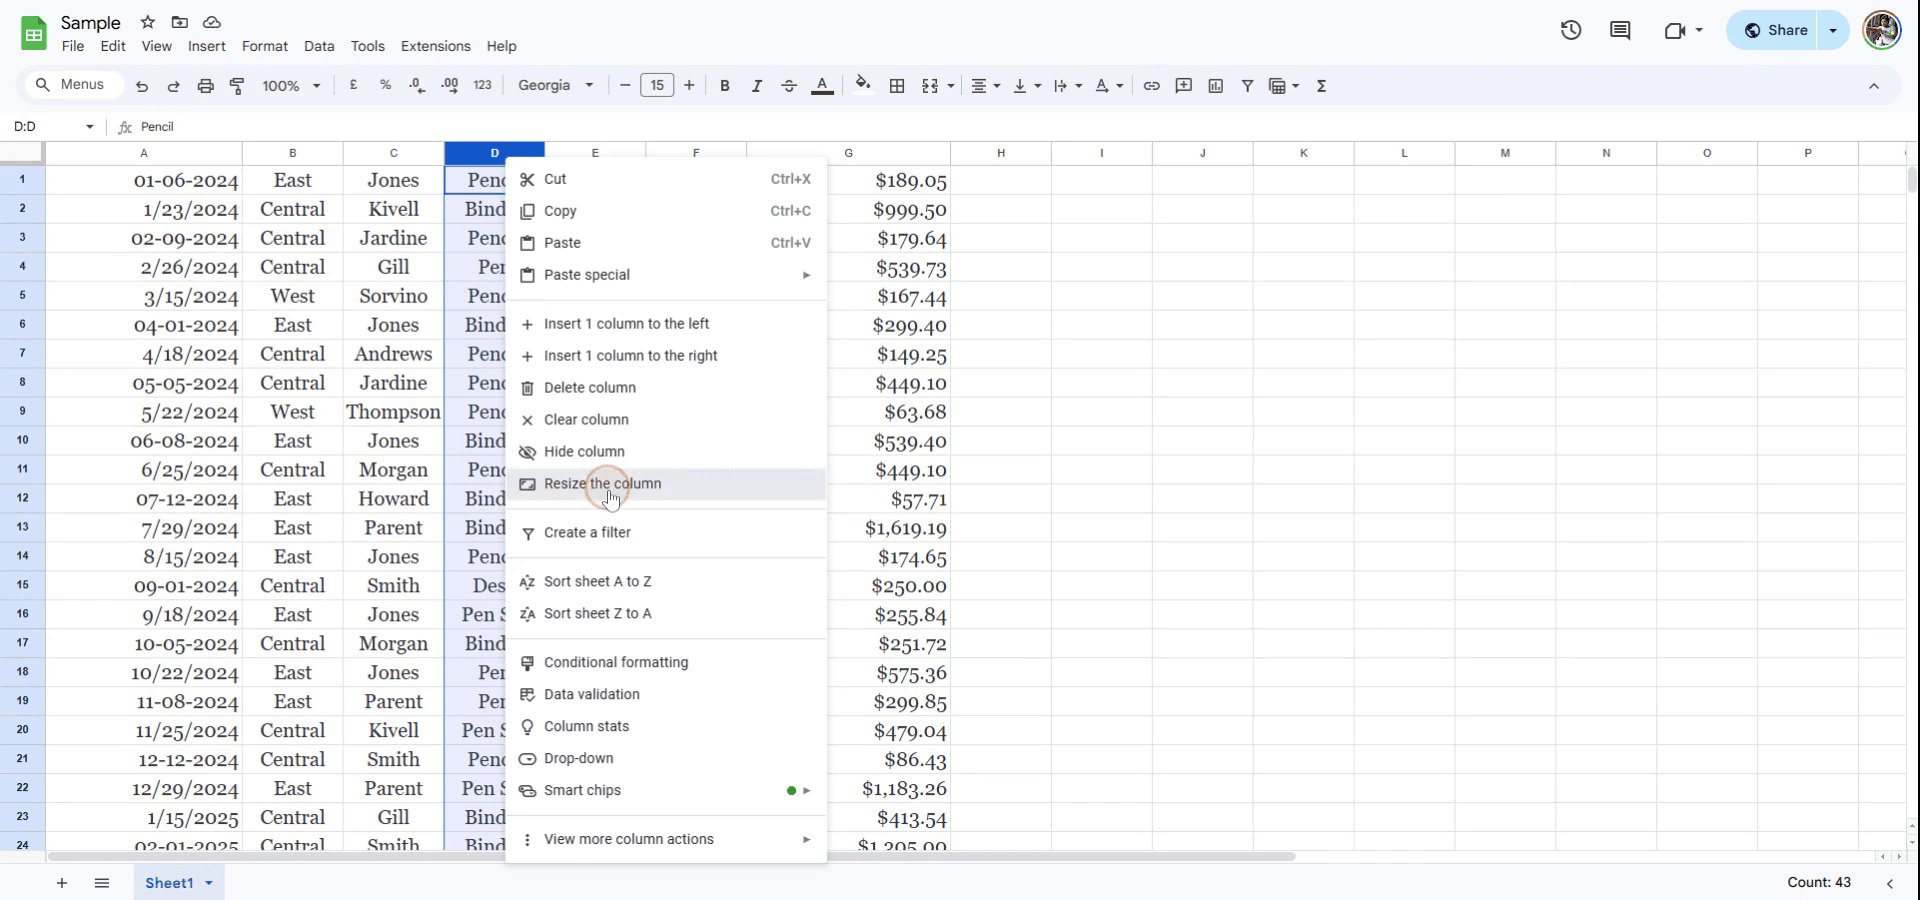
ステップ 2
次に、選択した行または列の見出しを右クリックします。表示されるコンテキストメニューから、選択内容に応じて列または行のサイズを変更するオプションを選びます。
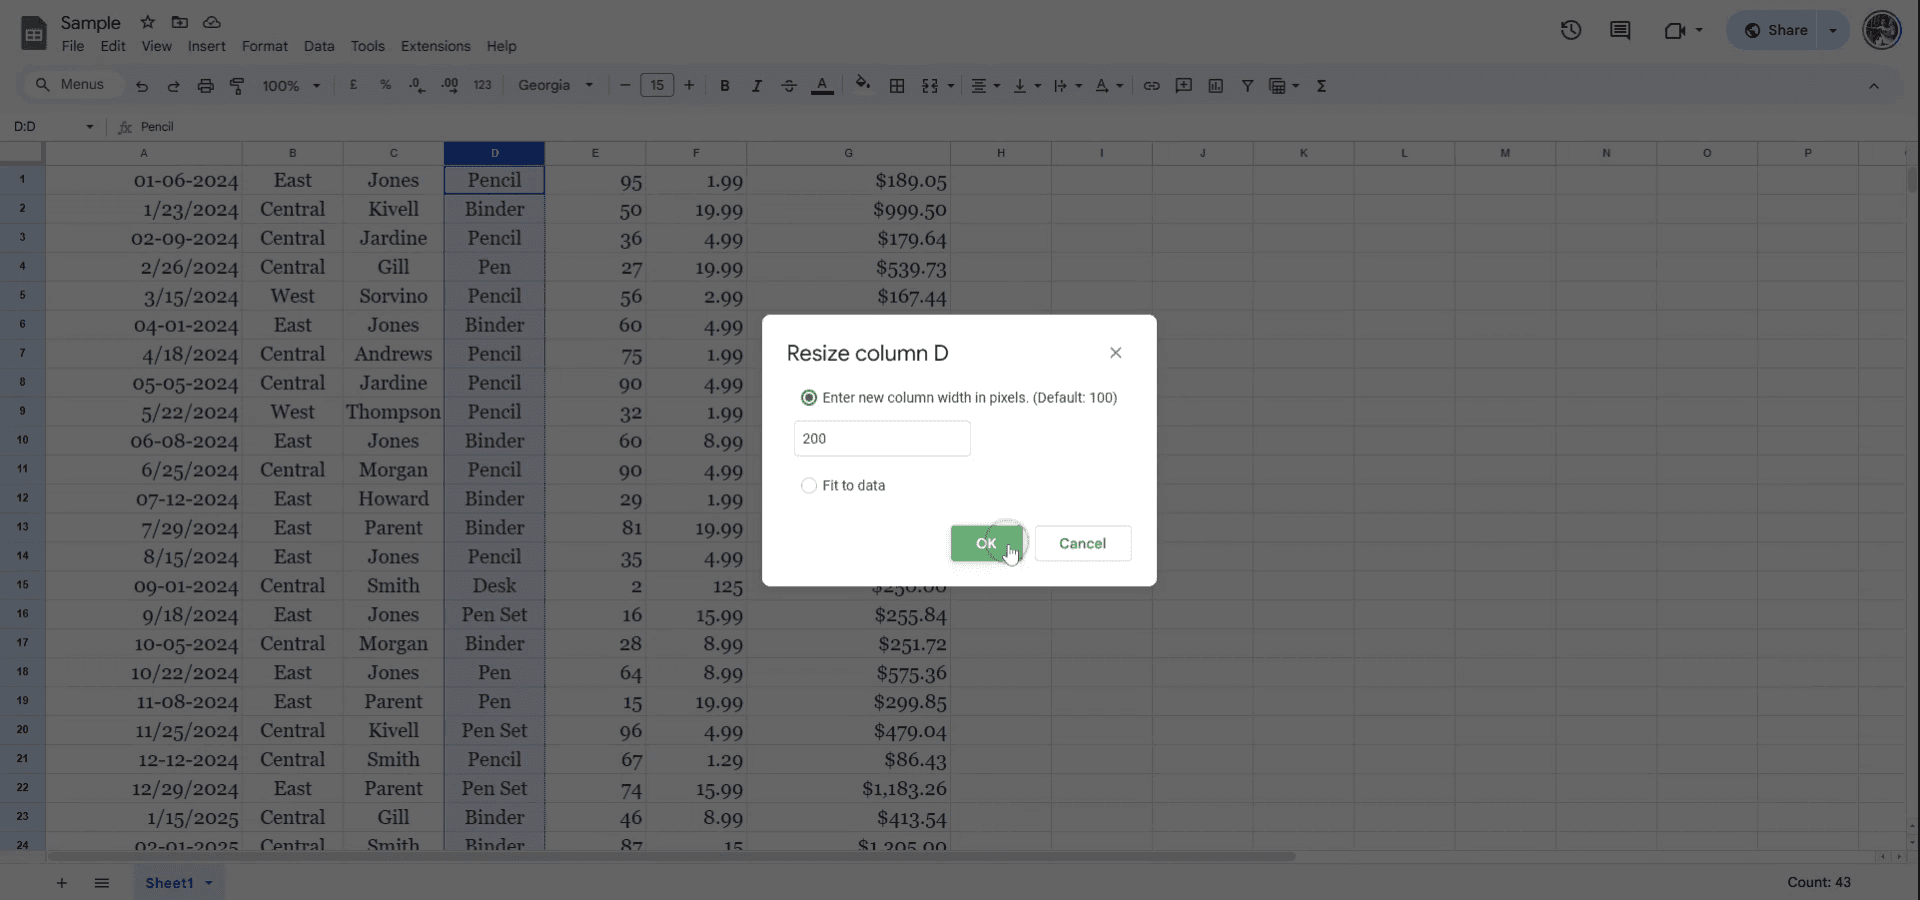
ステップ 3
必要に応じて、新しいピクセルサイズを入力できます。あるいは、データに自動で合わせることもできます。選択したら、「OK」をクリックして変更を適用します。これで、行または列のサイズがそれぞれ変更されます。
Google スプレッドシートでセルのサイズを大きくするためのプロのヒント
列/行を手動でサイズ変更する: 列/行の文字や数字の間の線に双方向矢印が表示されるまでカーソルを合わせ、表示されたらクリックしてドラッグし、セルのサイズを変更します。
サイズ変更オプションを使う: 列または行の見出しを右クリックし、「列のサイズを変更」または「行のサイズを変更」を選んで、ピクセル単位で具体的なサイズを入力します。
内容に合わせて自動調整する: 列や行の間の線をダブルクリックすると、セル内の内容に基づいて自動的にサイズが調整されます。
Google スプレッドシートでセルのサイズを大きくする際のよくある落とし穴と回避方法
誤って大きくしすぎる: 列/行の境界を引きすぎると、セルが大きくなりすぎて不要な余白が生じることがあります。対処法: より細かく調整するには「サイズ変更」オプションを使うか、ダブルクリックして自動調整します。
列と行の両方をサイズ変更しない: 幅と高さの両方を大きくする必要がある場合は、列と行の両方を調整してください。対処法: シート全体を選択し(左上隅をクリック)、複数の列または行を同時にサイズ変更します。
複数の列/行でサイズが揃わない: すべての列/行が均一にサイズ変更されるとは限りません。対処法: サイズ変更する前に「Shift」を押しながら複数の列または行を選択すると、変更を一度にすべてに適用できます。
Google Sheets でセルサイズを大きくするためのよくある質問
Sheets で列幅を広げるにはどうすればよいですか?
列見出しの境界線にカーソルを合わせ、右にドラッグして幅を広げます。別の方法として、列を右クリックして「列のサイズを変更」を選択します。Sheets で行の高さを調整するにはどうすればよいですか?
行見出しの境界線にカーソルを合わせて下にドラッグし高さを増やすか、右クリックして「行のサイズを変更」を選ぶと、より正確に調整できます。複数の列や行を一度にサイズ変更できますか?
はい。「Shift」を押しながら見出しをクリックして複数の列/行を選択し、その後ドラッグするか「サイズ変更」オプションを使って同時に変更できます。Mac で画面録画するには?
Mac で画面録画するには、Trupeer AI を使用できます。画面全体をキャプチャでき、AI アバターの追加、ナレーションの追加、動画内でのズームイン/ズームアウトなどの AI 機能を提供します。Trupeer の AI 動画翻訳機能を使えば、動画を 30 以上の言語に翻訳できます。画面録画に AI アバターを追加するには?
画面録画に AI アバターを追加するには、AI 画面録画ツールを使用する必要があります。Trupeer AI は AI 画面録画ツールで、複数のアバターを使った動画の作成を支援し、さらに動画用の自分自身のアバター作成もサポートします。Windows で画面録画するには?
Windows で画面録画するには、標準搭載の Game Bar(Windows + G)を使うか、AI アバター、ナレーション、翻訳などのより高度な機能を備えた Trupeer AI のような高度な AI ツールを使用できます。動画にナレーションを追加するには?
動画にナレーションを追加するには、trupeer ai の Chrome 拡張機能をダウンロードしてください。サインアップ後、音声付きの動画をアップロードし、Trupeer から希望のナレーションを選択して、編集済みの動画を書き出します。画面録画でズームインするにはどうすればよいですか?
画面録画中にズームインするには、Trupeer AI のズーム効果を使用すると、特定の瞬間にズームイン/ズームアウトでき、動画コンテンツの視覚的なインパクトを高められます。
おすすめの読み物
関連チュートリアル

