

Microsoft Excelでルーラーを有効にする方法
Microsoft Excelでルーラーを有効にして、ワークシートを正確に整列・書式設定する方法をご紹介します。手順を追った説明も含まれています。
より詳しい内訳は次のとおりです:
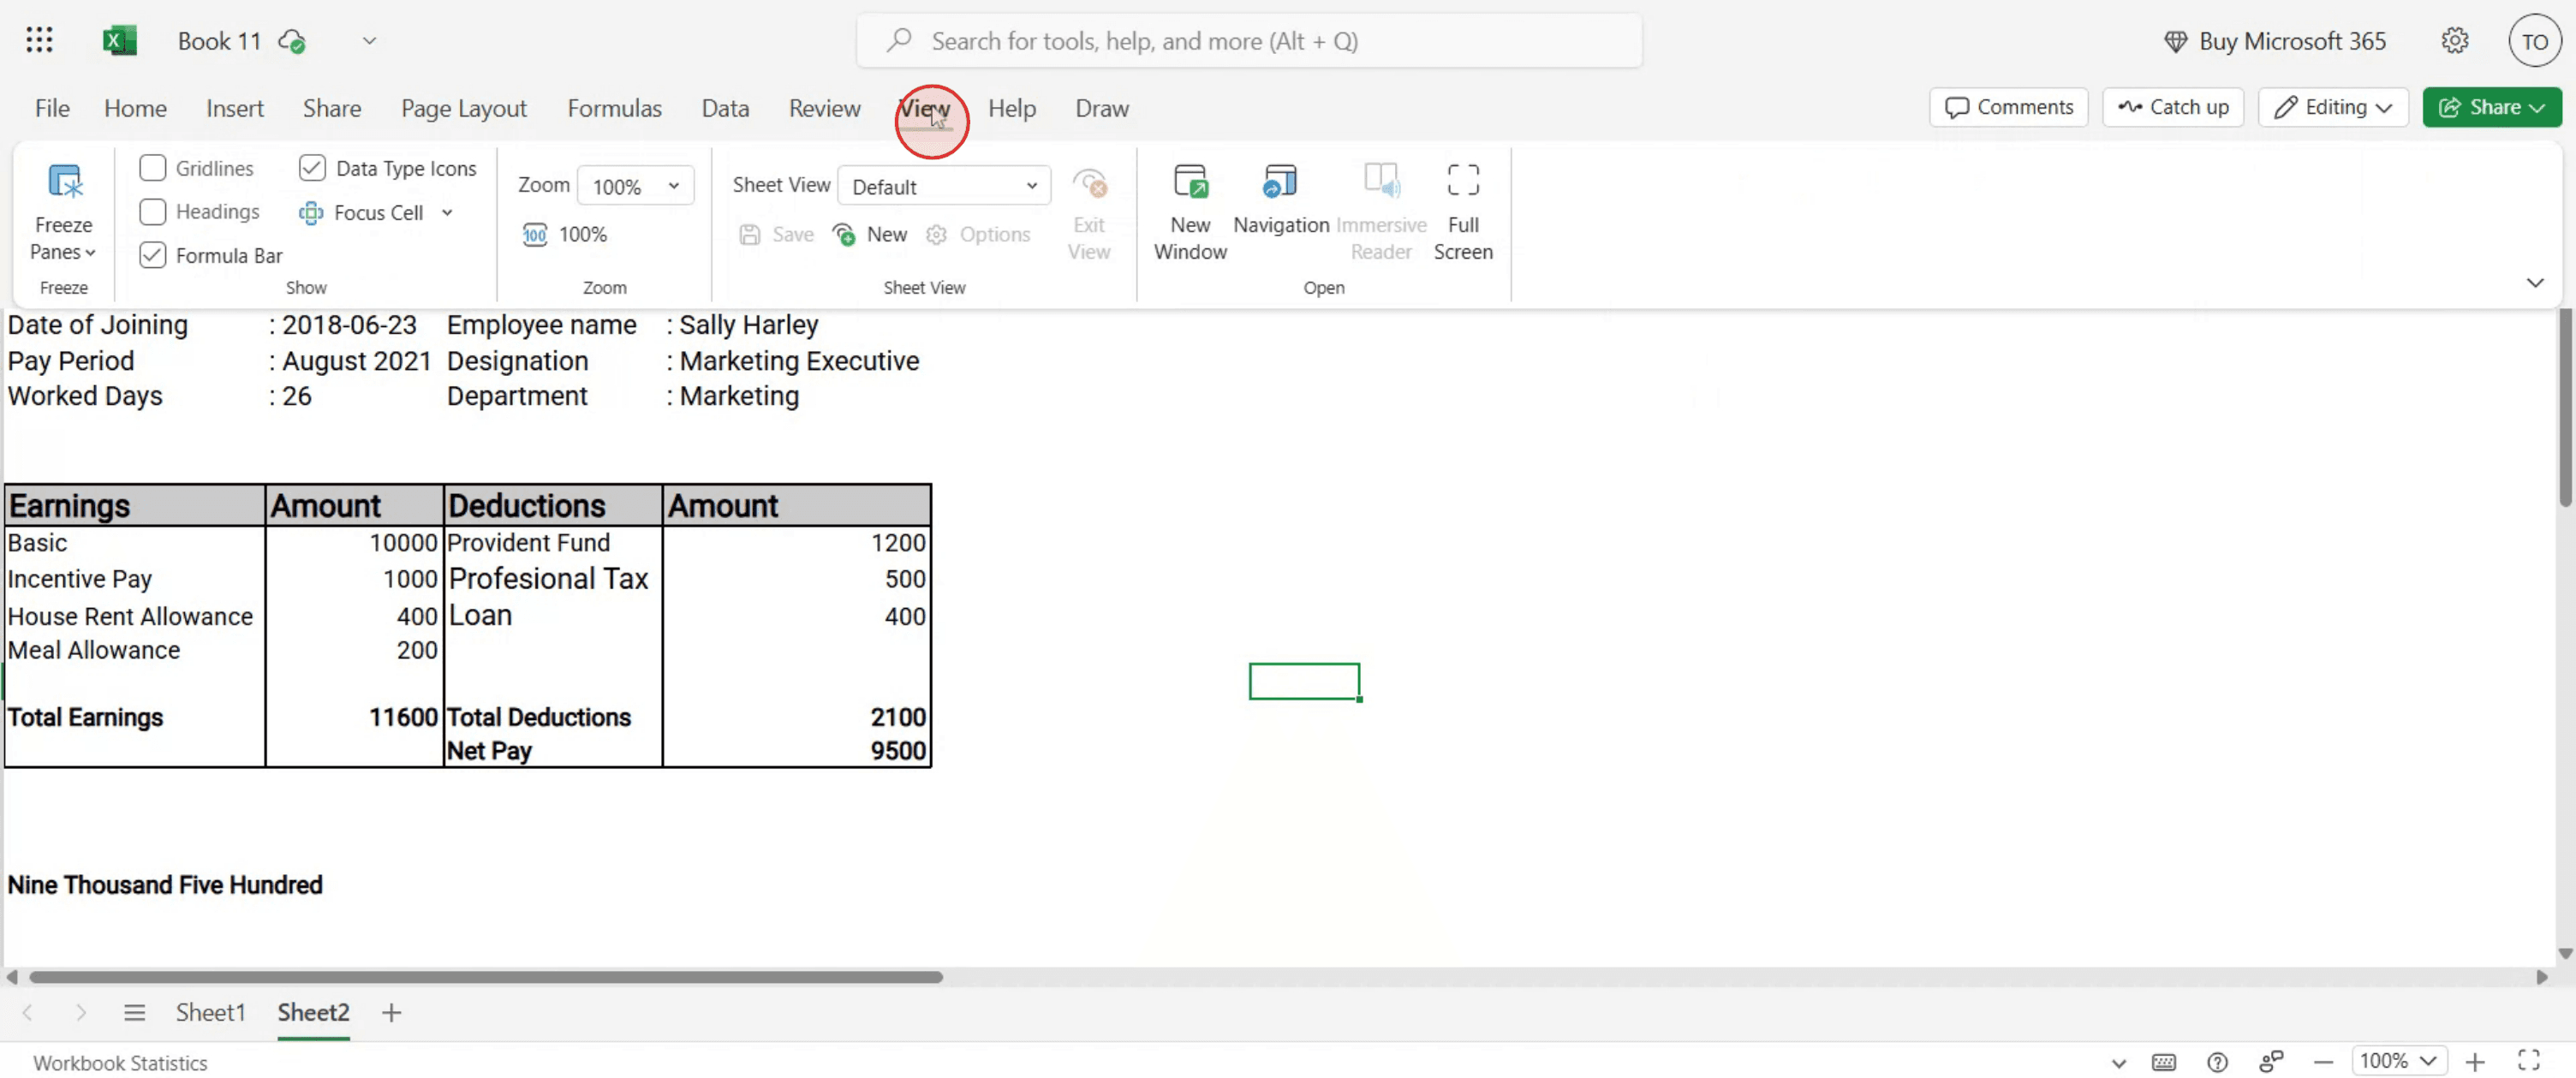
1. Excel を開き、ページ レイアウト表示に切り替えます。ルーラーは、ブックがページ レイアウト表示のときにのみ表示されます。
この表示に切り替えるには、リボンの [表示]タブ をクリックし、次に[ページ レイアウト]を選択します。
2. ルーラーを有効にする: ページ レイアウト表示になったら、[表示]タブの[表示]グループ内にある[ルーラー]オプションを見つけます。
3. チェックボックスをオンにする: "[ルーラー]" の横にあるチェックボックスをクリックして表示します。
4. ルーラーを表示する: これで、ワークシートの上部に水平ルーラー、左側に垂直ルーラーが表示されるはずです。
ステップバイステップガイド: Microsoft Excel でルーラーを有効にする方法
ステップ 1
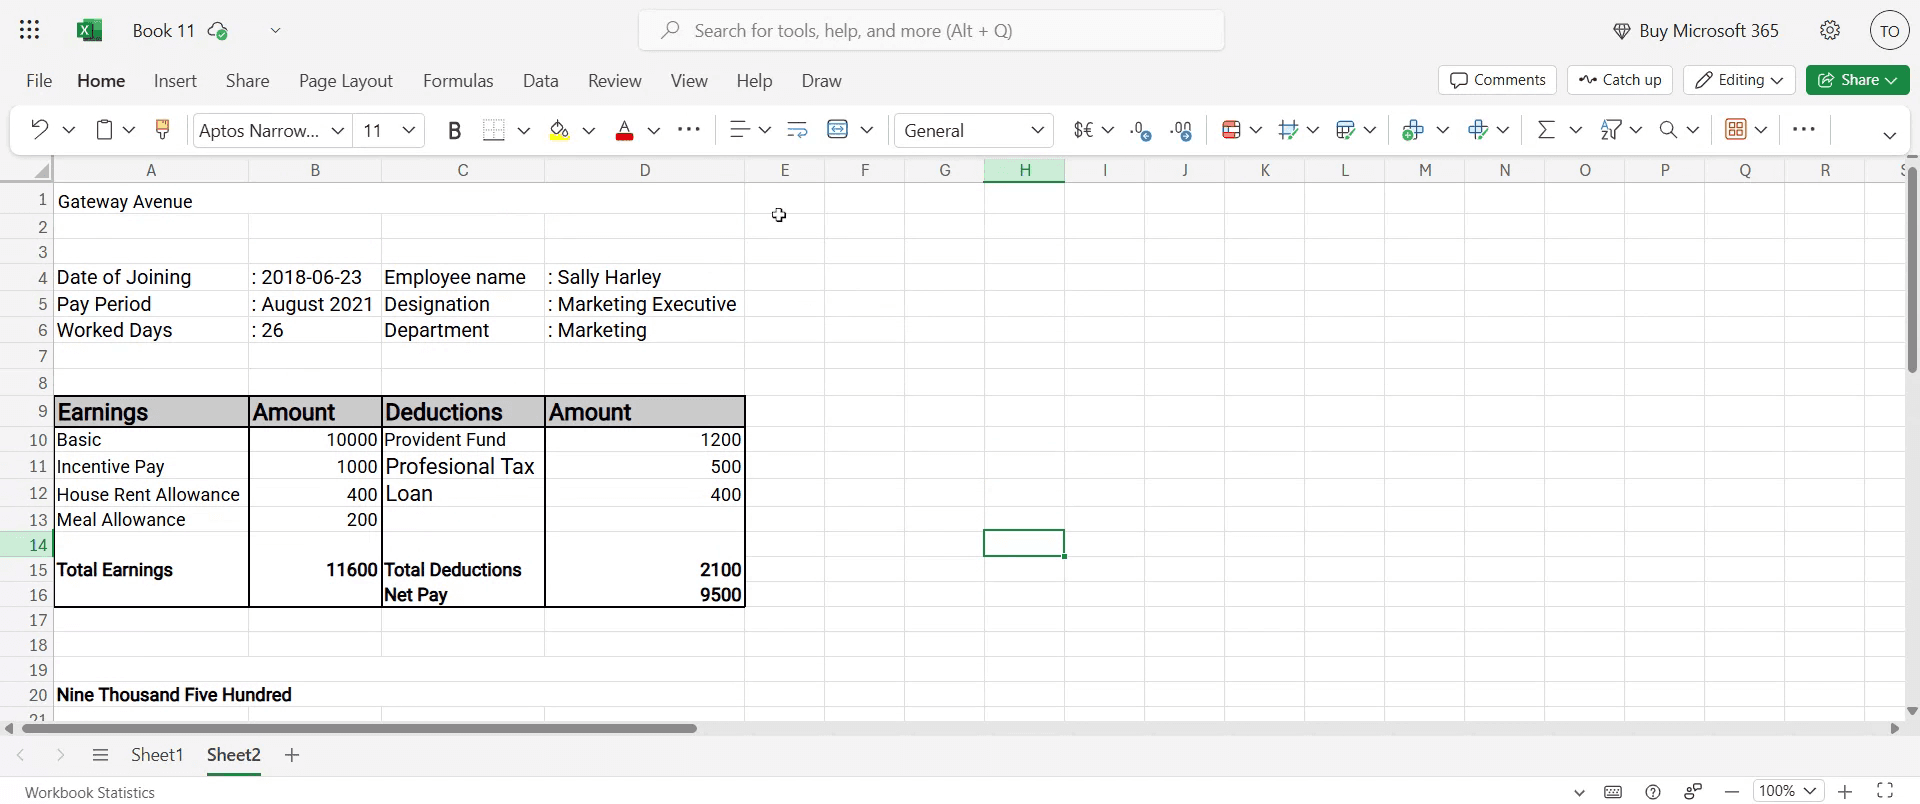
[表示]オプションを選択します。
ステップ 2
[見出し & ガイドライン]オプションを見つけます。このオプションを有効にすると、シートにルーラーとガイドラインが追加されます。

ステップ 3
設定は完了しました。手順に従っていただき、ありがとうございます。
Microsoft Excelでルーラーを有効にするためのプロのヒント
ページ レイアウト表示に切り替える
ルーラーはページ レイアウト表示でのみ表示されます。リボンの[表示]タブに移動し、[ページ レイアウト]をクリックして表示します。[表示]タブを使って素早くアクセスする
[表示]タブで、[表示]グループの[ルーラー]チェックボックスをオンにすると、ルーラーの表示/非表示をすぐに切り替えられます。より正確にするためにズームを調整する
ルーラーでオブジェクトを測定または配置するときは、拡大してより正確に配置します。列幅には水平ルーラーを使う
上部のルーラーは、特定の測定値に合わせて列幅を視覚的に調整するのに最適です。印刷設定でルーラーを活用する
印刷用文書を準備するときは、ルーラーを使って余白やレイアウトが希望どおりの印刷結果になるようにします。
よくある落とし穴と回避方法
通常表示でルーラーを探してしまう
ルーラーは通常表示では表示されません。ページ レイアウト表示に切り替えて有効にします。ルーラーのチェックを忘れる
ページ レイアウト表示でも、表示するには[表示]タブの[ルーラー]チェックボックスをオンにする必要があります。グリッド線とルーラーを混同する
グリッド線はセルの境界を示し、ルーラーは距離を単位(インチ/cm)で測定します。両者を混同しないでください。必要に合った単位にしていない
ルーラーはExcelのオプションで設定された単位(インチ、cm、mm)を使用します。より正確にするには、[ファイル]>[オプション]>[詳細設定]>[表示]から変更してください。Excel Onlineでルーラーを期待してしまう
Excel のWeb版では、現在ルーラー機能はサポートされていません。代わりにデスクトップ版を使用してください。
Microsoft Excel でルーラーを有効にする方法に関するよくある質問
Excel でルーラーが表示されないのはなぜですか?
[ページ レイアウト]表示になっており、[表示]タブで[ルーラー]チェックボックスがオンになっていることを確認してください。ルーラーの単位を変更できますか?
はい。[ファイル]>[オプション]>[詳細設定]>[表示]に移動し、希望する測定単位を選択してください。ルーラーには縦方向の測定も表示されますか?
はい。[ページ レイアウト]表示では、正確に配置するための横方向と縦方向のルーラーの両方が表示されます。ルーラーを使って図形や画像を整列できますか?
はい。ルーラーは、グラフィック、グラフ、図形を正確に配置するのに特に便利です。ルーラーは印刷結果に影響しますか?
いいえ。ルーラーは画面上での測定用であり、文書と一緒には印刷されません。Macで画面録画するには?
Macで画面録画をするには、Trupeer AIを使用できます。画面全体をキャプチャでき、AI アバターの追加、ナレーションの追加、動画内でのズームイン・ズームアウトなどのAI機能も利用できます。trupeer の AI 動画翻訳機能を使えば、30以上の言語に動画を翻訳できます。画面録画にAIアバターを追加するには?
画面録画にAIアバターを追加するには、AI画面録画ツールを使用する必要があります。Trupeer AI は AI 画面録画ツールで、複数のアバターを使った動画の作成や、動画用の自分専用アバターの作成もサポートします。Windowsで画面録画するには?
Windowsで画面録画するには、内蔵の Game Bar(Windows + G)を使うか、Trupeer AI のような高度な AI ツールを使って、AI アバター、ナレーション、翻訳などのより高度な機能を利用できます。動画にナレーションを追加するには?
動画にナレーションを追加するには、trupeer ai の Chrome 拡張機能をダウンロードしてください。サインアップ後、音声付きの動画をアップロードし、trupeer から希望のナレーションを選択して、編集した動画を書き出します。画面録画でズームインするには?
画面録画中にズームインするには、Trupeer AI のズーム効果を使用します。これにより、特定の瞬間にズームイン・ズームアウトでき、動画コンテンツの視覚的なインパクトを高められます。
おすすめ記事
関連チュートリアル

