
Come creare testo curvo in Canva
Scopri come creare testo curvo in Canva con pochi clic. Guida passo passo per dare ai tuoi design un tocco creativo e professionale.
Per creare testo curvo in Canva, seleziona il tuo testo e vai all'opzione "Effetti" nella barra degli strumenti in alto. Scegli l'effetto "Curva" e regola l'intensità della curva usando il cursore. Puoi anche modificare la spaziatura tra le lettere per avvolgere il testo attorno a forme come i cerchi
Ecco una spiegazione più dettagliata:
Apri il tuo progetto: Inizia aprendo il design di Canva in cui vuoi aggiungere testo curvo.
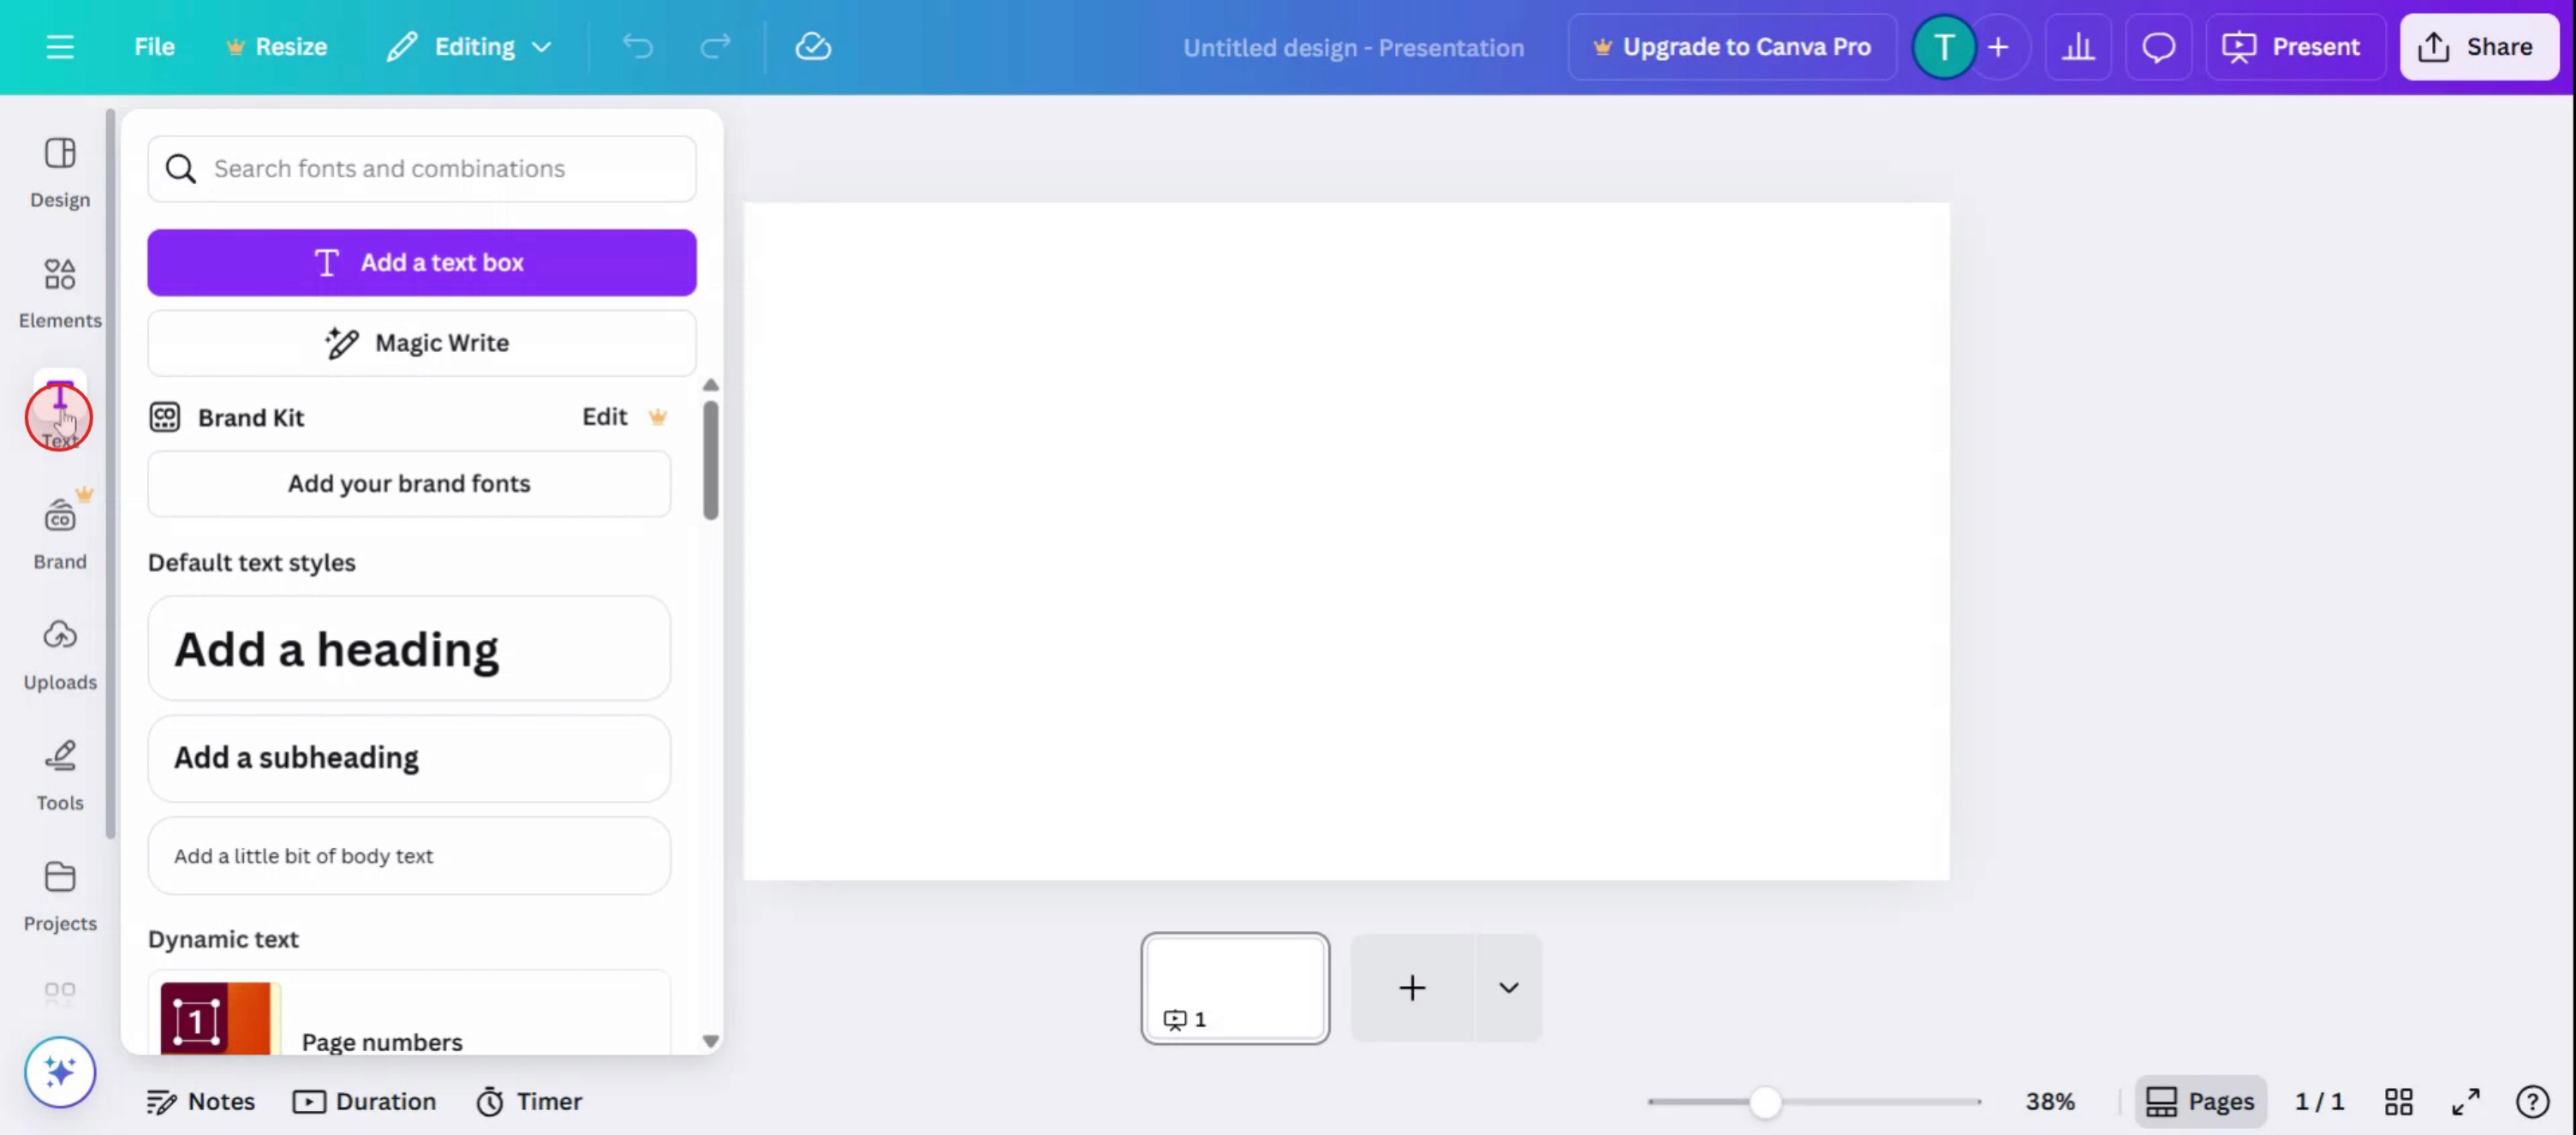
Aggiungi testo: Fai clic sull'opzione "Testo" nella barra laterale e aggiungi una casella di testo. Digita il testo desiderato.
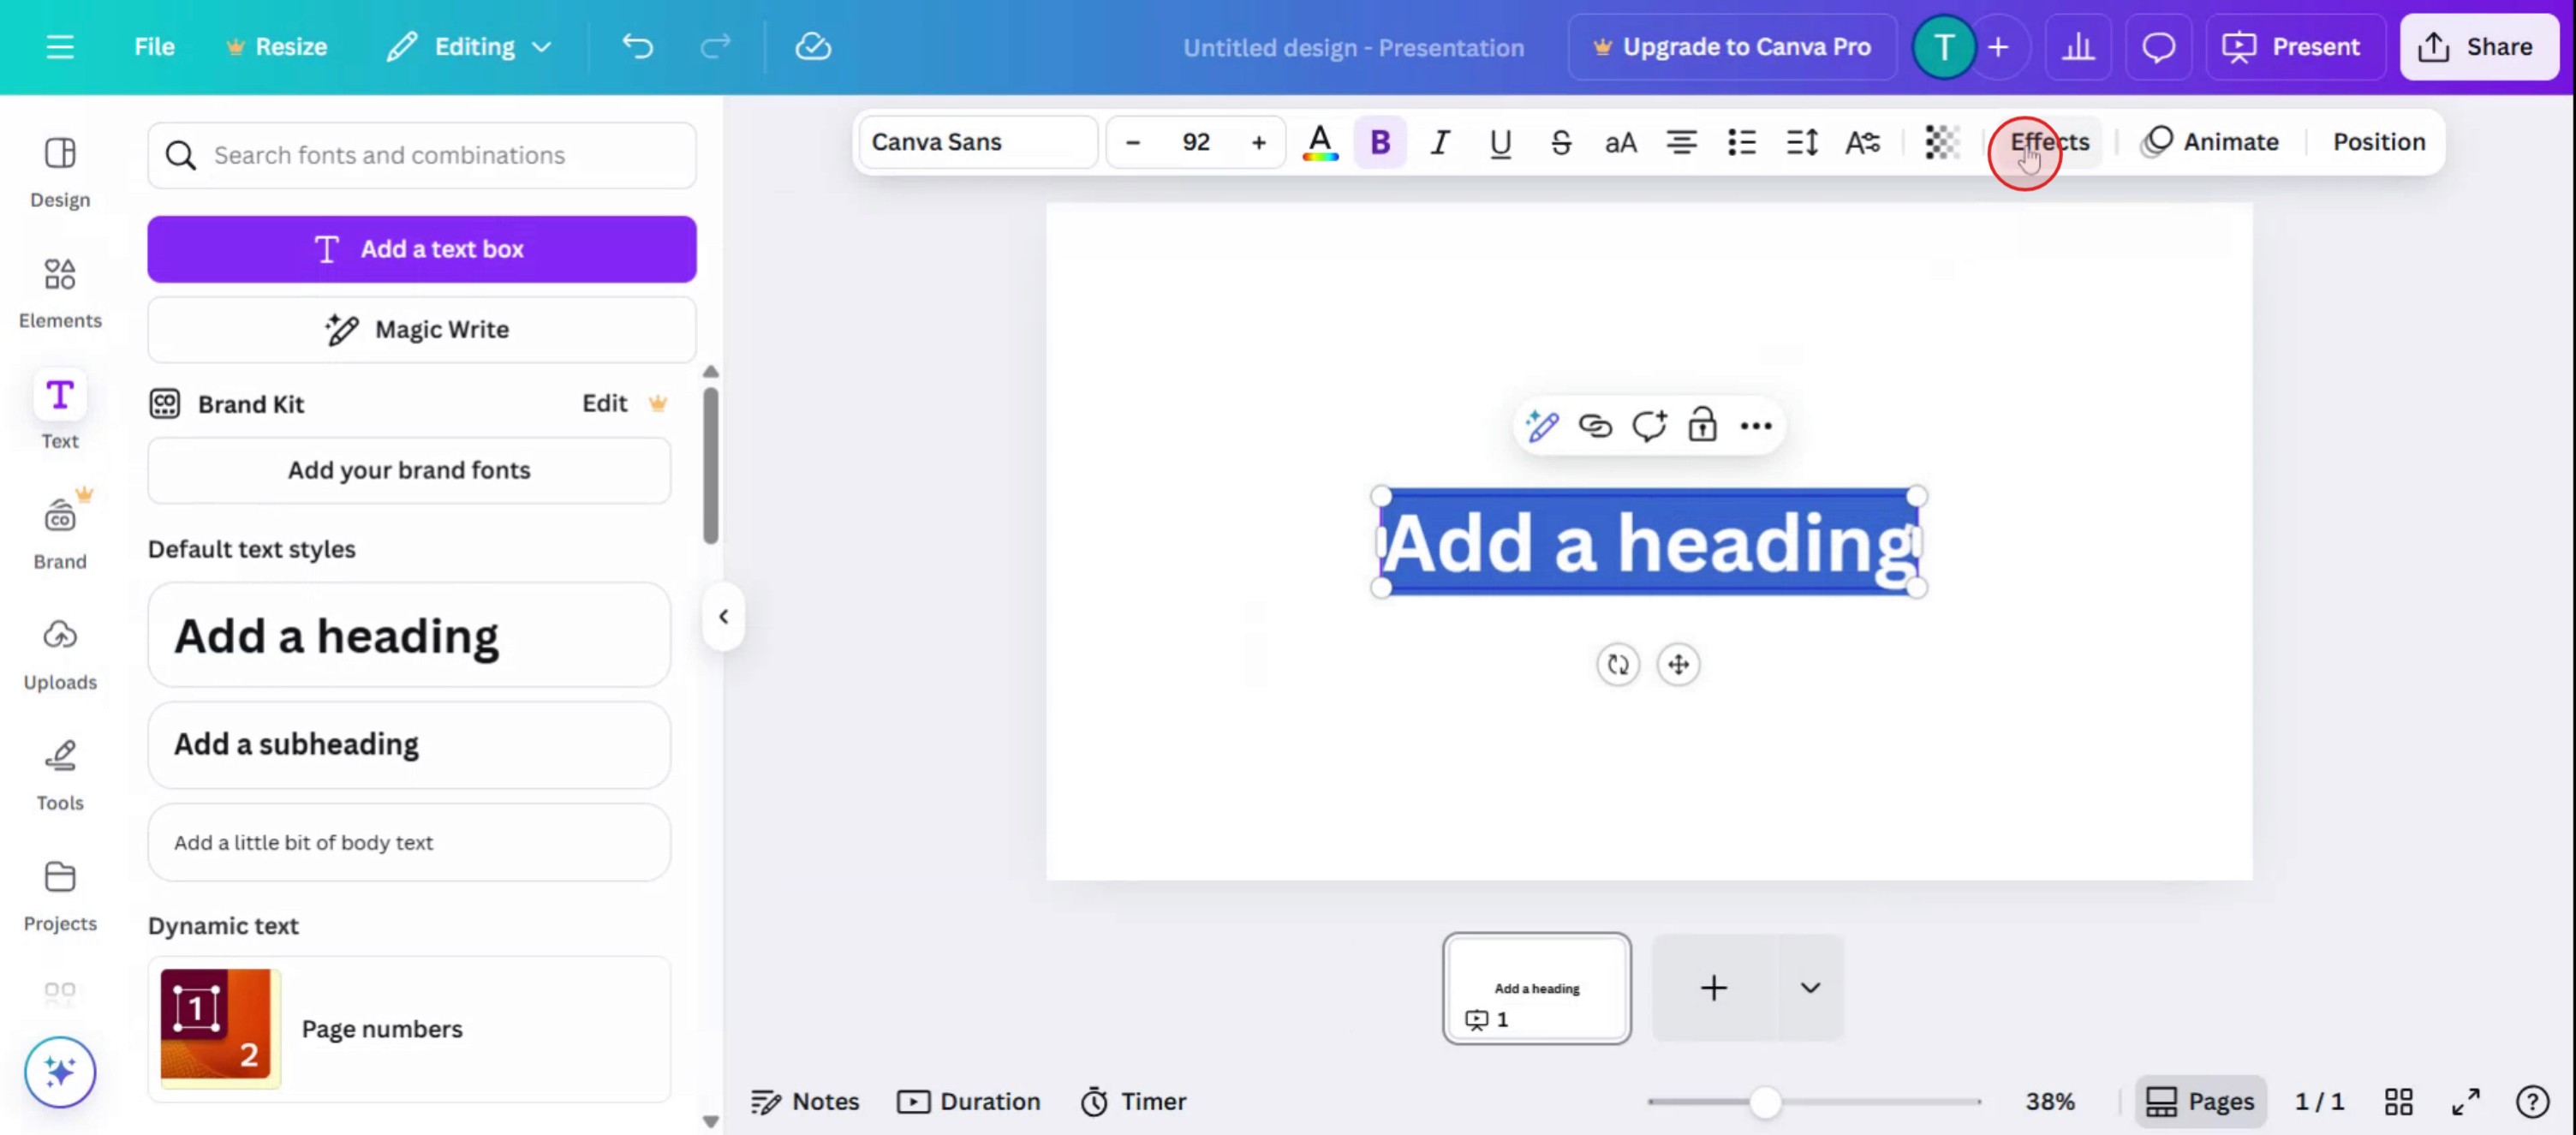
Seleziona il testo: Fai clic sulla casella di testo per selezionarla.
Vai a Effetti: Nella barra degli strumenti in alto, fai clic sul pulsante "Effetti".
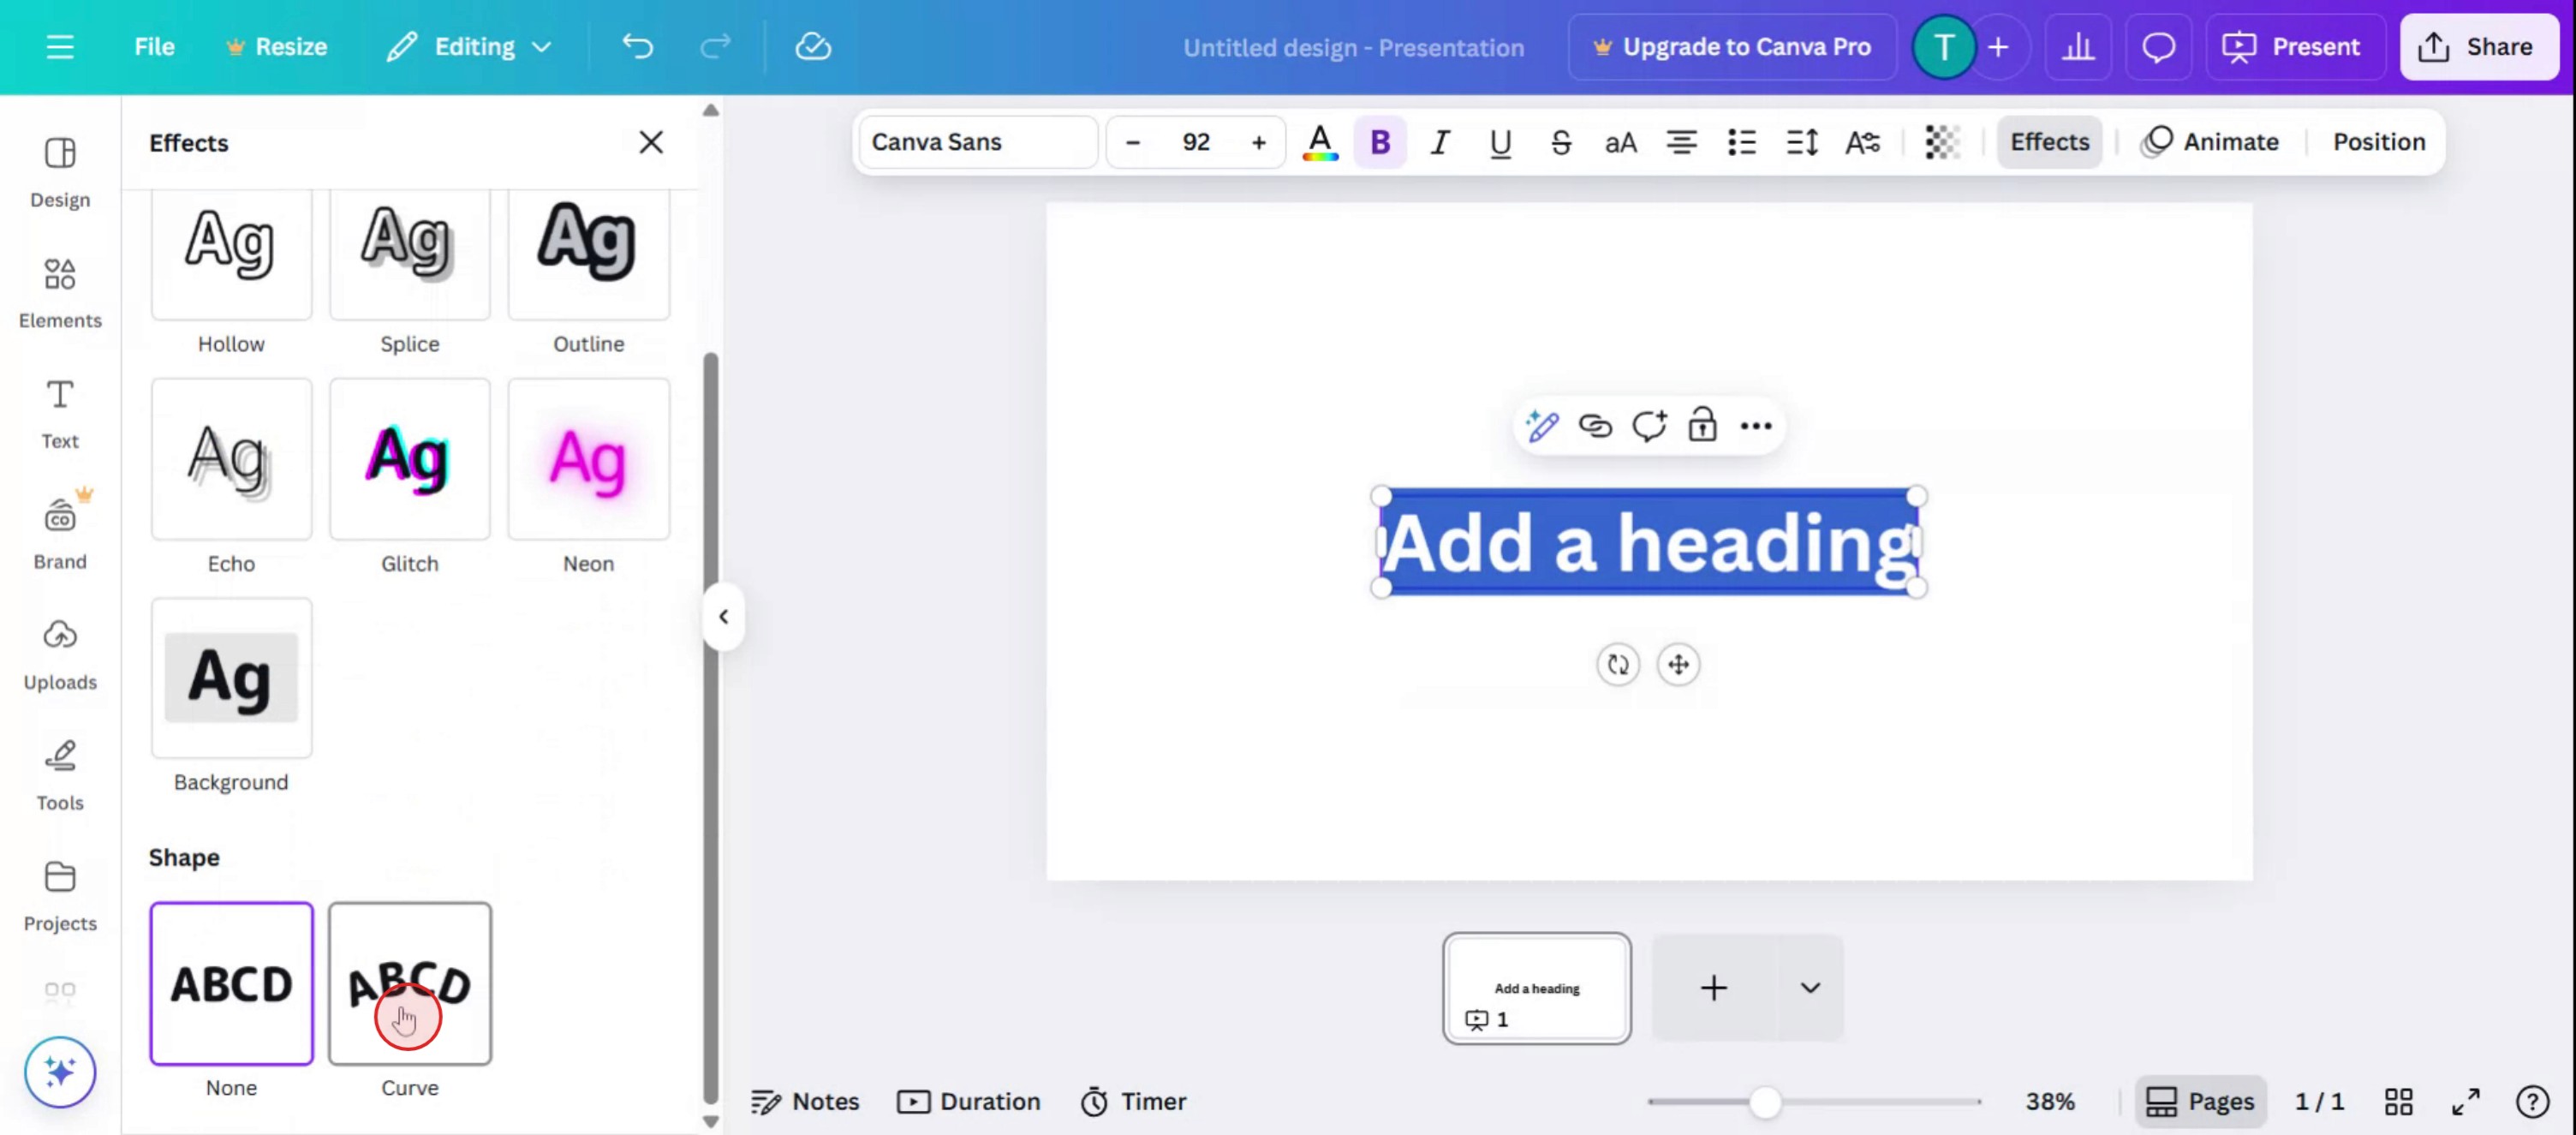
Scegli Curva: Scorri verso il basso nel pannello degli effetti e seleziona "Curva".
Regola la curva: Usa il cursore sotto il pulsante "Curva" per regolare la curvatura del tuo testo. Spostandolo verso destra crea una curva a sorriso, mentre spostandolo verso sinistra crea una curva inversa.
Perfeziona: Puoi regolare ulteriormente la spaziatura tra le lettere usando l'opzione "Spaziatura" nel menu di formattazione del testo per avvolgere il testo in modo più aderente attorno a un cerchio o ad altre forme.
Guida passo passo: come creare testo curvo in Canva
Passo 1
Seleziona il pulsante Testo.
Passo 2
Procedi selezionando il testo in base alla tua scelta.

Passo 3
Successivamente, fai clic sull'opzione "Effetti".
Passo 4
In Forme, seleziona Curva.
Passo 5
Osserva che il testo ora è stato trasformato in una curva.

Consigli professionali per creare testo curvo in Canva
Apri il tuo progetto in Canva
Accedi a Canva e apri un progetto nuovo o esistente in cui vuoi aggiungere testo curvo.Aggiungi una casella di testo
Fai clic sulla scheda “Testo” nel pannello a sinistra e scegli un titolo, un sottotitolo o un testo principale da aggiungere alla tua area di lavoro.Digita il testo desiderato
Inserisci il testo che vuoi curvare. Puoi formattarlo usando stili di carattere, dimensioni e colori prima di curvarlo.Seleziona la casella di testo
Fai clic sul testo in modo che compaia il riquadro di selezione attorno ad esso.Fai clic sul pulsante ‘Effetti’
Nel menu in alto, fai clic su “Effetti” per aprire un pannello con le opzioni di formattazione del testo.Scegli l’opzione ‘Curva’
Sotto Effetti testo, fai clic su “Curva”. Il tuo testo diventerà automaticamente curvo.Regola il cursore della curva
Usa il cursore della curva per regolare la curvatura. Spostalo a sinistra per un arco verso l’alto o a destra per un arco verso il basso.Rifinisci la posizione
Ridimensiona, ruota e allinea il testo curvo secondo necessità per adattarlo al layout del progetto.
Errori comuni e come evitarli
L’opzione Curva non viene visualizzata
Assicurati di aver selezionato una casella di testo. L’effetto “Curva” appare solo quando il testo è attivo.Il testo diventa troppo disteso
Se la curva è troppo ampia, le lettere possono apparire allungate. Usa un testo più breve o riduci l’intensità della curva.Il carattere non appare bene quando è curvo
Alcuni caratteri possono risultare poco armoniosi quando sono curvi. Prova a sperimentare con caratteri in grassetto o semplici per un aspetto più pulito.Non è possibile modificare le singole lettere nel testo curvo
La curvatura si applica all’intera casella di testo. Se vuoi stili diversi per lettere specifiche, crea caselle di testo separate.L’effetto Curva non funziona nell’app mobile
L’effetto curvatura potrebbe essere limitato o più difficile da trovare nell’app mobile di Canva. Usa la versione desktop per un controllo completo.
FAQ comuni sulla creazione di testo curvo in Canva
Come faccio a curvare il testo in Canva?
Seleziona la casella di testo, fai clic su Effetti, quindi scegli l'opzione Curva e regola il cursore.Posso cambiare la direzione della curva?
Sì, sposta il controllo della curva a sinistra o a destra per cambiare la direzione dell'arco.La funzione di testo curvo è disponibile nella versione gratuita di Canva?
Sì, la curvatura del testo è disponibile sia nella versione gratuita che in quella Pro.Posso usare il testo curvo con le animazioni?
Sì, dopo aver applicato la curva, puoi ancora aggiungere animazioni al testo per presentazioni dinamiche.Posso curvare solo una parte della frase?
No, l'effetto curva si applica all'intera casella di testo. Usa caselle di testo separate se vuoi curvare solo alcune parole.Come registrare lo schermo su Mac?
Per registrare lo schermo su un Mac, puoi usare Trupeer AI. Ti consente di acquisire l'intero schermo e offre funzionalità AI come l'aggiunta di avatar AI, l'aggiunta di voiceover, l'ingrandimento e la riduzione dello zoom nel video. Con la funzione di traduzione video AI di Trupeer, puoi tradurre il video in oltre 30 lingue.Come aggiungere un avatar AI a una registrazione dello schermo?
Per aggiungere un avatar AI a una registrazione dello schermo, dovrai usare uno strumento di registrazione dello schermo con AI. Trupeer AI è uno strumento di registrazione dello schermo con AI, che ti aiuta a creare video con più avatar e ti aiuta anche a creare il tuo avatar per il video.Come registrare lo schermo su Windows?
Per registrare lo schermo su Windows, puoi usare la Game Bar integrata (Windows + G) o uno strumento AI avanzato come Trupeer AI per funzionalità più avanzate come avatar AI, voiceover, traduzione ecc.Come aggiungere una voce narrante al video?
Per aggiungere una voce narrante ai video, scarica l'estensione Chrome di trupeer ai. Una volta registrato, carica il tuo video con voce, scegli la voce narrante desiderata da trupeer ed esporta il tuo video modificato.Come faccio a ingrandire in una registrazione dello schermo?
Per ingrandire durante una registrazione dello schermo, usa gli effetti zoom in Trupeer AI che ti consentono di ingrandire e ridurre lo zoom in momenti specifici, migliorando l'impatto visivo dei contenuti video.
Letture suggerite
Generatore di documentazione tecnica
Come ruotare un documento in Canva
Tutorial correlati

