

How to Turn Off Snapping in Canva
Tired of elements snapping into place in Canva? Learn how to turn off snapping to move objects freely and design with precision.
This document outlines a simple procedure for disabling the snapping feature in Canva.
Follow these steps to adjust elements freely without them automatically aligning to grids or other objects.
If you're trying to move an element freely in Canva without it auto-aligning or snapping to guides, there's a simple shortcut for that. Holding down the Ctrl key (or Command on Mac) lets you bypass the snapping temporarily, perfect for precise placements.
Step-by-Step Instructions:
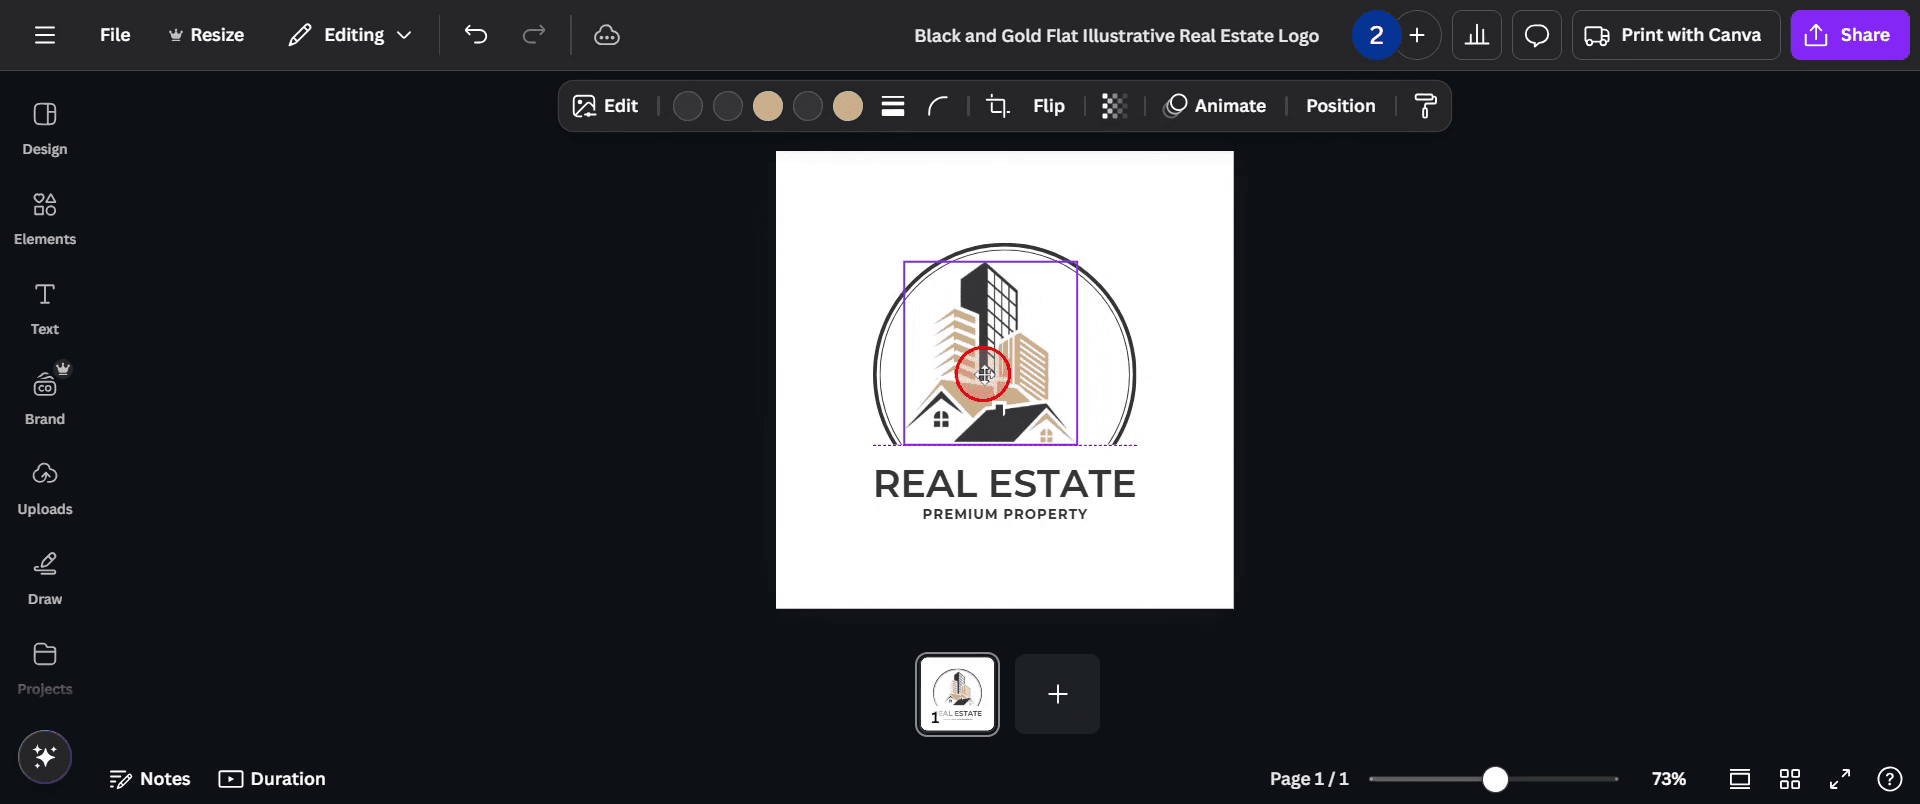
1. Open Your Canva Design
Start by opening the project where you want more control over element placement.
2. Select the Element
Click on the image, text box, shape, or graphic you want to move.
3. Hold Ctrl (or Command on Mac)
As you begin dragging the element, press and hold the Ctrl key (or Command if you're on a Mac). This disables snapping while you're moving the object.
4. Drag to Reposition Freely
Move the element to your desired spot without it snapping to grids, margins, or nearby elements.
5. Release When Done
Once the element is positioned the way you like, release the mouse click first, then let go of the Ctrl/Command key.
Step-by-Step-Guide: How to Turn Off Snapping in Canva
Step 1
Select the element you wish to adjust.

Step 2
Press and hold the Ctrl key while dragging the item.
Step 3
Now freely move and adjust the selected element without it snapping.

Step 4
Ensure you place the item at the desired location before releasing the Ctrl key.

Pro-tips for turning off snapping in Canva
To disable snapping, go to the File menu and uncheck the Snap to grid option, which will stop elements from automatically aligning with the grid or other objects.
You can also turn off Snap to objects in the same File menu to prevent elements from aligning with other objects on the canvas.
If you need more control over positioning, you can zoom in on the canvas to place elements more precisely without snapping.
Common pitfalls & how to avoid them while turning off snapping in Canva
Forgetting to save changes make sure to check that the snapping feature is turned off before continuing with your design work.
Misplacing elements without snapping, it's easier to place elements imprecisely, so zooming in for better precision can help.
Overlooking the grid if you're used to snapping, turning it off can cause difficulty in aligning objects, so it's helpful to manually guide placements or enable the grid when needed.
Common FAQs for turning off snapping in Canva
1. Can I turn off snapping temporarily?
Yes, you can enable and disable snapping at any time by toggling the options in the File menu.
2. Why is snapping useful in Canva?
Snapping helps align objects quickly and precisely, which is especially helpful when working with multiple elements to create balanced layouts.
3. Can I use snapping only for certain objects?
Currently, snapping applies universally to all elements on the canvas in Canva, but you can control which objects align by turning off the feature when needed.
4. Will turning off snapping affect the quality of my design?
No, turning off snapping will not affect the quality of your design, but it may make it more challenging to align objects manually.
5. How to screen record on mac?
To screen record on a Mac, you can use Trupeer AI. It allows you to capture the entire screen and provides AI capabilities such as adding AI avatars, add voiceover, add zoom in and out in the video. With trupeer’s AI video translation feature, you can translate the video into 30+ languages.
6. How to add an AI avatar to screen recording?
To add an AI avatar to a screen recording, you'll need to use an AI screen recording tool. Trupeer AI is an AI screen recording tool, which helps you create videos with multiple avatars, also helps you in creating your own avatar for the video.
7. How to screen record on windows?
To screen record on Windows, you can use the built-in Game Bar (Windows + G) or advanced AI tool like Trupeer AI for more advanced features such as AI avatars, voiceover, translation etc.
8. How to add voiceover to video?
To add voiceover to videos, download trupeer ai chrome extension. Once signed up, upload your video with voice, choose the desired voiceover from trupeer and export your edited video.
Suggested Reads
Technical Documentation Generator
How to Turn an Image into a Coloring Page in Canva
How to Print Double Sided on Canva
Related Tutorials

