

How to Password Protect a Google Sheet
Google Sheets doesn’t offer direct password protection, but here’s how to secure your data using built-in sharing controls and Google Workspace tools.
This guide provides detailed instructions on how to secure a Google Sheet by protecting specific ranges or sheets with a password-like feature, ensuring only authorized users can modify the data.
Google Sheets doesn’t support password protection for individual sheets or the file itself, but it does allow you to control who can edit specific sheets or ranges. You can also manage access to the full file through sharing settings.
How to Protect a Sheet or Range:
Select What to Protect
To protect an entire sheet, click its tab at the bottom.
To protect a specific range, highlight the desired cells.
Open the Protection Settings
Go to Data > Protected sheets and ranges.
A sidebar will appear on the right.
Click “+ Add a sheet or range”
Confirm the range or select the sheet you want to restrict.
Set Editing Permissions
Under “Set permissions,” choose who can edit that range or sheet.
You can limit access to yourself or specific collaborators.
Click “Done”
The protected area is now restricted based on your settings.
Step-by-Step Guide: How to Password Protect a Google Sheet
Step 1
Select the data you wish to protect.

Step 2
Click on the Data in the menu.
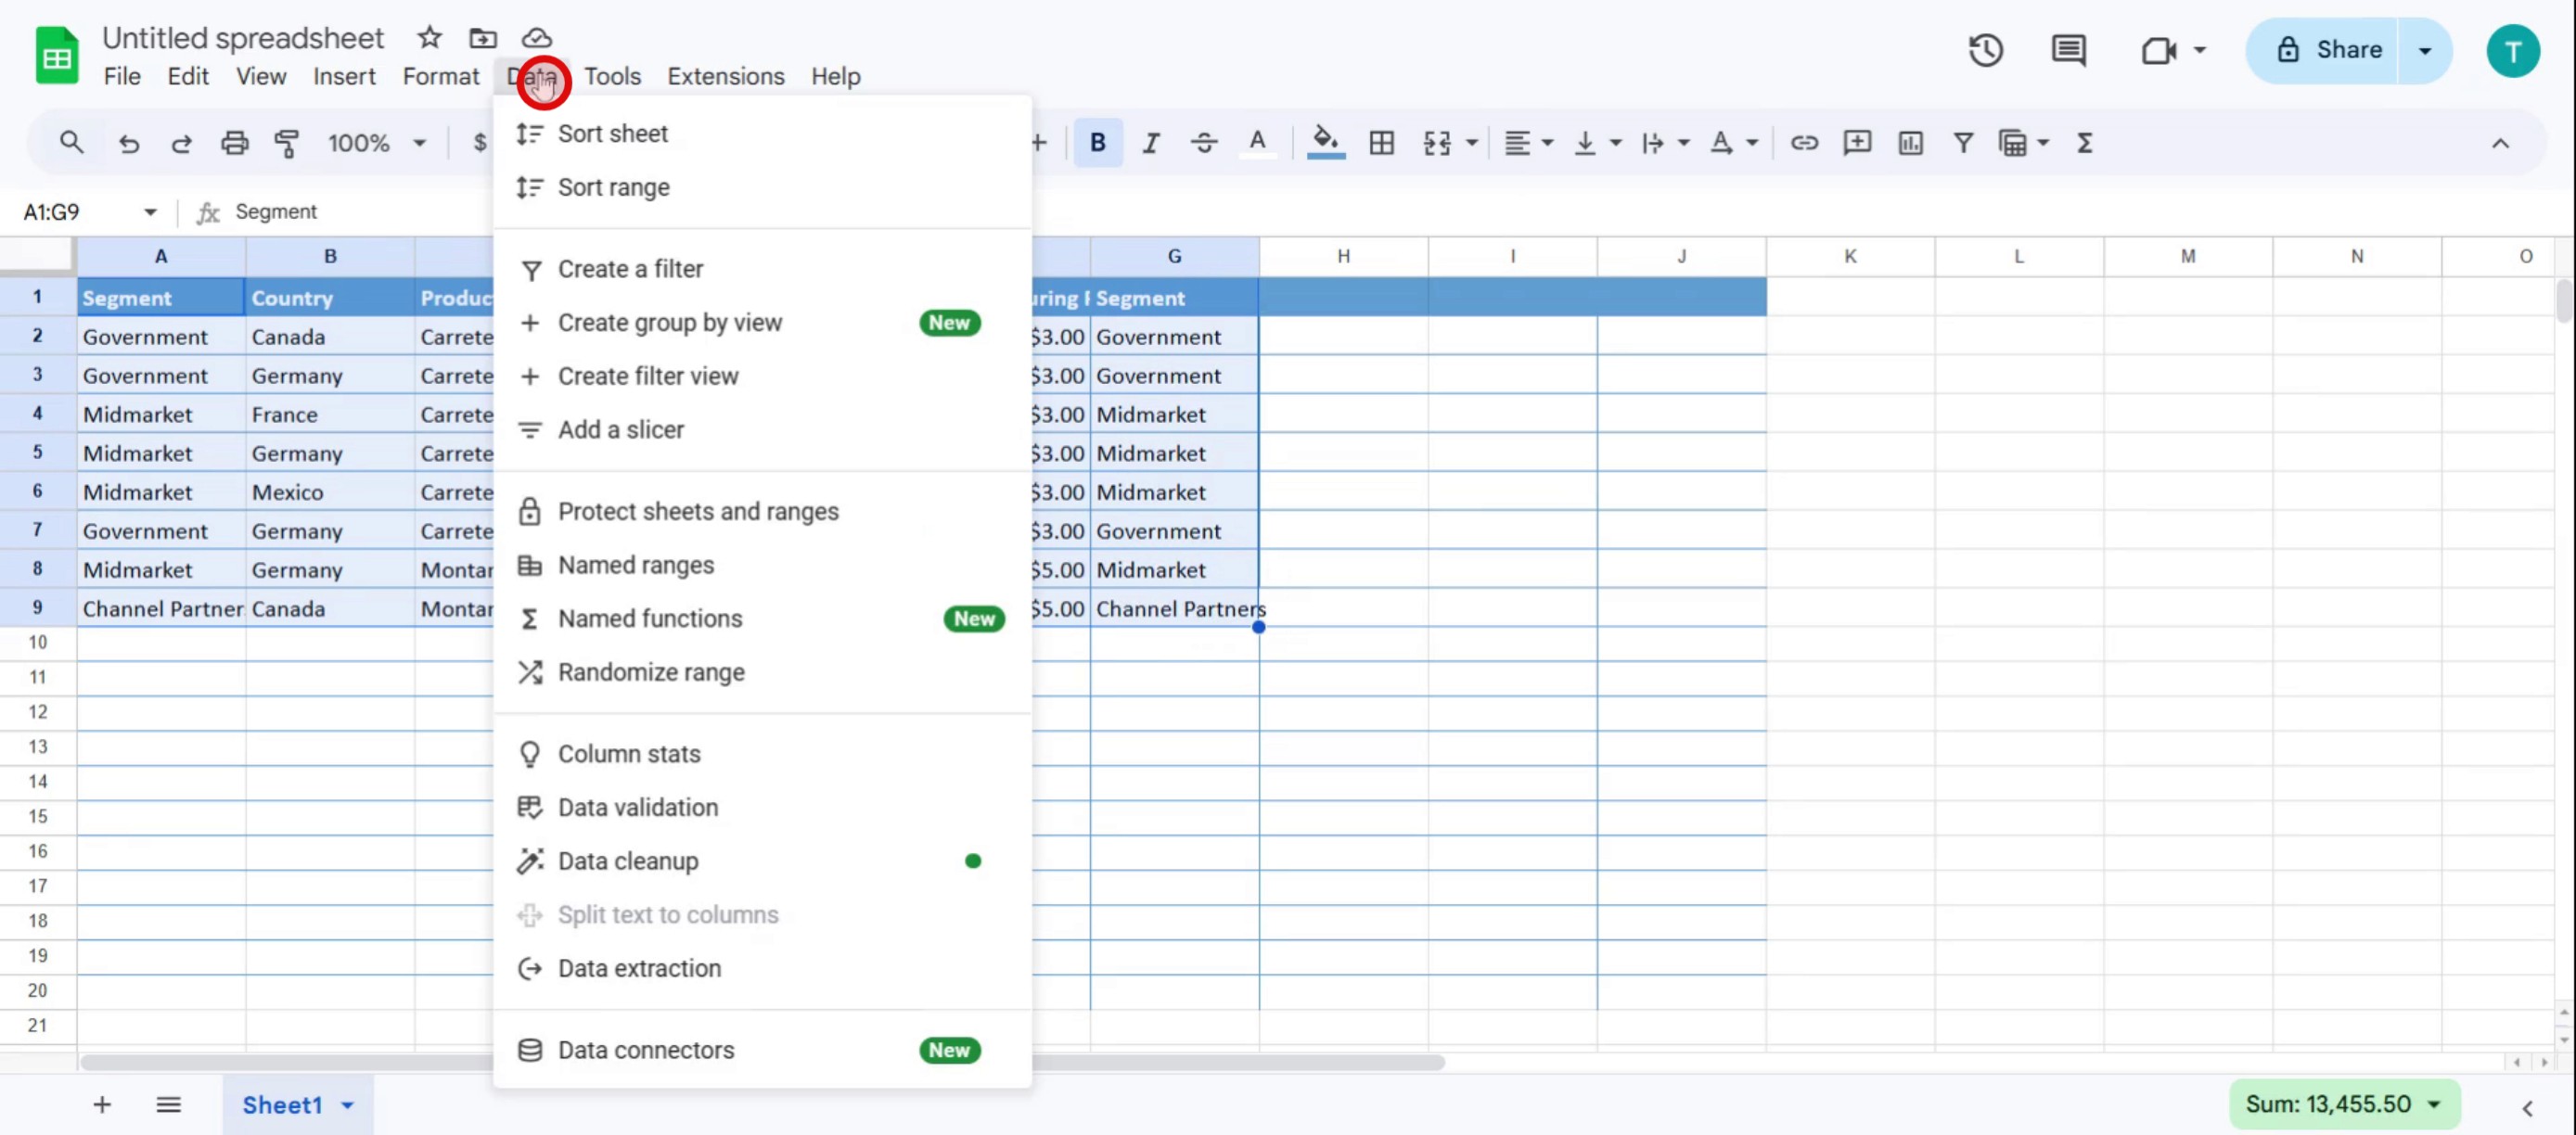
Step 3
Select the Protect Sheets and Ranges,

Step 4
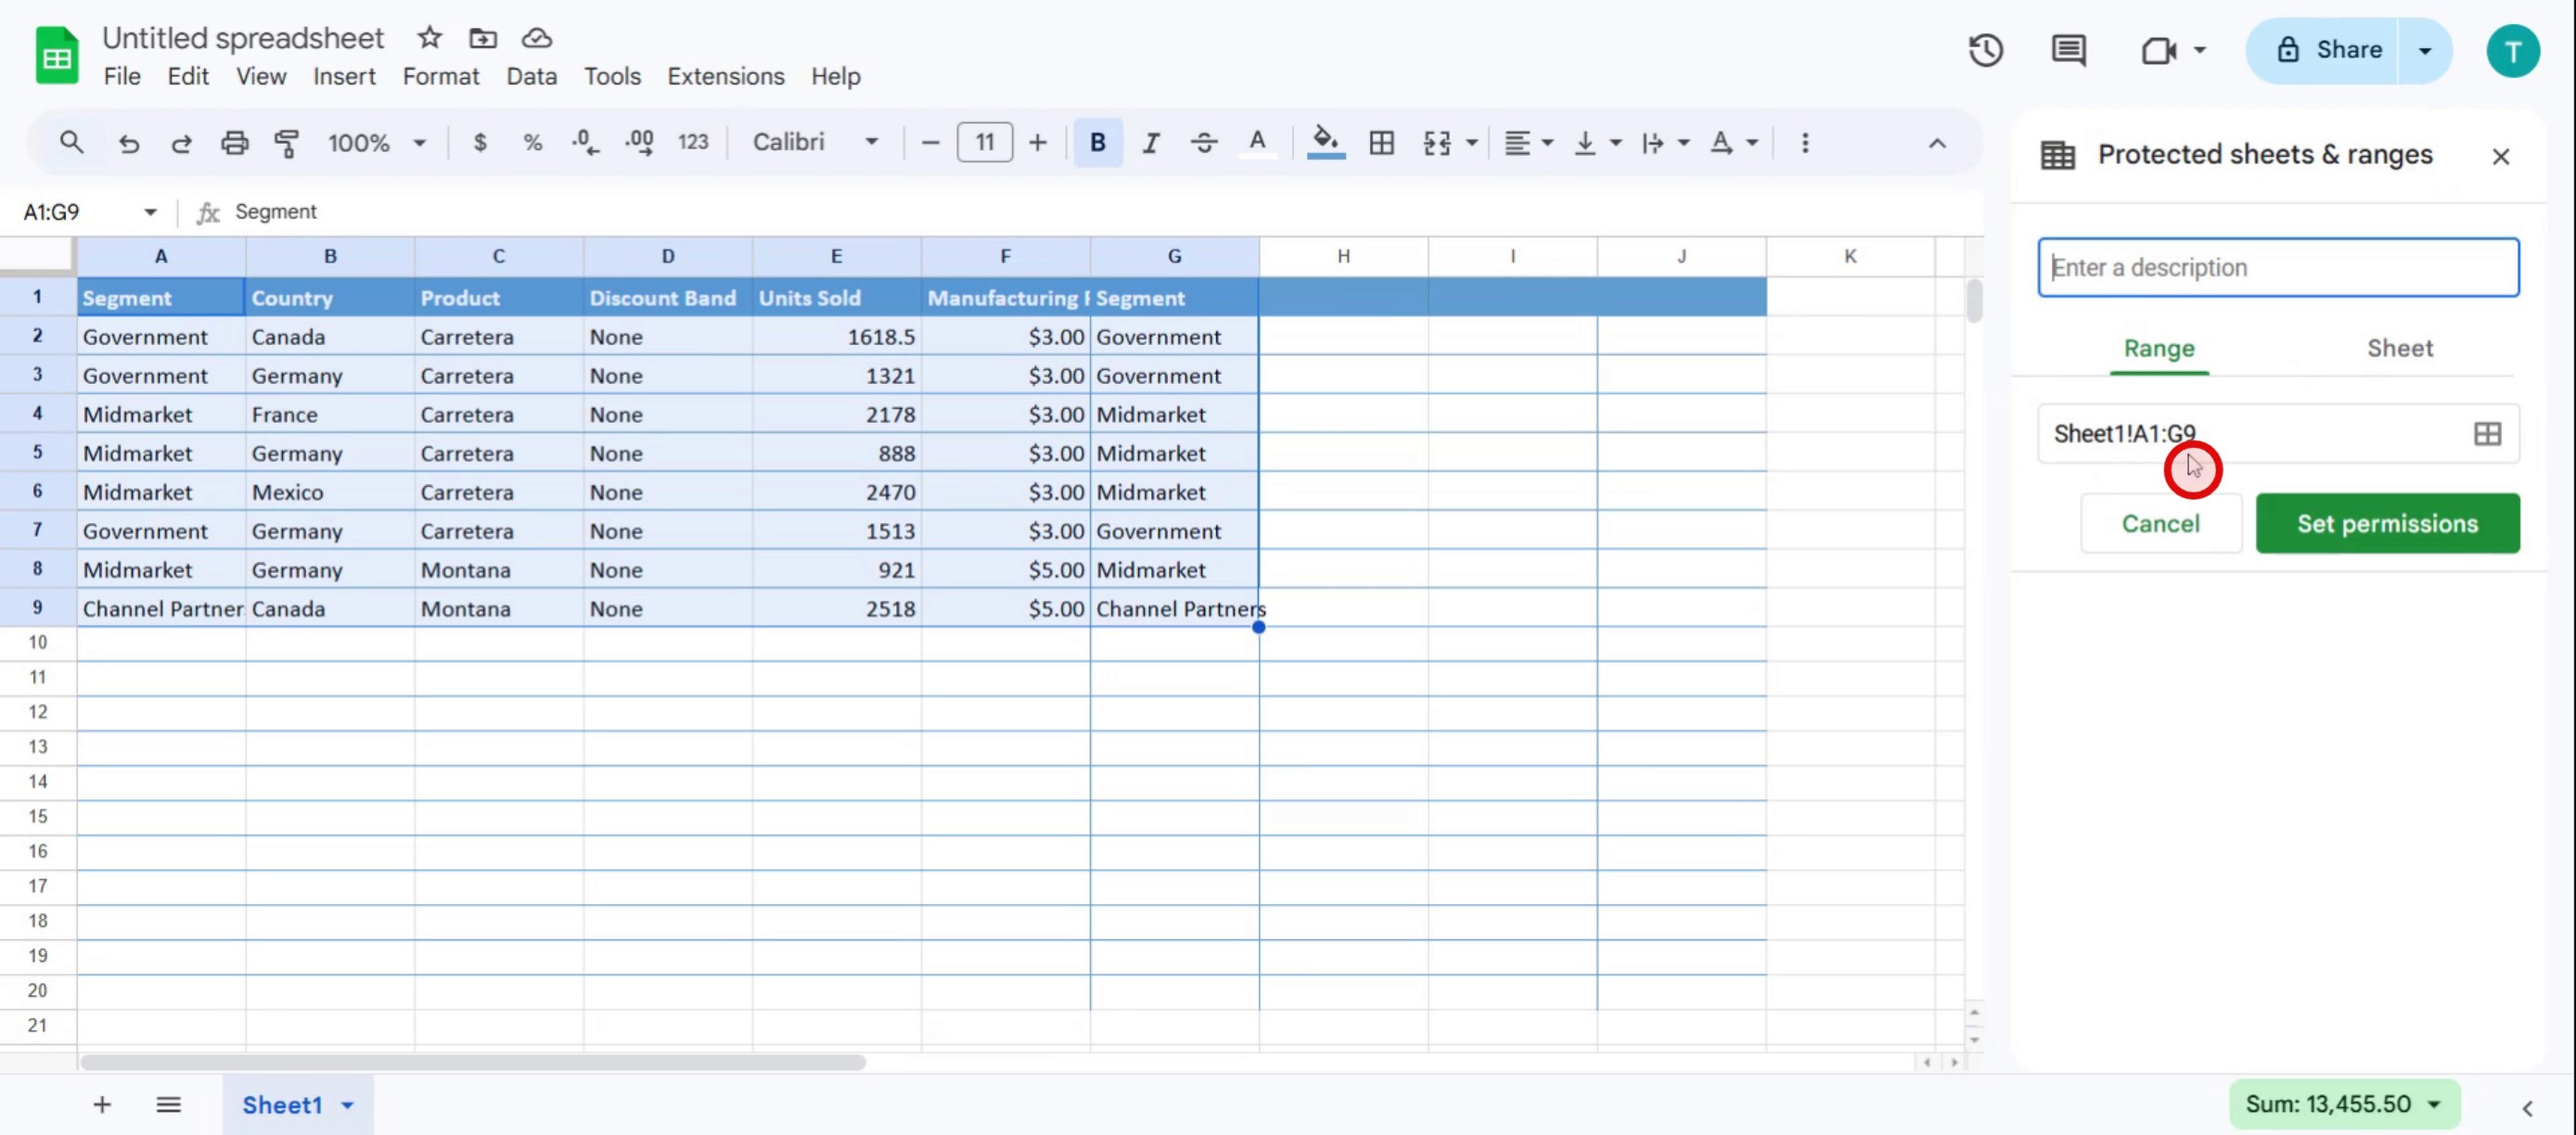
You can see the protected range from cell A1 to cell G9.
Step 5
Enter a description for the protection

Step 6
Click on the Set Permissions option.

Step 7
Choose Restrict who can edit this range.

Step 8
And click on only you.

Pro-tips for password protecting a Google Sheet
Use Google Apps Script for Protection – Google Sheets doesn’t offer built-in password protection, but you can use Google Apps Script to restrict access and require a password to view/edit the sheet.
Restrict Editing Permissions – Instead of a password, limit access by adjusting sharing settings in Google Sheets. Set permissions to Viewer, Commenter, or Editor to control who can make changes.
Use Third-Party Add-ons – Extensions like Sheet Protection or Encryptor can help add password protection to sensitive data. Check Google Workspace Marketplace for trusted tools.
Common pitfalls & how to avoid them
Google Sheets Does Not Offer Direct Password Protection – Unlike Excel, Google Sheets doesn’t support password-protected files. Use permission controls or scripts instead.
Sharing Settings Not Properly Configured – If a sheet is shared with Anyone with the link, it won’t be protected. Ensure access is limited only to trusted users.
Scripts Can Be Bypassed – If you use a Google Apps Script to add password protection, users with script knowledge may disable it. Use Google Workspace permissions for stronger security.
Common FAQs for Password Protecting a Google Sheet
How do i restrict access to a Google Sheet?
Click Share, enter specific email addresses, and set access levels to Viewer, Commenter, or Editor. To prevent unauthorized access, disable link sharing.Can i lock specific cells in Google Sheets?
Yes. Select the cells, go to Data > Protect Sheets and Ranges, and set restrictions. Only authorized users will be able to edit the protected range.What’s the best way to secure sensitive data in Google Sheets?
Use protected ranges, sharing permissions, encryption tools, or Google Apps Script to control access and protect your data.How to screen record on mac?
To screen record on a Mac, you can use Trupeer AI. It allows you to capture the entire screen and provides AI capabilities such as adding AI avatars, add voiceover, add zoom in and out in the video. With trupeer’s AI video translation feature, you can translate the video into 30+ languages.How to add an AI avatar to screen recording?
To add an AI avatar to a screen recording, you'll need to use an AI screen recording tool. Trupeer AI is an AI screen recording tool, which helps you create videos with multiple avatars, also helps you in creating your own avatar for the video.How to screen record on windows?
To screen record on Windows, you can use the built-in Game Bar (Windows + G) or advanced AI tool like Trupeer AI for more advanced features such as AI avatars, voiceover, translation etc.How to add voiceover to video?
To add voiceover to videos, download trupeer ai chrome extension. Once signed up, upload your video with voice, choose the desired voiceover from trupeer and export your edited video.How do I Zoom in on a screen recording?
To zoom in during a screen recording, use the zoom effects in Trupeer AI which allows you to zoom in and out at specific moments, enhancing the visual impact of your video content.
People also ask
Technical Documentation Generator
How to Add Rupee Symbol in Google Sheets
How to Change Currency Format in Google Sheets
How to Add Bullet Points in Google Sheets
Related Tutorials

