
How to Make Frames in Canva – Quick Design Tip
Learn how to add and customize frames in Canva to enhance your designs using photos, shapes, or creative layouts.
This document provides detailed instructions on how to make frames in Canva.
Follow each step carefully, referring to the provided images for additional guidance.
Frames in Canva let you neatly place images or videos into pre-shaped borders, perfect for creative designs, collages, or professional layouts. You can use a frame to crop content into circles, letters, phones, and even funky shapes.
Step-by-Step Guide:
Open or Start a Design
Launch Canva and open an existing project or create a new one with your preferred dimensions.Go to the Elements Tab
On the left sidebar, click on “Elements” to explore Canva’s design tools.Search for Frames
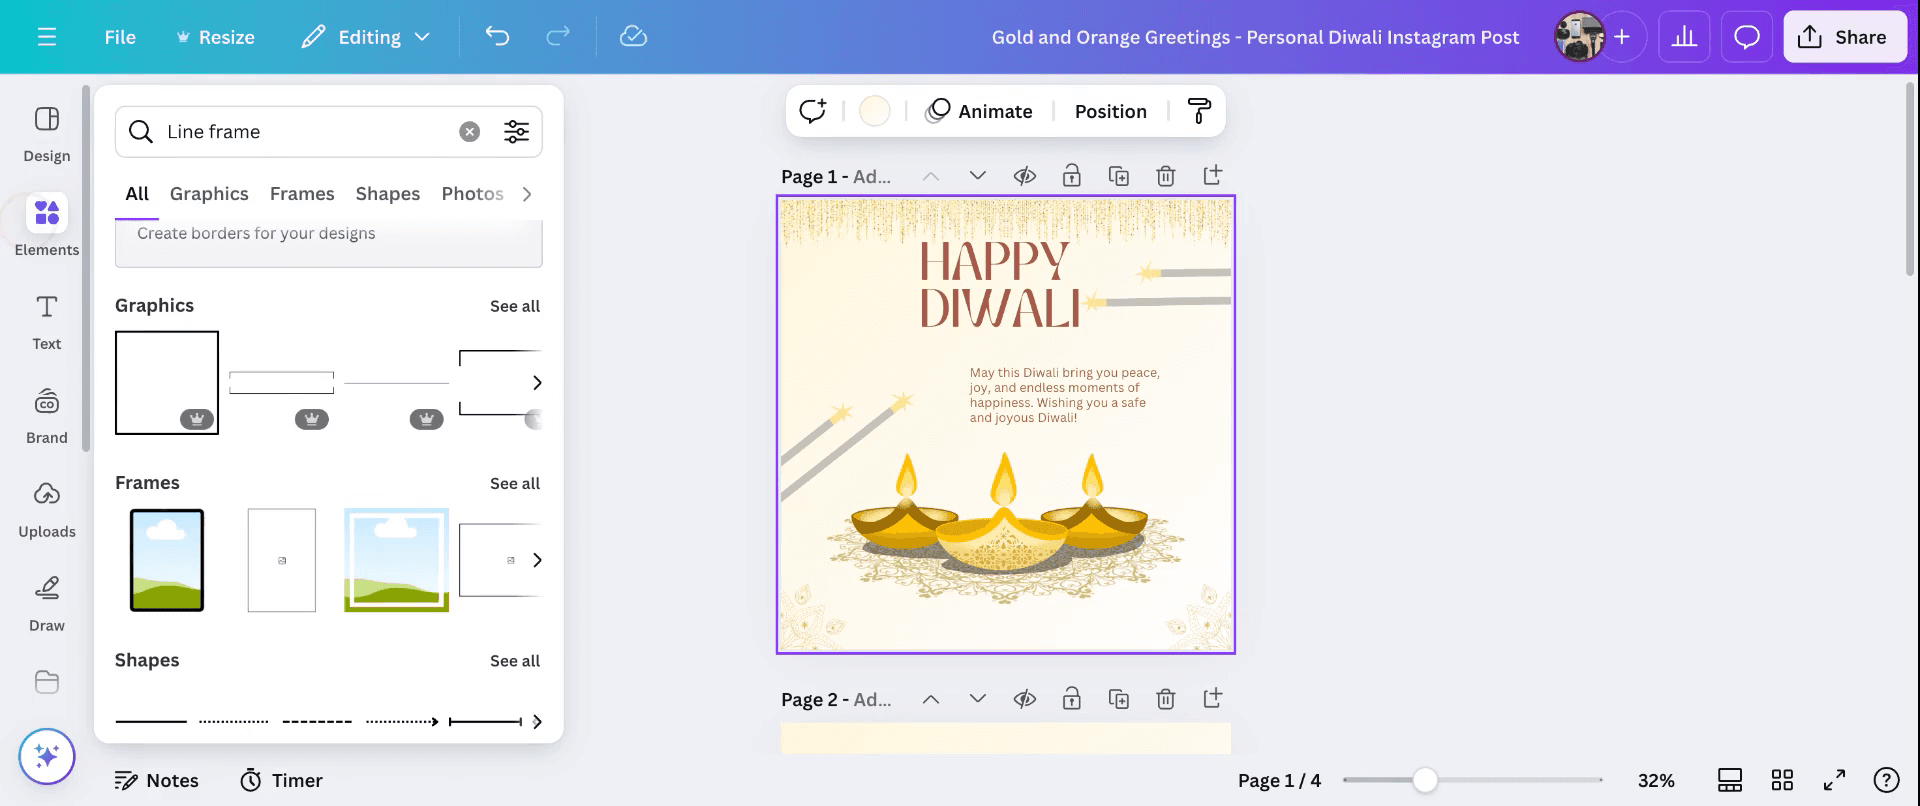
In the search bar at the top of the Elements panel, type “Frames”.
Canva will show a variety of frame shapes, from basic rectangles to creative silhouettes.Choose a Frame
Browse the available options and click on the frame you want.
It will be added to your canvas automatically.Drag and Drop Your Media
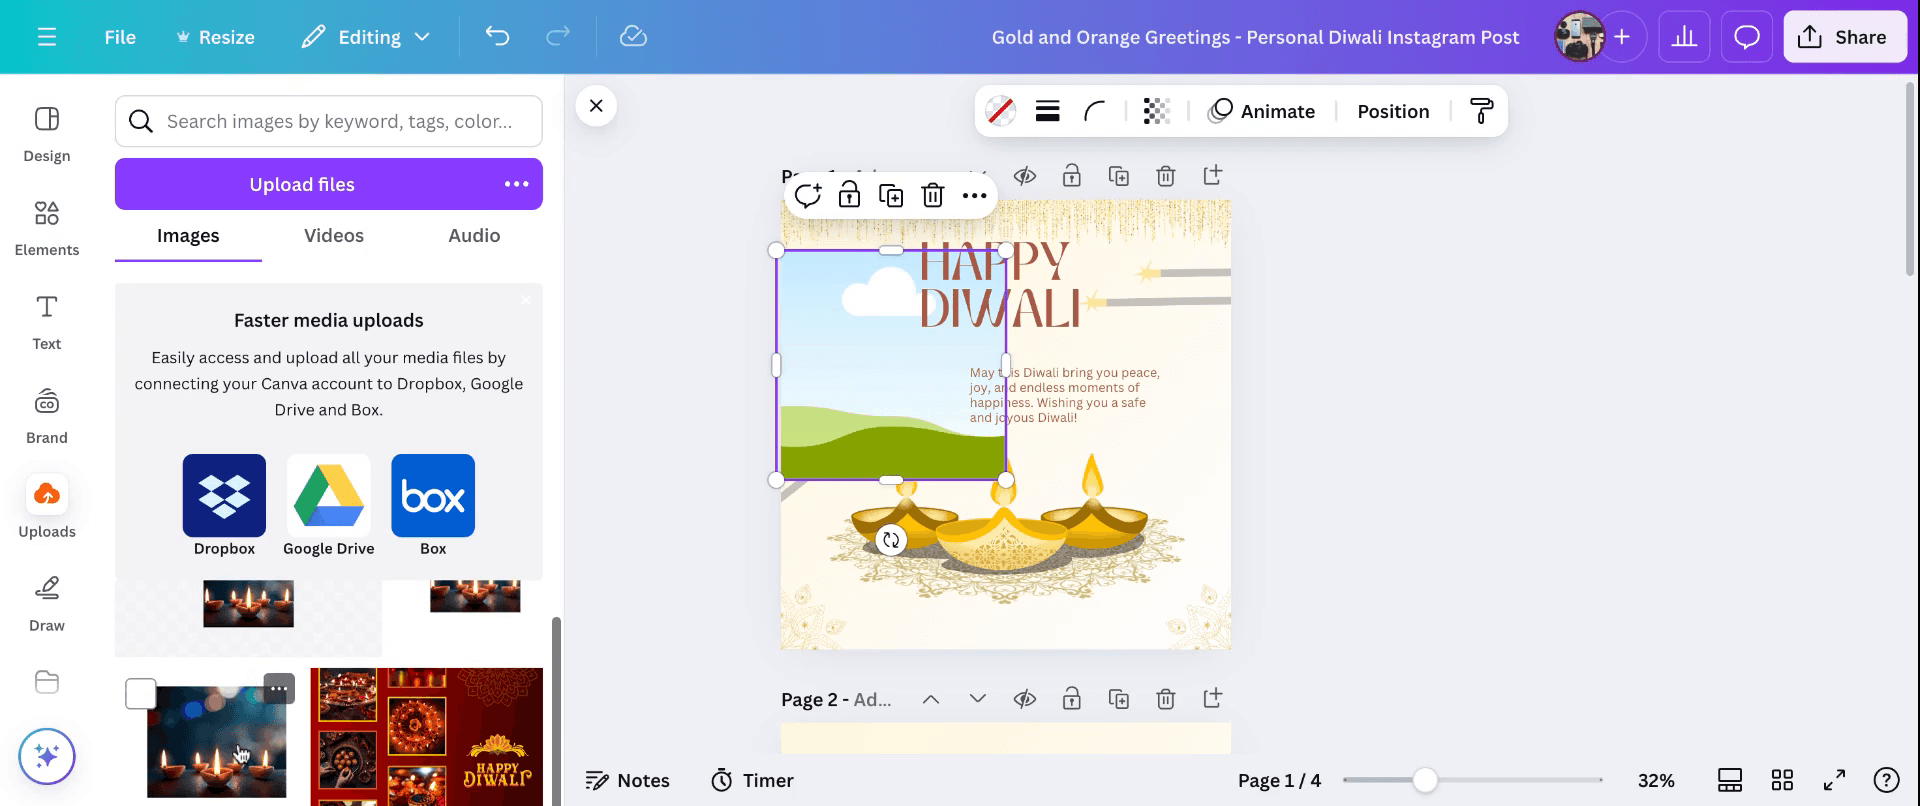
To use the frame, simply drag a photo, video, or graphic from the “Uploads” tab or “Photos” tab and drop it inside the frame.
Canva will automatically crop and fit the element into the shape.Resize and Reposition
Click on the frame to resize or move it around your canvas.
Double-click inside the frame to reposition or zoom the content within.
Customize Your Design
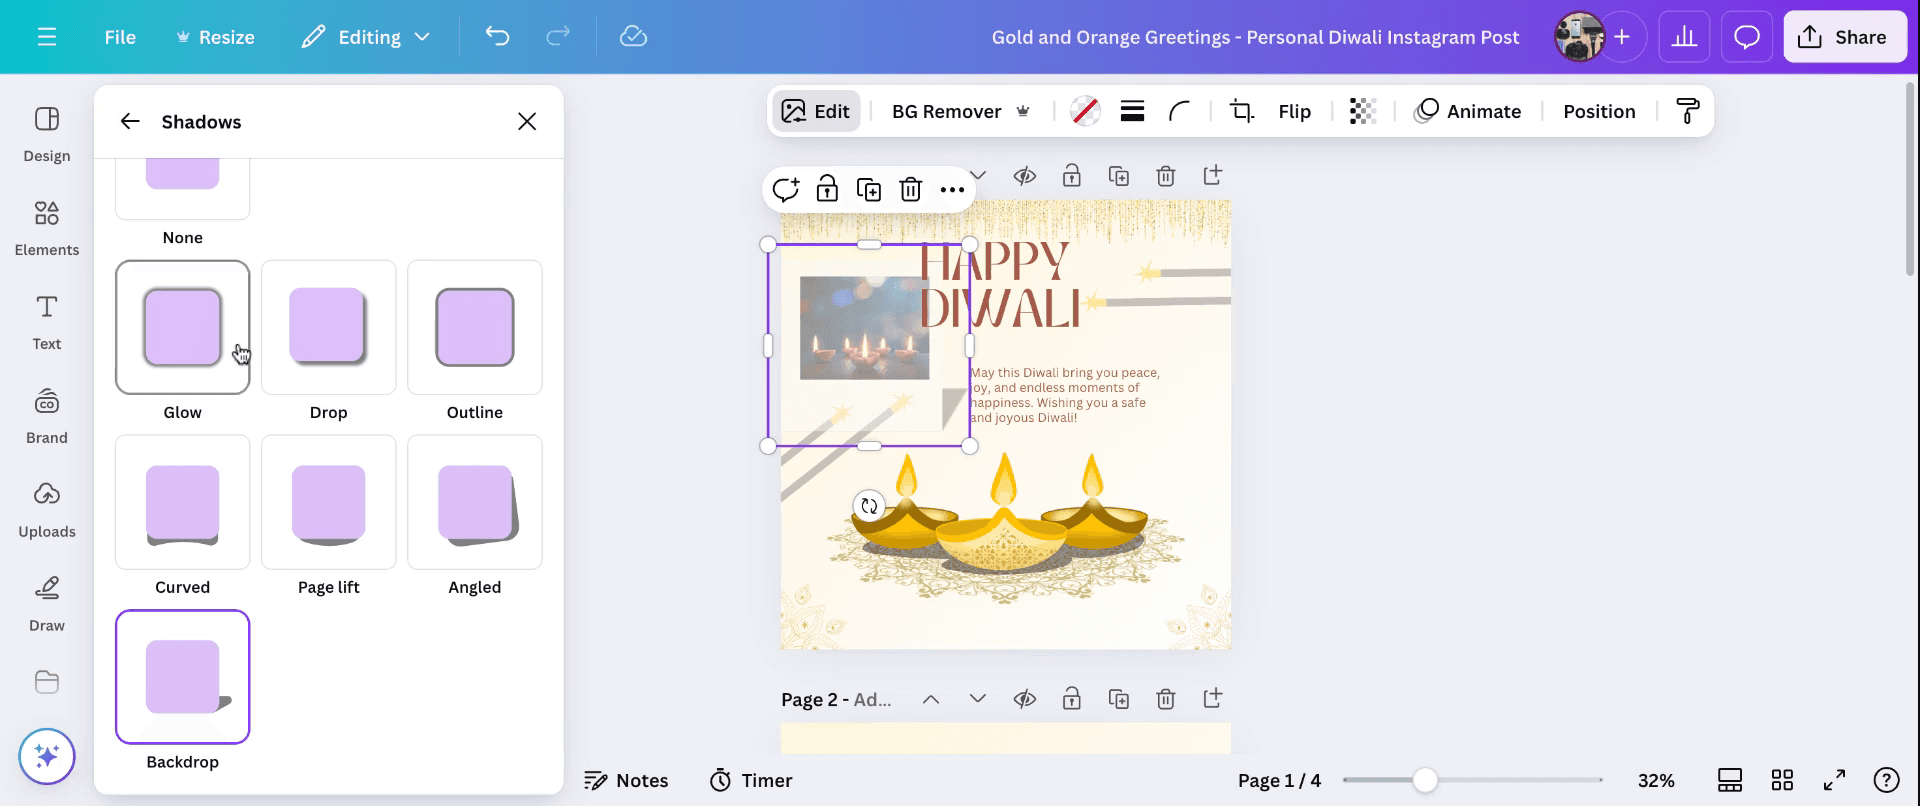
Add filters, shadows, or other effects to enhance your framed image.
You can also layer multiple frames for a collage-style layout.
Save and Share
Once you're happy with your framed design, download it or share it directly via Canva’s sharing tools.
Step-by-Step Guide: How to make frames in Canva
Step 1
Open Canva account and opening a new design.
Access Frames : Go to the Elements tab in the left sidebar.
Scroll down to the Frames section or search for "frames" in the search bar.
Step 2
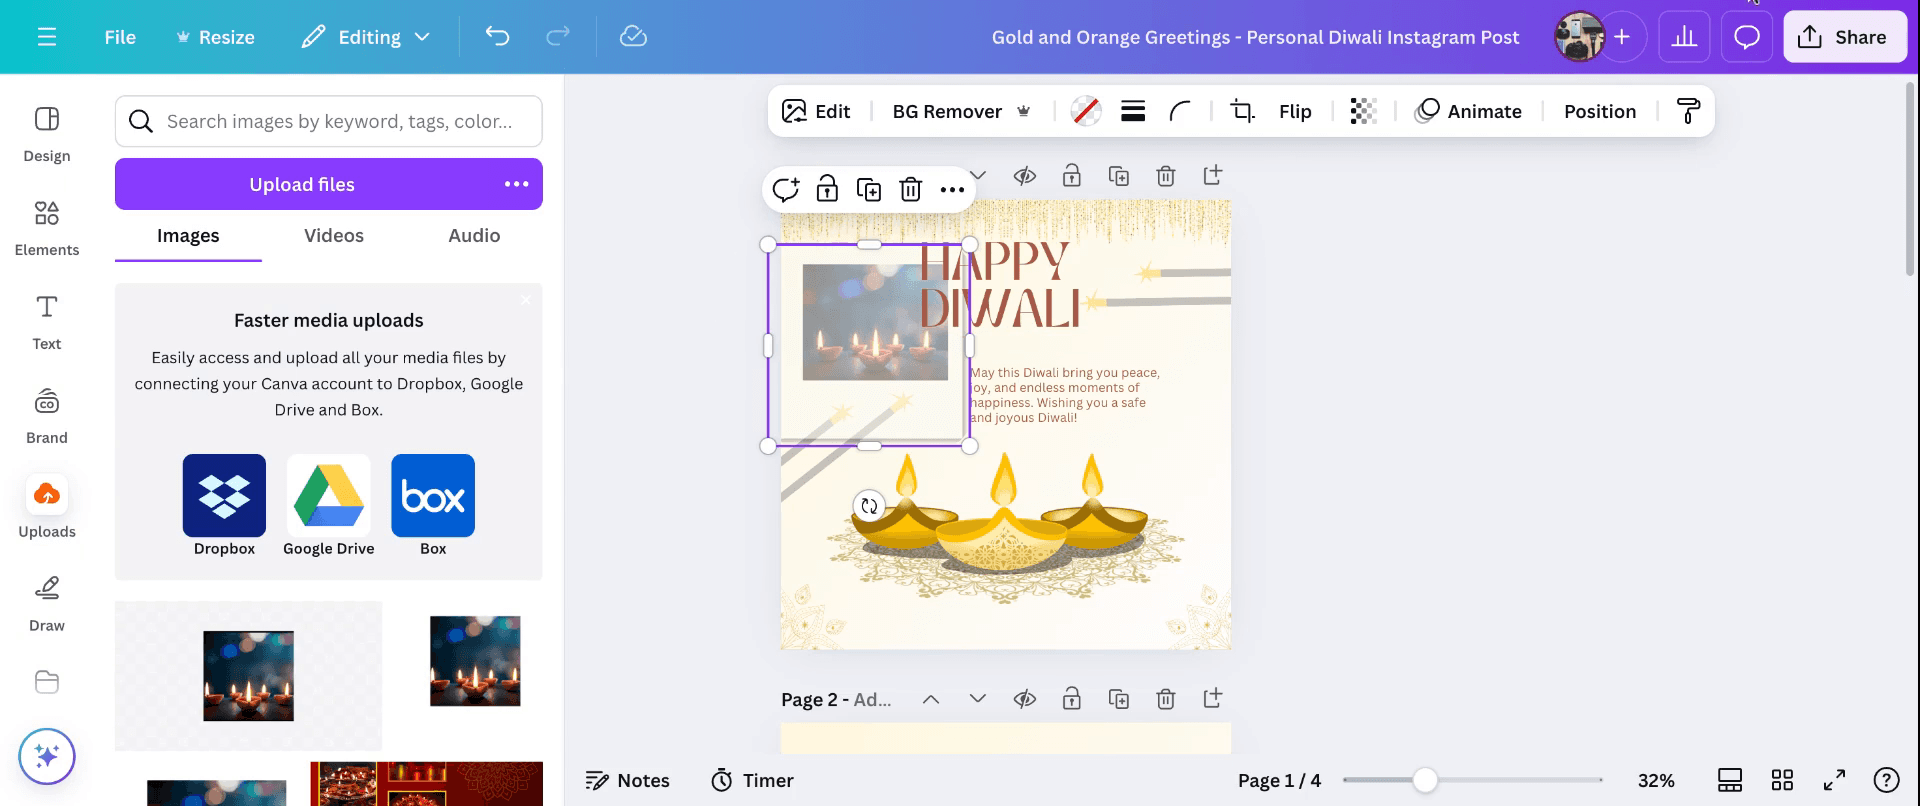
Insert Images : Drag and drop an image from the Uploads or Photos tab directly into the frame. The image will automatically fit the shape of the frame.
Add Other Elements : You can also add text, icons, or graphics into the frame. Just drag them inside the frame, and they will be clipped to the frame's shape.
Step 3
Select the frame, then click on the Color tile in the top toolbar to change its color or add a border.
Add Effects : You can apply effects like Shadows or Glow by clicking on Effects in the top toolbar when the frame is selected.
Step 4
So now, you can add multiple frames to your design and arrange them creatively to create a collage effect or a more complex layout.
Pro tips for creating frames in Canva
Access the Frames Library: Navigate to the "Elements" tab on the left sidebar. Scroll down to find the "Frames" section, which offers a variety of pre-designed frames in different shapes and sizes.
Select a Frame: Browse through the available frames and click on the one that best fits your design needs. It will be added to your canvas.
Customize the Frame: Resize and position the frame as desired. You can adjust its dimensions by dragging the corners and move it around the canvas to place it appropriately.
Add Content to the Frame: To insert an image or video into the frame, go to the "Uploads" tab, select your desired file, and drag it over the frame. The content will automatically fit within the frame's boundaries.
Adjust Content Within the Frame: Double-click on the inserted content to adjust its positioning or zoom level within the frame. This allows you to focus on specific areas of the image or video.
Common pitfalls and how to avoid them
Misplacing Content: Dragging content outside the frame can result in it not fitting properly. Ensure you drop the content directly onto the frame for it to be contained correctly.
Distorted Images: Stretching the frame disproportionately can distort the inserted content. Maintain the frame's aspect ratio to preserve the content's proportions.
Overcrowding the Design: Adding too many frames or elements can clutter your design. Use frames strategically to highlight key content and maintain a clean layout.
Ignoring Alignment: Misaligned frames can disrupt the visual flow of your design. Utilize Canva's alignment guides to ensure elements are properly aligned.
Not Utilizing Layers: Overlapping frames without adjusting their layers can cause content to be hidden. Use the "Position" tool to arrange layers appropriately.
Common FAQs for creating frames in Canva
Can I create custom frames in Canva?
While Canva offers a variety of pre-designed frames, creating entirely custom frames is not directly supported. However, you can design your own frames using shapes and elements, or use external tools to create custom frames and upload them to Canva.How do I add a frame to my design?
Go to the "Elements" tab, select "Frames," and choose the one you prefer. Drag it onto your canvas to add it to your design.Can I use frames for videos in Canva?
Yes, frames in Canva can be used for both images and videos. Simply drag your video into the frame, and it will adjust to fit the frame's shape.How do I adjust the content within a frame?
Click on the content inside the frame to select it. Then, use the toolbar options to adjust its positioning, zoom level, or apply filters.Are there any limitations to using frames in Canva?
Frames are primarily designed for specific aspect ratios. Using frames with content that doesn't match the frame's aspect ratio may result in cropping or stretching. It's advisable to use content that aligns with the frame's intended use.How to screen record on mac?
To screen record on a Mac, you can use Trupeer AI. It allows you to capture the entire screen and provides AI capabilities such as adding AI avatars, add voiceover, add zoom in and out in the video. With trupeer’s AI video translation feature, you can translate the video into 30+ languages.How to add an AI avatar to screen recording?
To add an AI avatar to a screen recording, you'll need to use an AI screen recording tool. Trupeer AI is an AI screen recording tool, which helps you create videos with multiple avatars, also helps you in creating your own avatar for the video.How to screen record on windows?
To screen record on Windows, you can use the built-in Game Bar (Windows + G) or advanced AI tool like Trupeer AI for more advanced features such as AI avatars, voiceover, translation etc.How to add voiceover to video?
To add voiceover to videos, download trupeer ai chrome extension. Once signed up, upload your video with voice, choose the desired voiceover from trupeer and export your edited video.How do I Zoom in on a screen recording?
To zoom in during a screen recording, use the zoom effects in Trupeer AI which allows you to zoom in and out at specific moments, enhancing the visual impact of your video content.
People also ask
Technical Documentation Generator
How to Turn an Image into a Coloring Page in Canva
How to Print Double Sided on Canva
Related Tutorials

