

How to Duplicate a File in Figma
Want to copy a Figma file? Learn how to duplicate any Figma design file in seconds for faster editing or backup.
Method 1
Step 1
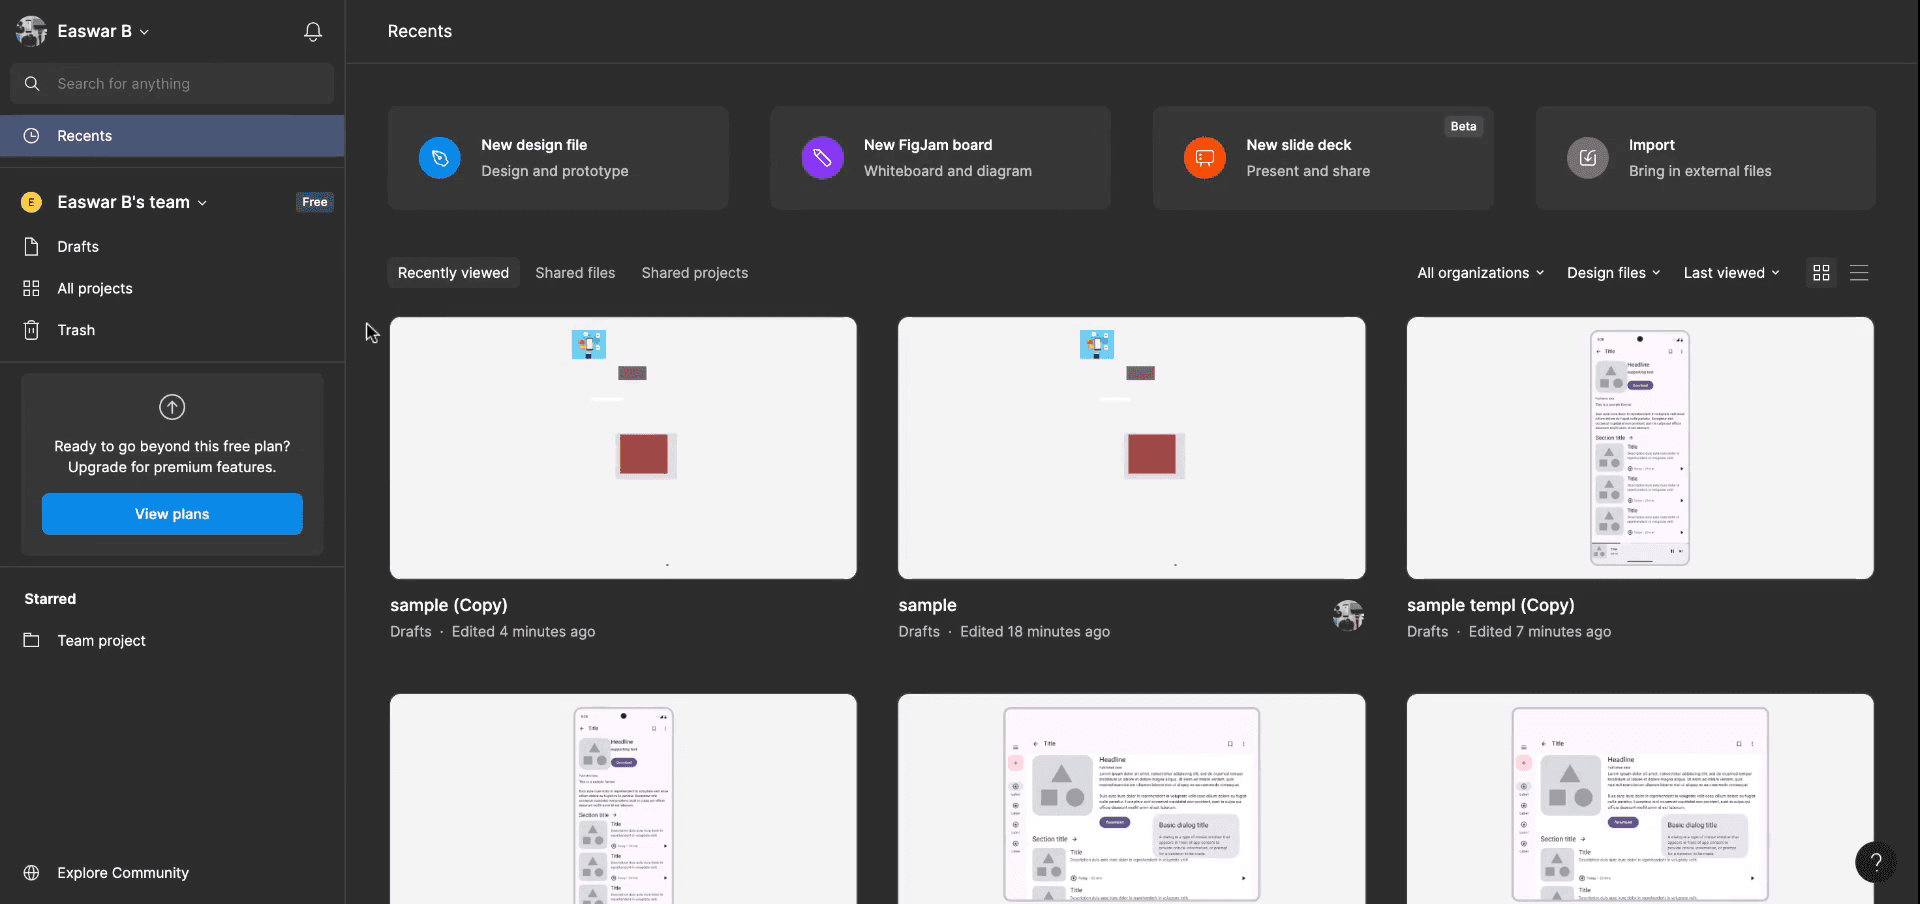
Begin by opening the Figma home screen/dashboard.
Step 2
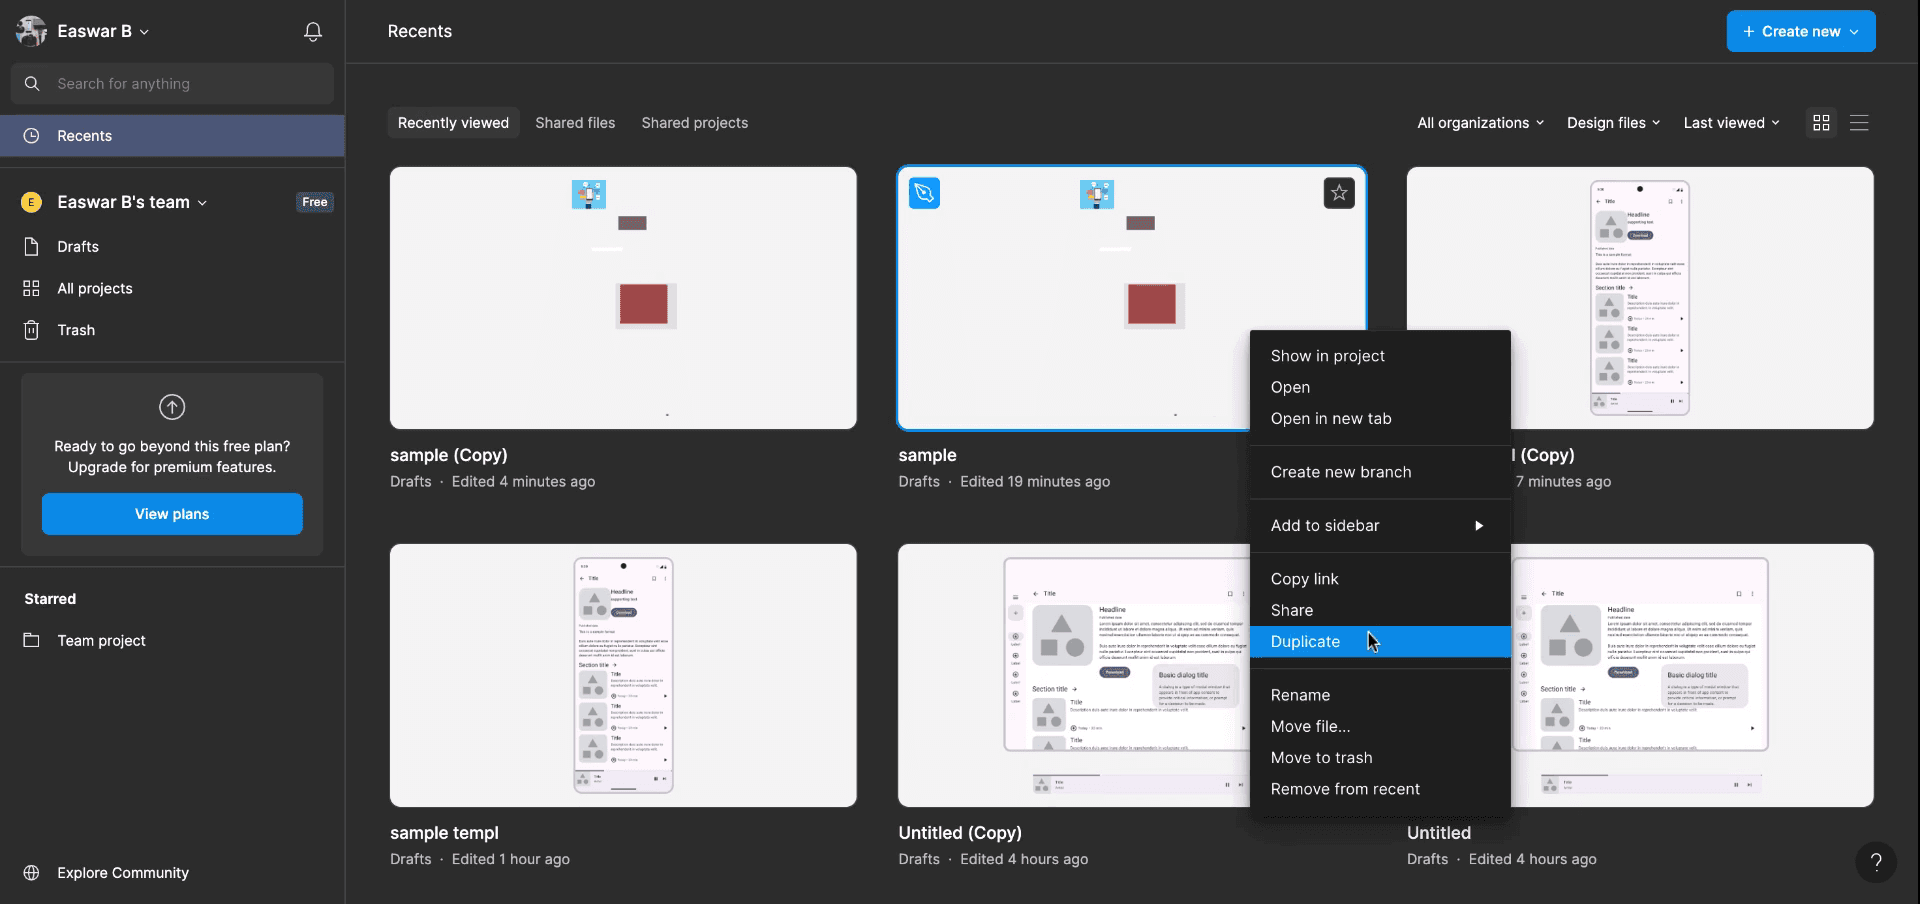
On the home screen, select any of your files or drafts. Choose the file you wish to duplicate and right-click on it.
Step 3
After right-clicking on the selected file, choose the 'Duplicate' option. This action will create a new file with the same name.
Method 2
Step 1
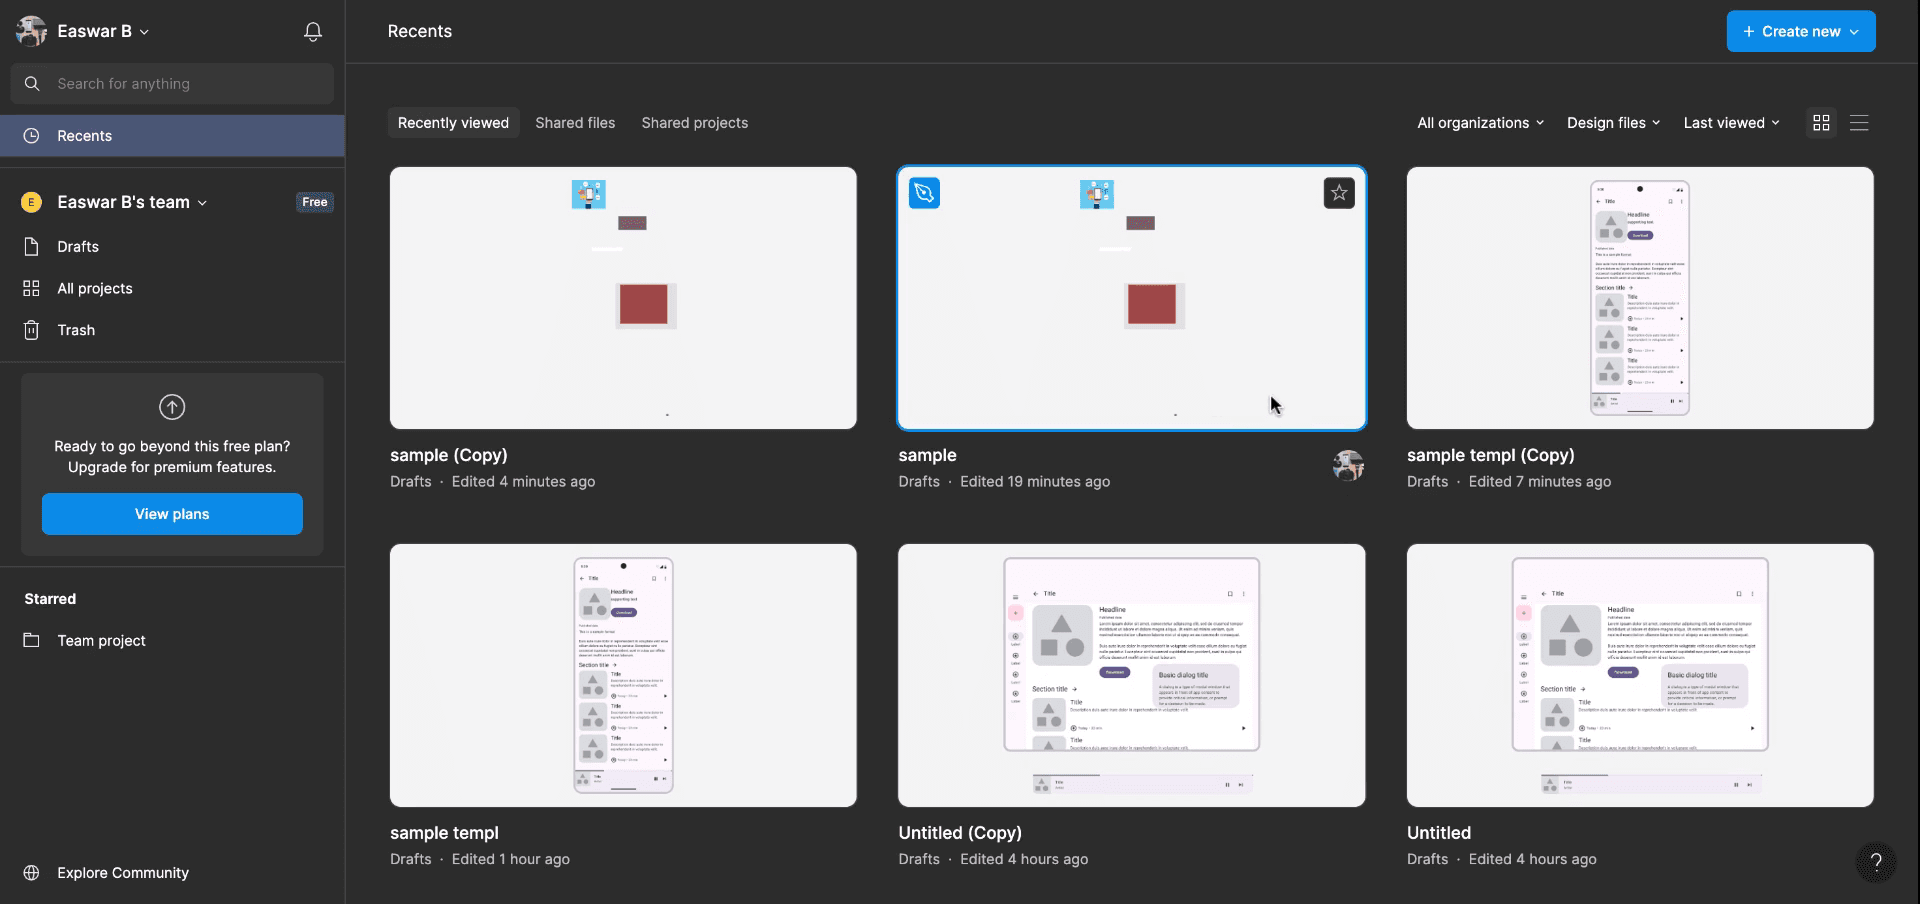
Select the desired file, right-click again, and choose 'Duplicate'. This will open the duplicate file for you to work on - in another tab.
Step 2
The Duplicate file will be viewed and accessed from the dashboard. This is the process on how to duplicate a file in figma.
Pro tips for duplicating a file in Figma
Use the File Menu:
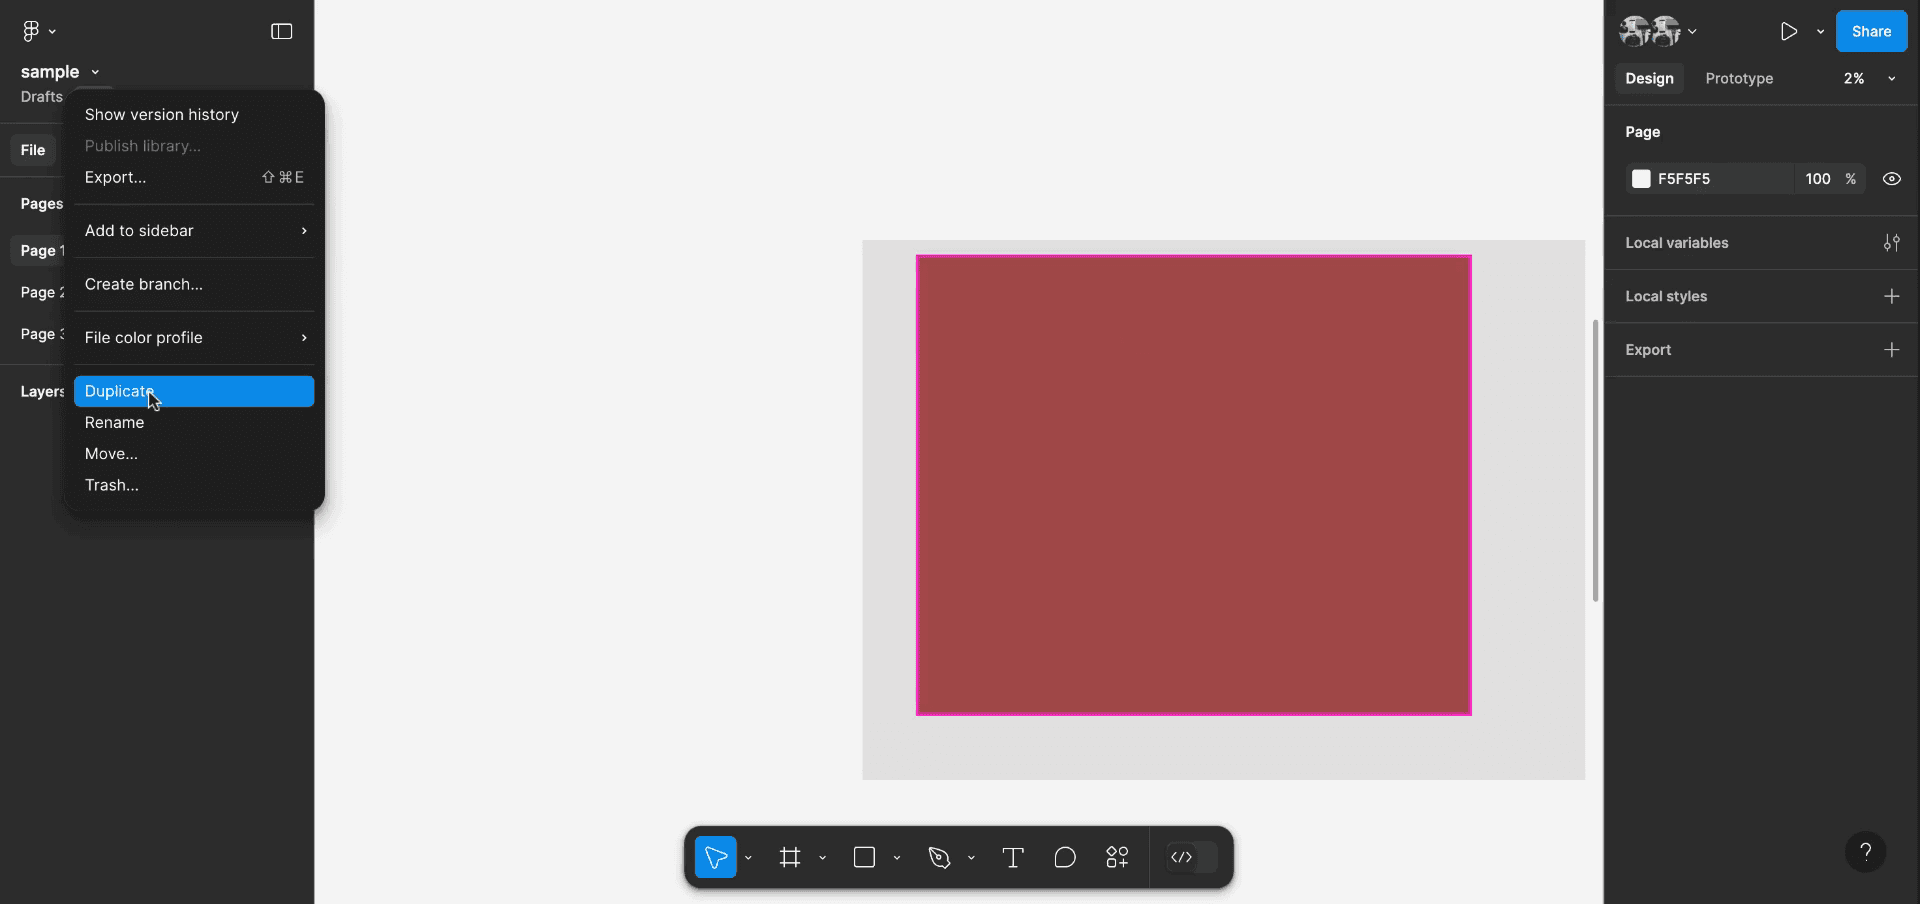
Open the File Menu in the top-left corner of Figma and select File > Duplicate. This creates an exact copy of your file in your Figma workspace.Right-click to Duplicate:
In the File Browser or within a team project, right-click on the file you want to duplicate and select Duplicate. The copy will appear in the same project or team.Keyboard Shortcut:
Use Cmd + D (Mac) or Ctrl + D (Windows) while in the file browser to duplicate a selected file quickly.Rename the Duplicate:
After duplicating, rename the file to keep track of different versions. Right-click the duplicated file and select Rename, or click directly on the file name to edit it.Organize Duplicates in Folders:
If you have multiple versions or related designs, consider organizing them into folders in the File Browser to keep everything tidy and easily accessible.
Common pitfalls and how to avoid them for duplicating a file in Figma
Confusing Original and Duplicated Files:
Fix: Rename your duplicated file immediately after duplication to avoid mixing it up with the original version.Duplicating Files Without Proper Organization:
Fix: Use Figma’s Folders feature to group your files and keep your workspace organized, especially if you're working with multiple versions of the same project.Not Updating Links in Duplicated Files:
Fix: If your file has components or styles linked to other files, double-check that the links remain intact after duplication, or you'll need to manually re-establish the connections.Exceeding File Limits:
Fix: If you’re duplicating large files multiple times, be mindful of Figma’s storage and file size limits, especially in team accounts with constraints.
Common FAQs for duplicating a file in Figma
Can I duplicate files across teams or projects?
Yes, you can duplicate files between teams or projects by selecting the file, right-clicking, and choosing Duplicate. Then, move the duplicate to the desired project.Do duplicated files retain all assets from the original?
Yes, the duplicate retains all elements, layers, and components from the original file.Can I duplicate an entire Figma design or just specific frames?
Duplicating a file duplicates the entire design. However, if you want to duplicate specific frames, you can use the Copy and Paste feature instead.Can I duplicate files in the Figma desktop app?
Yes, the process for duplicating files in the desktop app is the same as in the web version—right-click or use the File Menu.How can I share a duplicated file with my team?
After duplicating a file, you can share it with your team by adding them to the file or by sharing the link directly.How to screen record on mac?
To screen record on a Mac, you can use Trupeer AI. It allows you to capture the entire screen and provides AI capabilities such as adding AI avatars, add voiceover, add zoom in and out in the video. With trupeer’s AI video translation feature, you can translate the video into 30+ languages.How to add an AI avatar to screen recording?
To add an AI avatar to a screen recording, you'll need to use an AI screen recording tool. Trupeer AI is an AI screen recording tool, which helps you create videos with multiple avatars, also helps you in creating your own avatar for the video.How to screen record on windows?
To screen record on Windows, you can use the built-in Game Bar (Windows + G) or advanced AI tool like Trupeer AI for more advanced features such as AI avatars, voiceover, translation etc.How to add voiceover to video?
To add voiceover to videos, download trupeer ai chrome extension. Once signed up, upload your video with voice, choose the desired voiceover from trupeer and export your edited video.How do I Zoom in on a screen recording?
To zoom in during a screen recording, use the zoom effects in Trupeer AI which allows you to zoom in and out at specific moments, enhancing the visual impact of your video content.
Suggested Reads
Technical Documentation Generator
How to Turn an Image into a Coloring Page in Canva
How to Print Double Sided on Canva
Related Tutorials

