

How to Delete a Board in Jira
Want to delete a board in Jira? Follow this step-by-step guide to remove Scrum or Kanban boards safely without affecting your Jira projects and data.
To delete a board in Jira, navigate to "Your Work", then "Boards", and then "View all boards". Locate the board you wish to delete, click the three dots (ellipsis) next to it, and select "Delete". Confirm the deletion in the subsequent popup.
Here's a more detailed breakdown:
Access Boards: Go to the main Jira menu, find "Your Work", and then select "Boards".
Find the Board: Click "View all boards" to see a list of all your Jira boards. Locate the specific board you want to delete.
Initiate Deletion: Click on the three dots (ellipsis) next to the board you want to remove.
Confirm Deletion: From the dropdown menu, select "Delete".
Finalize: A confirmation message will appear. Click "Delete" again to permanently remove the board.
Step-by-Step Guide: How to Delete a Board in Jira
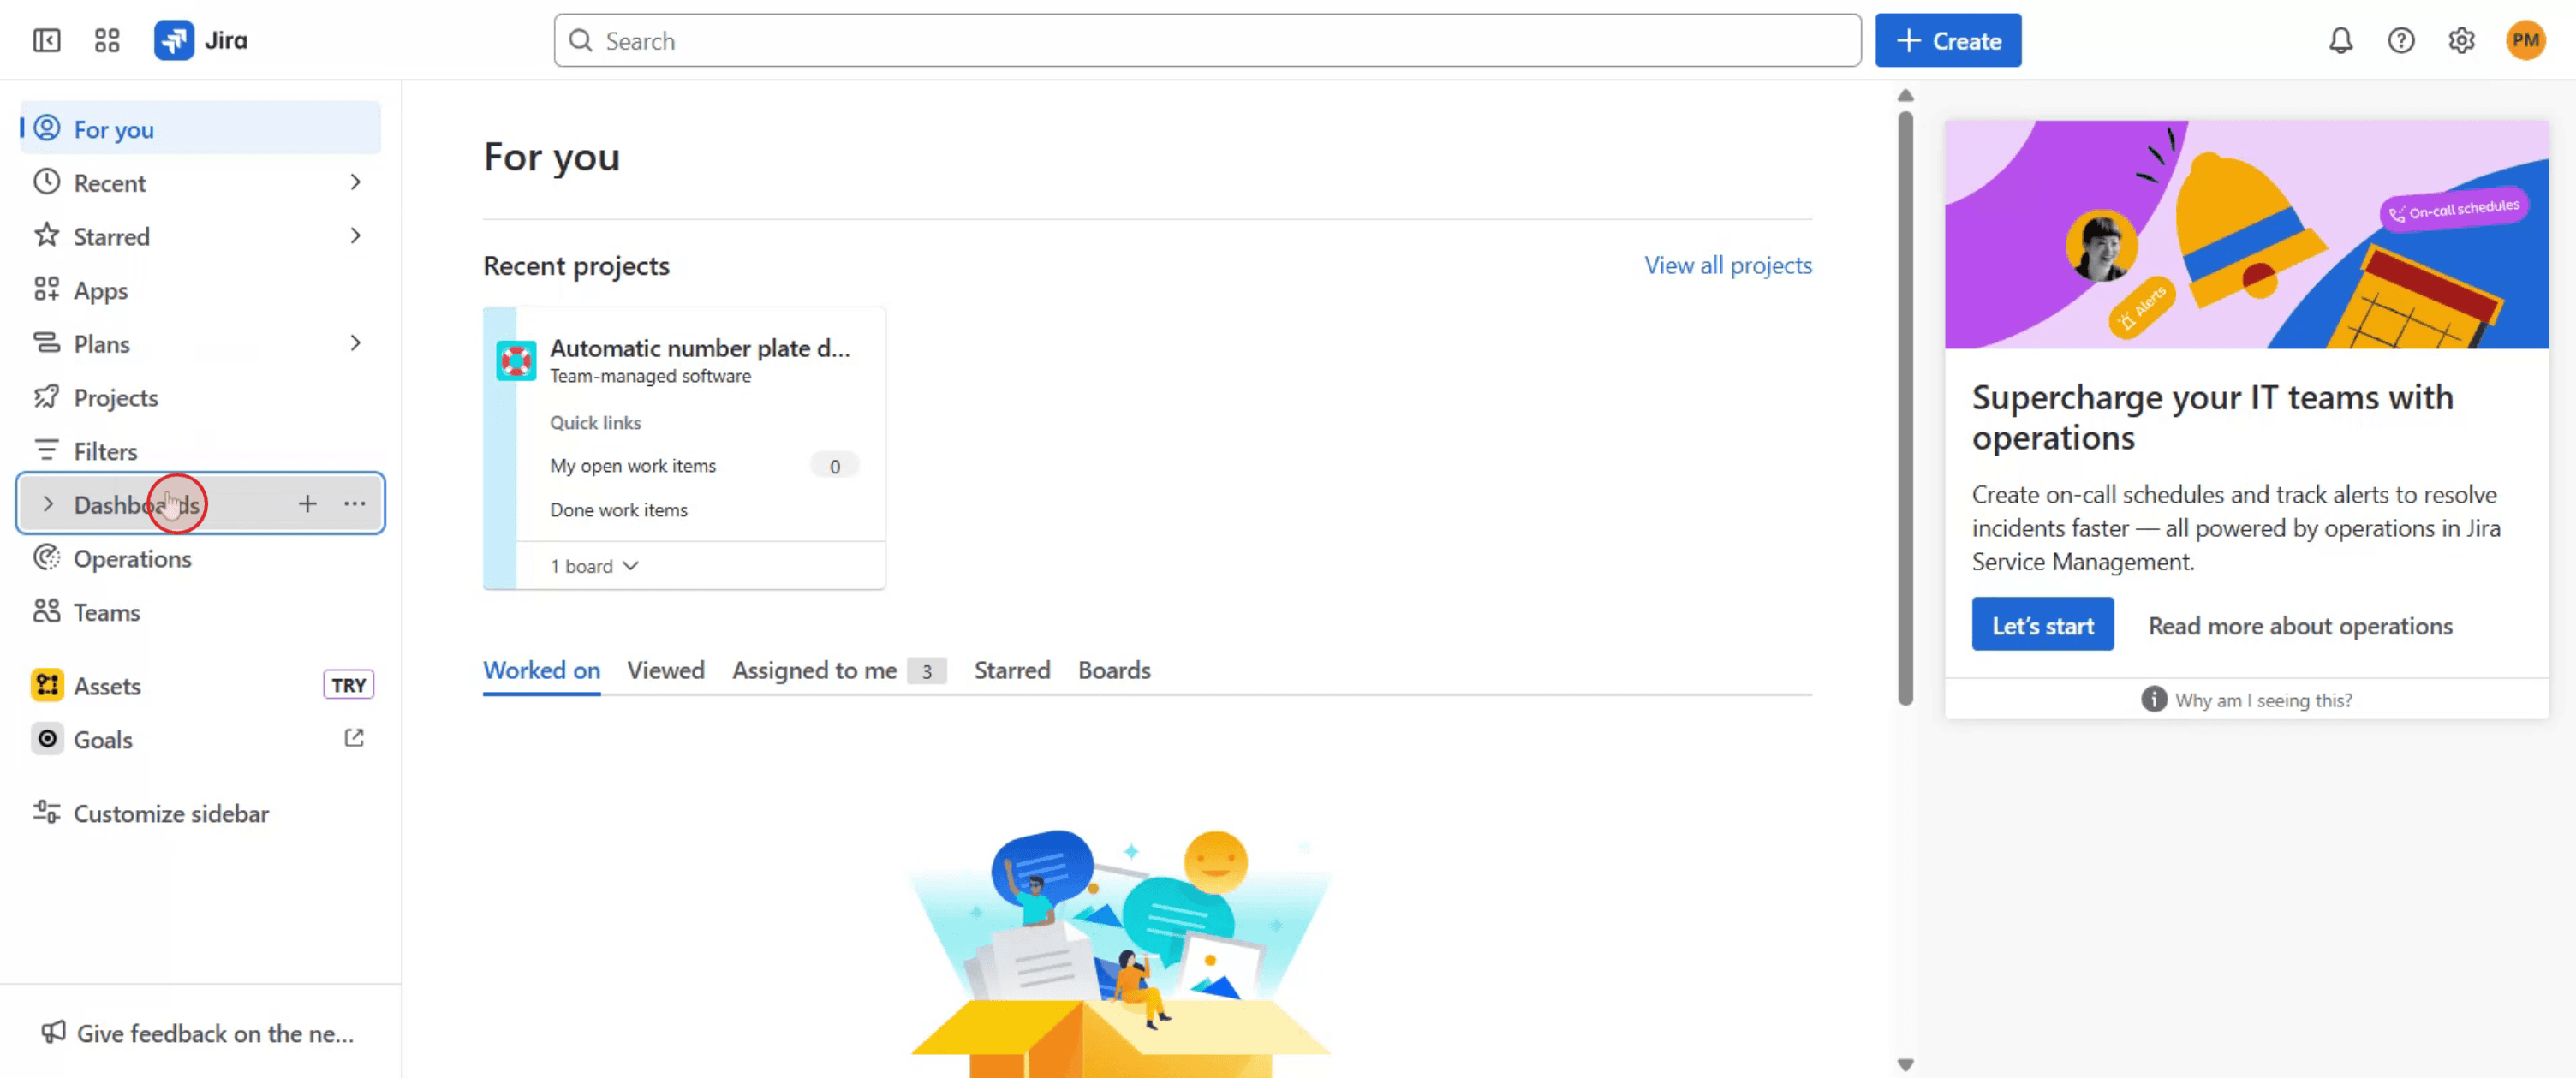
Step 1
To begin the process of deleting a board in Jira, navigate to the dashboard and select it.
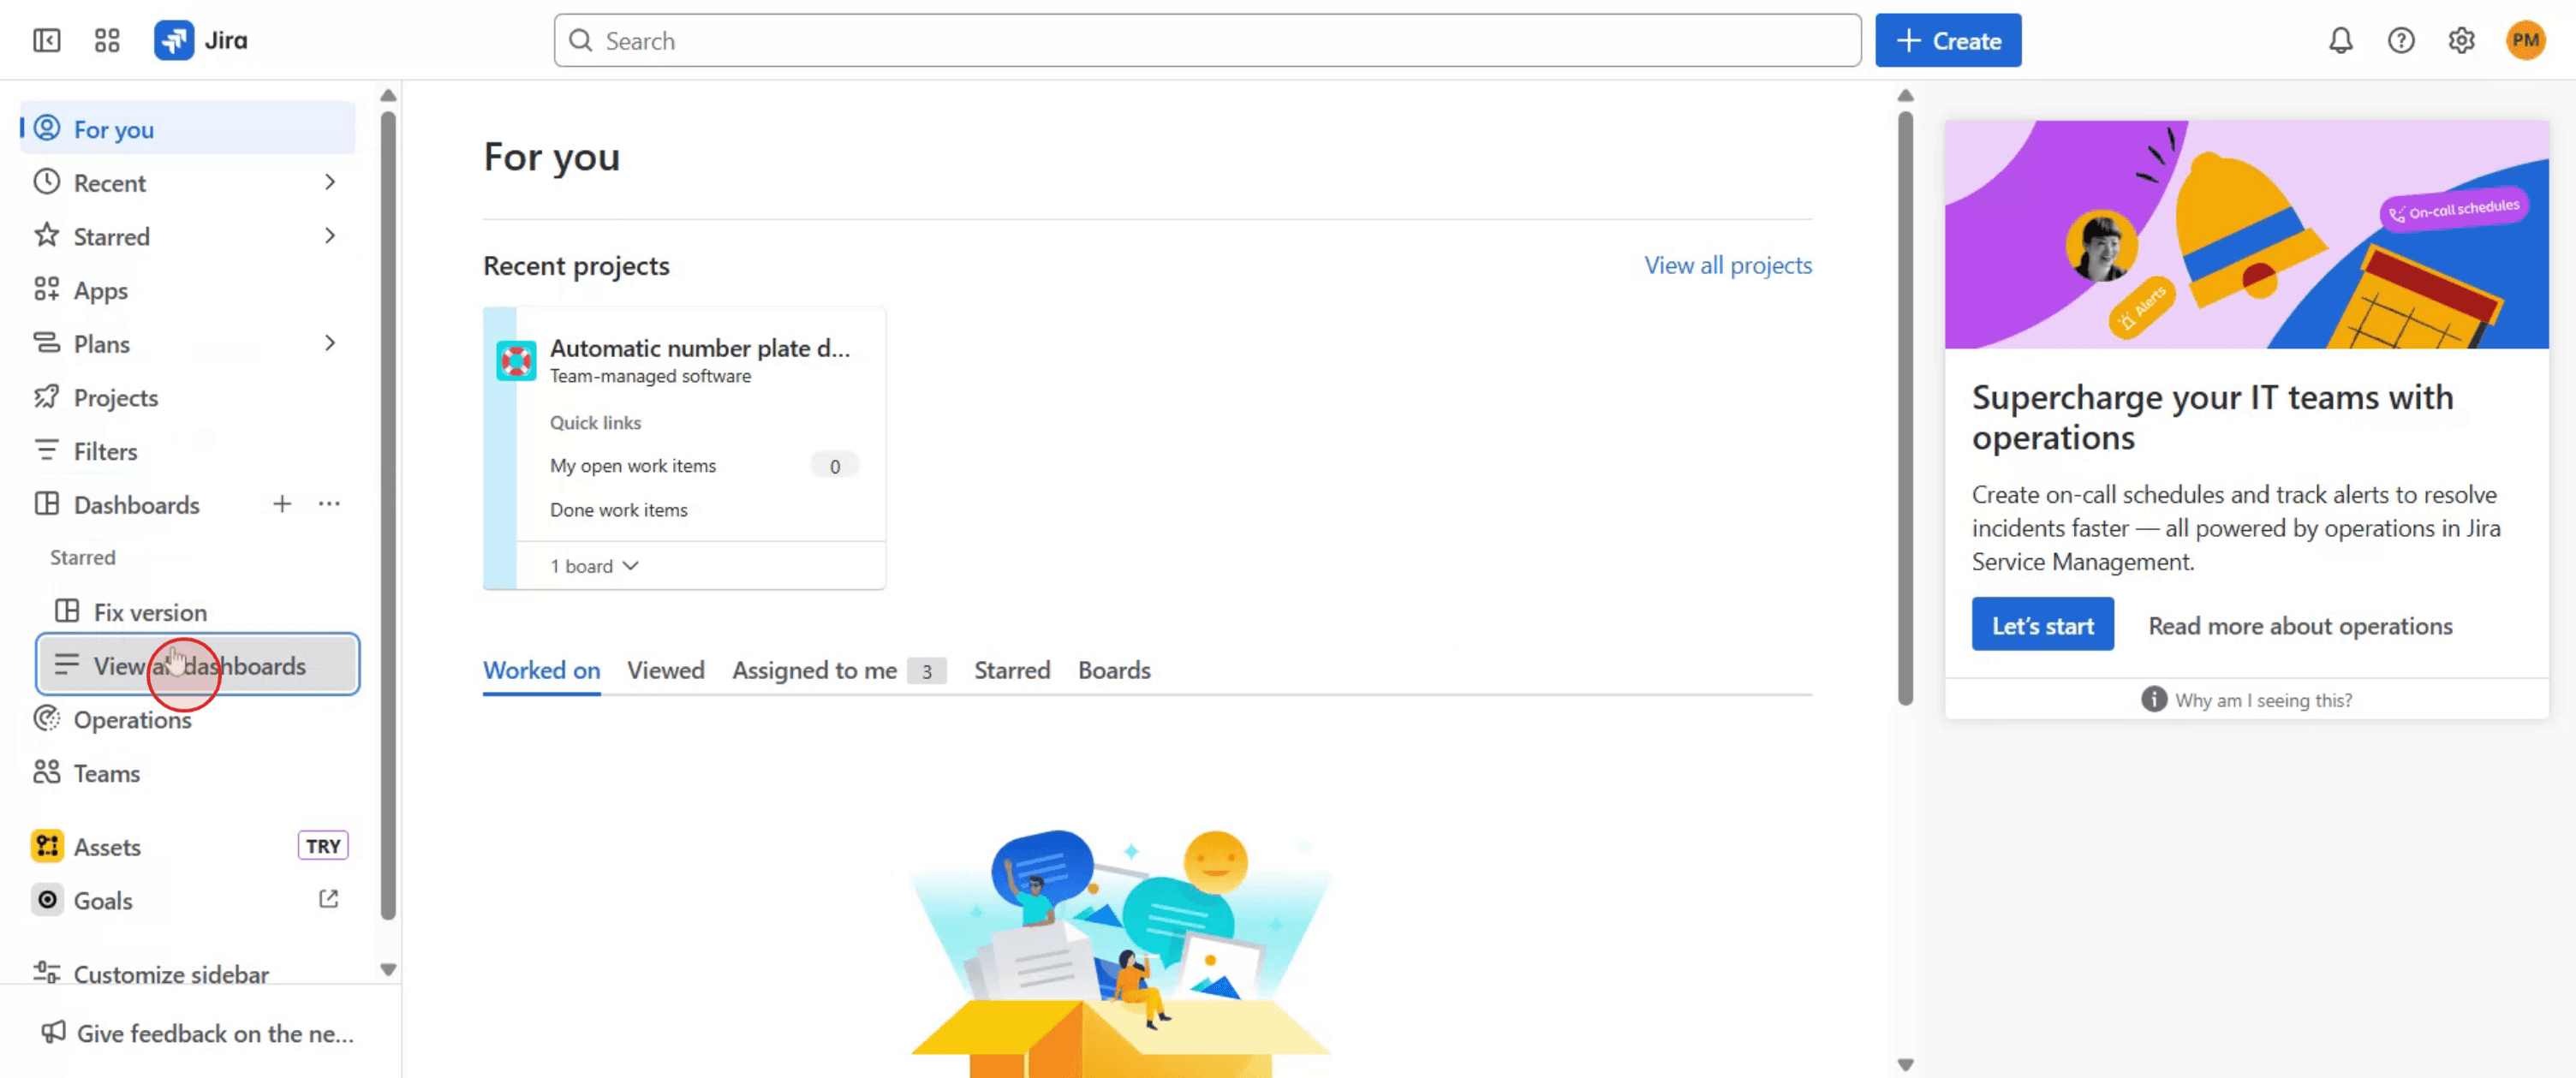
Step 2
Once on the dashboard, click on the option labeled "View All Dashboards."
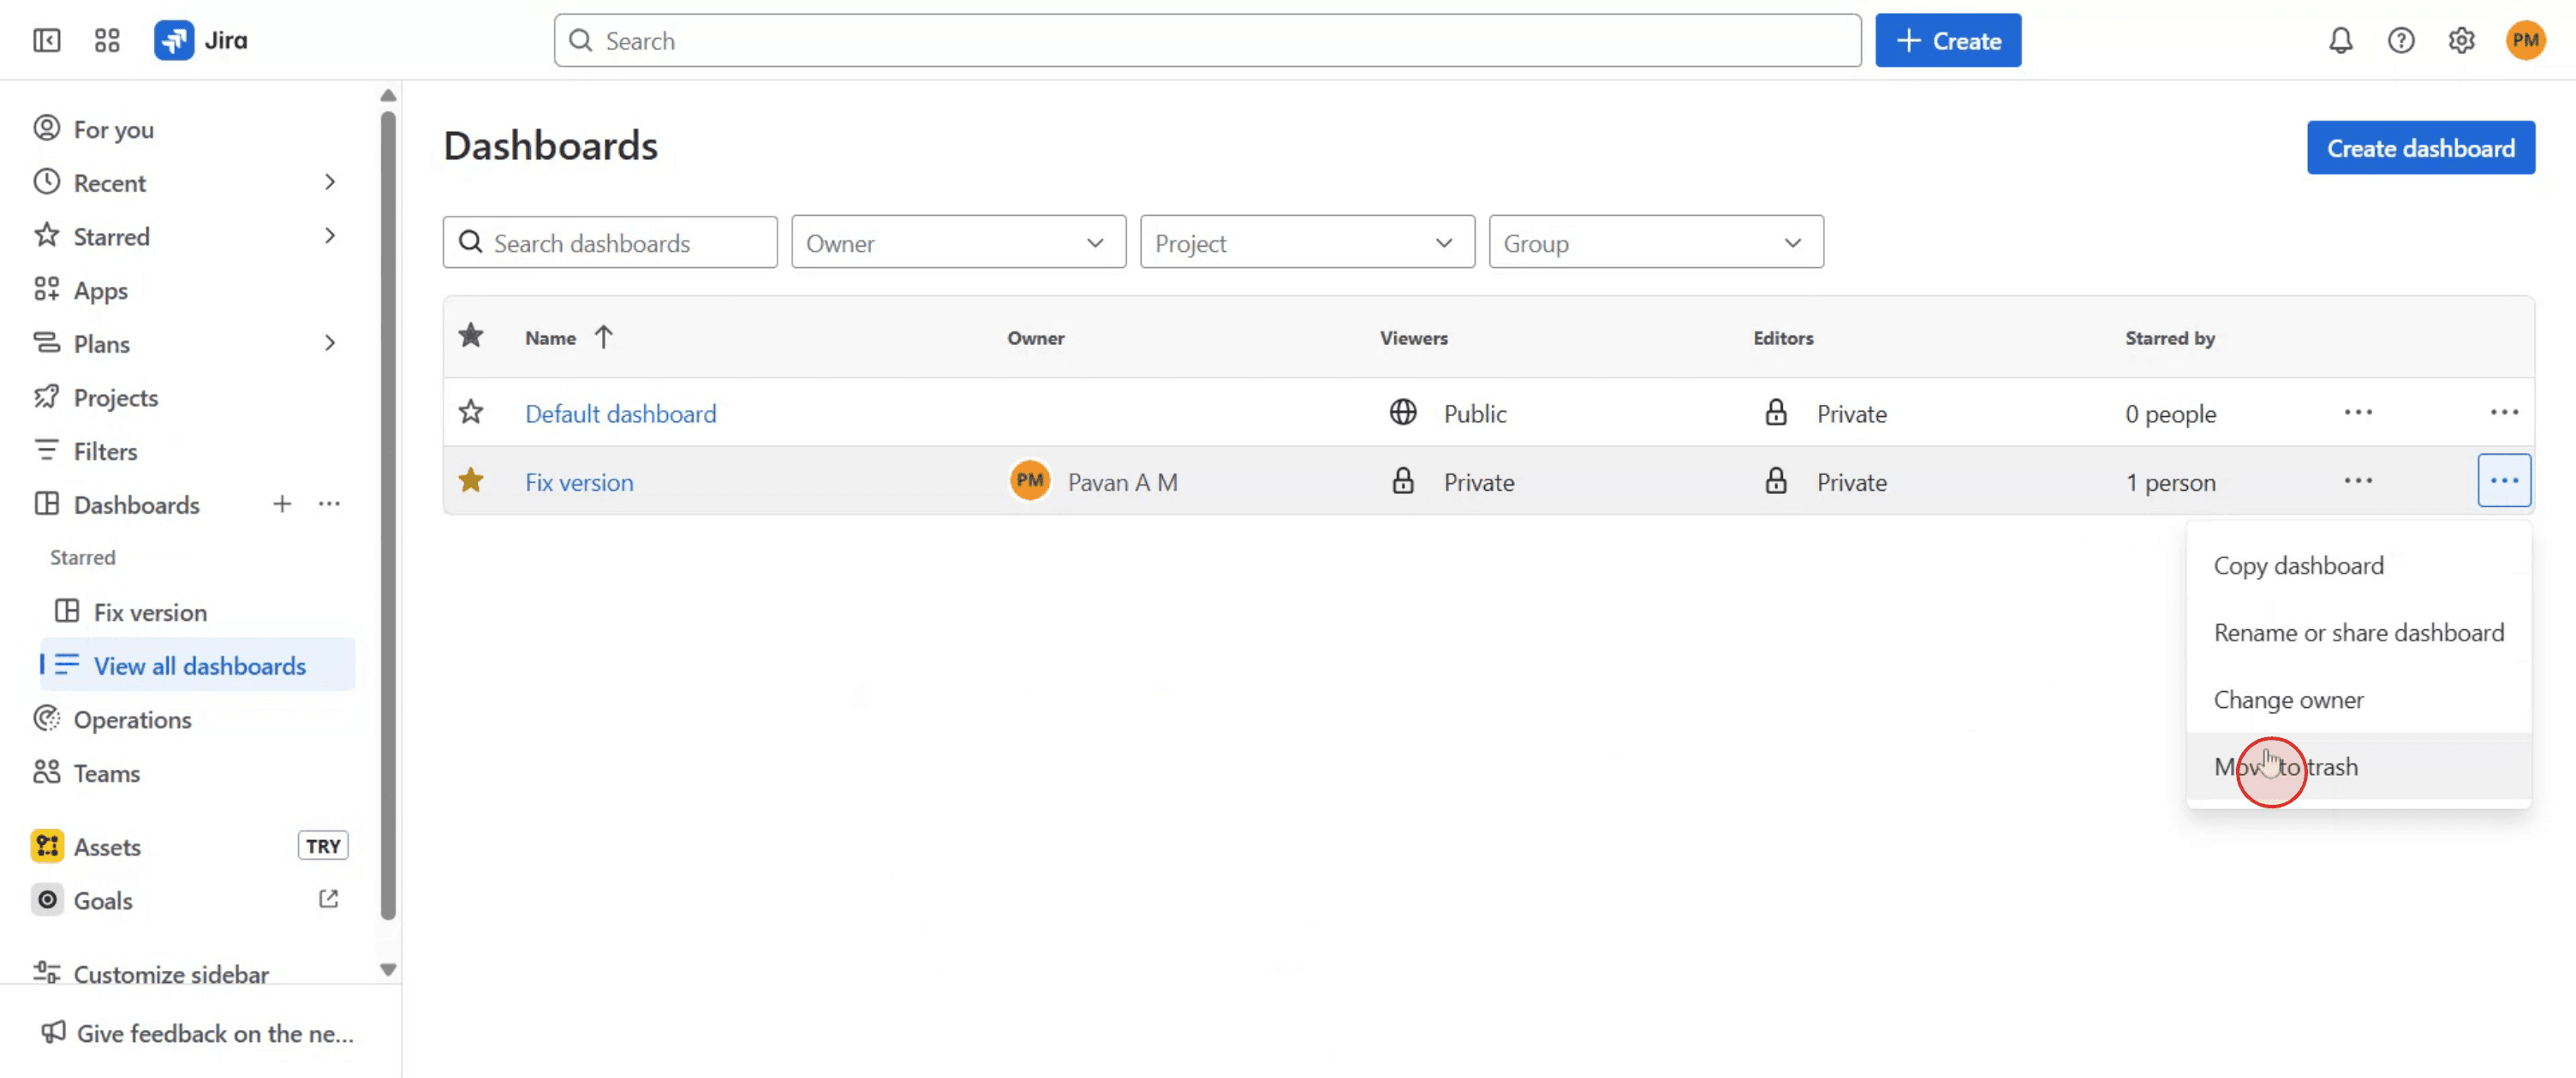
Step 3
Select Board settings, scroll to the bottom, and choose 'Move to trash' to confirm.
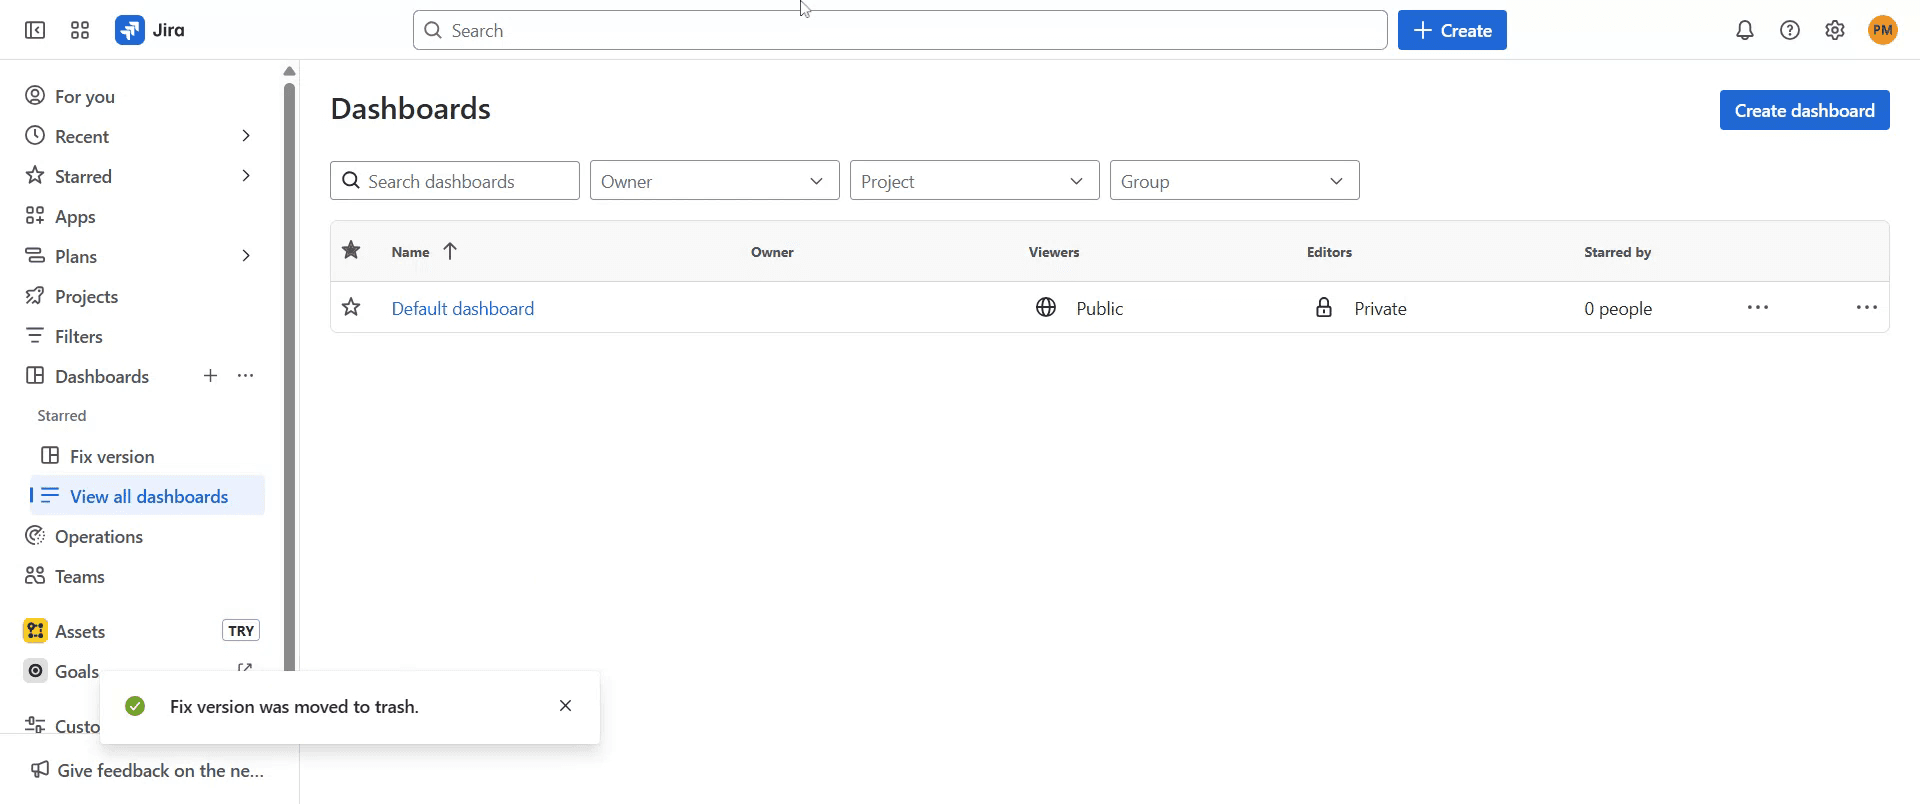
Step 4
You will get a prompt marking the board as Moved to trash.
Pro Tips for Deleting a Board in Jira
Log in to your Jira account with administrator permissions.
Only admins or users with the right permissions can delete boards.Go to the board you want to delete.
Use the search or navigation menu to open the specific board.Open the board settings.
Click on the three-dot menu (More options) in the upper-right corner of the board and select “Board settings.”Locate the delete option.
Scroll down in the settings panel or menu until you find “Delete board.”Confirm the deletion.
Click “Delete” and confirm your choice in the pop-up dialog. This will permanently remove the board from Jira.Refresh your dashboard.
After deletion, go back to your Jira dashboard and refresh to ensure the board has been removed.
Common Pitfalls and How to Avoid Them
Not having the right permissions.
Ensure you are either a Jira administrator or the owner of the board.Confusing board deletion with project deletion.
Deleting a board does not delete the issues or the project; it only removes the view.Accidentally deleting the wrong board.
Double-check the board name before confirming deletion.No delete option visible.
If you don’t see the option, it means you don’t have the required permissions.Losing board filters.
Once deleted, any saved filters associated with the board may also be lost unless saved separately.
Common FAQs About Deleting a Board in Jira
How do I delete a board in Jira?
Go to Board settings, scroll to the bottom, click “Delete board,” and confirm.Can I restore a deleted board?
No, once a board is deleted, it cannot be restored unless you recreate it manually.Does deleting a board remove the issues?
No, the issues remain in the project. Only the board view is removed.Why can’t I see the delete option?
You need admin rights or to be the board owner to delete it.Can I delete a board from the Jira mobile app?
No, board deletion must be done from the desktop/web version of Jira.How to screen record on mac?
To screen record on a Mac, you can use Trupeer AI. It allows you to capture the entire screen and provides AI capabilities such as adding AI avatars, add voiceover, add zoom in and out in the video. With trupeer’s AI video translation feature, you can translate the video into 30+ languages.How to add an AI avatar to screen recording?
To add an AI avatar to a screen recording, you'll need to use an AI screen recording tool. Trupeer AI is an AI screen recording tool, which helps you create videos with multiple avatars, also helps you in creating your own avatar for the video.How to screen record on windows?
To screen record on Windows, you can use the built-in Game Bar (Windows + G) or advanced AI tool like Trupeer AI for more advanced features such as AI avatars, voiceover, translation etc.How to add voiceover to video?
To add voiceover to videos, download trupeer ai chrome extension. Once signed up, upload your video with voice, choose the desired voiceover from trupeer and export your edited video.How do I Zoom in on a screen recording?
To zoom in during a screen recording, use the zoom effects in Trupeer AI which allows you to zoom in and out at specific moments, enhancing the visual impact of your video content.
Suggested Reads
Technical Documentation Generator
How to Turn an Image into a Coloring Page in Canva
How to Print Double Sided on Canva
Related Tutorials

