
How to Time Animations in Canva – Set Custom Durations
Learn how to time animations in Canva by adjusting start time, duration, and sequence using the timeline editor. Follow this simple tutorial and create guides with Trupeer.
This document offers a comprehensive guide on creating and timing animations in Canva.
Follow these simple steps to effectively apply animations to text, customize animation styles, and adjust animation speed, elevating your design projects with dynamic visual elements.
If you want more control over how animations play in Canva, you can customize the timing for individual elements and page transitions. Canva lets you fine-tune when animations start and how long they last using the "Show timing" feature.
Step-by-Step Guide:
Open Your Design
Start by opening the Canva project that contains the animation you want to adjust.Select the Animated Element
Click on the text, image, or object that already has an animation applied.Access the Timing Panel
Click the three dots (More) or right-click the object.
Select “Show timing” from the menu.
A timeline bar will appear at the bottom of your screen.
Adjust the Animation Timing
You’ll see white trim handles on either side of the animated element's bar on the timeline.
Drag the handles to set the animation’s start time and end time.
This allows you to control how soon the animation appears and how long it lasts.
Adjust Page Transition Timing (Optional)
Click on the page number at the bottom.
Choose “Transition”, then adjust the duration slider to control how quickly or slowly the page moves to the next.
Reorder Animations (Optional)
If multiple elements are animated, you can drag and reorder their bars in the timeline to change the sequence.
Preview and Apply
Click the Play button to preview your animation timing.
Once satisfied, your changes will auto-save, or you can click Done to apply them.
Step-by-Step Guide: How To Time Animations In Canva
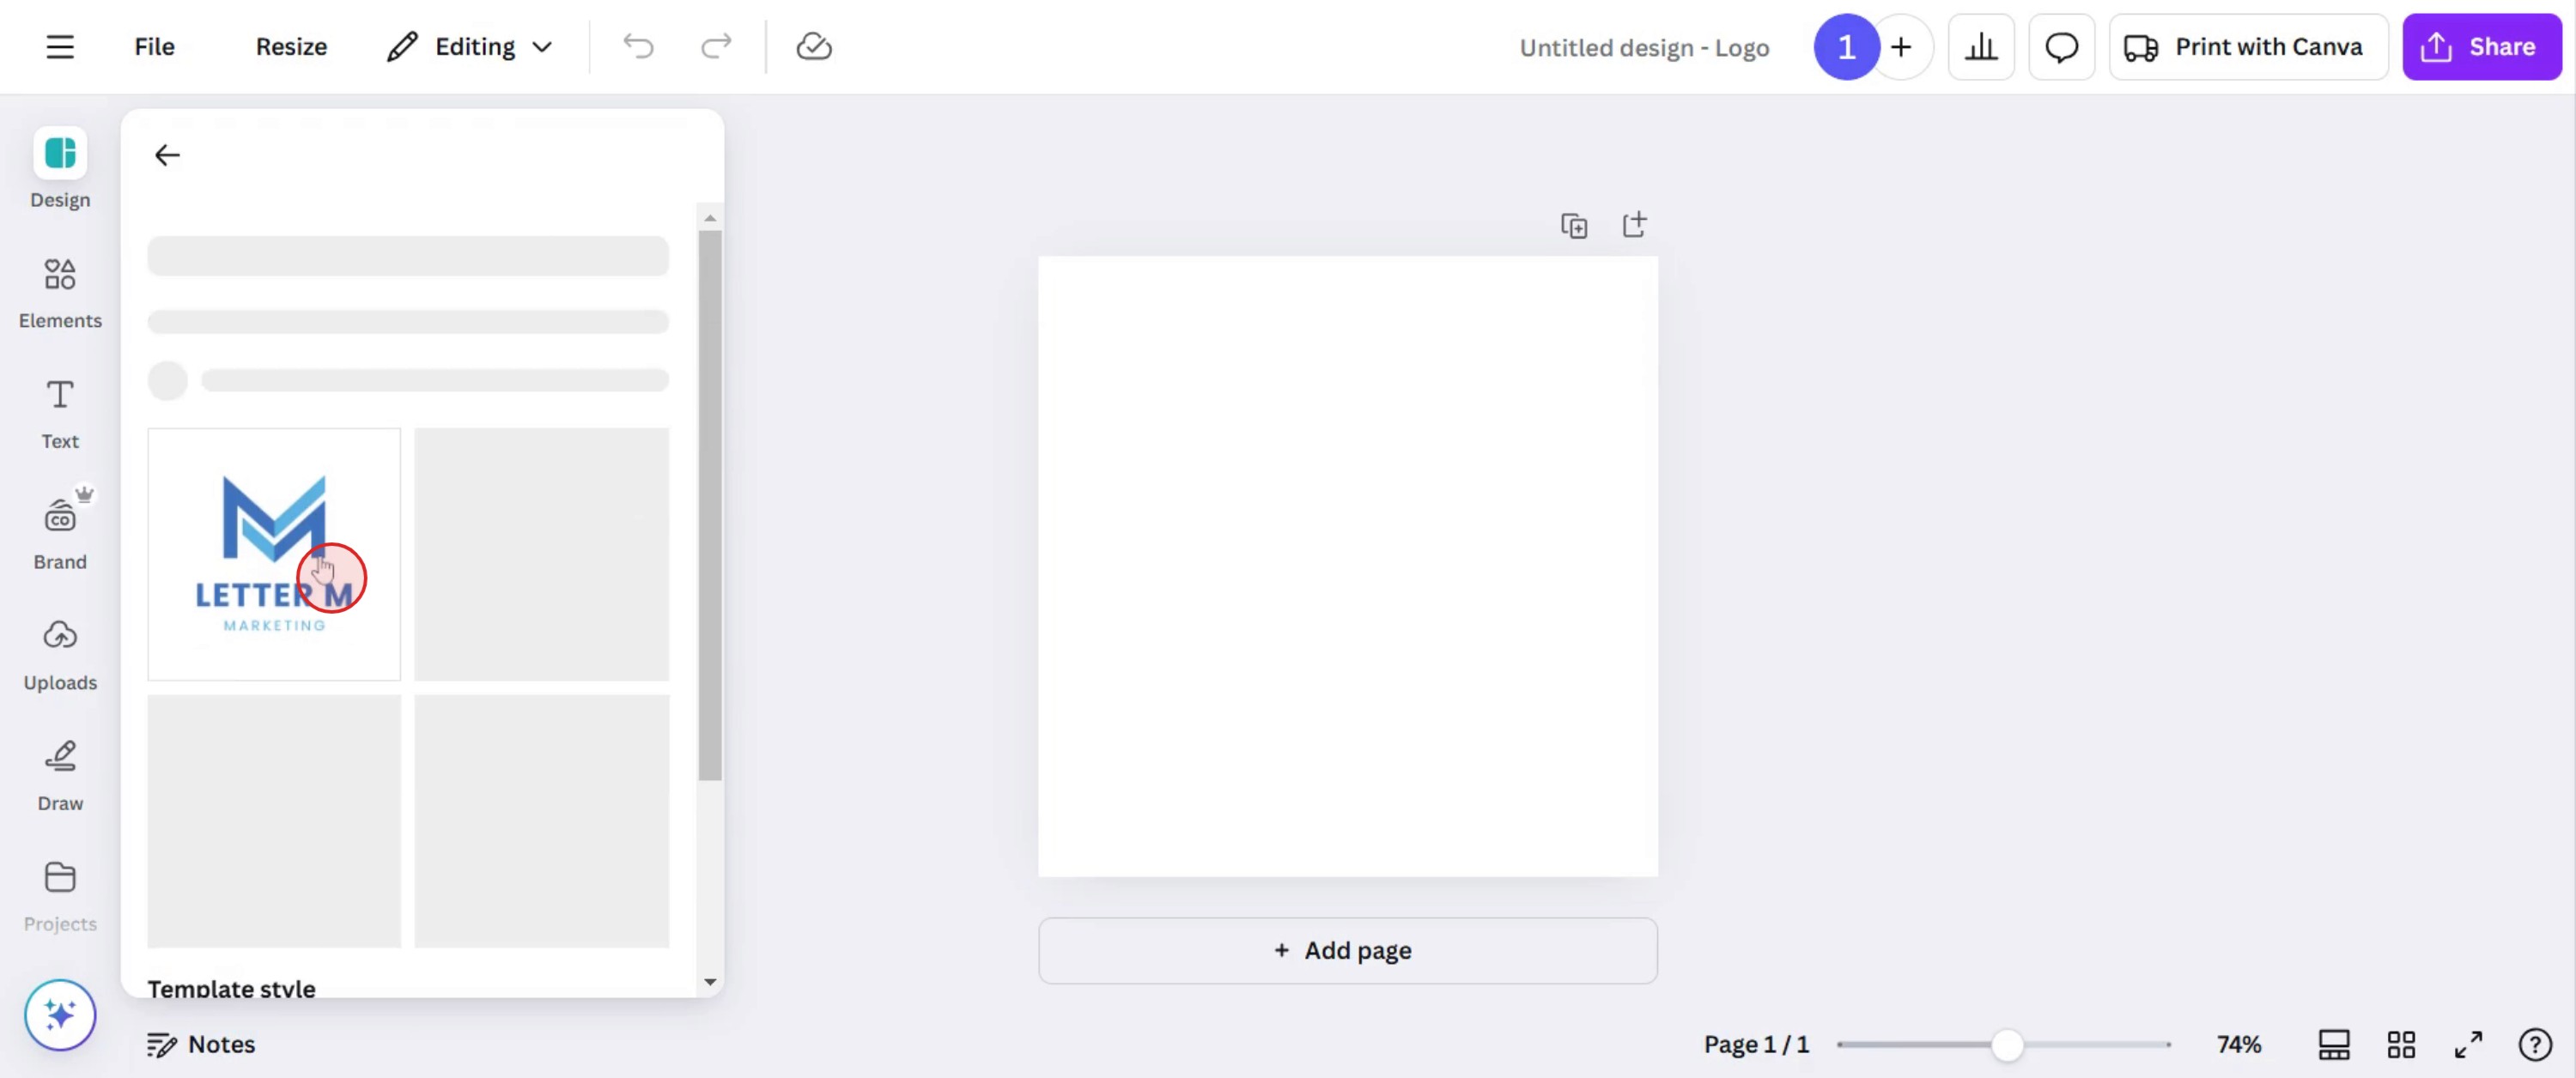
Step 1
Select the design you want to animate.
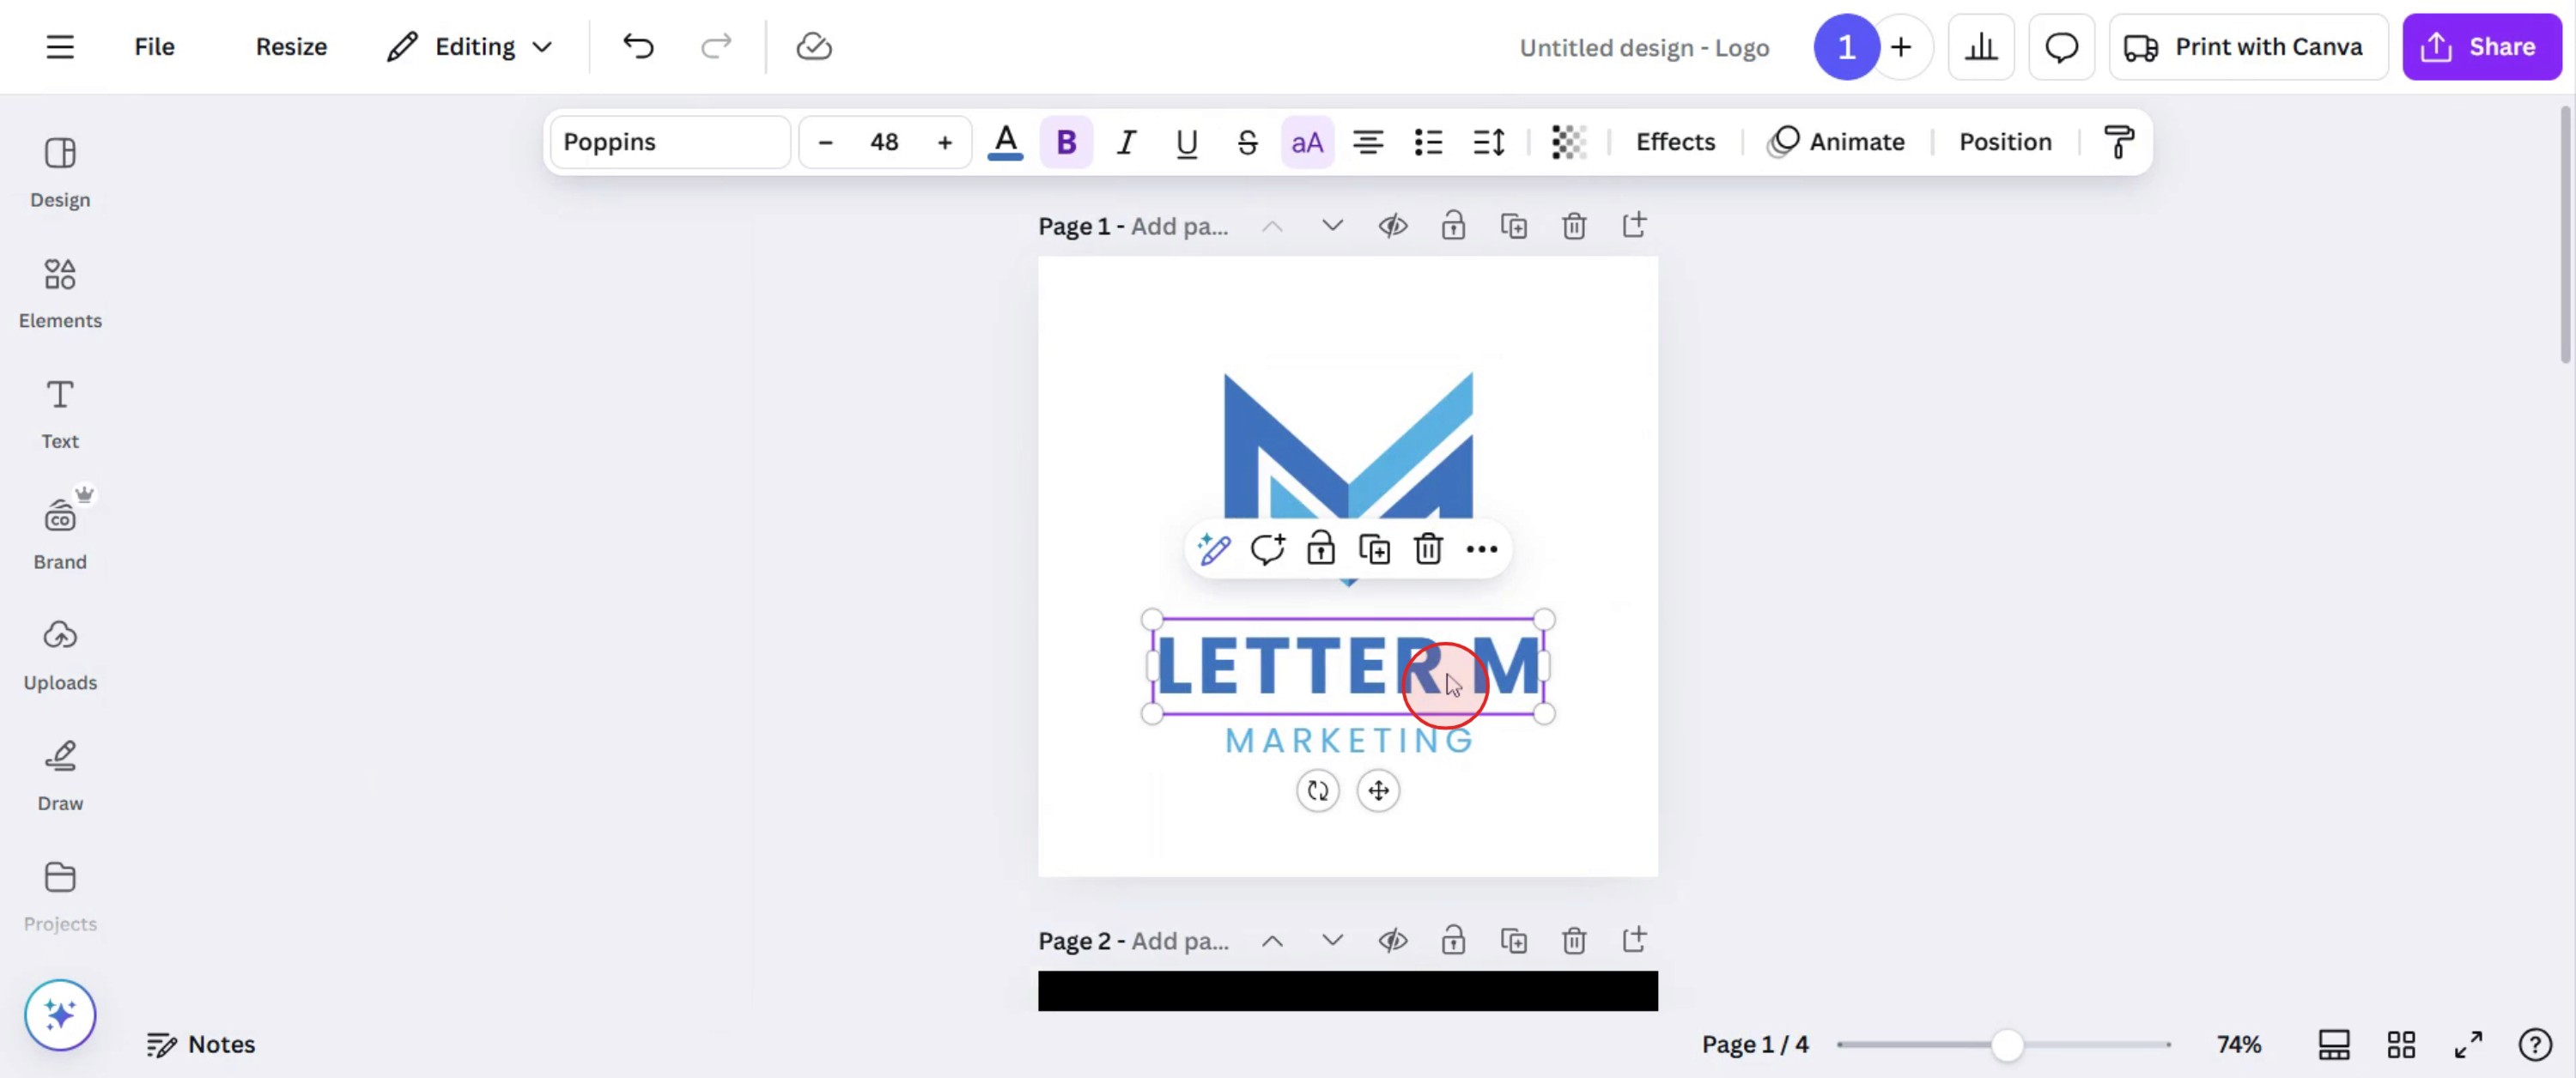
Step 2
Click or select the part of the design which you want to animate.
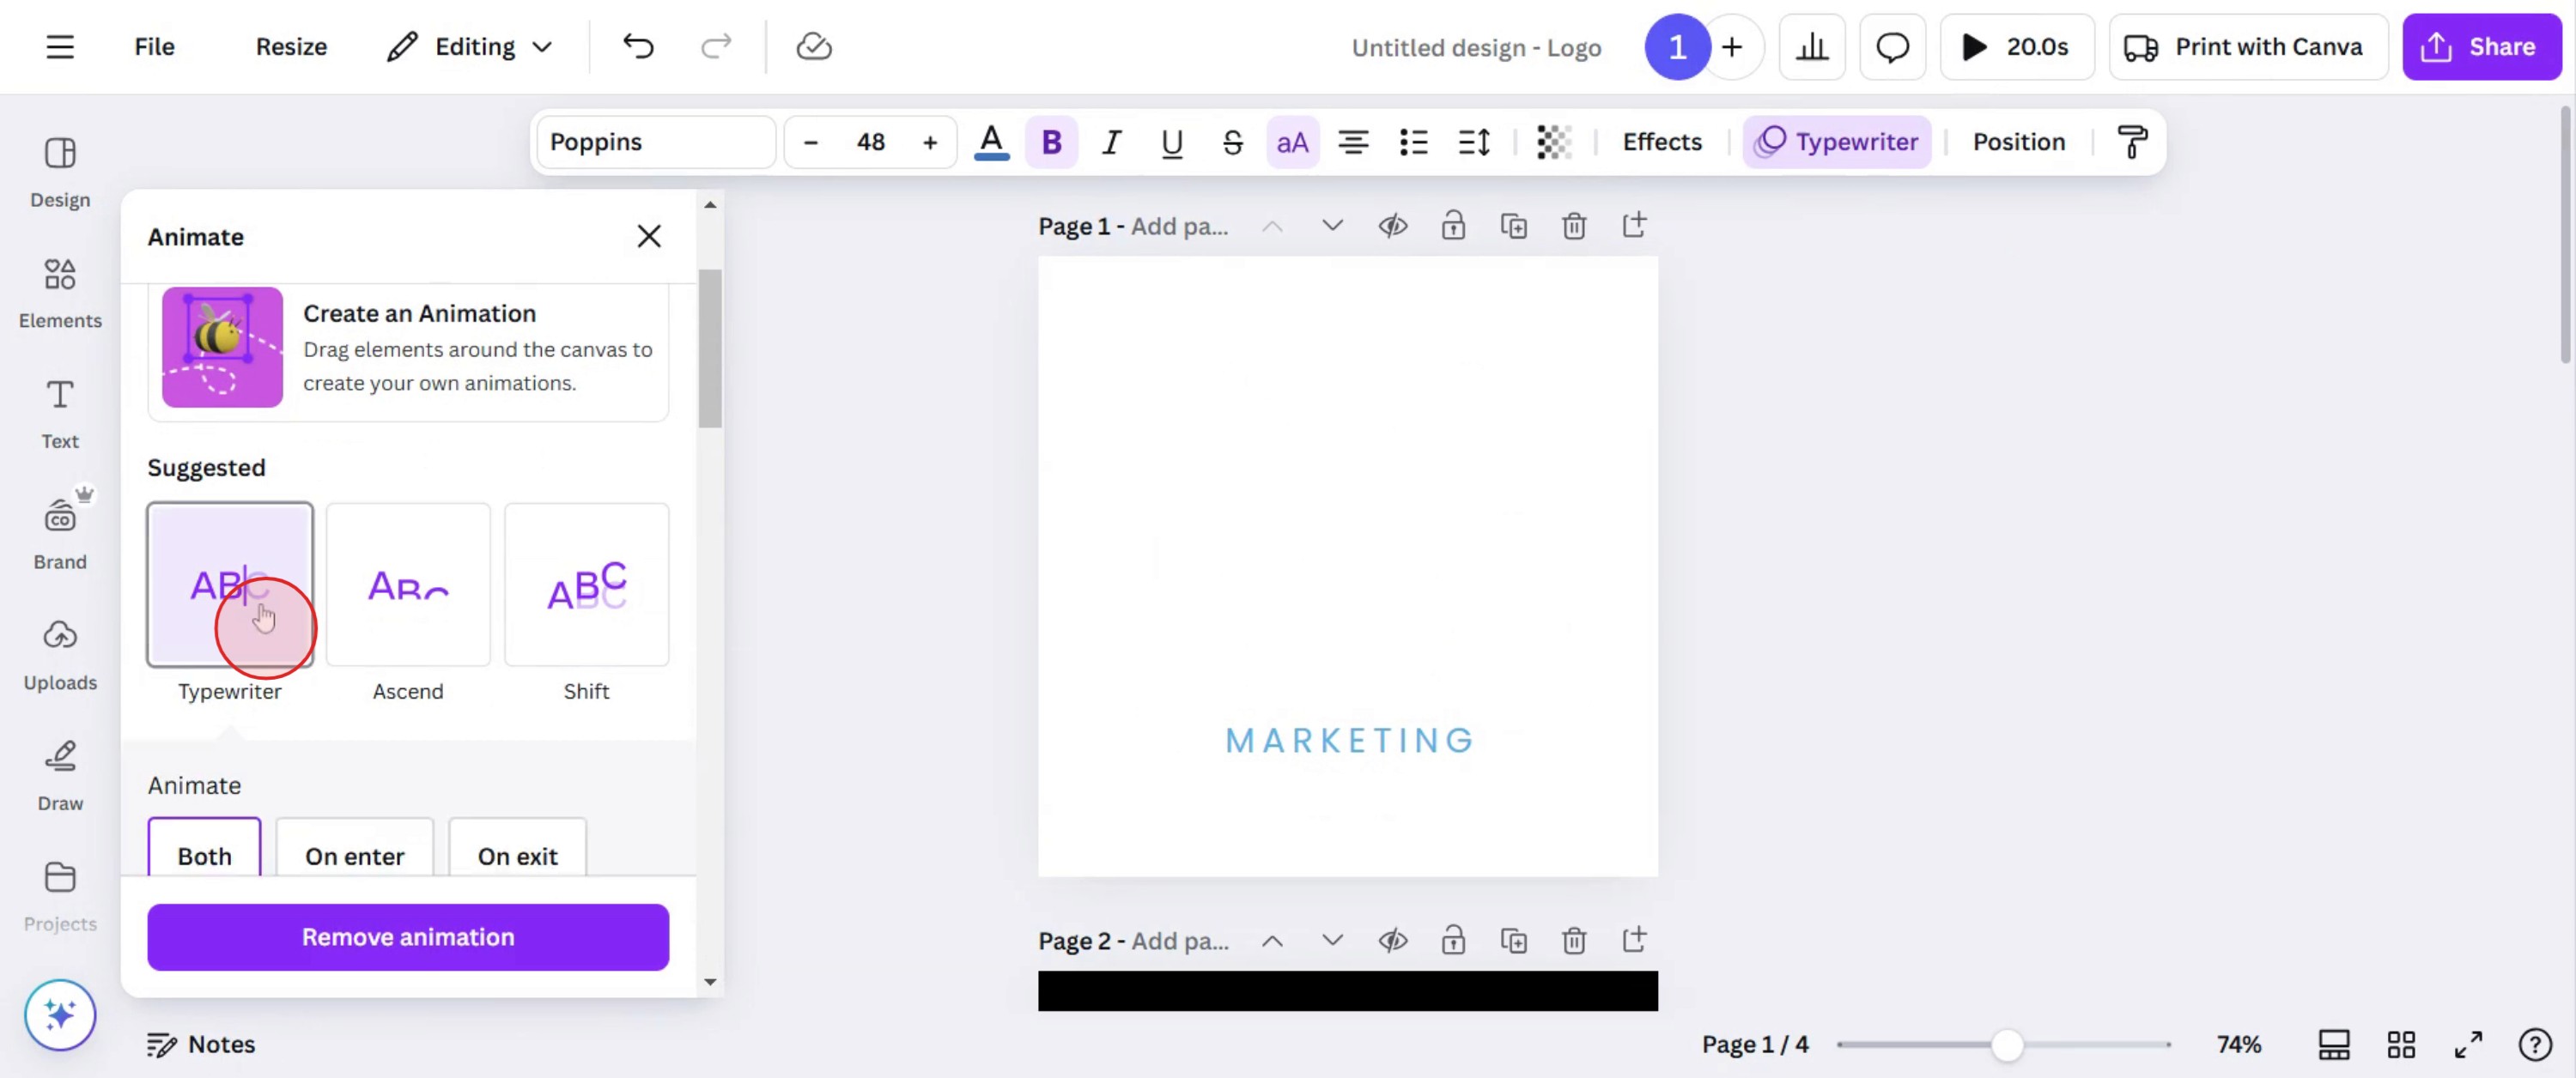
Step 3
Click on Animation option and explore animation styles and effects
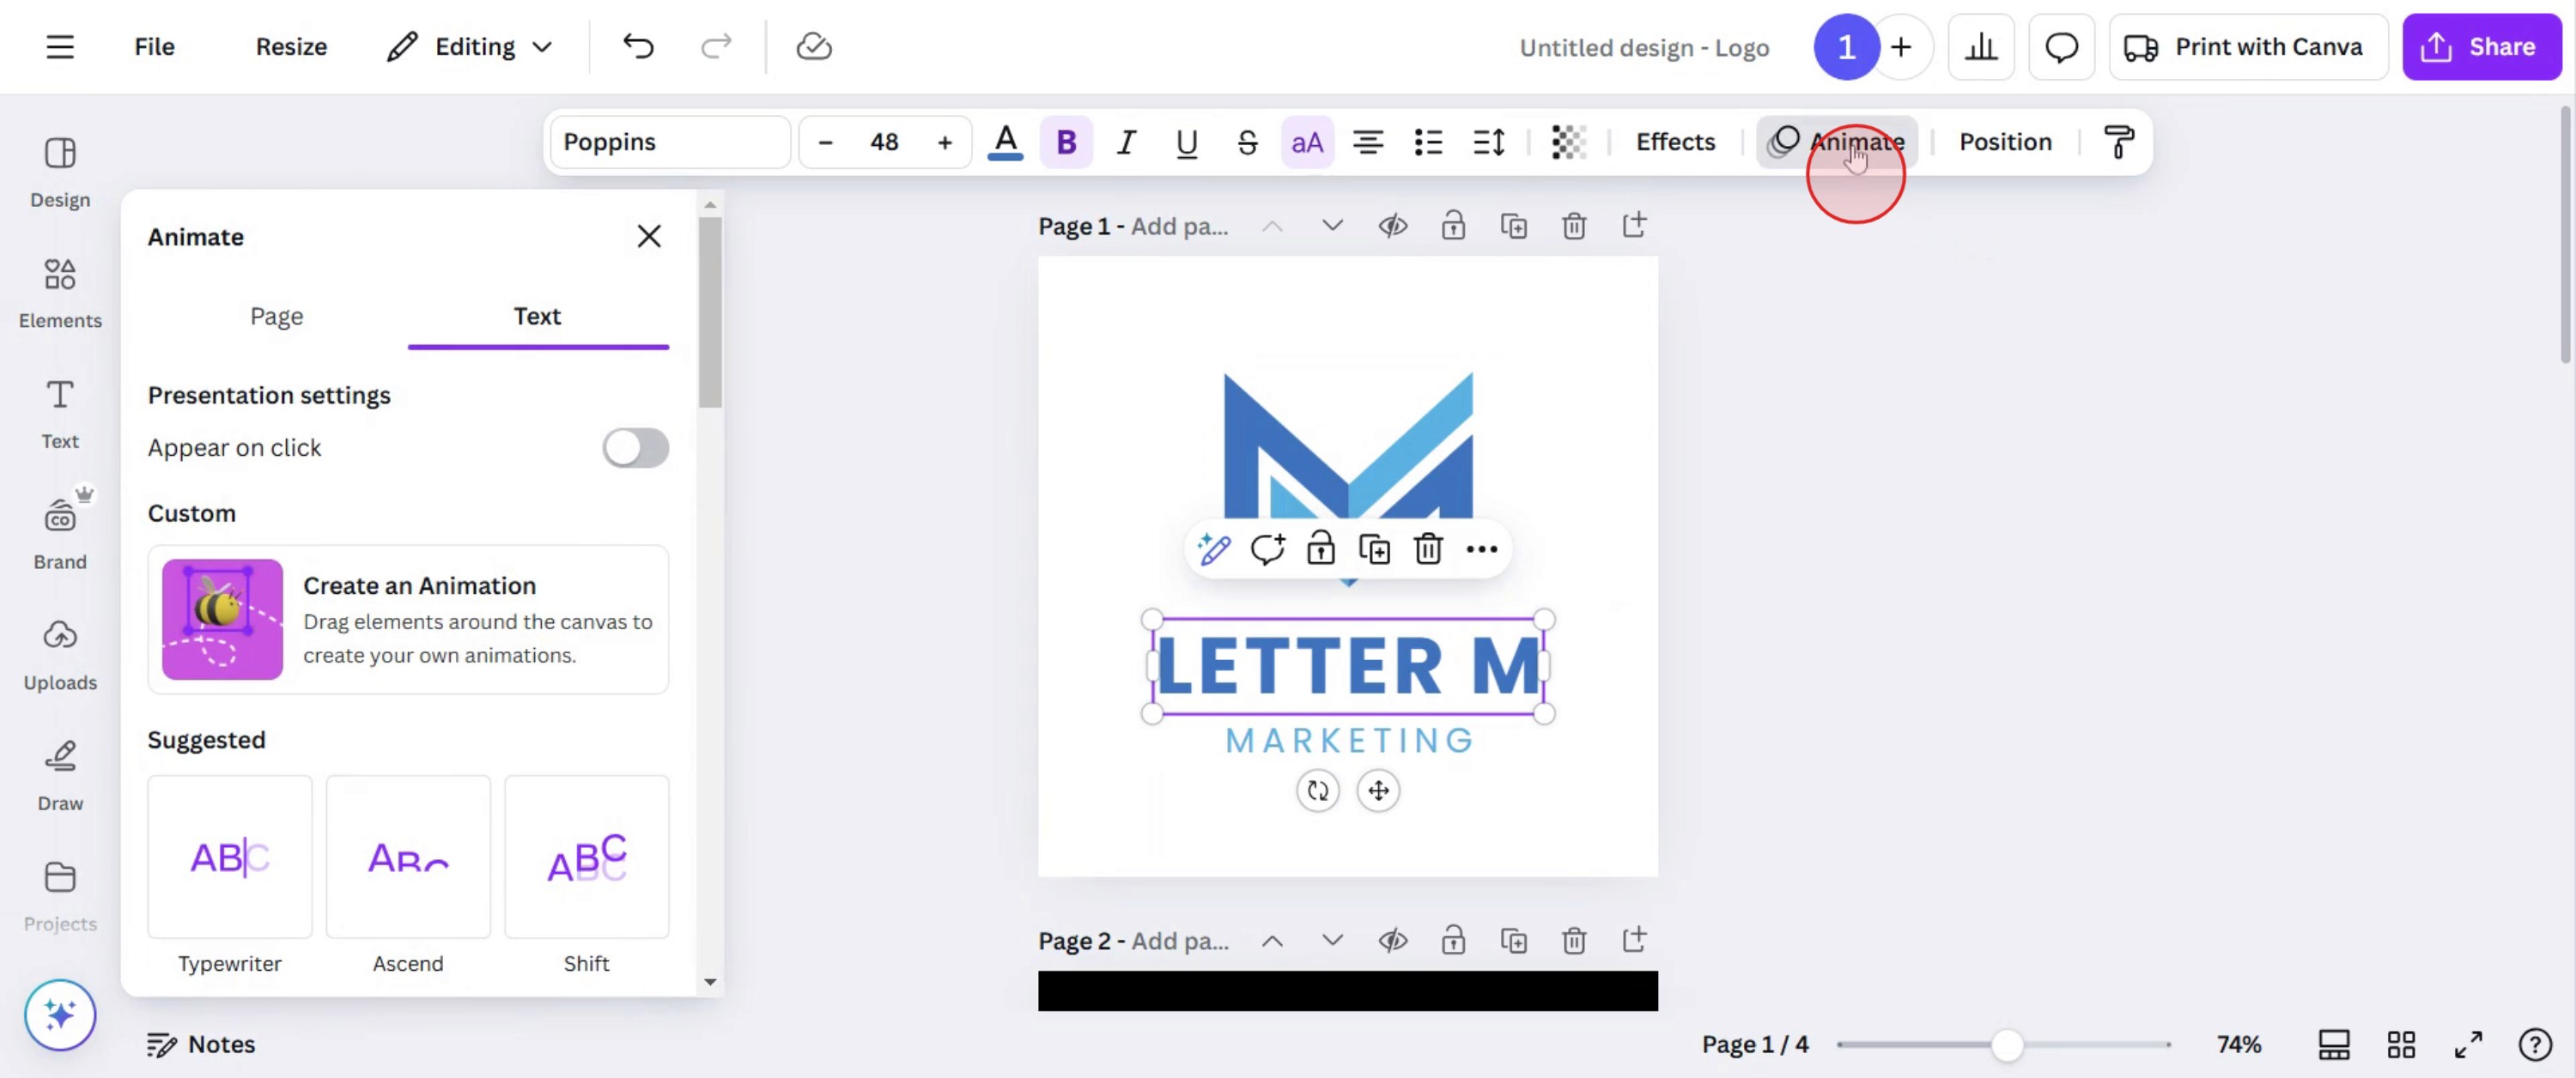
Step 4
Select the desired style that fits your needs and click on it.
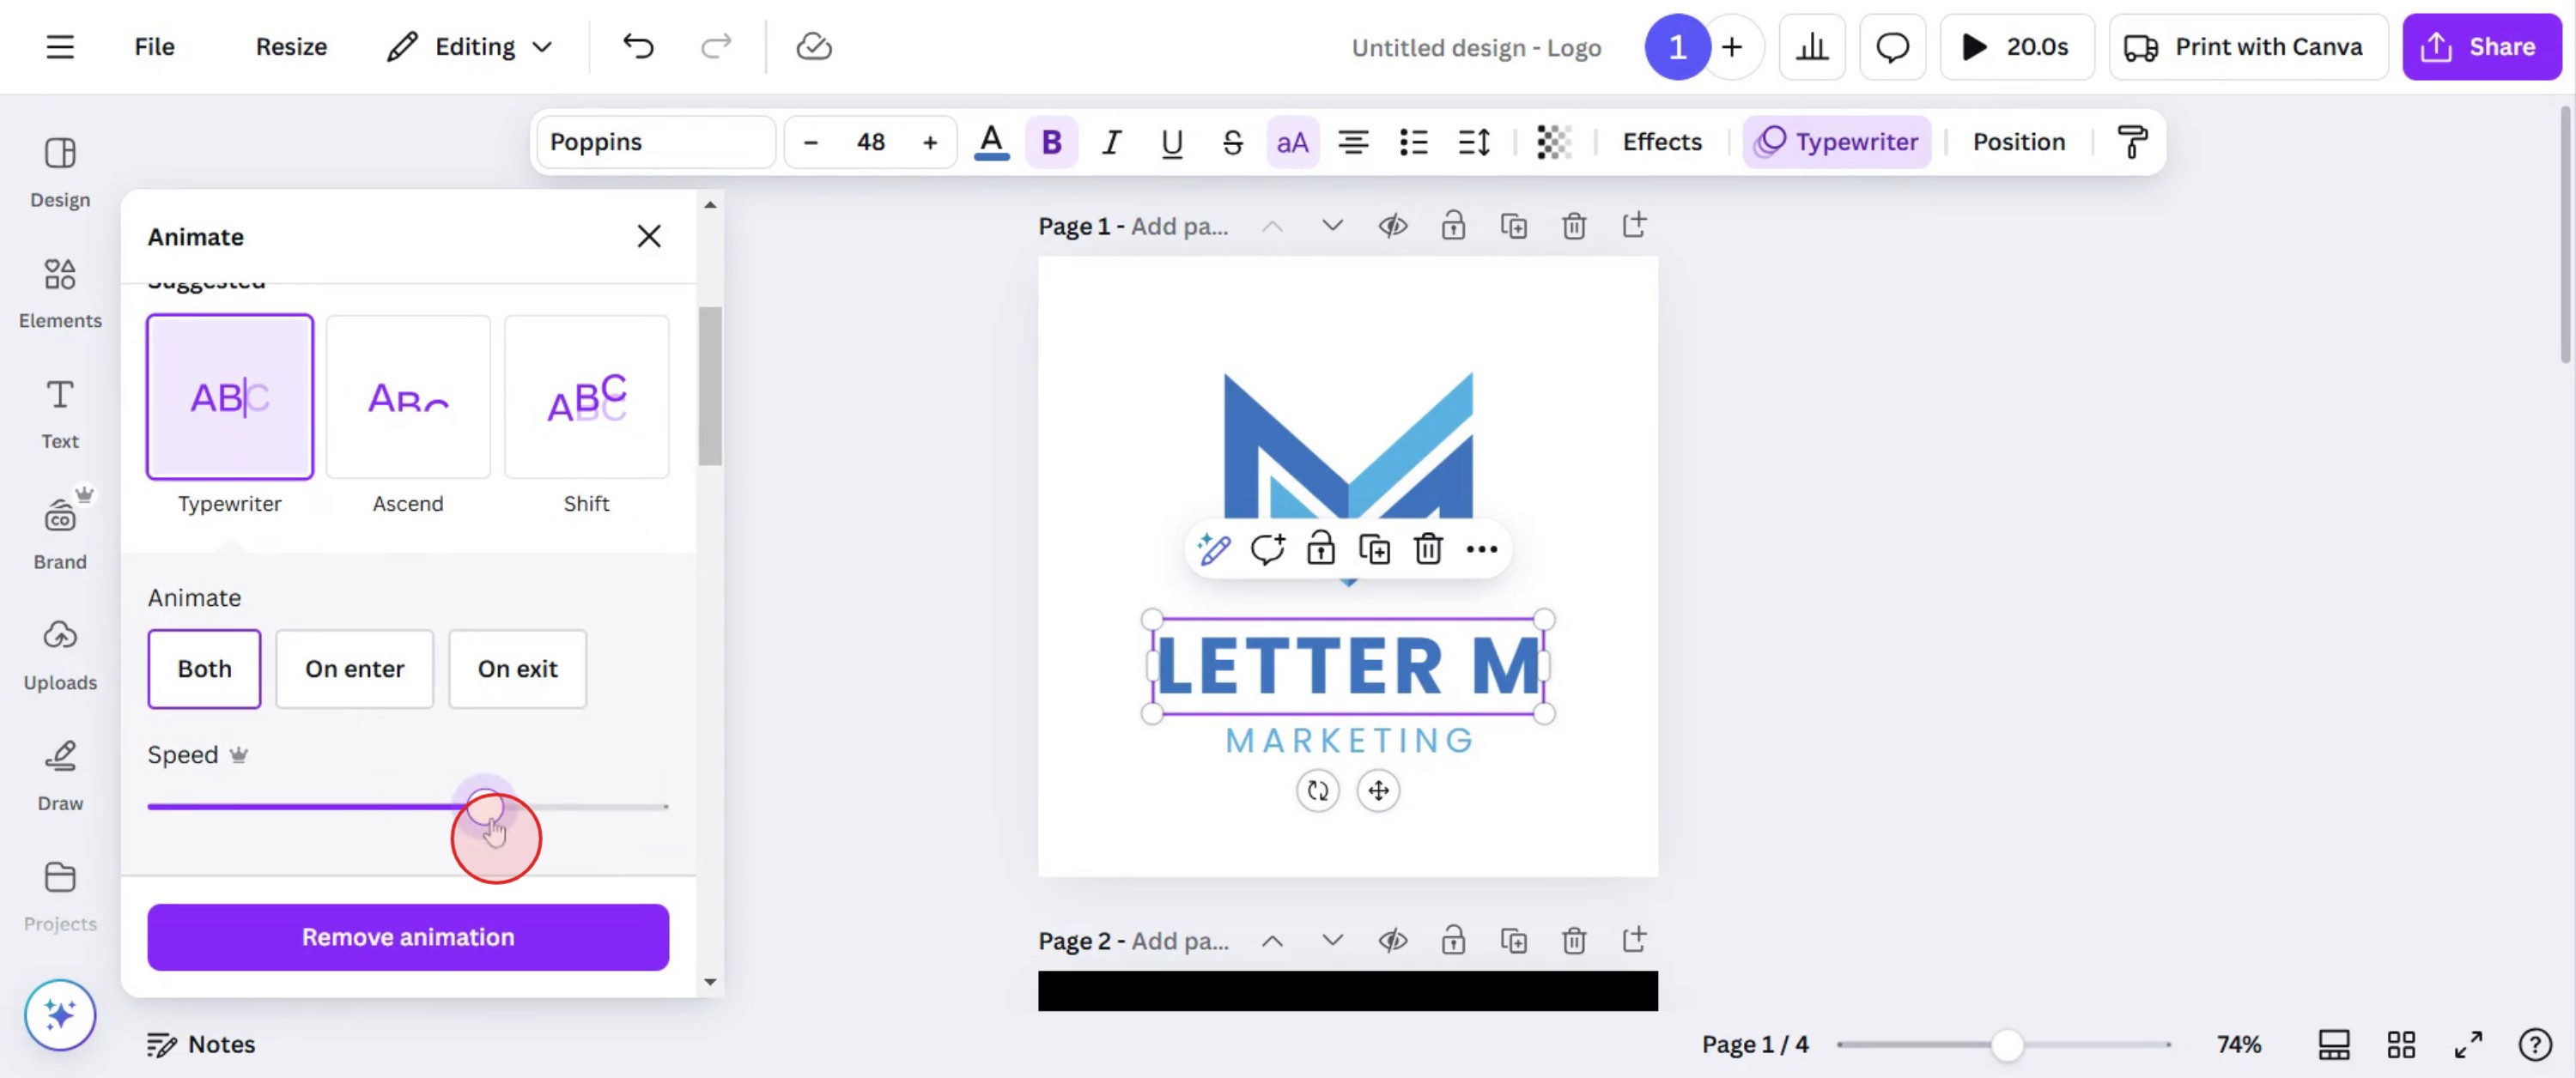
Step 5
Adjust the speed of the animation by either increasing or decreasing it to suit your preference.
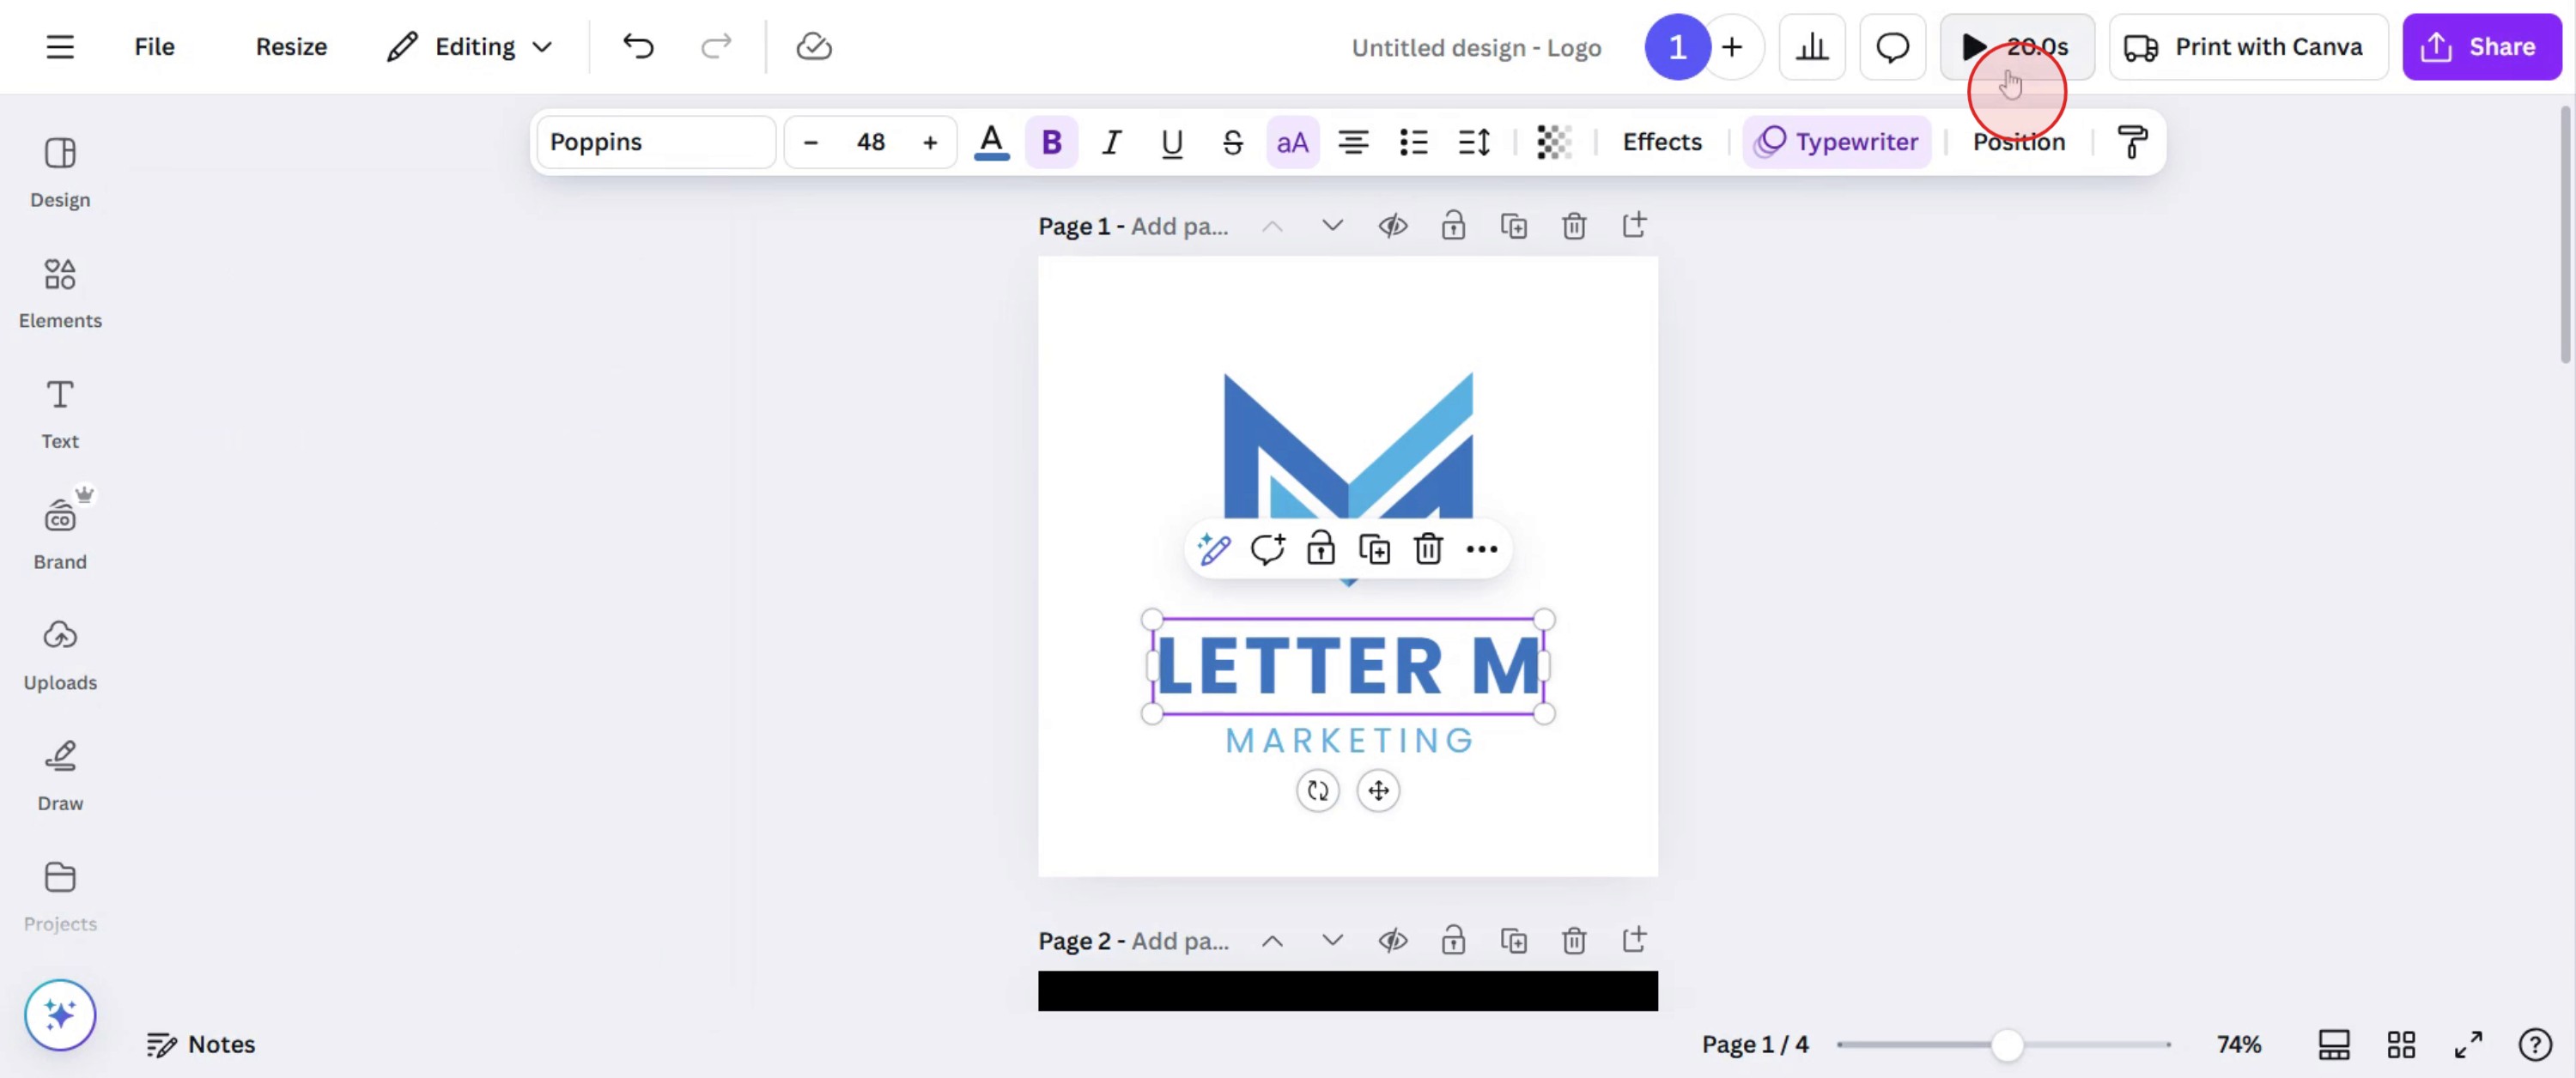
Step 6
Once you are satisfied with the animation settings, preview the animation to ensure it meets your expectations.
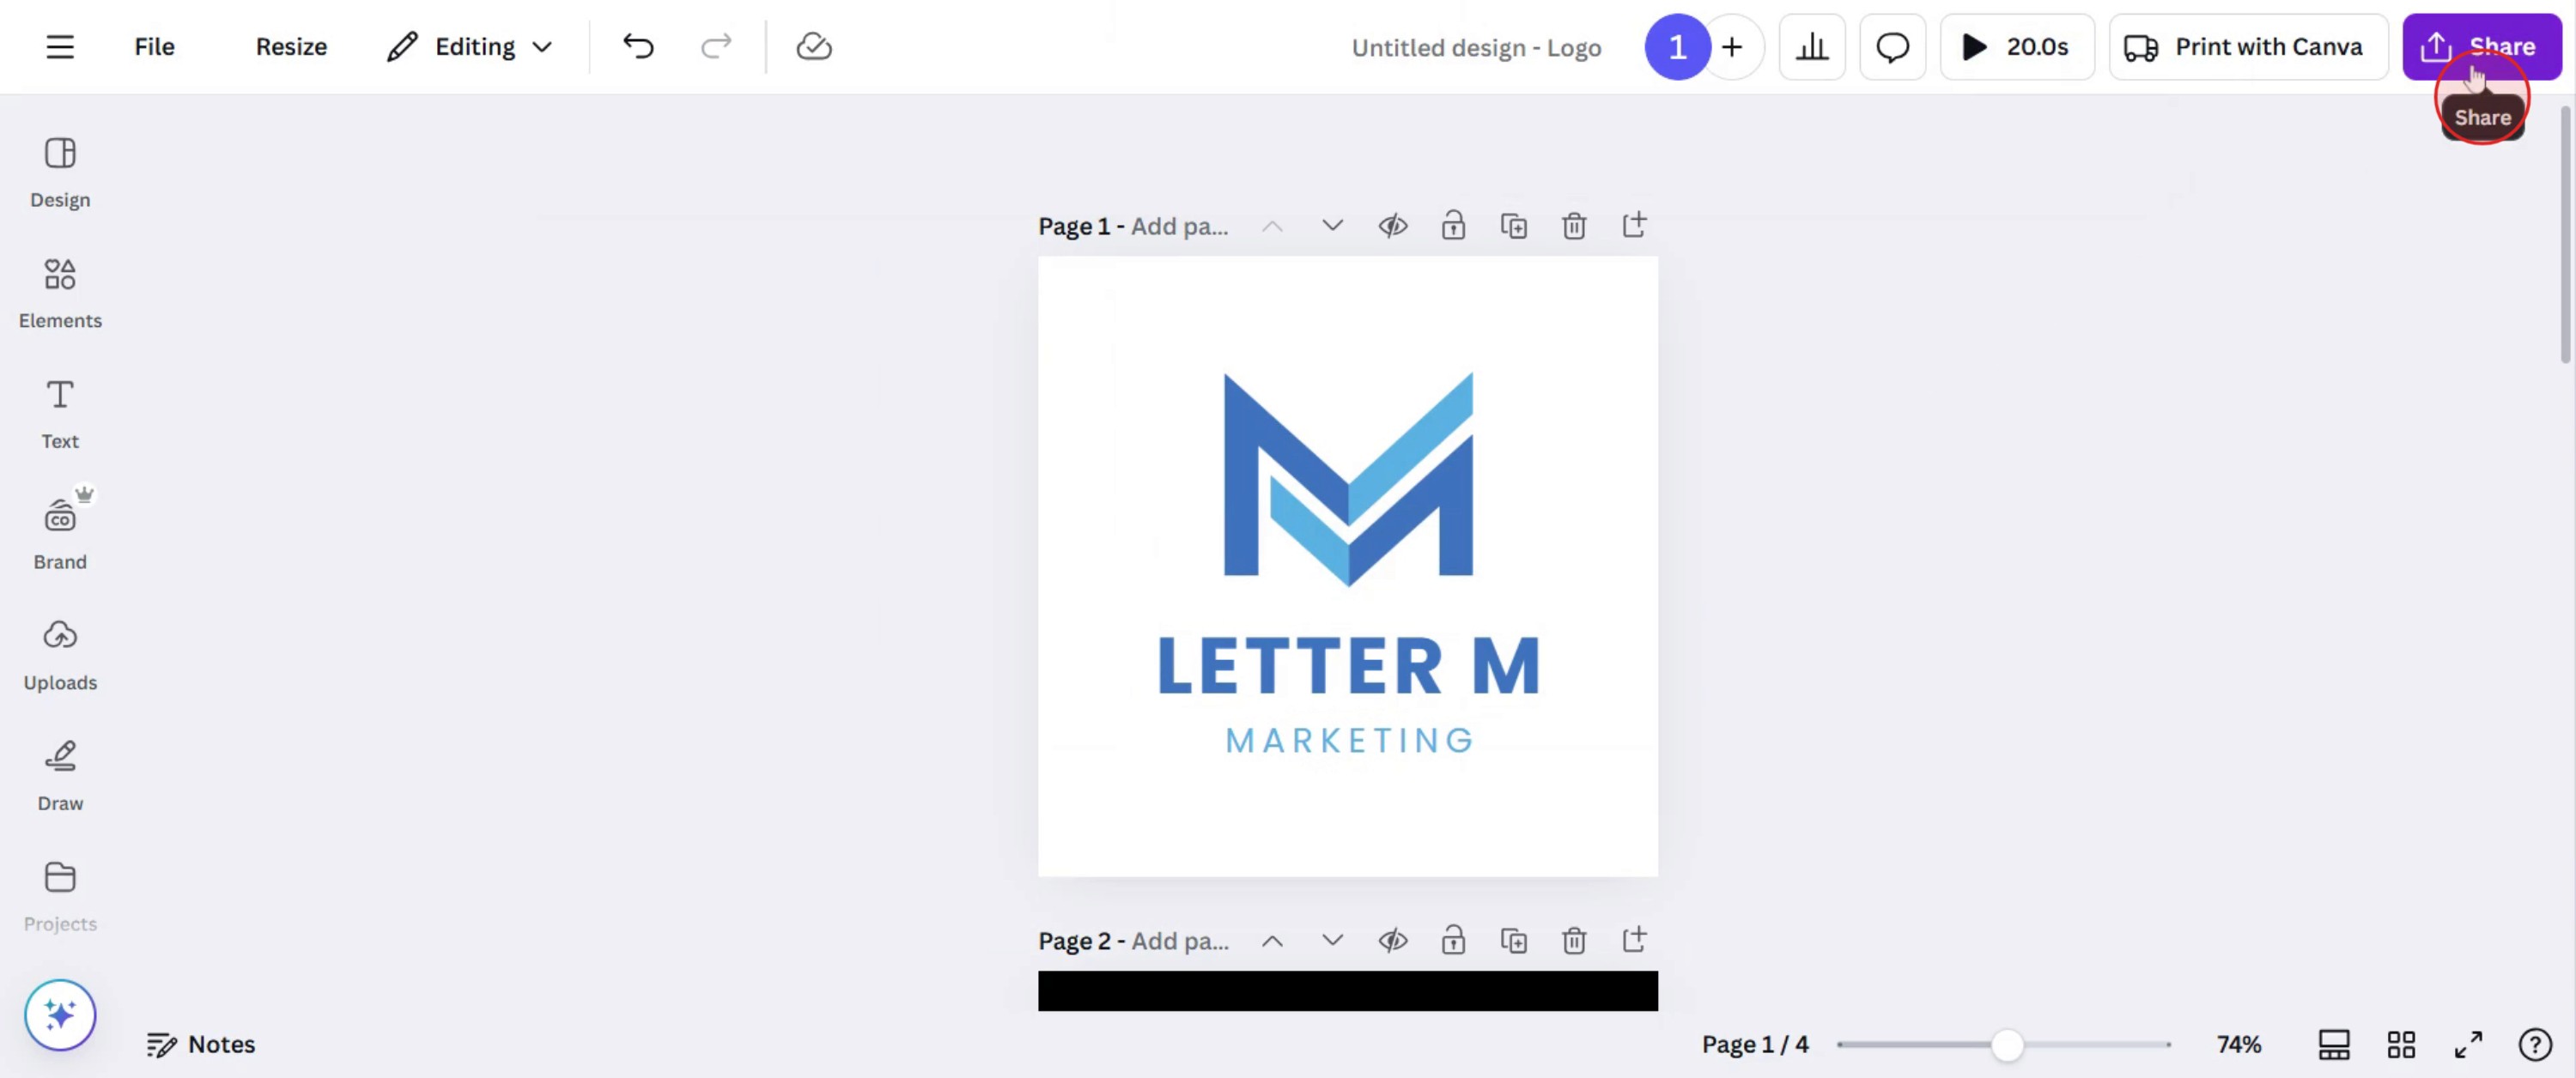
Step 7
If everything is satisfactory, click on the share button to share your completed design.
Pro-tips for timing animations in Canva
Use the timeline editor to adjust the duration of each animation for smooth transitions.
Keep animations short and subtle to maintain a professional look and avoid distractions.
Utilize the Delay feature to stagger animations and create engaging motion effects.
Common pitfalls & how to avoid them while timing animations in Canva
Setting animations too long can make the design feel slow keep durations between 0.5 to 3 seconds.
Overlapping too many animations can create a cluttered effect use layering strategically.
Forgetting to preview the final animation may result in unintended timing issues always test before exporting.
Common FAQs for timing animations in Canva
Can I customize the duration of animations in Canva?
Yes, you can adjust the timing using the timeline editor by dragging the animation bar to change its duration.How do I delay an animation in Canva?
Use the Delay option in the animation settings to stagger animations and create a smooth sequence.Can I apply different timings to multiple animations in one design?
Yes, each animated element can have its own timing and duration, allowing for unique motion effects.How to screen record on mac?
To screen record on a Mac, you can use Trupeer AI. It allows you to capture the entire screen and provides AI capabilities such as adding AI avatars, add voiceover, add zoom in and out in the video. With trupeer’s AI video translation feature, you can translate the video into 30+ languages.How to add an AI avatar to screen recording?
To add an AI avatar to a screen recording, you'll need to use an AI screen recording tool. Trupeer AI is an AI screen recording tool, which helps you create videos with multiple avatars, also helps you in creating your own avatar for the video.How to screen record on windows?
To screen record on Windows, you can use the built-in Game Bar (Windows + G) or advanced AI tool like Trupeer AI for more advanced features such as AI avatars, voiceover, translation etc.How to add voiceover to video?
To add voiceover to videos, download trupeer ai chrome extension. Once signed up, upload your video with voice, choose the desired voiceover from trupeer and export your edited video.How do I Zoom in on a screen recording?
To zoom in during a screen recording, use the zoom effects in Trupeer AI which allows you to zoom in and out at specific moments, enhancing the visual impact of your video content.
Suggested Reads
Technical Documentation Generator
How to Turn an Image into a Coloring Page in Canva
How to Create a Ruler in Canva
Related Tutorials

