
How to Create a Ruler in Canva – Quick Design Tip
Want to add a ruler in Canva? This guide shows how to create or use a ruler for accurate spacing, alignment, and design precision.
In this process, you will learn how to create a ruler in Canva by activating the ruler and guides, selecting line elements, and customizing these lines according to your preferences. This guide will help you design your templates with precise alignment and measurement tools.
Want to make your designs more precise in Canva? You can easily add rulers and guides to line up elements perfectly. It’s especially helpful for layouts, alignments, and spacing.
Here’s how to do it:
Open Your Design
Start by opening the design you want to edit in Canva.Enable Rulers and Guides
Go to the top menu and click File > View settings > Show rulers and guides.
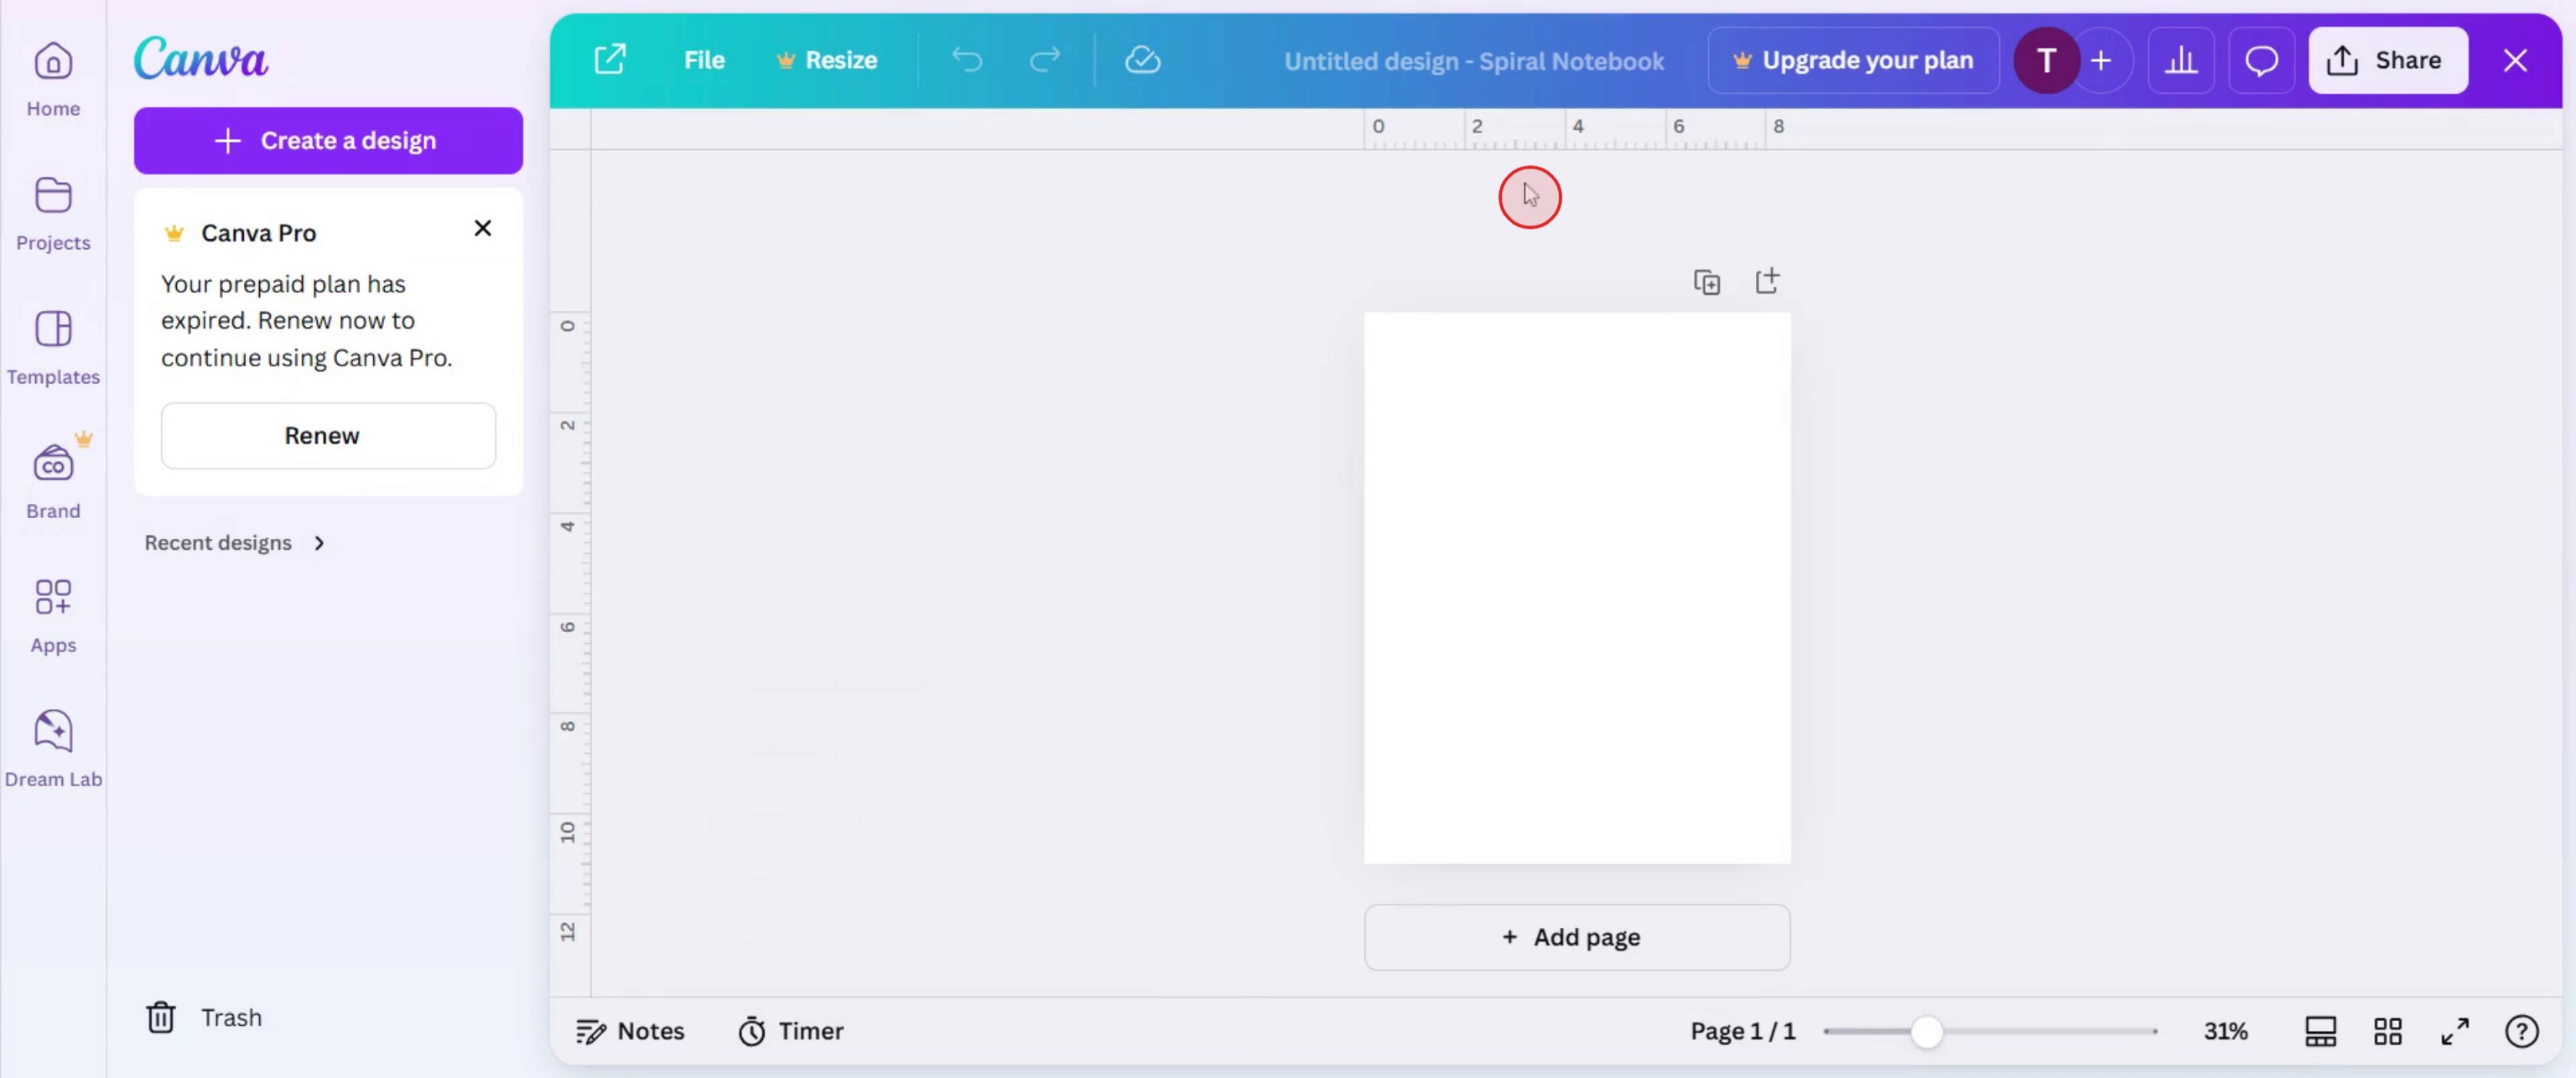
This will display rulers along the top and left edges of your canvas, showing dimensions in pixels.Add Guides
Vertical Guide: Click and drag from the left ruler into your design.
Horizontal Guide: Click and drag from the top ruler.
Alternatively, right-click anywhere on your canvas and go to Guides > Add vertical/horizontal guide.
Snap to Guides
As you move elements around, Canva will automatically snap them to the nearest guide, making alignment easy and accurate.
Step-by-Step Guide: How To Create Ruler In Canva
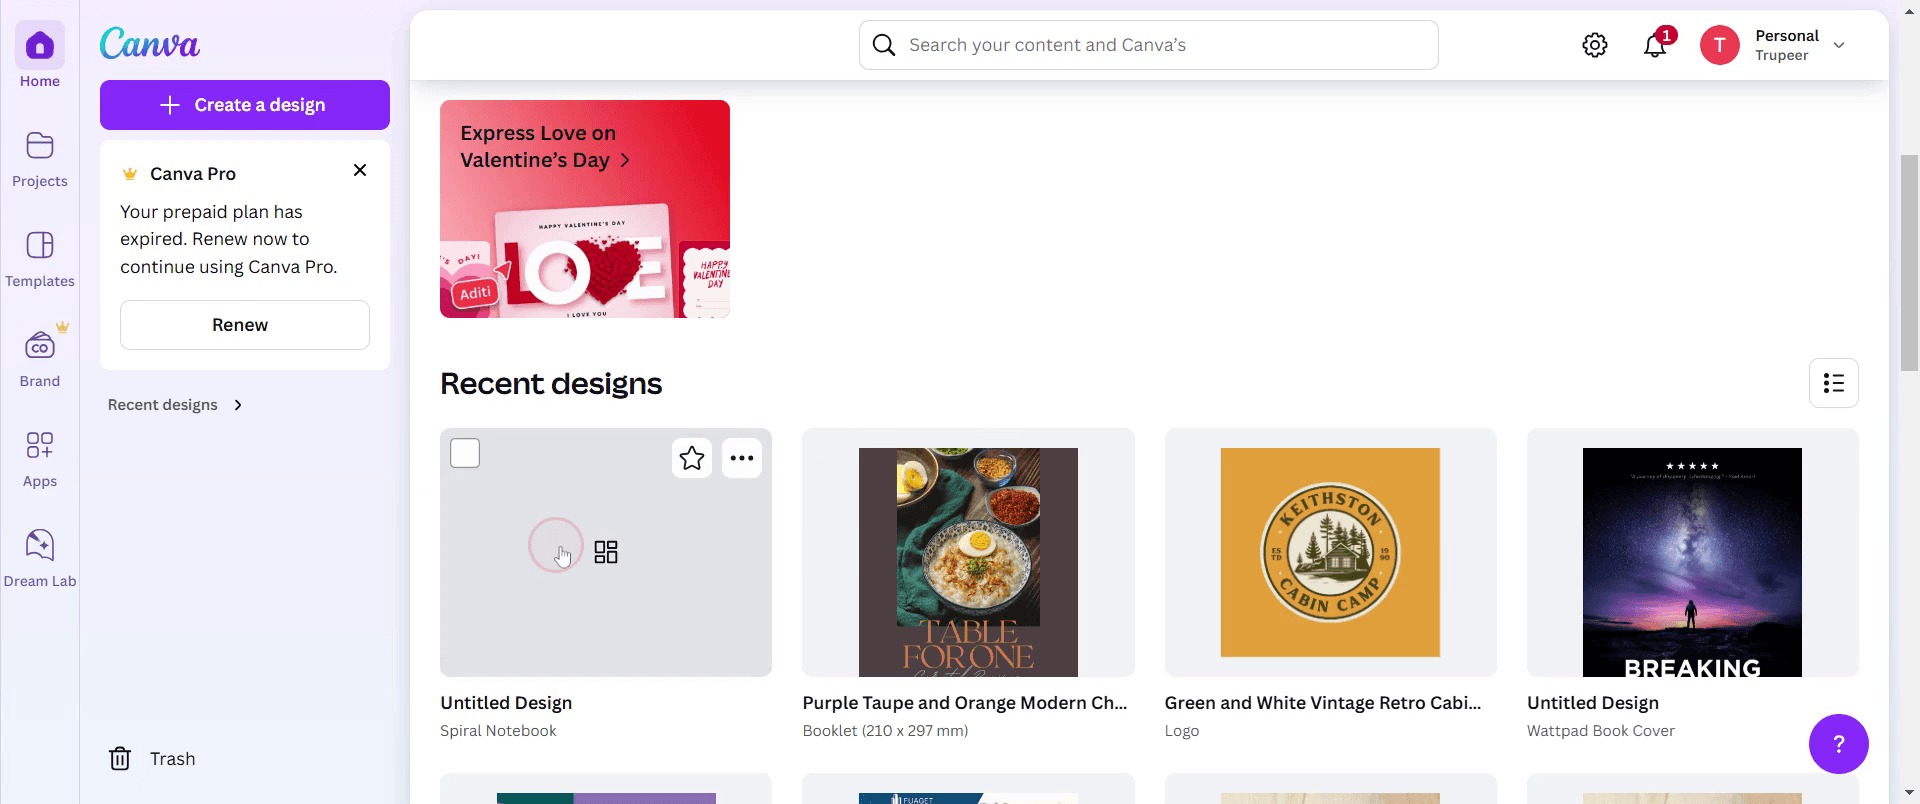
Step 1
Selecting the design you want to work on within Canva.
Step 2
Click on File option,
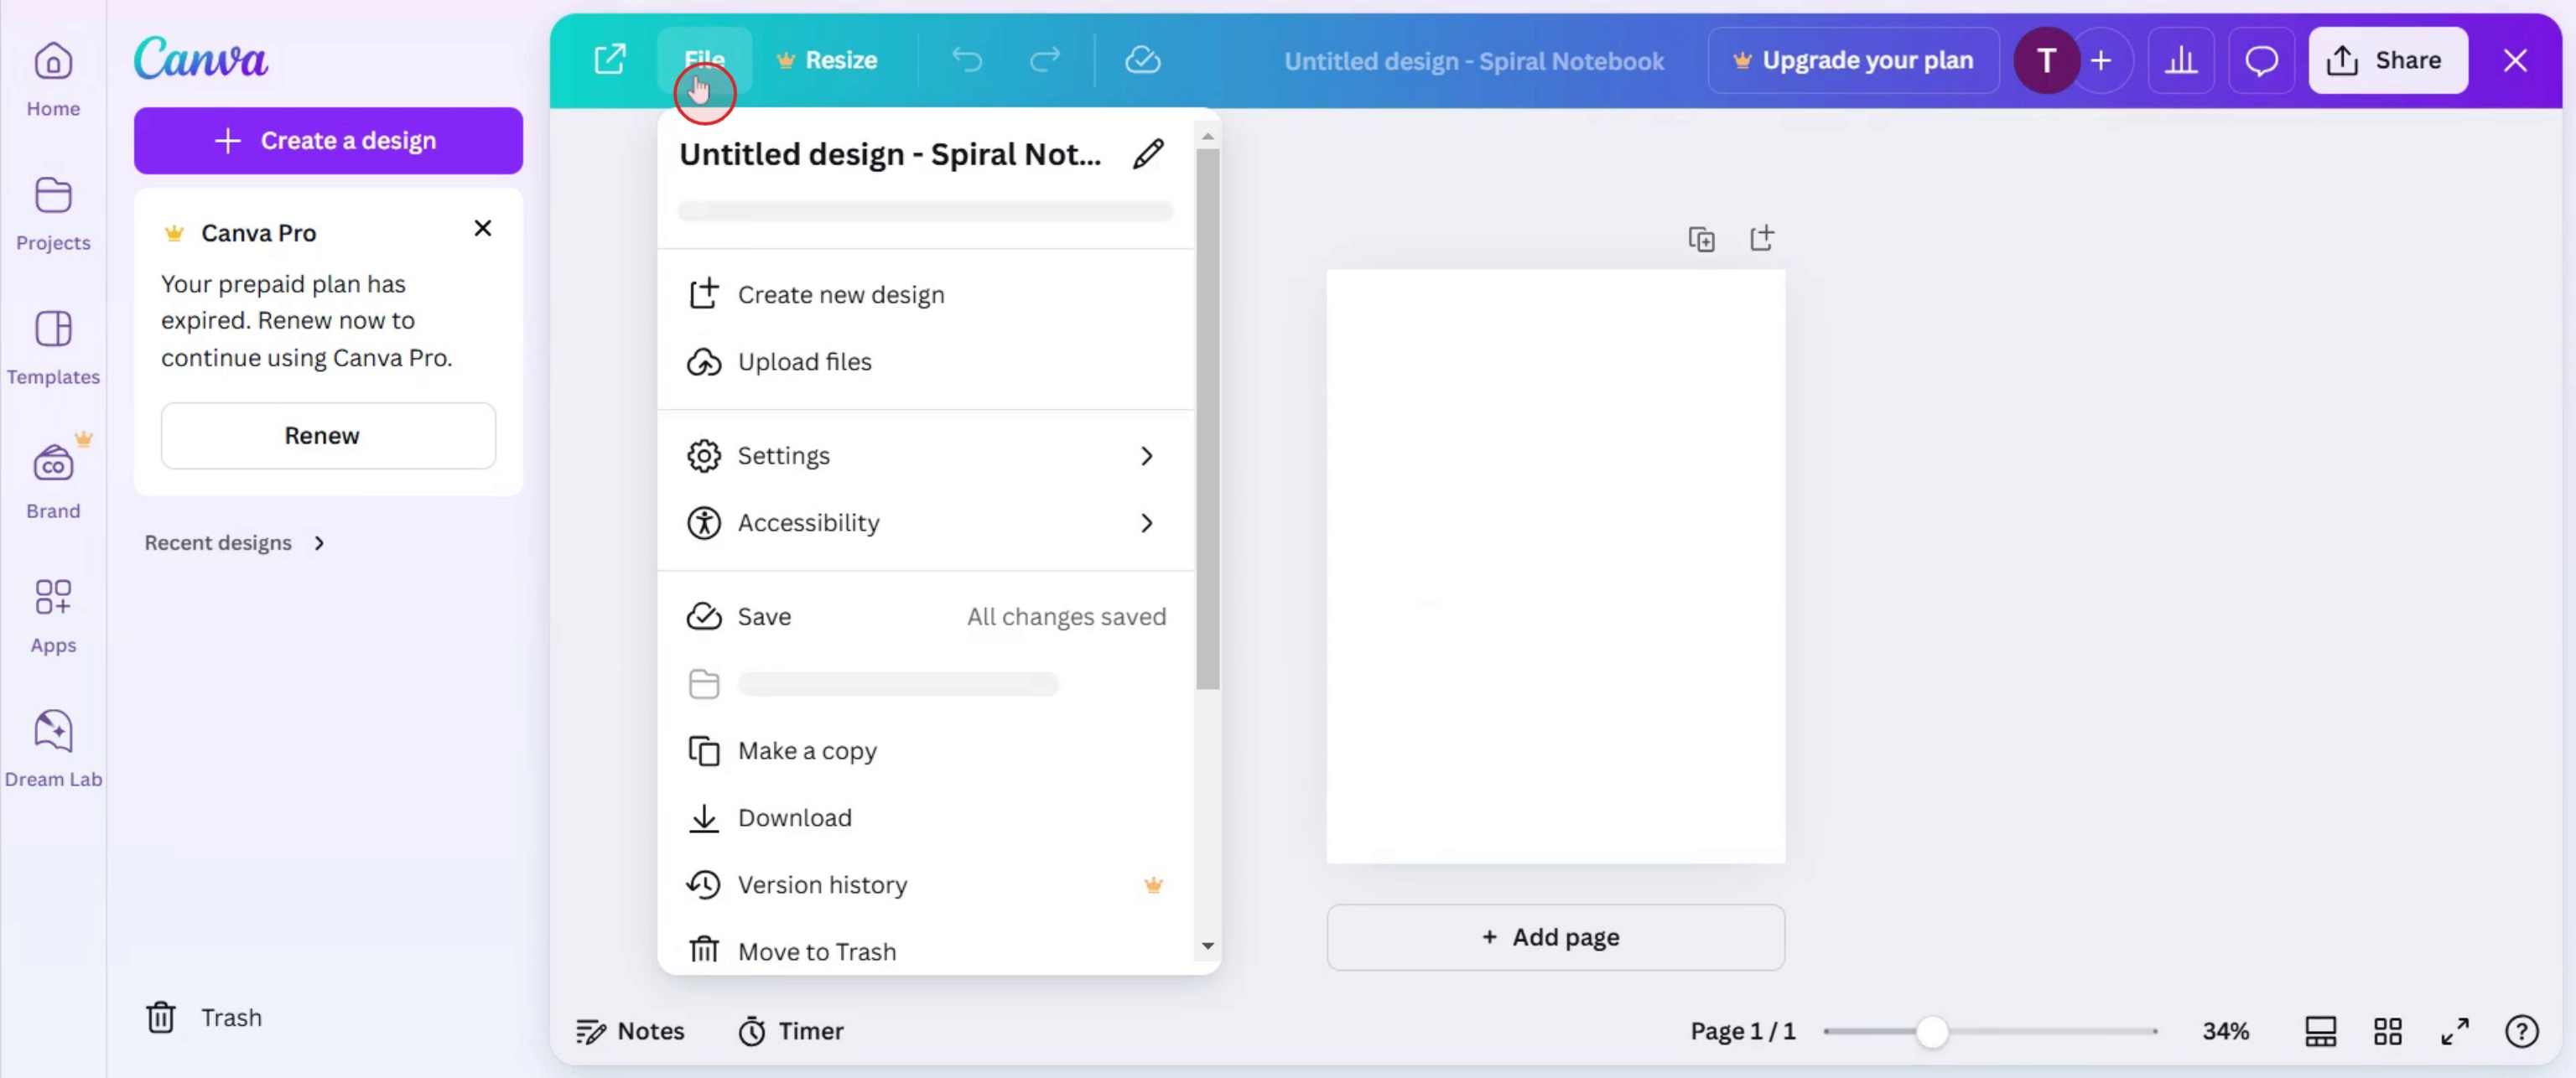
Step 3
And select Settings.
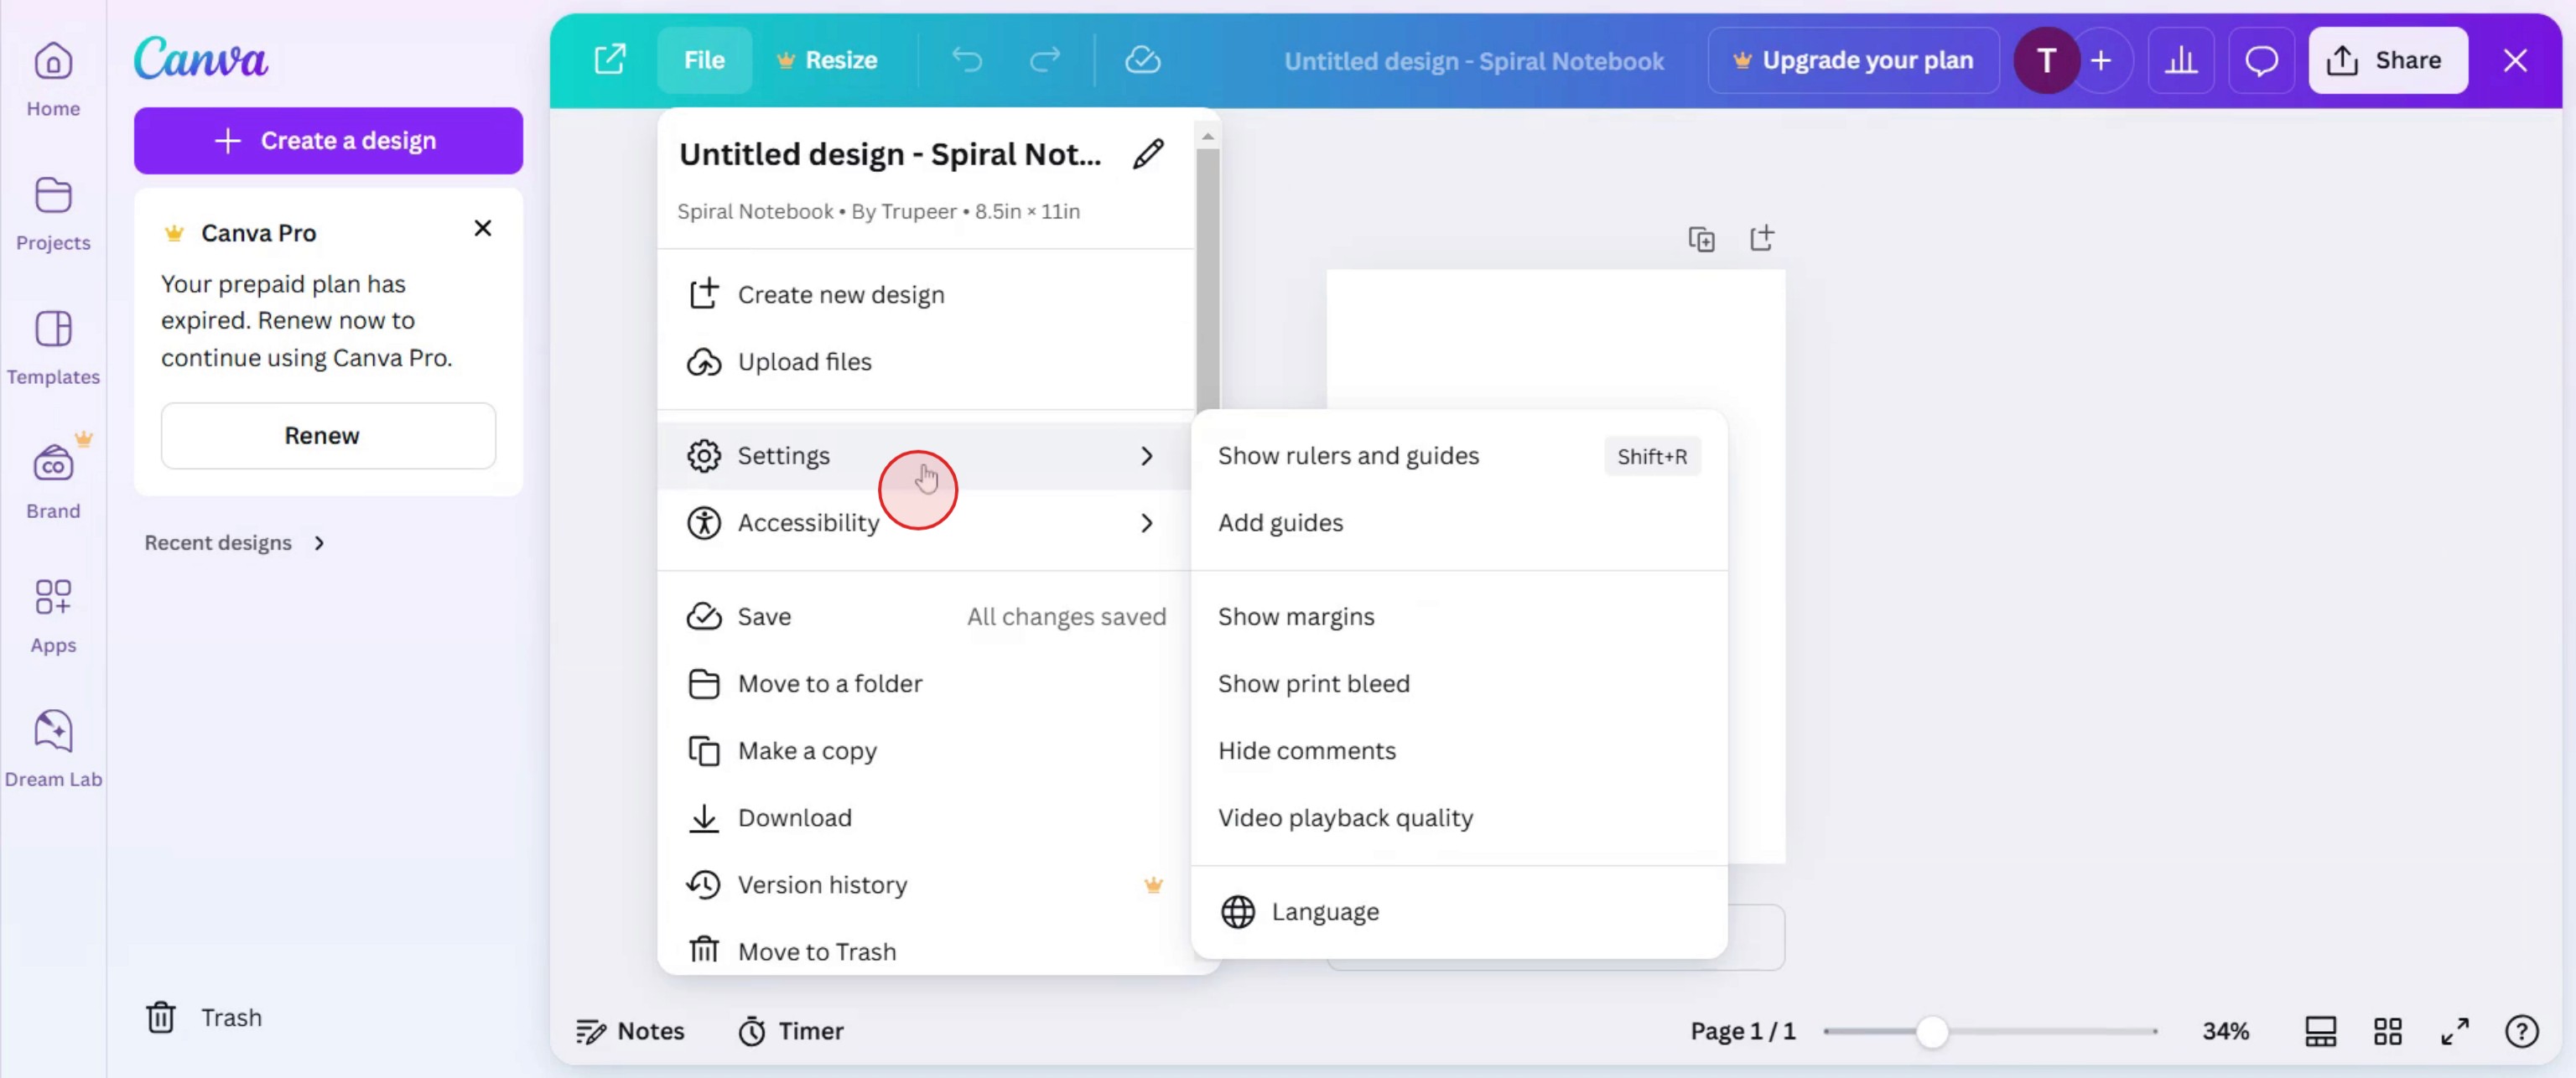
Step 4
Click on show rulers and guides,
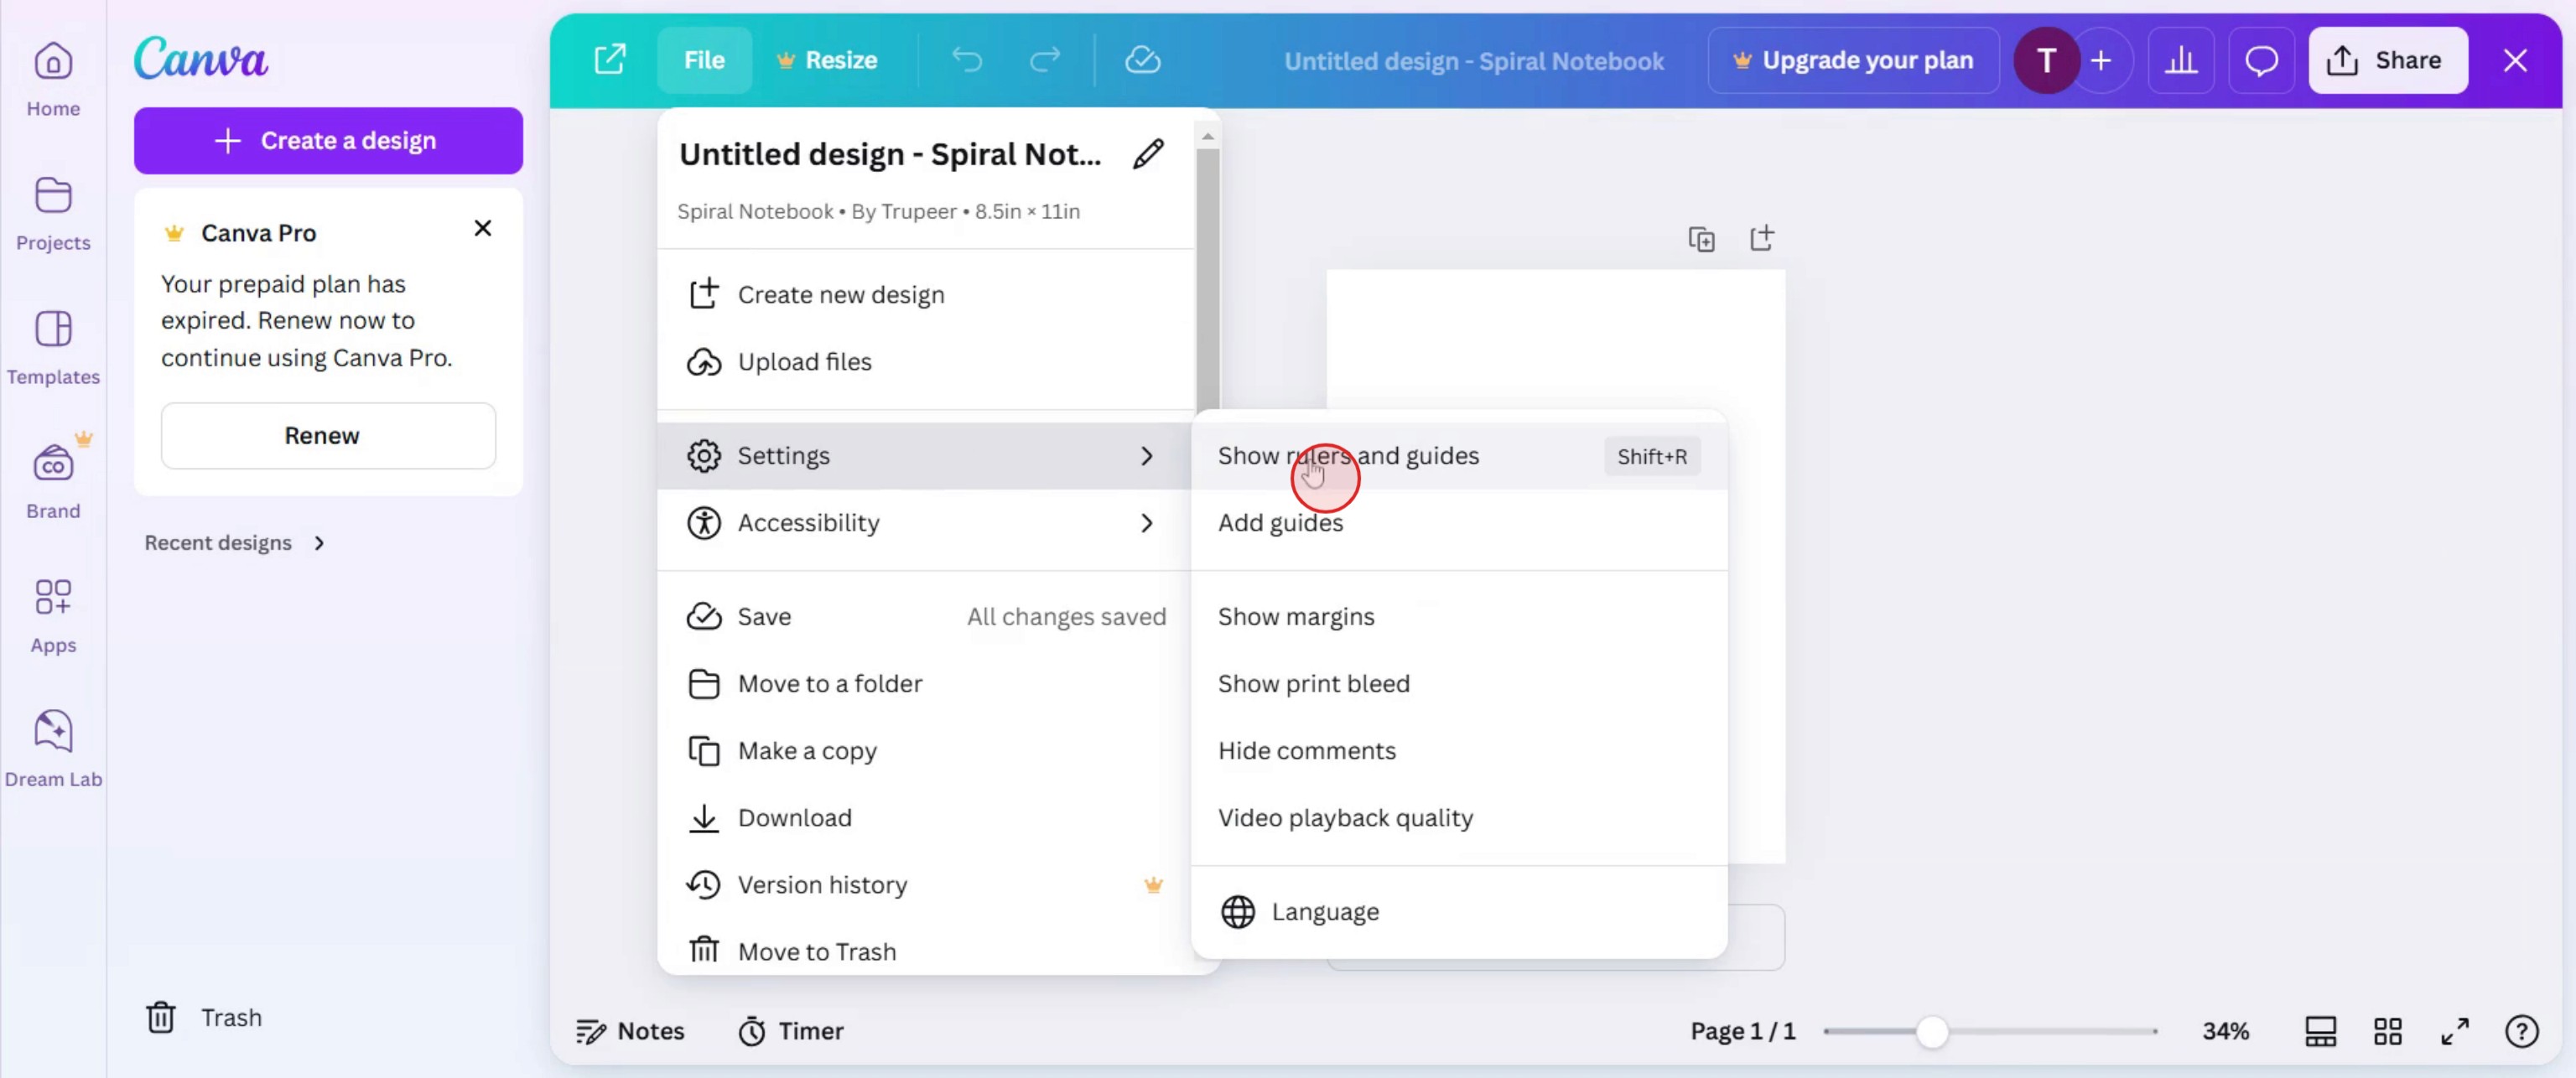
Step 5
Then you can see the ruler in the template,
Step 6
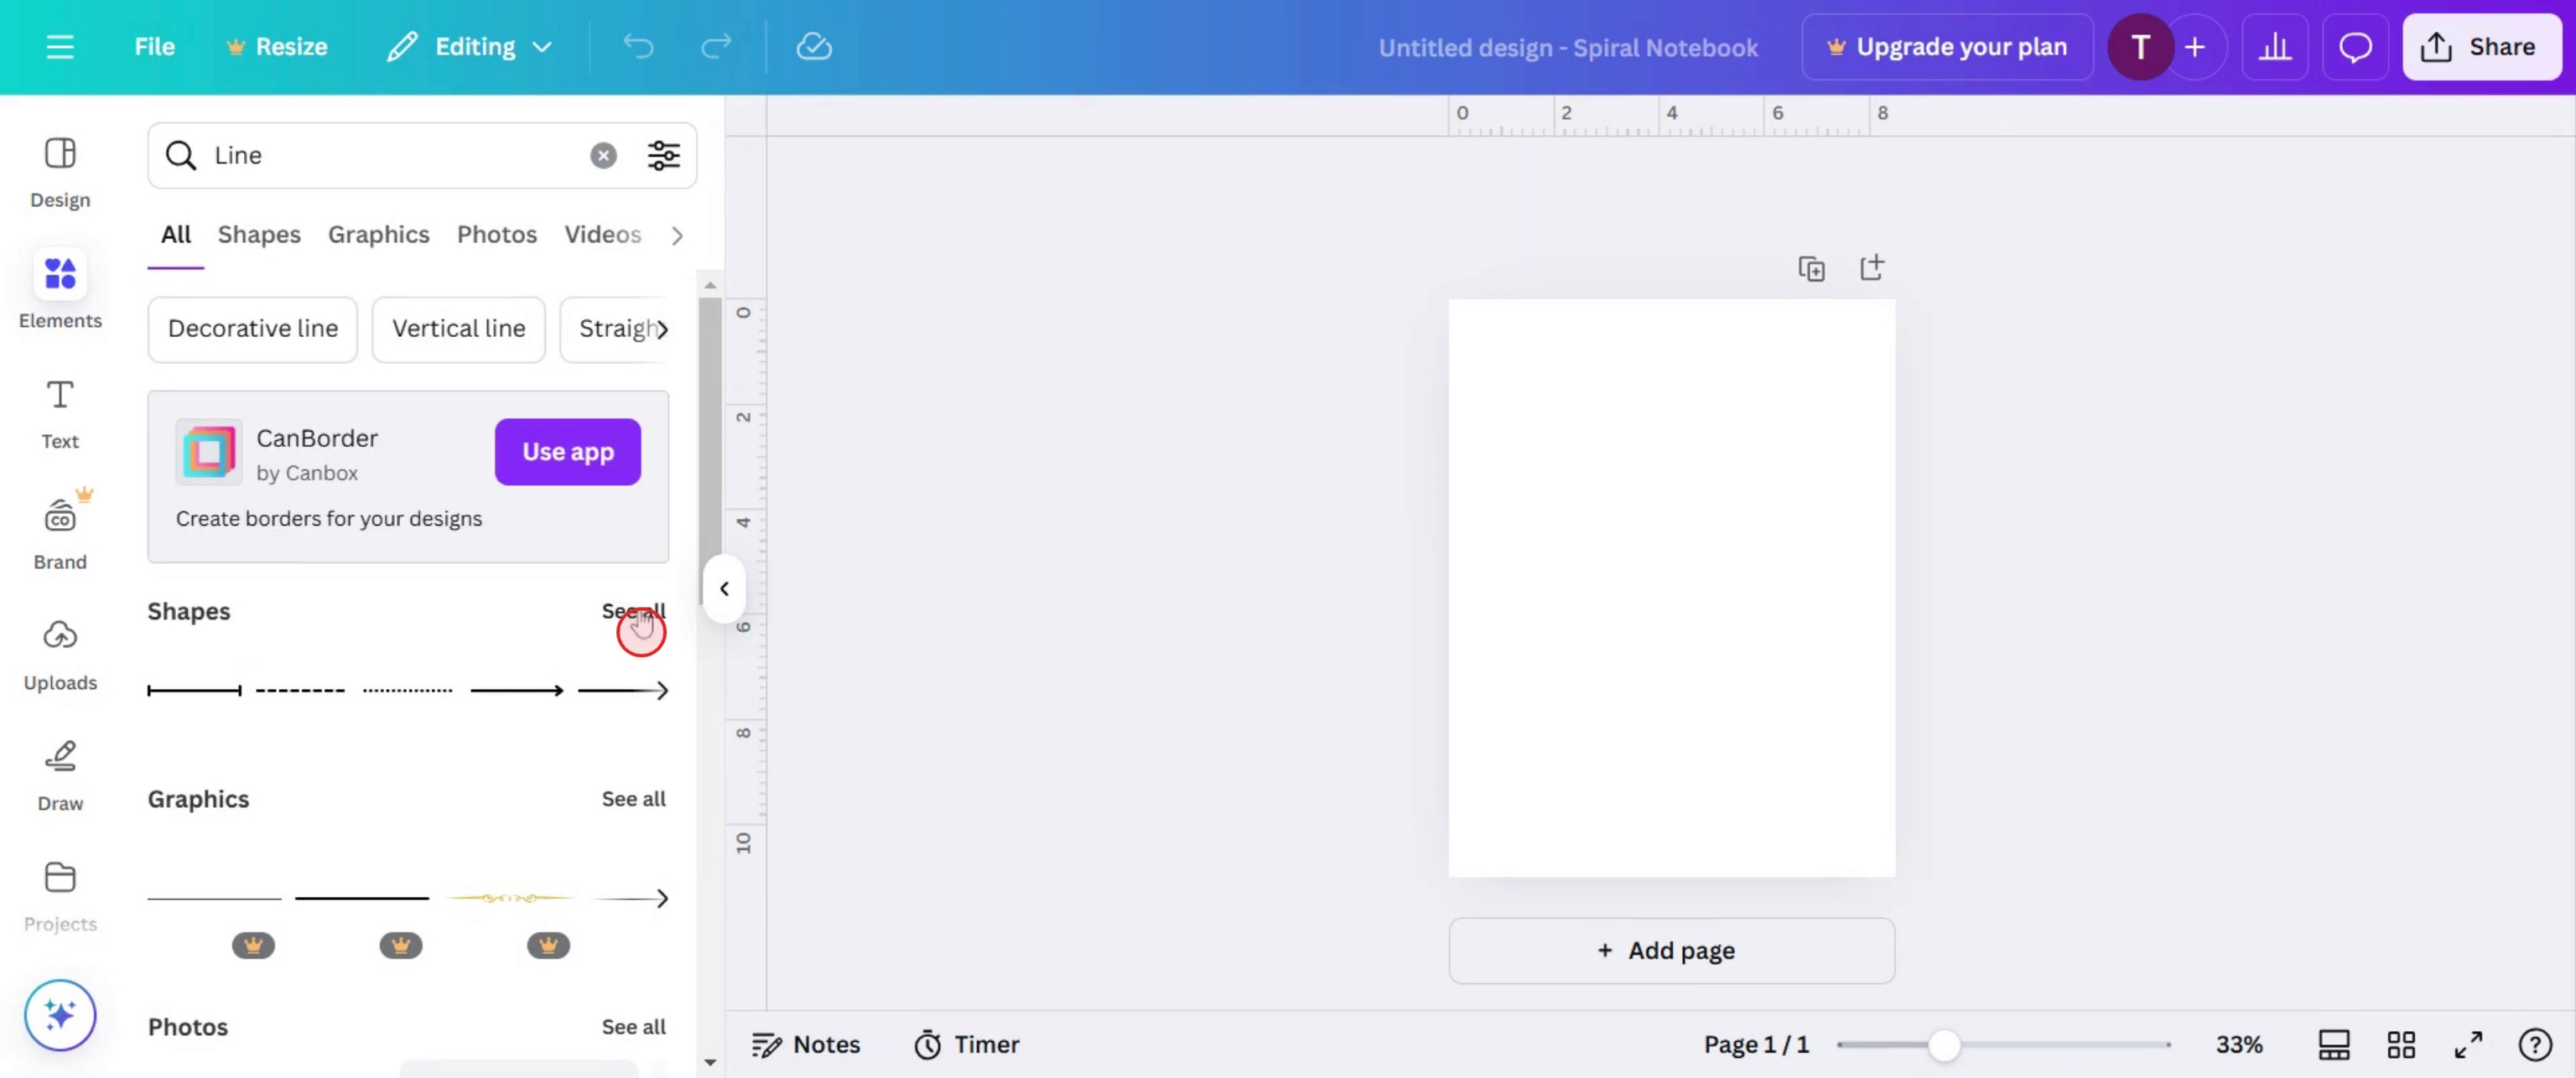
Click on elements,
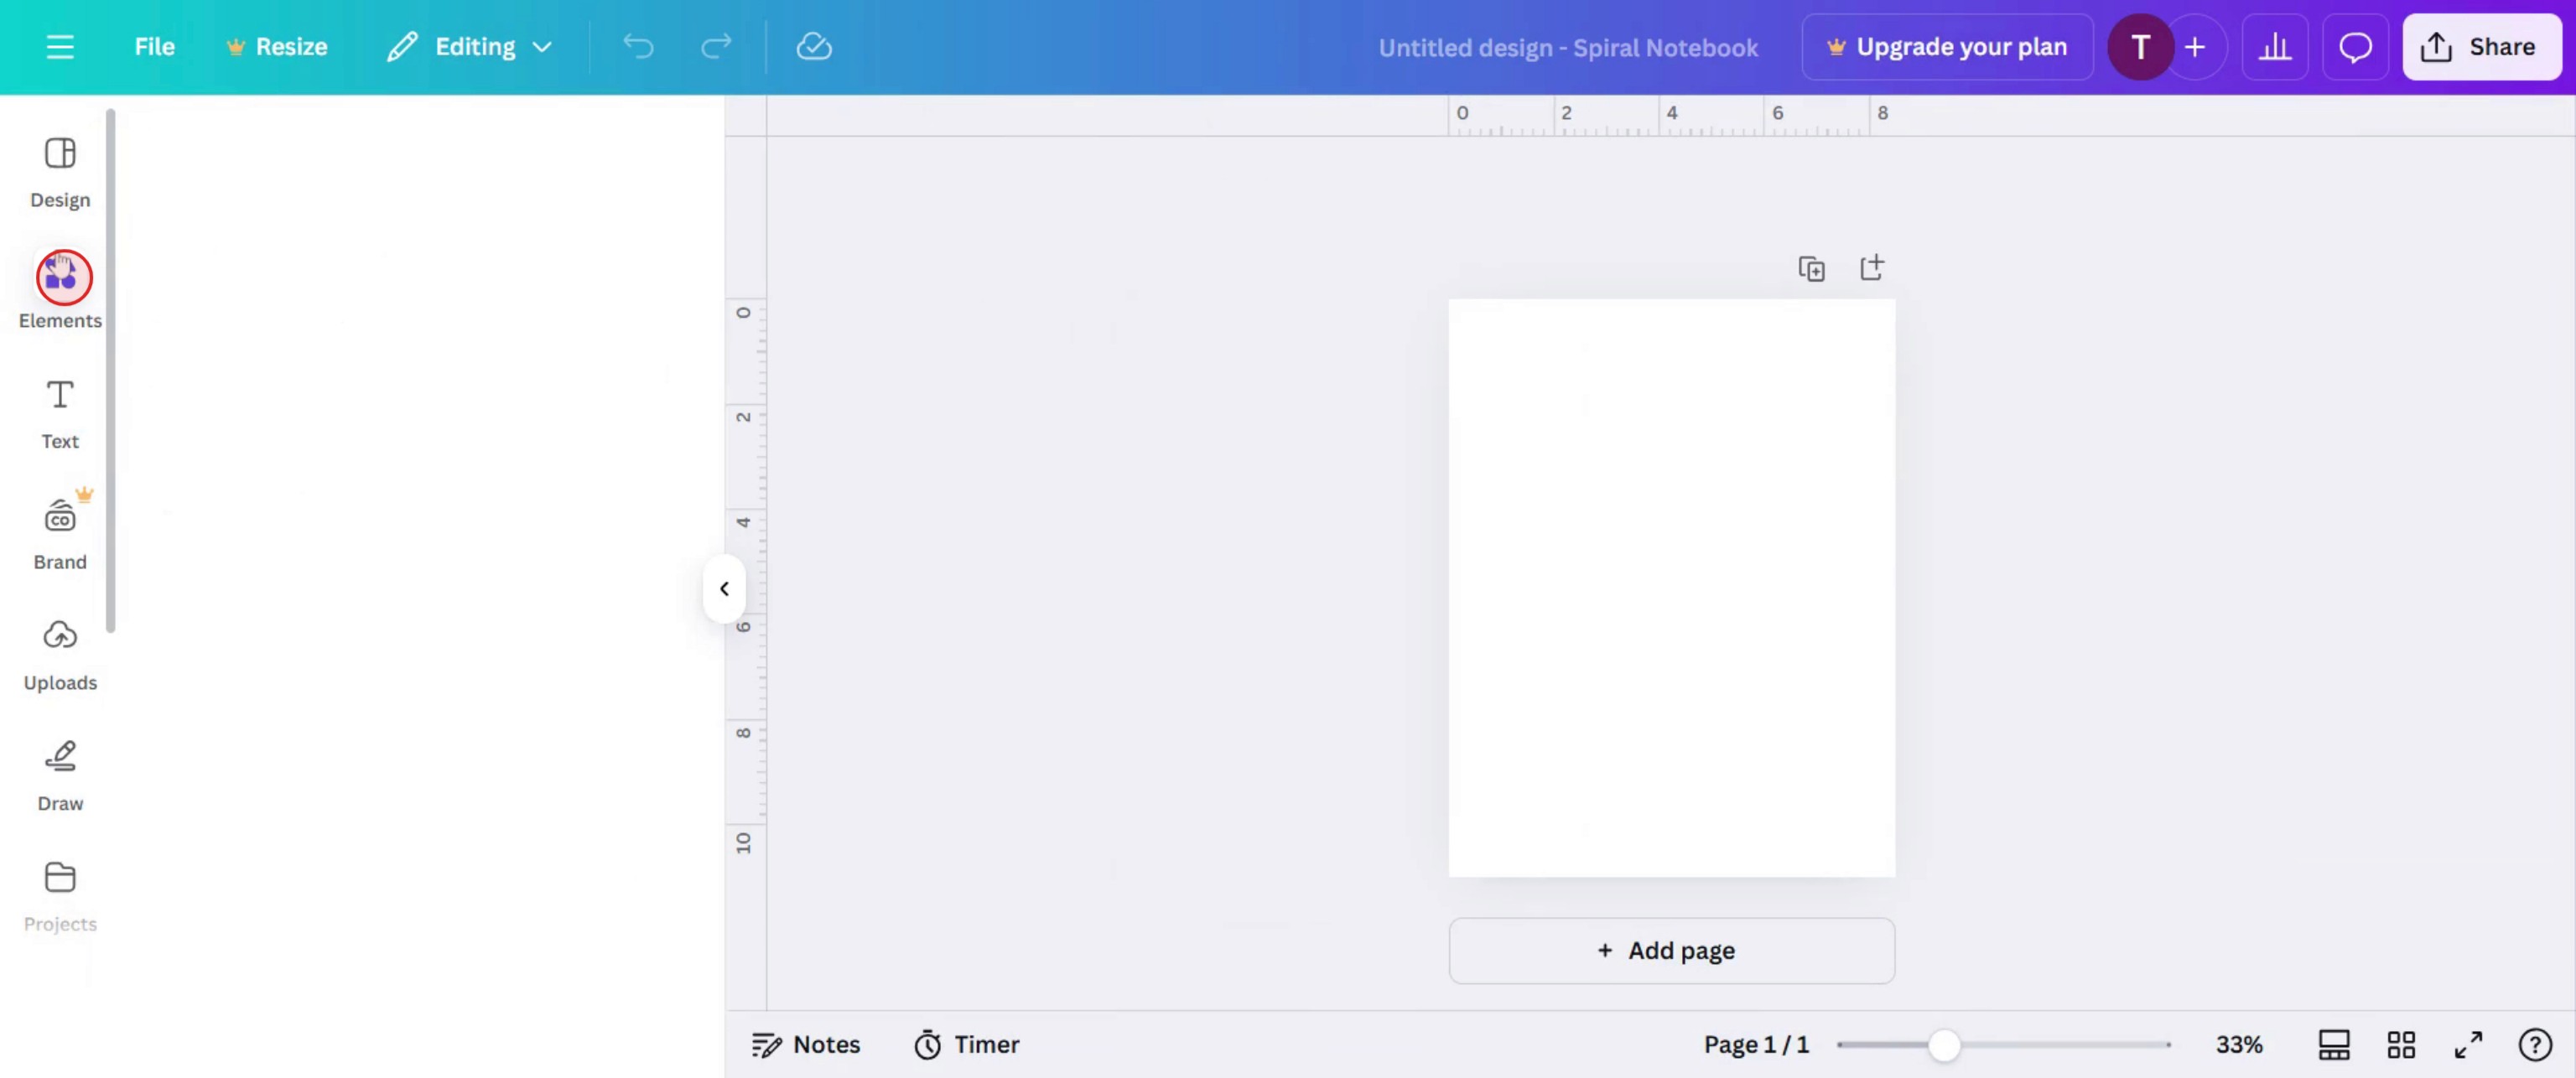
Step 7
Then select line option,
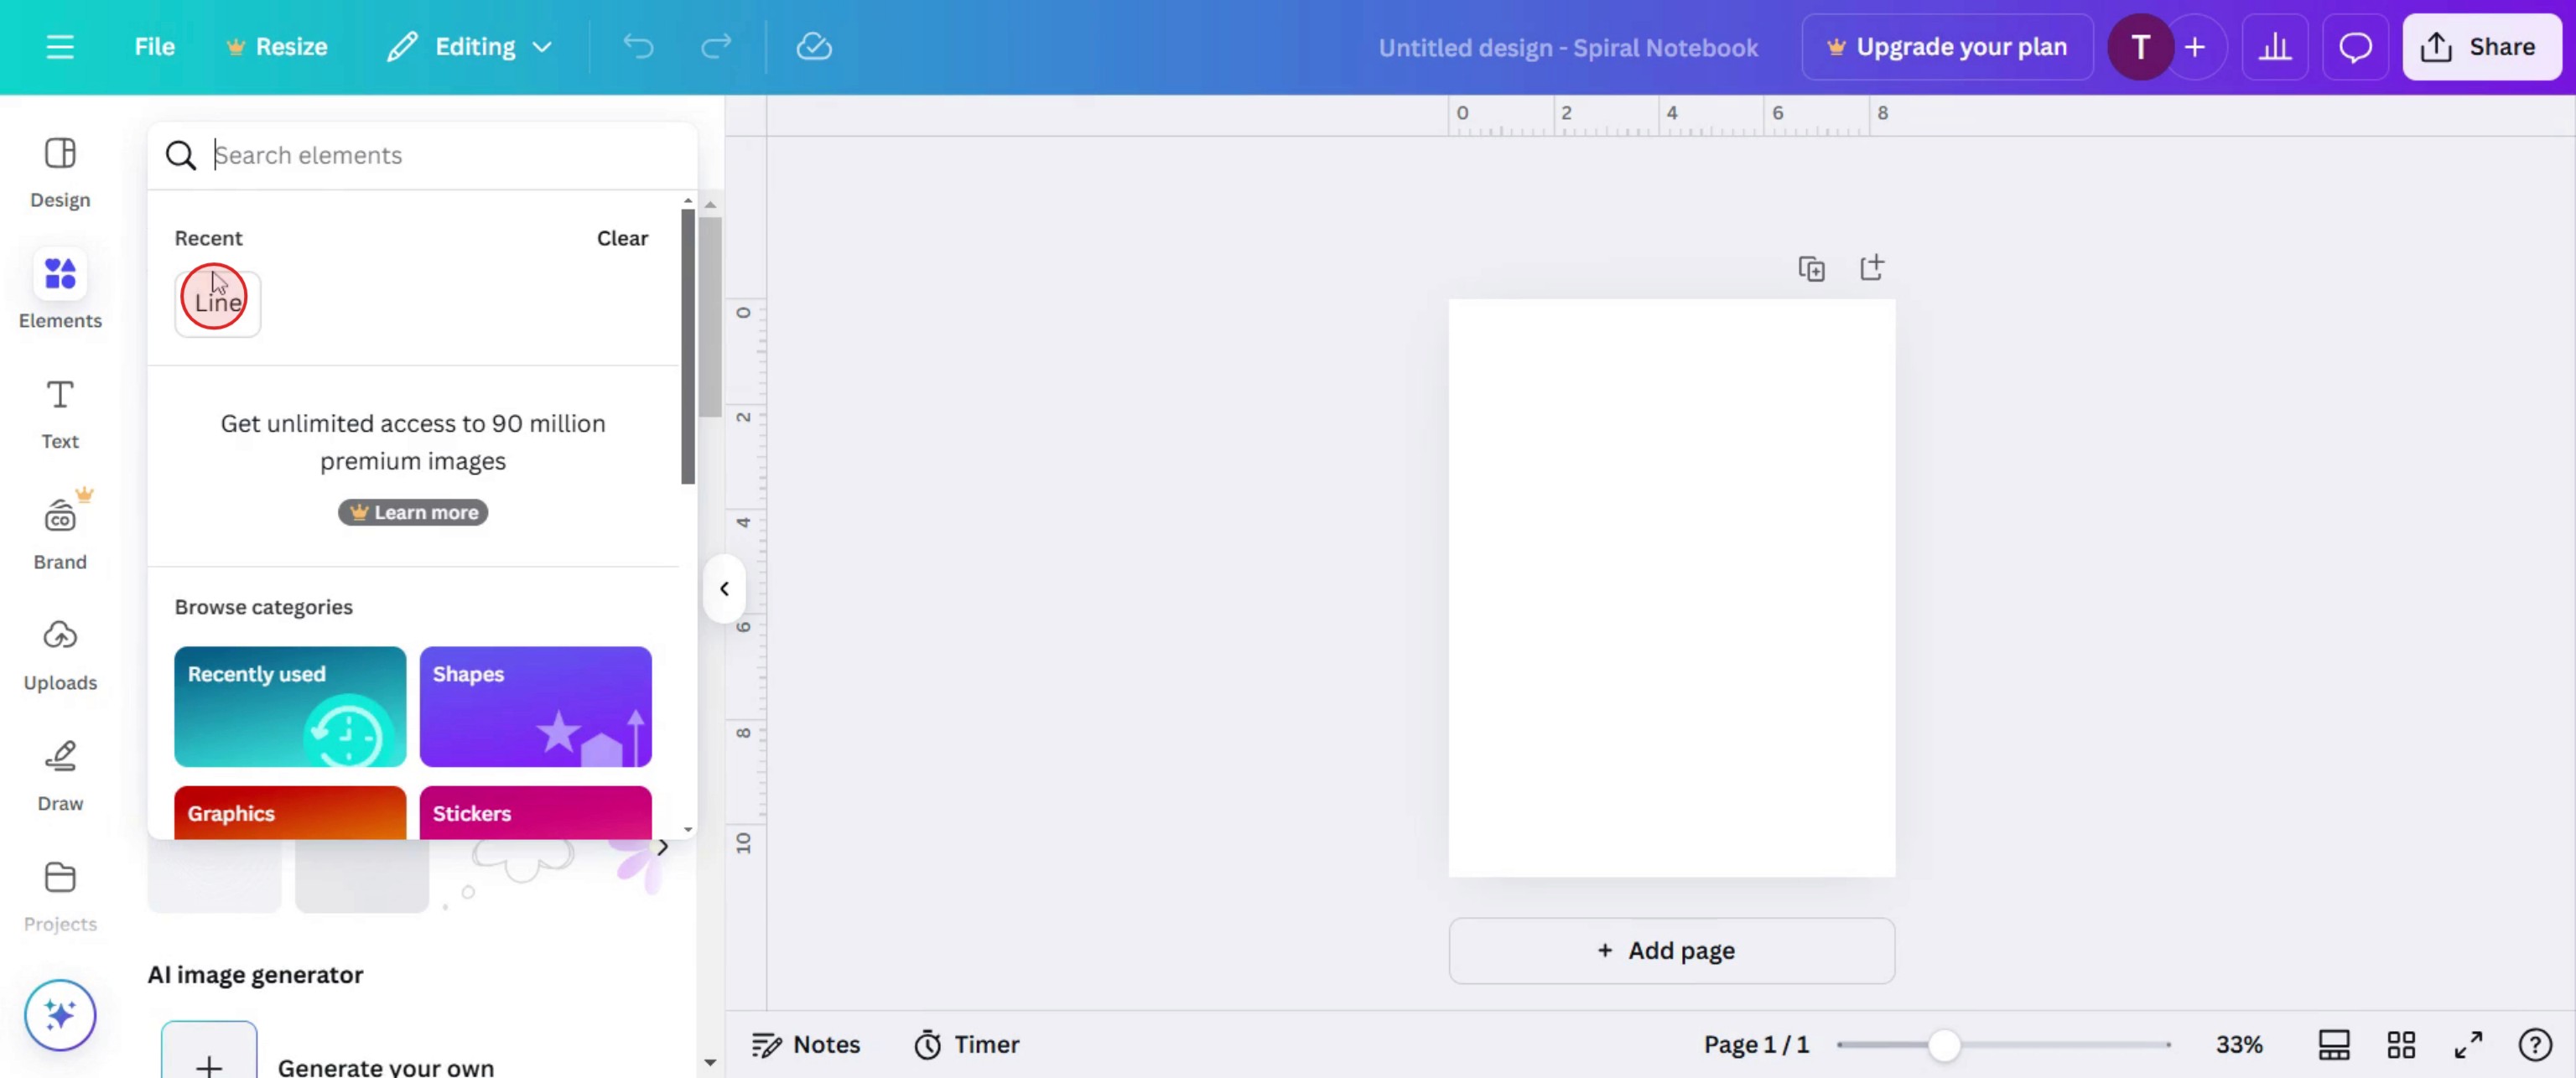
Step 8
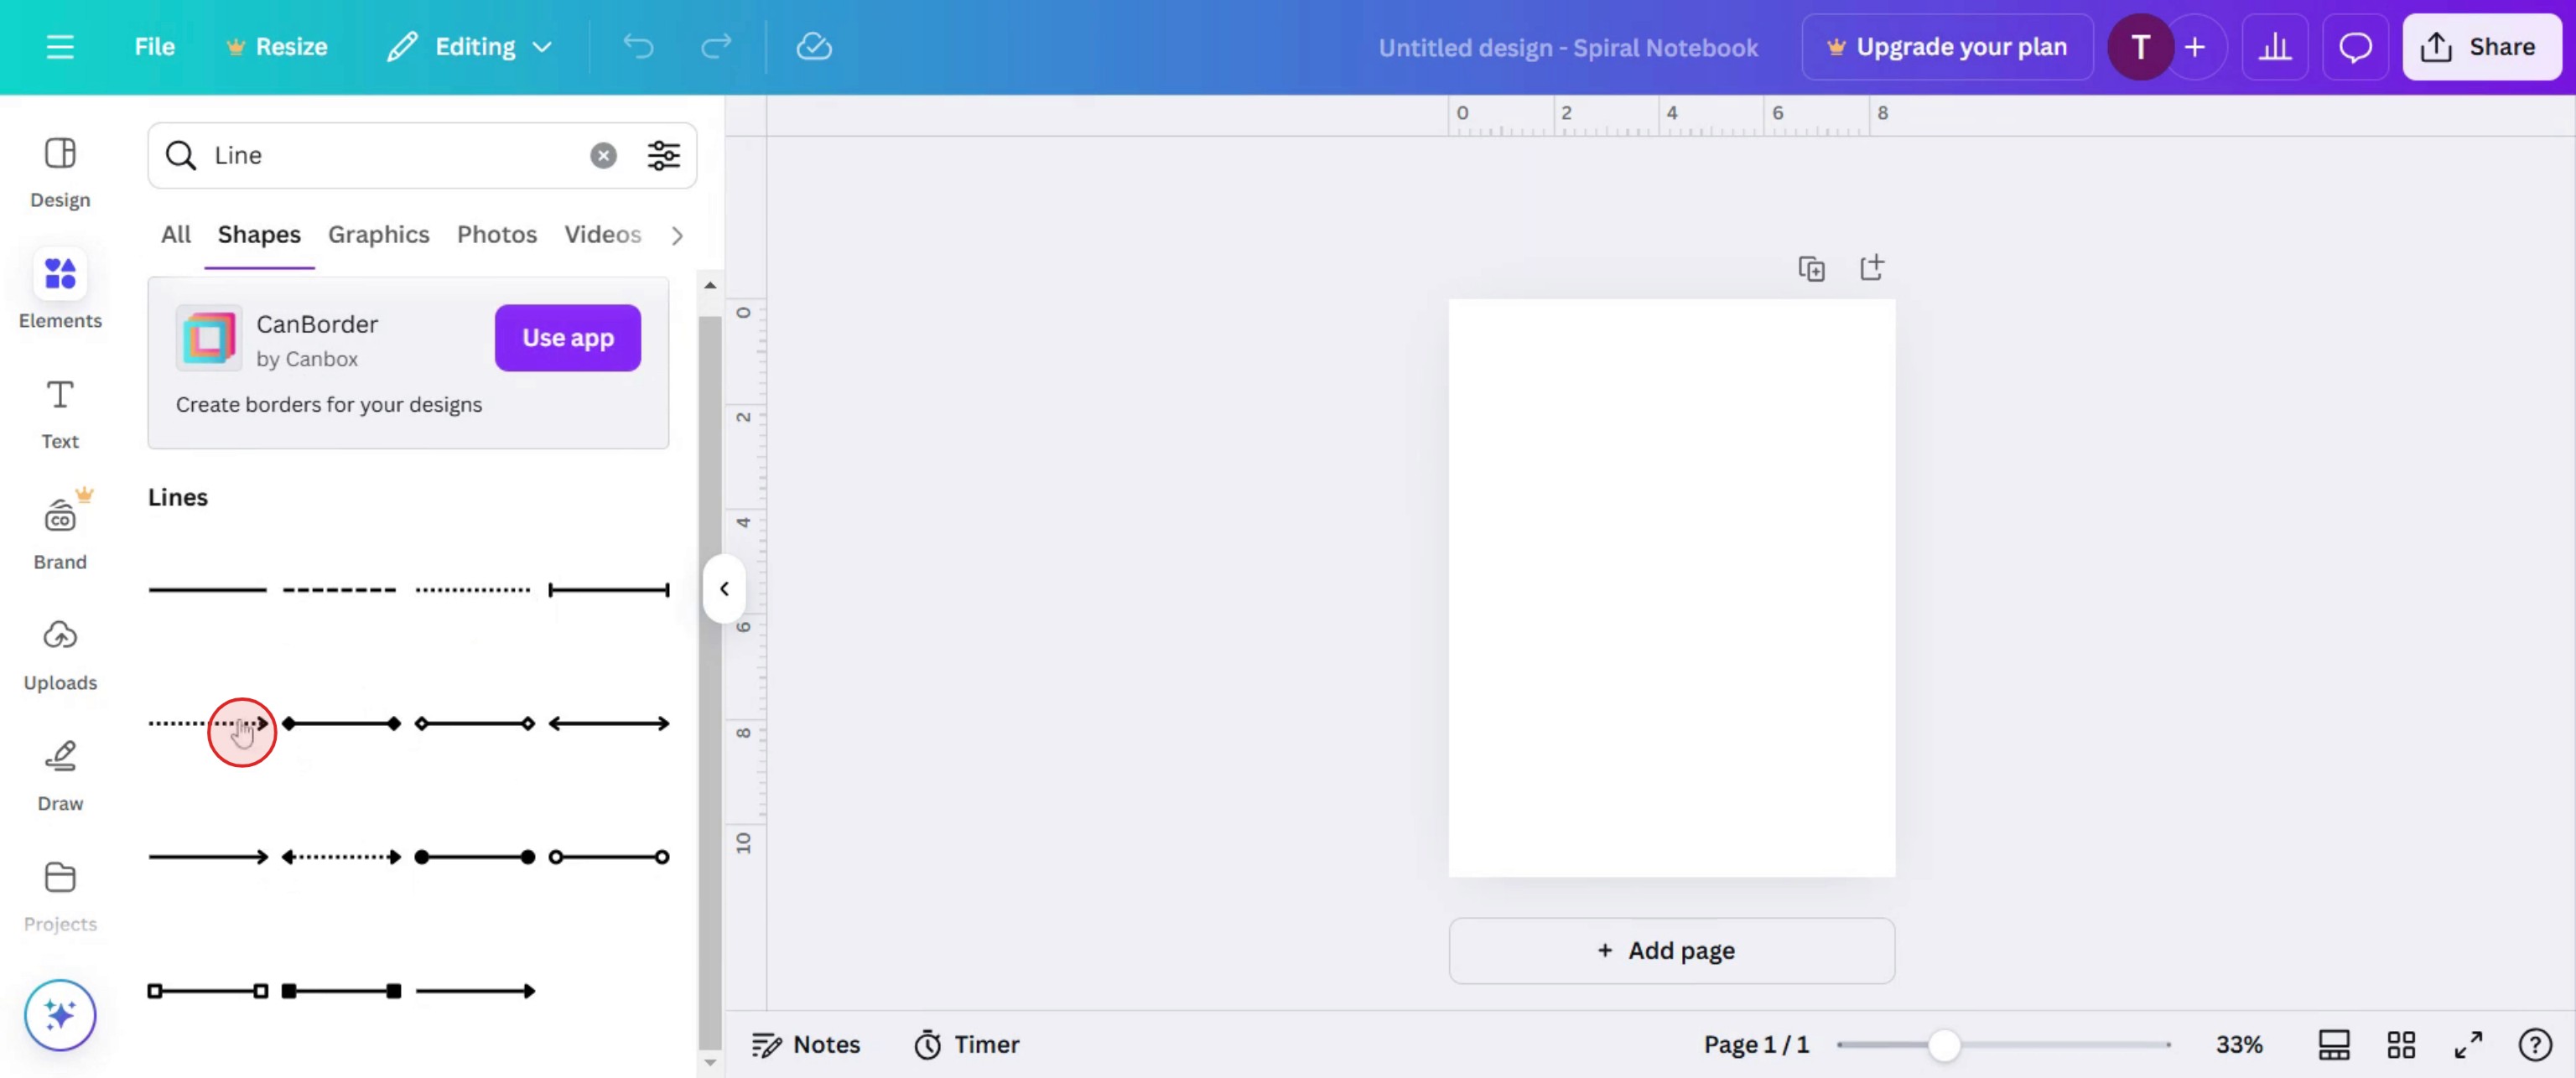
In the shapes click on see all.
Step 9
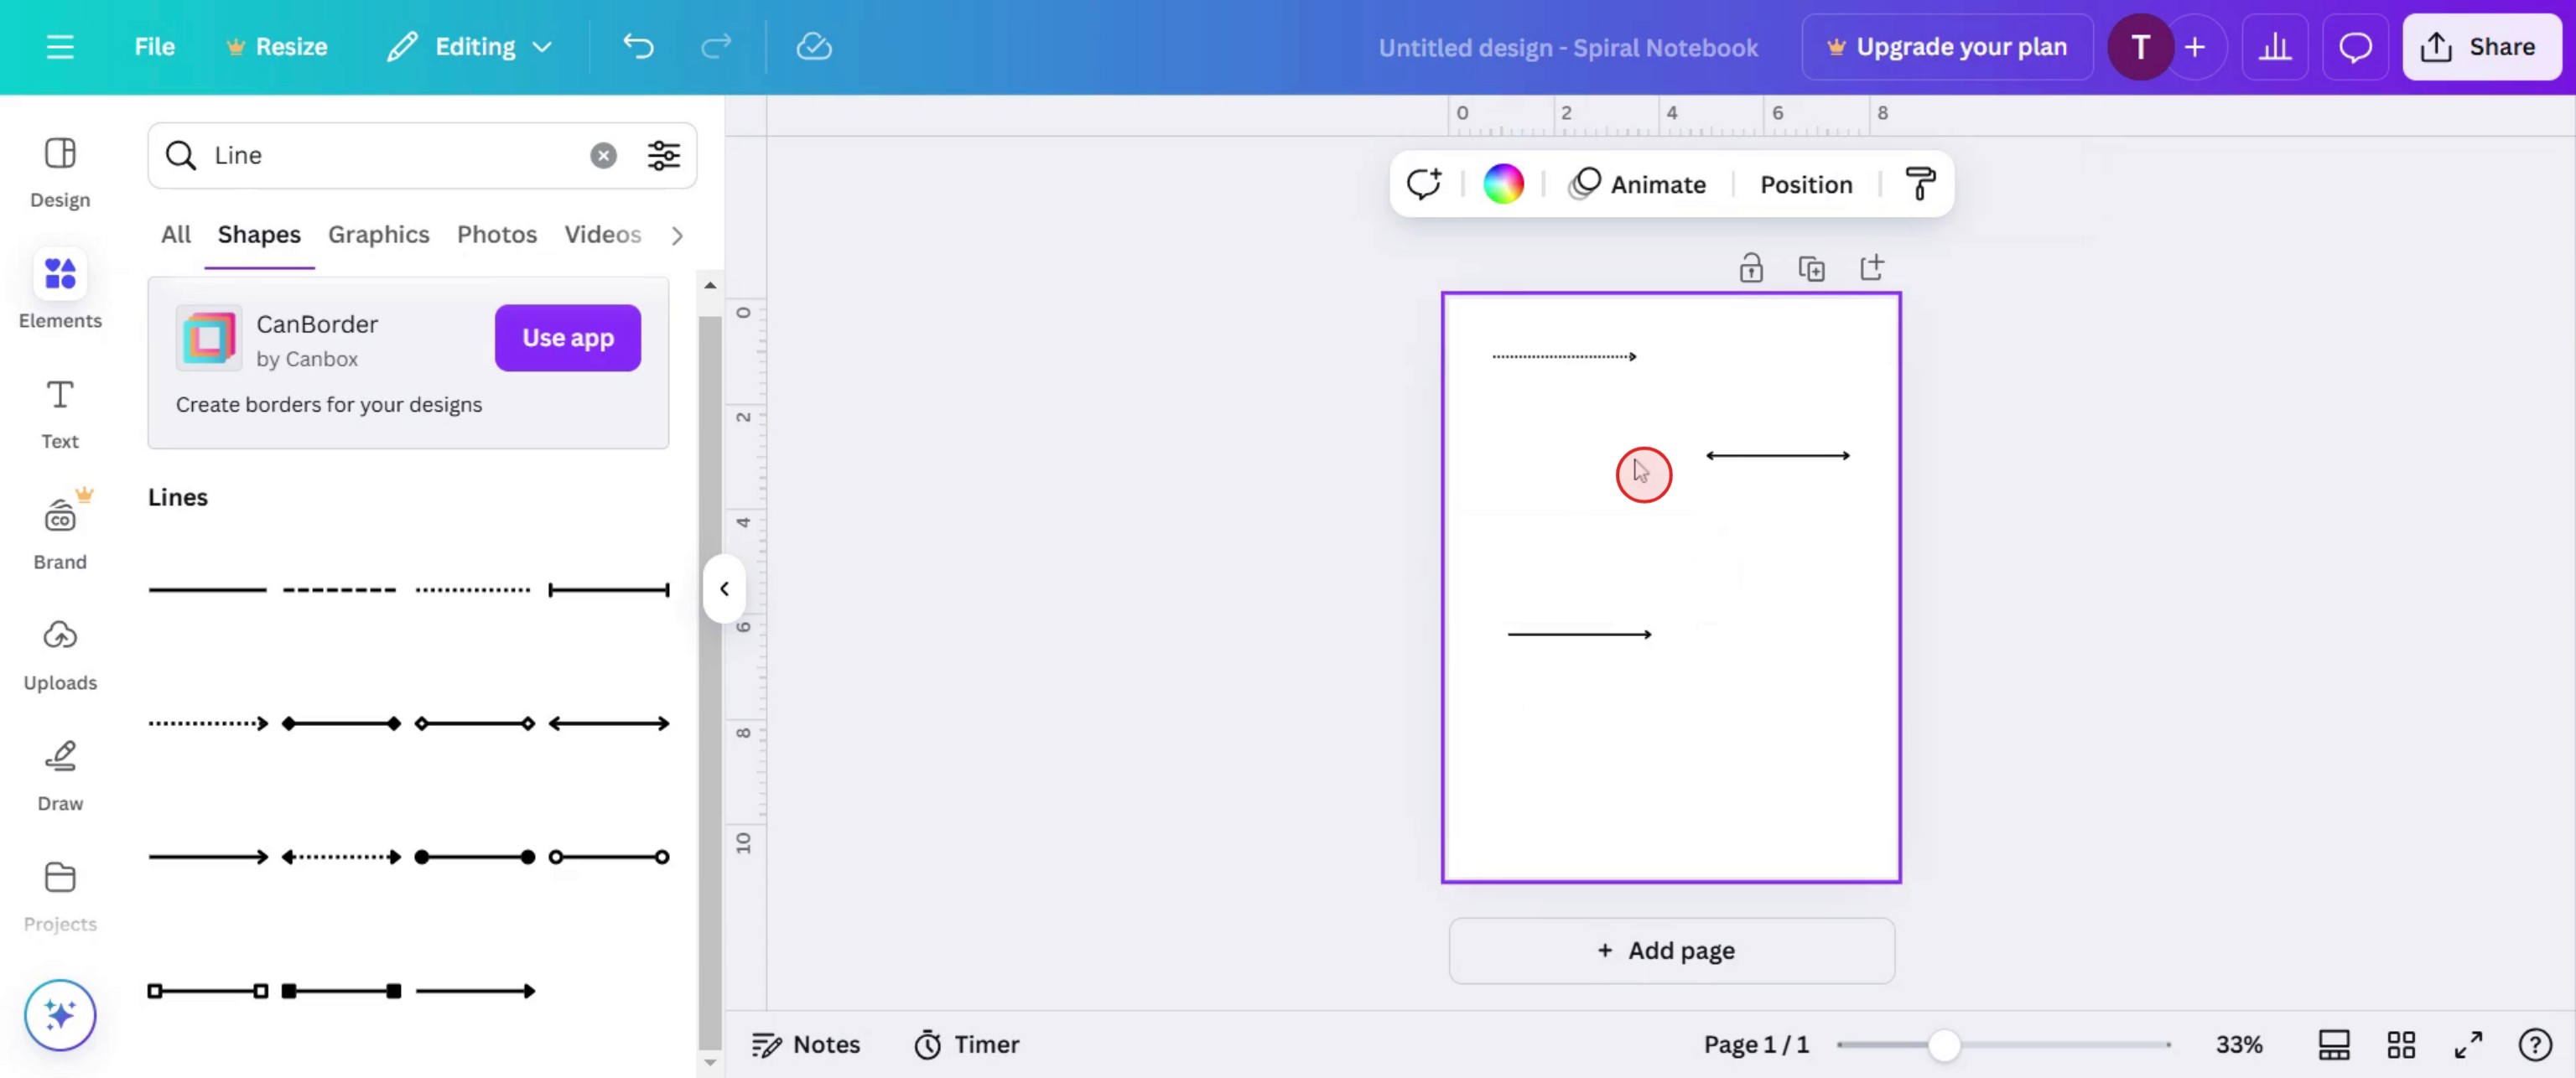
Choose a particular line,
Step 10
And drag and drop in to the template,
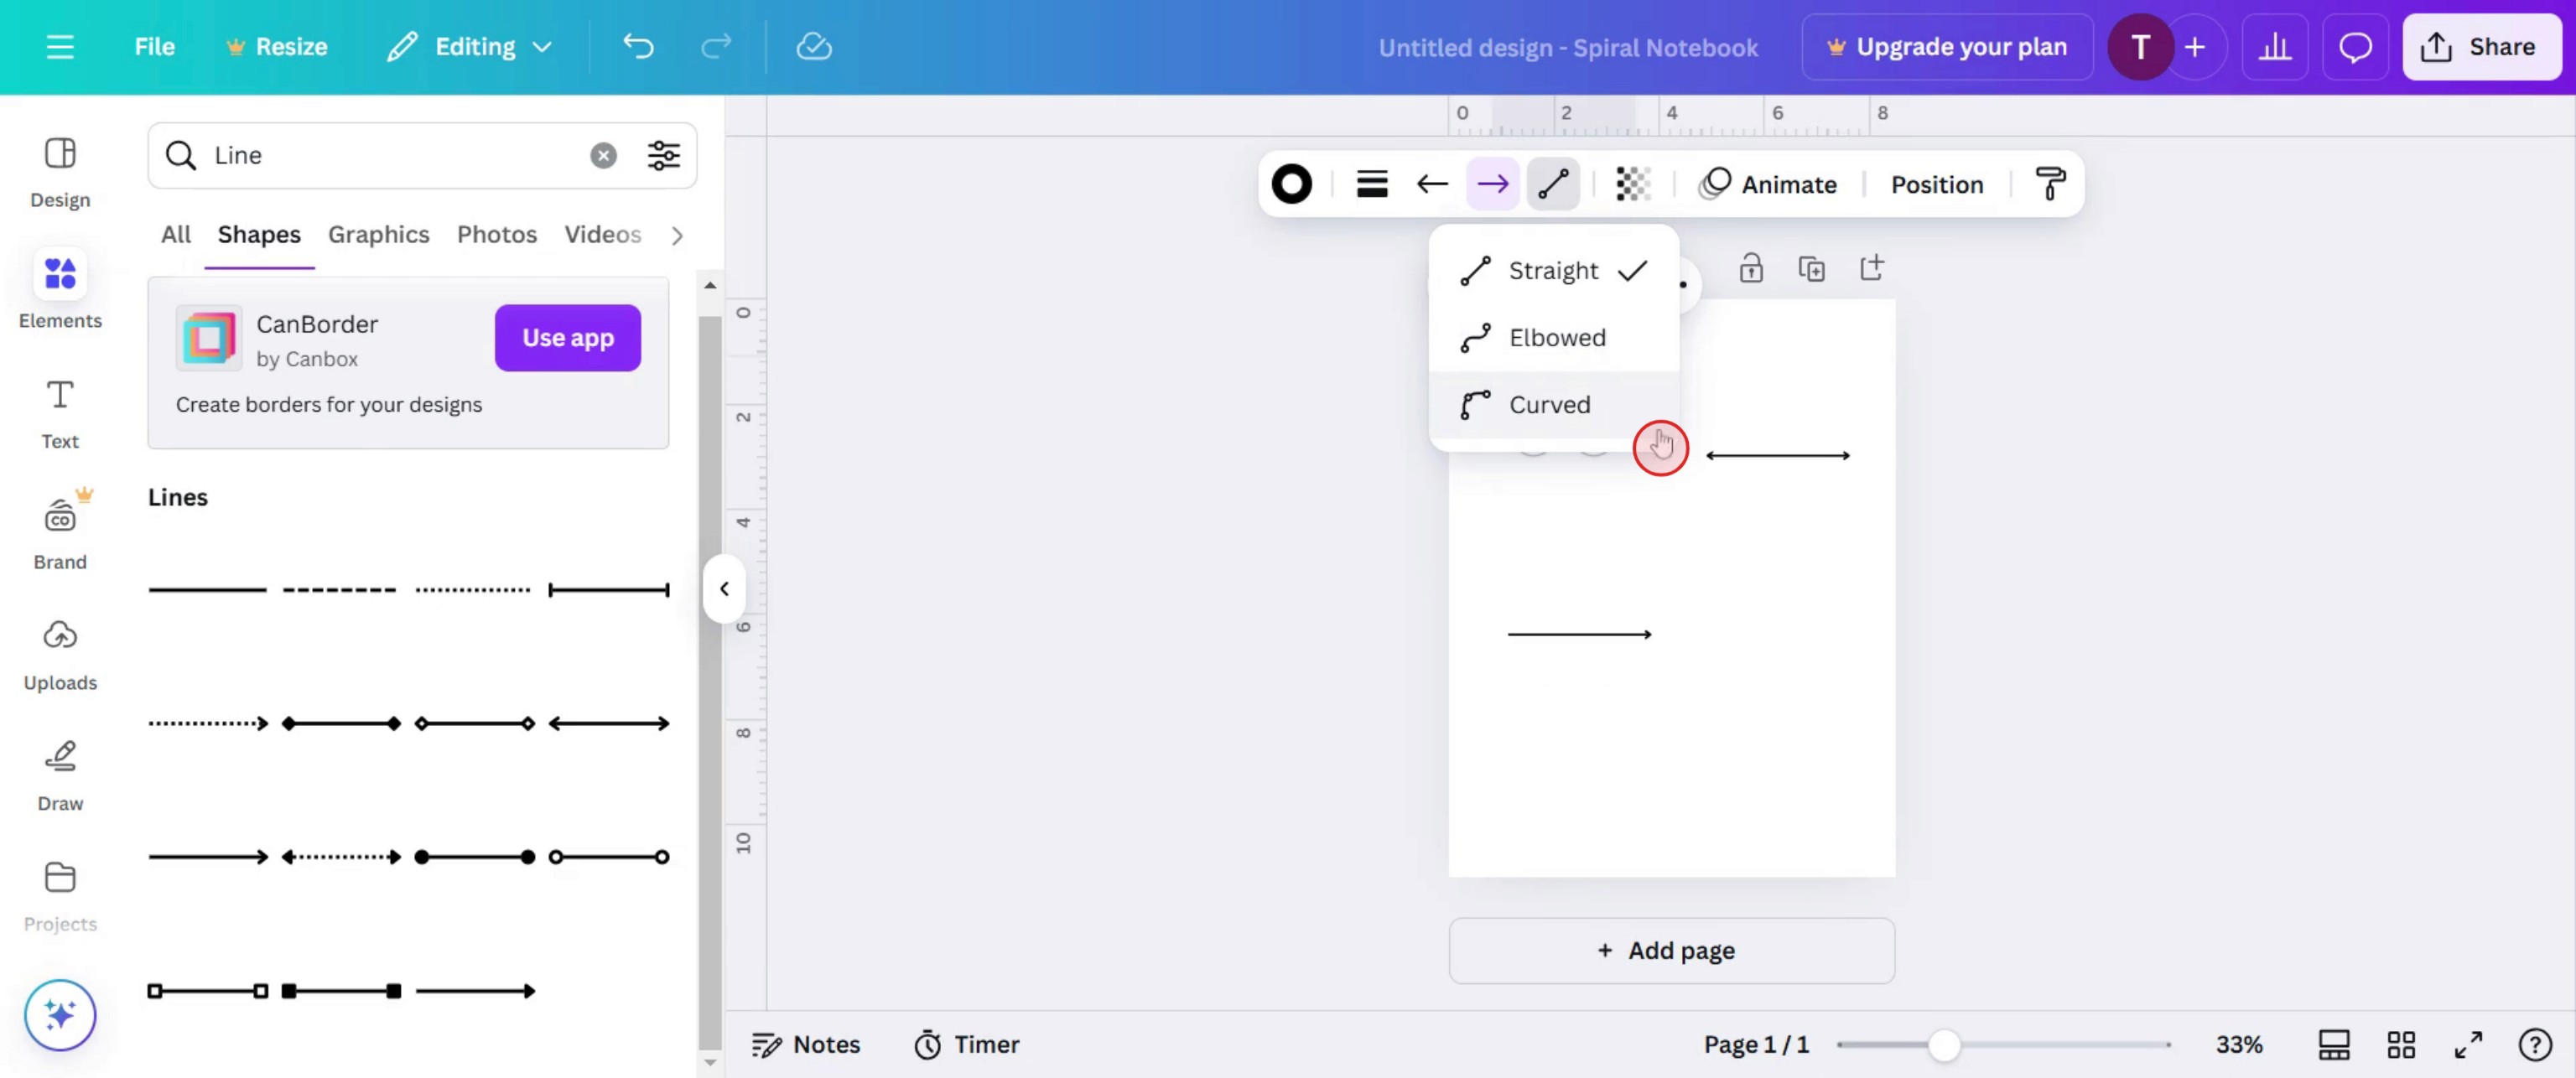
Step 11
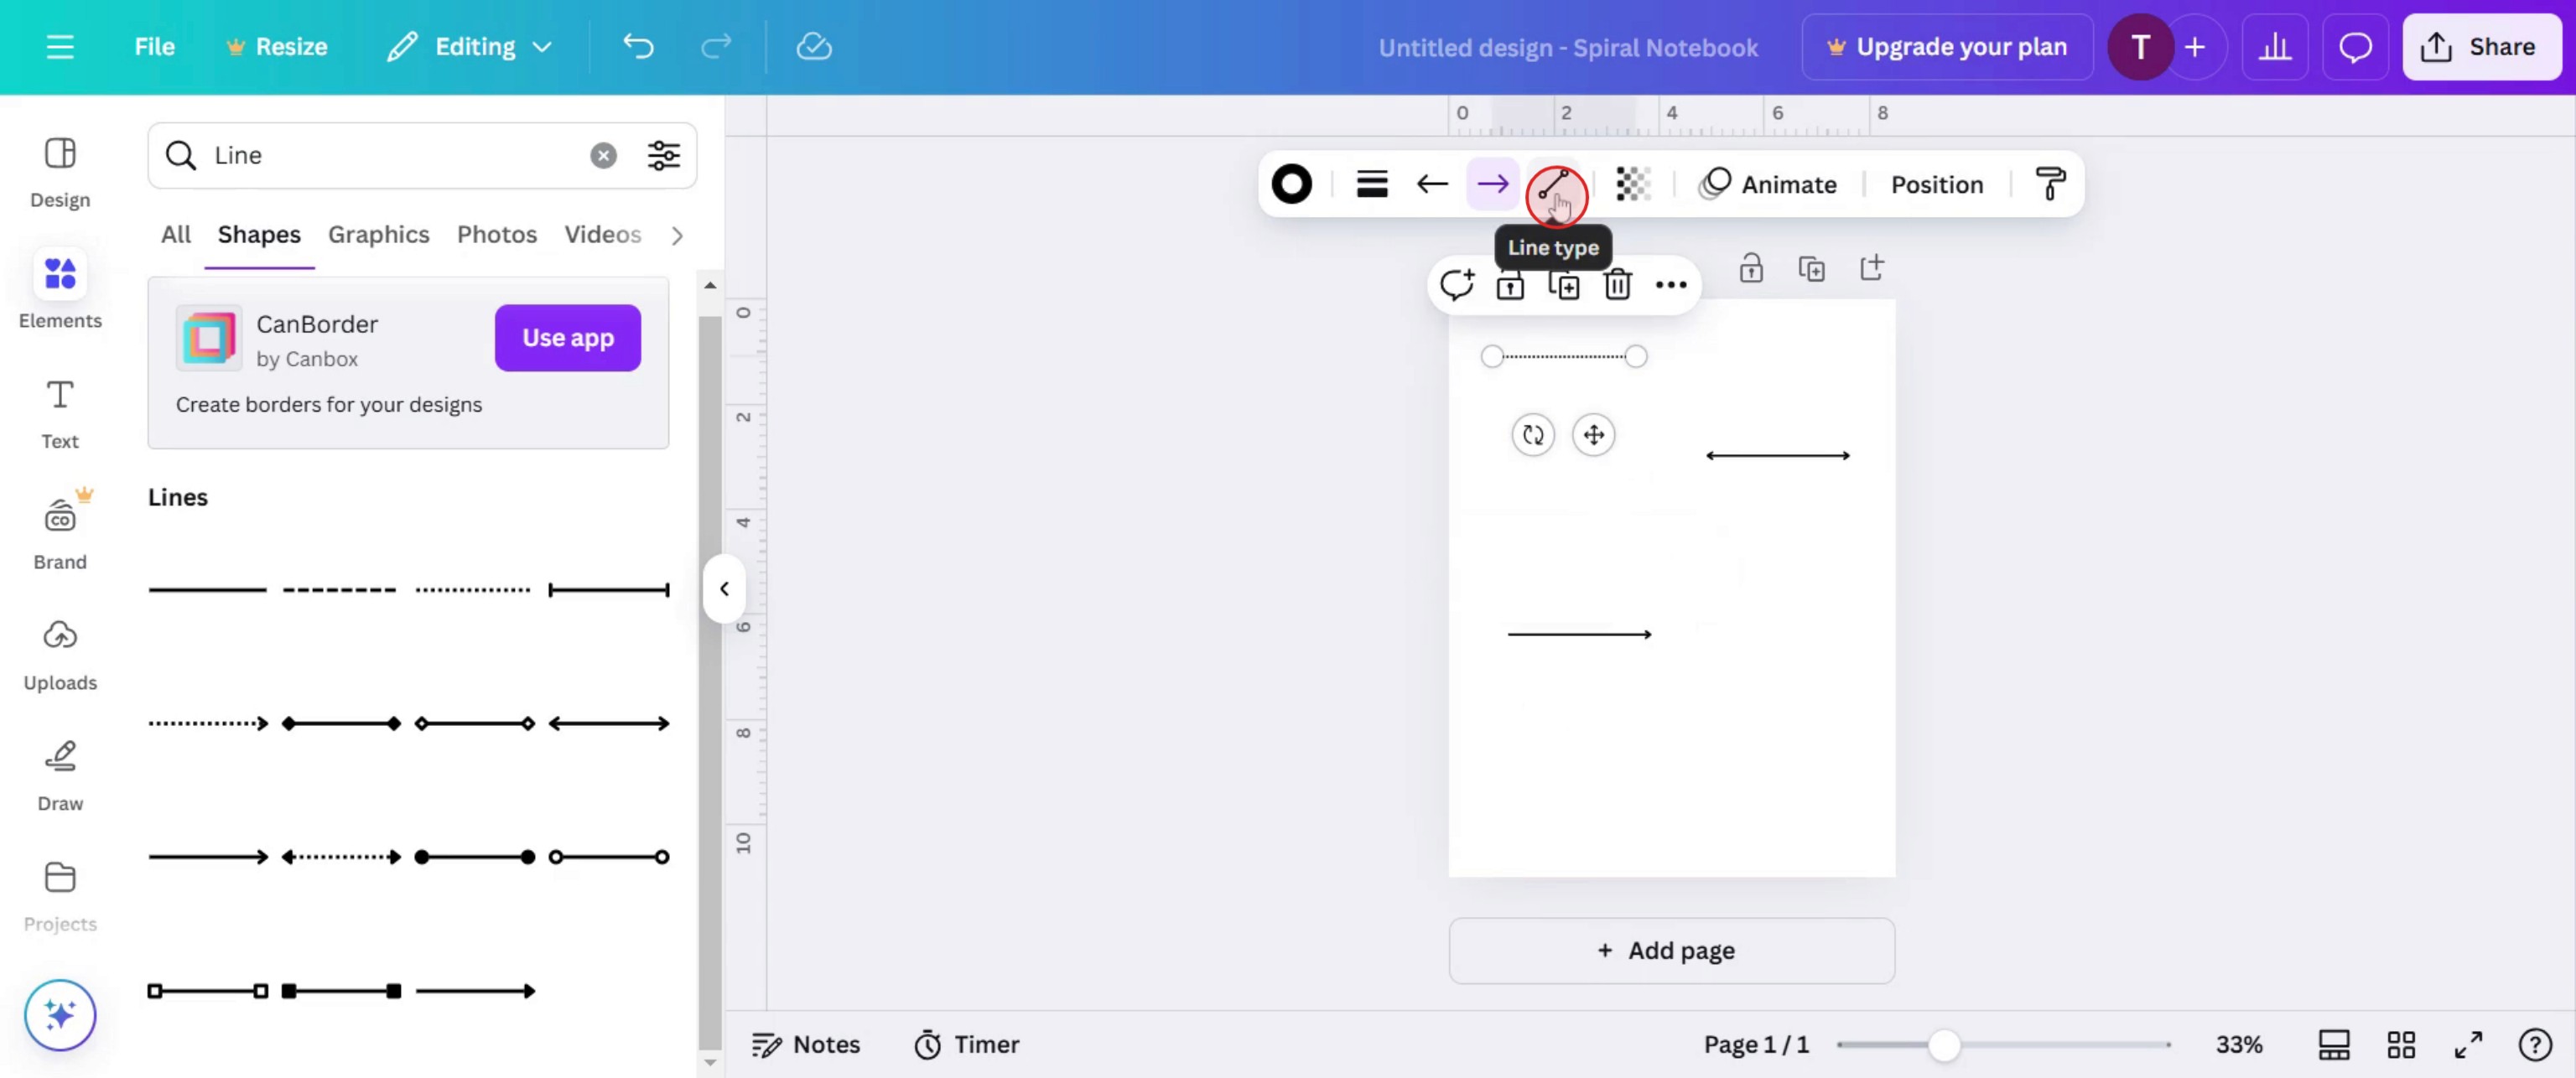
Then click on line type,
Step 12
And select a line type.
Step 13
Then you can see the changes of the particular line.
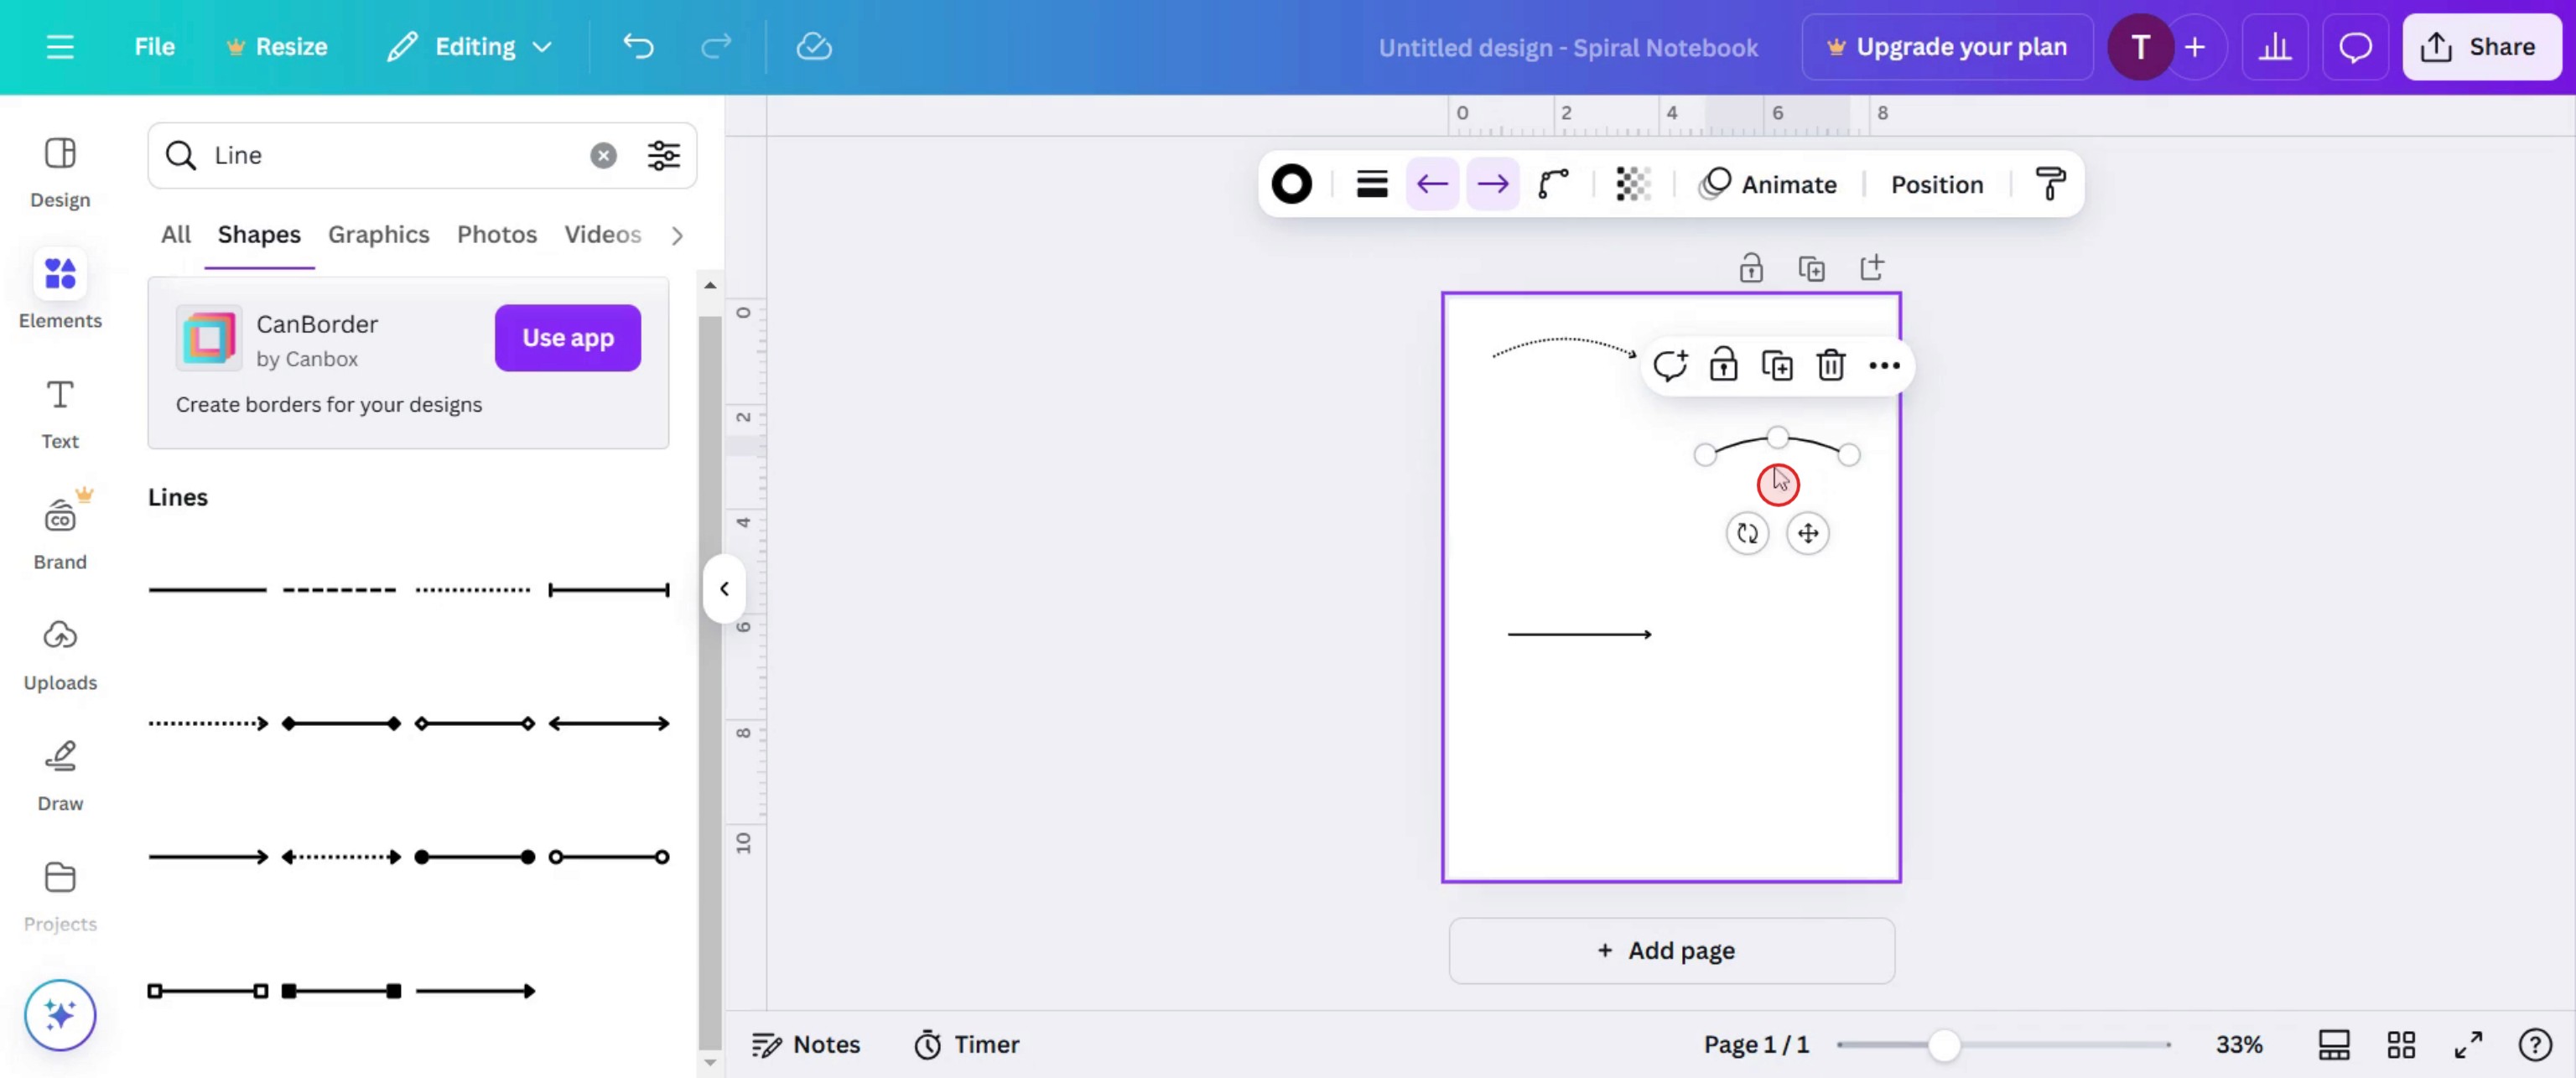
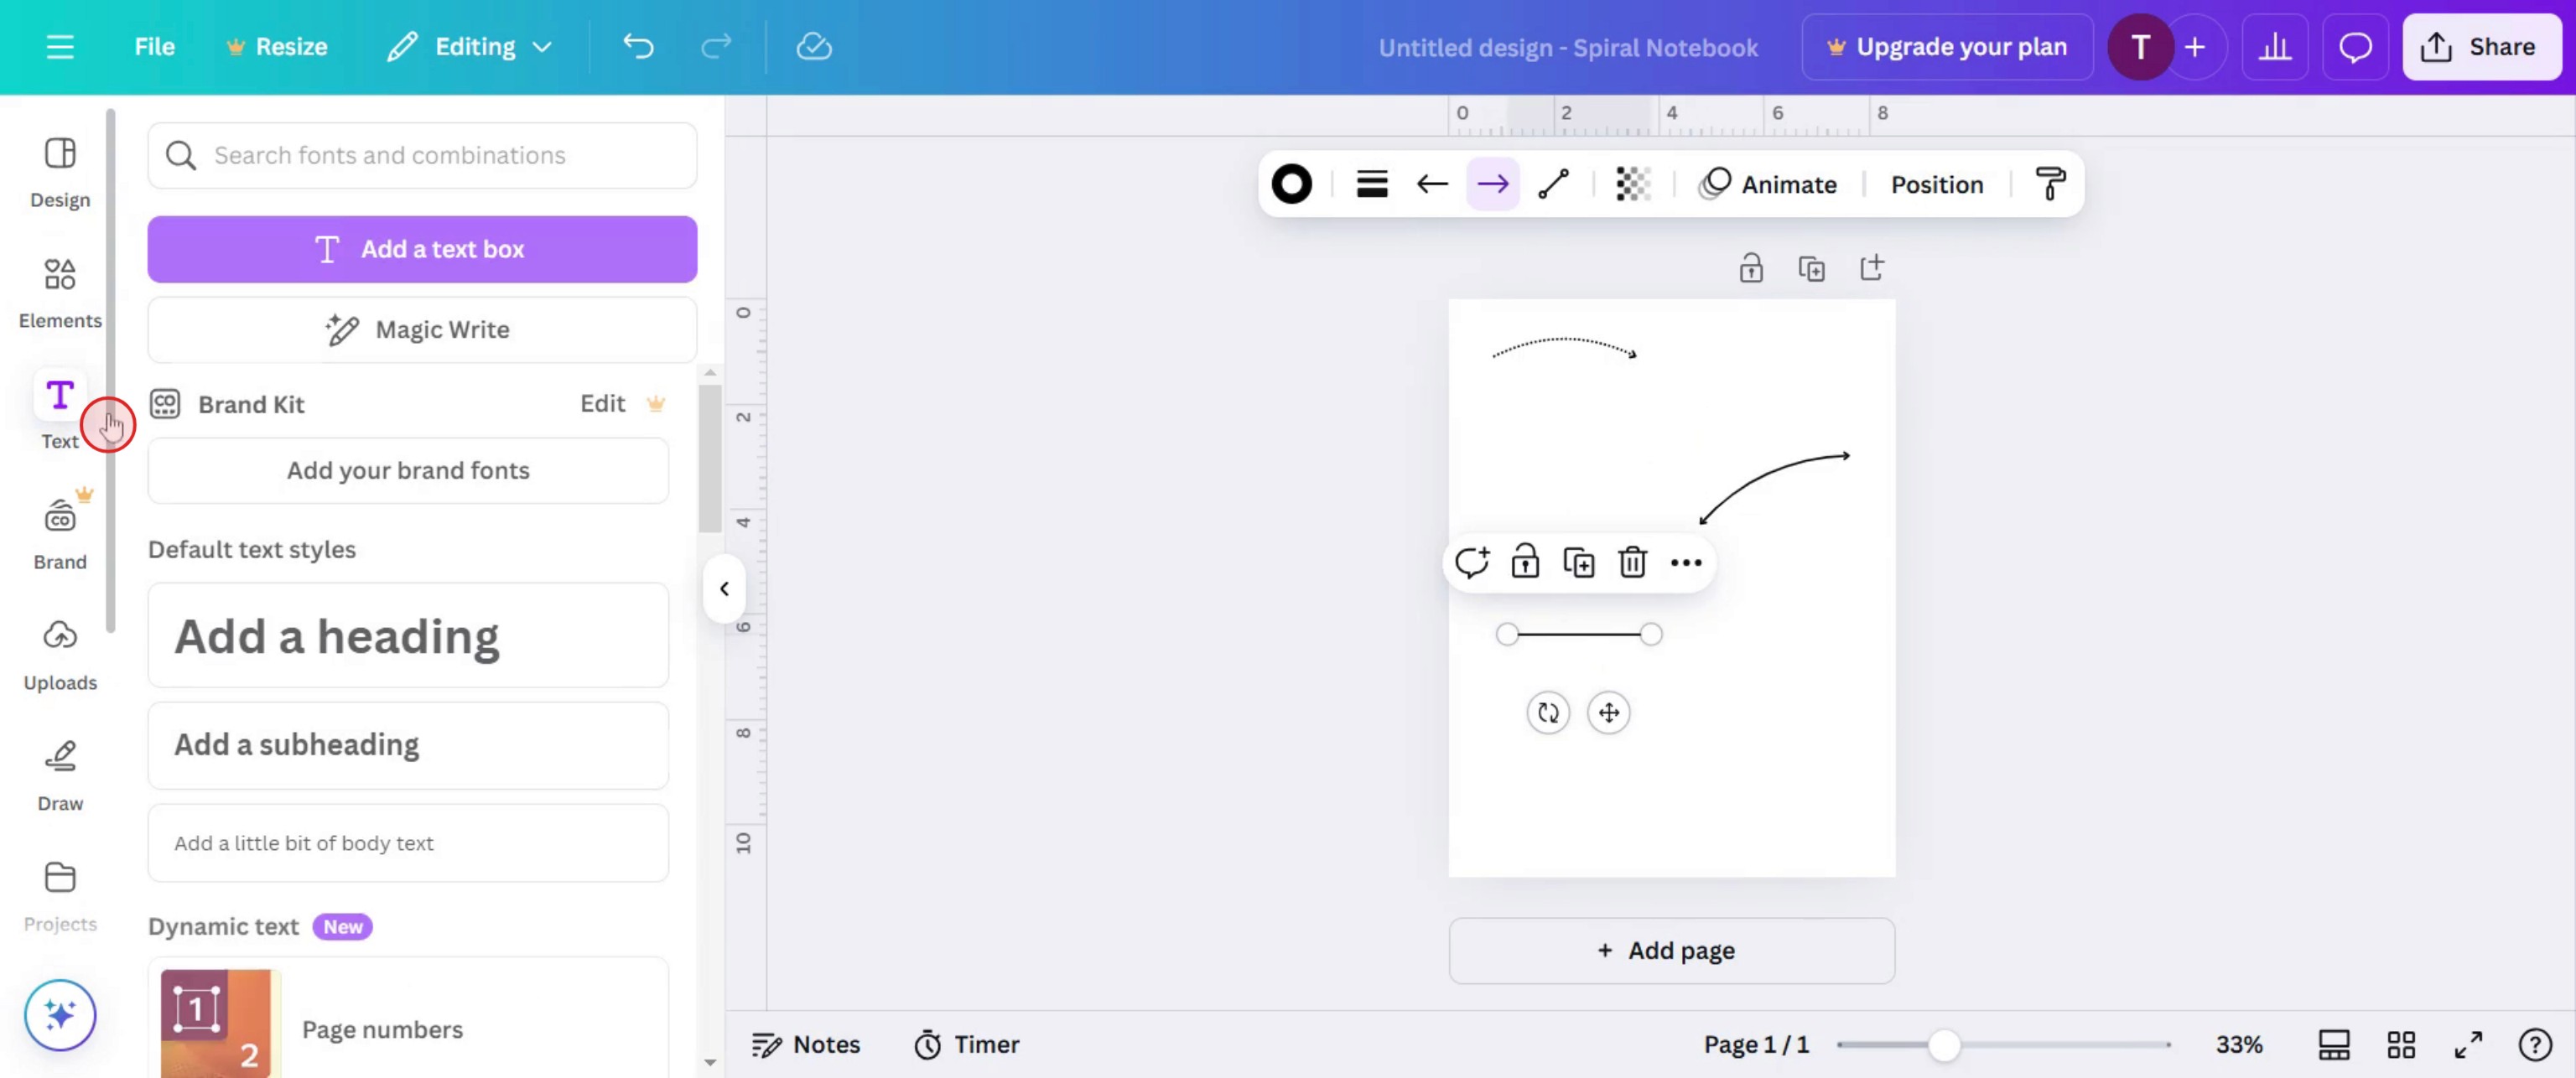
Step 14
And click on text option.
Pro-tips for creating a ruler in Canva
Use Canva’s Custom Dimensions Feature – To create a ruler, start by setting up a custom canvas size that matches the scale you need (e.g., a long horizontal rectangle).
Create Straight Lines for Accurate Measurements – Use Canva's line tool to draw straight, even lines for your ruler. You can adjust thickness and color to match your design style.
Use Canva’s Grid and Positioning Tools – To ensure alignment, turn on grids and use the positioning tool to align your lines and elements precisely for a clean, professional look.
Common pitfalls & how to avoid them
Incorrect Alignment of Tick Marks – Ensure that the tick marks are evenly spaced by using Canva's guides or snapping features for precise alignment.
Inconsistent Text Sizes – Make sure the text size for your measurement labels is consistent and legible. Use the same font and size for each label.
Not Using Proper Units – Be mindful of the scale you're using for your ruler (e.g., inches, centimeters). Double-check to ensure that the units are clearly defined and easy to understand.
Common FAQs for creating a ruler in Canva
Can i create a ruler with specific measurements in Canva?
Yes, you can customize the ruler by adjusting the spacing between lines and text for accurate measurements (inches, centimeters, etc.).Can i save my ruler design for later use in Canva?
Yes, after creating your ruler, you can save it as a template or as an image to reuse in future projects.How can i align my ruler elements properly?
Use Canva’s grid lines and the positioning tools to ensure that your tick marks and text are aligned and evenly spaced.Can i print my ruler from Canva?
Yes, once your ruler is designed, you can download it in a printable format (PDF, PNG) and print it out.How to screen record on mac?
To screen record on a Mac, you can use Trupeer AI. It allows you to capture the entire screen and provides AI capabilities such as adding AI avatars, add voiceover, add zoom in and out in the video. With trupeer’s AI video translation feature, you can translate the video into 30+ languages.How to add an AI avatar to screen recording?
To add an AI avatar to a screen recording, you'll need to use an AI screen recording tool. Trupeer AI is an AI screen recording tool, which helps you create videos with multiple avatars, also helps you in creating your own avatar for the video.How to screen record on windows?
To screen record on Windows, you can use the built-in Game Bar (Windows + G) or advanced AI tool like Trupeer AI for more advanced features such as AI avatars, voiceover, translation etc.How to add voiceover to video?
To add voiceover to videos, download trupeer ai chrome extension. Once signed up, upload your video with voice, choose the desired voiceover from trupeer and export your edited video.How do I Zoom in on a screen recording?
To zoom in during a screen recording, use the zoom effects in Trupeer AI which allows you to zoom in and out at specific moments, enhancing the visual impact of your video content.People also ask
Suggested Reads
Technical Documentation Generator
How to Share GitHub Repository via Link
How to Share Your GitHub Profile
Related Tutorials

