

How to Change Issue Type in Jira – Quick & Easy Steps
Learn how to change issue type in Jira using the Move option to switch tasks, bugs, or stories while keeping fields and workflow data intact. Follow this quick guide with Trupeer.
This document provides a step-by-step process to change the issue type in Jira, ensuring a seamless workflow for users. Follow these instructions carefully to update the issue type without any hassle.
You can change an issue type in two ways: using the "Move" feature (most reliable method) or, in some Jira instances, directly via the issue type icon (if enabled).
Method 1: Using the Move Option
Open the Issue
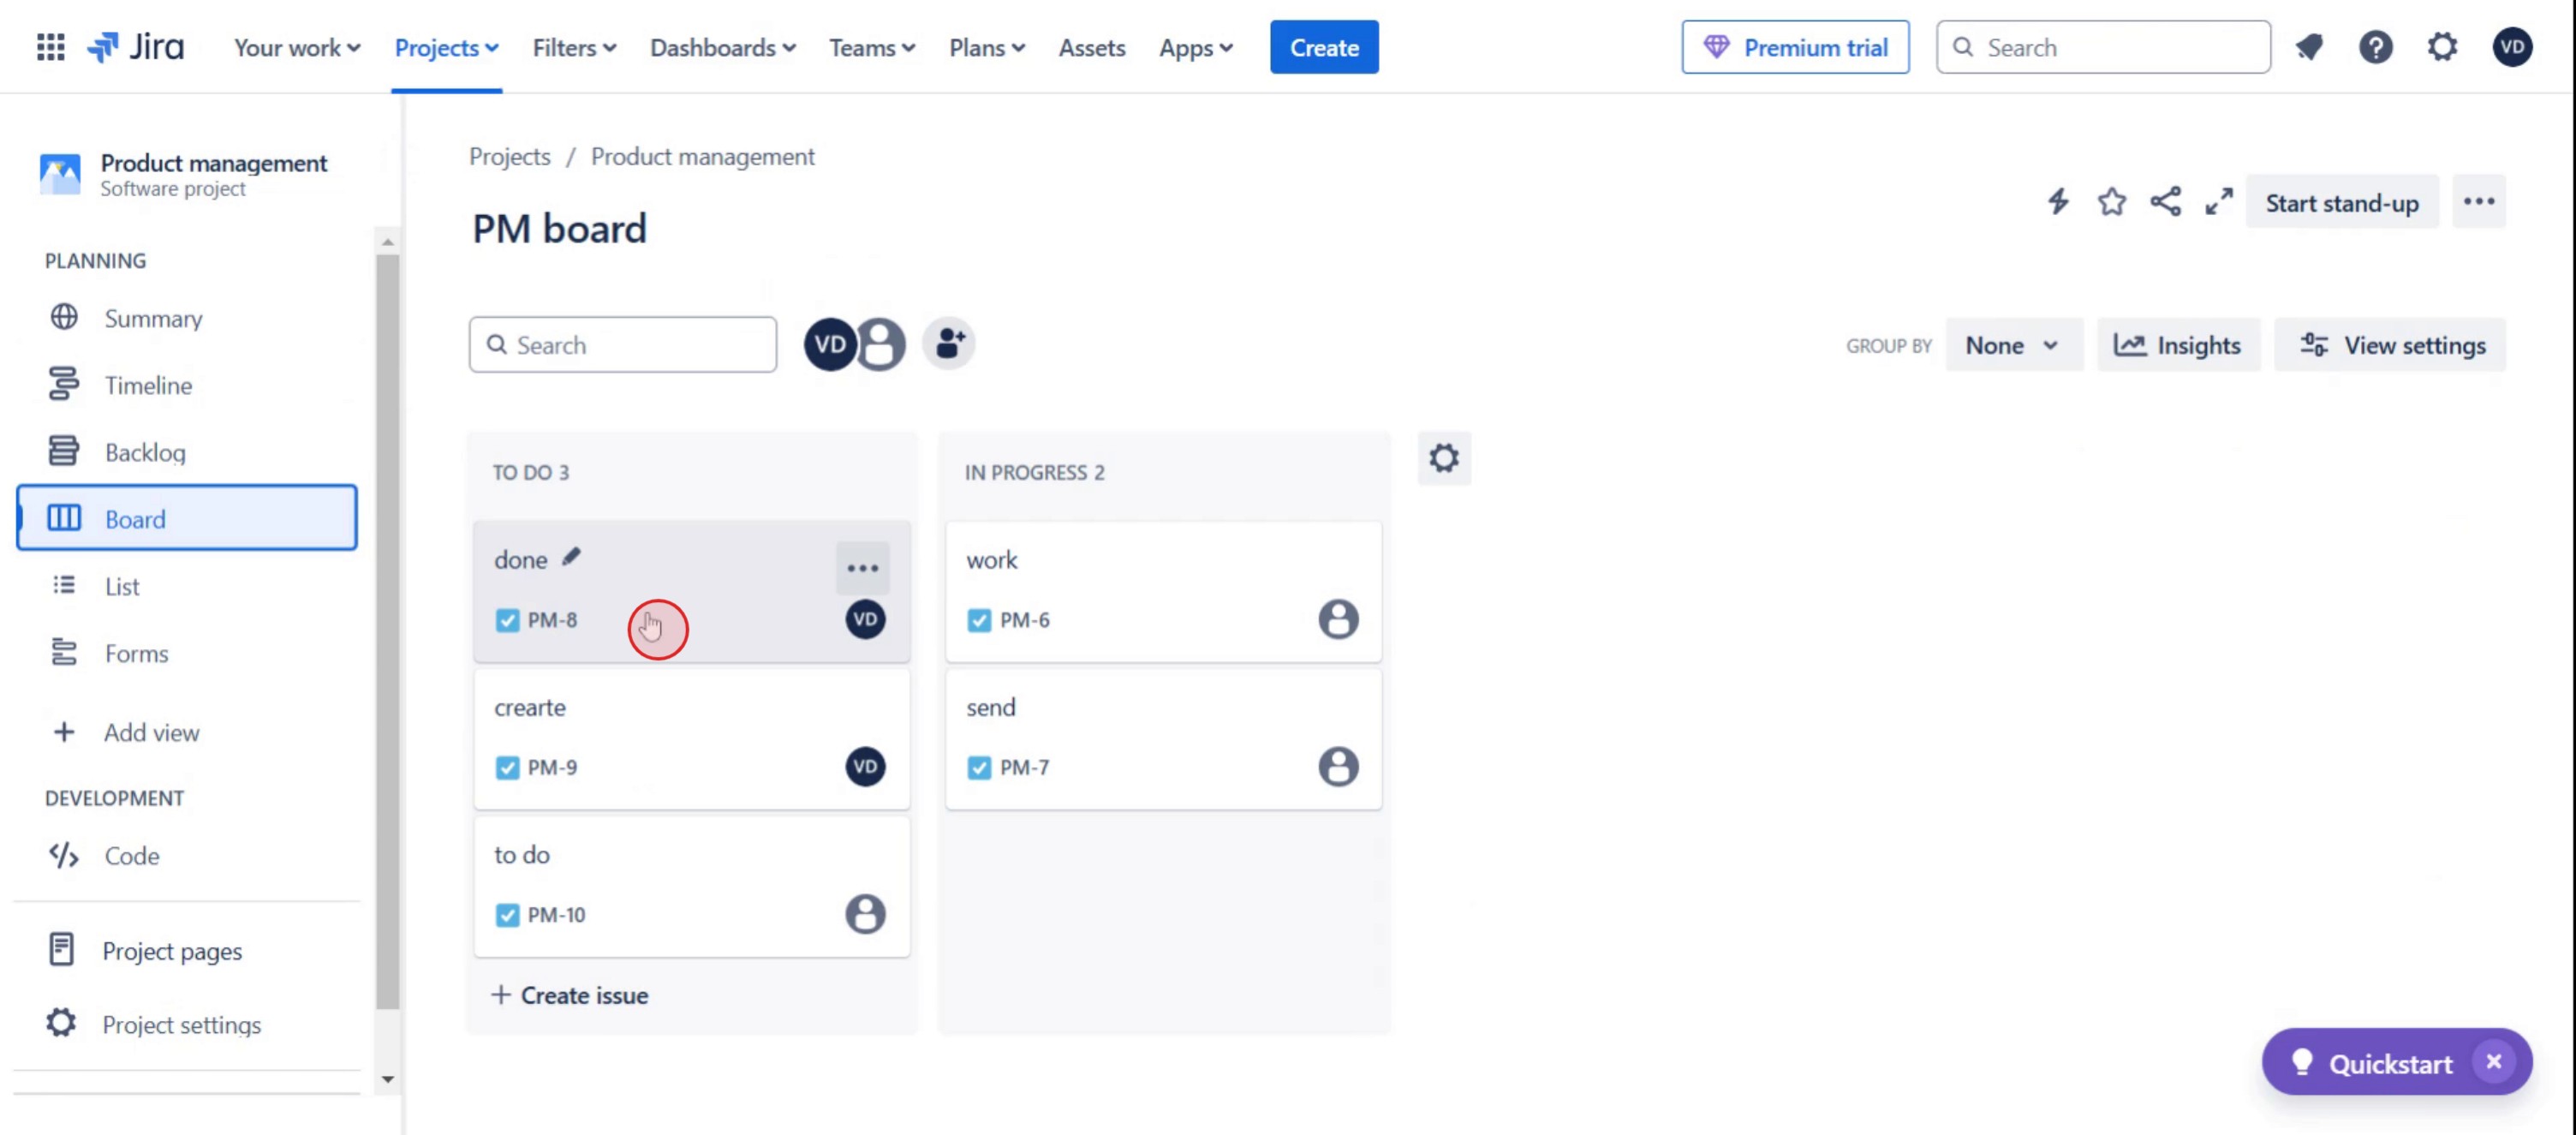
Navigate to the issue you want to modify.Click on More (•••) > Move
This opens the move wizard where you can change the issue’s type, project, and other attributes.Select the New Issue Type
Choose the desired issue type (e.g., from "Bug" to "Task").Map Fields
Jira will ask you to map required fields from the current type to the new one. Fill in any missing info.Review and Confirm
Double-check the changes and click Confirm to apply them.
Method 2: Change from Issue Type Icon (if available)
Open the Issue
Go to the issue’s detail view.Click the Issue Type Icon
Located near the issue summary or key.Select New Issue Type
Pick a new type from the dropdown. Jira may reload or prompt for confirmation.
Step-by-Step-Guide: How to Change Issue Type in Jira
Step 1
Click on the board option.

Step 2
Then select the specific Jira ticket.
Step 3
Click on the more options.

Step 4
Click on Move.

Step 5
Select the specific project.

Step 6
Selecting the appropriate task,

Step 7
Then click the Next,

Step 8
Select the desired target status.

Step 9
Then click on Next,

Step 10
Click on the checkbox.

Step 11
Then, proceed by clicking Next .

Step 12
Then click on Confirm.

Pro tips on how to change issue type in Jira
Ensure the target issue type is available in the project’s issue type scheme before attempting to change it.
Use Jira’s Move option to change the issue type while preserving all key details like attachments and comments.
If the issue type requires different fields, map them correctly during the transition to prevent data loss.
Common pitfalls and how to avoid them
Changing the issue type without checking required fields may lead to missing information always review field mappings before confirming.
Using a workflow that does not support the new issue type can cause errors confirm compatibility before making changes.
Not having the necessary project permissions can prevent changes ensure you have Move Issues permissions in Jira.
Common FAQs on how to change issue type in Jira
Why can’t i change the issue type in Jira?
If you can’t change the issue type, check your project permissions, ensure the issue type is part of the project’s scheme, and confirm that the workflow supports the new type.Will changing the issue type delete any data?
No, but if the new issue type has different required fields, you may need to manually re-enter or adjust some information.Can i change issue type for multiple issues at once?
Yes, you can use Jira’s bulk change feature to update the issue type for multiple issues simultaneously.Does changing the issue type affect reports or dashboards?
It might, depending on how reports and dashboards filter issues update your filters if necessary after making changes.How to screen record on mac?
To screen record on a Mac, you can use Trupeer AI. It allows you to capture the entire screen and provides AI capabilities such as adding AI avatars, add voiceover, add zoom in and out in the video. With trupeer’s AI video translation feature, you can translate the video into 30+ languages.How to add an AI avatar to screen recording?
To add an AI avatar to a screen recording, you'll need to use an AI screen recording tool. Trupeer AI is an AI screen recording tool, which helps you create videos with multiple avatars, also helps you in creating your own avatar for the video.How to screen record on windows?
To screen record on Windows, you can use the built-in Game Bar (Windows + G) or advanced AI tool like Trupeer AI for more advanced features such as AI avatars, voiceover, translation etc.How to add voiceover to video?
To add voiceover to videos, download trupeer ai chrome extension. Once signed up, upload your video with voice, choose the desired voiceover from trupeer and export your edited video.How do I Zoom in on a screen recording?
To zoom in during a screen recording, use the zoom effects in Trupeer AI which allows you to zoom in and out at specific moments, enhancing the visual impact of your video content.
People also ask
Technical Documentation Generator
Related Tutorials

