

How to Add a Date Picker Calendar to Cells in MS Excel
Learn how to add a date picker calendar to Excel cells using Developer tools or add-ins for quick date selection. Follow this step-by-step tutorial and create guides with Trupeer.
To add a date picker calendar to cells in MS Excel, you can use the built-in "Date Picker" control (also known as "Microsoft Date and Time Picker Control") from the Developer tab. Alternatively, you can utilize an add-in like the "Mini Calendar and Date Picker" for a simpler, more user-friendly experience.
Here's a breakdown of the methods:
1. Using the Developer Tab (Built-in Control):
1. Enable the Developer Tab: Right-click on the ribbon, select "Customize the Ribbon," and check the "Developer" box.
2. Insert the Control: Go to the Developer tab, click "Insert," and choose the "Date Picker" control under "ActiveX Controls." If it's not visible, you may need to click "More Controls" and select "Microsoft Date and Time Picker Control 6.0 (SP6)" after registering it if necessary.
3. Place and Configure: Click on the cell where you want the date picker, then right-click on the control and select "Format Control" to customize its properties, including the linked cell.
4. Use: Click on the cell to activate the date picker, select a date, and it will be entered into the cell.
2. Using the "Mini Calendar and Date Picker" Add-in:
Get the Add-in: Go to the "Insert" tab, click "Get Add-ins," and search for "Mini Calendar and Date Picker".
Install and Open: Add the add-in and open it from the "Add-ins" button on the Home tab.
Select and Use: Click on the desired cell and then select the date from the calendar.
Step-by-Step-Guide: How to Add a Date Picker Calendar to Cells in MS Excel
Step 1
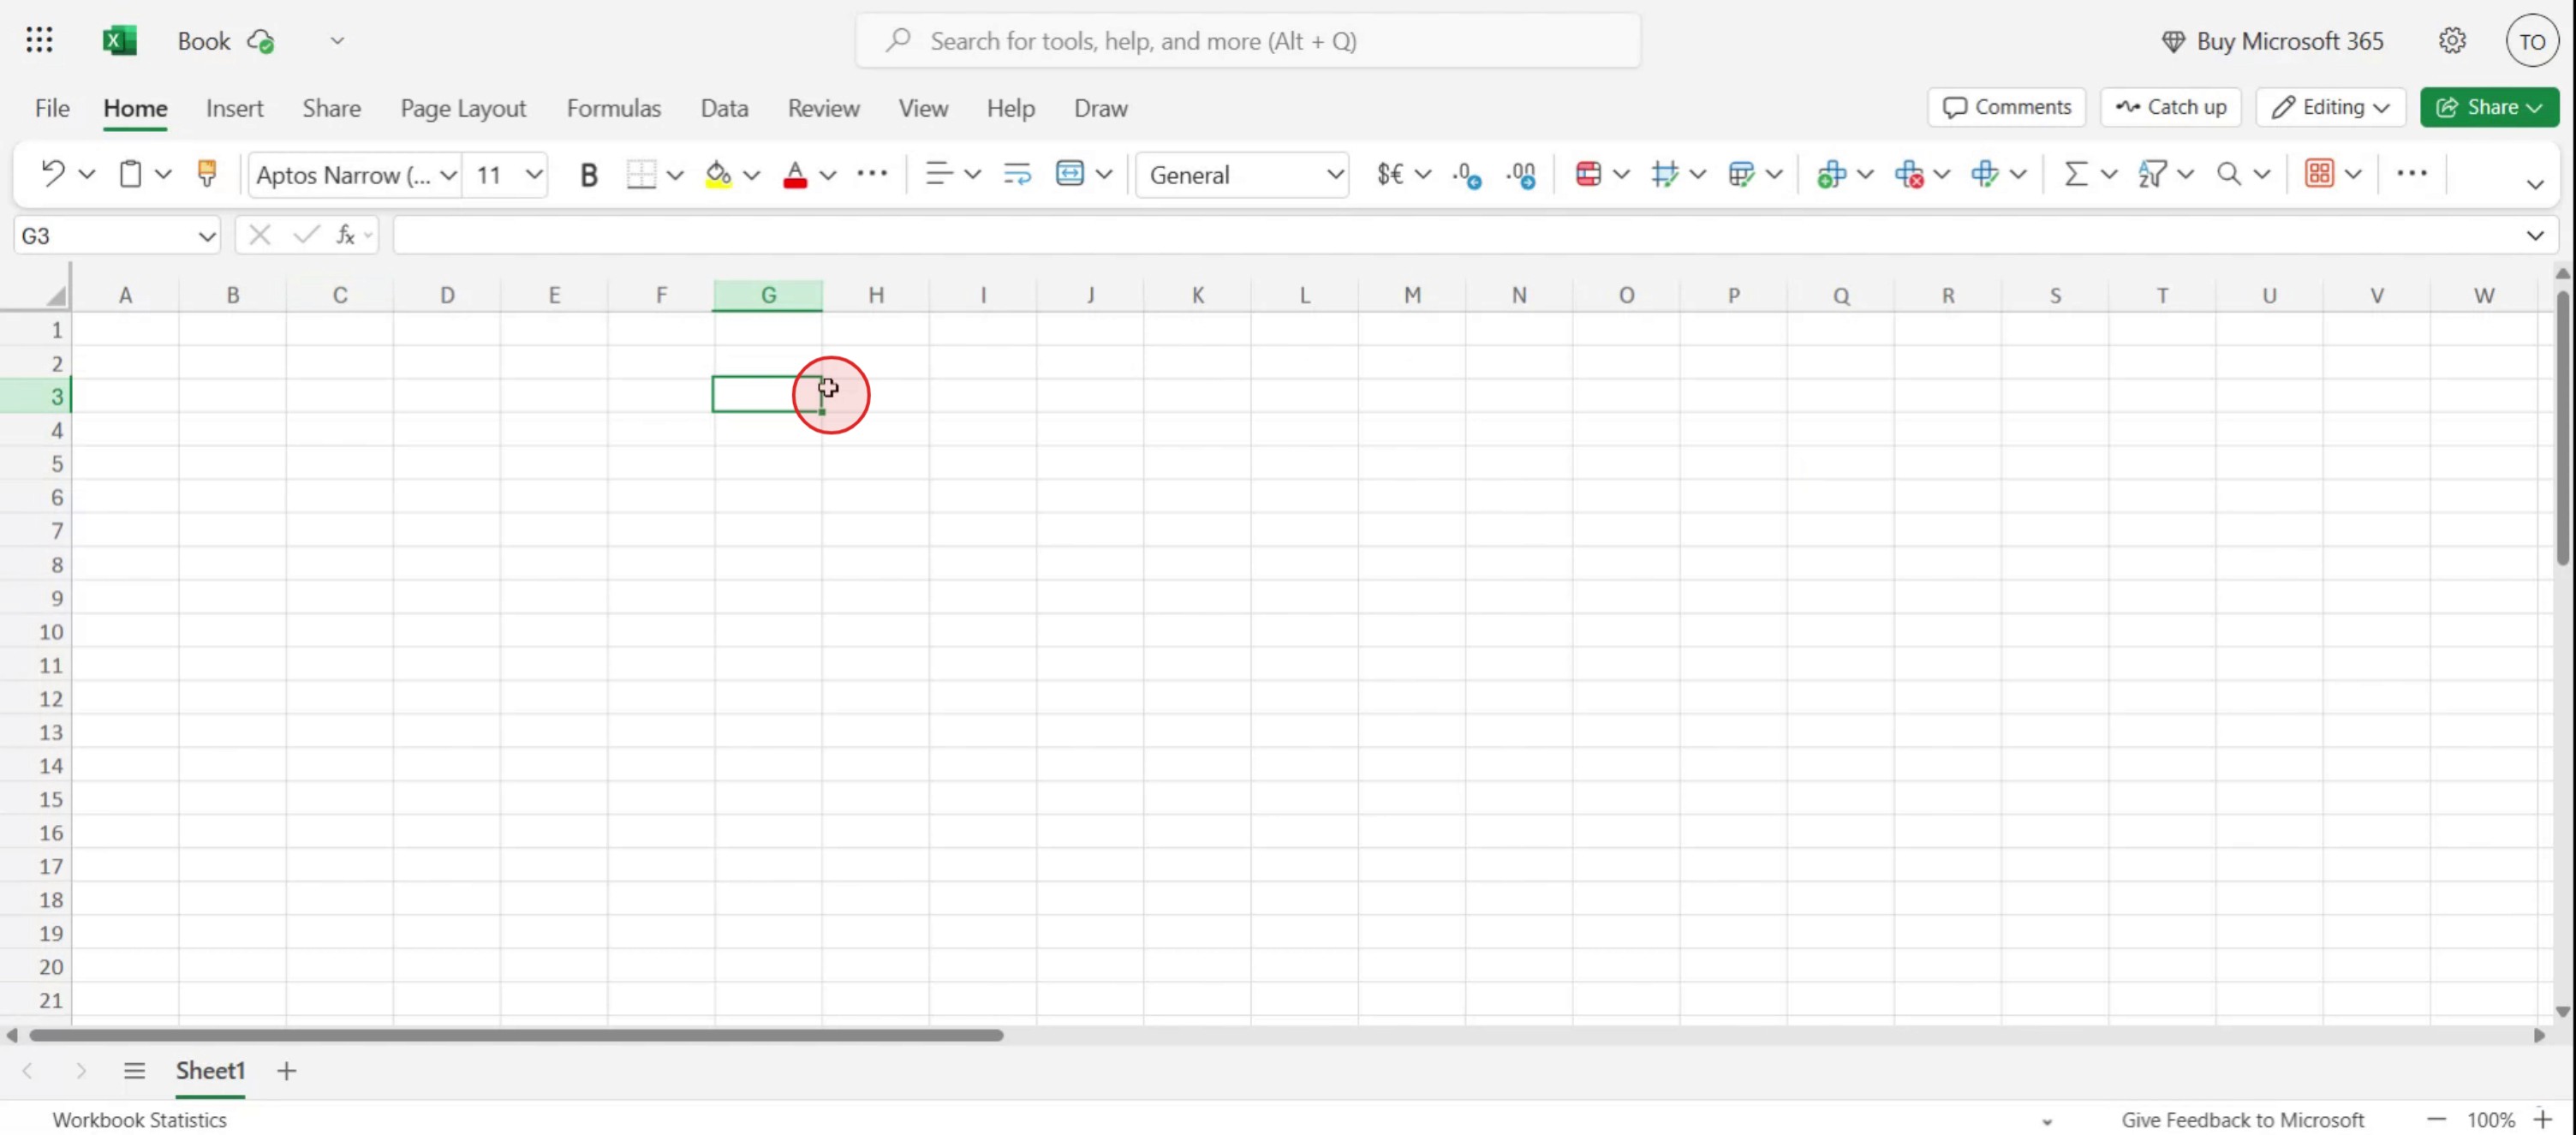
Select a specific Cell where you want to insert the date picker.
Step 2
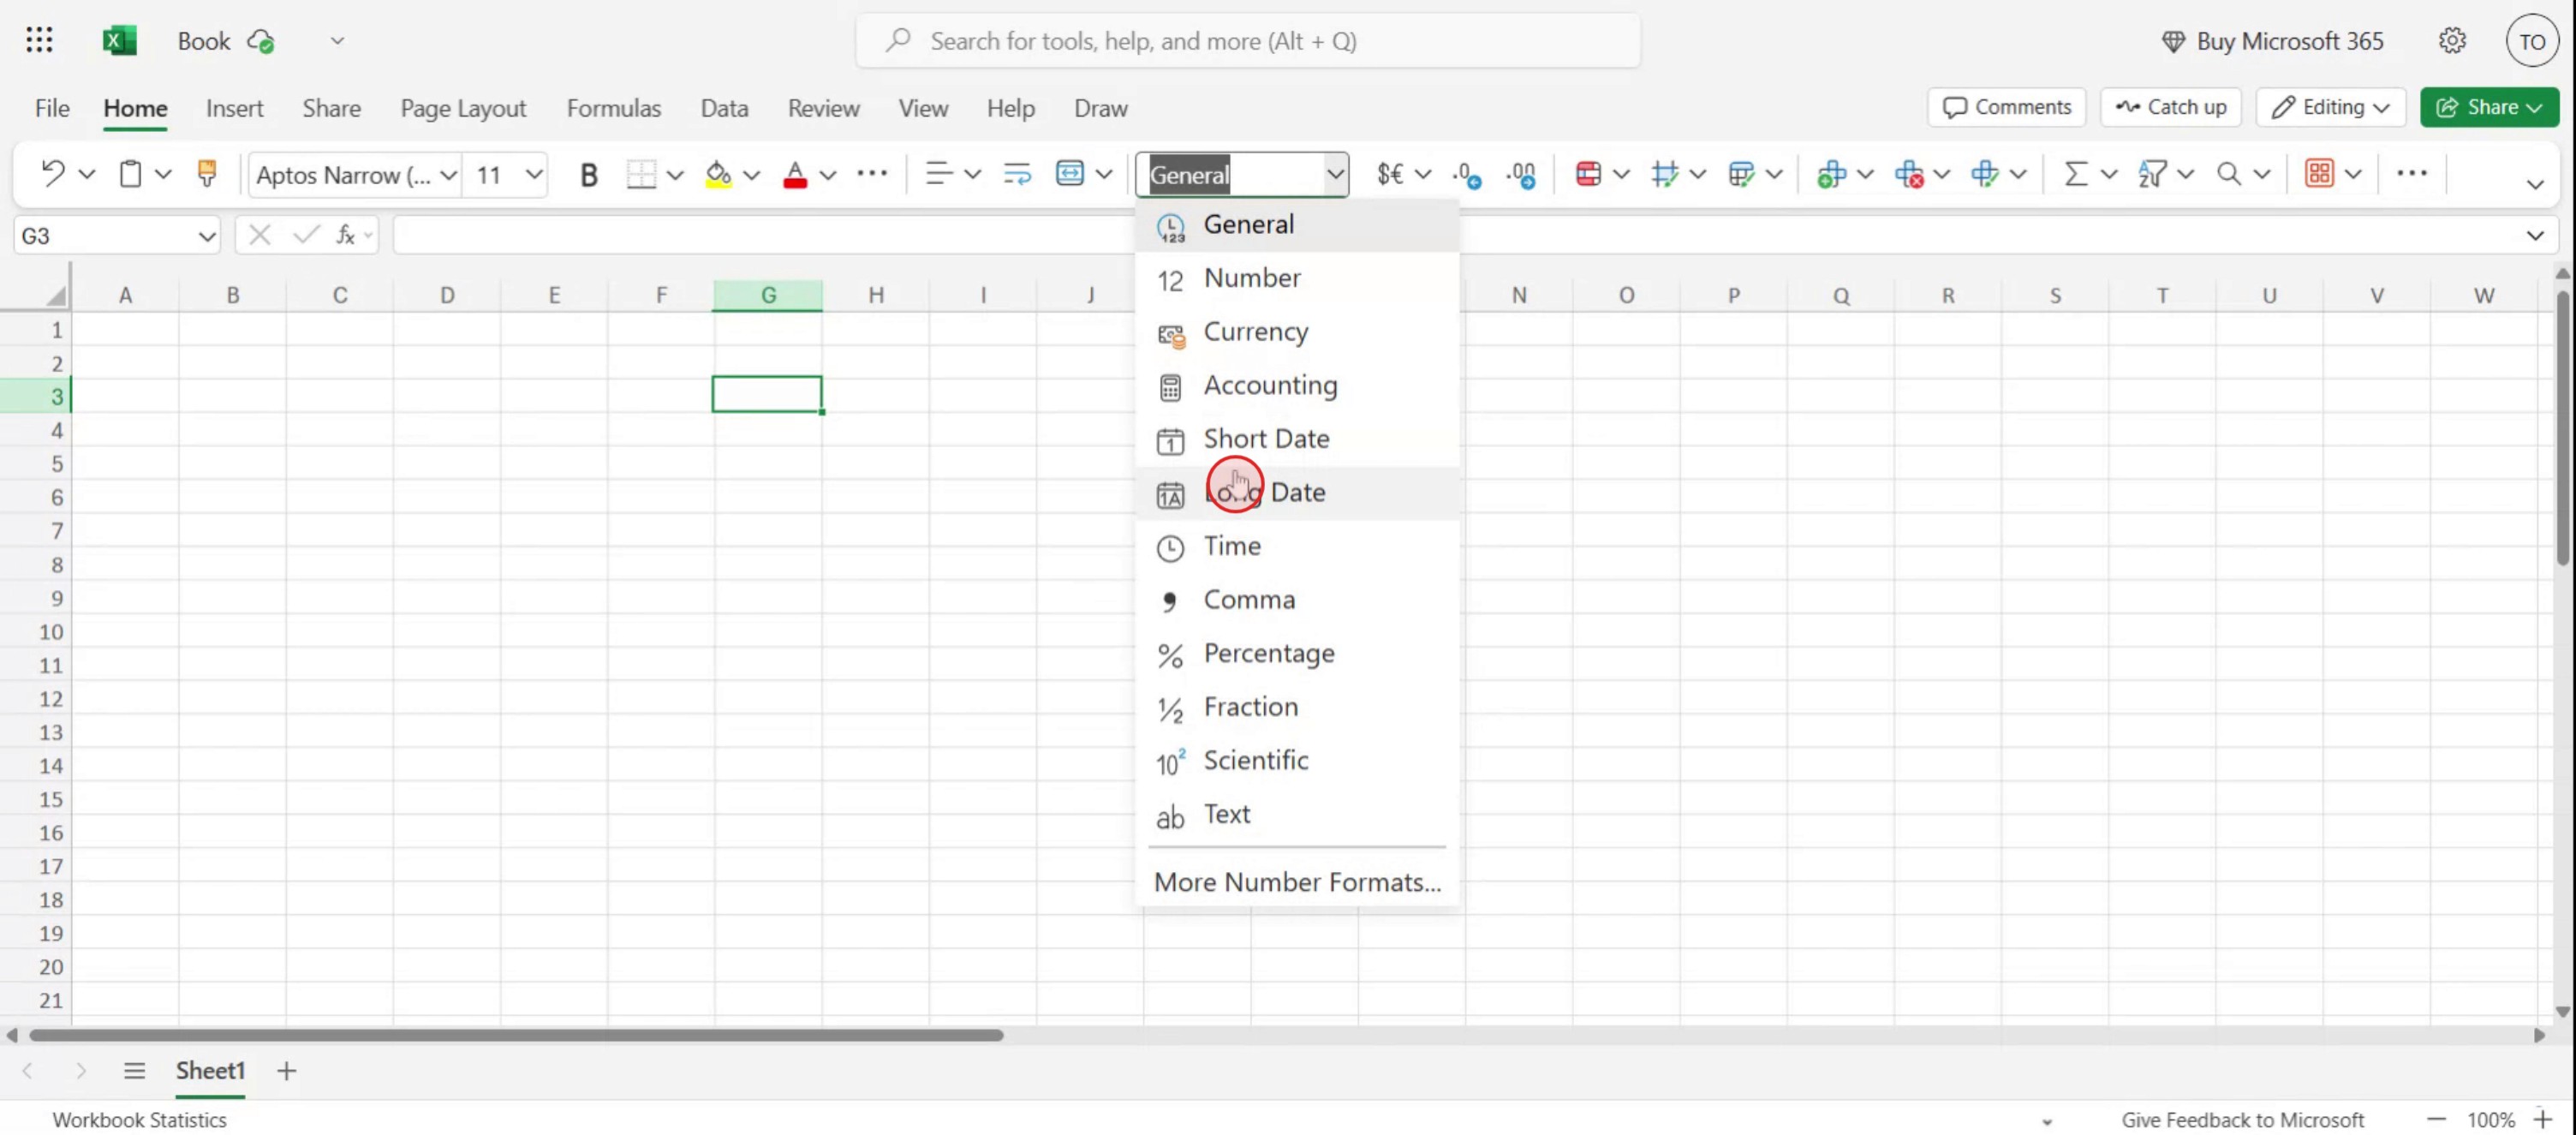
From the formatting toolbar, select number format option.

Step 3
The from the drop-down menu. Choose either the 'Long Date' option,
Step 4
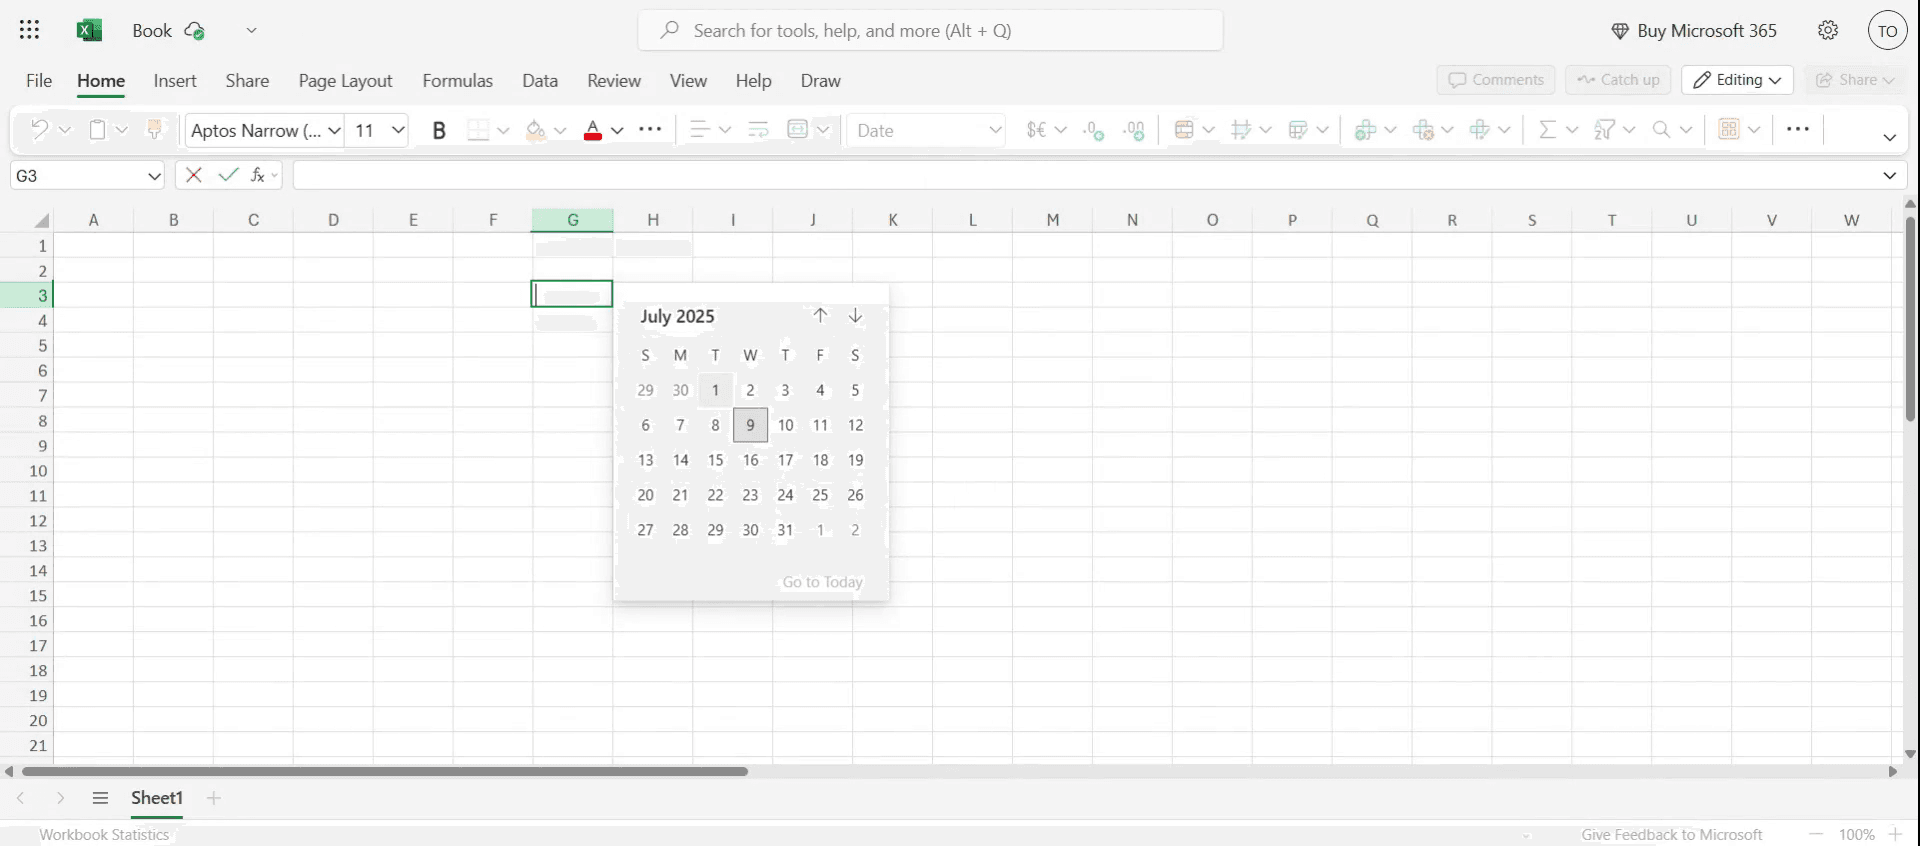
By double-clicking the cell, the date will appear as specified.
Pro Tips for Adding a Date Picker Calendar to Cells in MS Excel
Open Your Excel File
Launch Microsoft Excel and open the workbook where you want to add the date picker.Enable the Developer Tab
Go to the ribbon, click on File → Options → Customize Ribbon, then check the box for Developer to make it visible.Insert the Date Picker Control
In the Developer tab, click on Insert → More Controls (the wrench and hammer icon). Scroll down and select “Microsoft Date and Time Picker Control” and click OK.Draw the Date Picker on the Sheet
Your cursor will change to a cross. Click and drag to draw the calendar onto your worksheet.Link the Date Picker to a Cell
Right-click the Date Picker, choose Properties, and set the LinkedCell property to the cell you want the date to appear in.Test the Date Picker
Click on the calendar and select a date. The linked cell should automatically display the selected date.
Common Pitfalls and How to Avoid Them
Date Picker Not Available in Controls List
The Date Picker control is available only in 32-bit versions of Excel. If you're using 64-bit, consider using alternative methods like ActiveX calendar forms or VBA solutions.Developer Tab Missing
If you don’t see the Developer tab, make sure it’s enabled through Excel Options → Customize Ribbon.Linked Cell Not Updating
Ensure the cell reference is correctly typed in the LinkedCell property with no typos.Calendar Appears Too Large or Small
Resize the Date Picker by dragging its borders to fit your layout better.Date Not Formatted Properly in Cell
Format the target cell as a Date (Right-click cell → Format Cells → Date) for consistent display.
Common FAQs About Adding a Date Picker in Excel
Is the Date Picker available in all versions of Excel?
No, it is only available in 32-bit Excel and may not be present in newer 64-bit versions.What if I’m using Excel 64-bit?
You can use VBA to create a custom date picker or use third-party Excel add-ins.Can I apply a date picker to multiple cells?
No, each Date Picker needs to be linked to a specific cell. You can copy and configure for multiple cells individually.Will the Date Picker work after sharing the file?
Only if the recipient also has the Date Picker control installed and enabled in Excel.Can I use Data Validation as an alternative?
Yes, using Data Validation with a list of dates is a basic workaround but doesn’t provide a clickable calendar.How to screen record on mac?
To screen record on a Mac, you can use Trupeer AI. It allows you to capture the entire screen and provides AI capabilities such as adding AI avatars, add voiceover, add zoom in and out in the video. With trupeer’s AI video translation feature, you can translate the video into 30+ languages.How to add an AI avatar to screen recording?
To add an AI avatar to a screen recording, you'll need to use an AI screen recording tool. Trupeer AI is an AI screen recording tool, which helps you create videos with multiple avatars, also helps you in creating your own avatar for the video.How to screen record on windows?
To screen record on Windows, you can use the built-in Game Bar (Windows + G) or advanced AI tool like Trupeer AI for more advanced features such as AI avatars, voiceover, translation etc.How to add voiceover to video?
To add voiceover to videos, download trupeer ai chrome extension. Once signed up, upload your video with voice, choose the desired voiceover from trupeer and export your edited video.How do I Zoom in on a screen recording?
To zoom in during a screen recording, use the zoom effects in Trupeer AI which allows you to zoom in and out at specific moments, enhancing the visual impact of your video content.
Suggested Reads
Technical Documentation Generator
How to Enable the Ruler in Microsoft Excel
How to Keep Top Row Visible Microsoft Excel
How to Insert a New Worksheet in Microsoft Excel
How to Create Marksheet in MS Excel
How to Reference a Cell From Another Sheet in Microsoft Excel
Related Tutorials

