Как создавать рамки в Canva — быстрый совет по дизайну
Узнайте, как добавлять и настраивать рамки в Canva, чтобы улучшать свои дизайны с помощью фотографий, фигур или креативных макетов.
This document provides detailed instructions on how to make frames in Canva.
Follow each step carefully, referring to the provided images for additional guidance.
Frames in Canva let you neatly place images or videos into pre-shaped borders, perfect for creative designs, collages, or professional layouts. You can use a frame to crop content into circles, letters, phones, and even funky shapes.
Step-by-Step Guide:
Open or Start a Design
Launch Canva and open an existing project or create a new one with your preferred dimensions.Go to the Elements Tab
On the left sidebar, click on “Elements” to explore Canva’s design tools.Search for Frames
In the search bar at the top of the Elements panel, type “Frames”.
Canva will show a variety of frame shapes, from basic rectangles to creative silhouettes.Choose a Frame
Browse the available options and click on the frame you want.
It will be added to your canvas automatically.Drag and Drop Your Media
To use the frame, simply drag a photo, video, or graphic from the “Uploads” tab or “Photos” tab and drop it inside the frame.
Canva will automatically crop and fit the element into the shape.Resize and Reposition
Click on the frame to resize or move it around your canvas.
Double-click inside the frame to reposition or zoom the content within.
Customize Your Design
Add filters, shadows, or other effects to enhance your framed image.
You can also layer multiple frames for a collage-style layout.
Save and Share
Once you're happy with your framed design, download it or share it directly via Canva’s sharing tools.
Step-by-Step Guide: How to make frames in Canva
Step 1
Open Canva account and opening a new design.
Access Frames : Go to the Elements tab in the left sidebar.
Scroll down to the Frames section or search for "frames" in the search bar.
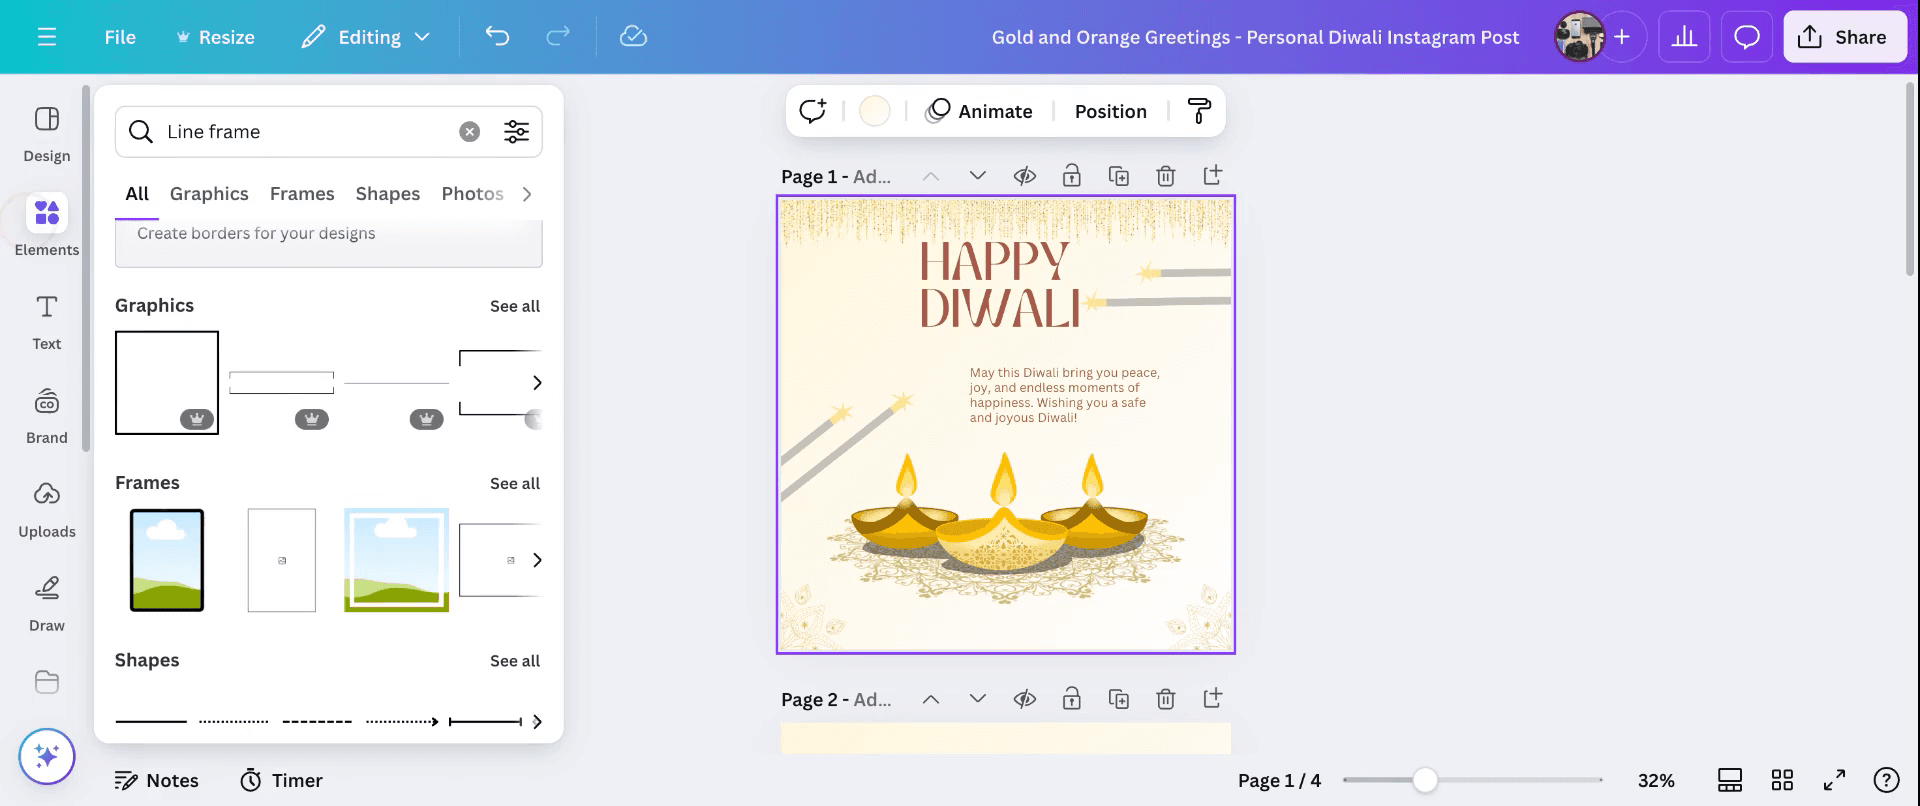
Step 2
Insert Images : Drag and drop an image from the Uploads or Photos tab directly into the frame. The image will automatically fit the shape of the frame.
Add Other Elements : You can also add text, icons, or graphics into the frame. Just drag them inside the frame, and they will be clipped to the frame's shape.
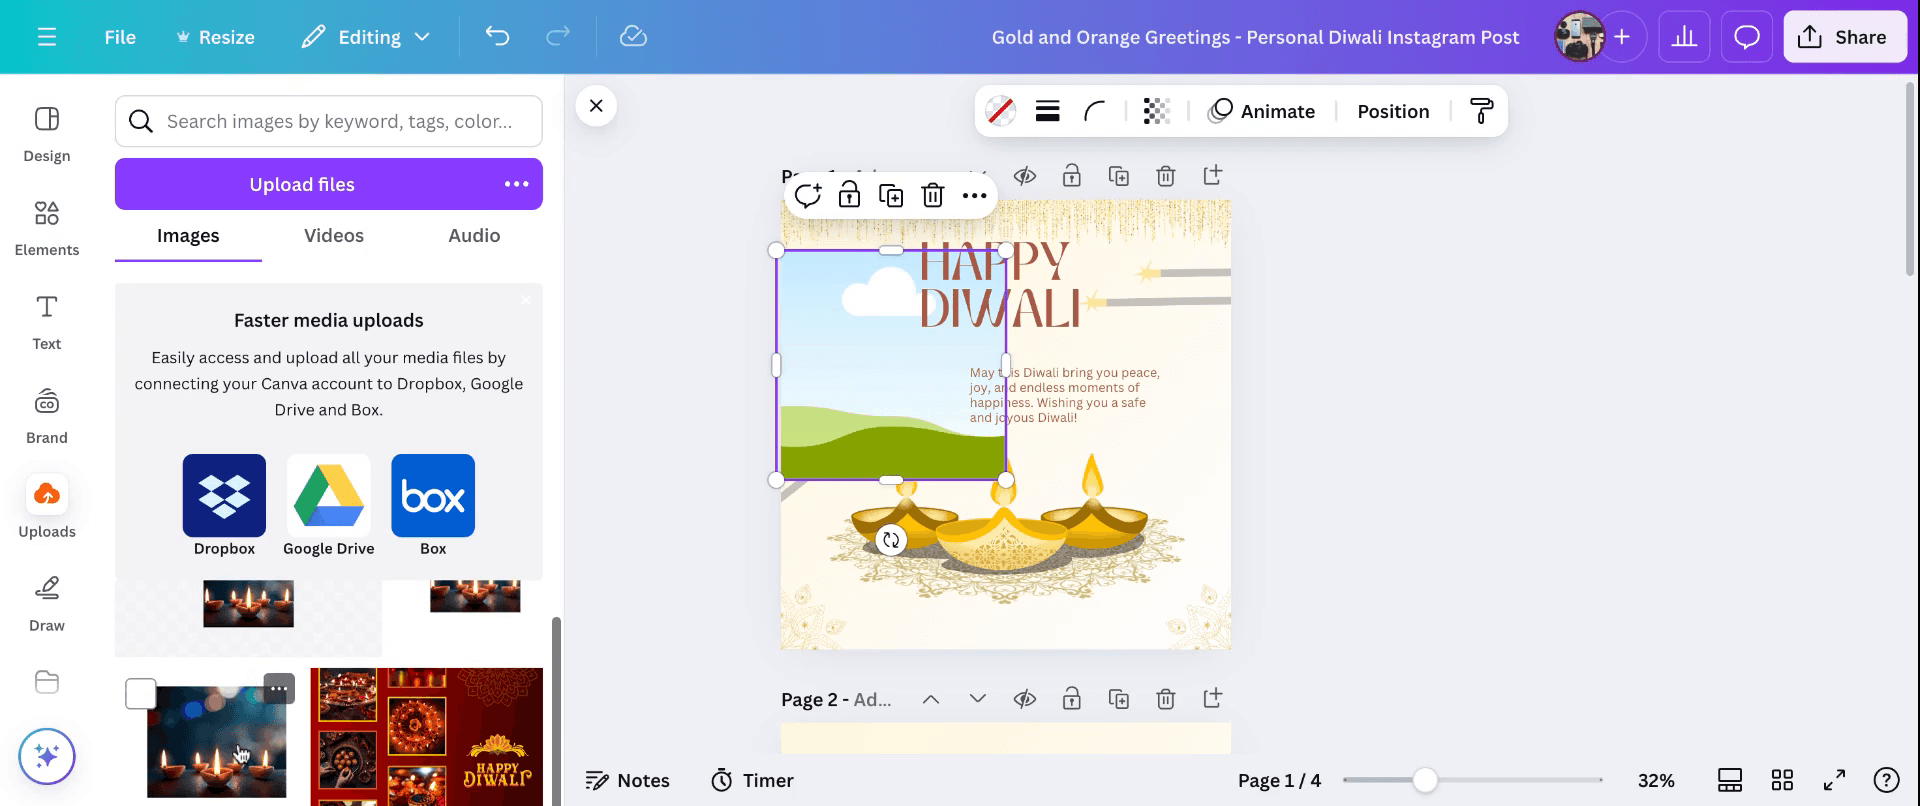
Step 3
Select the frame, then click on the Color tile in the top toolbar to change its color or add a border.
Add Effects : You can apply effects like Shadows or Glow by clicking on Effects in the top toolbar when the frame is selected.
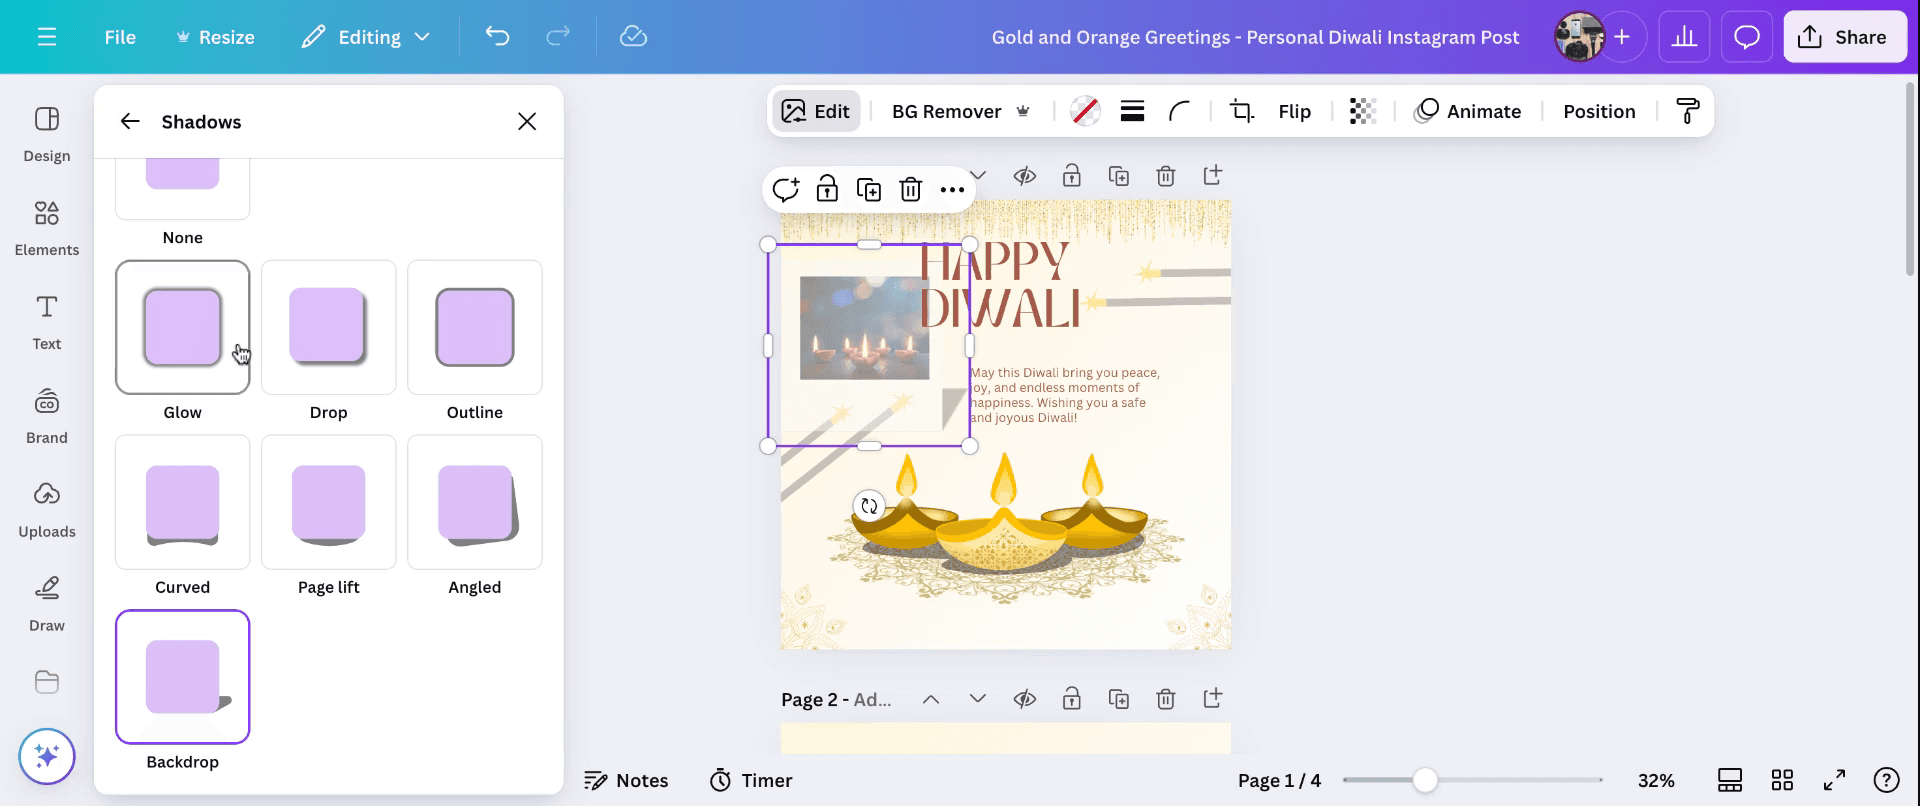
Step 4
So now, you can add multiple frames to your design and arrange them creatively to create a collage effect or a more complex layout.
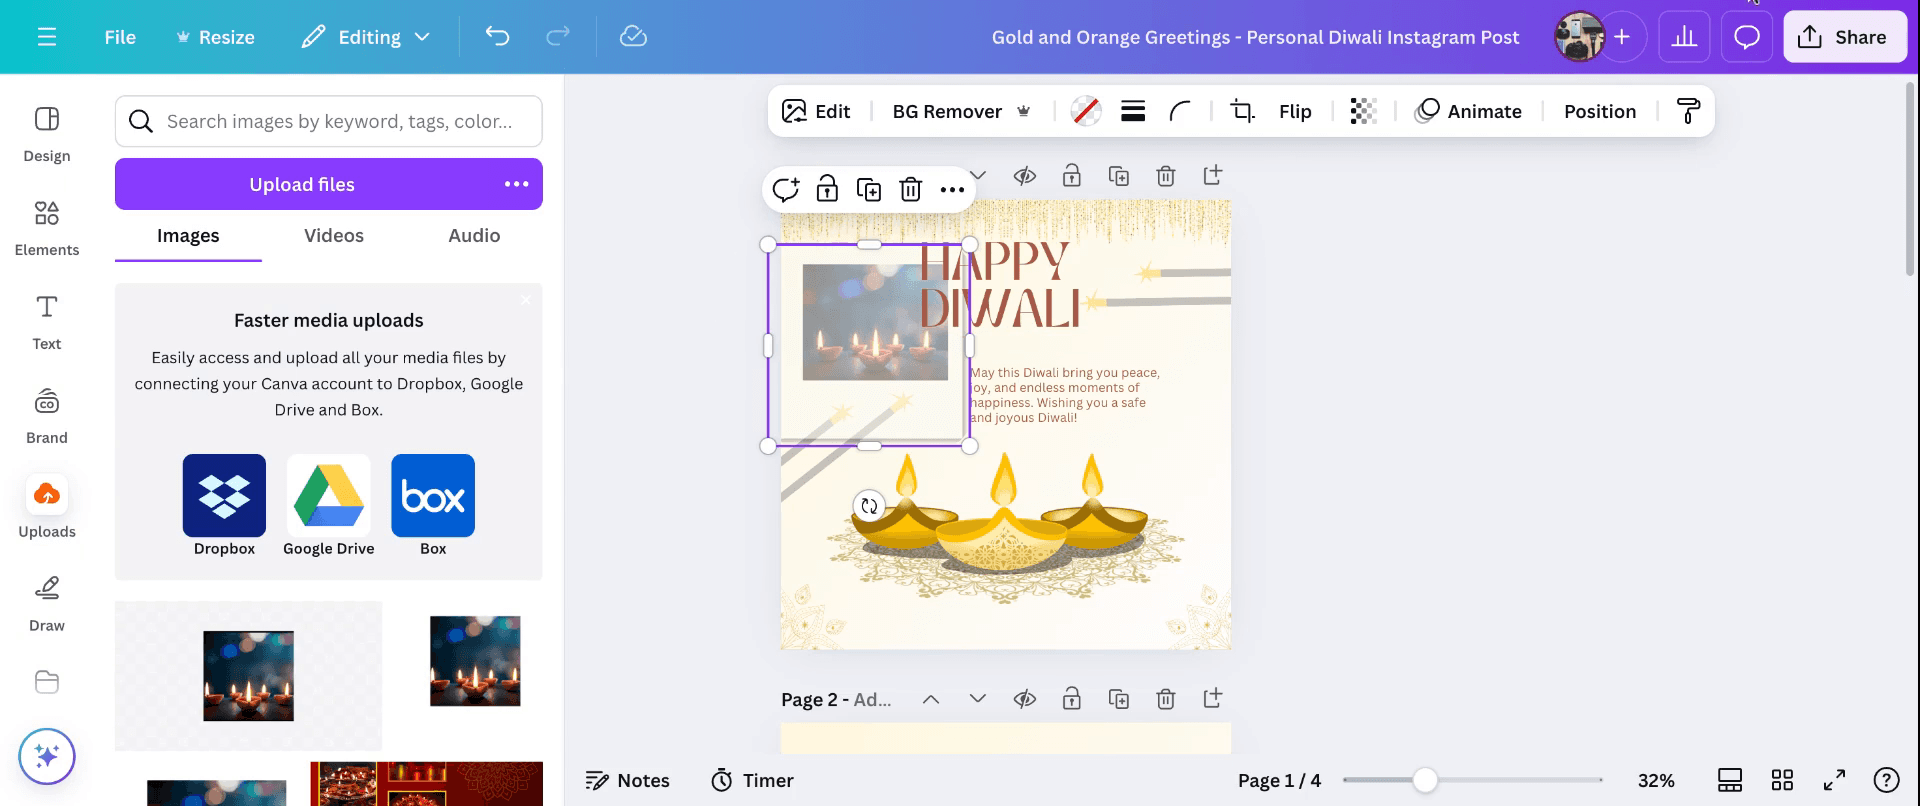
Pro tips for creating frames in Canva
Access the Frames Library: Navigate to the "Elements" tab on the left sidebar. Scroll down to find the "Frames" section, which offers a variety of pre-designed frames in different shapes and sizes.
Select a Frame: Browse through the available frames and click on the one that best fits your design needs. It will be added to your canvas.
Customize the Frame: Resize and position the frame as desired. You can adjust its dimensions by dragging the corners and move it around the canvas to place it appropriately.
Add Content to the Frame: To insert an image or video into the frame, go to the "Uploads" tab, select your desired file, and drag it over the frame. The content will automatically fit within the frame's boundaries.
Adjust Content Within the Frame: Double-click on the inserted content to adjust its positioning or zoom level within the frame. This allows you to focus on specific areas of the image or video.
Common pitfalls and how to avoid them
Misplacing Content: Dragging content outside the frame can result in it not fitting properly. Ensure you drop the content directly onto the frame for it to be contained correctly.
Distorted Images: Stretching the frame disproportionately can distort the inserted content. Maintain the frame's aspect ratio to preserve the content's proportions.
Overcrowding the Design: Adding too many frames or elements can clutter your design. Use frames strategically to highlight key content and maintain a clean layout.
Ignoring Alignment: Misaligned frames can disrupt the visual flow of your design. Utilize Canva's alignment guides to ensure elements are properly aligned.
Not Utilizing Layers: Overlapping frames without adjusting their layers can cause content to be hidden. Use the "Position" tool to arrange layers appropriately.
Часто задаваемые вопросы о создании рамок в Canva
Могу ли я создавать собственные рамки в Canva?
Хотя Canva предлагает множество готовых рамок, создание полностью собственных рамок напрямую не поддерживается. Однако вы можете разработать свои рамки, используя фигуры и элементы, или воспользоваться внешними инструментами для создания собственных рамок и загрузить их в Canva.Как добавить рамку в свой дизайн?
Перейдите на вкладку «Элементы», выберите «Рамки» и выберите понравившуюся. Перетащите ее на холст, чтобы добавить в дизайн.Можно ли использовать рамки для видео в Canva?
Да, рамки в Canva можно использовать как для изображений, так и для видео. Просто перетащите видео в рамку, и оно автоматически подстроится под ее форму.Как настроить содержимое внутри рамки?
Нажмите на содержимое внутри рамки, чтобы выбрать его. Затем используйте параметры на панели инструментов, чтобы изменить его положение, уровень масштабирования или применить фильтры.Есть ли ограничения при использовании рамок в Canva?
Рамки в первую очередь предназначены для определенных соотношений сторон. Использование рамок с содержимым, которое не соответствует соотношению сторон рамки, может привести к обрезке или растягиванию. Рекомендуется использовать контент, который соответствует предполагаемому назначению рамки.Как сделать запись экрана на mac?
Чтобы сделать запись экрана на Mac, вы можете использовать Trupeer AI. Он позволяет записывать весь экран и предоставляет возможности ИИ, такие как добавление AI-аватаров, добавление озвучки, добавление масштабирования (приближение и отдаление) в видео. С помощью функции AI-перевода видео от trupeer вы можете перевести видео на 30+ языков.Как добавить AI-аватар в запись экрана?
Чтобы добавить AI-аватар в запись экрана, вам нужно использовать инструмент для записи экрана с ИИ. Trupeer AI — это инструмент для записи экрана с ИИ, который помогает создавать видео с несколькими аватарами, а также позволяет создать собственный аватар для видео.Как сделать запись экрана на windows?
Чтобы сделать запись экрана в Windows, вы можете использовать встроенную панель Game Bar (Windows + G) или расширенный AI-инструмент, например Trupeer AI, для более продвинутых функций, таких как AI-аватары, озвучка, перевод и т. д.Как добавить озвучку в видео?
Чтобы добавить озвучку в видео, скачайте chrome-расширение trupeer ai. После регистрации загрузите видео с голосом, выберите нужную озвучку в trupeer и экспортируйте отредактированное видео.Как увеличить масштаб при записи экрана?
Чтобы увеличить масштаб во время записи экрана, используйте эффекты масштабирования в Trupeer AI — они позволяют приближать и отдалять в определенные моменты, усиливая визуальное воздействие вашего видеоконтента.
Также спрашивают
Генератор технической документации
Программное обеспечение для базы знаний
Как превратить изображение в раскраску в Canva
Как печатать с двух сторон в Canva
Похожие руководства