
Come ruotare un documento in Canva – Rotazione semplice di pagine ed elementi
Scopri come ruotare un documento in Canva scambiando le dimensioni della pagina o ruotando gli elementi usando la maniglia di rotazione. Segui questo breve tutorial e crea guide con Trupeer.
Questa guida fornisce istruzioni chiare, passo dopo passo, su come ruotare un documento Canva utilizzando l'opzione di ridimensionamento.
Invertendo le dimensioni di larghezza e altezza, puoi ruotare efficacemente il documento nell'orientamento desiderato.
Rotazione di elementi singoli
Seleziona l'elemento
Fai clic sull'immagine, sulla casella di testo, sulla forma o sul video che desideri ruotare.Usa la maniglia di rotazione
Comparirà una maniglia circolare sotto o accanto all'elemento selezionato.
Fai clic e trascinala per ruotare manualmente l'elemento a qualsiasi angolo.Usa lo strumento Posizione per la precisione
Seleziona l'elemento.
Fai clic su "Posizione" dalla barra degli strumenti superiore.
Inserisci un angolo specifico (ad es. 45°) nel campo di input "Ruota" per un controllo preciso.
Ruota all'interno di cornici o griglie
Seleziona l'elemento all'interno della cornice.
Fai clic su "Ritaglia", quindi usa il cursore di rotazione per regolarne l'angolo all'interno della cornice.
Rotazione della pagina (modifica dell'orientamento)
Fai clic su “Ridimensiona & Magic Switch”
Situato nella barra degli strumenti superiore (disponibile per gli utenti Pro).Scegli “Dimensioni personalizzate”
Scambia larghezza e altezza per passare da verticale a orizzontale (o viceversa).
Esempio: passa da 1080×1920 (verticale) a 1920×1080 (orizzontale).Fai clic su “Ridimensiona” o “Copia & Ridimensiona”
Il tuo design si adatterà al nuovo orientamento. Potrebbe essere necessario riposizionare manualmente gli elementi
Guida passo passo: come ruotare un documento in Canva
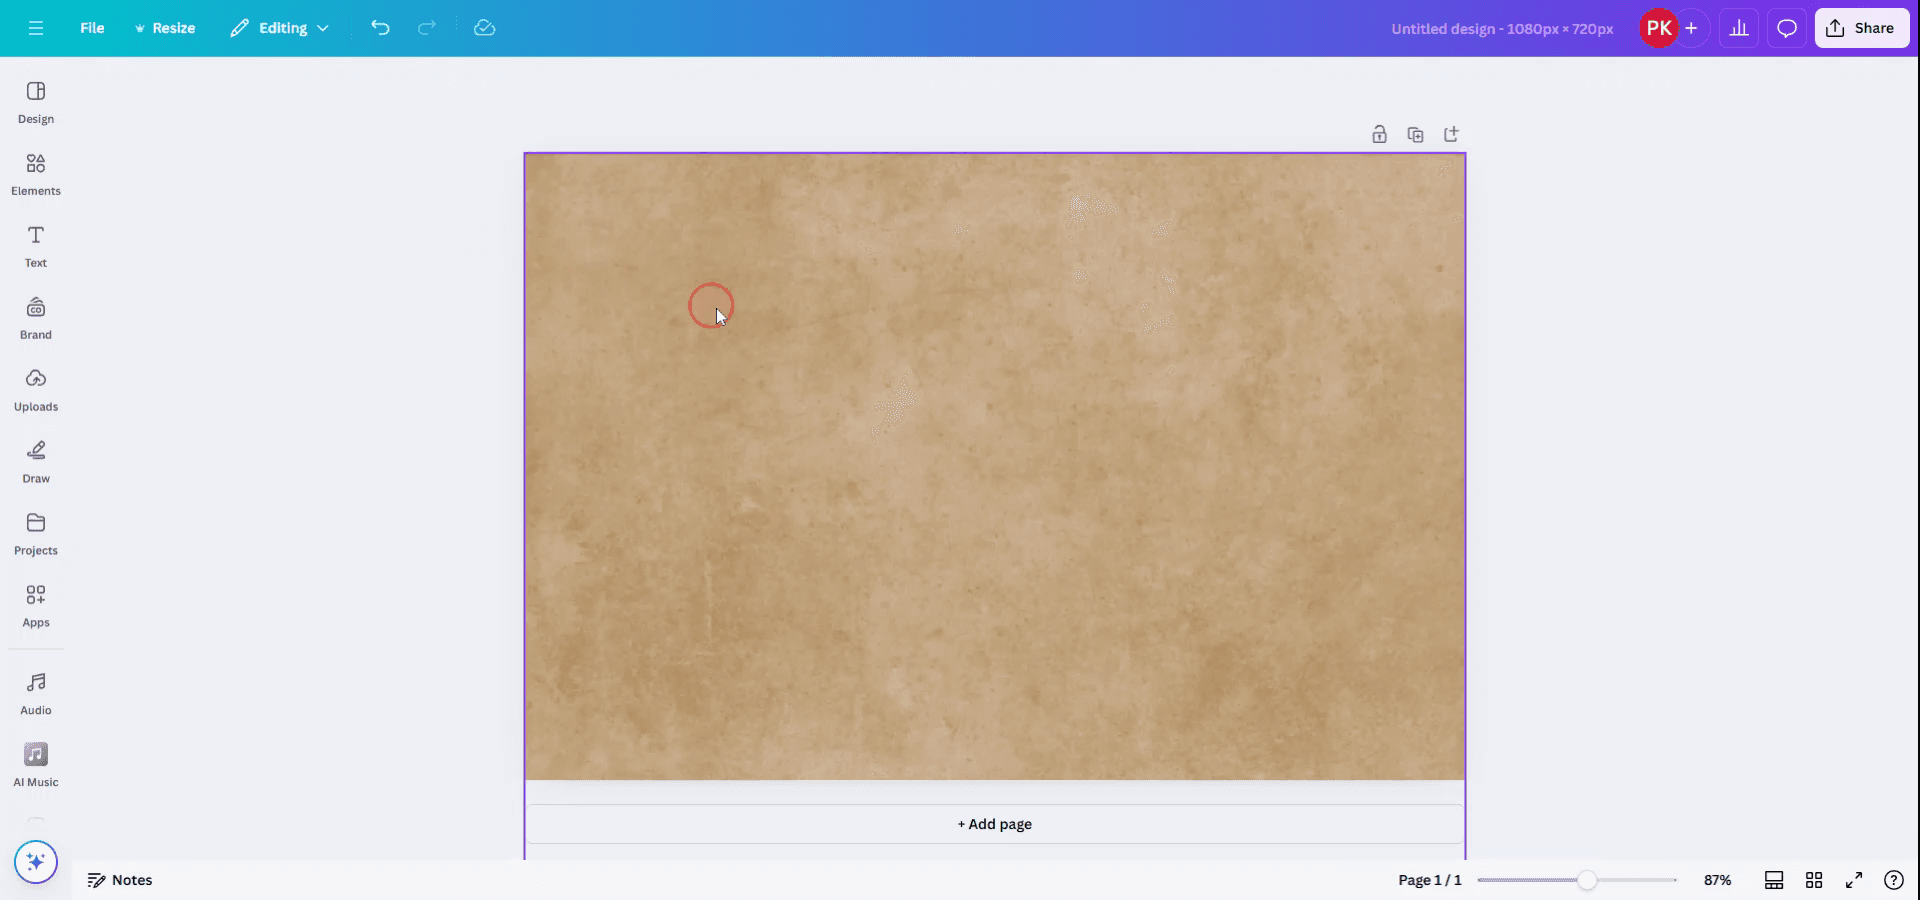
Passo 1
Per ruotare un intero documento Canva, devi utilizzare l'opzione di ridimensionamento. Inizia aprendo il documento e navigando nella barra superiore.
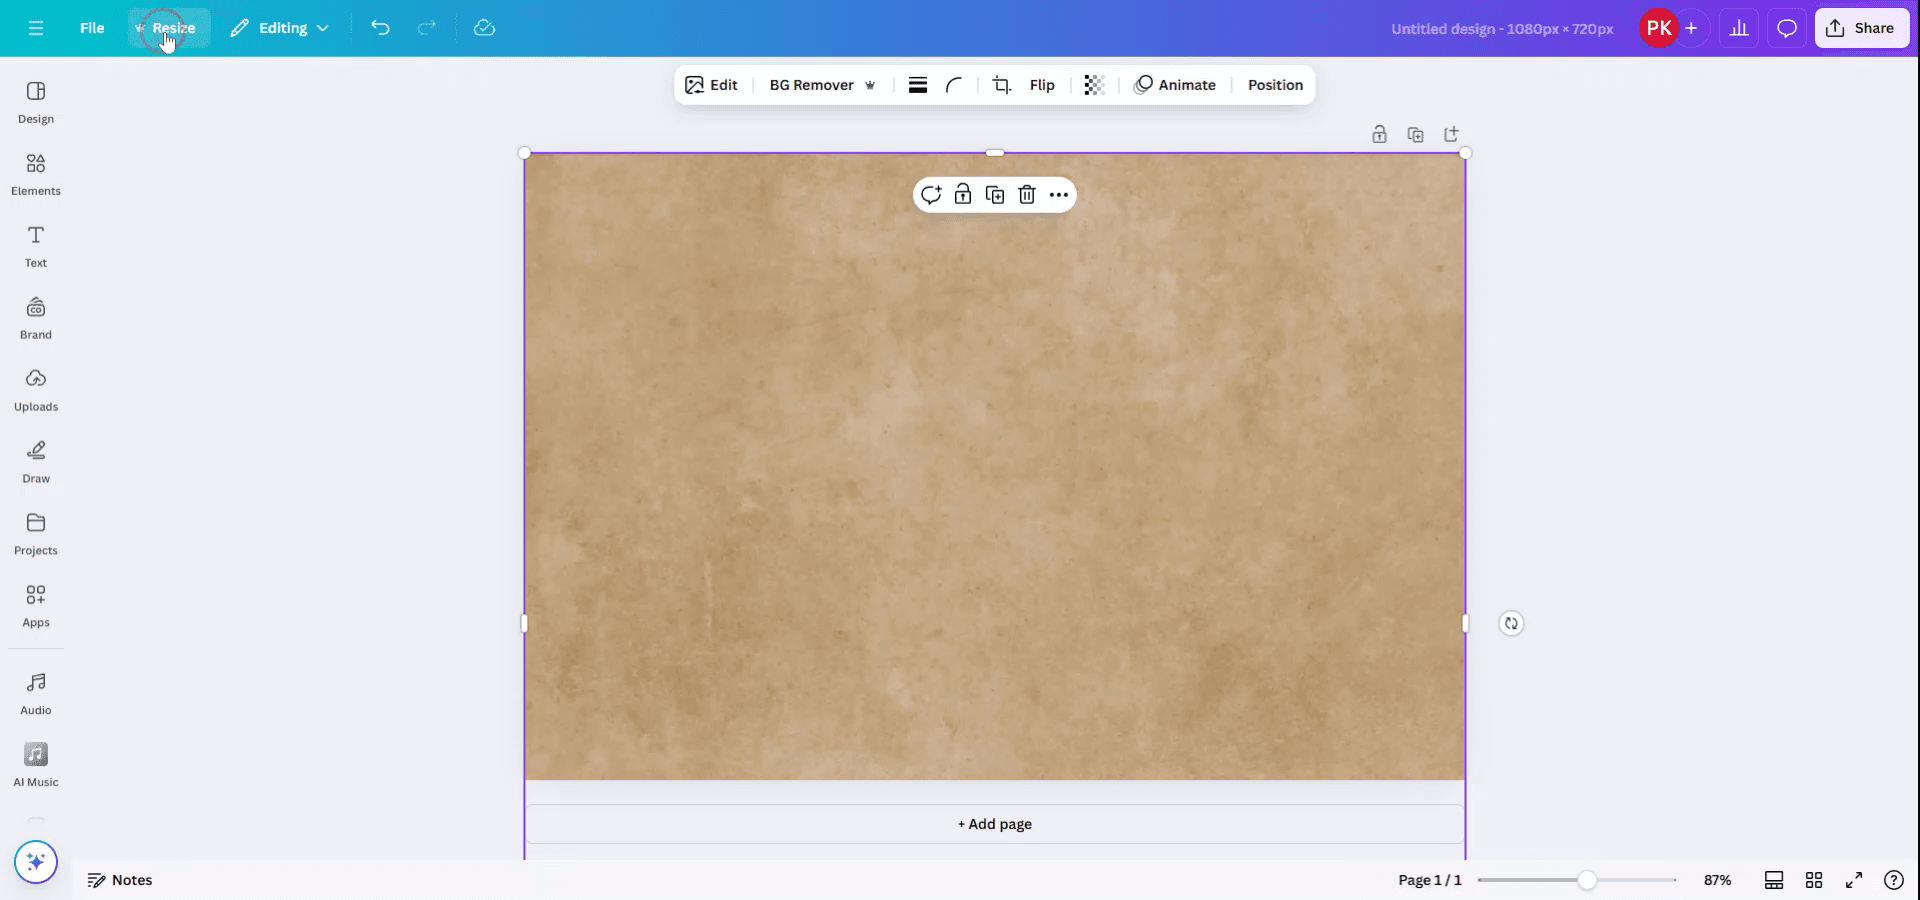
Passo 2
Fai clic sul pulsante "Ridimensiona" situato nel menu superiore.
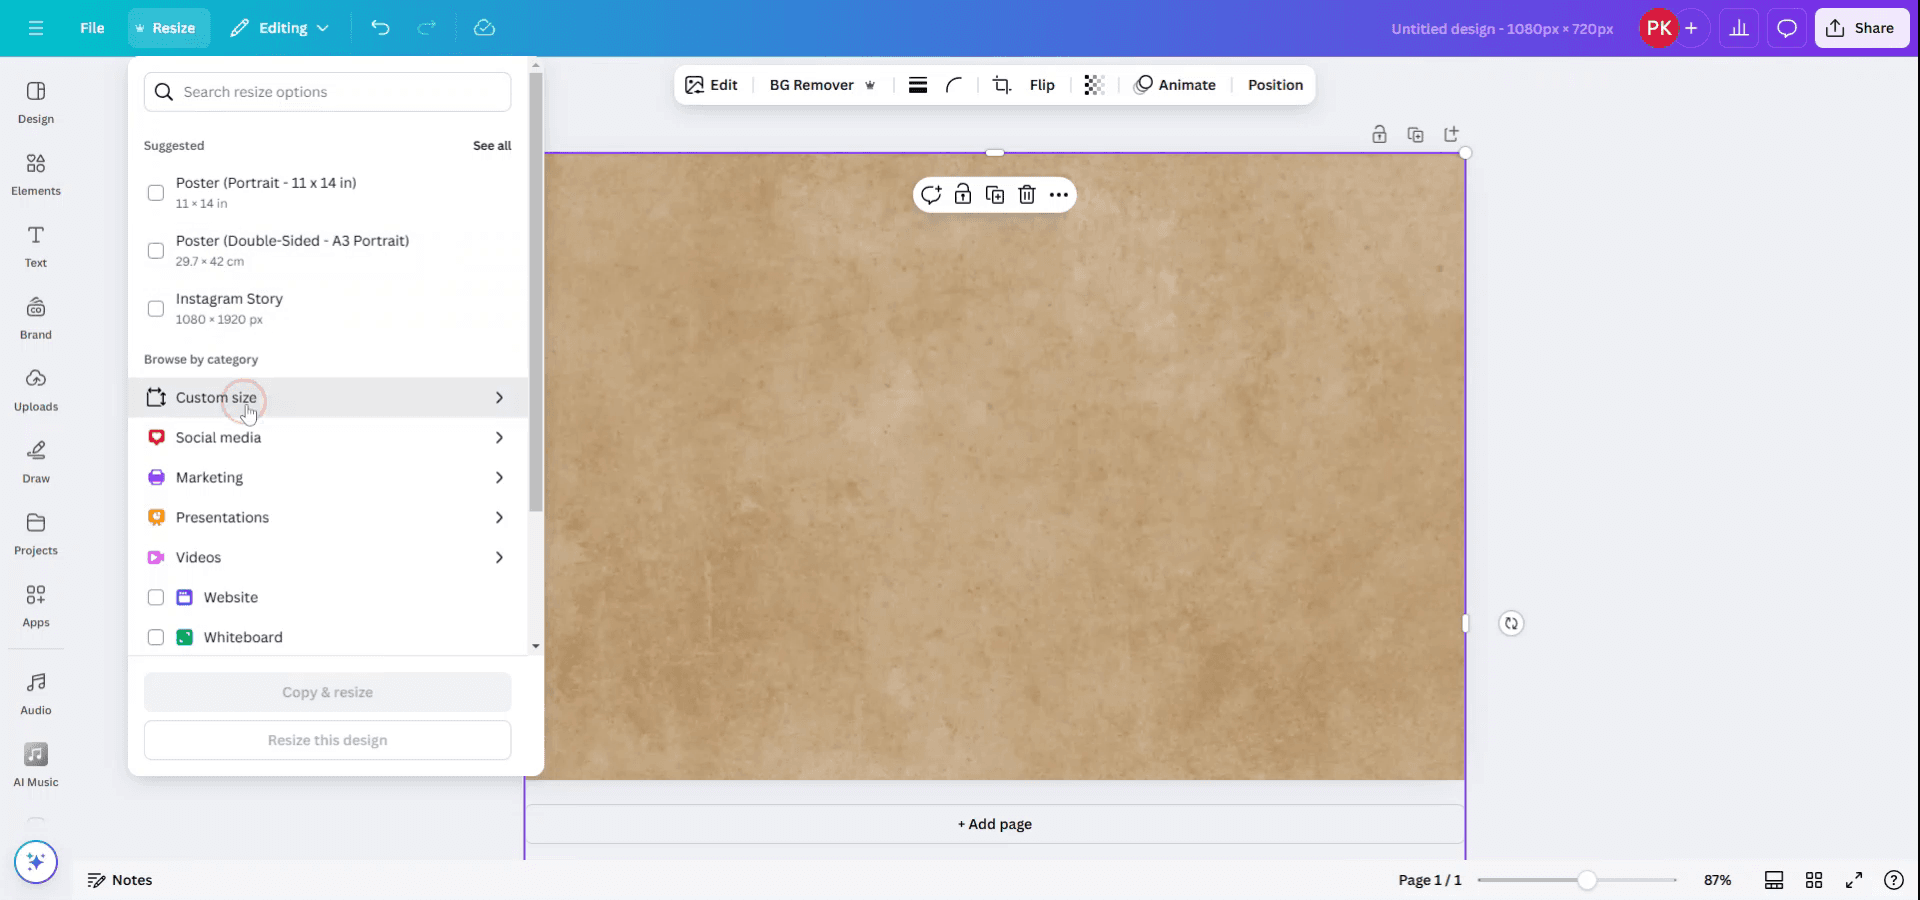
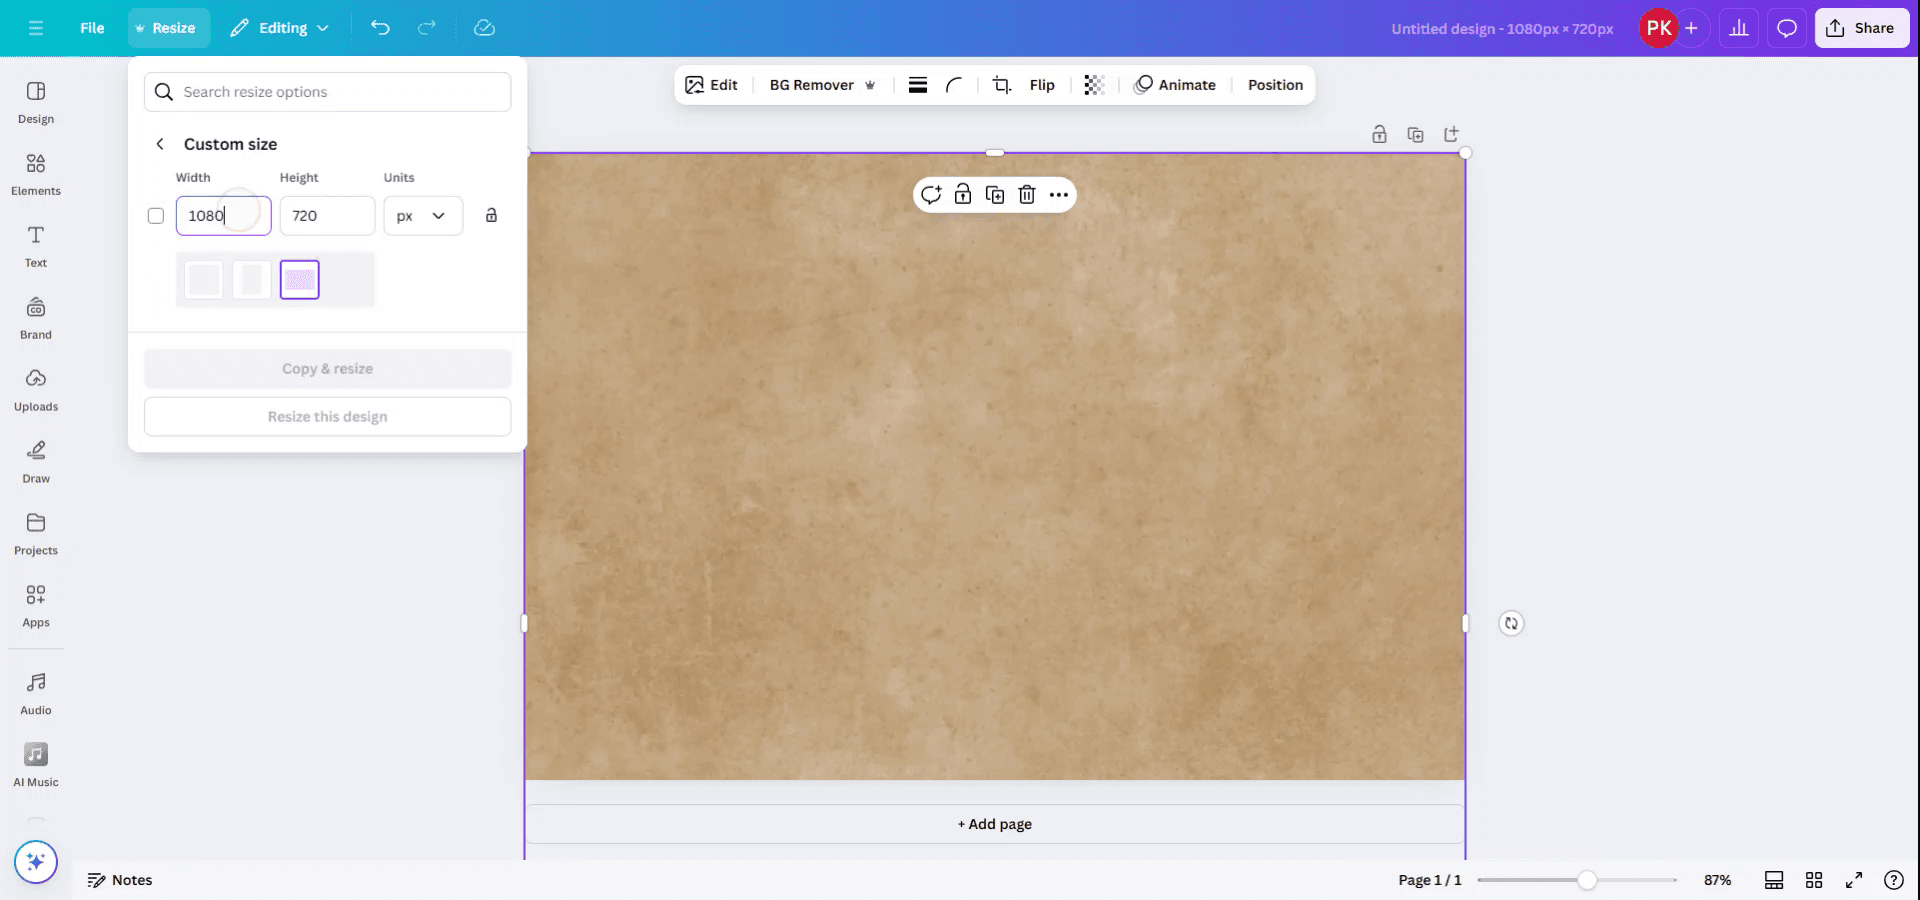
Passo 3
Seleziona una delle dimensioni disponibili oppure inserisci una dimensione personalizzata in base alle tue esigenze.
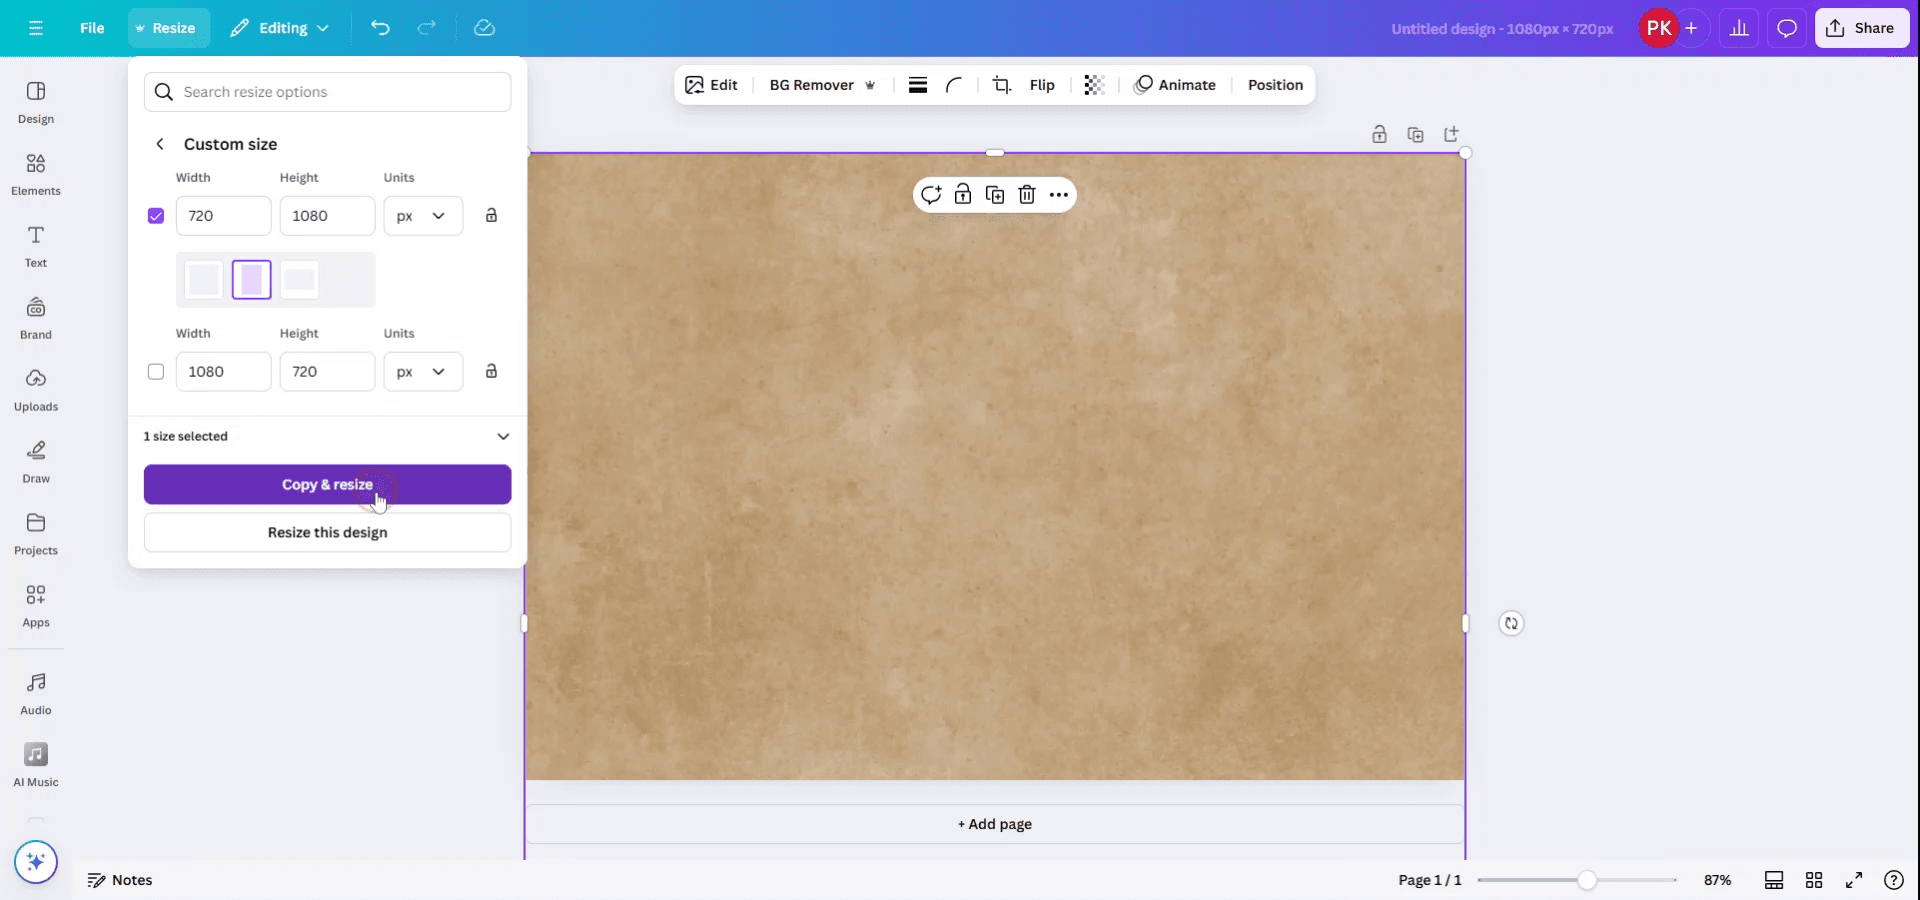
Passo 4
Per ruotare il documento, scambia le dimensioni di larghezza e altezza.
Passo 5
Hai due possibilità: applicare la rotazione copiando il modello esistente in un nuovo file, oppure ridimensionare direttamente il file corrente. Scegli l'opzione per copiare e ridimensionare nello stesso file.
Passo 6
Il documento verrà ora ridimensionato e ruotato nell'orientamento desiderato.

Consigli pratici per ruotare un documento in Canva
Seleziona tutti gli elementi:
Fai clic e trascina per selezionare tutti gli elementi sulla pagina. In alternativa, puoi usare la scorciatoia da tastiera "Ctrl + A" (Windows) o "Cmd + A" (Mac) per selezionare tutto sulla tela.Raggruppa gli elementi (facoltativo):
Se vuoi ruotare tutti gli elementi insieme come un'unica unità, fai clic sugli elementi raggruppati e seleziona il pulsante "Raggruppa" nel menu in alto. Questo rende più semplice ruotare tutto in modo uniforme.Ruota utilizzando la maniglia:
Una volta selezionati tutti gli elementi, vedrai una maniglia di rotazione sopra la casella di selezione. Fai clic sulla maniglia di rotazione e trascina per ruotare l'intero documento dell'angolo desiderato.Usa lo strumento "Posizione":
Dopo aver selezionato gli elementi, puoi anche ruotarli in modo più preciso facendo clic su "Posizione" nel menu in alto e regolando la rotazione nelle impostazioni fornite.Ruota la pagina stessa (funzione Pro):
Per ruotare l'intera pagina (incluso lo sfondo), puoi usare la funzione "Ruota" disponibile in Canva Pro. Vai al menu "File" > "Impostazione pagina" > "Ruota pagina" per ruotare l'intera tela.
Errori comuni e come evitarli quando si ruota un documento in Canva
Ruotare accidentalmente gli elementi invece dell'intera pagina:
Assicurati che tutti gli elementi siano selezionati o raggruppati prima di ruotare e verifica di utilizzare la maniglia di rotazione corretta per l'intera pagina.Non raggruppare gli elementi prima di ruotare:
Se vuoi ruotare tutto insieme senza perdere l'allineamento, raggruppa tutti gli elementi prima di ruotare per mantenerli nella stessa posizione reciproca.Perdere l'allineamento dopo la rotazione:
Dopo la rotazione, usa lo strumento "Posizione" per riallineare gli elementi o le guide di allineamento di Canva per assicurarti che tutto rimanga al posto giusto.Impossibile ruotare la pagina (versione gratuita):
Se stai usando la versione gratuita, non è possibile ruotare la pagina stessa. Valuta l'aggiornamento a Canva Pro per accedere a questa funzione.Non regolare il testo dopo la rotazione:
Dopo la rotazione, controlla attentamente la leggibilità di eventuali elementi di testo. Potrebbe essere necessario regolare l'allineamento della casella di testo o la dimensione del carattere dopo aver ruotato il documento.
Domande frequenti comuni sulla rotazione di un documento in Canva
Come posso ruotare un intero documento Canva?
Seleziona tutti gli elementi, raggruppali se necessario e usa la maniglia di rotazione sopra la casella di selezione per ruotare tutto. Puoi anche ruotare la pagina stessa se hai Canva Pro.Posso ruotare la pagina in Canva?
Sì, questa è una funzione di Canva Pro. Vai su "File" > "Impostazione pagina" > "Ruota pagina" per ruotare l'intera tela.Come posso raggruppare gli elementi prima di ruotarli?
Seleziona tutti gli elementi e fai clic sul pulsante "Raggruppa" nel menu in alto per bloccare tutto insieme prima di ruotare.Perché non posso ruotare la pagina nella versione gratuita di Canva?
La funzione di rotazione della pagina è disponibile solo con un abbonamento Canva Pro. Dovrai effettuare l'upgrade per accedere a questa opzione.Posso ruotare il mio testo dopo aver ruotato l'intero documento?
Sì, potresti dover regolare manualmente l'allineamento o le dimensioni del testo dopo aver ruotato il documento, soprattutto se ciò influisce sulla leggibilità.Come registrare lo schermo su Mac?
Per registrare lo schermo su un Mac, puoi usare Trupeer AI. Ti consente di catturare l'intero schermo e offre funzionalità AI come l'aggiunta di avatar AI, aggiungere una voce fuori campo, aggiungere zoom avanti e indietro nel video. Con la funzione di traduzione video AI di Trupeer, puoi tradurre il video in oltre 30 lingue.Come aggiungere un avatar AI a una registrazione dello schermo?
Per aggiungere un avatar AI a una registrazione dello schermo, dovrai usare uno strumento di registrazione dello schermo AI. Trupeer AI è uno strumento di registrazione dello schermo AI, che ti aiuta a creare video con più avatar e ti aiuta anche a creare il tuo avatar per il video.Come registrare lo schermo su Windows?
Per registrare lo schermo su Windows, puoi usare la Game Bar integrata (Windows + G) oppure uno strumento AI avanzato come Trupeer AI per funzionalità più avanzate come avatar AI, voce fuori campo, traduzione ecc.Come aggiungere una voce fuori campo a un video?
Per aggiungere una voce fuori campo ai video, scarica l'estensione Chrome di trupeer ai. Una volta registrato, carica il tuo video con voce, scegli la voce fuori campo desiderata da trupeer ed esporta il video modificato.Come posso ingrandire in una registrazione dello schermo?
Per ingrandire durante una registrazione dello schermo, usa gli effetti di zoom in Trupeer AI, che ti consentono di ingrandire e rimpicciolire in momenti specifici, migliorando l'impatto visivo dei contenuti video.
Letture consigliate
Generatore di documentazione tecnica
Software per la base di conoscenza
Come regolare l'opacità in Canva
Come creare un motivo dal testo in Canva
Come aumentare la durata dei video in Canva
Tutorial correlati

