

Come controllare la cronologia in Google Sheets
Scopri come controllare la cronologia delle versioni in Google Sheets per vedere le modifiche precedenti, tenere traccia dei cambiamenti e ripristinare le versioni passate. Una guida semplice per gestire la collaborazione.
Questo documento fornisce una guida completa su come tenere traccia e gestire la cronologia delle modifiche di un documento di Google Fogli.
Impara a navigare nella cronologia delle versioni, identificare le modifiche passate e ripristinare in modo efficiente le versioni precedenti.
Se devi tenere traccia delle modifiche o ripristinare una versione precedente del tuo foglio di calcolo, Google Fogli rende tutto facile con la sua funzione integrata di cronologia delle versioni.
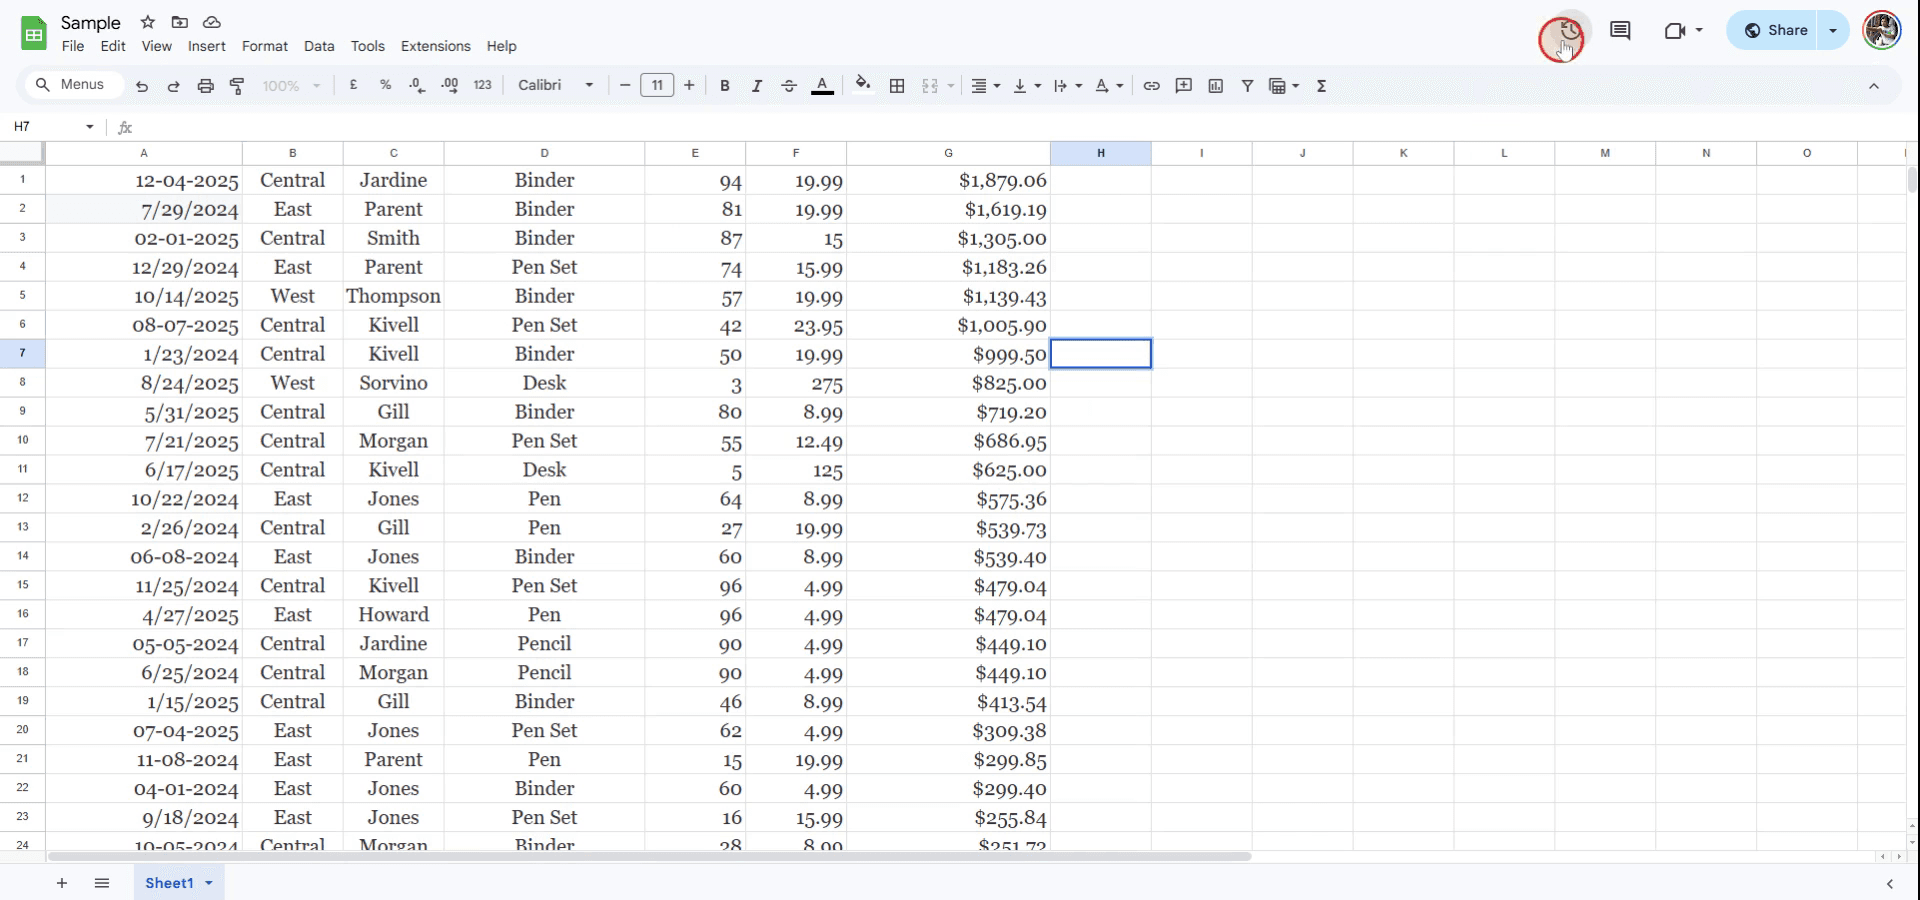
1. Apri la cronologia delle versioni:
Inizia aprendo il foglio di lavoro che vuoi controllare.
Fai clic su File > Cronologia delle versioni > Visualizza cronologia versioni.
Puoi anche fare clic sul link “Ultima modifica…” nella parte superiore del foglio, oppure usare la scorciatoia:
Windows: Ctrl + Alt + Shift + H
Mac: Cmd + Option + Shift + H
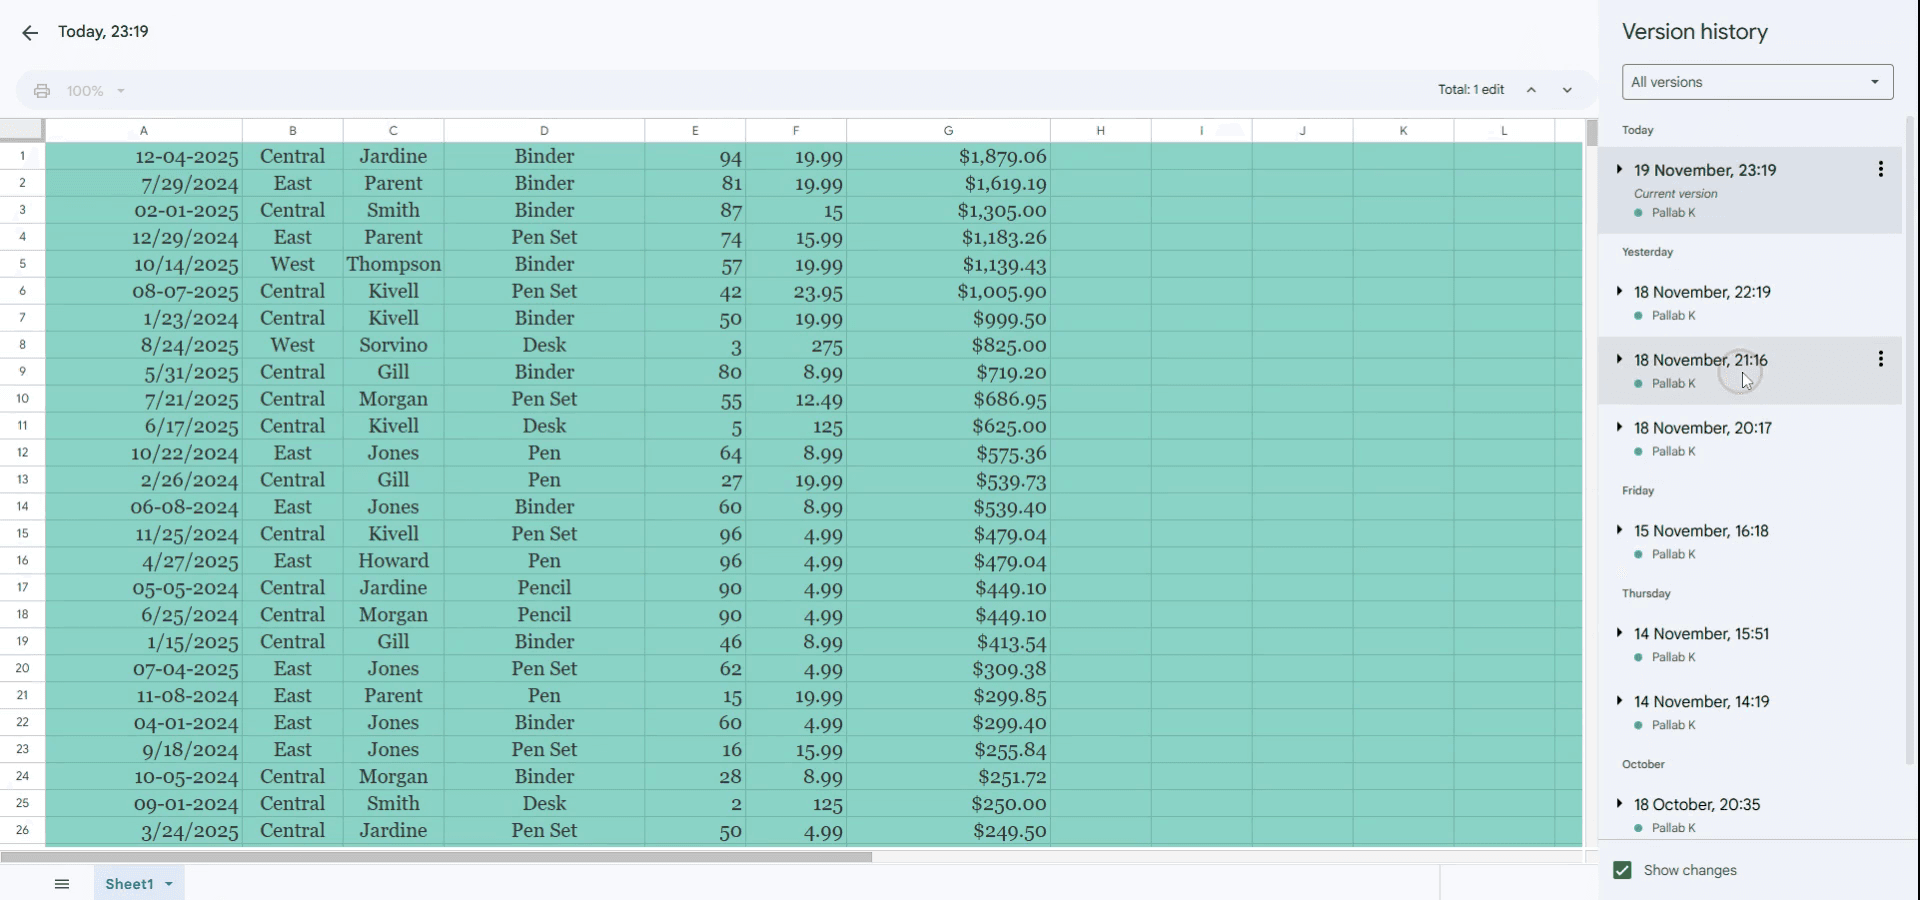
2. Esplora le versioni precedenti:
Verrà visualizzato un pannello sulla destra, che mostra tutte le versioni salvate del tuo file.
Sono raggruppate per data e ora e, se altri hanno apportato modifiche, appariranno anche i loro nomi.
Fai clic su una versione per visualizzare in anteprima l'aspetto del foglio in quel momento.
Puoi anche espandere i gruppi per vedere modifiche più dettagliate apportate nell'arco di un giorno o di un'ora.
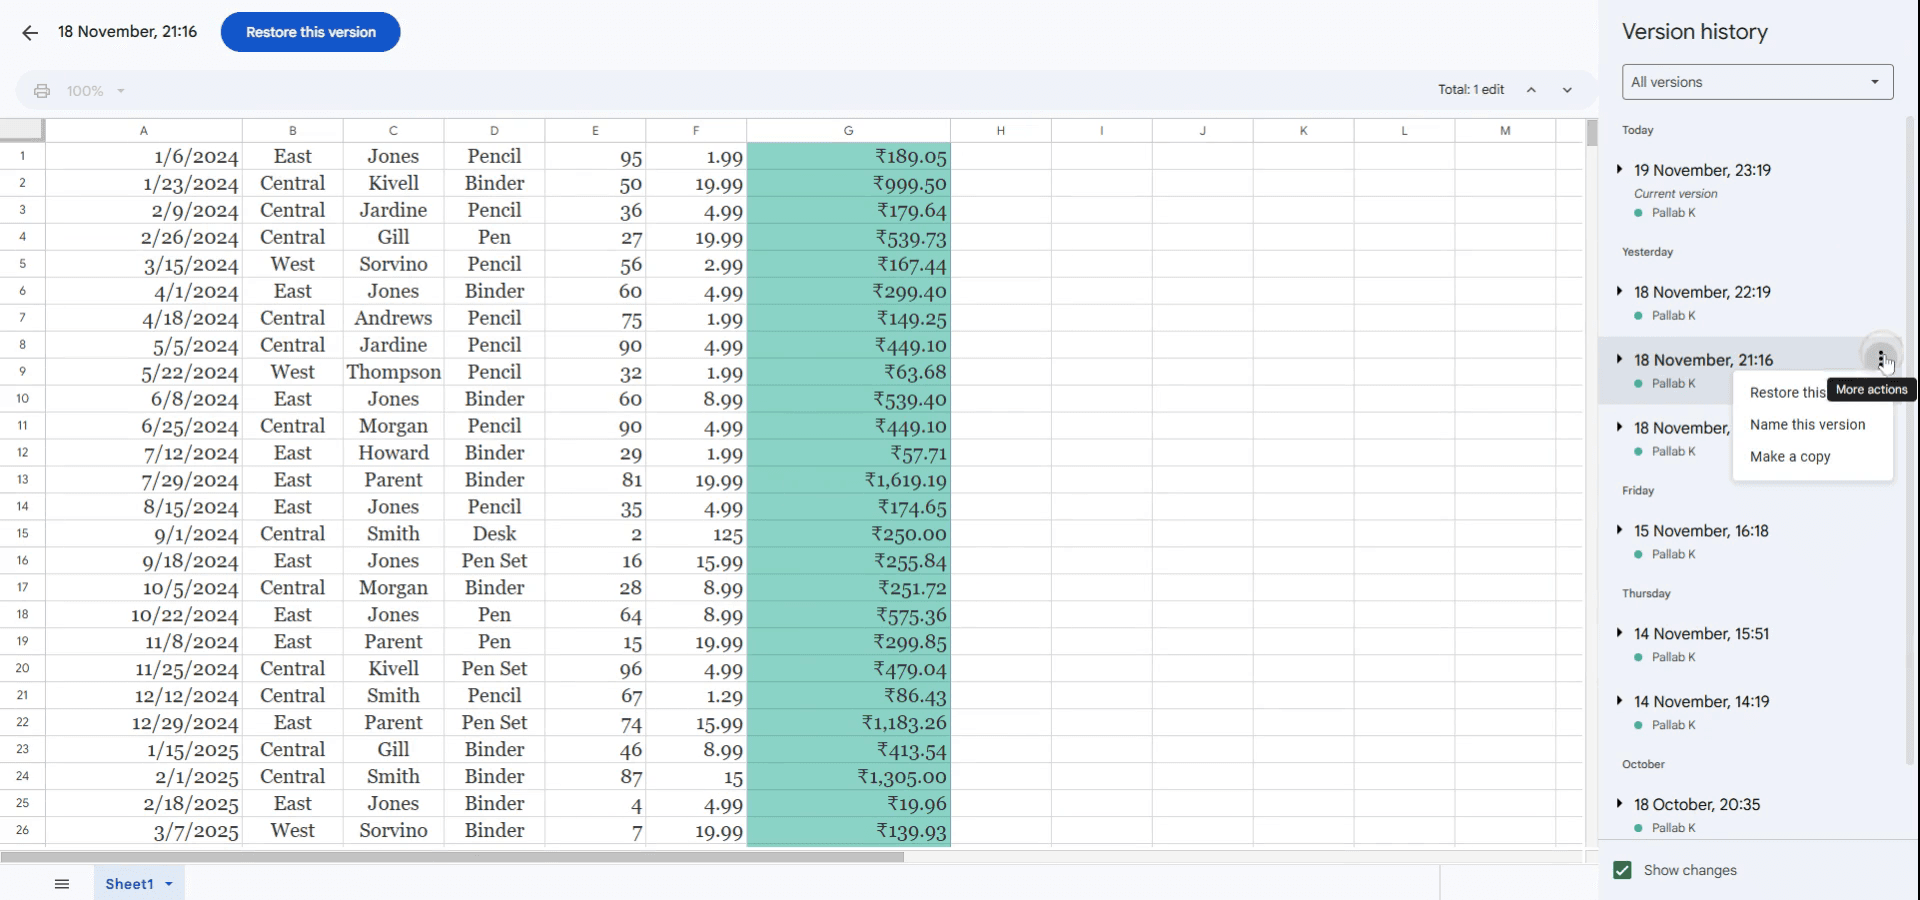
3. Ripristina una versione precedente:
Se vuoi tornare a una versione precedente, selezionala e fai clic su "Ripristina questa versione" in alto nel pannello.
Questo sostituirà il foglio corrente con la versione scelta—non preoccuparti, puoi sempre tornare indietro.
4. Suggerimenti utili:
Assegna un nome alle versioni chiave: Fai clic sui tre puntini accanto a una versione per assegnarle un nome. Questo aiuta a tenere traccia degli aggiornamenti principali o delle tappe fondamentali.
Tieni traccia della collaborazione: La cronologia delle versioni mostra chi ha apportato quali modifiche, il che è ottimo per i progetti di gruppo.
Correggi gli errori: Usalo per risolvere gli errori individuando quando e dove qualcosa è andato storto.
Guida passo passo: come controllare la cronologia in Google Fogli
Passaggio 1
Per rivedere la cronologia delle modifiche in Google Fogli, vai all'opzione "Cronologia" situata nel menu in alto. Questo ti darà accesso alla cronologia delle versioni del documento.
Passaggio 2
Qui puoi visualizzare le modifiche apportate insieme ai rispettivi timestamp.
Passaggio 3
Se desideri tornare a una versione specifica, fai clic su "Altre azioni" accanto al timestamp desiderato. Quindi, seleziona "Ripristina questa versione.
Consigli pratici per controllare la cronologia in Google Sheets
Usa la cronologia delle versioni: Per visualizzare la cronologia delle modifiche del tuo foglio, vai su "File" > "Cronologia delle versioni" > "Visualizza cronologia delle versioni" per accedere a tutte le modifiche passate apportate al documento.
Ripristina le versioni precedenti: Se devi tornare a una versione precedente, puoi ripristinare qualsiasi versione dalla cronologia delle versioni selezionando l'ora della versione e facendo clic su "Ripristina questa versione."
Assegna un nome alle versioni: Per un monitoraggio più semplice, puoi assegnare un nome alle versioni importanti facendo clic sui tre puntini accanto a una versione e selezionando "Rinomina questa versione."
Errori comuni e come evitarli quando si controlla la cronologia in Google Sheets
Non assegnare un nome alle versioni importanti: Senza assegnare un nome alle versioni chiave, può essere difficile trovare rapidamente le modifiche importanti. Correzione: assegna un nome alle versioni significative in modo da poterle identificare e ripristinare facilmente quando necessario.
Trascurare le modifiche nei fogli non visibili: Se il foglio ha più schede, assicurati di controllare la cronologia di tutte le schede, non solo di quella attiva. Correzione: controlla la cronologia dell'intero documento selezionando le diverse schede secondo necessità.
Non salvare le versioni prima di modifiche importanti: Se apporti modifiche significative, è utile salvare prima una versione per evitare di perdere il tuo lavoro. Correzione: salva regolarmente le versioni assegnando loro un nome prima di grandi modifiche.
FAQ comuni per controllare la cronologia in Google Sheets
Posso vedere la cronologia di una cella specifica in Sheets? Puoi visualizzare la cronologia delle modifiche per un intero foglio, ma non per singole celle. Tuttavia, controllando la cronologia delle versioni, puoi vedere quali modifiche sono state apportate in un determinato intervallo di tempo.
Fino a quanto indietro posso visualizzare la cronologia in Sheets? Google Sheets conserva la cronologia delle versioni a tempo indeterminato, a meno che il file non venga eliminato o spostato nel cestino.
Posso tenere traccia delle modifiche apportate da utenti specifici? Sì, nella cronologia delle versioni puoi vedere chi ha apportato ogni modifica e quando. Questo è utile per tracciare i contributi dei collaboratori.
Come registrare lo schermo su Mac?
Per registrare lo schermo su un Mac, puoi usare Trupeer AI. Consente di catturare l'intero schermo e offre funzionalità AI come l'aggiunta di avatar AI, l'aggiunta di voiceover, lo zoom avanti e indietro nel video. Con la funzione di traduzione video AI di trupeer, puoi tradurre il video in oltre 30 lingue.Come aggiungere un avatar AI a una registrazione dello schermo?
Per aggiungere un avatar AI a una registrazione dello schermo, dovrai usare uno strumento di registrazione dello schermo con AI. Trupeer AI è uno strumento di registrazione dello schermo con AI, che ti aiuta a creare video con più avatar e ti aiuta anche a creare il tuo avatar per il video.Come registrare lo schermo su Windows?
Per registrare lo schermo su Windows, puoi usare la Game Bar integrata (Windows + G) oppure uno strumento AI avanzato come Trupeer AI per funzionalità più avanzate come avatar AI, voiceover, traduzione ecc.Come aggiungere il voiceover a un video?
Per aggiungere il voiceover ai video, scarica l'estensione Chrome di trupeer ai. Una volta registrato, carica il tuo video con l'audio, scegli il voiceover desiderato da trupeer ed esporta il video modificato.Come faccio ad ingrandire in una registrazione dello schermo?
Per ingrandire durante una registrazione dello schermo, usa gli effetti zoom in Trupeer AI, che ti consentono di ingrandire e rimpicciolire in momenti specifici, migliorando l'impatto visivo dei contenuti del tuo video.
Le persone chiedono anche
Generatore di documentazione tecnica
Come aggiungere il simbolo della rupia in Google Sheets
Come cambiare il formato valuta in Google Sheets
Come aggiungere punti elenco in Google Sheets
Tutorial correlati

