

How to Print from Canva – Step-by-Step Guide for Perfect Prints
Learn how to print from Canva at home or through Canva Print. Follow this simple guide to export and print high-quality designs.
This document provides a concise walkthrough on printing designs directly from Canva.
Follow the steps below to easily convert your Canva design into a printable PDF format.
Whether you're using your own printer or Canva’s professional print service, printing a design is straightforward. Here's a step-by-step guide:
Option 1: Print Using Your Own Printer
1. Download as a PDF Print File
Open your design in Canva.
Click "Share" > "Download".
Choose "PDF Print" as the file type for the highest print quality.
2. Optional Settings for Professional Results
Crop Marks and Bleed: Enable if you're printing to the edge of the paper or using a commercial printer.
Flatten PDF: Select this for improved compatibility and reduced file size.
3. Save and Print
Click "Download" to save the file to your device.
Open the PDF using a PDF viewer.
Click "Print", select your printer, and adjust the print settings (e.g., 100% scale, orientation).
Option 2: Print Through Canva (Professional Printing Service)
1. Access Canva Print
In the editor, click "Print" or "Print with Canva" (usually in the top right menu).
2. Choose a Print Product
Select your desired product type (e.g., flyers, business cards, posters).
3. Customize the Order
Select paper type, size, finish (matte/glossy), and quantity.
Review the live proof to check for alignment, margins, and spelling.
4. Place Your Order
Confirm the design and click "Checkout" to complete your order. Canva will handle the printing and shipping.
Step-by-Step Guide: How to Print from Canva
Step 1
After logging in your Canva account, choose the design that you wish to print and Click on it.
Step 2
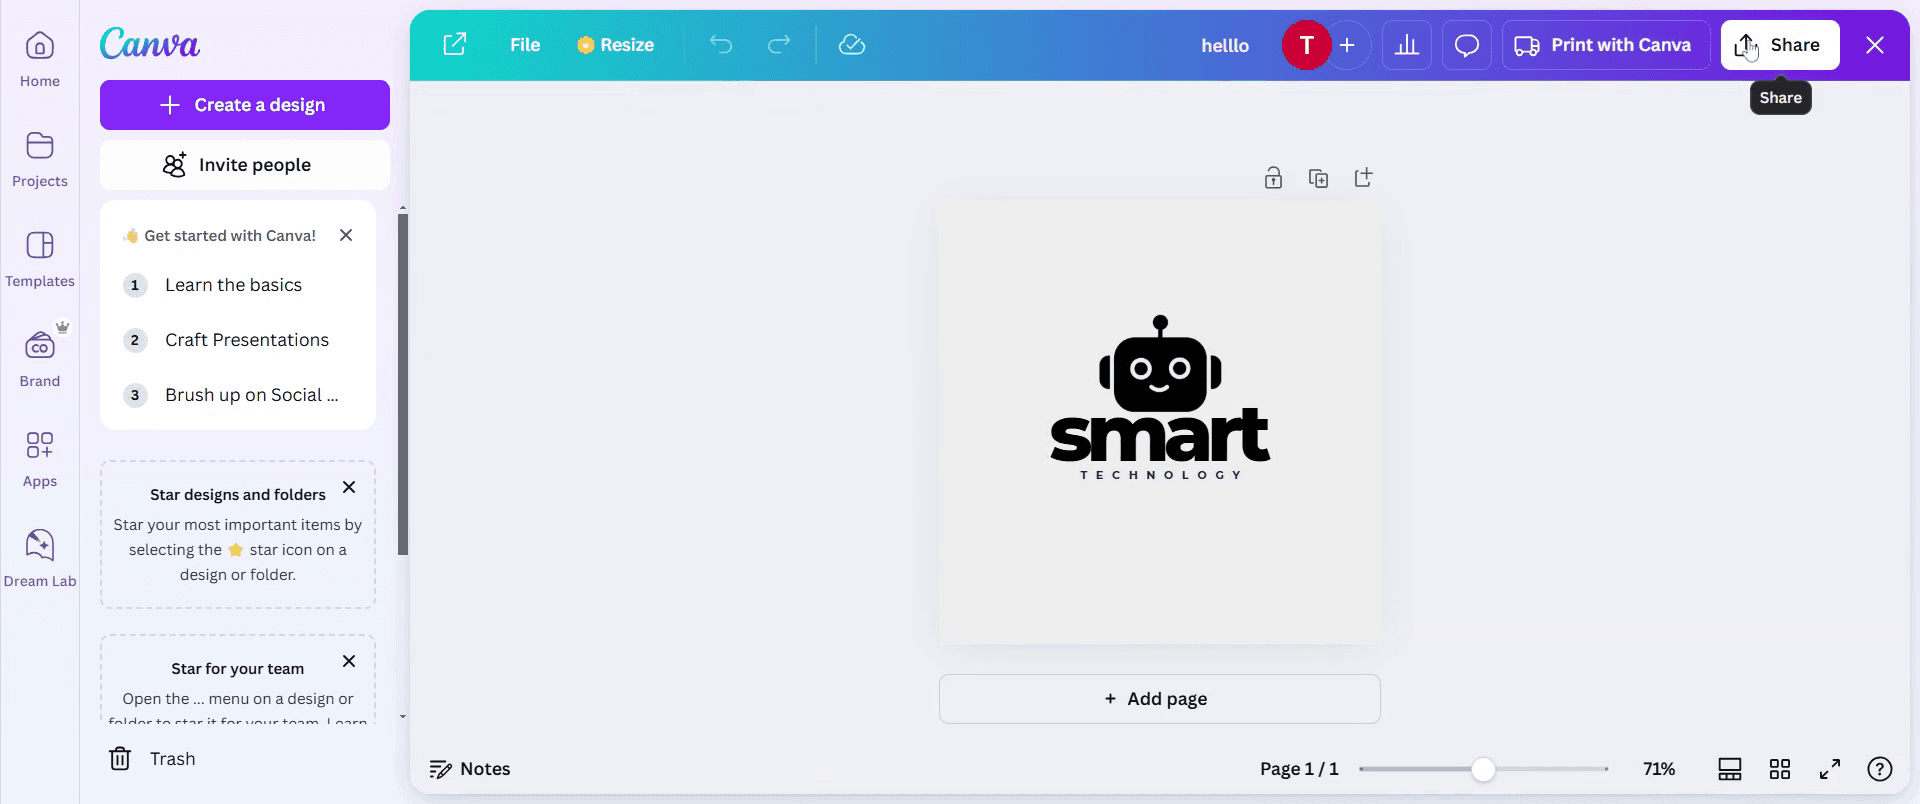
Once your design is open, check for the Share button on the top right corner.
Step 3
Click on the Download button.

Step 4
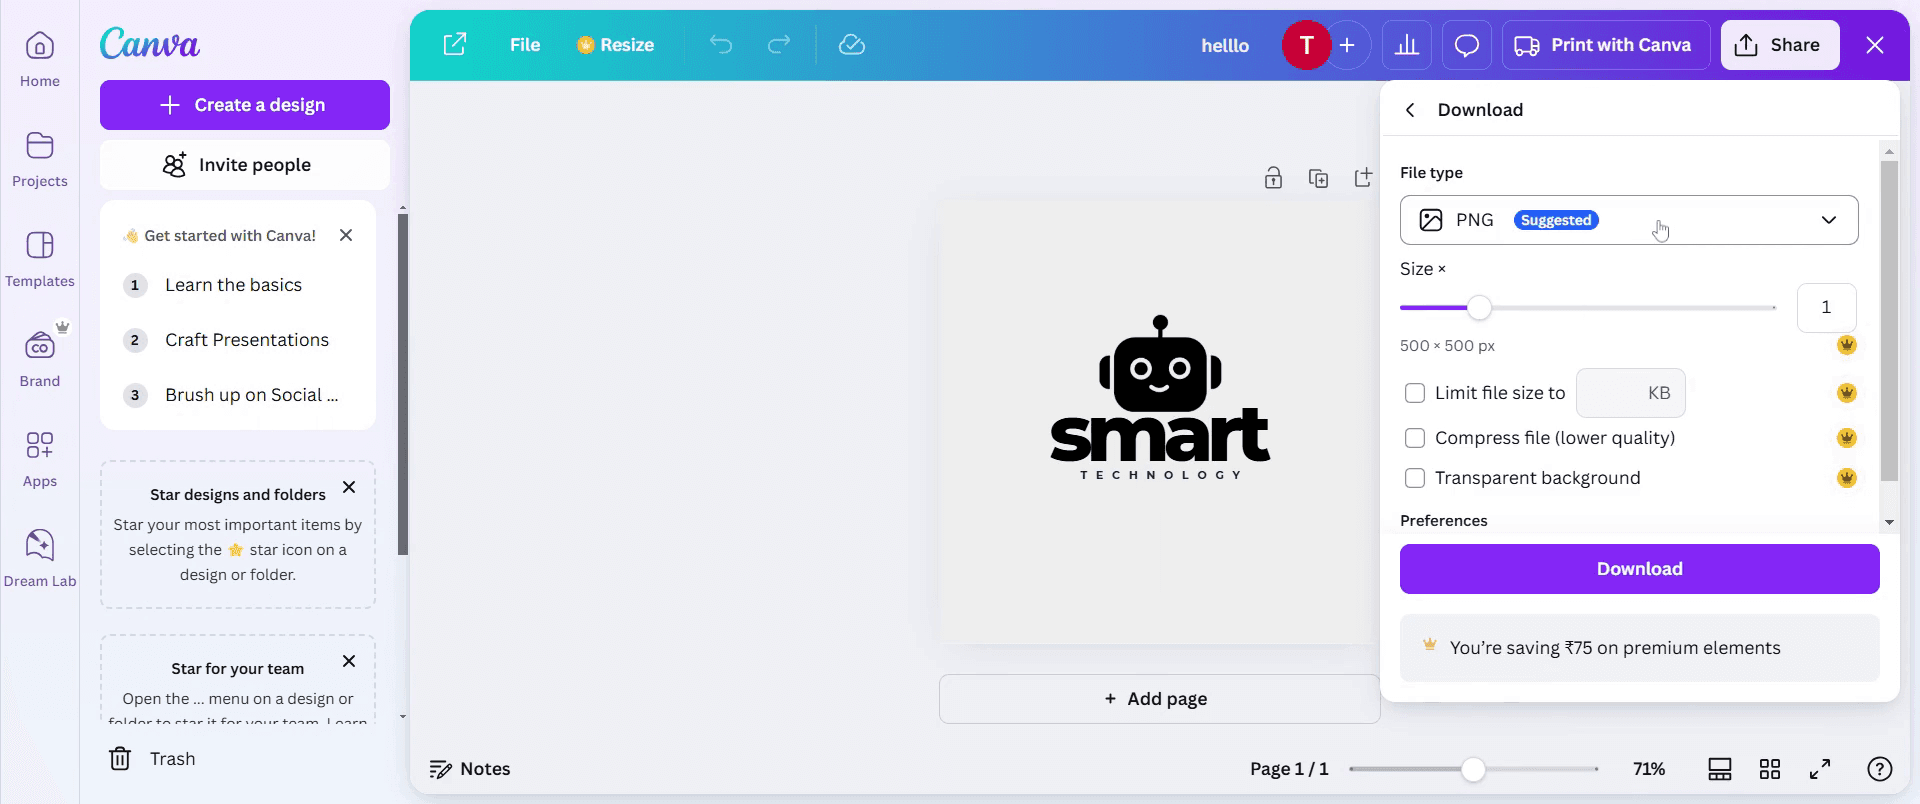
Click on the File Type option.
Step 5
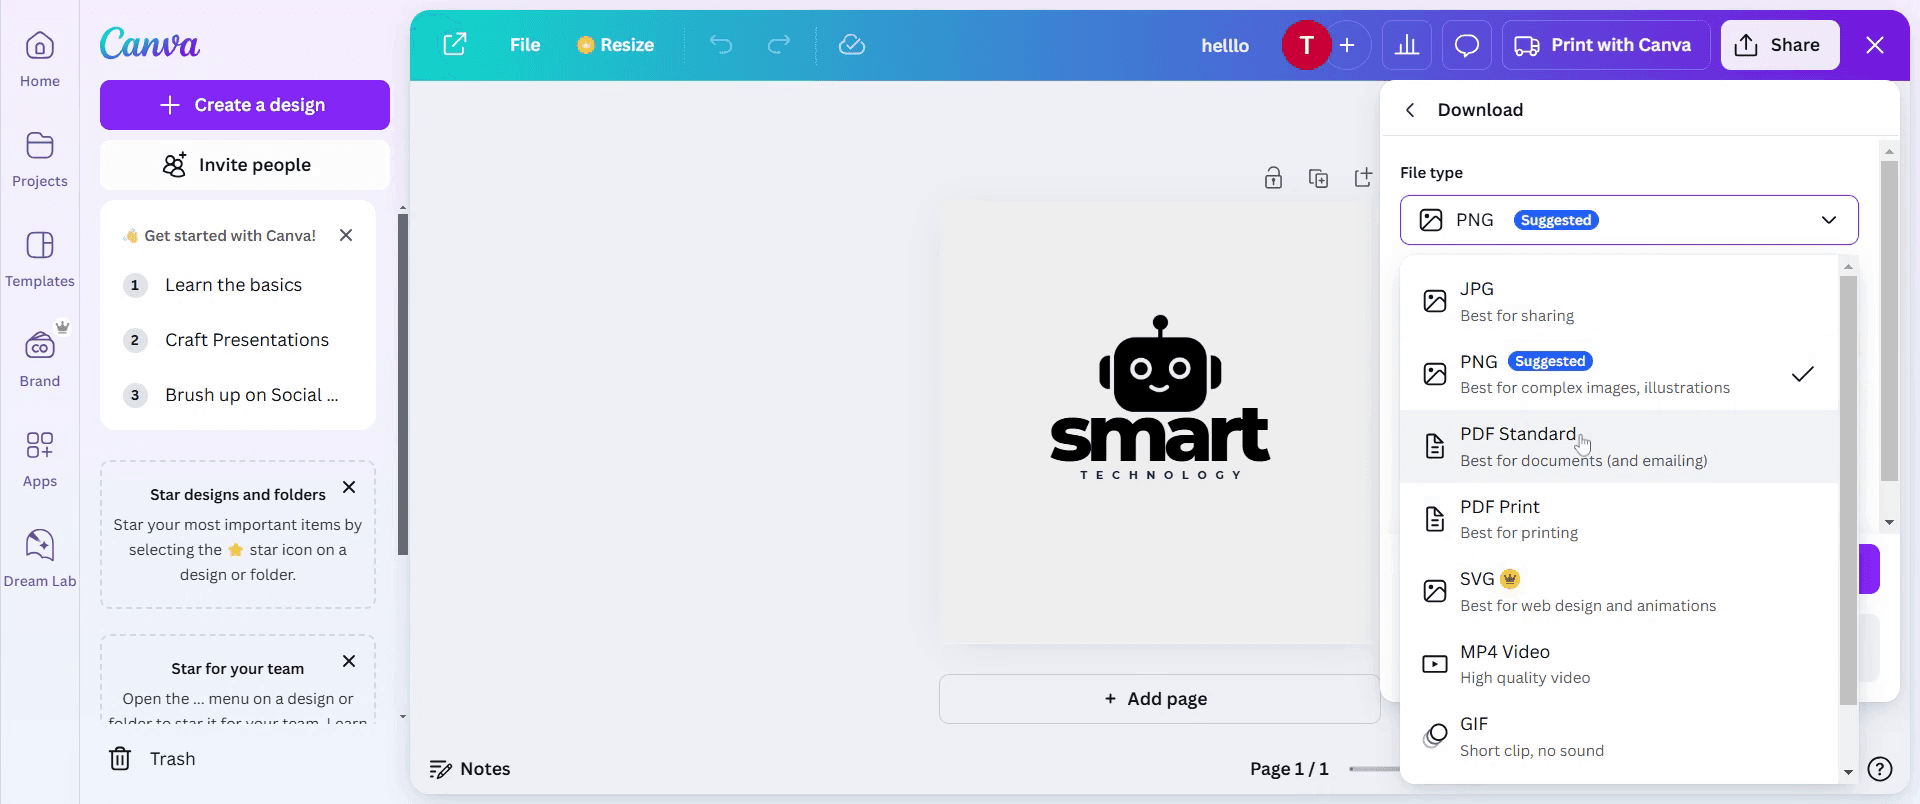
Select PDF Standard from the dropdown list.
Step 6
Click on Download button

Pro tips to print from Canva
Use high-resolution downloads – Always download your design in PDF Print format (300 DPI) with bleed and crop marks for professional-quality printing.
Choose the right paper and finish – For best results, select matte or glossy paper based on your design type and intended use.
Test print before bulk printing – Always print a sample copy to check for color accuracy, alignment, and resolution before ordering multiple prints.
Common pitfalls and how to avoid them
Downloading in the wrong format – Avoid using JPG or PNG for printing; use PDF Print for the best quality.
Ignoring bleed and margins – If you don’t enable bleed settings, your design might get cropped or misaligned when printed.
Not checking CMYK vs. RGB – Canva exports designs in RGB, which may look different in print; use a test print to check color accuracy.
Common FAQs to print from Canva
1. Can I print directly from Canva?
Yes, Canva offers a built-in Canva print option that lets you order high-quality prints directly from the platform.
2. What is the best format to use when following how to print from Canva?
For high-quality prints, always download your design in PDF Print format (300 DPI) with bleed and crop marks enabled.
3. Why do the colors look different after following how to print from Canva?
Canva uses RGB color mode, while printers use CMYK, causing slight color variations. Always request a proof print before mass printing.
4. How to screen record on mac?
To screen record on a Mac, you can use Trupeer AI. It allows you to capture the entire screen and provides AI capabilities such as adding AI avatars, add voiceover, add zoom in and out in the video. With trupeer’s AI video translation feature, you can translate the video into 30+ languages.
5. How to add an AI avatar to screen recording?
To add an AI avatar to a screen recording, you'll need to use an AI screen recording tool. Trupeer AI is an AI screen recording tool, which helps you create videos with multiple avatars, also helps you in creating your own avatar for the video.
6. How to screen record on windows?
To screen record on Windows, you can use the built-in Game Bar (Windows + G) or advanced AI tool like Trupeer AI for more advanced features such as AI avatars, voiceover, translation etc.
7. How to add voiceover to video?
To add voiceover to videos, download trupeer ai chrome extension. Once signed up, upload your video with voice, choose the desired voiceover from trupeer and export your edited video.
8. How do I Zoom in on a screen recording?
To zoom in during a screen recording, use the zoom effects in Trupeer AI which allows you to zoom in and out at specific moments, enhancing the visual impact of your video content.
Related Tutorials

