
Canva にフォントをアップロードする方法 – カスタムタイポグラフィガイド
CanvaでProアカウントを使って独自のフォントをアップロードする方法を学びましょう。このガイドでは、カスタムフォントをインポートして、デザインに簡単に適用する手順をご紹介します。
この手順では、デザインプラットフォーム内でフォントをアップロードして管理する方法を学びます。デスクトップからカスタムフォントを正常に追加するために、さまざまなオプションを操作していきます。
アップロード後は、そのフォントをテキストに適用し、編集したり、デザインに合うように色を調整したりできます。希望する結果を得るために、手順をよく確認してください。
Canvaで自分の フォントを使用する 場合は、Brand Kit に簡単にアップロードできます。手順は次のとおりです:
1. Brand Kit を開く
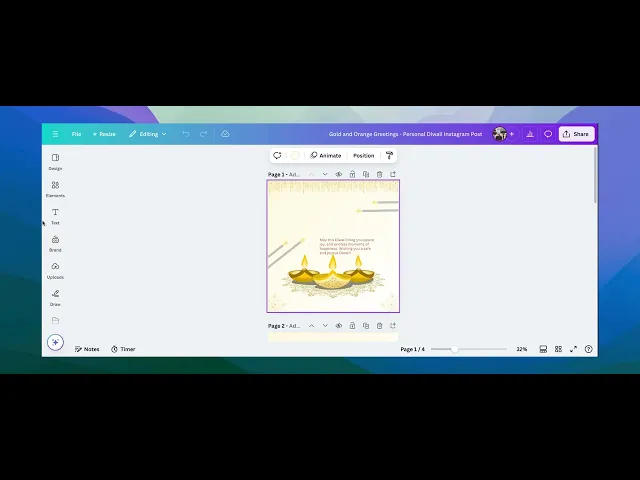
まず Canva を開き、Brand Kit に移動します。ホームページのサイドバー、またはデザイン編集中であれば「Brand」セクションから見つけることができます。
2. フォントをアップロードする
Brand Kit で Fonts セクションまでスクロールし、「Upload a font」ボタンをクリックします。
3. フォントファイルを選択する
ファイルブラウザーが表示されるので、コンピューター上でアップロードしたいフォントを選択してください。Canva は .otf、.ttf、.woff ファイルをサポートしています。
4. アップロードを確認する
Canva でアップロードの確認が求められます。「はい、アップロードします!」をクリックするか、表示されるプロンプトに従ってください。
5. フォントを使い始める
これで完了です! アップロードが完了すると、デザイン 内のテキストを編集するときに、カスタムフォントがフォント一覧に表示されます。
ステップごとのガイド:Canva でフォントをアップロードする方法
ステップ 1
まずデザインを開き、「Brand」セクションに移動します。そこで、フォントを追加するオプション「Upload a Font.」を見つけることができます。
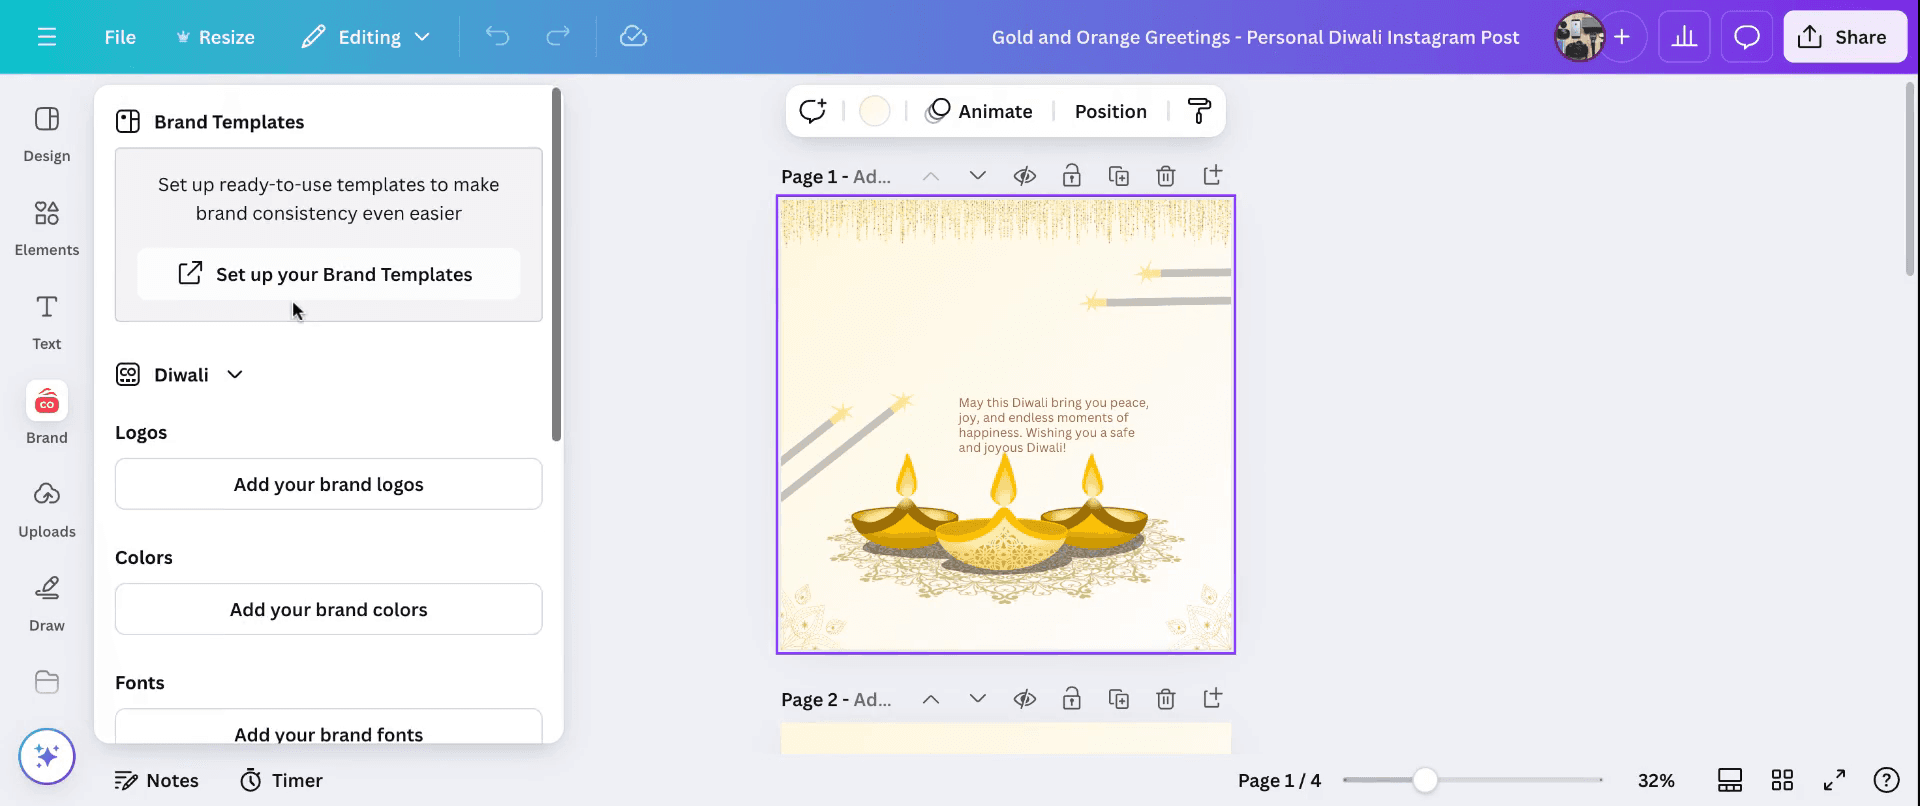
ステップ 2
アップロード後、フォントはメニューに表示されます。フォントのタイトルを入力し、デスクトップからアップロードした該当のフォントを選択します。これでフォントオプションに表示されるようになります。
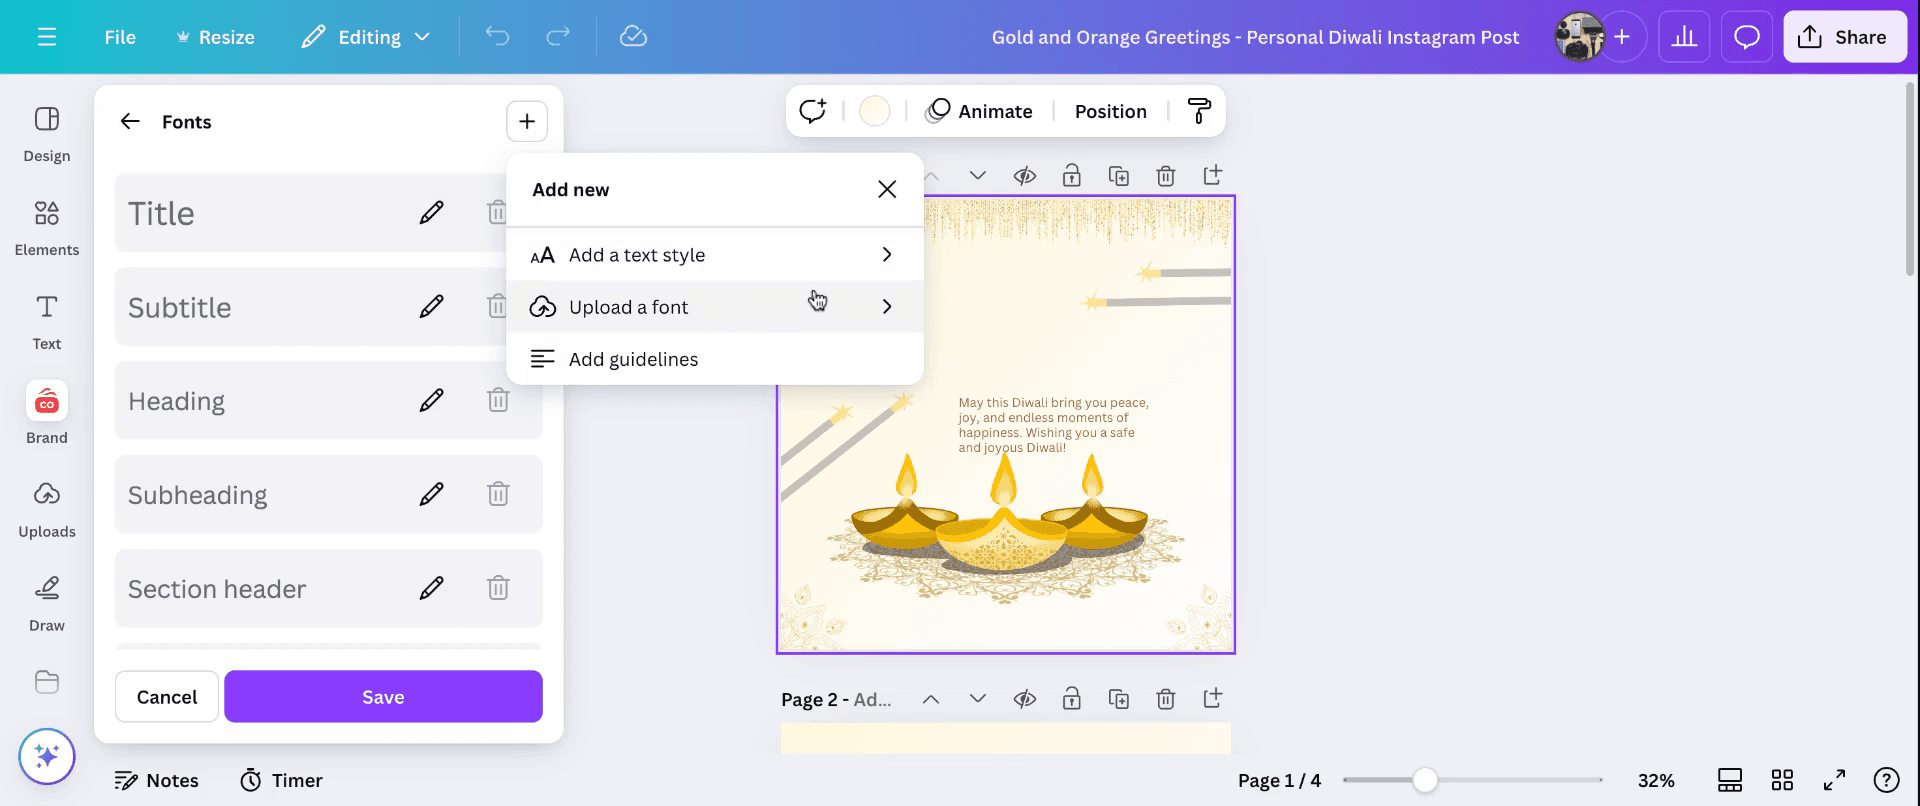
ステップ 3
新しくアップロードしたフォントを使って、テキスト /タイトルを編集できます。下に表示されます。
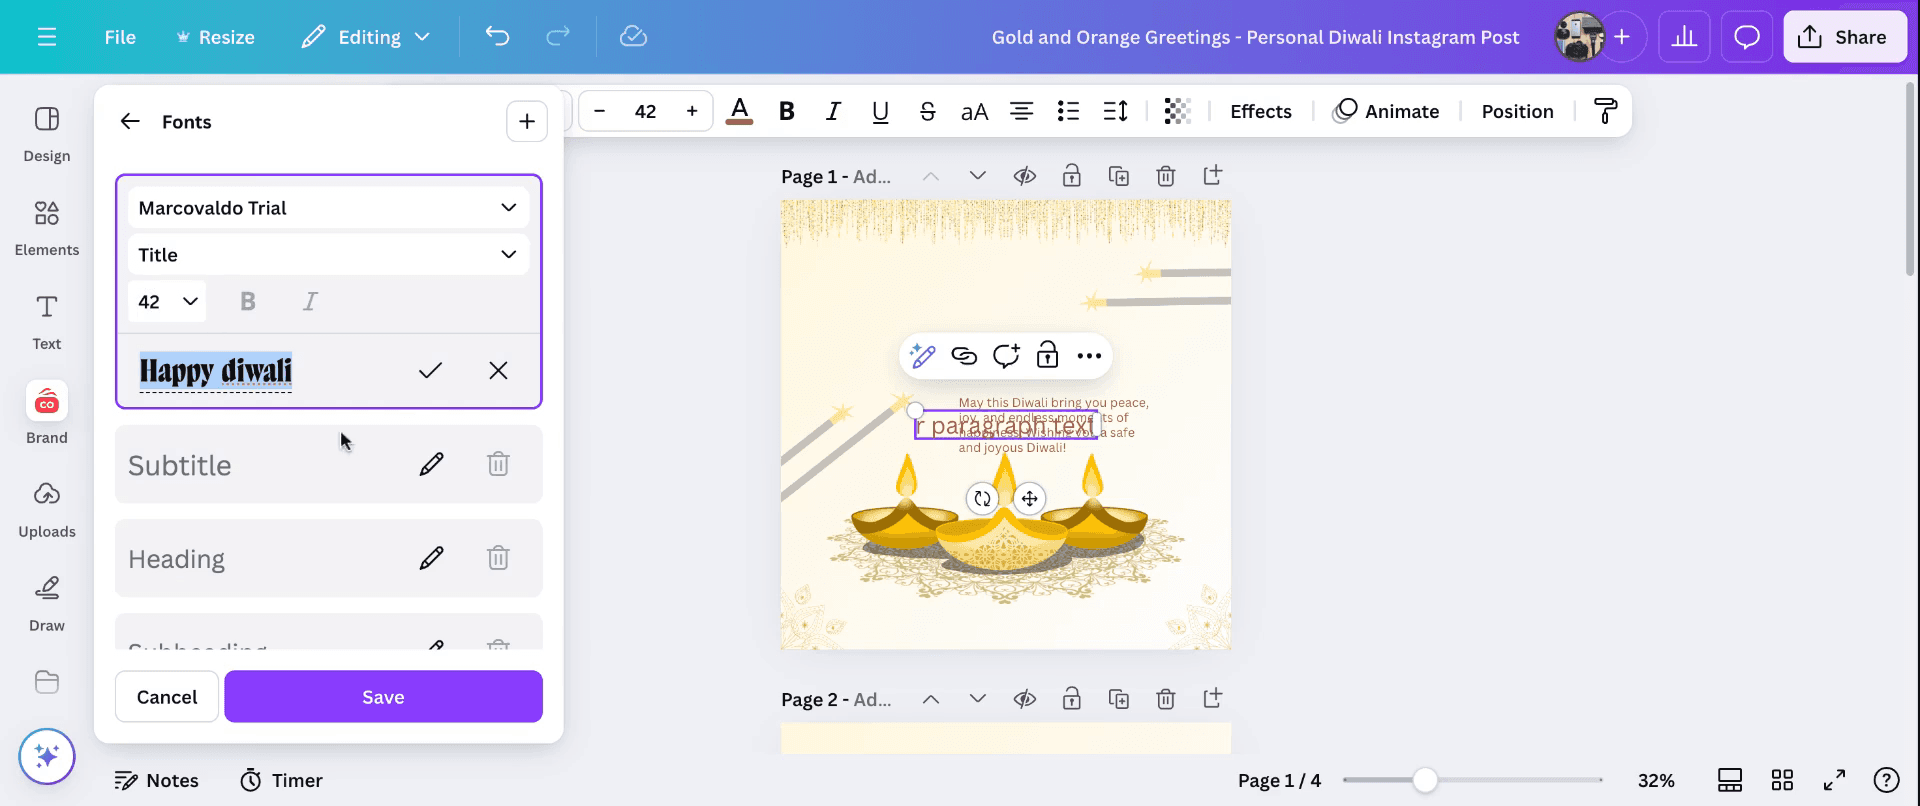
ステップ 4
必要に応じて、フォントサイズや色を変更し、段落もフォントに合わせて調整できます。これで Canva でフォントをアップロードする方法は完了です。

Canva でフォントをアップロードするためのプロのヒント
Canva Pro を使う: フォントのアップロードは Canva Pro ユーザーのみ利用できます。無料アカウントをお使いの場合は、Pro にアップグレードしてください。
フォントファイルを準備する: フォントファイルが TTF、OTF、または WOFF などの対応形式であることを確認してください。
Brand Kit にアクセスする: Canva のホームページから「Brand Kit」に移動してフォントをアップロードします。
フォントをアップロードする: 「Brand Fonts」セクションで「Upload a font」をクリックし、ファイルを選択して、アップロードを確認します。
フォントをテストする: アップロード後、デザインで使用して、フォントが問題なく動作することを確認してください。
Canva でフォントをアップロードする際によくある落とし穴とその回避方法
サポートされていないフォント形式: Canva は TTF、OTF、WOFF ファイルのみをサポートしています。
対処法: 必要に応じて、オンラインツールを使ってフォントをこれらの形式のいずれかに変換してください。著作権の問題: 使用許諾がないフォントは Canva によってブロックされる場合があります。
対処法: フォントをアップロードする前に、適切なライセンスを取得していることを確認してください。フォントが正しく表示されない: アップロードしたフォントが一部のデザインで正しく表示されないことがあります。
対処法: フォントの互換性を確認し、問題が続く場合は再アップロードしてみてください。チームメンバーのアクセスが制限される: アップロードしたフォントがチームメンバーに表示されない場合があります。
対処法: Brand Kit で権限を設定し、チーム全体で共有して使用できるようにします。フォント上限を超える: Canva Brand Kit では、アップロードできるフォント数に制限があります。
対処法: 使用していないフォントを削除して、新しいアップロードのための容量を確保してください。
Canva でフォントをアップロードする際のよくある質問
Canva にフォントを無料でアップロードできますか?
いいえ、フォントのアップロードは Canva Pro、Canva for Teams、または Enterprise アカウントでのみ利用できます。フォントのアップロードでサポートされているファイル形式は何ですか?
Canva は TTF、OTF、WOFF のフォントファイルをサポートしています。アップロードしたフォントにはどうやってアクセスしますか?
デザイン内でテキストを編集すると、アップロードしたフォントがフォントのドロップダウンメニューに表示されます。Canva にフォントをアップロードできないのはなぜですか?
ファイル形式、ライセンス、または Canva Pro アカウントをお持ちかどうかを確認してください。アップロードしたフォントはチームメンバーも利用できますか?
はい。Brand Kit をチームと共有し、アクセス権を付与していれば利用できます。Mac で画面録画するには?
Mac で画面録画するには、Trupeer AI を使用できます。画面全体をキャプチャでき、AI アバターの追加、ナレーションの追加、動画内のズームイン・ズームアウトなどの AI 機能も利用できます。trupeer の AI 動画翻訳機能を使えば、動画を 30 以上の言語に翻訳できます。画面録画に AI アバターを追加するには?
画面録画に AI アバターを追加するには、AI 画面録画ツールを使用する必要があります。Trupeer AI は AI 画面録画ツールで、複数のアバターを使った動画の作成や、動画用の独自アバターの作成もサポートします。Windows で画面録画するには?
Windows で画面録画するには、標準搭載の Game Bar(Windows + G)または、AI アバター、ナレーション、翻訳などのより高度な機能を備えた Trupeer AI のような高度な AI ツールを使用できます。動画にナレーションを追加するには?
動画にナレーションを追加するには、trupeer ai の Chrome 拡張機能をダウンロードしてください。登録後、音声付きの動画をアップロードし、trupeer から希望のナレーションを選択して、編集した動画を書き出します。画面録画でズームインするには?
画面録画中にズームインするには、Trupeer AI のズーム効果を使用すると、特定のタイミングでズームイン・ズームアウトでき、動画コンテンツの視覚的なインパクトを高められます。
関連の質問
関連チュートリアル

