

Canvaでスナップ機能をオフにする方法
Canva で要素が勝手に位置に吸い付くのにうんざりしていませんか? スナップをオフにして、オブジェクトを自由に動かし、正確にデザインする方法を学びましょう。
このドキュメントでは、Canva のスナップ機能を無効にするための簡単な手順を説明します。
これらの手順に従うと、要素がグリッドや他のオブジェクトに自動的に整列することなく、自由に調整できます。
Canva で要素をガイドに自動整列させたりスナップさせたりせずに自由に移動したい場合は、簡単なショートカットがあります。Ctrl キー(Mac では Command キー)を押し続けると、スナップを一時的に回避でき、正確な配置に最適です。
手順:
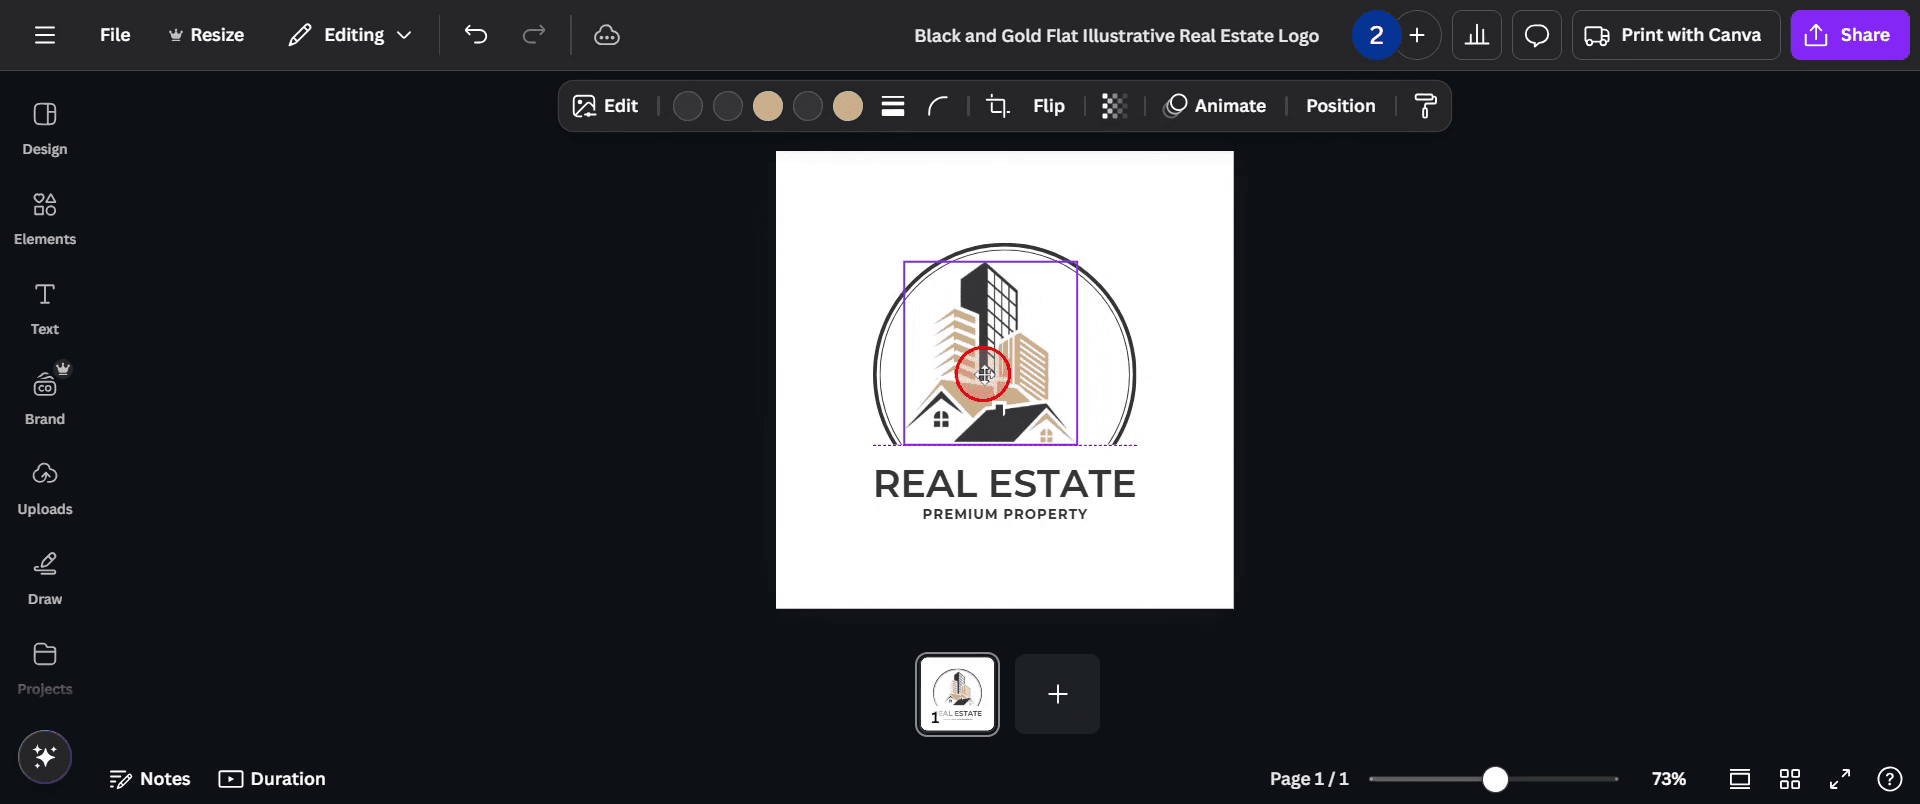
1. Canva のデザインを開く
まず、要素の配置をより細かく調整したいプロジェクトを開きます。
2. 要素を選択する
移動したい画像、テキストボックス、図形、またはグラフィックをクリックします。
3. Ctrl(Mac では Command)を押し続ける
要素をドラッグし始めたら、Ctrl キー(Mac の場合は Command キー)を押し続けます。これで、オブジェクトを移動している間のスナップが無効になります。
4. 自由にドラッグして位置を変更する
要素を希望の場所へ移動し、グリッド、余白、または近くの要素にスナップしないようにします。
5. 完了したら離す
要素が好みの位置に配置されたら、まずマウスクリックを離し、その後に Ctrl/Command キーを離します。
ステップバイステップガイド:Canva でスナップをオフにする方法
手順 1
調整したい要素を選択します。

手順 2
アイテムをドラッグしながら Ctrl キーを押し続けます。
手順 3
これで、選択した要素がスナップすることなく自由に移動・調整できます。

手順 4
Ctrl キーを離す前に、アイテムを希望の位置に配置していることを確認します。

Canvaでスナップをオフにするためのプロのヒント
スナップを無効にするには、[ファイル] メニューを開き、[グリッドにスナップ] オプションのチェックを外します。これにより、要素がグリッドや他のオブジェクトに自動的に整列しなくなります。
同じ [ファイル] メニューで [オブジェクトにスナップ] をオフにすると、要素がキャンバス上の他のオブジェクトに整列するのを防げます。
配置をより細かく調整したい場合は、キャンバスを拡大して、スナップなしでより正確に要素を配置できます。
Canvaでスナップをオフにする際によくある落とし穴とその回避方法
変更を保存し忘れる:作業を続ける前に、スナップ機能がオフになっていることを必ず確認してください。
スナップなしで要素をずらして配置してしまう:スナップがないと要素を正確に配置しにくくなるため、拡大して精度を上げると役立ちます。
グリッドを見落とす:スナップに慣れている場合、オフにするとオブジェクトの整列が難しくなることがあります。そのため、必要に応じて手動で位置を調整するか、グリッドを表示すると便利です。
Canvaでスナップをオフにする際のよくある質問
1. スナップは一時的にオフにできますか?
はい、ファイルメニューのオプションを切り替えることで、いつでもスナップのオン・オフを切り替えられます。
2. Canvaでスナップはなぜ便利なのですか?
スナップを使うとオブジェクトを素早く正確に整列でき、複数の要素を使ってバランスの取れたレイアウトを作成する際に特に役立ちます。
3. スナップを特定のオブジェクトだけに使えますか?
現在、Canvaではスナップはキャンバス上のすべての要素に一律で適用されますが、必要に応じて機能をオフにすることで、どのオブジェクトを整列させるかを調整できます。
4. スナップをオフにするとデザインの品質に影響しますか?
いいえ、スナップをオフにしてもデザインの品質には影響しませんが、手動でオブジェクトを整列させるのは少し難しくなる場合があります。
5. Macで画面録画するには?
Macで画面録画するには、Trupeer AIを使用できます。画面全体をキャプチャでき、AIアバターの追加、ナレーションの追加、動画のズームイン・ズームアウトなどのAI機能を提供します。TrupeerのAI動画翻訳機能を使えば、動画を30以上の言語に翻訳できます。
6. 画面録画にAIアバターを追加するには?
画面録画にAIアバターを追加するには、AI画面録画ツールを使用する必要があります。Trupeer AIはAI画面録画ツールで、複数のアバターを使った動画の作成を支援し、動画用の独自アバターの作成もサポートします。
7. Windowsで画面録画するには?
Windowsで画面録画するには、内蔵のGame Bar(Windows + G)や、AIアバター、ナレーション、翻訳などの高度な機能を備えたTrupeer AIのような高度なAIツールを使用できます。
8. 動画にナレーションを追加するには?
動画にナレーションを追加するには、trupeer ai chrome extensionをダウンロードします。サインアップ後、音声付きの動画をアップロードし、Trupeerから希望のナレーションを選択して、編集した動画を書き出します。
おすすめの記事
関連チュートリアル

