
CanvaでGIFを作成する方法
アニメーション要素や動画クリップを使って、CanvaでGIFを作成する方法を学びましょう。ソーシャルメディアなどで使えるGIFのデザイン、アニメーション、書き出しまでをステップごとに解説します。
CanvaでGIFを作成するには、既存のデザインまたは空白のキャンバスから始め、写真やテキストなどの要素を追加し、その後アニメーション機能を使って動きを作成します。最後に、デザインをGIFファイルとしてダウンロードします。
以下に詳しく説明します。
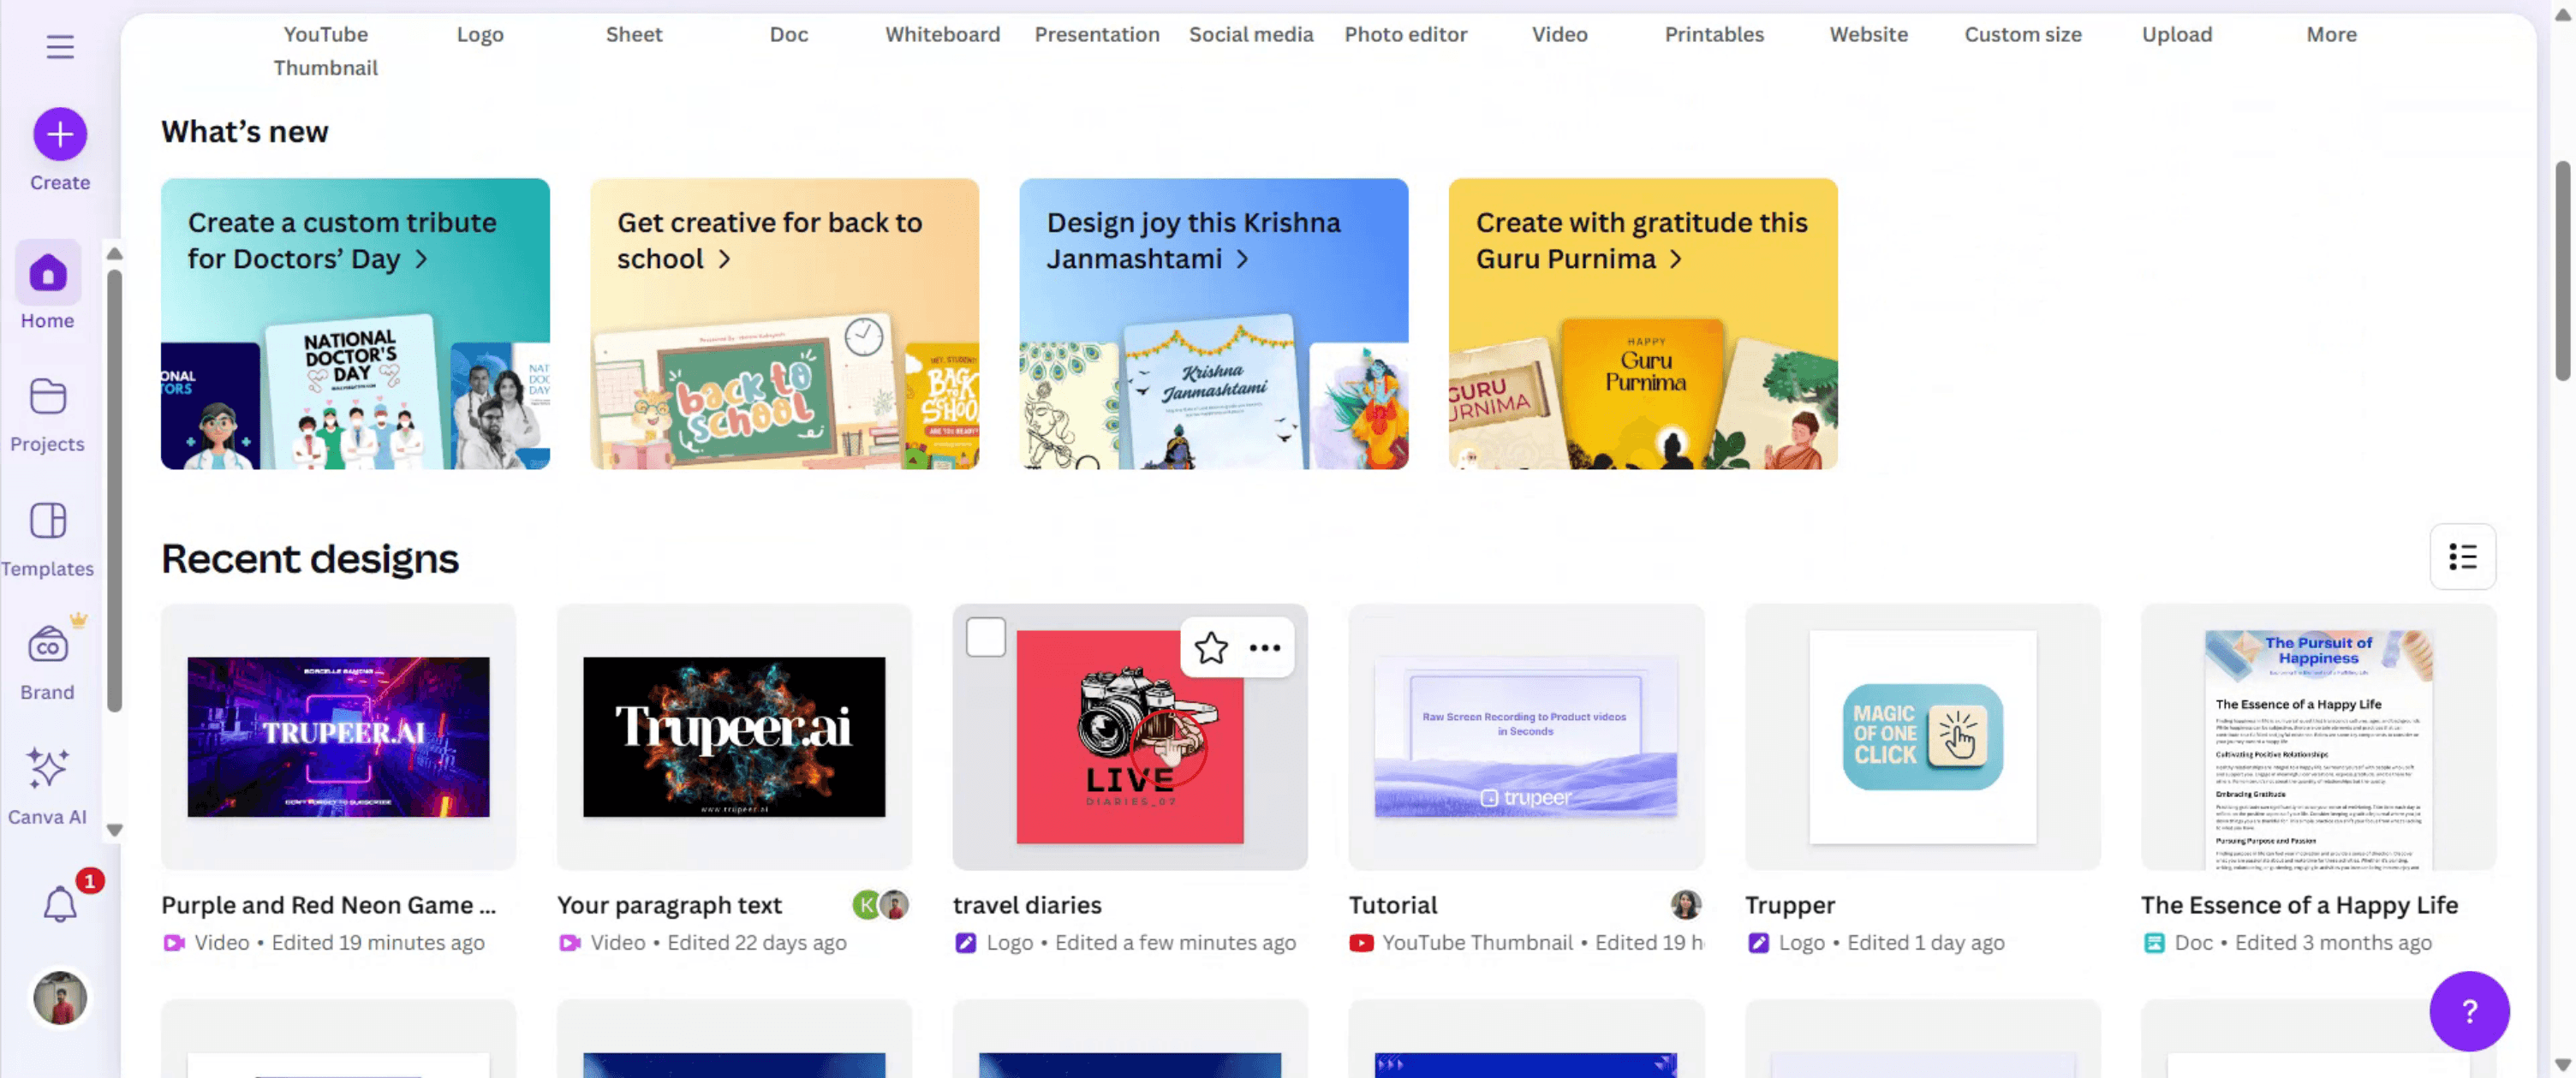
1. デザインを開始する:
Canvaを開き、テンプレートを選ぶか、新しいデザインを作成します。 GIFに適したサイズ、たとえばAnimated Social Mediaを選択します。
2. 要素を追加してカスタマイズする:
写真、テキスト、図形、その他の要素をデザインに追加します。これらの要素を配置し、カスタマイズして、GIFで表現したい見た目を作りましょう。
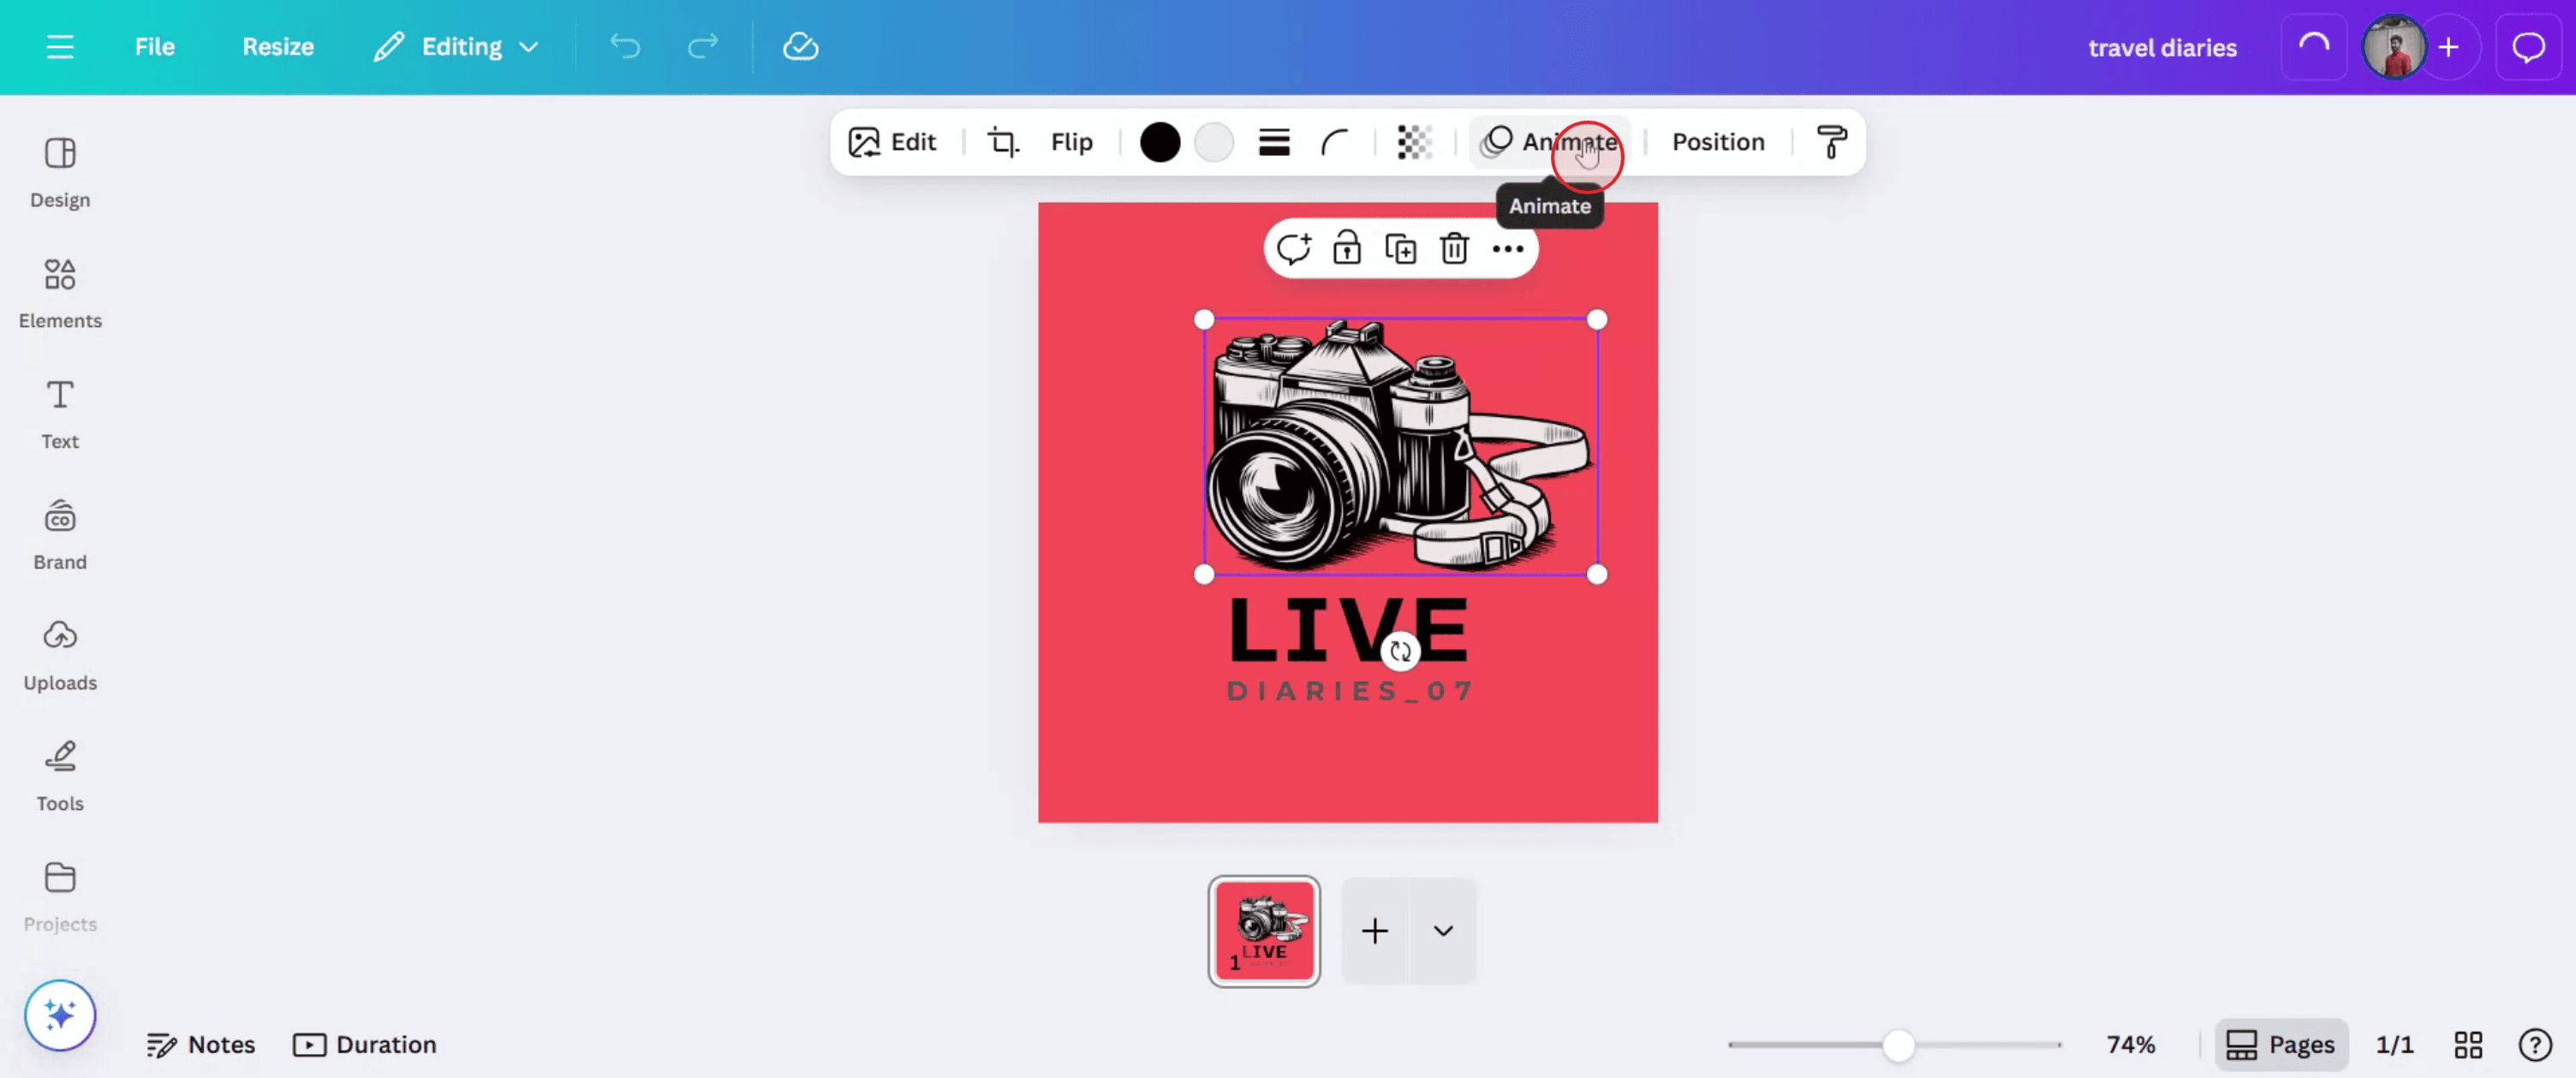
3. デザインにアニメーションを付ける:
アニメーションを付けたい要素を選択します。上部ツールバーの「アニメート」ボタンをクリックします。さまざまなアニメーションスタイルから選び、速度や方向をカスタマイズします。
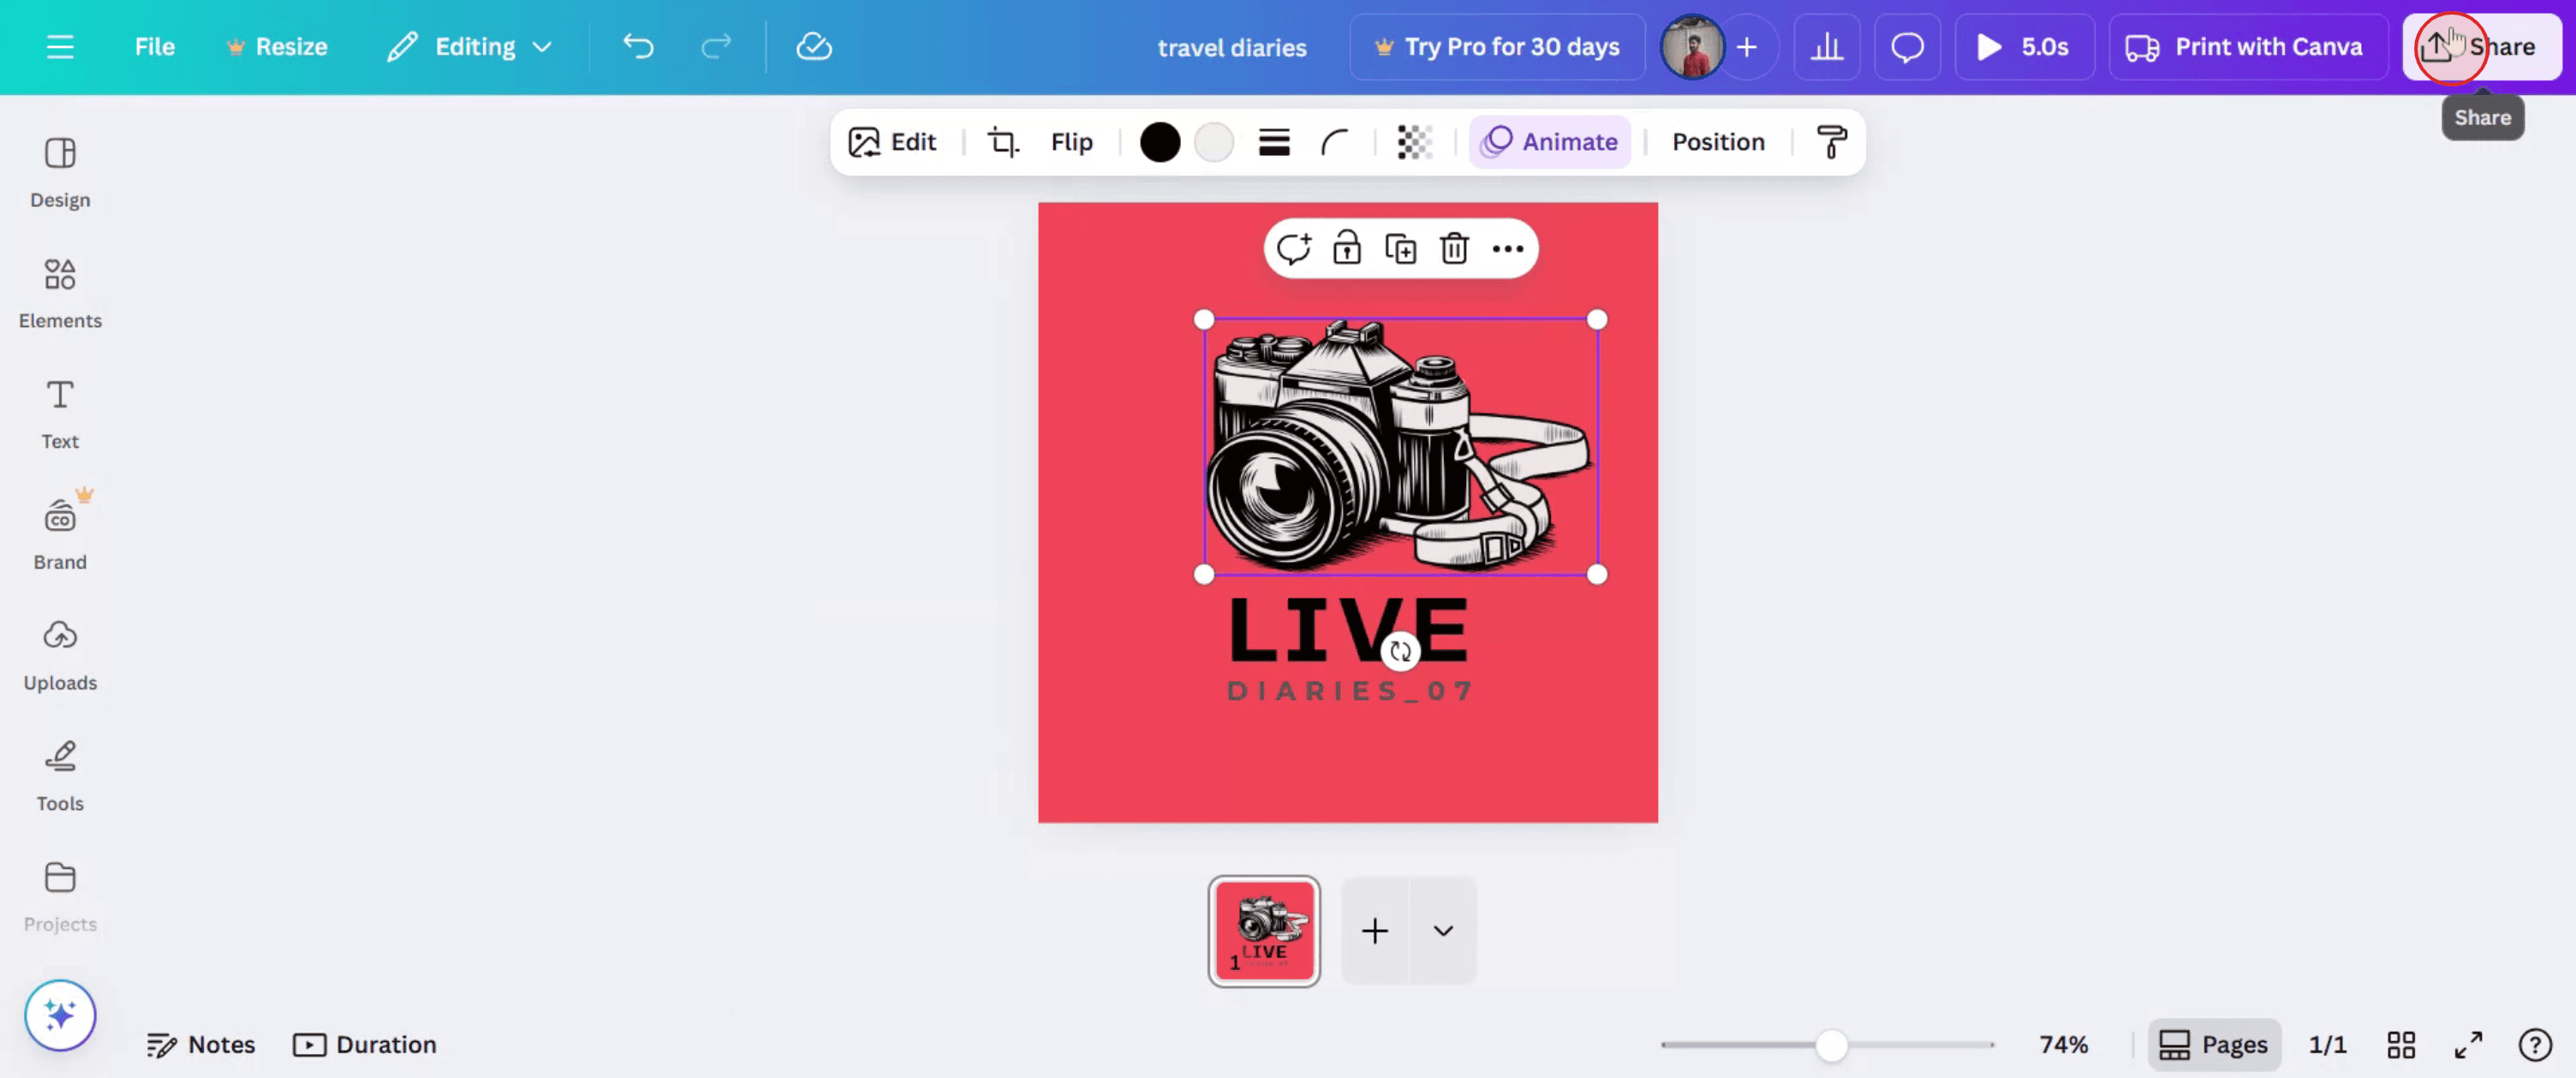
4. プレビューしてダウンロードする:
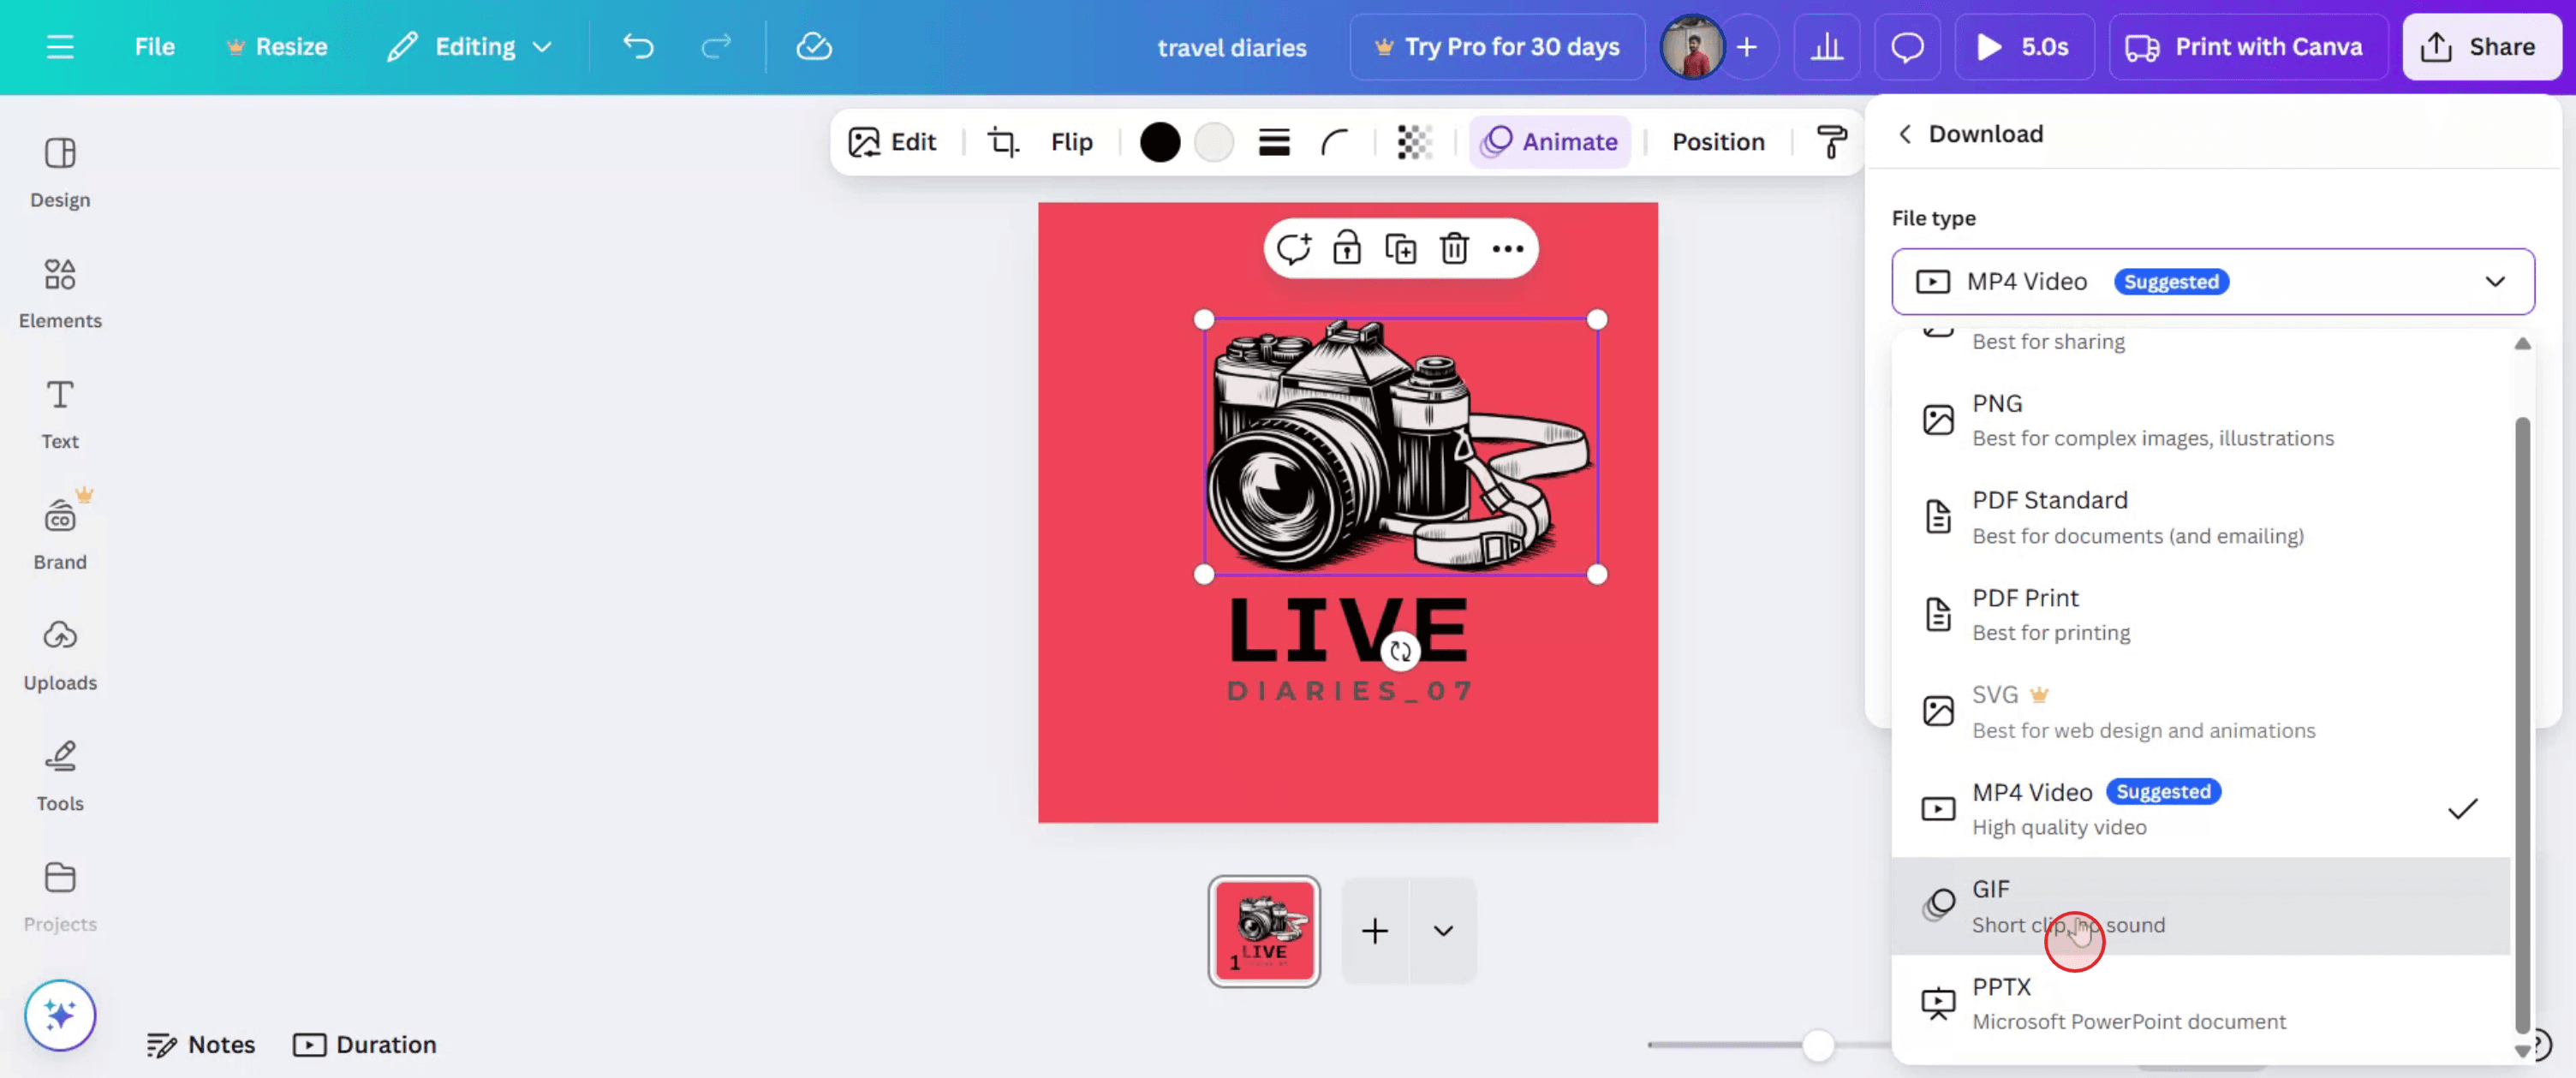
「共有」ボタンをクリックし、次に「ダウンロード」をクリックします。ファイル形式として「GIF」を選択します。CanvaがGIFを生成し、ダウンロードするよう促します。
CanvaでGIFを作成する方法:ステップバイステップガイド
ステップ1
まず、Canvaで既存のデザインを選択します。
ステップ2
次に、「アニメート」オプションをクリックし、希望のアニメーションを選択します。
ステップ3
次に、上部メニューにある「共有」オプションをクリックします。
ステップ4
共有メニュー内で、「ダウンロード」を選択して進みます。

ステップ5
ファイル形式として「GIF」を選択します。
ステップ6
そして「ダウンロード」をクリックして処理を開始します。GIFの準備ができました。

CanvaでGIFを作るためのプロのヒント
Canvaを開いて新しいデザインを作成する
GIF のサイズを、プレゼンテーションやカスタムサイズ(例: 500×500 px)などから選びます。要素を追加するか、メディアをアップロードする
画像、テキスト、ステッカーを追加するか、独自のグラフィックをアップロードして、GIF をフレームごとに作成します。アニメーション効果を使う
任意の要素をクリックし、上部ツールバーのAnimateを選択して動きを適用します(例: フェード、上昇、回転)。複数フレームのGIFには複数ページを追加する
各ページは GIF の1フレームのように機能します。新しいページを追加し、アニメーションを調整して動きのある流れを作りましょう。タイミングを調整する
各ページの時計アイコンをクリックして、各フレームの表示時間を設定します(例: 1~5秒)。GIFをプレビューする
Playボタンを押して、アニメーション GIF の見た目を確認します。GIFとしてダウンロードする
Share > Downloadをクリックし、ファイル形式としてGIFを選択して、Downloadをクリックします。
よくある落とし穴とその回避方法
正しいファイル形式が選択されていない
ダウンロードオプションから MP4 や JPG ではなくGIFを選択してください。ページ数が多すぎる、または細部が複雑すぎる
大きな GIF は動作が遅くなったり、ダウンロードできなかったりします。ページ数を減らすか、要素のアニメーションを抑えましょう。アニメーションのタイミングが速すぎる
フレームの表示時間を適切に設定してください。速すぎると GIF が見づらくなります。要素が意図せず重なっている
アニメーションが乱れないように、要素を慎重に整列し、グループ化してください。プレビューが最終GIFと一致しない
Canva のプレビューは、ダウンロードした版とわずかに異なる場合があります。下書きの GIF をダウンロードして確認してください。
CanvaでGIFを作成する際によくある質問
CanvaでGIFを無料で作成できますか
はい、基本的なGIFの作成と書き出しは無料版で利用できます。GIFに自分の画像をアップロードできますか
はい、「アップロード」タブを使って自分の写真や素材を取り込めます。GIFに音楽を追加できますか
いいえ、GIFは音声に対応していません。音が必要な場合はMP4形式を使用してください。GIFをループさせるにはどうすればよいですか
CanvaではGIFが自動的にループ形式で書き出されます。CanvaのモバイルアプリでGIFを作成できますか
はい、手順はデスクトップ版と同様で、同じアニメーション設定とダウンロード手順を使います。Macで画面録画するには?
To Macで画面録画するには、Trupeer AIを使用できます。画面全体をキャプチャでき、AIアバターの追加、ナレーションの追加、動画内のズームイン・ズームアウトなどのAI機能を利用できます。TrupeerのAI動画翻訳機能を使えば、動画を30以上の言語に翻訳できます。画面録画にAIアバターを追加するには?
画面録画にAIアバターを追加するには、AI画面録画ツールを使用する必要があります。Trupeer AIはAI画面録画ツールで、複数のアバターを使った動画作成を支援し、動画用の独自アバターの作成もサポートします。Windowsで画面録画するには?
Windowsで画面録画するには、標準搭載のGame Bar(Windows + G)や、AIアバター、ナレーション、翻訳などのより高度な機能を備えたTrupeer AIのような高度なAIツールを使用できます。動画にナレーションを追加するには?
動画にナレーションを追加するには、Trupeer AIのChrome拡張機能をダウンロードしてください。サインアップ後、音声付きの動画をアップロードし、Trupeerから希望のナレーションを選択して、編集した動画を書き出します。画面録画でズームインするには?
画面録画中にズームインするには、Trupeer AIのズーム効果を使用します。これにより、特定の瞬間にズームイン・ズームアウトでき、動画コンテンツの視覚的なインパクトを高められます。
