

Figmaで画像を反転する方法
Figmaでシンプルなツールを使って画像を反転する方法を学びましょう。ミラー、回転、調整を行い、デザインをぴったりと揃えるためのステップごとのガイドです。
Figmaで画像を反転するには、画像を選択し、キーボードショートカットの Shift+H で水平方向に反転するか、Shift+V で垂直方向に反転するか、または右クリックしてメニューから「水平反転」や「垂直反転」を選択します
以下に、より詳しい手順を示します:
1. 画像を選択する: Figma のデザイン内で、反転したい画像をクリックします。
2. 水平方向に反転する:
キーボードショートカット: Shift + H を押します。
右クリックメニュー: 画像を右クリックし、「水平反転」を選択します。
3. 垂直方向に反転する:
キーボードショートカット: Shift + V を押します。
右クリックメニュー: 画像を右クリックし、「垂直反転」を選択します。
代替手順(デザインパネルを使用):
画像を選択する: 前述のとおり、画像をクリックして選択します。
Position セクションを見つける: 右側のデザインパネルで、「Position」セクションを見つけます。
反転する: 「Position」セクション内の「水平反転」または「垂直反転」アイコンをクリックします。
ステップごとのガイド: Figmaで画像を反転する方法
ステップ 1
Figma のデザインキャンバス内で、反転したい画像を見つけてクリックします。
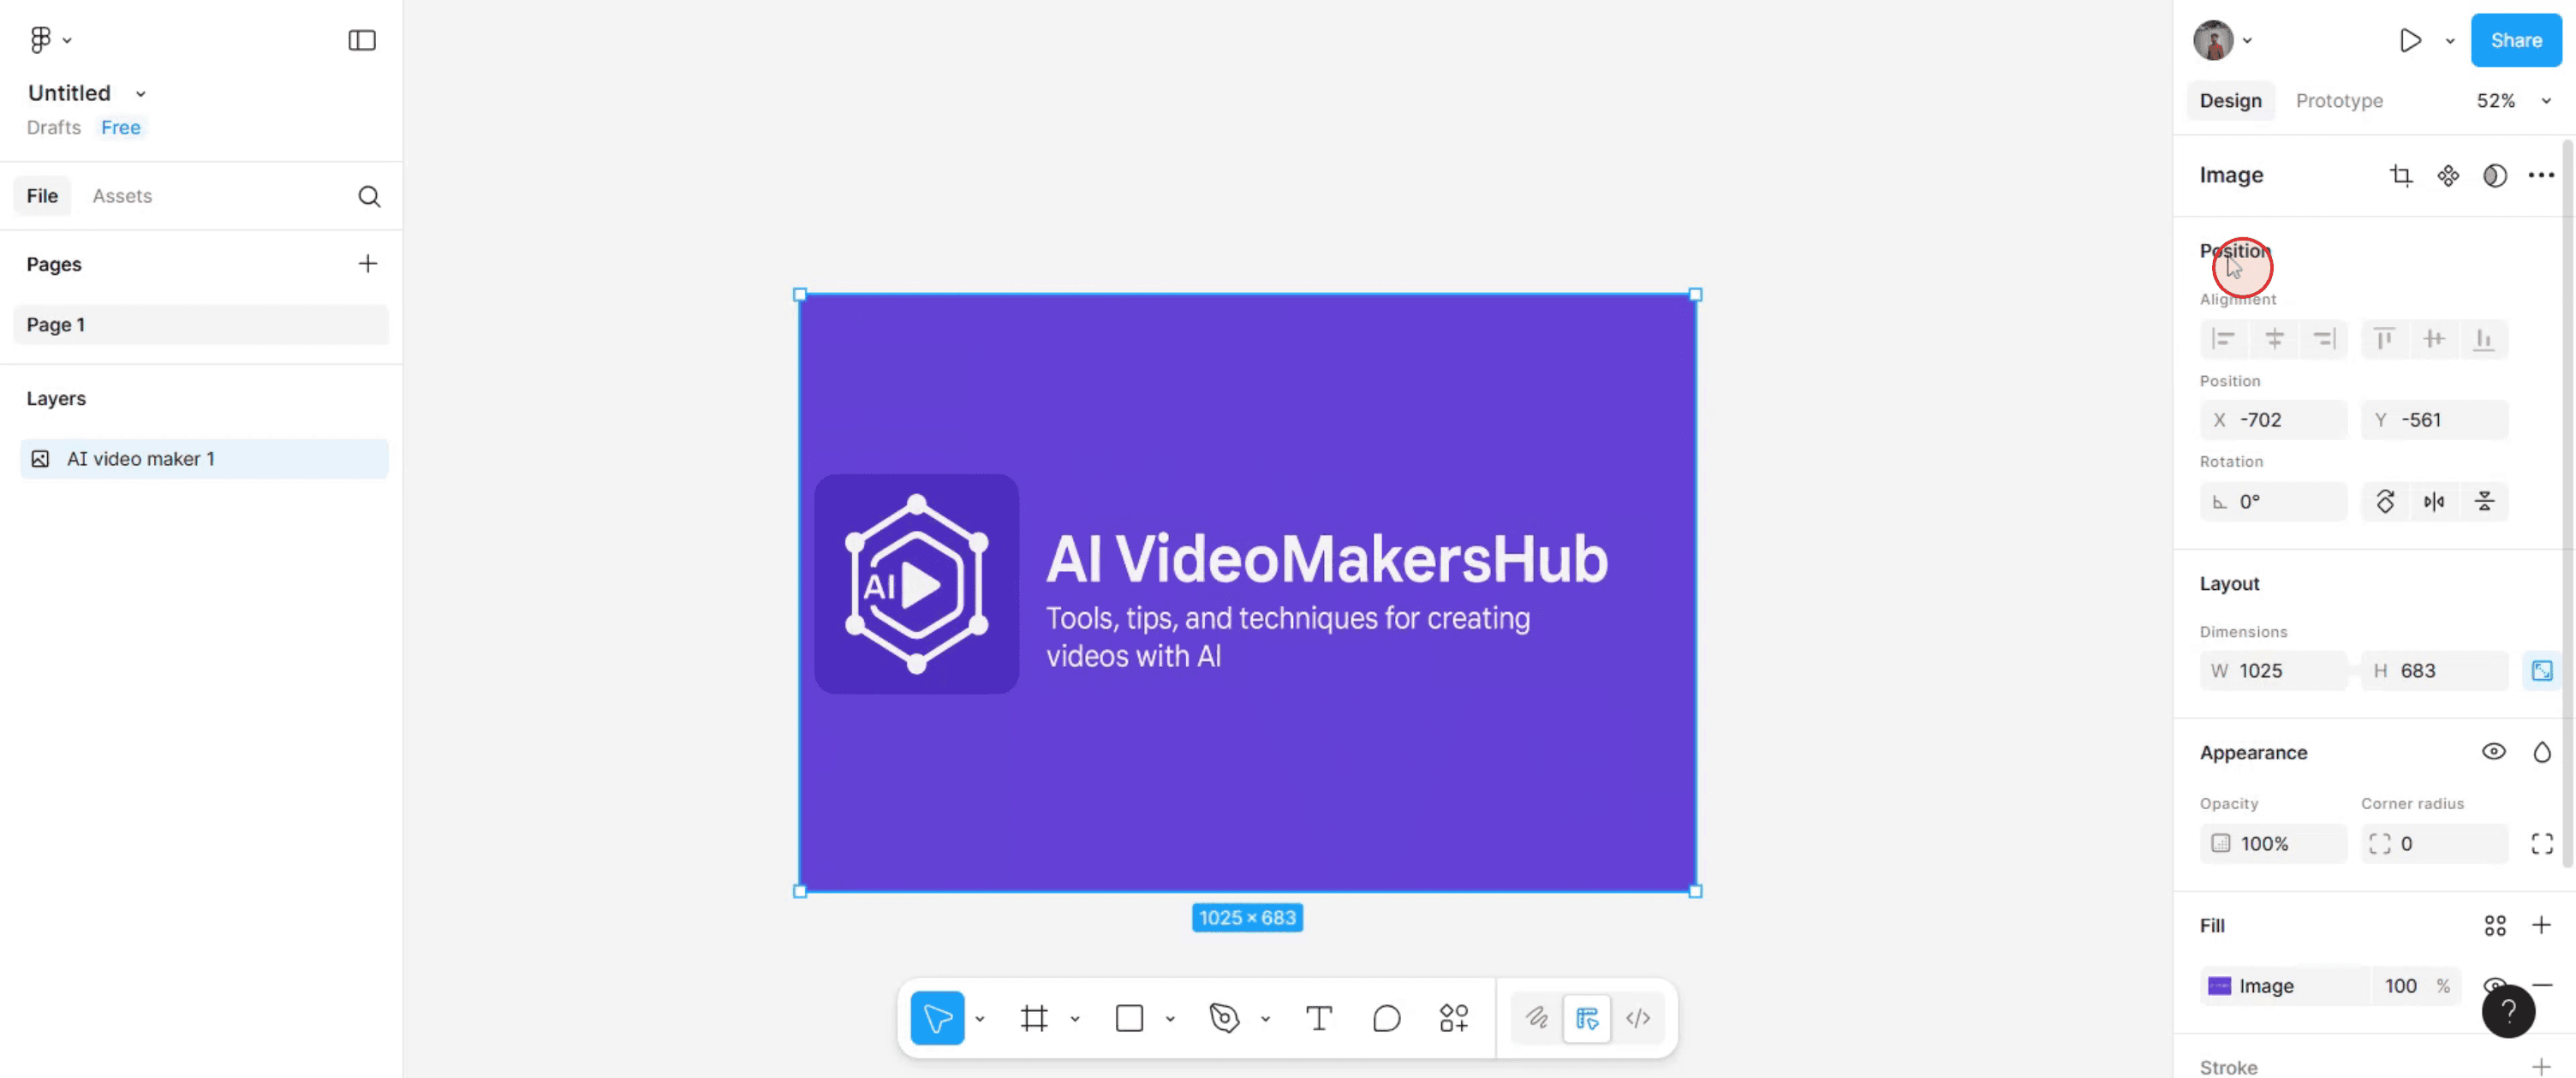
ステップ 2
その後、右側のパネルに移動し、[デザイン]タブの下にある Position セクションを見つけます。
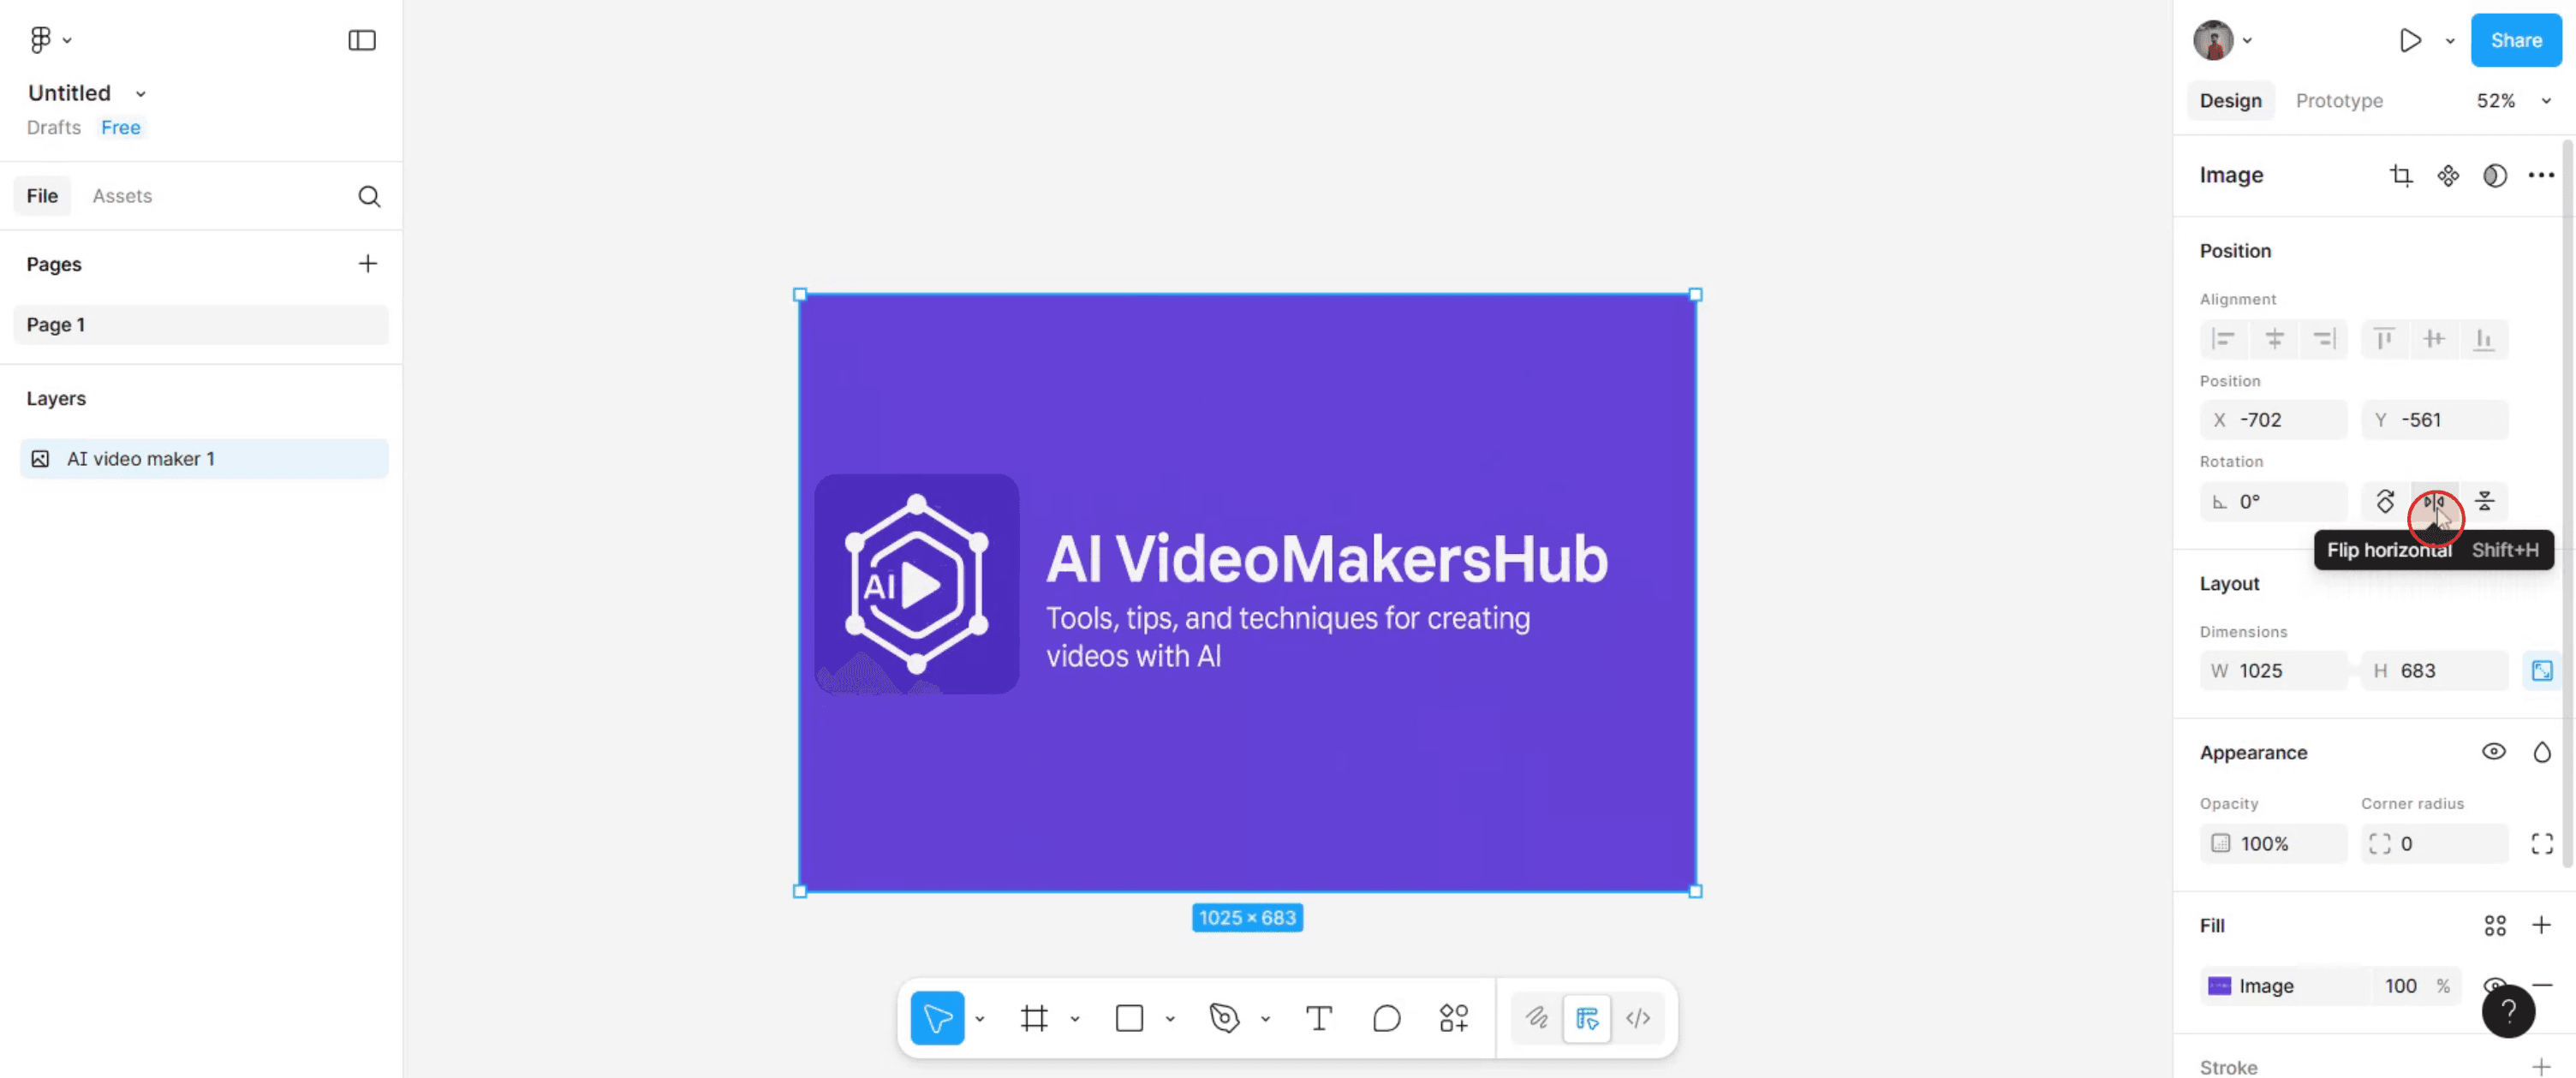
ステップ 3
選択した画像を左右に反転したい場合は、[水平反転]アイコンをクリックします。
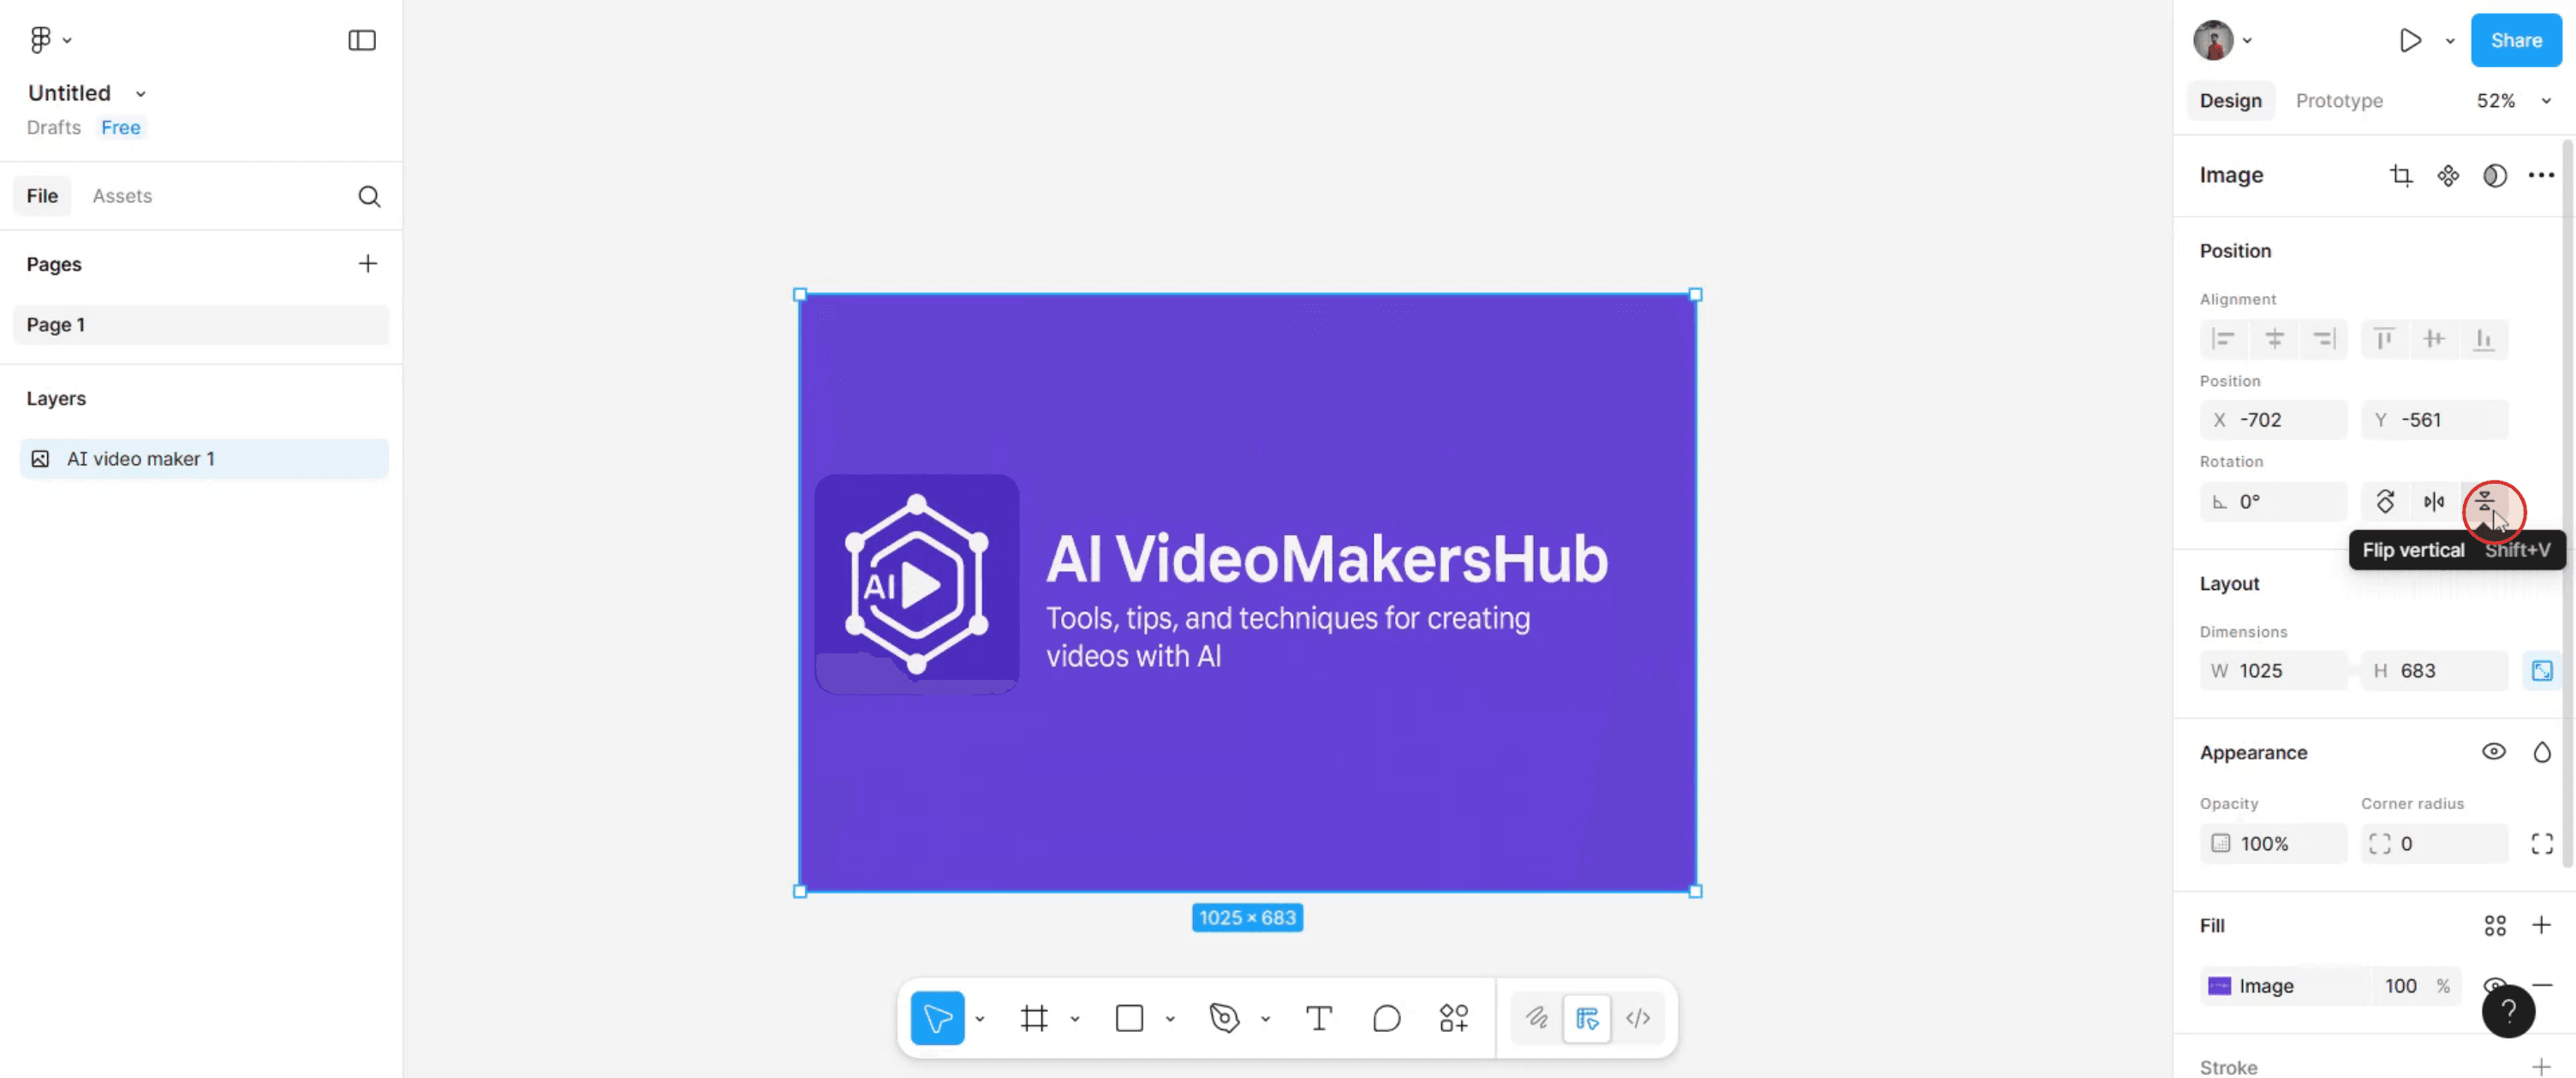
ステップ 4
一方、上下に反転したい場合は、[垂直反転]アイコンをクリックします。
ステップ 5
これらの手順を完了すると、選択した画像は入力に応じて反転されます。

Figmaで画像を反転するためのプロのヒント
反転したい画像を選択する
Figmaキャンバス上の画像レイヤーをクリックするか、レイヤーパネルから選択します。ツールバーのオプションを開く
上部ツールバーで変形ツールを確認します。反転アイコンを使う
画像を希望の方向に反転するには、横反転 または 縦反転 アイコンをクリックします。右クリックで行う
画像を右クリックし、変形 に移動して、横反転 または 縦反転 を選択します。ショートカットで反転する
キーボードショートカットの Shift + H で横反転、Shift + V で縦反転を行うと、作業をすばやく進められます。必要に応じて位置を調整する
反転後、デザイン内で整列を保てるように画像の位置を調整します。
よくある落とし穴とその回避方法
間違ったレイヤーを反転してしまう
反転する前に、意図した画像レイヤーだけが選択されていることを確認します。画像が歪んで見える
反転と同時に画像を拡大縮小していないことを確認してください。グループ化されたオブジェクトが一緒に反転してしまう
グループ内の他のレイヤーではなく画像だけを反転したい場合は、要素をグループ解除します。反転ではなく誤って回転してしまう
回転によって位置がずれることがあるため、手動で180°回転するのではなく、専用の反転ツールを使います。画像の整列が崩れる
一貫したレイアウトを保つために、反転後に整列ツールを使用します。
Figmaで画像を反転することに関するよくある質問
Figmaで画像を水平反転するには?
画像を選択し、ツールバーの「水平反転」アイコンをクリックするか、Shift + H を押します。Figmaで画像を垂直反転するには?
画像を選択し、ツールバーの「垂直反転」アイコンをクリックするか、Shift + V を押します。複数の画像を一度に反転できますか?
はい、すべての画像をまとめて選択し、反転ツールまたはショートカットを使用します。反転すると画質に影響しますか?
いいえ、Figmaで画像を反転しても非破壊で、画質は保持されます。Figmaモバイルで画像を反転できますか?
いいえ、反転ツールはFigmaのデスクトップ版またはウェブ版でのみ利用できます。Macで画面収録する方法は?
Macで画面収録するには、Trupeer AIを使用できます。画面全体をキャプチャでき、AIアバターの追加、ナレーションの追加、動画内でのズームイン・ズームアウトなどのAI機能も備えています。trupeerのAI動画翻訳機能を使えば、動画を30以上の言語に翻訳できます。画面収録にAIアバターを追加するには?
画面収録にAIアバターを追加するには、AI画面録画ツールを使用する必要があります。Trupeer AIはAI画面録画ツールで、複数のアバターを使った動画の作成を支援し、さらに動画用の独自アバターの作成もサポートします。Windowsで画面収録する方法は?
Windowsで画面収録するには、組み込みのGame Bar(Windows + G)を使うか、Trupeer AIのような高度なAIツールを使うと、AIアバター、ナレーション、翻訳など、より高度な機能を利用できます。動画にナレーションを追加するには?
動画にナレーションを追加するには、trupeer aiのChrome拡張機能をダウンロードします。サインアップ後、音声付きの動画をアップロードし、trupeerから希望のナレーションを選択して、編集した動画を書き出します。画面収録でズームインするには?
画面収録中にズームインするには、Trupeer AIのズーム効果を使います。特定のタイミングでズームイン・ズームアウトでき、動画コンテンツの視覚的な印象を高められます。
おすすめ記事
関連チュートリアル

