
Come sfumare i bordi di una foto in Canva
Segui queste istruzioni per ottenere un aspetto rifinito e professionale per le tue immagini.
Vuoi dare alla tua immagine un aspetto morbido e professionale con bordi delicatamente sfumati? Canva rende tutto semplice usando cornici con gradiente o lo strumento sfocatura. Ecco due modi rapidi per farlo:
Metodo 1: Usare una cornice con gradiente
Aggiungi la tua foto
Apri il tuo progetto Canva e carica o trascina la foto su cui vuoi lavorare.Cerca una cornice con gradiente
Vai alla scheda “Elementi” e digita “gradient frame” o “fade frame”.
Cerca una con centro trasparente e bordi sfumati.Posiziona & ridimensiona
Trascina la cornice con gradiente sopra la tua foto e regolala in modo che copra i bordi. Puoi duplicare la cornice e capovolgerla per un aspetto più equilibrato su tutti i lati.Rifinisci l'effetto
Sperimenta con trasparenza, sovrapposizione e posizionamento per ottenere il giusto effetto di bordo sfumato.
Metodo 2: Usare lo strumento sfocatura
Seleziona la foto
Fai clic sull'immagine che vuoi ammorbidire.Applica la sfocatura
Fai clic su “Modifica immagine”, poi scorri per trovare lo strumento “Sfocatura”.
Usa il cursore per controllare quanto morbidi diventano i bordi.
Guida passo passo: come sfumare i bordi di una foto in Canva
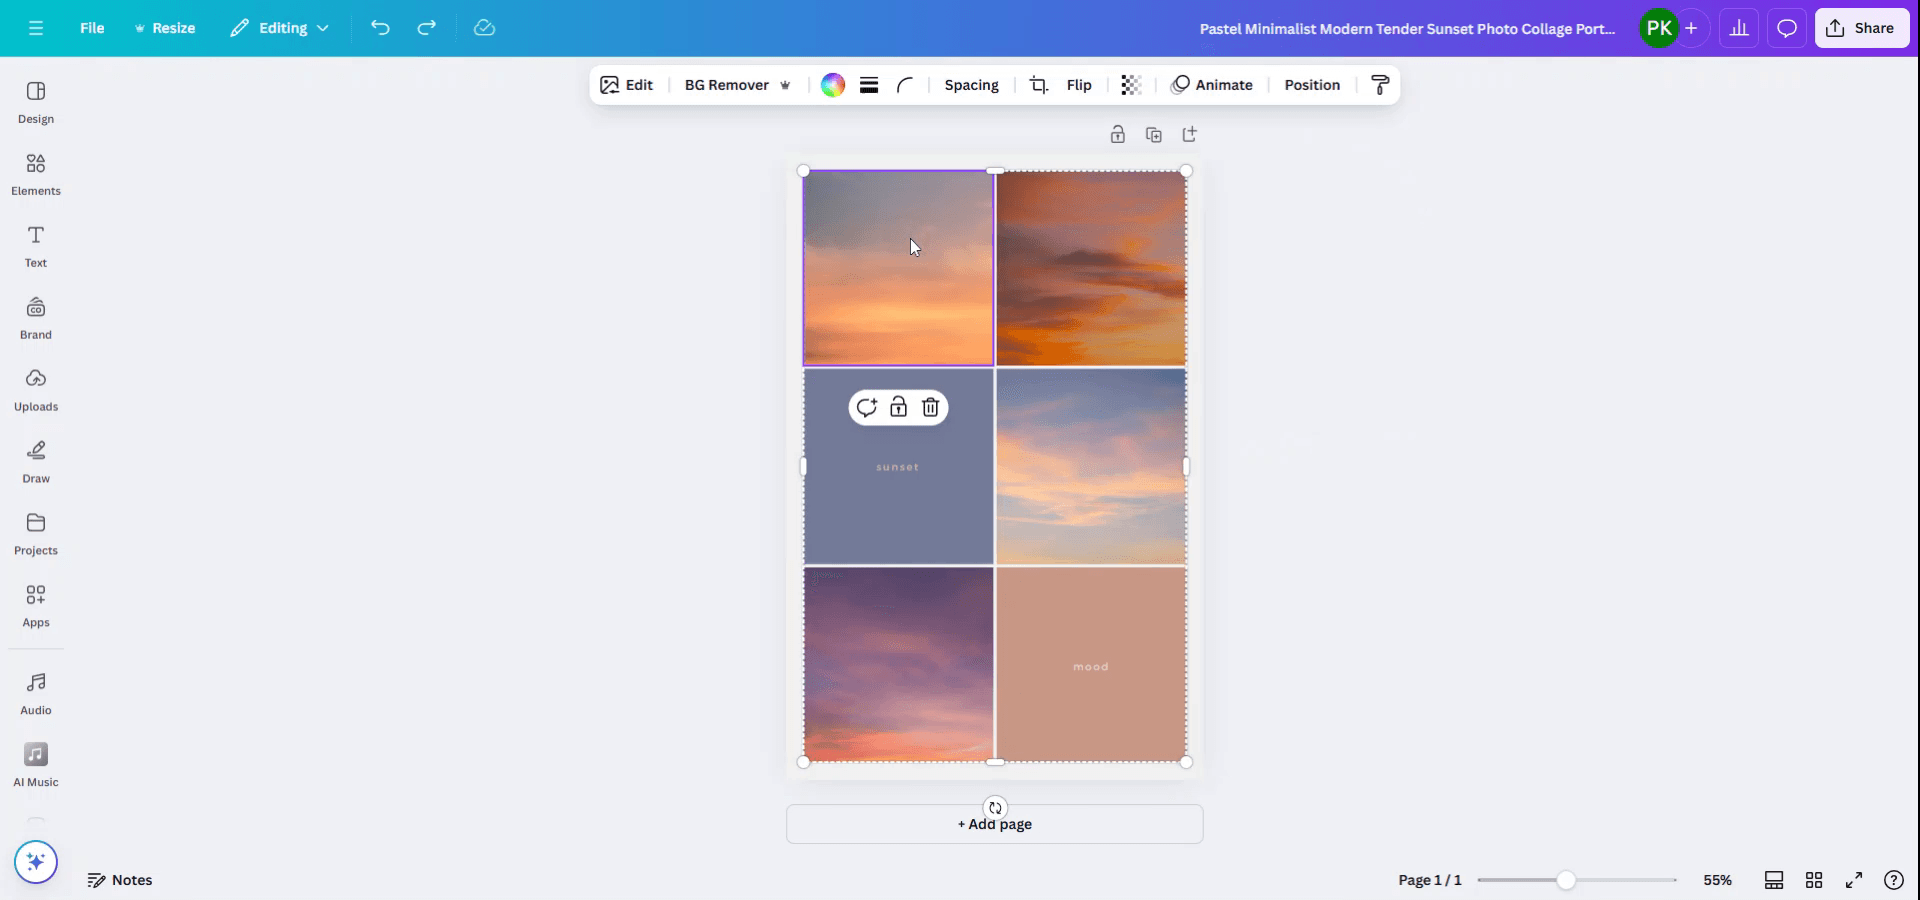
Passo 1
Apri il design del collage in cui vuoi rendere le foto con bordi morbidi.
Inizia aprendo il tuo design in Canva e selezionando la foto specifica che richiede bordi morbidi.
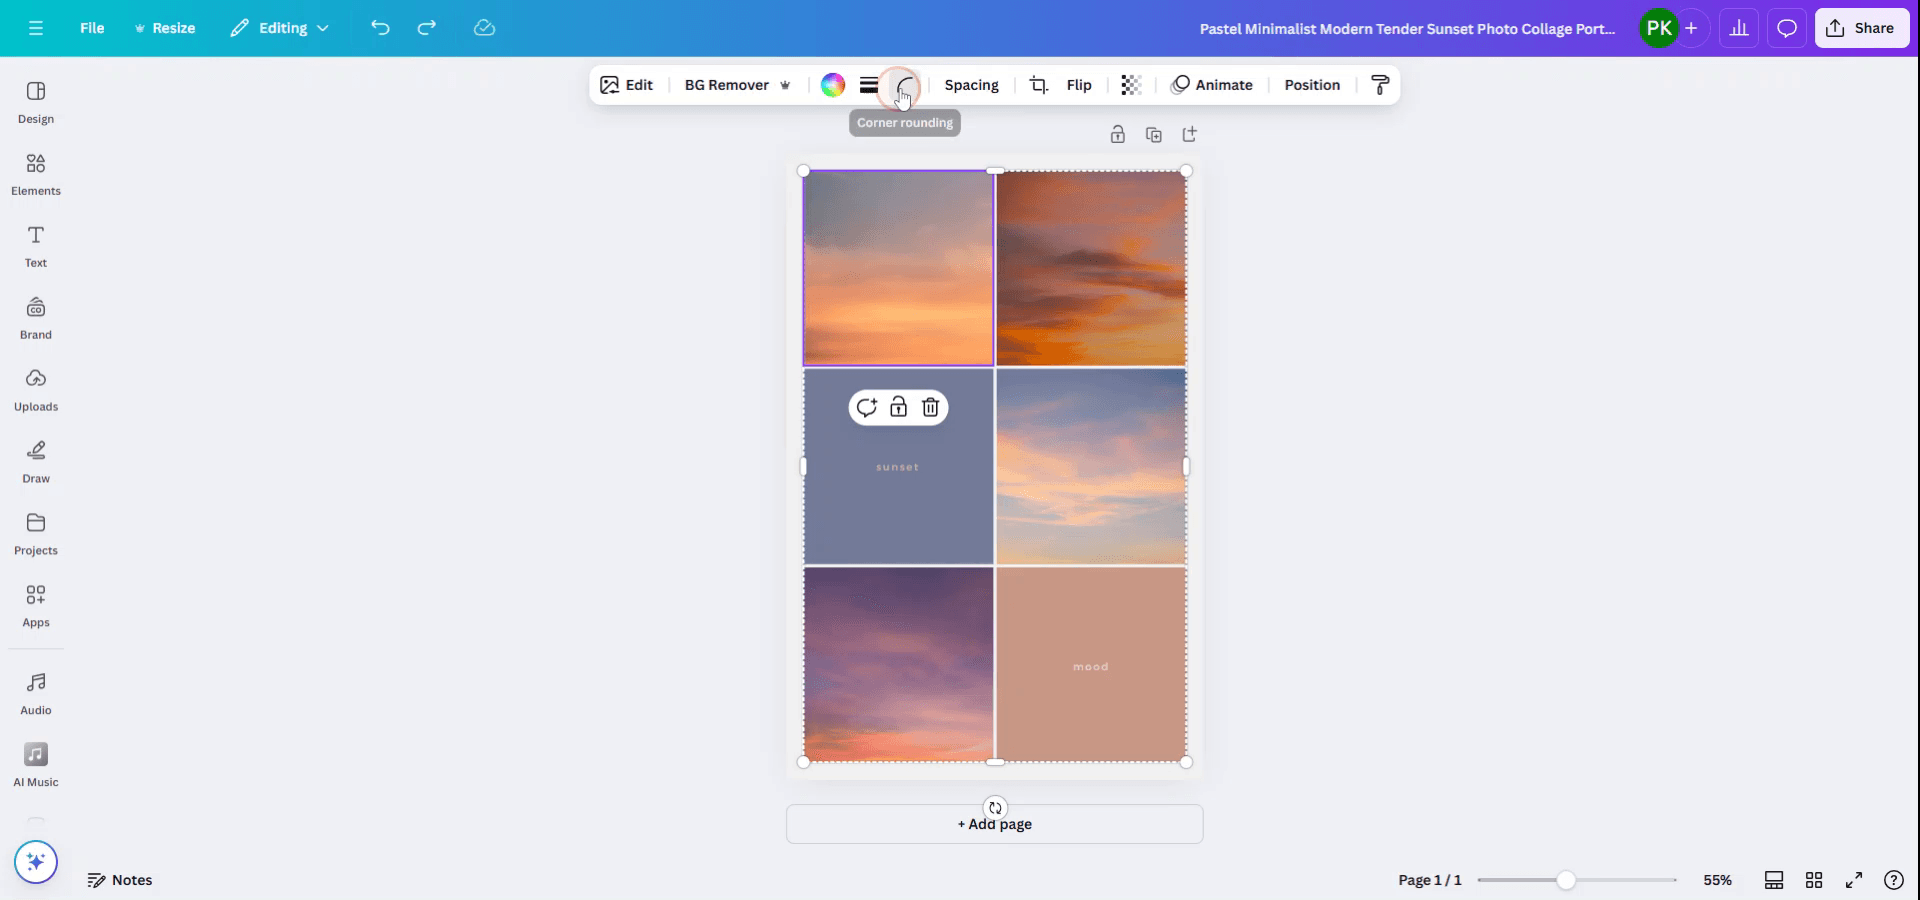
Passo 2
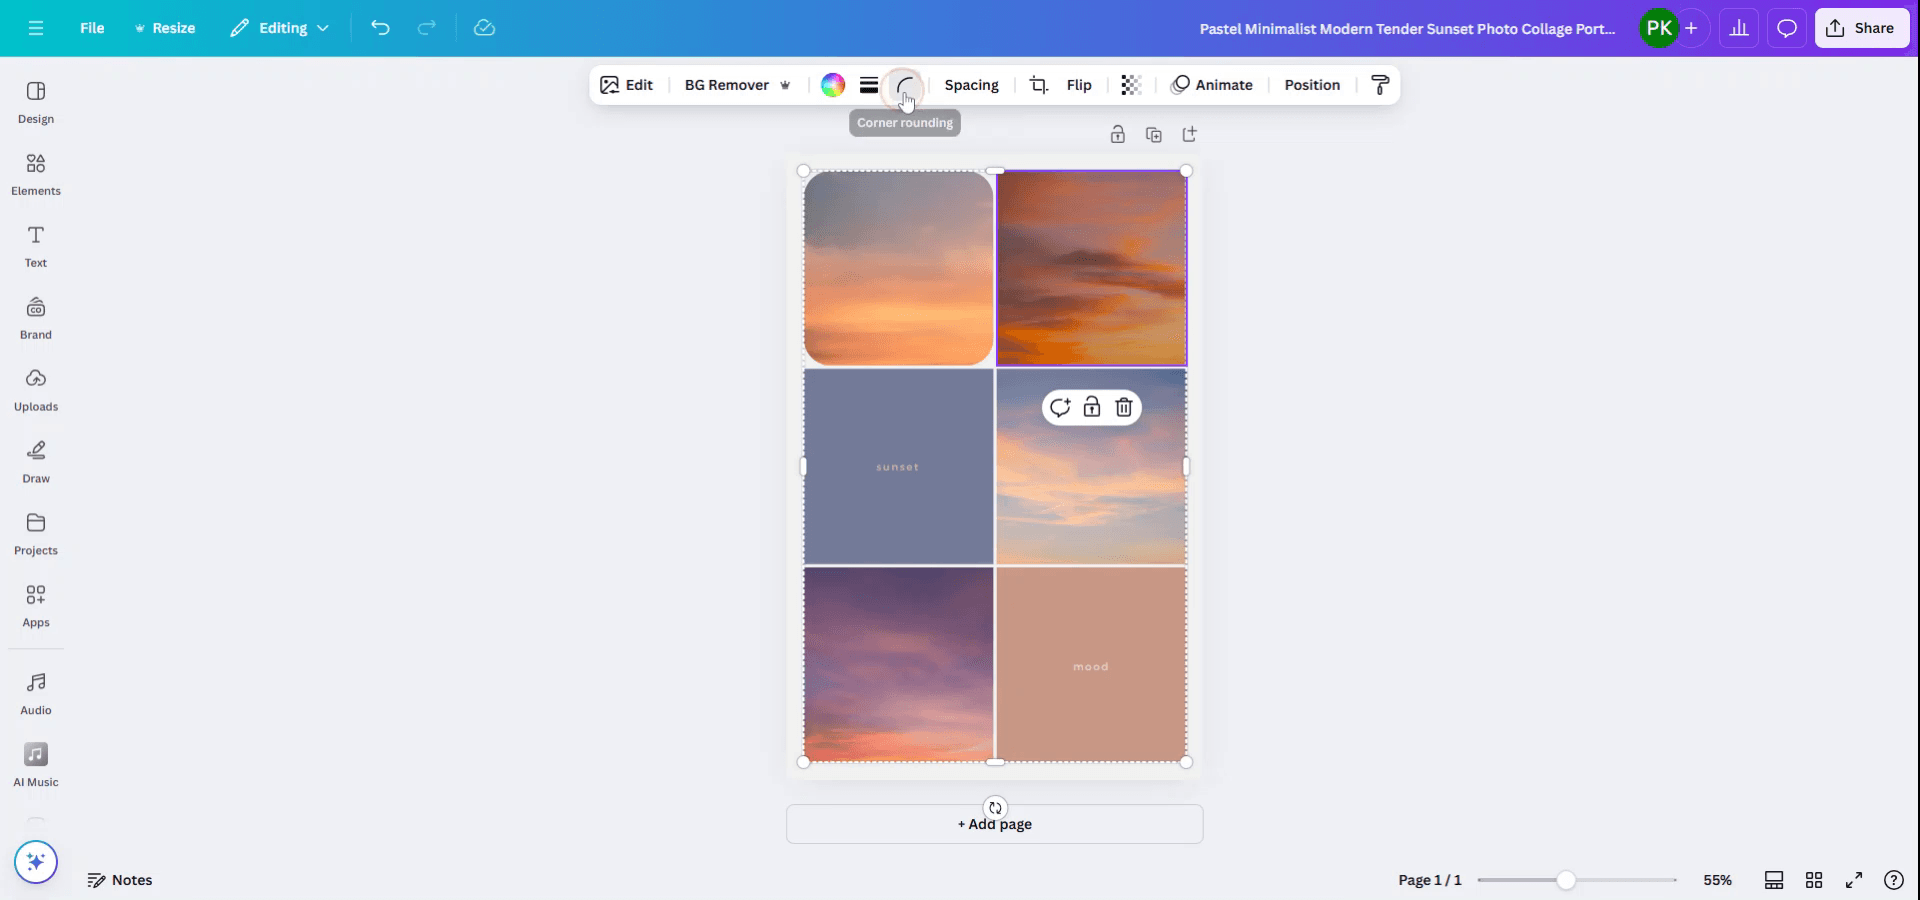
Una volta selezionata la foto, vai al menu in alto e fai clic sull'opzione di arrotondamento degli angoli per iniziare a regolare i bordi della foto.
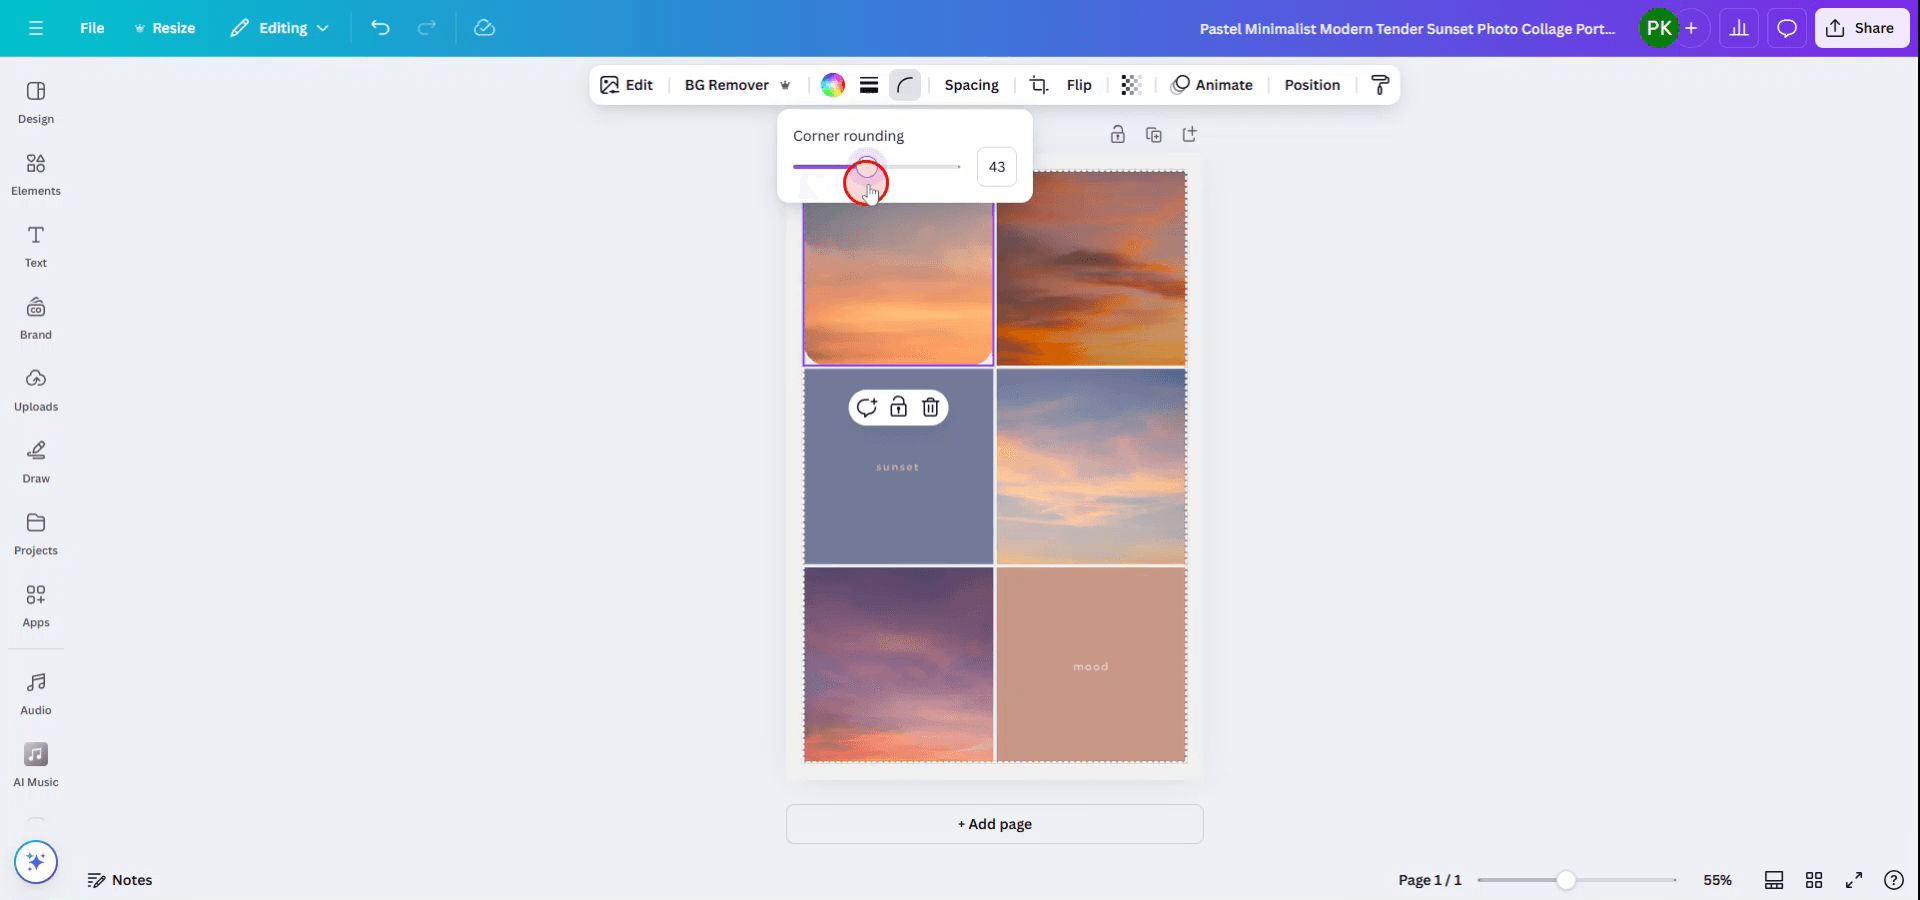
Passo 3
Utilizza il cursore per determinare il livello di arrotondamento desiderato per i bordi.
Passo 4
Passa alla foto successiva e applica lo stesso processo a ciascuna immagine per mantenere un aspetto coerente.
Ripeti il processo per tutte le foto per garantire uniformità in tutto il tuo design.
Consigli professionali per sfumare i bordi di una foto in Canva
Usa cornici con bordi arrotondati:
Canva offre diverse cornici con bordi morbidi e arrotondati. Vai semplicemente su "Elementi", cerca "Cornici" e scegli lo stile di cornice con angoli arrotondati per creare bordi morbidi intorno alle tue foto.Applica l'effetto "Angoli arrotondati":
Se stai usando immagini quadrate o rettangolari, puoi applicare l'effetto "Angoli arrotondati". Fai clic sull'immagine, quindi usa i cursori degli angoli per regolare l'arrotondamento e ottenere un aspetto con bordi morbidi.Usa bordi sfumati:
Crea un effetto di dissolvenza morbida intorno alle tue immagini aggiungendo un bordo sfumato. Per farlo, usa uno sfondo sfumato trasparente, che puoi sovrapporre dietro la tua foto per ottenere una transizione fluida dall'immagine allo sfondo.Sfuma i bordi per un effetto soft focus:
Un altro metodo consiste nello sfumare i bordi delle tue foto. Usa l'opzione “Effetti” per applicare una sfocatura ai bordi delle tue immagini, mantenendo nitido il centro e ammorbidendo le aree circostanti.Sperimenta con le maschere:
Canva ti consente di mascherare le immagini in diverse forme. Puoi scegliere una forma circolare o personalizzata per mascherare la tua foto, e avrà automaticamente bordi morbidi.
Errori comuni e come evitarli per sfumare i bordi di una foto in Canva
Bordi netti nelle foto:
Assicurati di usare cornici con angoli arrotondati o di applicare l'effetto angoli arrotondati alle tue immagini per una transizione più fluida.Disallineamento degli elementi del collage:
Assicurati che tutte le immagini siano allineate e distanziate correttamente all'interno del layout del collage. Usa la griglia o gli strumenti di allineamento per maggiore precisione.Uso eccessivo degli effetti di sfocatura:
Non applicare troppa sfocatura, perché potrebbe distogliere l'attenzione dal soggetto delle tue immagini. Di solito una leggera sfocatura sui bordi è più efficace.Conflitto dello sfondo con i bordi morbidi:
Scegli uno sfondo che si armonizzi con i bordi morbidi delle tue immagini. Evita sfondi troppo affollati che potrebbero distrarre dalle foto.Troppe sovrapposizioni o effetti:
Mantieni il design semplice. Troppe sovrapposizioni o effetti possono rendere il collage disordinato. Limìtati a uno o due effetti discreti per ottenere il miglior risultato.
Domande frequenti comuni su come sfumare i bordi di una foto in Canva
Come posso rendere morbidi i bordi delle mie foto in Canva?
Puoi applicare l'effetto "Rounded Corners", usare cornici con bordi arrotondati o sfumare i bordi usando l'opzione "Effects" di Canva.Posso applicare bordi morbidi a più foto contemporaneamente?
Sì, puoi applicare angoli arrotondati o usare la stessa cornice per più foto per creare bordi morbidi uniformi in tutto il tuo collage.Posso aggiungere una cornice con bordi morbidi attorno a una foto di forma personalizzata?
Sì, usa la funzione di mascheramento di Canva per creare una forma personalizzata, come un cerchio, e i bordi saranno automaticamente morbidi.Qual è il modo migliore per combinare foto con bordi morbidi in un collage?
Usa cornici con angoli arrotondati e allinea le tue immagini per creare un collage uniforme che fonda insieme i bordi morbidi di ogni foto.È gratis creare collage di foto con bordi morbidi in Canva?
Sì, Canva offre strumenti ed elementi gratuiti come cornici e angoli arrotondati che ti permettono di creare collage di foto con bordi morbidi.Come registrare lo schermo su Mac?
Per registrare lo schermo su un Mac, puoi usare Trupeer AI. Ti consente di acquisire l'intero schermo e offre funzionalità di IA come l'aggiunta di avatar IA, l'aggiunta di una voce narrante, l'aggiunta di zoom avanti e indietro nel video. Con la funzione di traduzione video IA di Trupeer, puoi tradurre il video in oltre 30 lingue.Come aggiungere un avatar IA a una registrazione dello schermo?
Per aggiungere un avatar IA a una registrazione dello schermo, dovrai usare uno strumento di registrazione dello schermo con IA. Trupeer AI è uno strumento di registrazione dello schermo con IA, che ti aiuta a creare video con più avatar e ti aiuta anche a creare il tuo avatar per il video.Come registrare lo schermo su Windows?
Per registrare lo schermo su Windows, puoi usare la Game Bar integrata (Windows + G) o uno strumento IA avanzato come Trupeer AI per funzionalità più avanzate come avatar IA, voce narrante, traduzione ecc.Come aggiungere una voce narrante al video?
Per aggiungere una voce narrante ai video, scarica l'estensione Chrome di trupeer ai. Una volta registrato, carica il tuo video con voce, scegli la voce narrante desiderata da Trupeer ed esporta il video modificato.Come faccio a ingrandire durante una registrazione dello schermo?
Per ingrandire durante una registrazione dello schermo, usa gli effetti di zoom in Trupeer AI, che consentono di ingrandire e ridurre in momenti specifici, migliorando l'impatto visivo dei contenuti del tuo video.
Letture consigliate
Generatore di documentazione tecnica
Come incorporare codice HTML in Canva
Come trasformare un'immagine in una pagina da colorare in Canva
Come creare un'animazione di dissolvenza in Canva
Tutorial correlati

