

如何获取 Calendly API 密钥
了解如何获取您的 Calendly API 密钥,以便将日程安排功能集成到您的应用或工作流程中。逐步指南,教您如何访问 Calendly 开发者设置。
要获取 Calendly API 密钥(也称为个人访问令牌),请按以下步骤操作:
登录您的 Calendly 帐户:使用您的凭据访问您的 Calendly 仪表板。
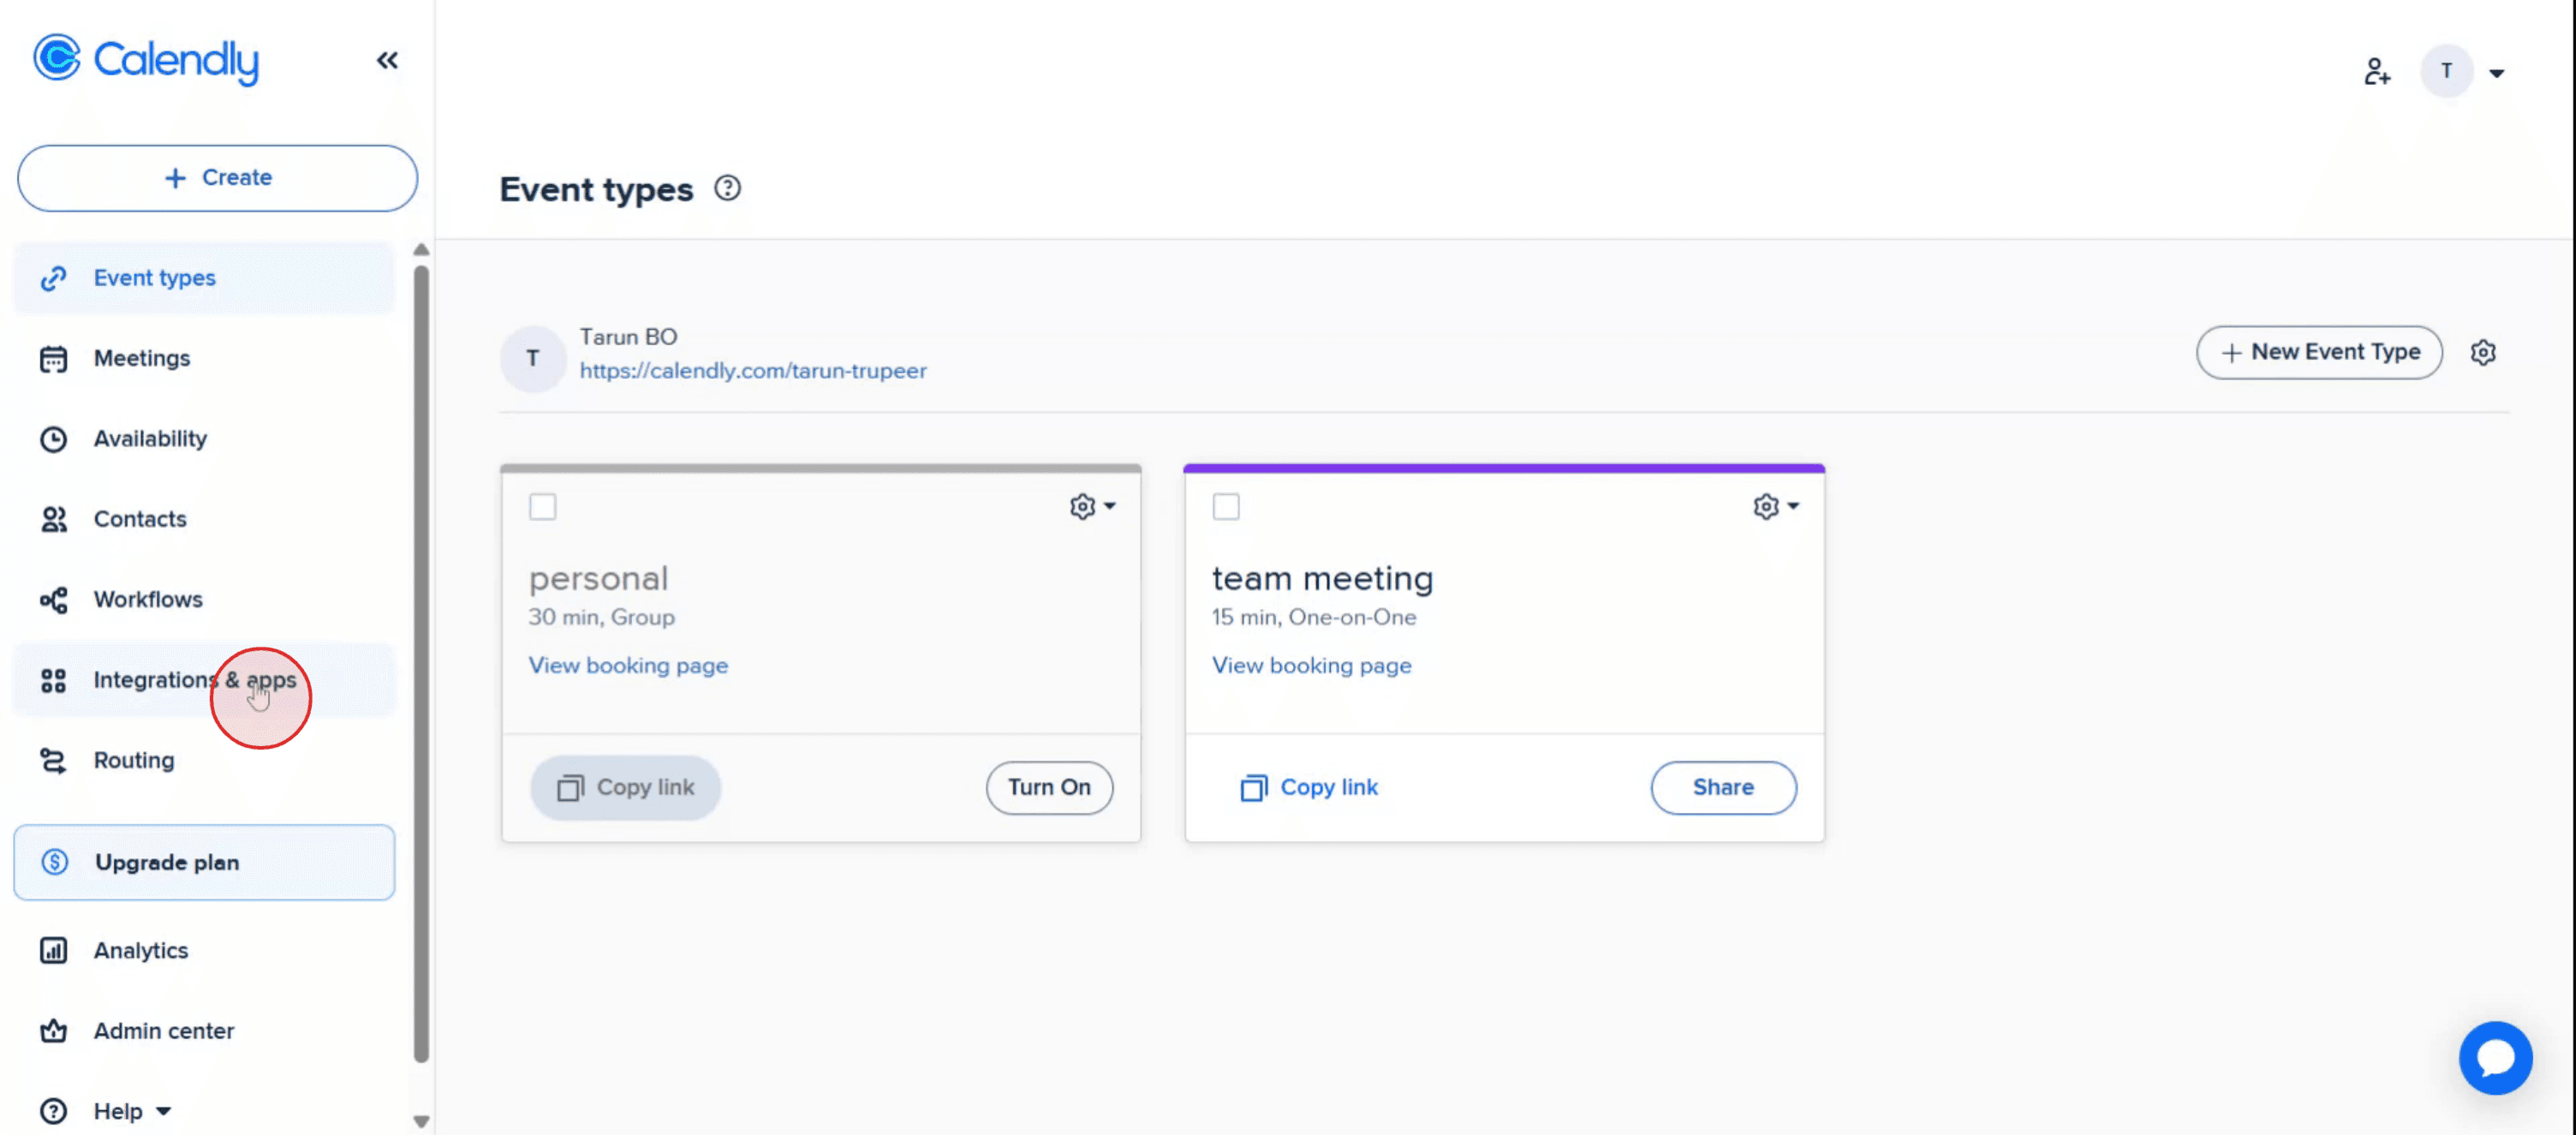
转到集成和应用:在仪表板左侧边栏中,找到并点击 "Integrations & Apps."。
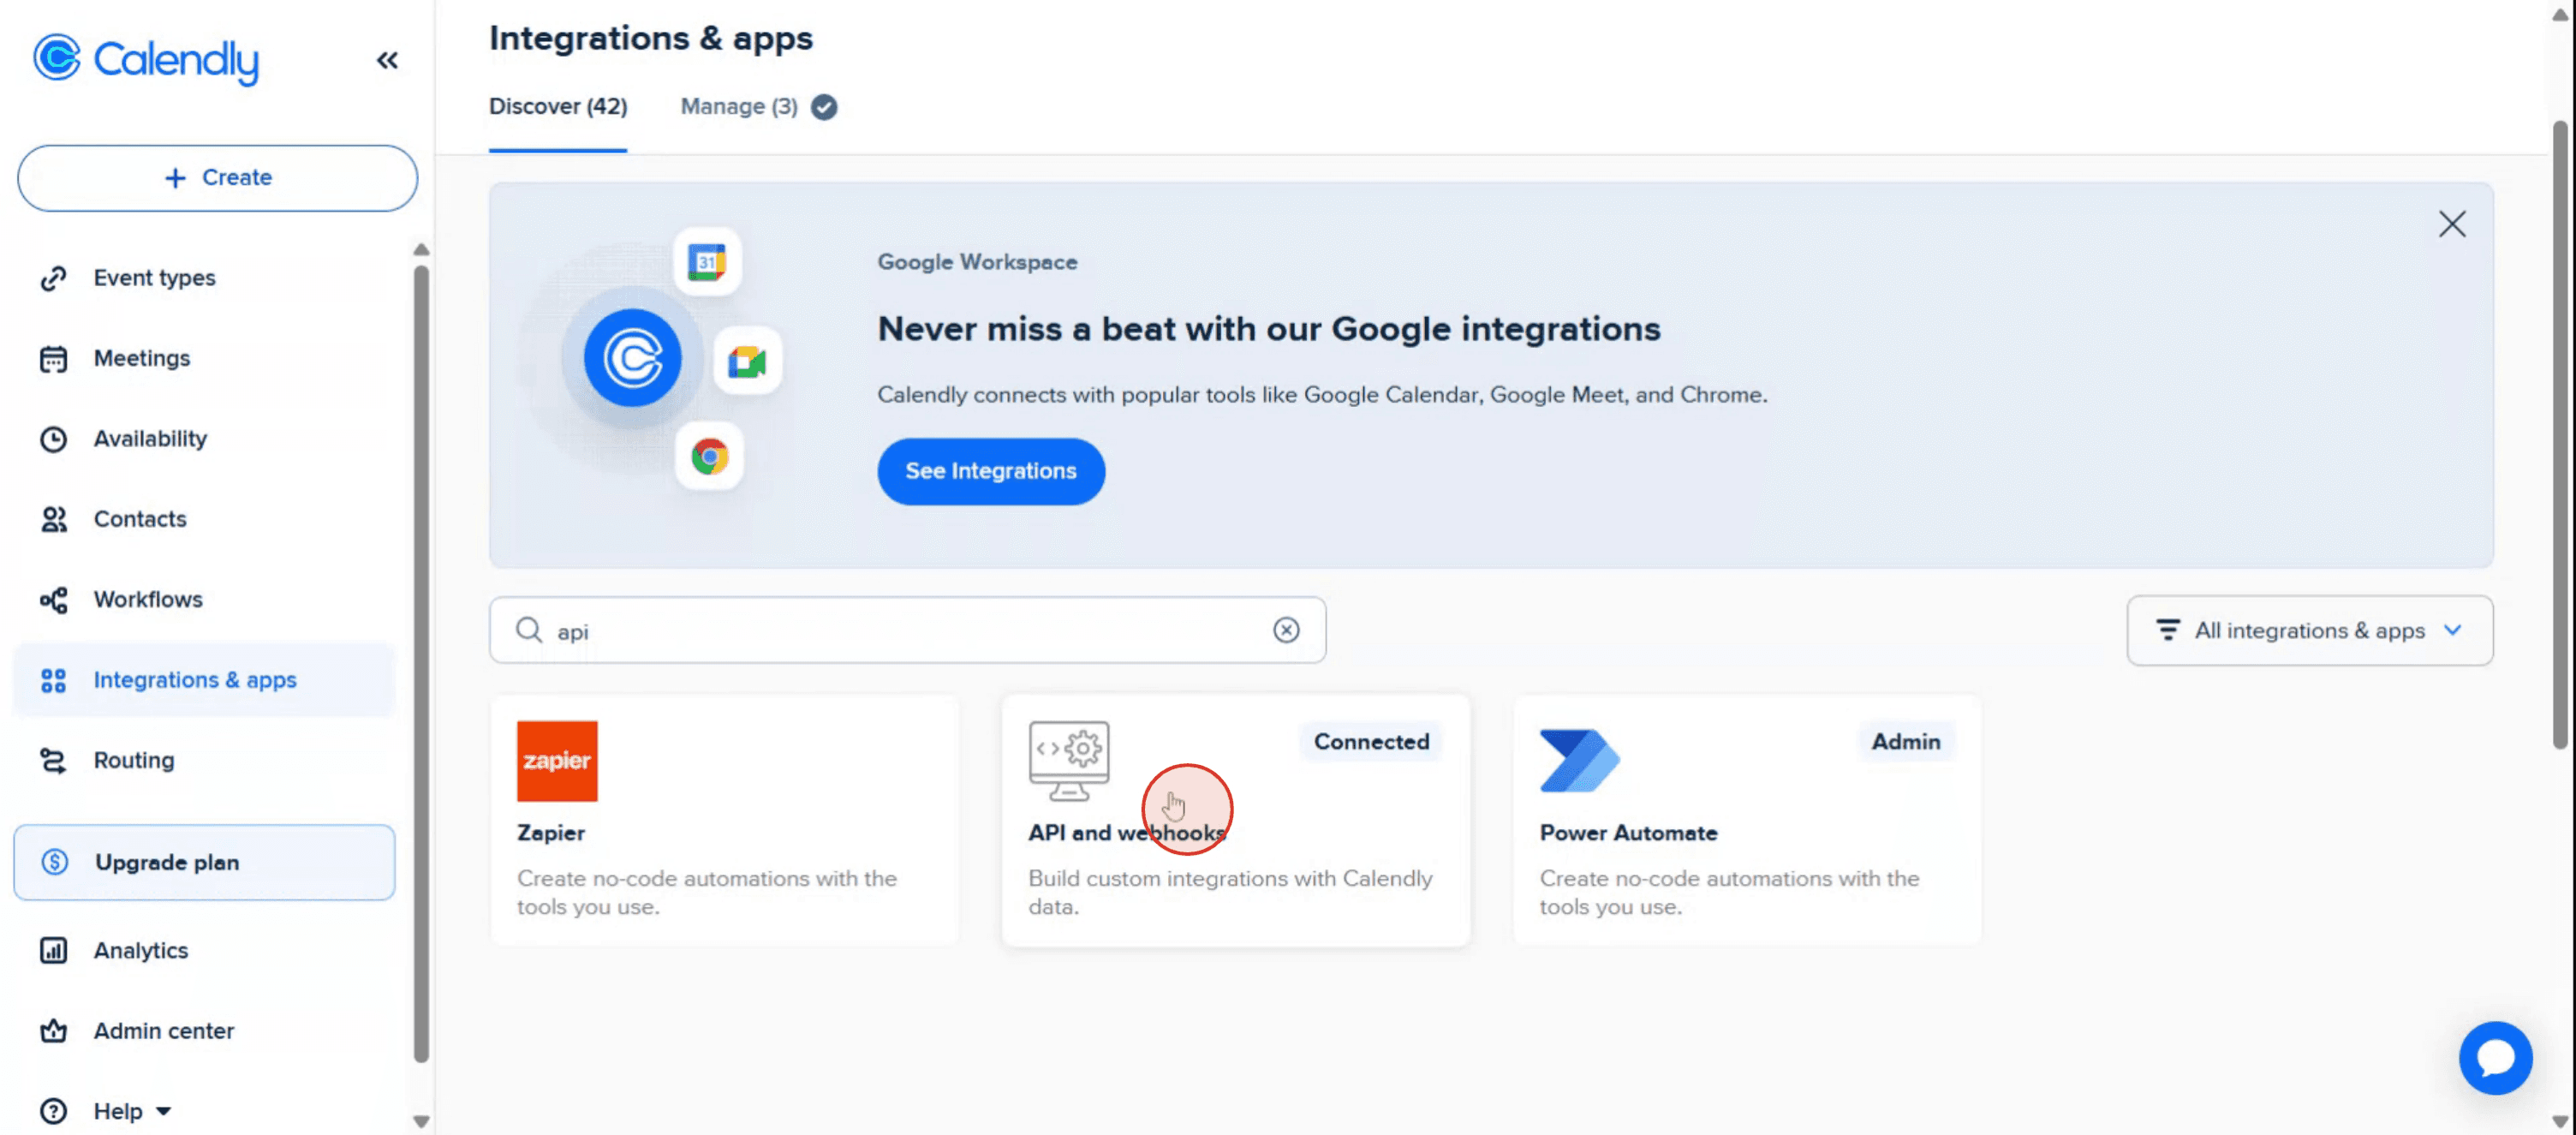
选择 API 和 Webhooks:在集成部分中,找到并点击 "API and Webhooks."。
生成新令牌:如果您没有现有的个人访问令牌,请在 "Personal Access Tokens." 下选择 "Get a token now"。
如果您已经有令牌,
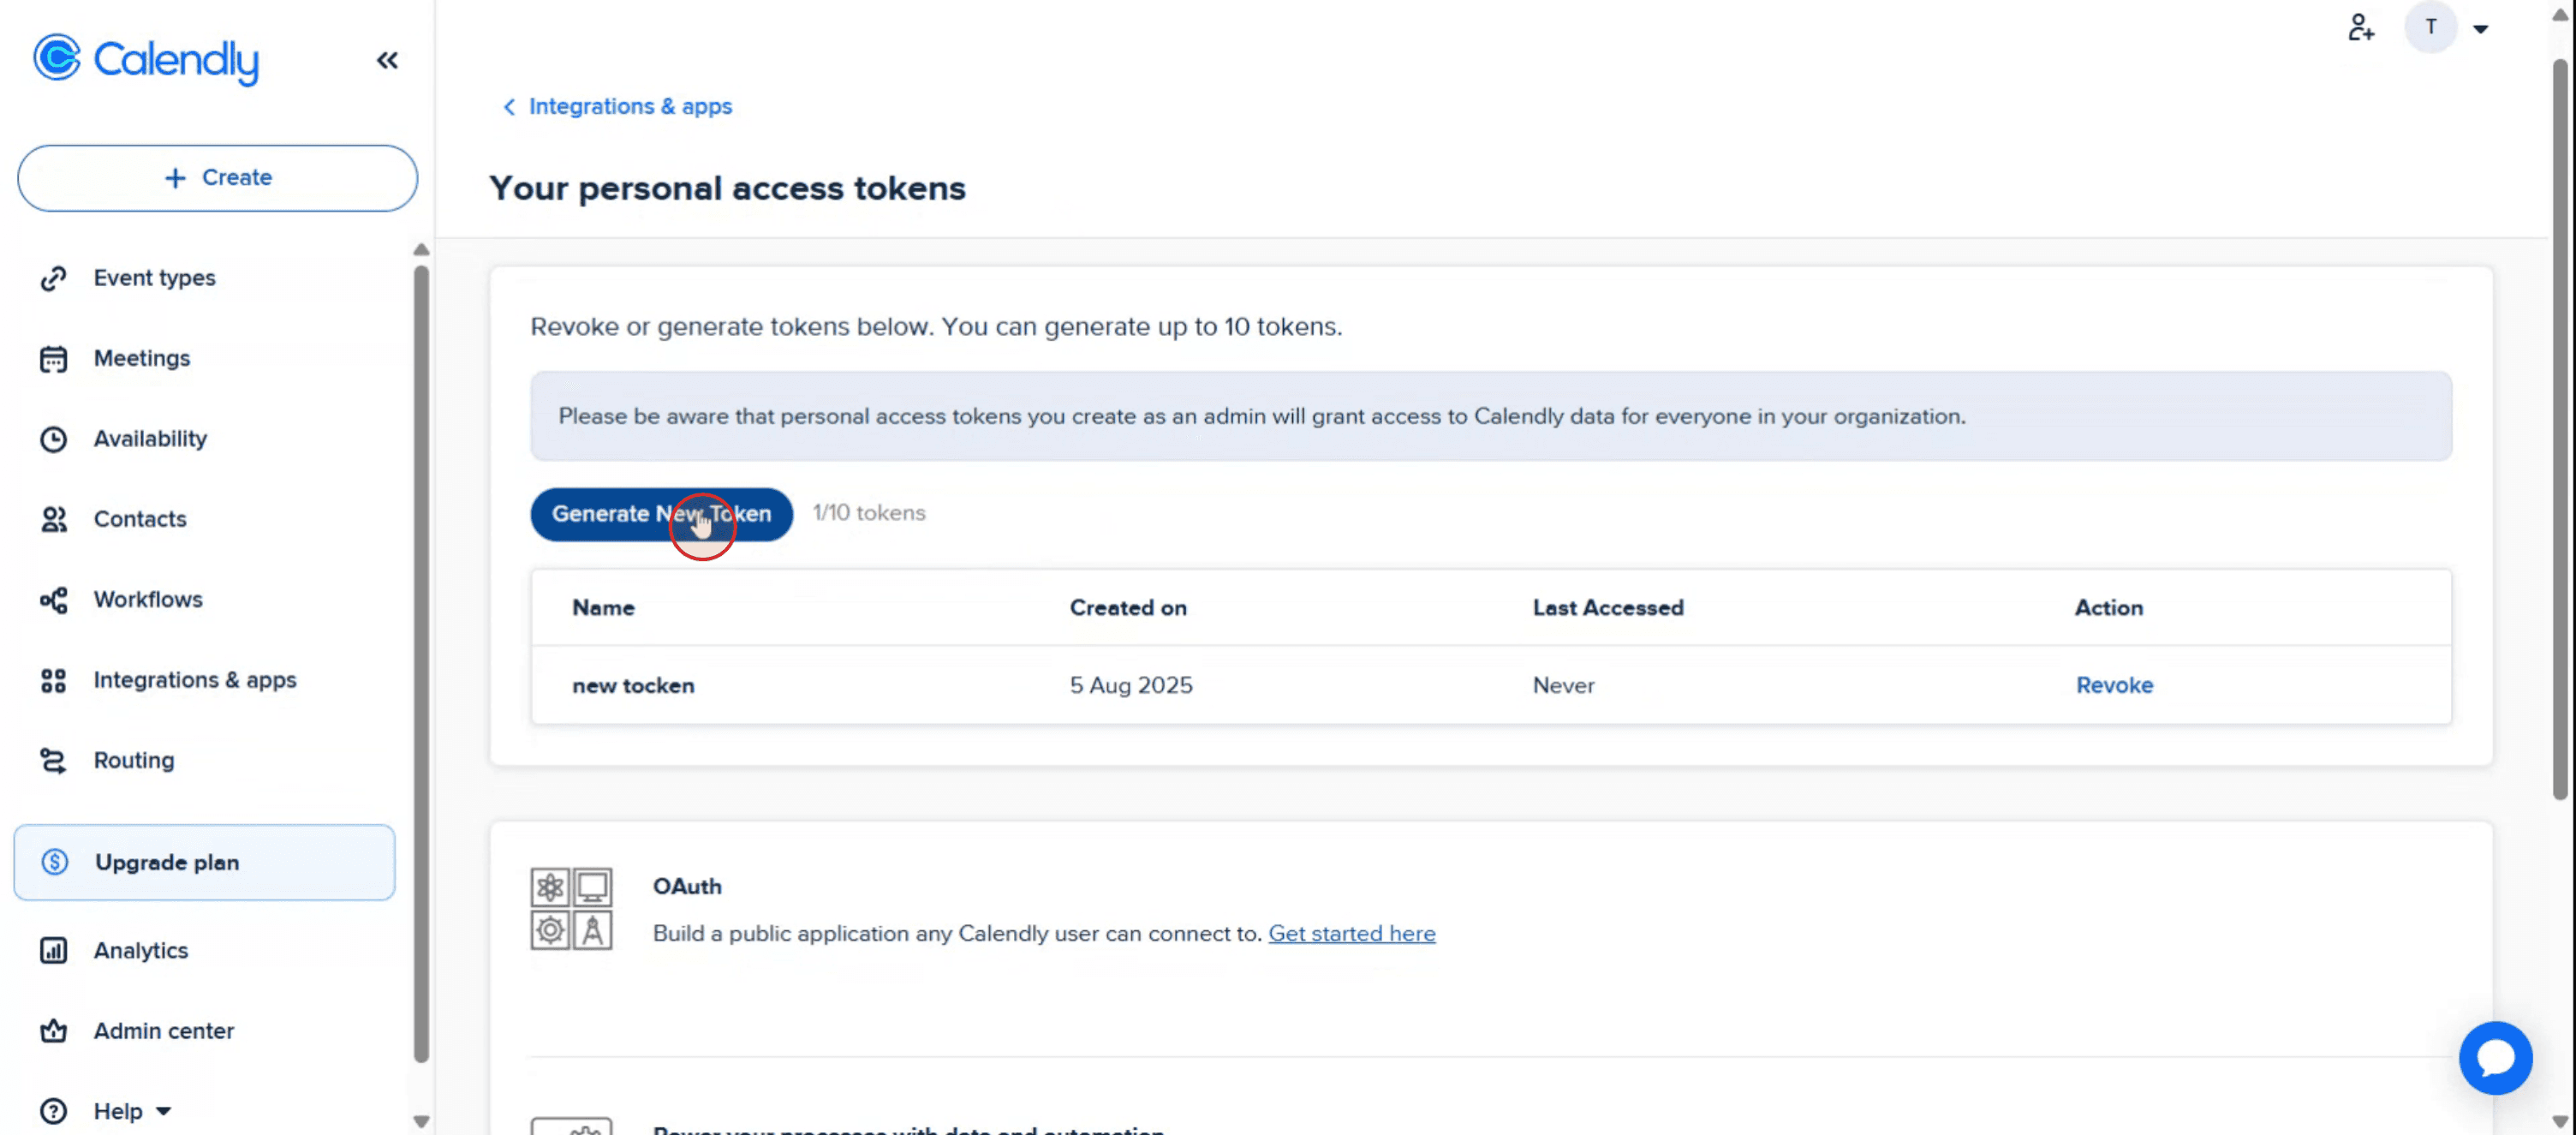
请在 "Your personal access tokens." 下选择 "Generate new token"。
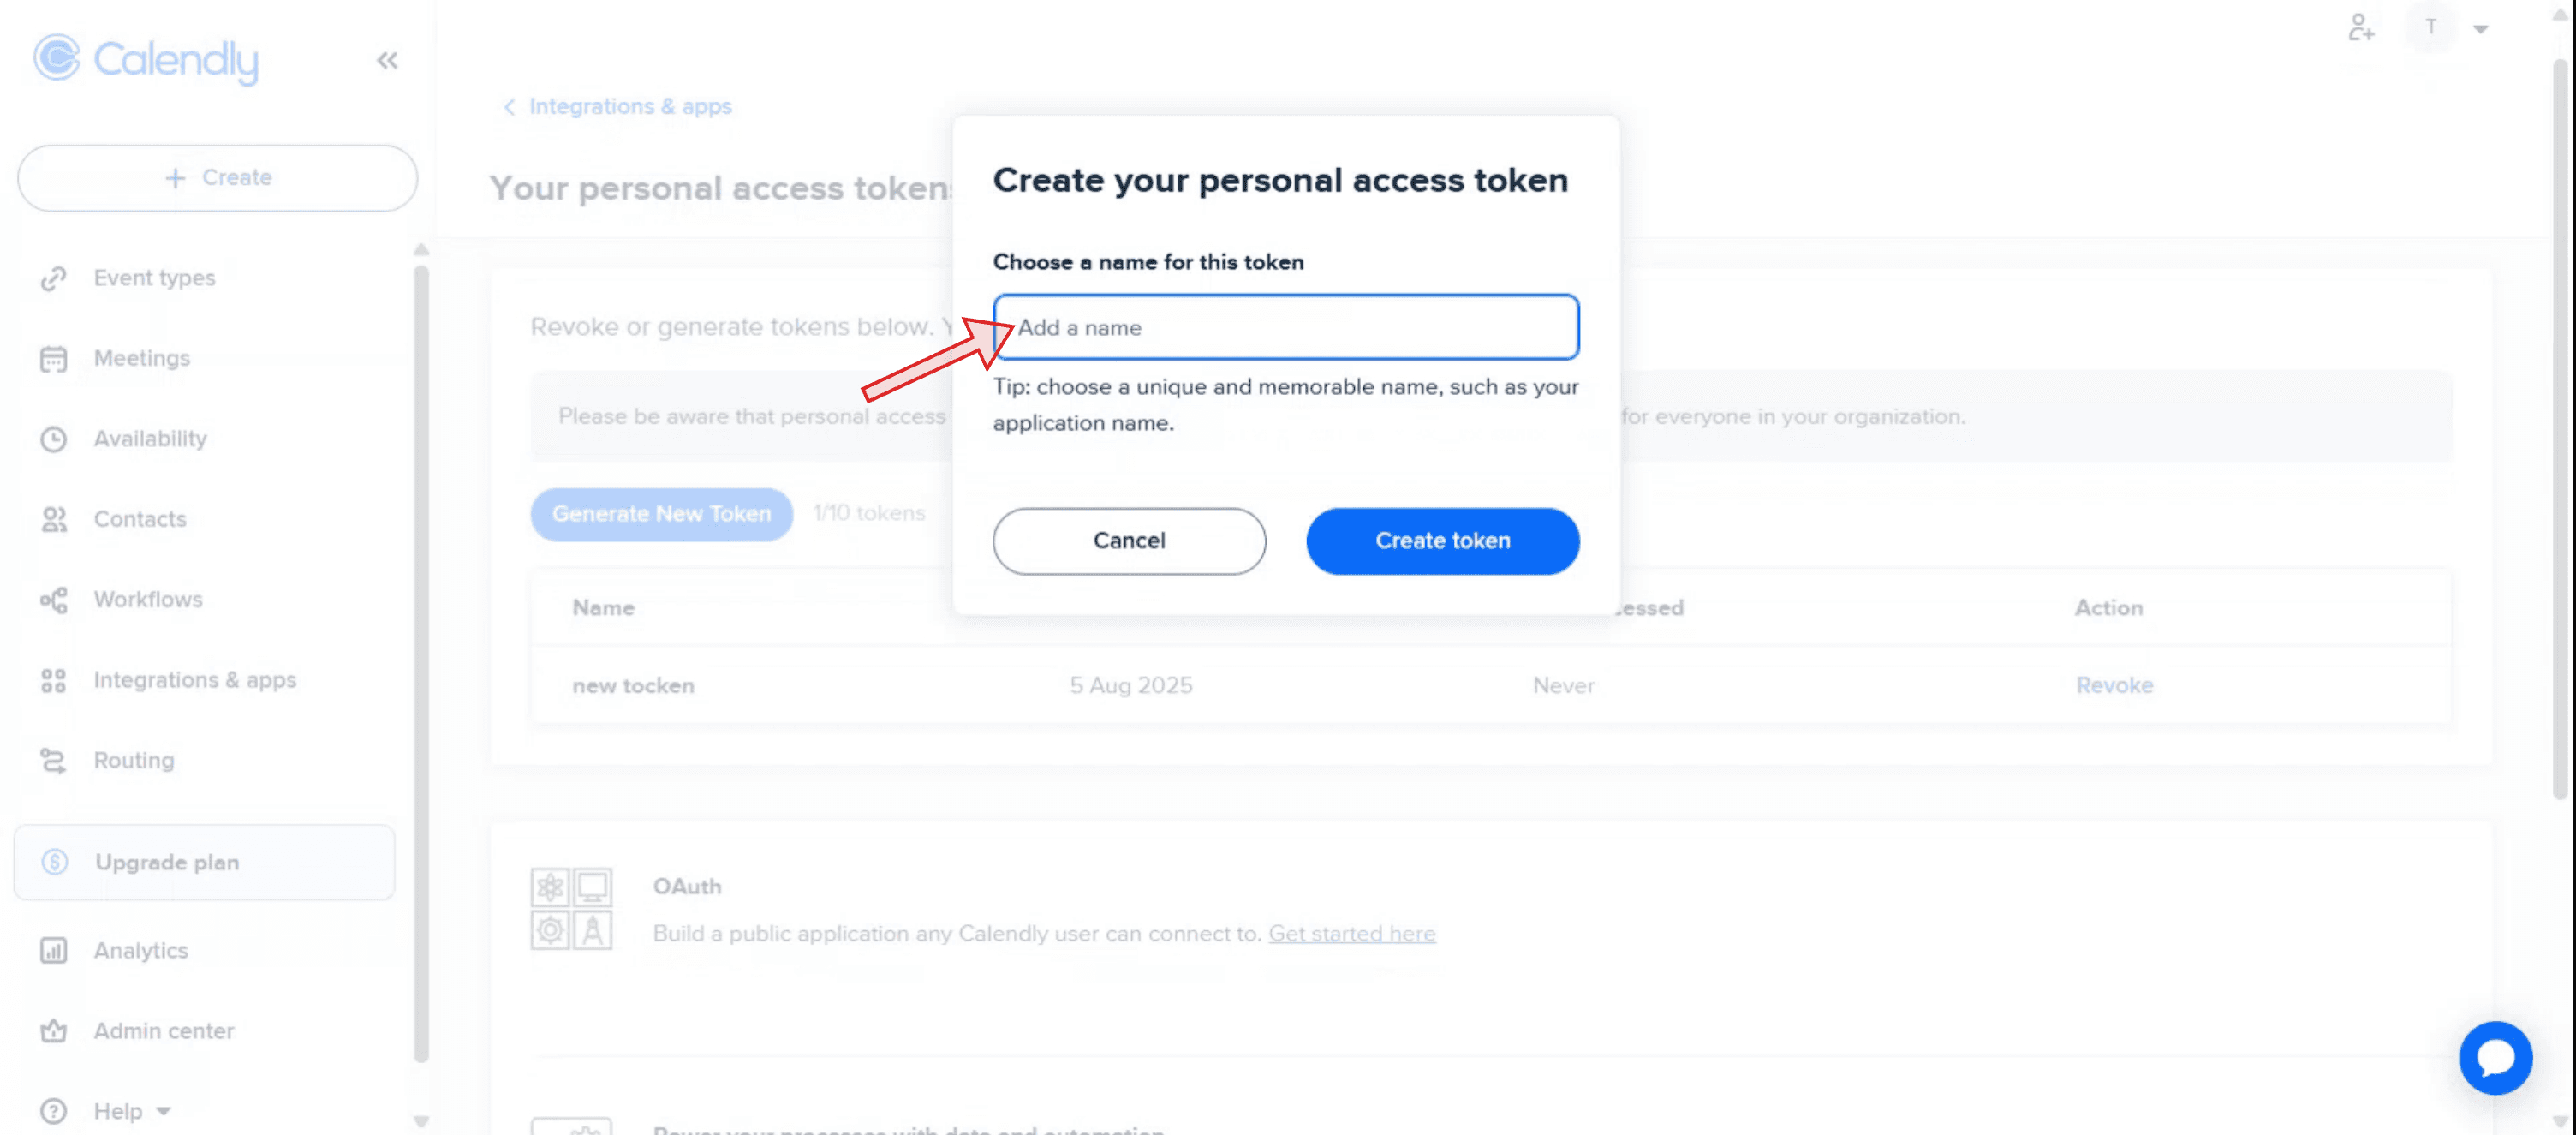
创建并复制令牌:在 "Create your personal access token" 字段中为新令牌提供一个可识别的名称。
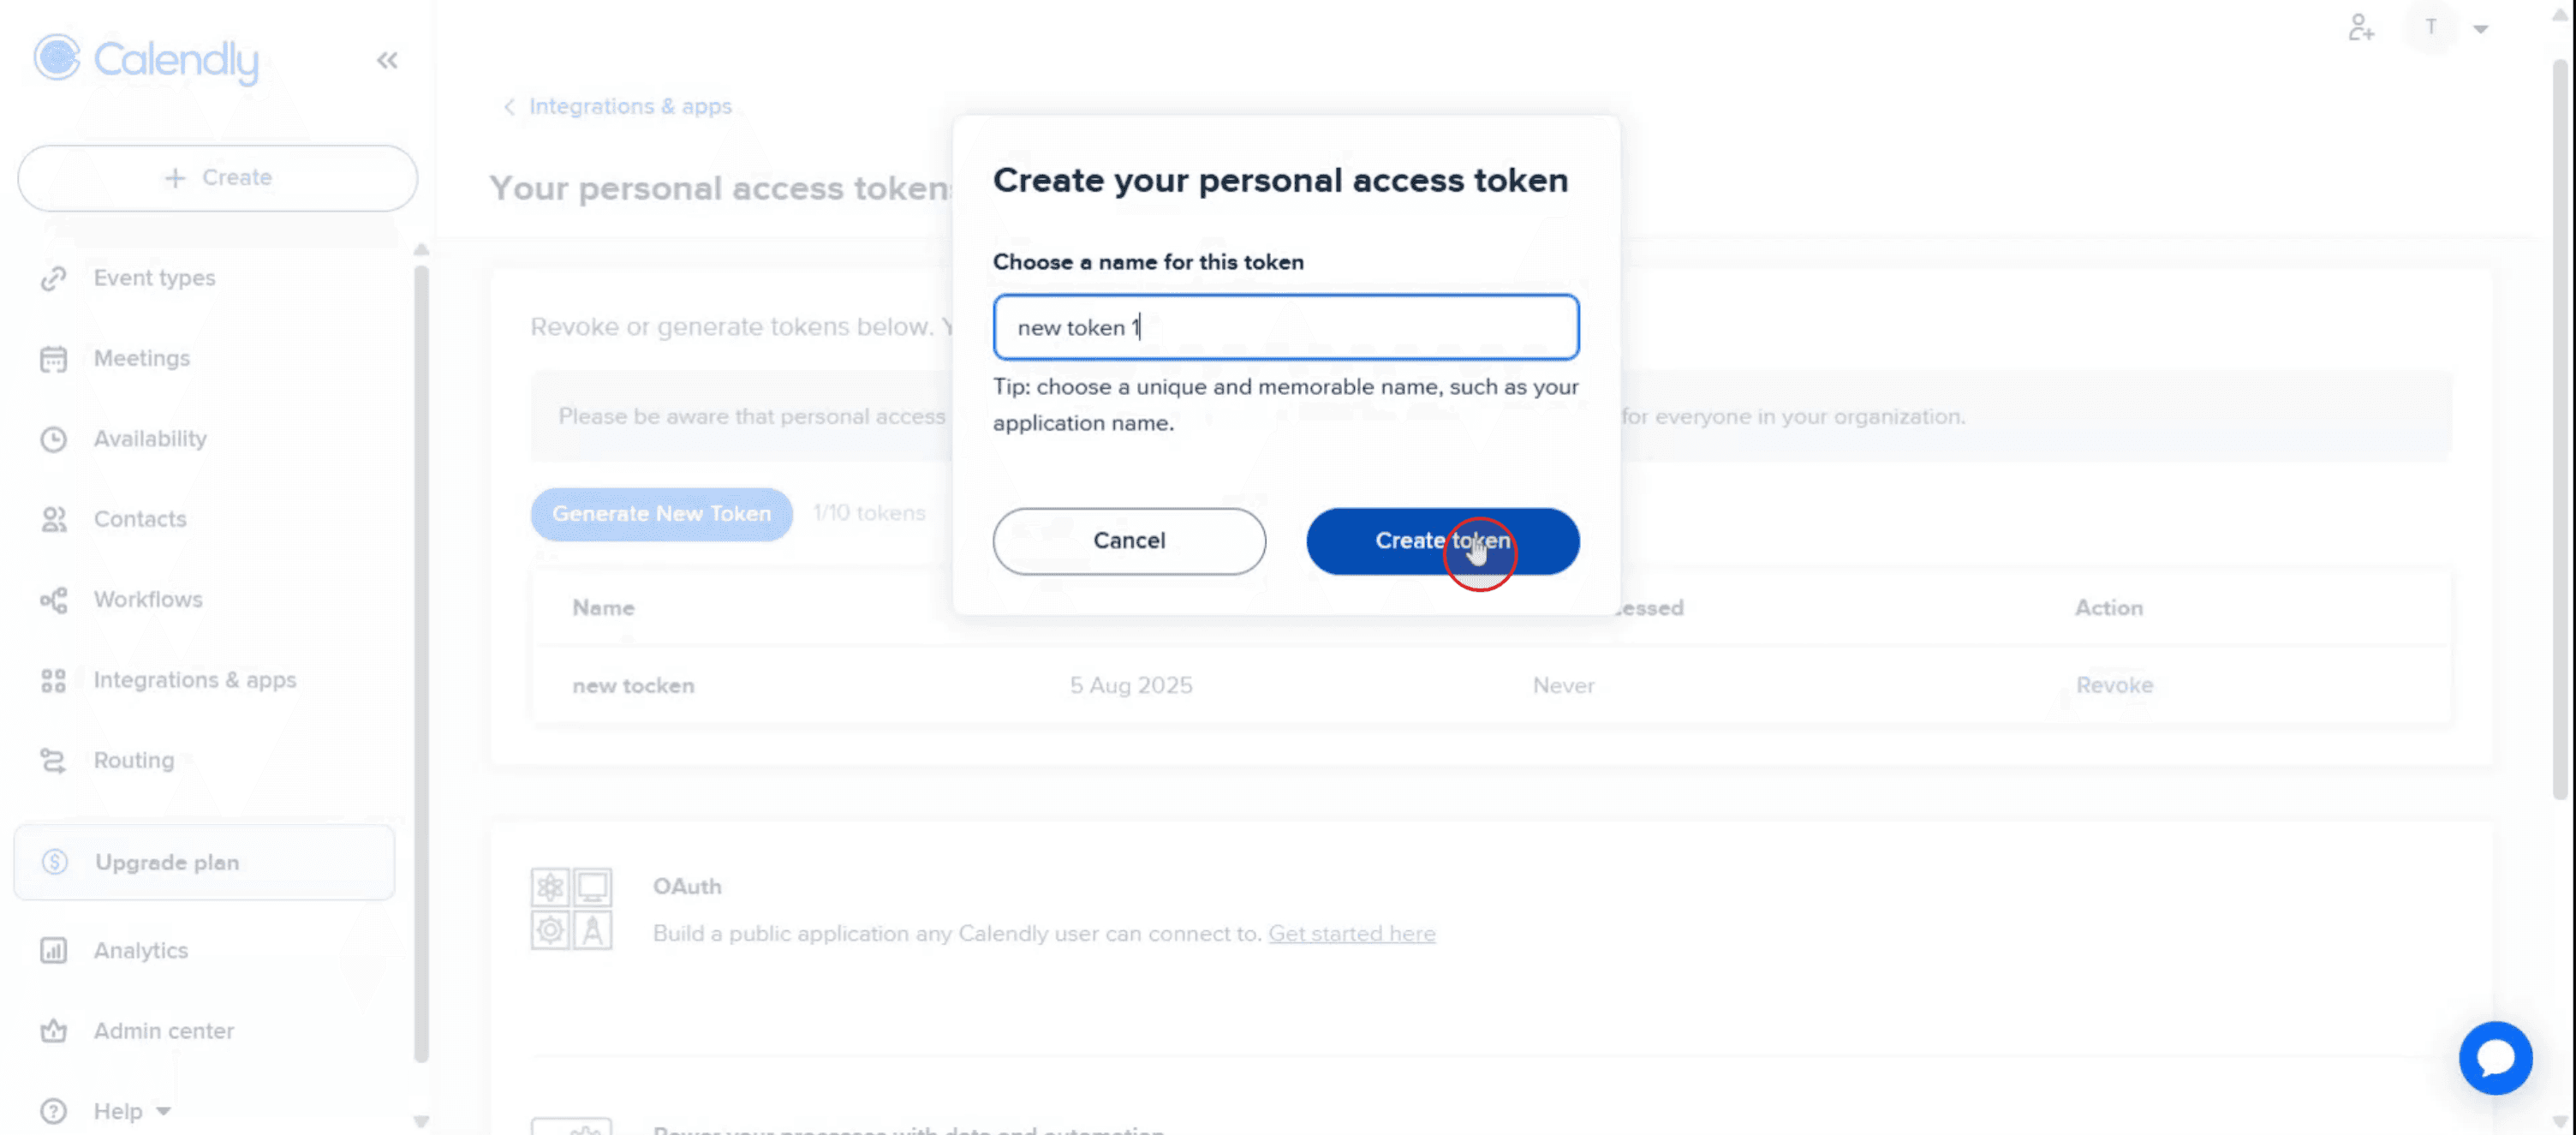
点击 "Create token.
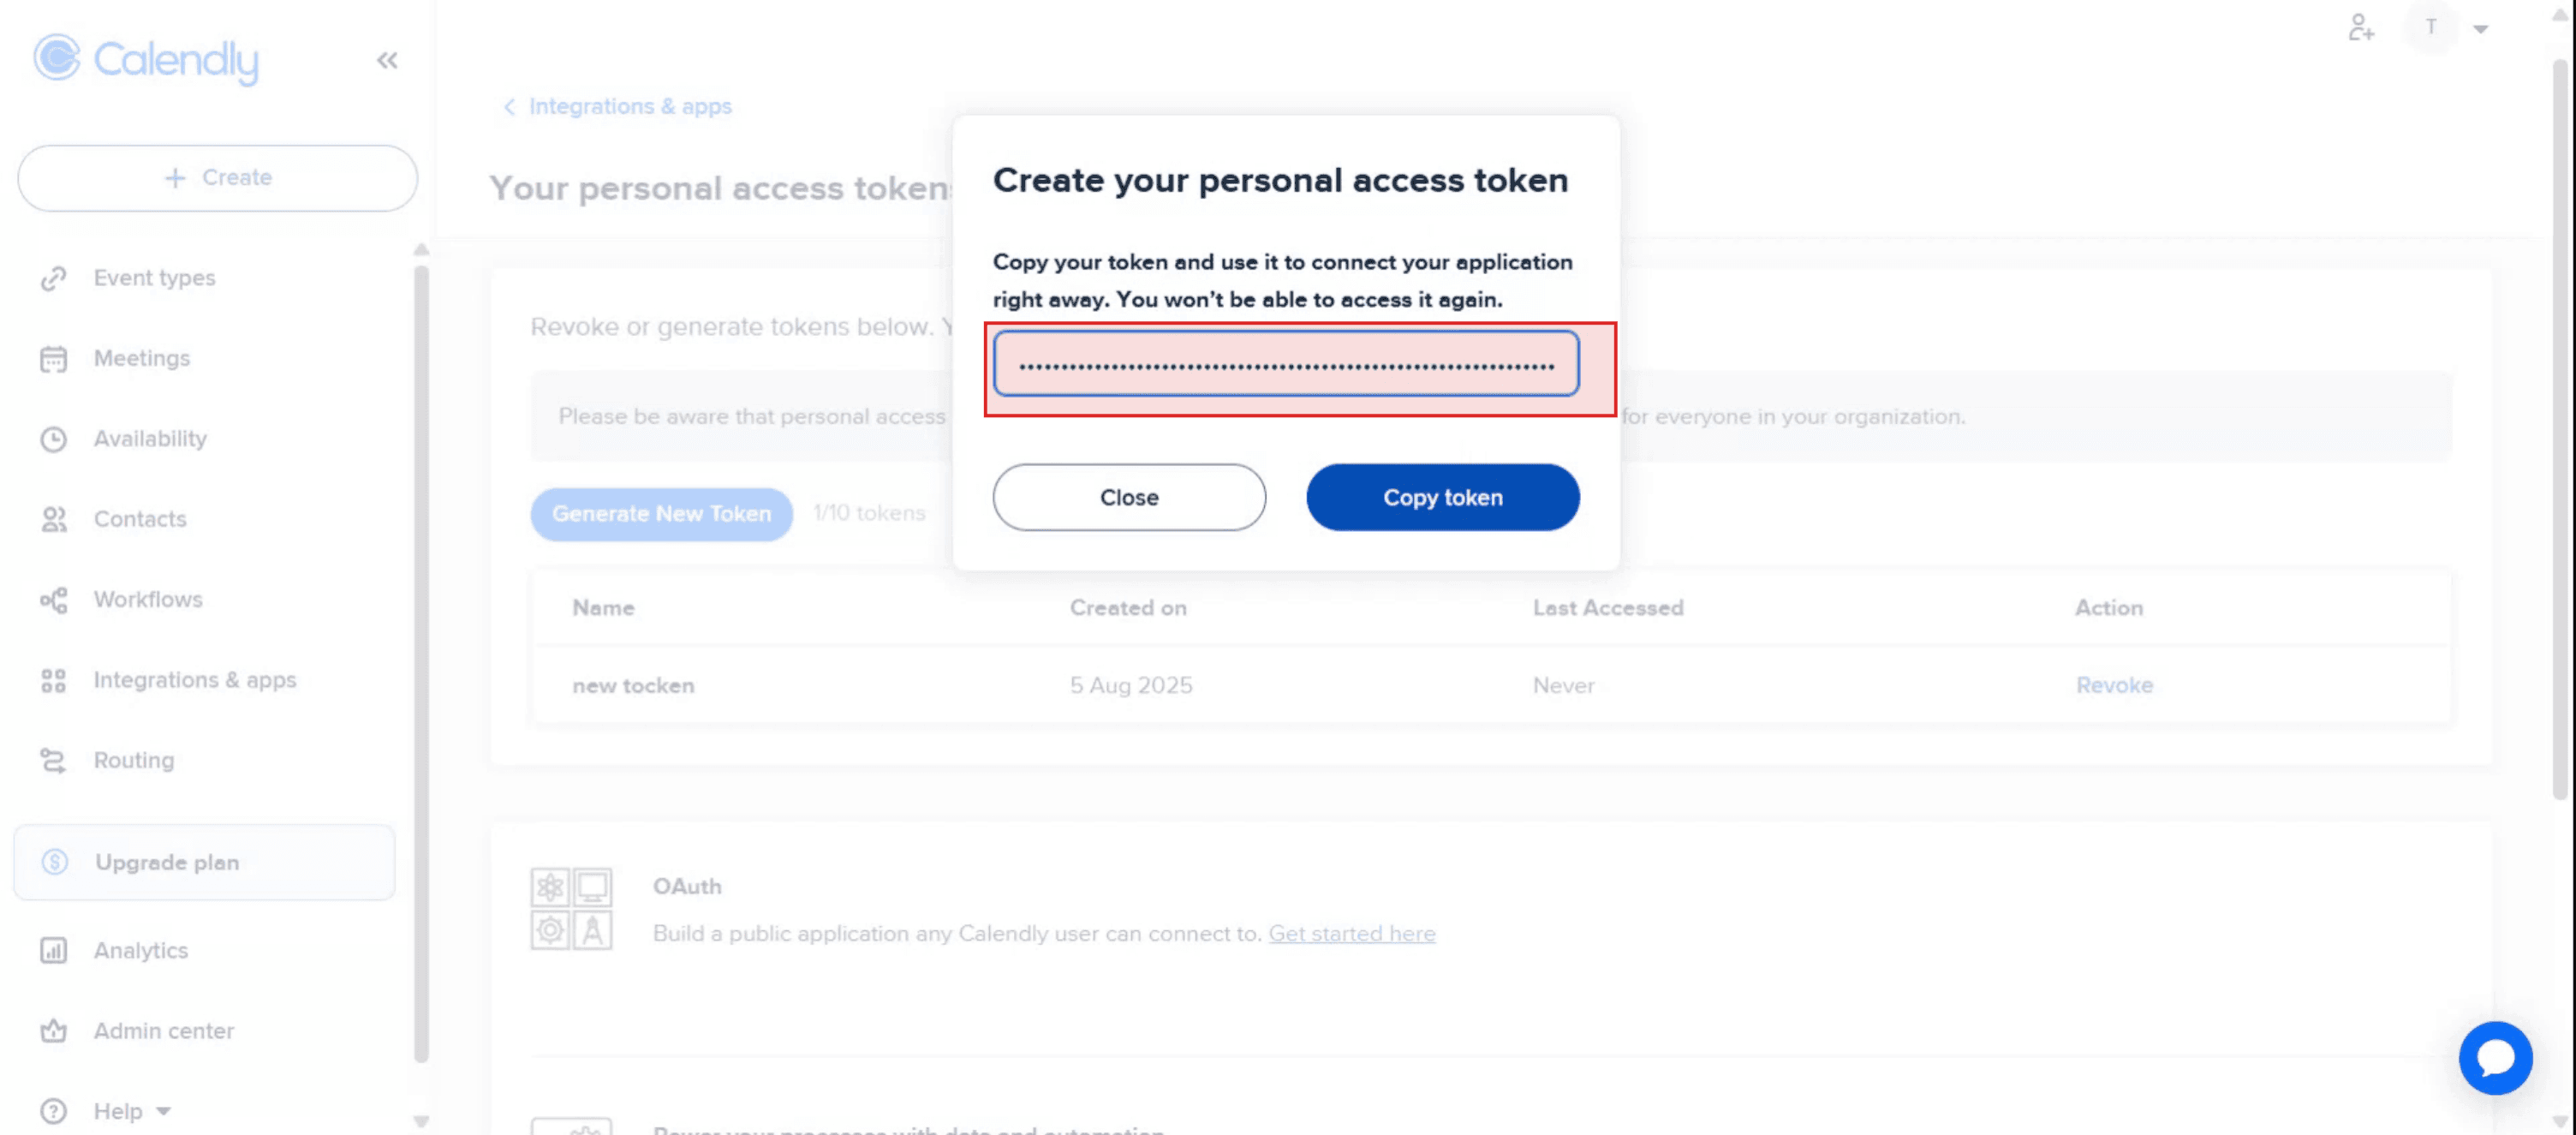
点击 "Copy token" 以便将其保存到您的应用或集成中。
分步指南:如何获取 Calendly API 密钥
第 1 步
找到左侧菜单,并选择 "Integrations and Apps."。
第 2 步
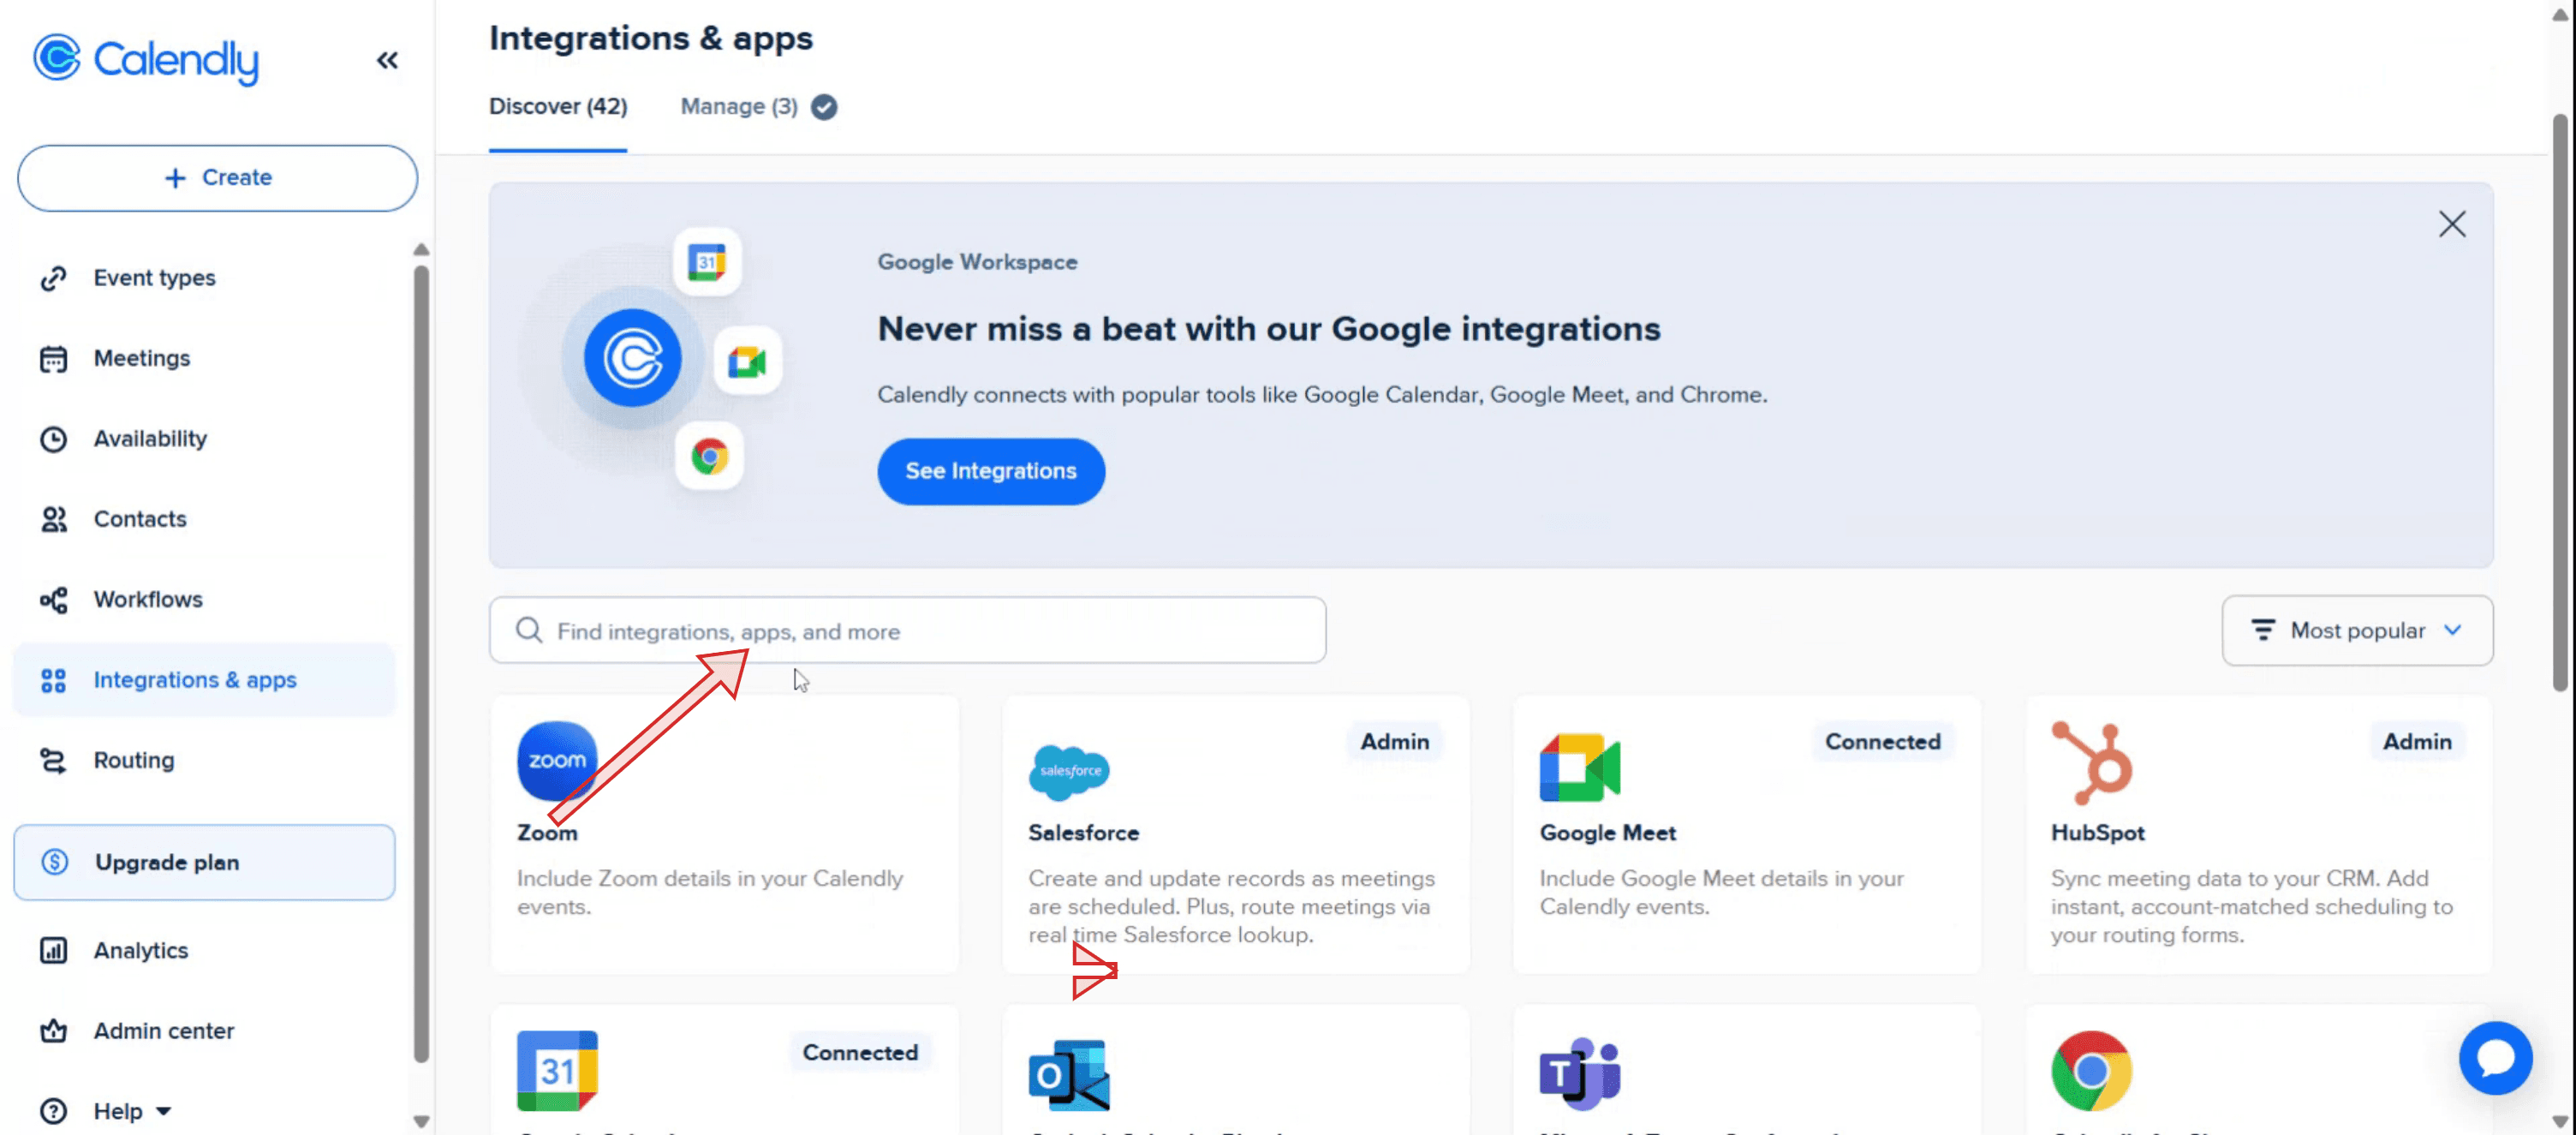
使用搜索栏查找 "API key and webhooks."。
第 3 步
看到 "API key and webhooks" 选项后,点击它继续。
第 4 步
点击 "Generate a New Token" 选项。
第 5 步
在提供的字段中输入您想要的令牌名称。
第 6 步
点击 "Create Token" 按钮。
第 7 步
按显示内容复制 API 密钥。至此,您已通过 Calendly 创建个人 API 密钥。
获取 Calendly API 密钥的专业提示
登录你的 Calendly 账户
前往 Calendly 官方网站,使用你的电子邮件和密码登录。这将带你进入主控制面板,在那里你可以管理活动和账户设置。访问集成页面
登录后,在右上角找到你的个人资料图标并点击。在下拉菜单中选择“集成”。这里是 Calendly 列出所有可用集成和开发者选项的地方。导航到 API 和 Webhooks 部分
在集成页面中向下滚动,直到找到标有“API 和 Webhooks”的部分。点击它以查看开发者工具,包括生成个人访问令牌的选项。生成你的 API 密钥(个人访问令牌)
点击按钮生成新的个人访问令牌。系统可能会提示你为令牌命名(用于识别)并确认密码。提交后,你的令牌只会显示一次——请复制并将其保存在安全的地方。在应用程序中使用你的 API 密钥
将你复制的 API 密钥粘贴到 HTTP 请求的标头中,或粘贴到与 Calendly 集成的第三方应用程序中。请务必保密该密钥,因为它允许访问你的 Calendly 数据。
常见陷阱及如何避免
未立即复制密钥
Calendly 在生成 API 密钥时只会显示一次。如果你忘记复制,就必须撤销当前密钥并创建一个新令牌。使用已过期或已撤销的令牌
如果你撤销了令牌或它已过期,你的集成将停止工作。始终用新令牌替换所有关联系统中的已撤销令牌。公开分享 API 密钥
切勿在公开代码仓库、论坛或与不受信任的方共享你的 API 密钥。它可用于访问你的 Calendly 账户。使用错误的标头
发起 API 调用时,确保使用正确的标头。对于 Calendly,它通常包含如下格式的 Authorization 标头:
Authorization: Bearer your_api_key未阅读 API 文档
在使用 API 之前,请阅读 Calendly 的 API 文档。它有助于你了解速率限制、端点和响应格式,这对于成功集成至关重要。
关于获取 Calendly API 密钥的常见问题
Calendly API 密钥和登录密码是一样的吗?
不是,它是专门用于集成的单独令牌,应仅用于 API 请求。API 密钥有效期多久?
它会一直有效,直到您手动撤销它。出于安全考虑,建议定期轮换令牌。我可以拥有多个 API 密钥吗?
Calendly 目前支持每个用户一次生成一个令牌。要创建新的令牌,您必须撤销现有令牌。我应该把 API 密钥存放在哪里?
将其存储在安全的环境变量或密钥管理器中——切勿将其硬编码在脚本或前端代码里。我可以用 Calendly API 密钥做什么?
您可以用它访问事件、用户、组织、webhook 和可用性相关的端点。它支持自定义工作流、数据同步和集成。如何在 Mac 上录屏?
要在 Mac 上录制屏幕,您可以使用 Trupeer AI。它可让您捕获整个屏幕,并提供 AI 功能,例如添加 AI 头像、添加旁白、在视频中放大和缩小。借助 trupeer 的 AI 视频翻译功能,您可以将视频翻译成 30 多种语言。如何为屏幕录制添加 AI 头像?
要为屏幕录制添加 AI 头像,您需要使用AI 屏幕录制工具。Trupeer AI 是一款 AI 屏幕录制工具,可帮助您创建带有多个头像的视频,还能帮助您为视频创建自己的头像。如何在 Windows 上录屏?
要在 Windows 上录屏,您可以使用内置的 Game Bar(Windows + G),或使用 Trupeer AI 这类高级 AI 工具,以获得更多高级功能,如 AI 头像、旁白、翻译等。如何为视频添加旁白?
要为视频添加旁白,请下载 trupeer ai Chrome 扩展程序。注册后,上传带有声音的视频,从 trupeer 中选择所需的旁白并导出编辑后的视频。如何在录屏中放大?
要在屏幕录制过程中放大,请使用 Trupeer AI 中的缩放效果,它允许您在特定时刻放大和缩小,从而增强视频内容的视觉效果。

