
Hoe je de versiegeschiedenis in Figma kunt bekijken
Leer hoe je de versiegeschiedenis in Figma kunt bekijken om ontwerpwijzigingen bij te houden, eerdere versies te herstellen en effectiever samen te werken. Snelle gids voor teams en solo-ontwerpers
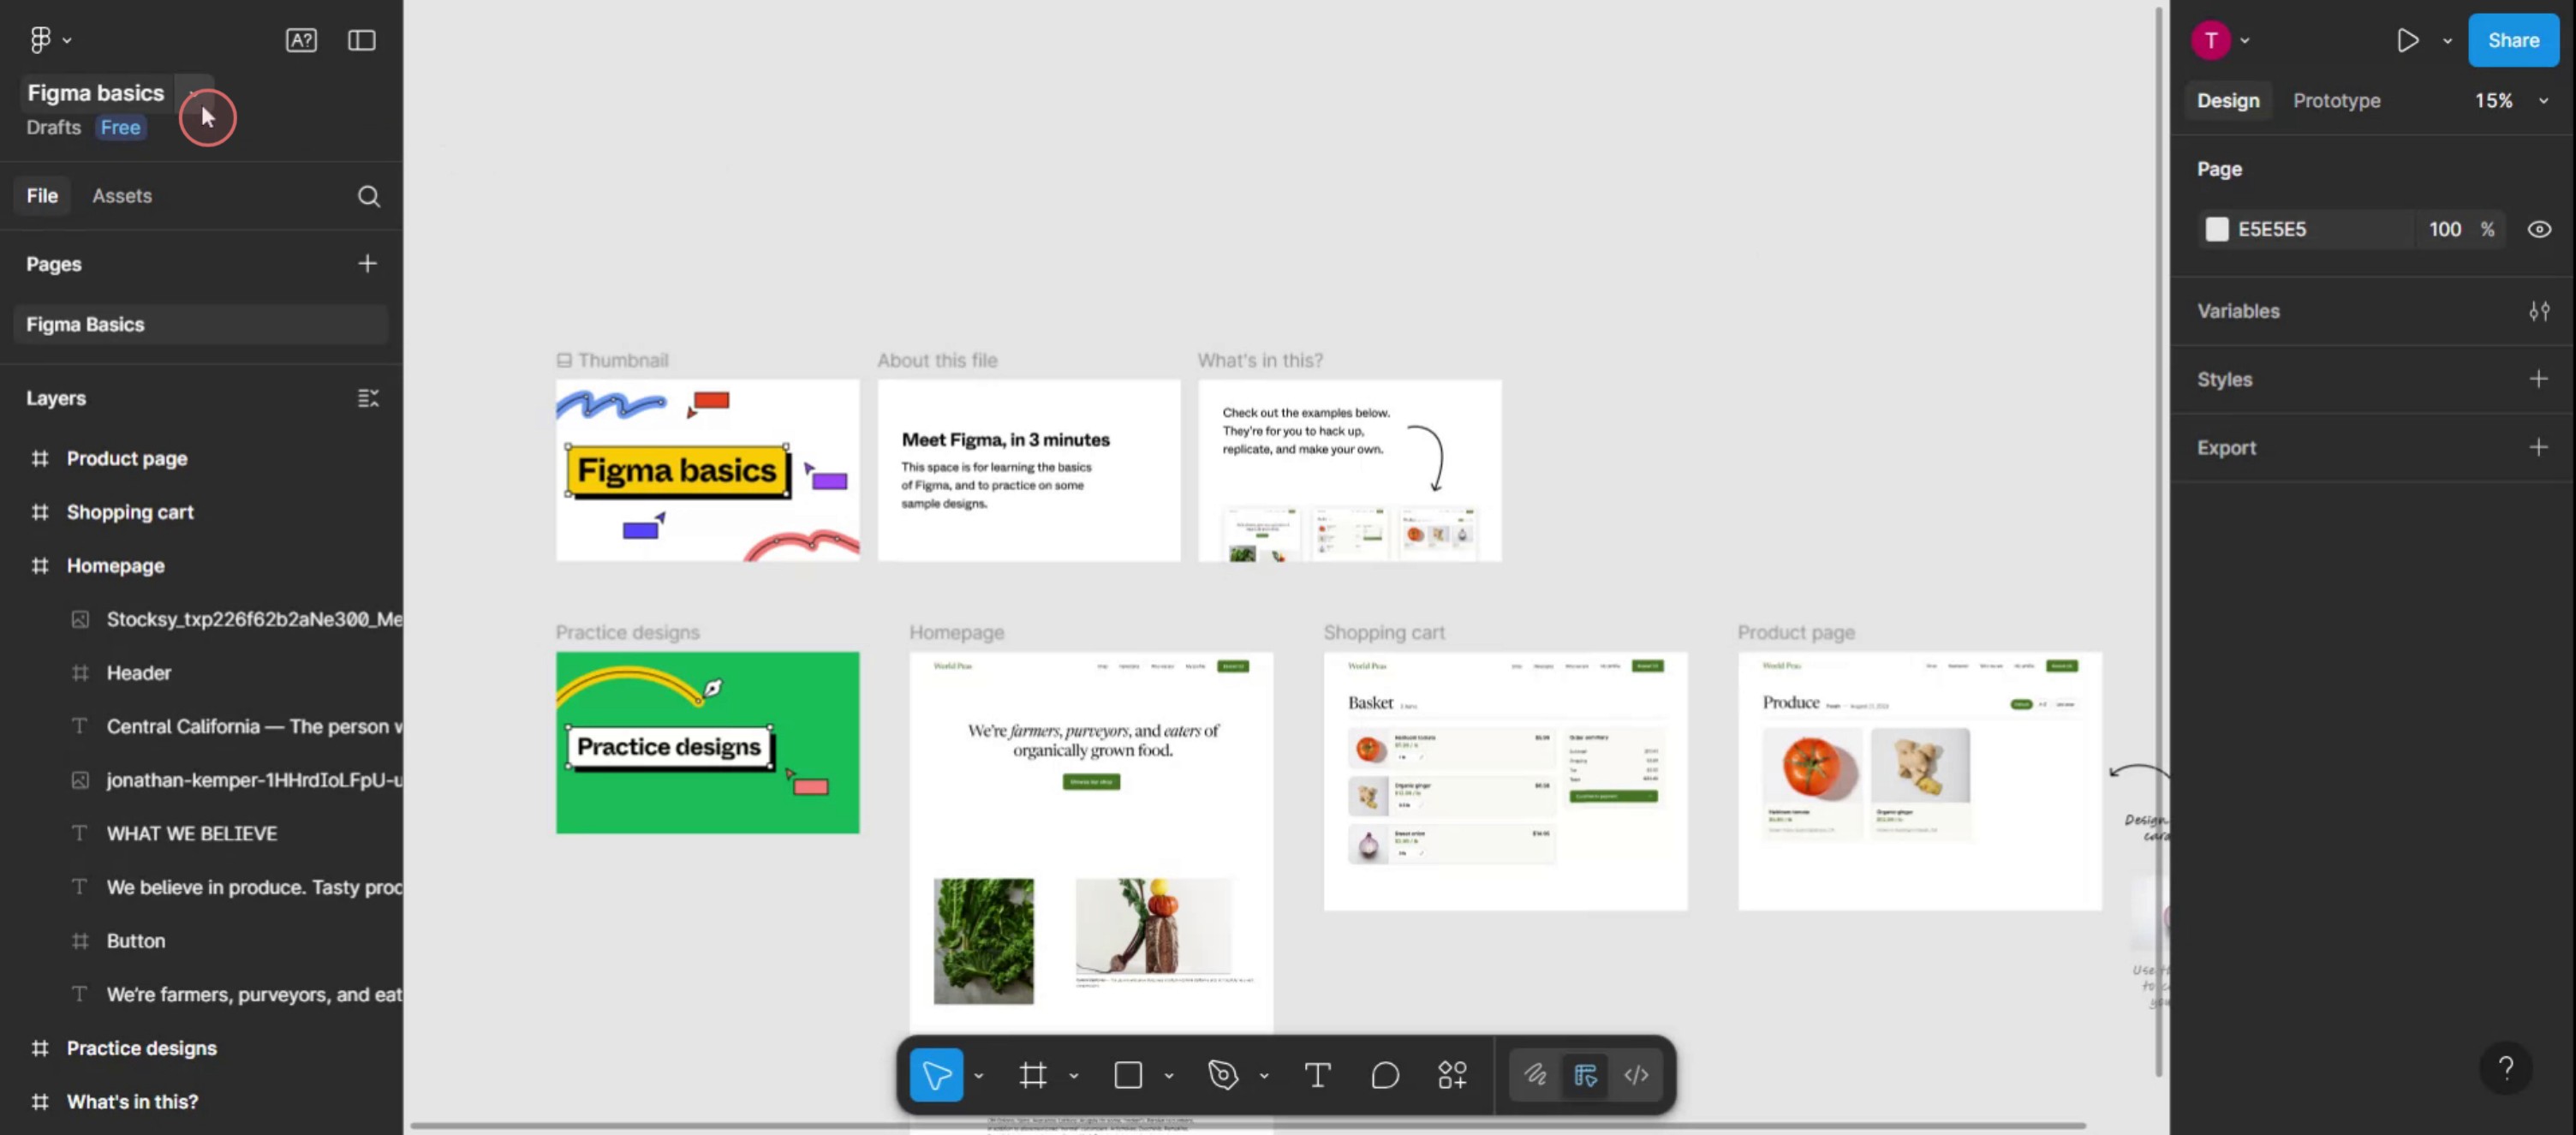
Open je Figma-bestand: Navigeer naar het specifieke Figma-bestand waarvan je de versiegeschiedenis wilt bekijken.
Deselecteer alle lagen: Klik op een leeg gedeelte van je canvas om ervoor te zorgen dat er geen lagen zijn geselecteerd, zodat de bestandsnaam zichtbaar wordt.
Open het vervolgkeuzemenu: Klik op de pijl naast de bestandsnaam in de bovenste werkbalk.
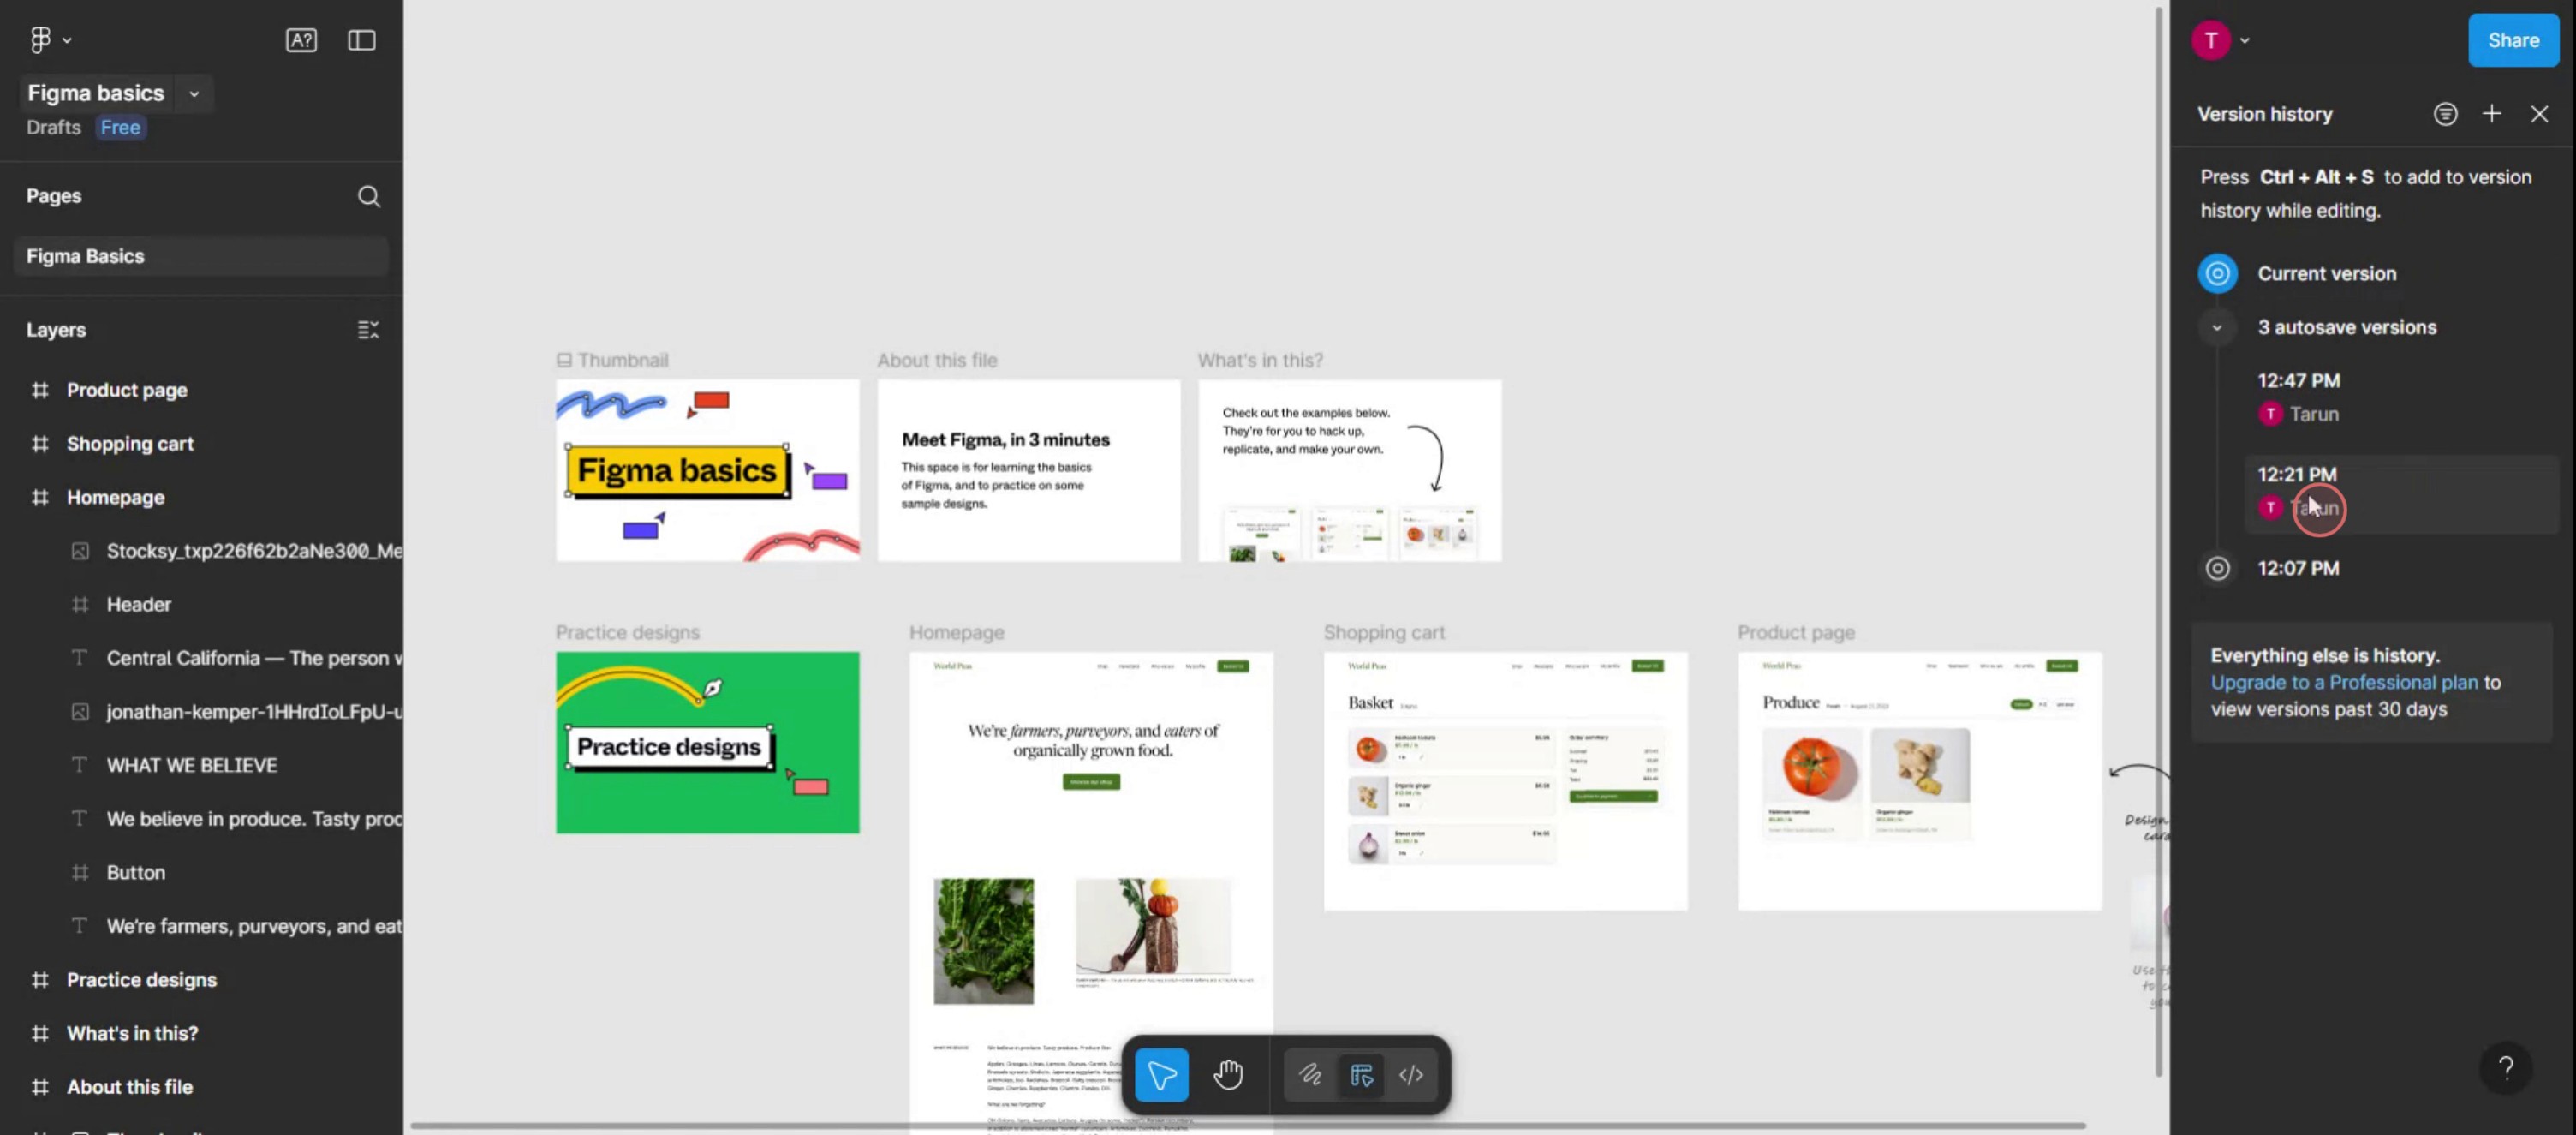
Selecteer "Toon versiegeschiedenis": Kies deze optie uit het vervolgkeuzemenu.
Bekijk de geschiedenis: Het versiegeschiedenis-paneel verschijnt aan de rechterkant van je scherm en toont een lijst met eerdere versies.
Stap-voor-stapgids: Hoe je de versiegeschiedenis in Figma bekijkt
Stap 1
Selecteer het vervolgkeuzemenu naast de bestandsnaam.
Stap 2
Kies de optie met het label Toon versiegeschiedenis.

Stap 3
De versiegeschiedenis van het specifieke bestand verschijnt aan de rechterkant.
Pro-tips voor het bekijken van de versiegeschiedenis in Figma
Open het bestand in de editor
Navigeer naar het Figma-bestand dat je wilt controleren en open het in de ontwerpbewerker.Klik op de bestandsnaam in de linkerbovenhoek
Bovenaan links op het scherm klik je op de naam van het bestand om een vervolgkeuzemenu met bestandsopties te openen.Selecteer Versiegeschiedenis weergeven
Kies in het vervolgkeuzemenu de optie Versiegeschiedenis weergeven. Hiermee wordt een paneel aan de rechterkant geopend dat de eerdere versies van het bestand toont.Blader door de tijdlijn
Gebruik de tijdlijnschuifregelaar of klik op afzonderlijke vermeldingen om opgeslagen versies te bekijken. Elke versie bevat de datum en de naam van de bijdrager.Een versie herstellen of dupliceren
Om een oudere versie terug te halen, klik je op de drie puntjes naast de gewenste versie en kies je Versie herstellen of Dupliceren naar een nieuw bestand voor de zekerheid.
Veelvoorkomende valkuilen en hoe je ze vermijdt
Geen versiegeschiedenis zien
Zorg ervoor dat je een bestand gebruikt dat eerder is bewerkt. Versiegeschiedenis verschijnt alleen als er wijzigingen zijn aangebracht en opgeslagen.Per ongeluk werk overschrijven
Dupliceer altijd het bestand of de versie voordat je herstelt als je het niet zeker weet. Zo voorkom je verlies van recente wijzigingen.Beperkte versievermeldingen bekijken
Gratis Figma-abonnementen tonen mogelijk alleen basisversiegeschiedenis. Upgrade naar een betaald abonnement om toegang te krijgen tot volledige versielogboeken en naamgevingsfuncties.Wijzigingen niet kunnen identificeren
Geef je opgeslagen versies handmatig een naam wanneer je grote updates uitvoert, zodat je belangrijke mijlpalen in het geschiedenisvenster beter kunt herkennen.Verwarrende live- versus historische weergaven
Wanneer je oudere versies bekijkt, ben je in een alleen-lezenmodus. Verlaat de versiegeschiedenis om terug te keren naar live bewerken.
Veelgestelde vragen over versiegeschiedenis in Figma
Hoe krijg ik toegang tot versiegeschiedenis in Figma
Klik op de bestandsnaam in de linkerbovenhoek van je project en kies Versiegeschiedenis weergeven om eerdere versies van het bestand te zien.Kan ik versies handmatig een naam geven
Ja, klik op de knop Versie opslaan in het versiegeschiedenispaneel en geef het een aangepaste naam zodat je het gemakkelijk kunt terugvinden.Is versiegeschiedenis beschikbaar op gratis accounts
Ja, maar met beperkingen. Gratis abonnementen tonen een basisgeschiedenis, terwijl betaalde abonnementen uitgebreide functies bieden zoals versies een naam geven en toegang tot een langere geschiedenis.Kan ik twee versies naast elkaar vergelijken
Nee, Figma staat geen vergelijking naast elkaar toe. Je moet tussen versies schakelen om verschillen te bekijken.Wat gebeurt er wanneer ik een versie herstel
Het herstellen van een versie vervangt de huidige status van je bestand door de oudere. Overweeg het bestand te dupliceren als je beide versies wilt behouden.Hoe maak je een schermopname op een Mac?
Om een schermopname op een Mac te maken, kun je Trupeer AI gebruiken. Hiermee kun je het volledige scherm vastleggen en krijg je AI-mogelijkheden zoals het toevoegen van AI-avatars, voice-over toevoegen, in- en uitzoomen in de video. Met de AI-videotranslatiefunctie van trupeer kun je de video vertalen naar meer dan 30 talen.Hoe voeg ik een AI-avatar toe aan een schermopname?
Om een AI-avatar toe te voegen aan een schermopname, moet je een AI-schermopnametool. gebruiken. Trupeer AI is een AI-schermopnametool, die je helpt video's met meerdere avatars te maken en je ook helpt je eigen avatar voor de video te creëren.Hoe maak je een schermopname op Windows?
Om een schermopname op Windows te maken, kun je de ingebouwde Game Bar (Windows + G) gebruiken of een geavanceerde AI-tool zoals Trupeer AI voor meer geavanceerde functies zoals AI-avatars, voice-over, vertaling enz.Hoe voeg ik voice-over toe aan video?
Om voice-over toe te voegen aan video's, download je de Chrome-extensie van Trupeer AI. Nadat je je hebt aangemeld, upload je je video met stem, kies je de gewenste voice-over van trupeer en exporteer je je bewerkte video.Hoe zoom ik in op een schermopname?
Om tijdens een schermopname in te zoomen, gebruik je de zoomeffecten in Trupeer AI waarmee je
Aanbevolen artikelen
Technische documentatiegenerator
Hoe je framennamen in Figma kunt verbergen
Hoe je een Figma-bestand opslaat
Hoe je een raster maakt in Figma
Gerelateerde tutorials

