Canva에서 애니메이션 타이밍 설정하기 – 사용자 지정 지속 시간 설정
타임라인 편집기를 사용해 시작 시간, 지속 시간, 시퀀스를 조정하여 Canva에서 애니메이션 타이밍을 설정하는 방법을 알아보세요. 이 간단한 튜토리얼을 따라 Trupeer로 가이드를 만들어 보세요.
This document offers a comprehensive guide on creating and timing animations in Canva.
Follow these simple steps to effectively apply animations to text, customize animation styles, and adjust animation speed, elevating your design projects with dynamic visual elements.
If you want more control over how animations play in Canva, you can customize the timing for individual elements and page transitions. Canva lets you fine-tune when animations start and how long they last using the "Show timing" feature.
Step-by-Step Guide:
Open Your Design
Start by opening the Canva project that contains the animation you want to adjust.Select the Animated Element
Click on the text, image, or object that already has an animation applied.Access the Timing Panel
Click the three dots (More) or right-click the object.
Select “Show timing” from the menu.
A timeline bar will appear at the bottom of your screen.
Adjust the Animation Timing
You’ll see white trim handles on either side of the animated element's bar on the timeline.
Drag the handles to set the animation’s start time and end time.
This allows you to control how soon the animation appears and how long it lasts.
Adjust Page Transition Timing (Optional)
Click on the page number at the bottom.
Choose “Transition”, then adjust the duration slider to control how quickly or slowly the page moves to the next.
Reorder Animations (Optional)
If multiple elements are animated, you can drag and reorder their bars in the timeline to change the sequence.
Preview and Apply
Click the Play button to preview your animation timing.
Once satisfied, your changes will auto-save, or you can click Done to apply them.
Step-by-Step Guide: How To Time Animations In Canva
Step 1
Select the design you want to animate.
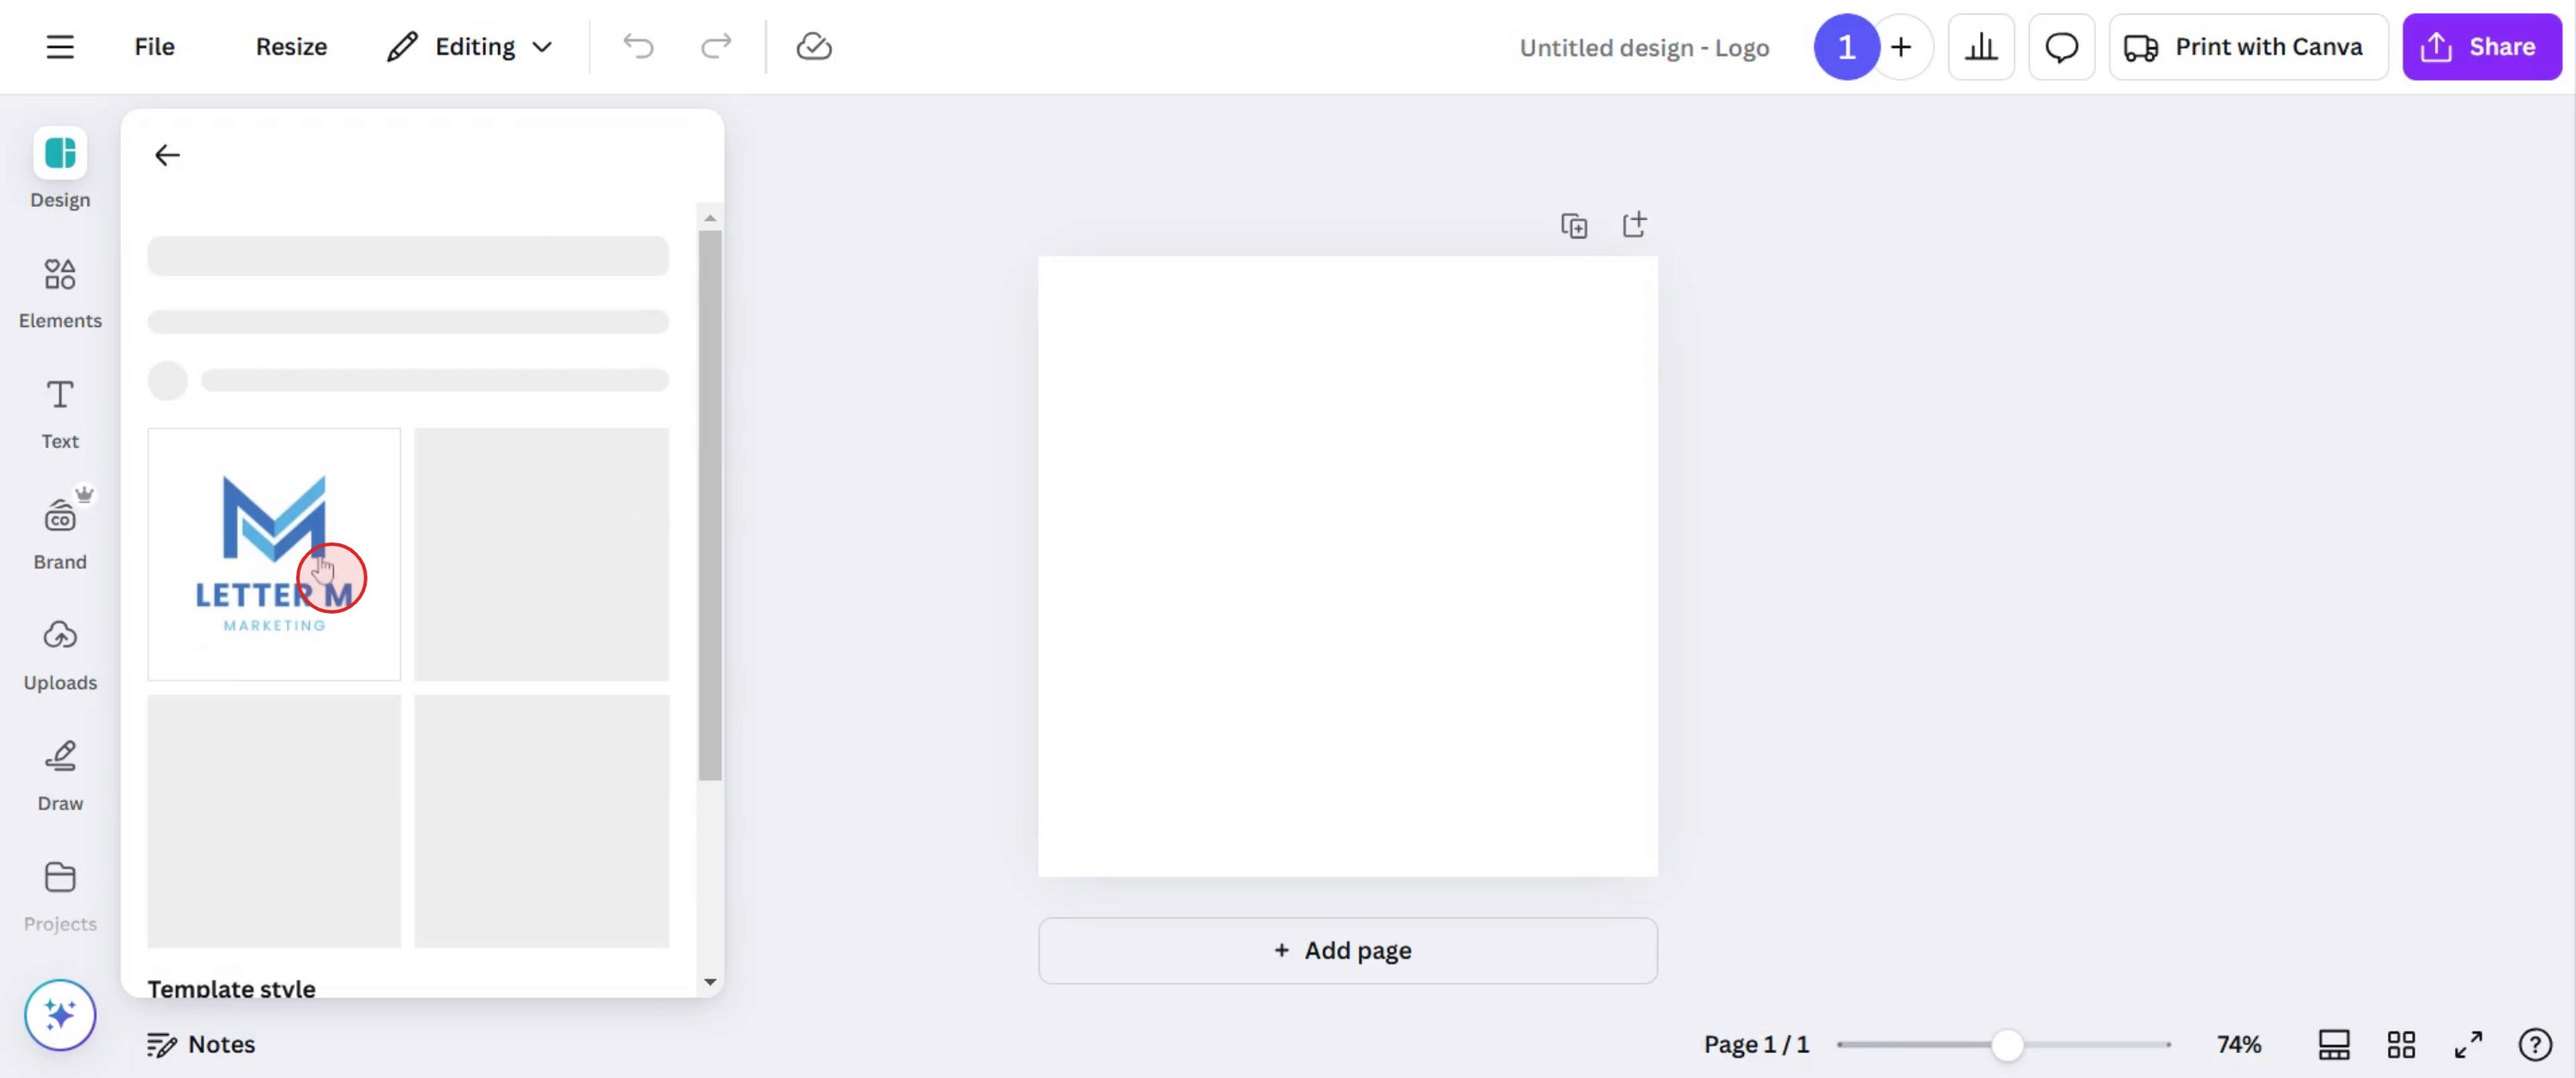
Step 2
Click or select the part of the design which you want to animate.
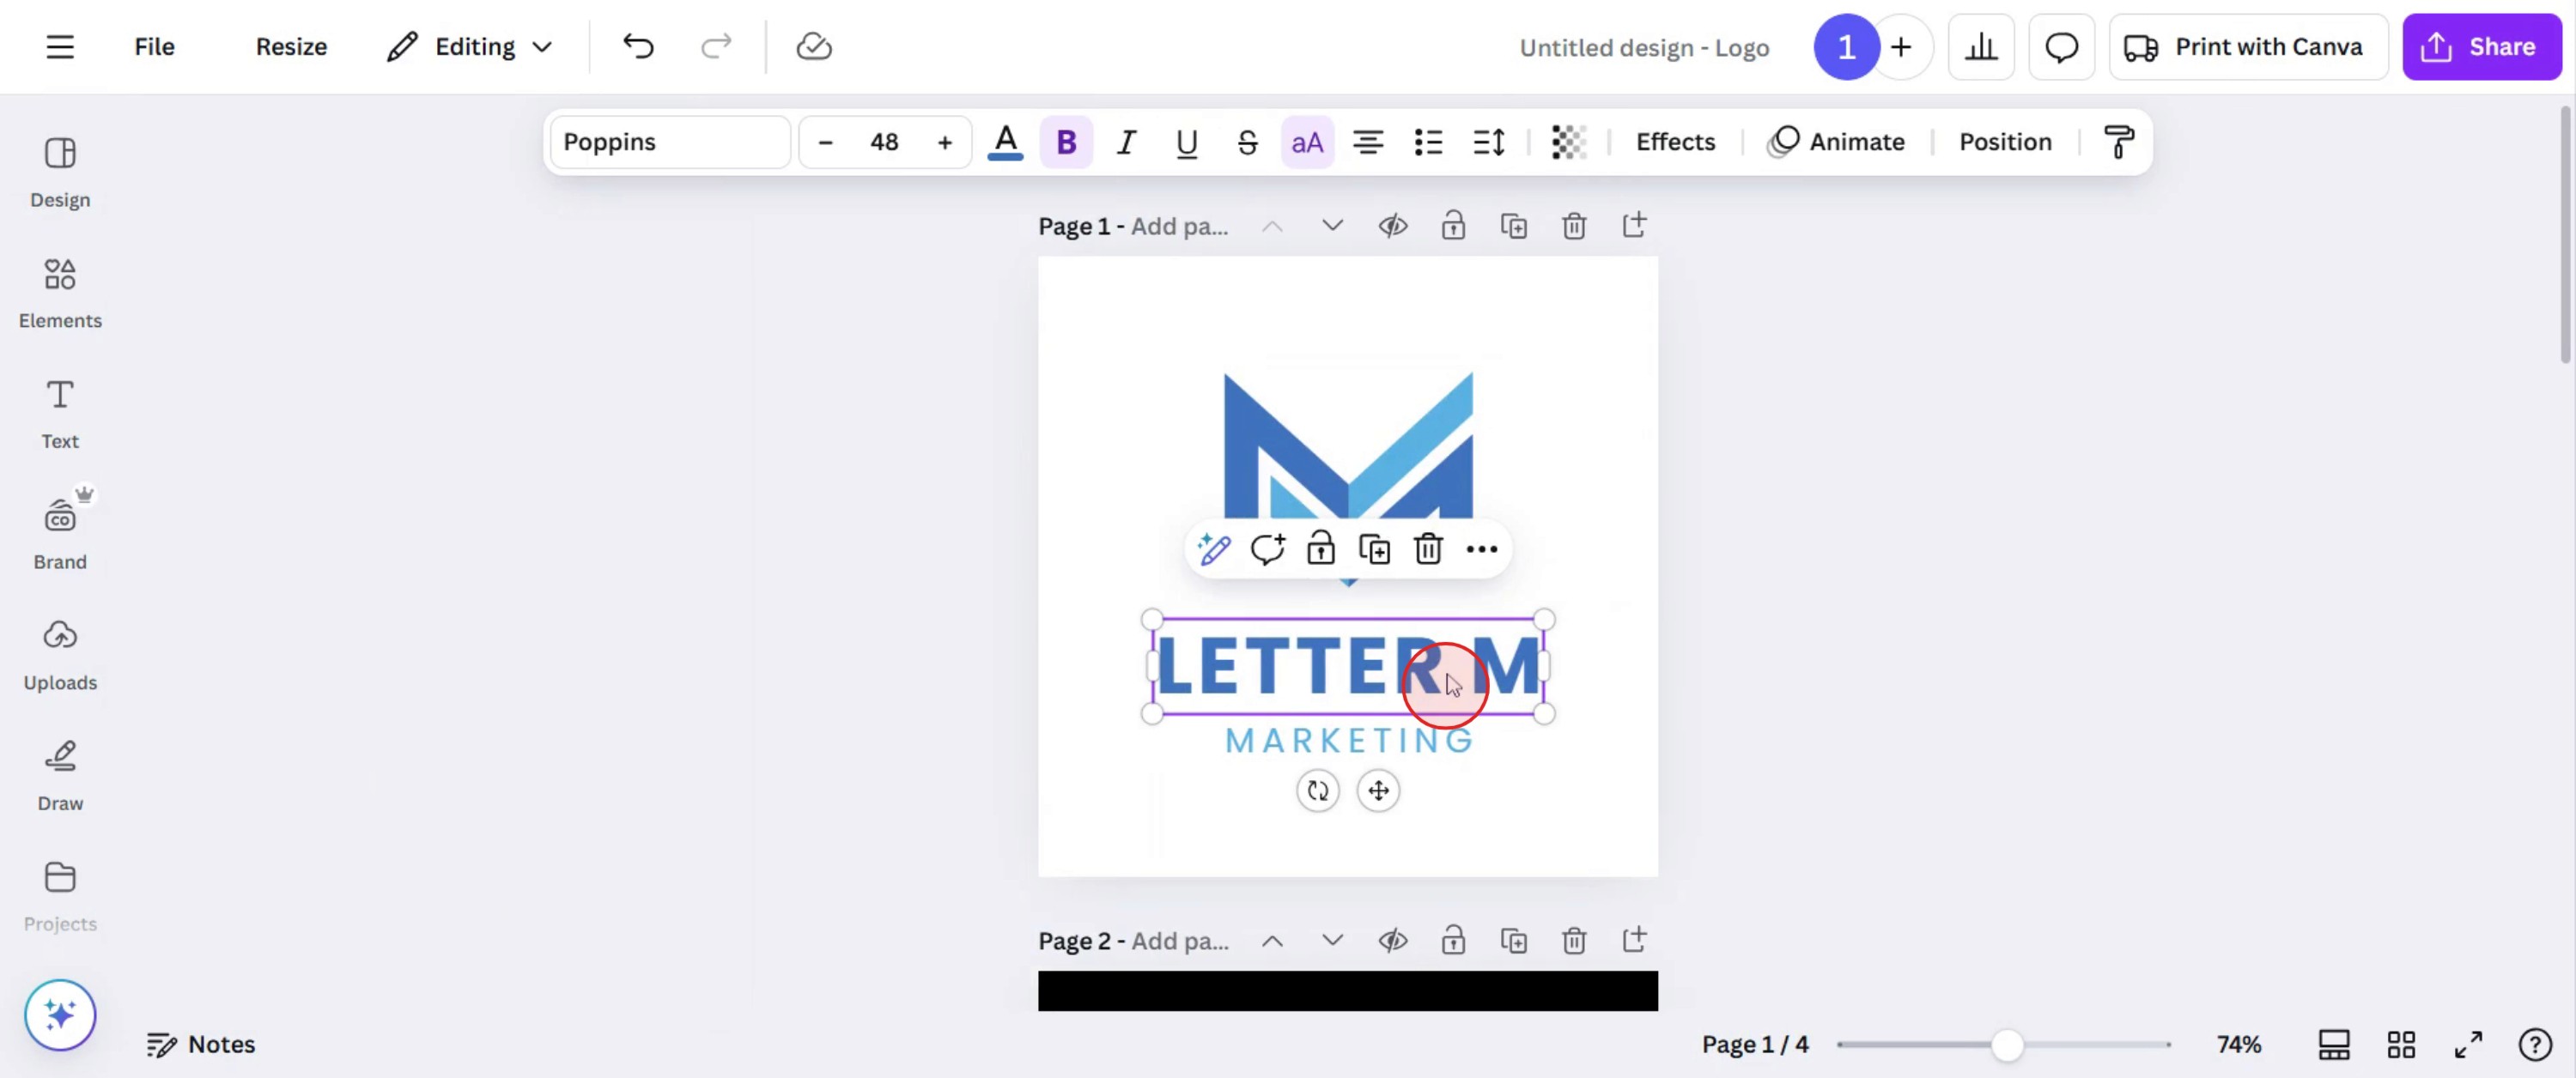
Step 3
Click on Animation option and explore animation styles and effects
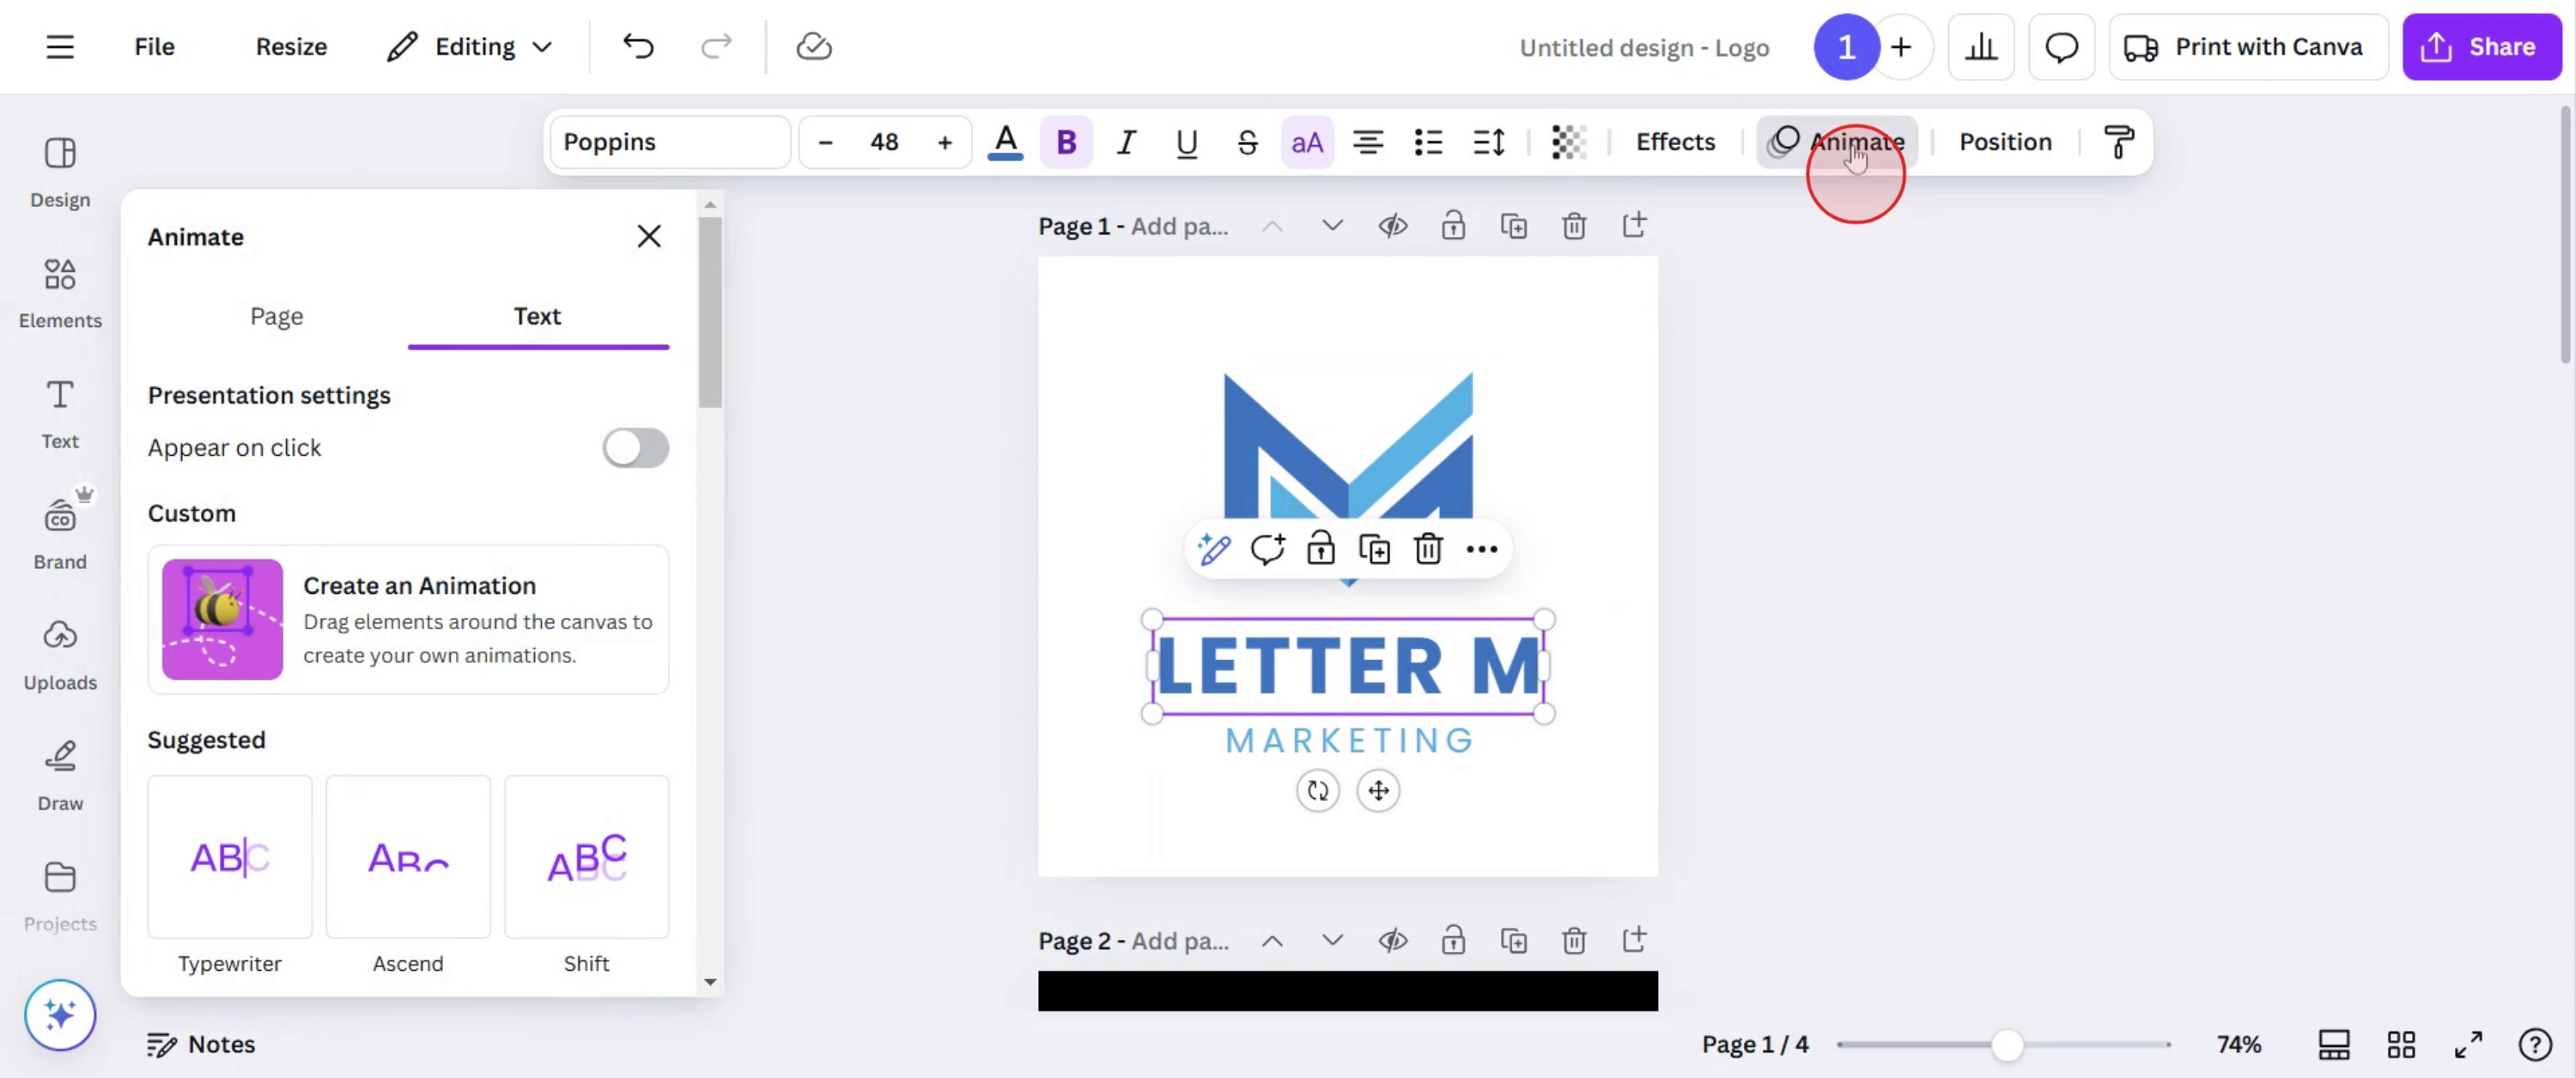
Step 4
Select the desired style that fits your needs and click on it.
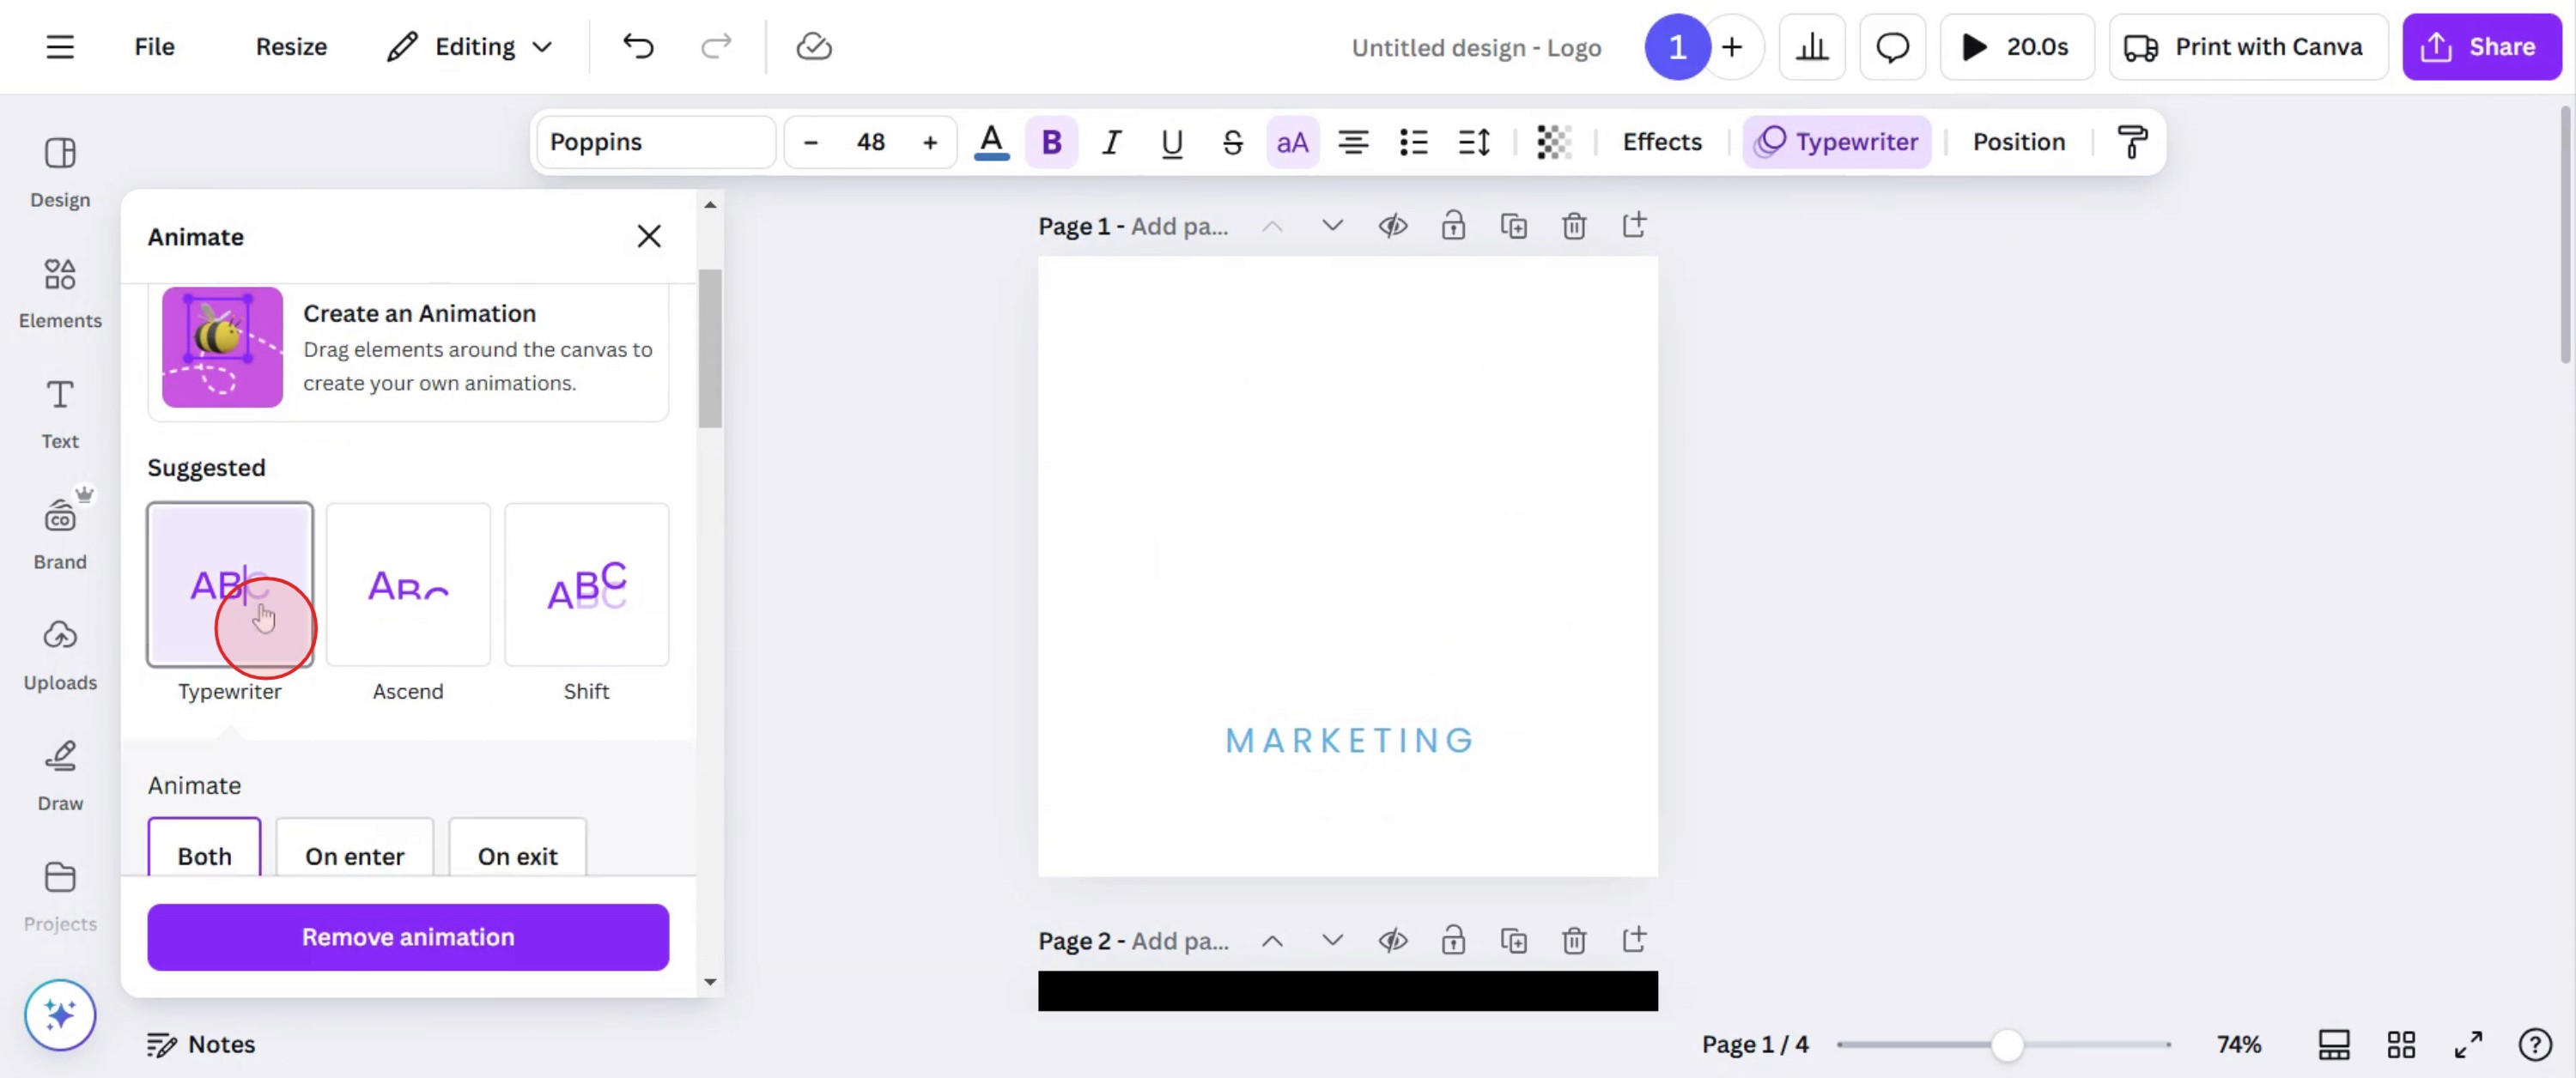
Step 5
Adjust the speed of the animation by either increasing or decreasing it to suit your preference.
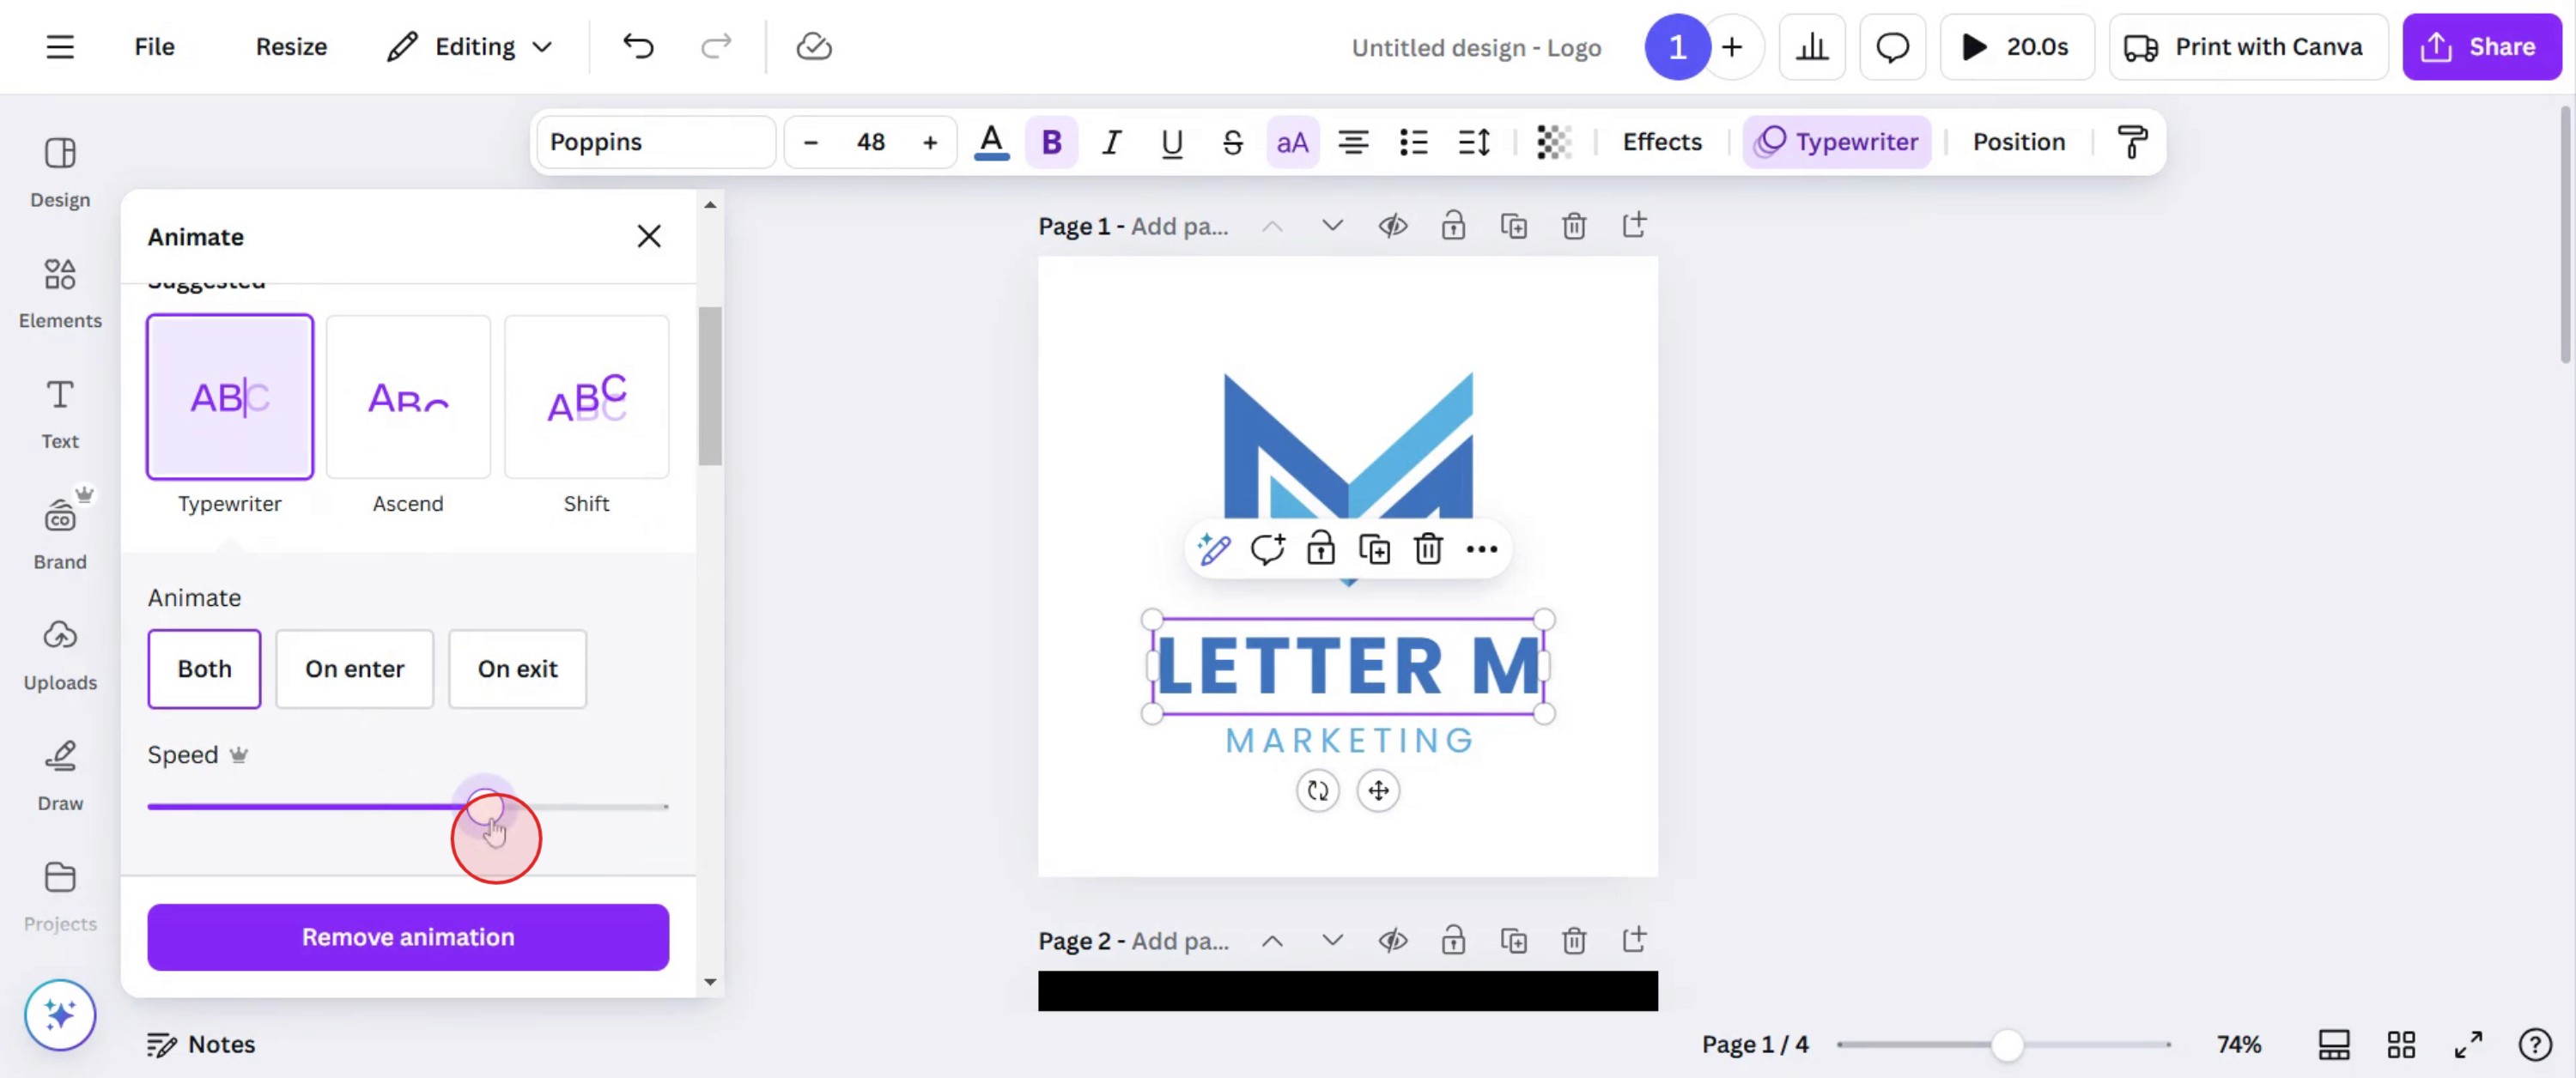
Step 6
Once you are satisfied with the animation settings, preview the animation to ensure it meets your expectations.
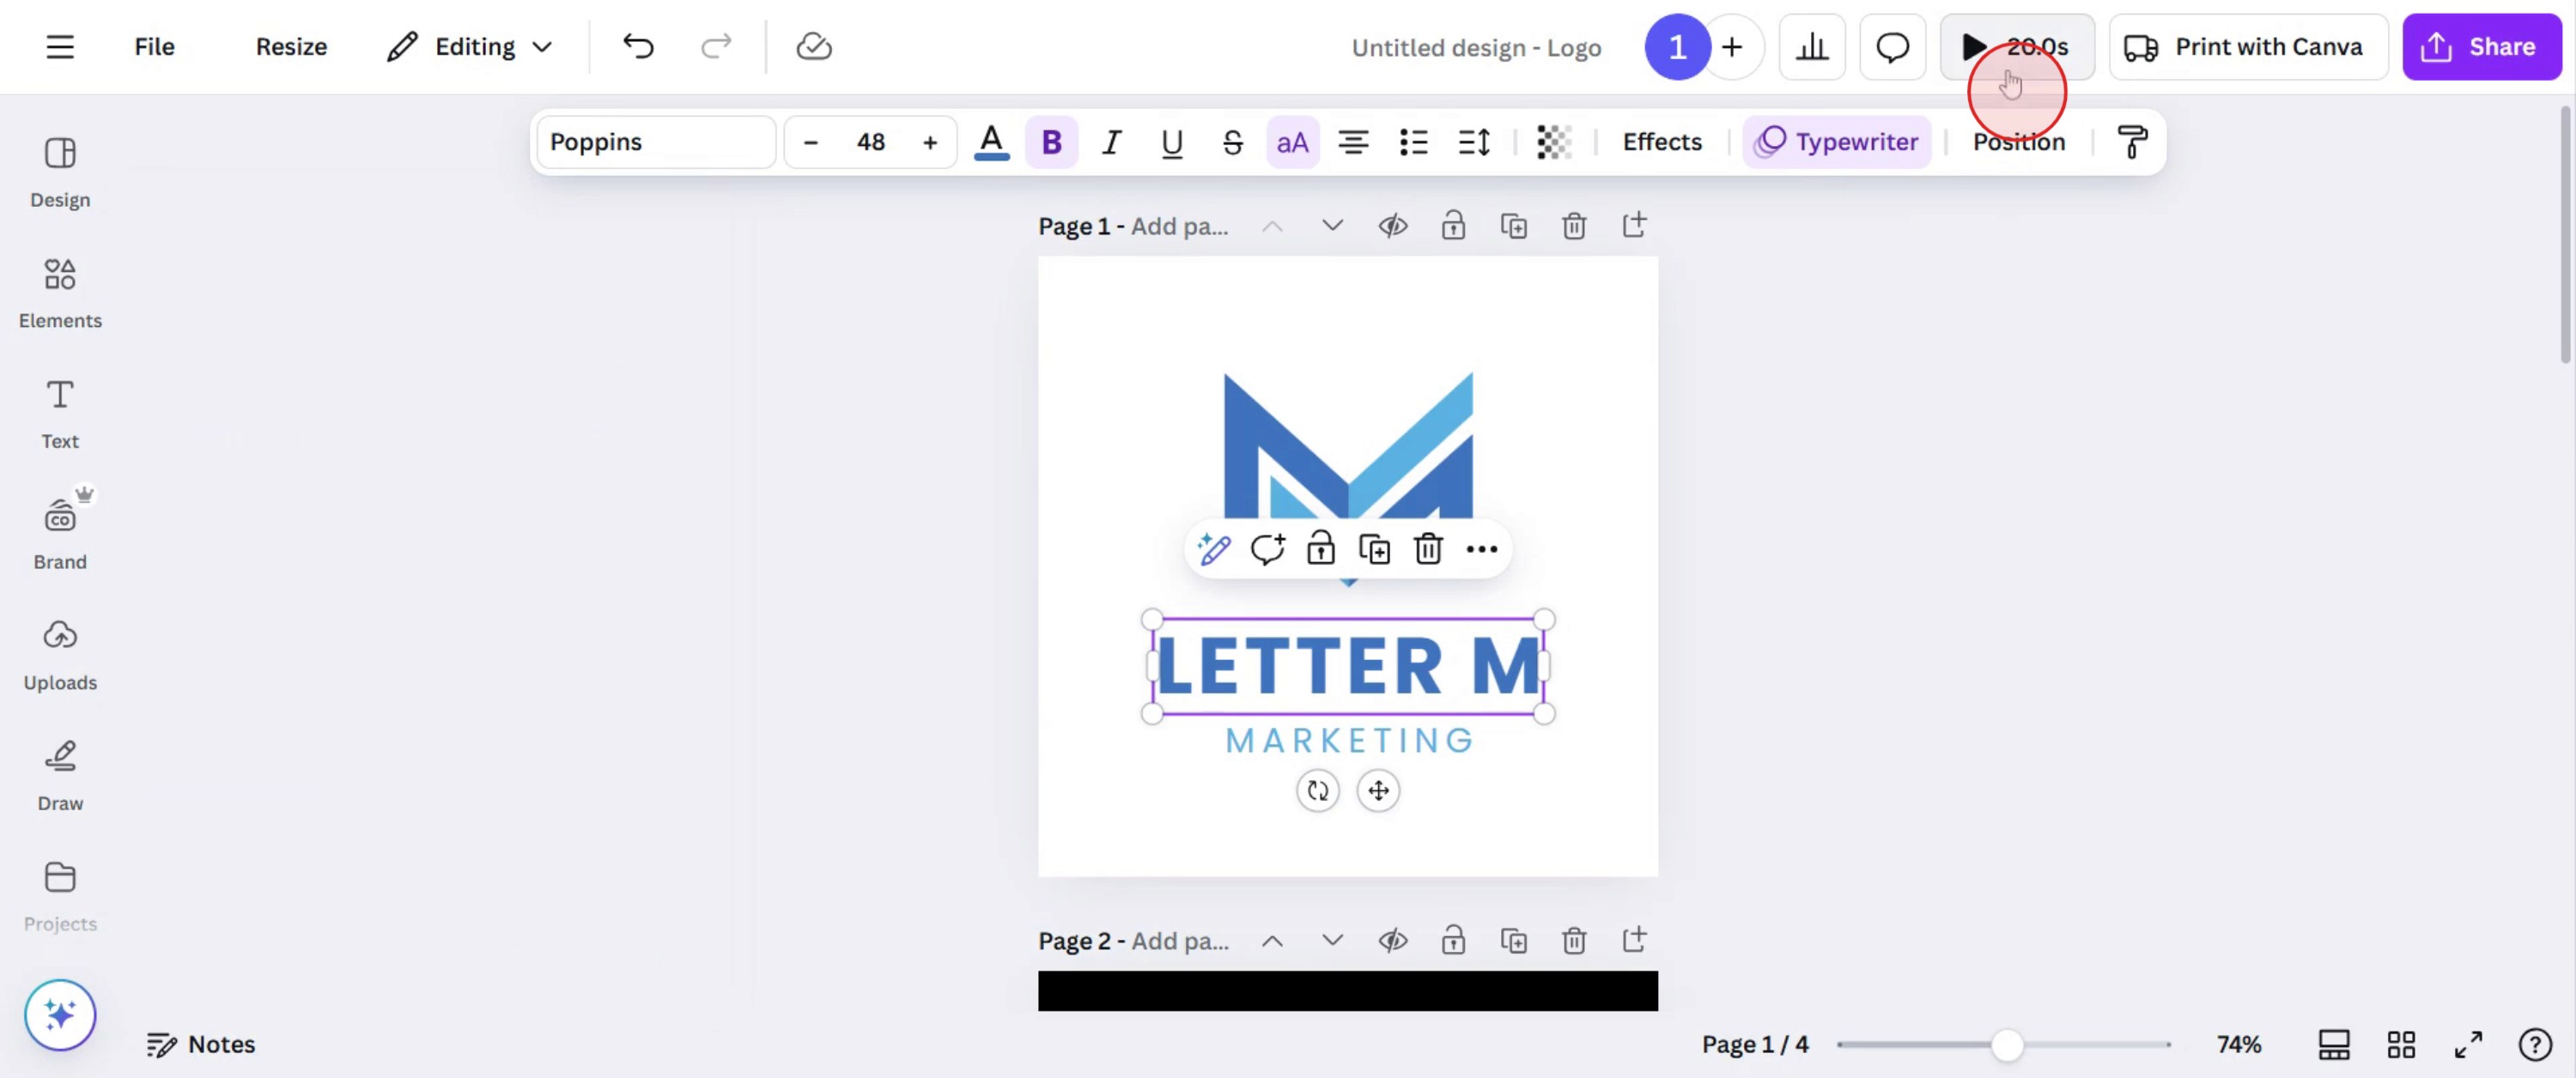
Step 7
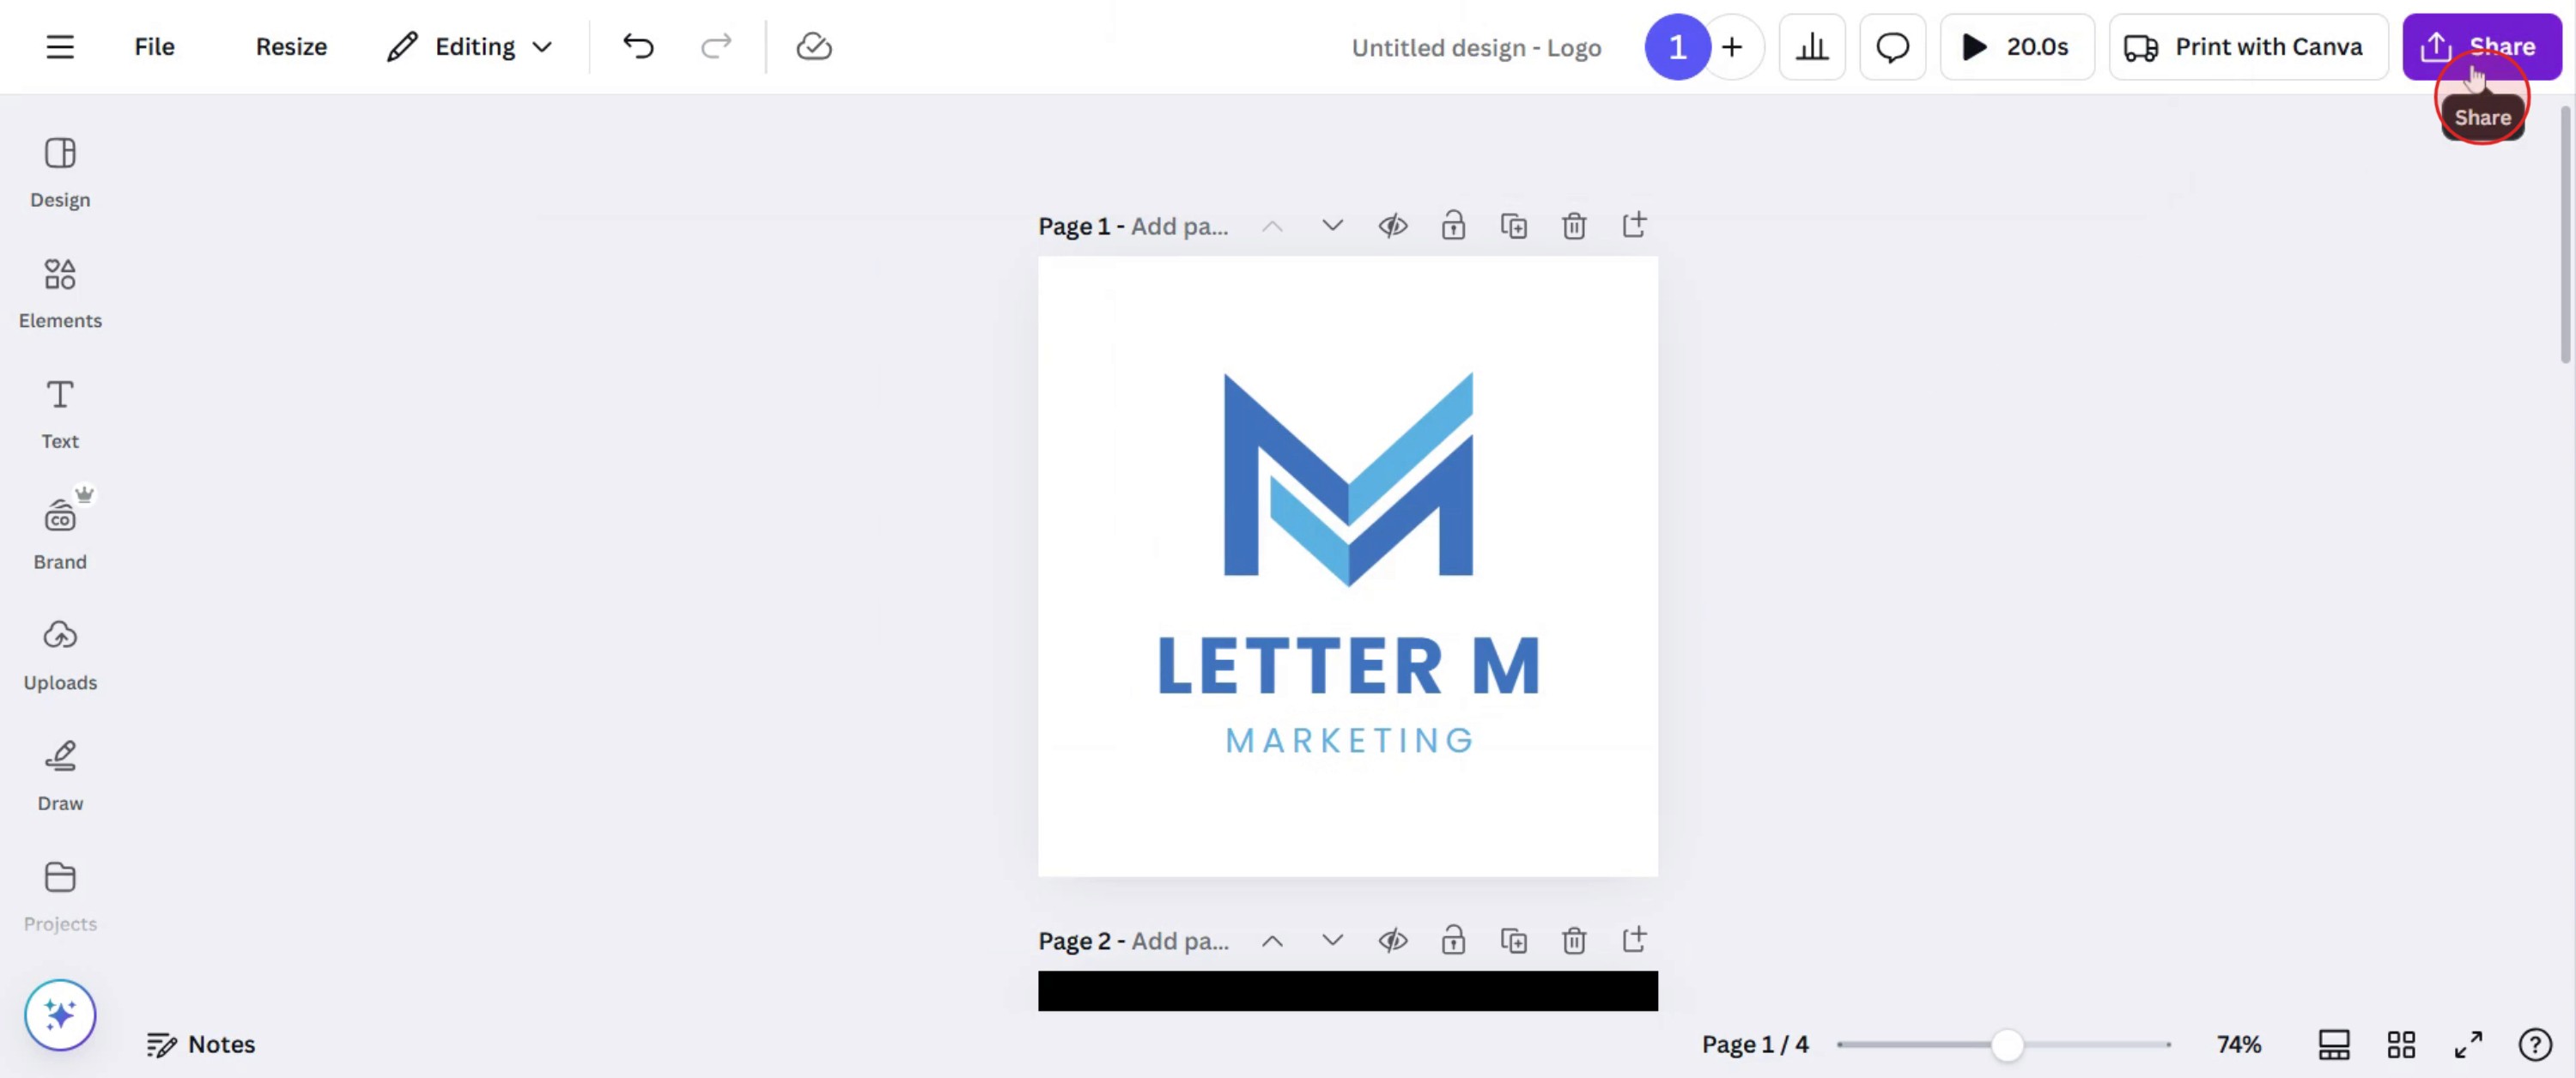
If everything is satisfactory, click on the share button to share your completed design.
Canva에서 애니메이션 타이밍을 위한 프로 팁
타임라인 편집기를 사용해 각 애니메이션의 지속 시간을 조정하면 자연스러운 전환을 만들 수 있습니다.
애니메이션은 짧고 은은하게 유지해 전문적인 느낌을 살리고 주의를 분산시키지 마세요.
지연(Delay) 기능을 활용해 애니메이션을 순차적으로 배치하고 매력적인 모션 효과를 만들어 보세요.
이 내용을 교육 자료로 바꿔보세요. 새로 합류한 구성원이 꼭 알아야 하는 내용이라면 이것을 영상 튜토리얼로 캡처하고 링크 하나를 공유하세요.
Canva에서 애니메이션 타이밍 시 흔한 실수 & 피하는 방법
애니메이션을 너무 길게 설정하면 디자인이 느리게 느껴질 수 있으니 지속 시간을 0.5~3초 사이로 유지하세요.
너무 많은 애니메이션이 겹치면 지저분한 느낌이 날 수 있으니 레이어를 전략적으로 활용하세요.
최종 애니메이션을 미리보기하지 않으면 의도치 않은 타이밍 문제가 발생할 수 있습니다. 내보내기 전에 항상 테스트하세요.
Canva에서 애니메이션 타이밍을 위한 자주 묻는 질문(FAQ)
Canva에서 애니메이션의 지속 시간을 맞춤 설정할 수 있나요?
네, 애니메이션 바를 드래그해 지속 시간을 변경하면 타임라인 편집기를 통해 타이밍을 조정할 수 있습니다.Canva에서 애니메이션을 지연시키려면 어떻게 하나요?
애니메이션 설정에서 지연(Delay) 옵션을 사용해 애니메이션을 순차적으로 배치하고 자연스러운 시퀀스를 만들어 보세요.한 디자인에서 여러 애니메이션에 서로 다른 타이밍을 적용할 수 있나요?
네, 각 애니메이션 요소마다 고유한 타이밍과 지속 시간을 설정할 수 있어 독특한 모션 효과를 만들 수 있습니다.mac에서 화면 녹화하는 방법은?
Mac에서 화면 녹화하려면 Trupeer AI를 사용할 수 있습니다. Trupeer AI를 사용하면 전체 화면을 캡처할 수 있으며, AI 아바타 추가, 음성 내레이션 추가, 영상에서 확대/축소 같은 AI 기능을 제공합니다. 또한 trupeer의 AI 영상 번역 기능으로 영상을 30+개 언어로 번역할 수 있습니다.화면 녹화에 AI 아바타를 추가하는 방법은?
화면 녹화에 AI 아바타를 추가하려면 AI 화면 녹화 도구를 사용해야 합니다. Trupeer AI는 AI 화면 녹화 도구로, 여러 아바타가 포함된 영상을 만들 수 있도록 도와주며, 영상용 나만의 아바타를 만드는 데도 도움을 줍니다.Windows에서 화면 녹화하는 방법은?
Windows에서 화면 녹화하려면 기본 제공되는 게임 바(Game Bar)(Windows + G) 또는 Trupeer AI 같은 고급 AI 도구를 사용할 수 있습니다. 이를 통해 AI 아바타, 음성 내레이션, 번역 등 더 고급 기능을 사용할 수 있습니다.영상에 음성 내레이션을 추가하는 방법은?
영상에 음성 내레이션을 추가하려면 trupeer ai 크롬 확장 프로그램을 다운로드하세요. 가입 후, 음성이 포함된 영상을 업로드하고 trupeer에서 원하는 음성 내레이션을 선택한 다음 편집한 영상을 내보내세요.화면 녹화에서 어떻게 확대(Zoom)하나요?
화면 녹화 중 확대하려면 Trupeer AI의 줌 효과를 사용하세요. 특정 순간에 맞춰 확대/축소할 수 있어 영상 콘텐츠의 시각적 임팩트를 강화합니다.
추천 읽을거리
관련 튜토리얼