

Figmaで変更を元に戻す方法
Figmaでデザイン中にミスをしましたか?ショートカットやメニューバーを使って、変更をすぐに元に戻す方法を学びましょう。手間なく修正できるクイックガイドです。
以下は、より詳しい内訳です:
1. キーボードショートカットを使用する:
元に戻す: Ctrl + Z (Windows) または Cmd + Z (Mac) を押して 元に戻すと、最後の操作を取り消せます。 やり直し: Ctrl + Shift + Z (Windows) または Cmd + Shift + Z (Mac) を押して、直前に取り消した操作をやり直せます。
2. 編集メニューを使用する:
上部のメニューバーで「編集」をクリックします。「元に戻す」を選択して、最後の操作を取り消します。「やり直し」を選択して、以前に取り消した操作を再度実行します。
3. バージョン履歴を使用する:
ファイルの古いバージョンに戻す必要がある場合は、「バージョン履歴を表示」機能を使用できます。 Figmaインターフェース上部のファイル名をクリックします。 「バージョン履歴を表示」を選択すると、過去のバージョン一覧を表示できます。 復元したいバージョンを選択し、「このバージョンを復元」をクリックします。
ステップバイステップガイド:Figmaで変更を元に戻す方法
ステップ1
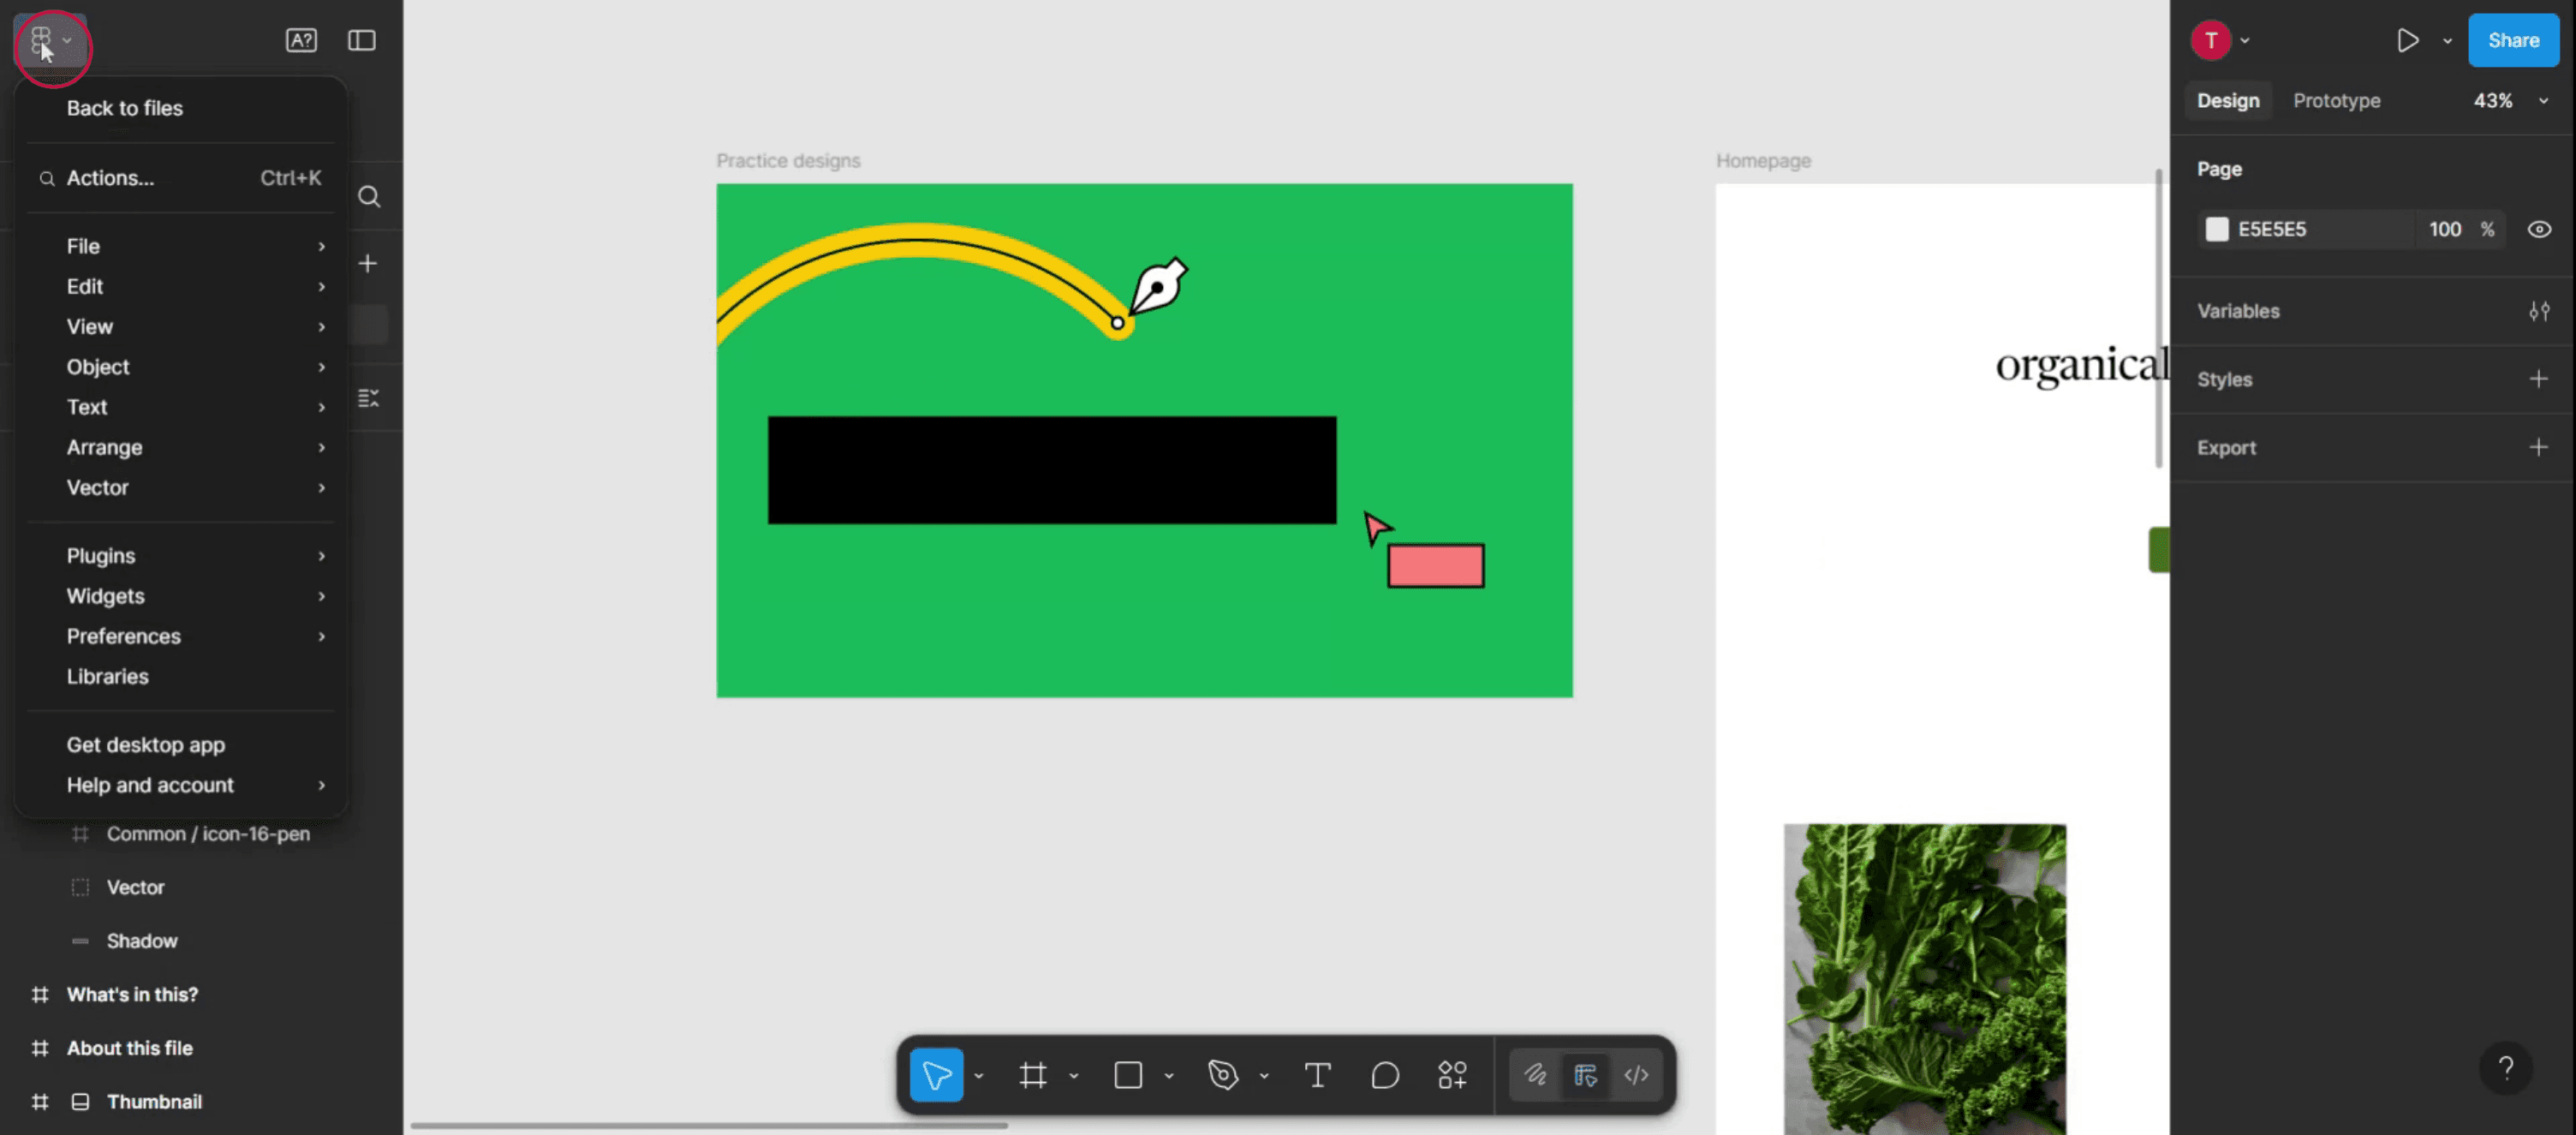
Figmaインターフェースのメインメニューアイコンをクリックします。
ステップ2
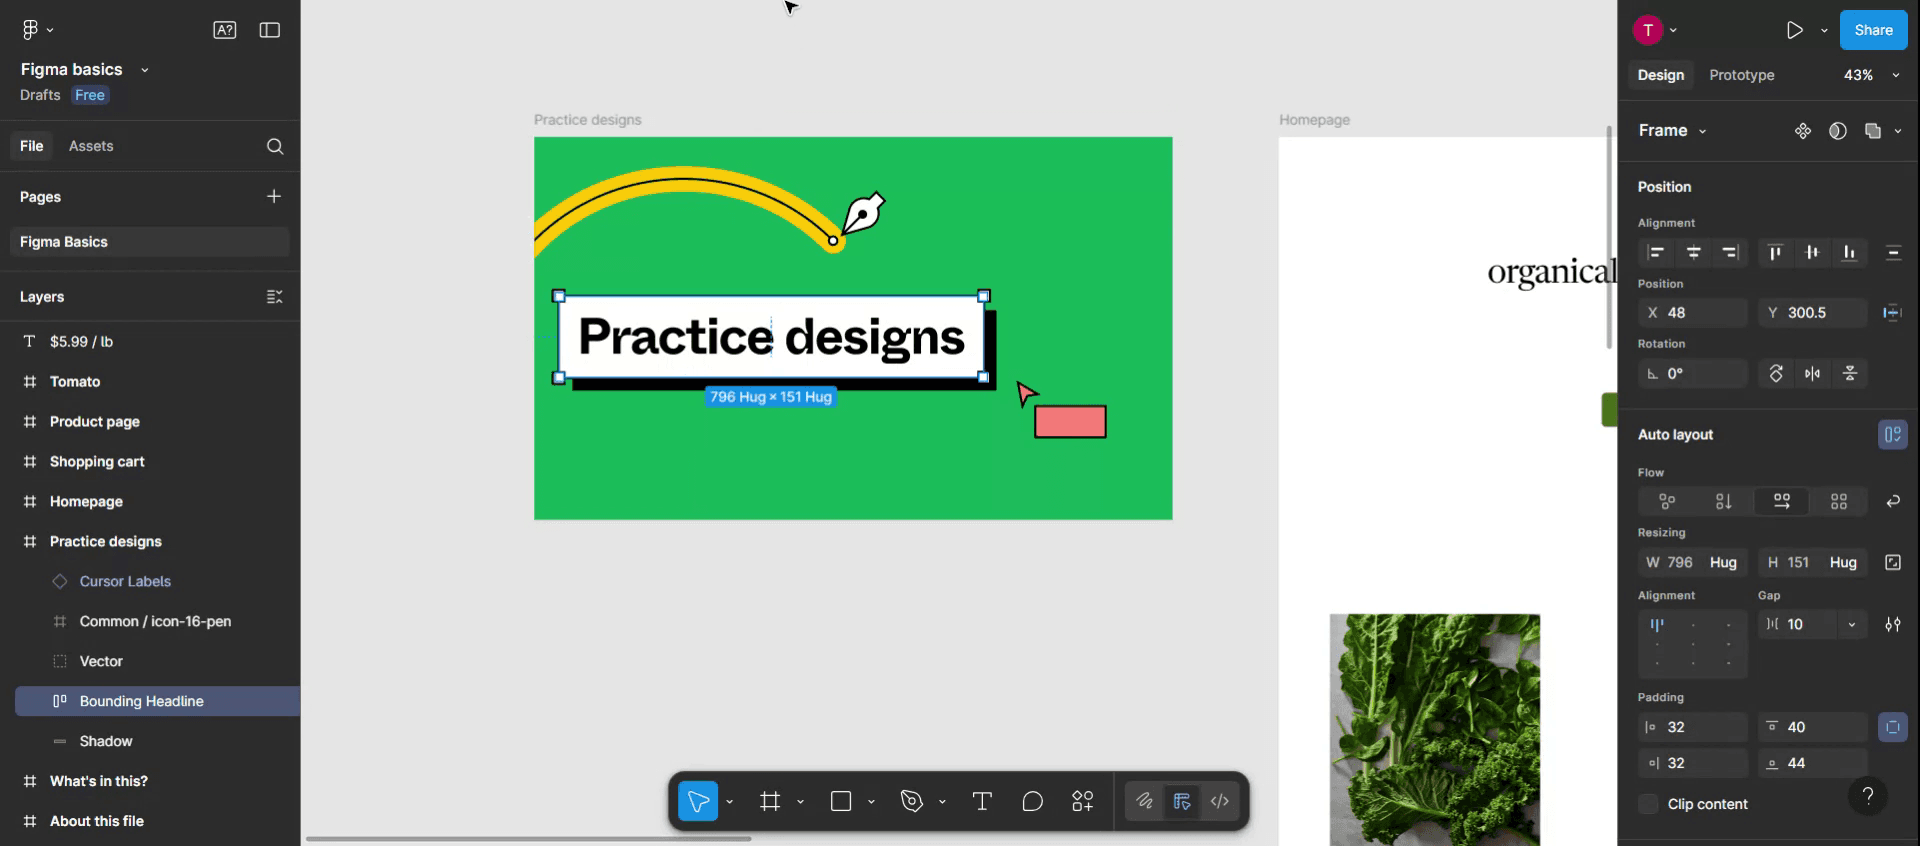
メニュー内で「編集」オプションを見つけて選択します。

ステップ3
メニュー内で「元に戻す」オプションを見つけます。

ステップ4
その結果、以前削除されたテキストやデザインがテンプレートに再表示されます。
Figmaで変更を元に戻すためのプロのヒント
素早く取り消すにはキーボードショートカットを使う
Ctrl + Z(Windows)または Cmd + Z(Mac)を押すと、直前の操作をすぐに元に戻せます。デザイン作業中に変更を取り消す最も速い方法です。必要ならやり直す
誤って取り消してしまった場合は、Ctrl + Shift + Z(Windows)または Cmd + Shift + Z(Mac)を押して、最後に取り消した操作をやり直せます。編集メニューを使う
上部のメニューバーで「編集」をクリックし、ドロップダウンから「元に戻す」を選択します。ショートカットよりメニュー操作を好む場合に便利です。バージョン履歴を確認する
上部ツールバーのファイル名をクリックし、「バージョン履歴」→「バージョン履歴を表示」を選択します。ファイルに加えられた変更のタイムラインが表示されます。以前のバージョンを復元する
バージョン履歴パネルで、タイムスタンプ付きのバージョンをクリックしてプレビューします。必要に応じて、「このバージョンを復元」をクリックすると、その時点の状態にファイルを戻せます。
よくある落とし穴とその回避方法
表示のみモードで元に戻せない
元に戻す機能は、ファイルへの編集権限がある場合にのみ使えます。表示のみモードでは、何も元に戻すことはできません。他のユーザーの変更を元に戻す
リアルタイムで元に戻せるのは、自分の操作だけです。他の人の編集を元に戻すには、バージョン履歴から以前のバージョンを復元してください。何を元に戻したか分からなくなる
何を変更したか不明な場合は、バージョン履歴を使ってファイルの状態を比較し、削除されたものや追加されたものを特定します。元に戻すショートカットの競合
一部のブラウザ拡張機能やオペレーティングシステムでは、既定のショートカットが上書きされることがあります。元に戻す機能が動作しない場合は、代わりに編集メニューを試してください。自動保存の制御がない
Figmaは変更を常に自動保存します。間違えてファイルを閉じた場合、再度開いたときには元に戻す操作ができないことがあります。安全のためにバージョン管理を利用してください。
Figmaでの取り消しに関するよくある質問
Figmaで操作を取り消すには?
Ctrl + Z(Windows)またはCmd + Z(Mac)を押すか、上部メニューの編集 → 元に戻すに移動します。ファイルを閉じた後でも変更を取り消せますか?
いいえ。いったんファイルを閉じて再度開くと、リアルタイムの取り消しはリセットされます。以前のバージョンに戻すにはバージョン履歴を使用してください。直前に取り消した操作をやり直すには?
Ctrl + Shift + Z(Windows)またはCmd + Shift + Z(Mac)を押すか、編集 → やり直しに移動します。取り消せる操作数に上限はありますか?
上限はありませんが、ファイルを閉じて再度開くと取り消し履歴はリセットされます。他の人が行った変更も取り消せますか?
いいえ。他のユーザーのリアルタイム操作は取り消せません。必要に応じてバージョン履歴でファイルを戻してください。Macで画面録画するには?
Macで画面録画するには、Trupeer AIを使用できます。画面全体をキャプチャでき、AIアバターの追加、ナレーションの追加、動画内のズームインとズームアウトなどのAI機能を提供します。TrupeerのAI動画翻訳機能を使えば、動画を30以上の言語に翻訳できます。画面録画にAIアバターを追加するには?
画面録画にAIアバターを追加するには、AI画面録画ツールを使用する必要があります。Trupeer AIはAI画面録画ツールで、複数のアバターを使った動画の作成を支援し、動画用の独自アバターの作成にも役立ちます。Windowsで画面録画するには?
Windowsで画面録画するには、Windows + Gの標準搭載Game Barを使うか、AIアバター、ナレーション、翻訳などのより高度な機能を備えたTrupeer AIのような高度なAIツールを使用できます。動画にナレーションを追加するには?
動画にナレーションを追加するには、trupeer aiのChrome拡張機能をダウンロードしてください。サインアップ後、音声付きの動画をアップロードし、trupeerで希望のナレーションを選択して、編集済みの動画を書き出します。画面録画でズームインするには?
画面録画中にズームインするには、Trupeer AIのズーム効果を使用します。これにより、特定の瞬間にズームインとズームアウトができ、動画コンテンツの視覚的なインパクトを高められます。
おすすめの記事
関連チュートリアル

