
Google Sheetsで行を固定する方法
Google スプレッドシートで行を固定して、スクロールしてもヘッダーを表示したままにする方法を学びましょう。この簡単なガイドに従って、スプレッドシートの操作性と見やすさを向上させましょう。
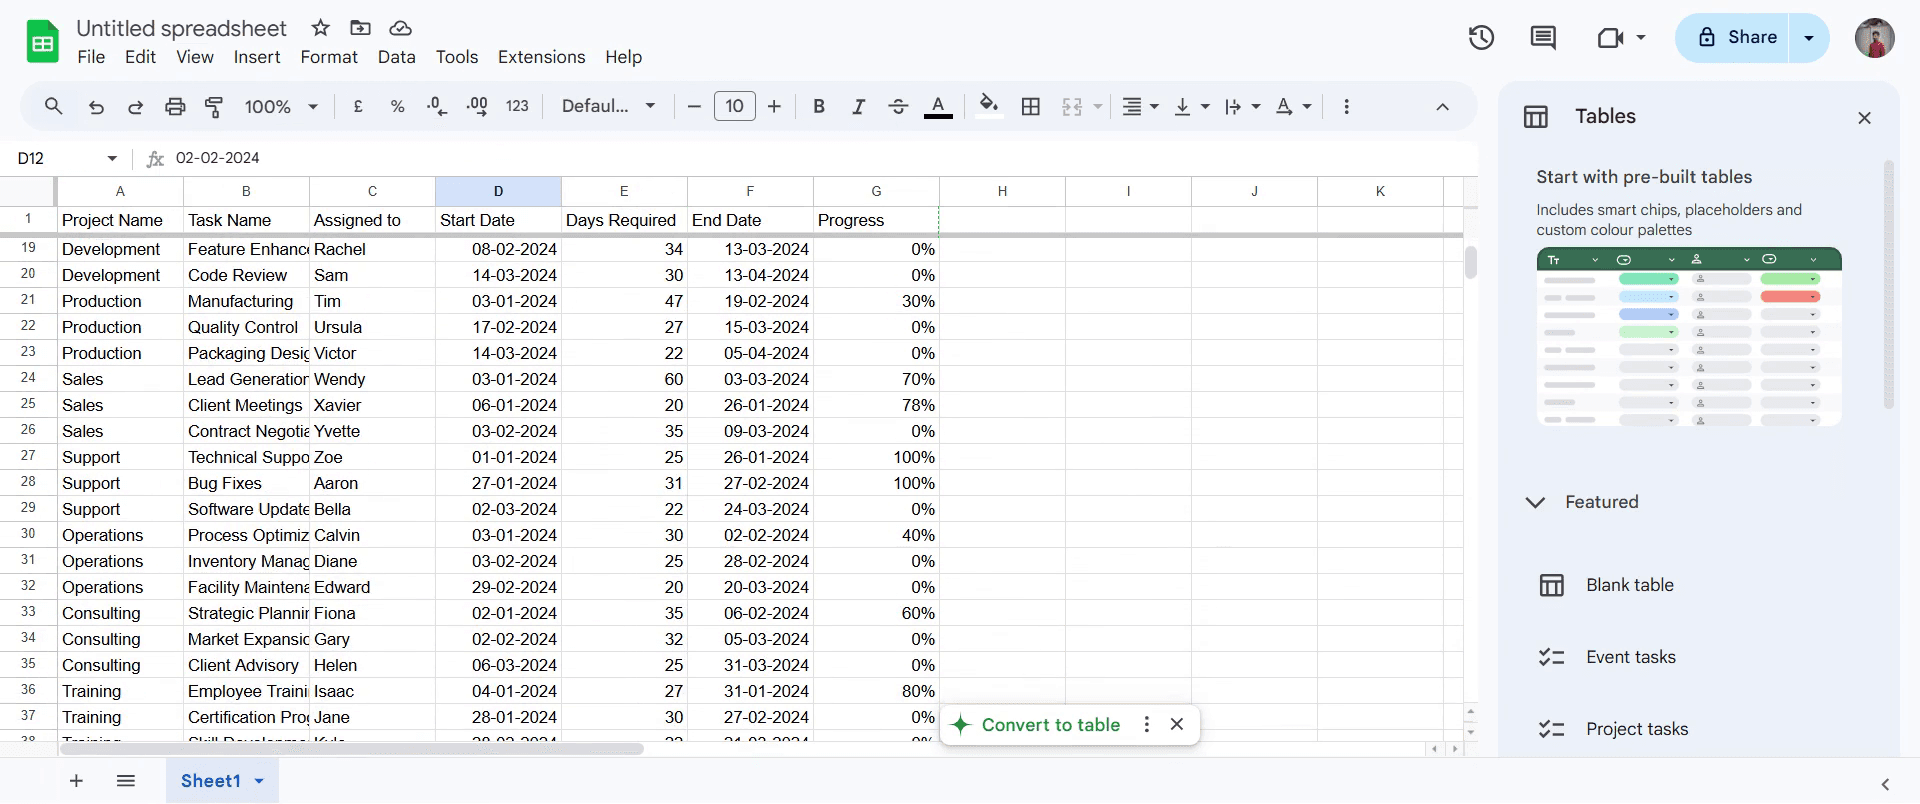
この文書では、Google スプレッドシートで行を固定する方法を簡潔に説明します。行を固定すると、データをスクロールしている間も特定の行を表示したままにできます。
スプレッドシートをスクロールしている間も特定の行を表示したままにしたい場合は、スプレッドシートを使用して、"表示" メニューから固定できます。これは、ページを下に移動するときに見出しを固定しておくのに特に便利です。
手順:
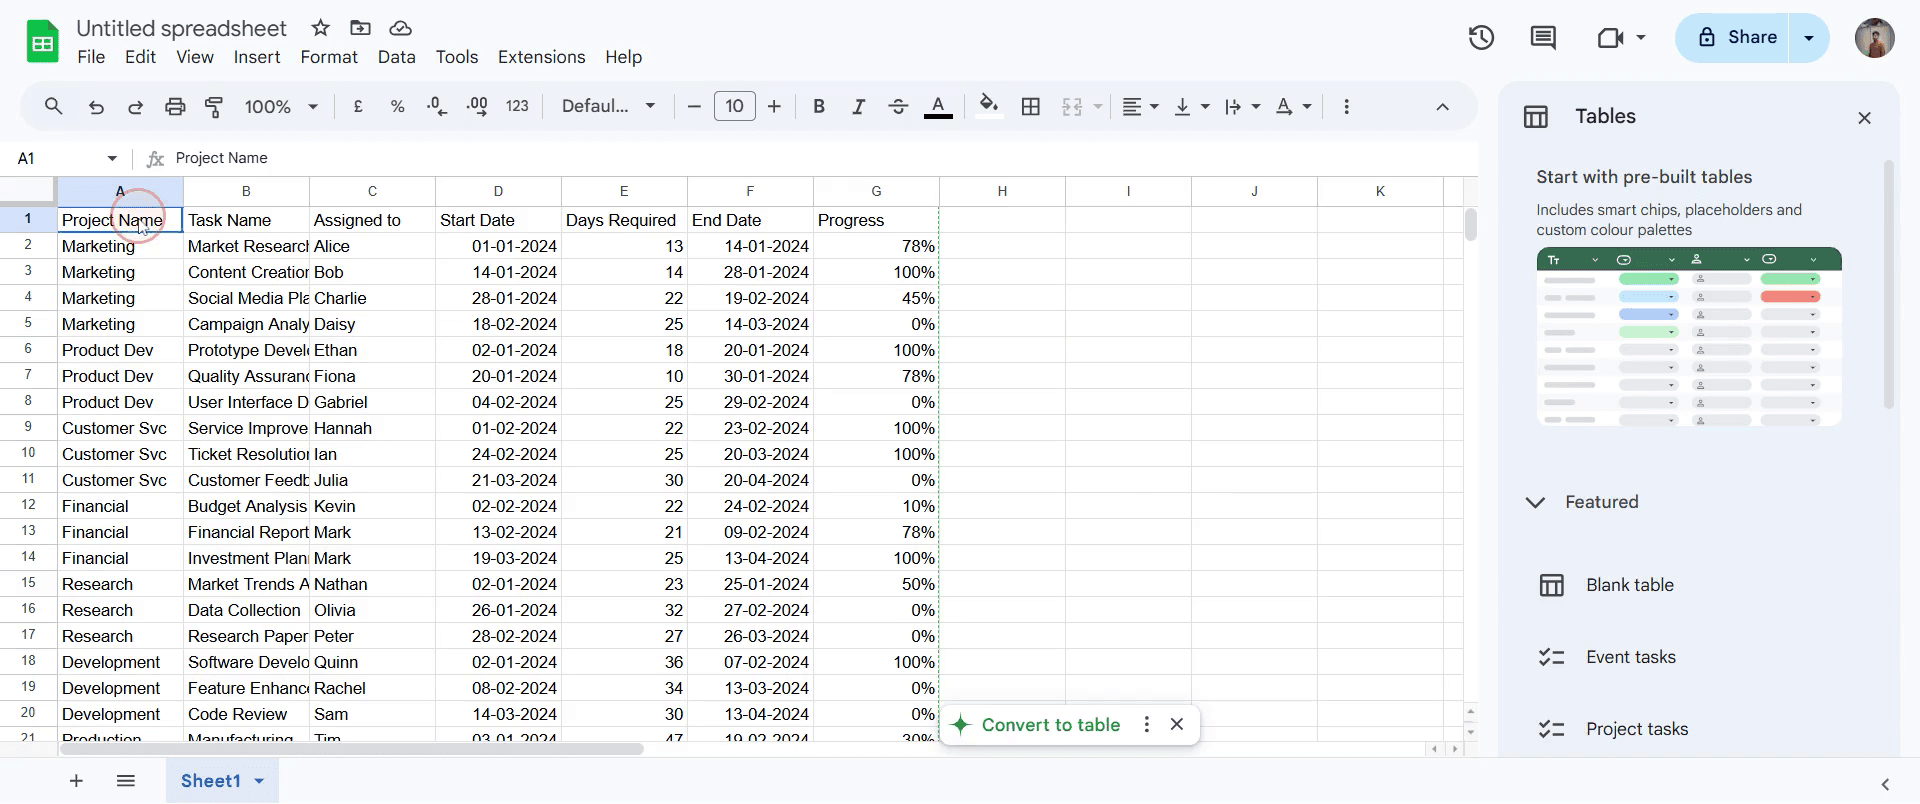
1. Google スプレッドシートを開く:
行を固定したいスプレッドシートを開きます。行を固定します。
2. 行を選択する:
左側の行番号をクリックして、固定したい行を選択します。必要に応じて複数の行を選択できます。
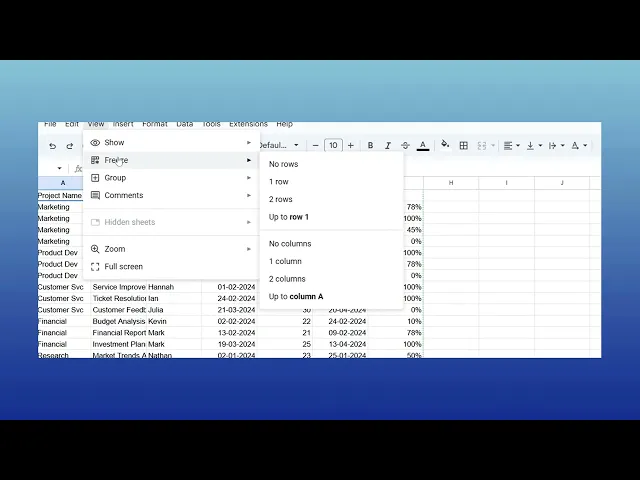
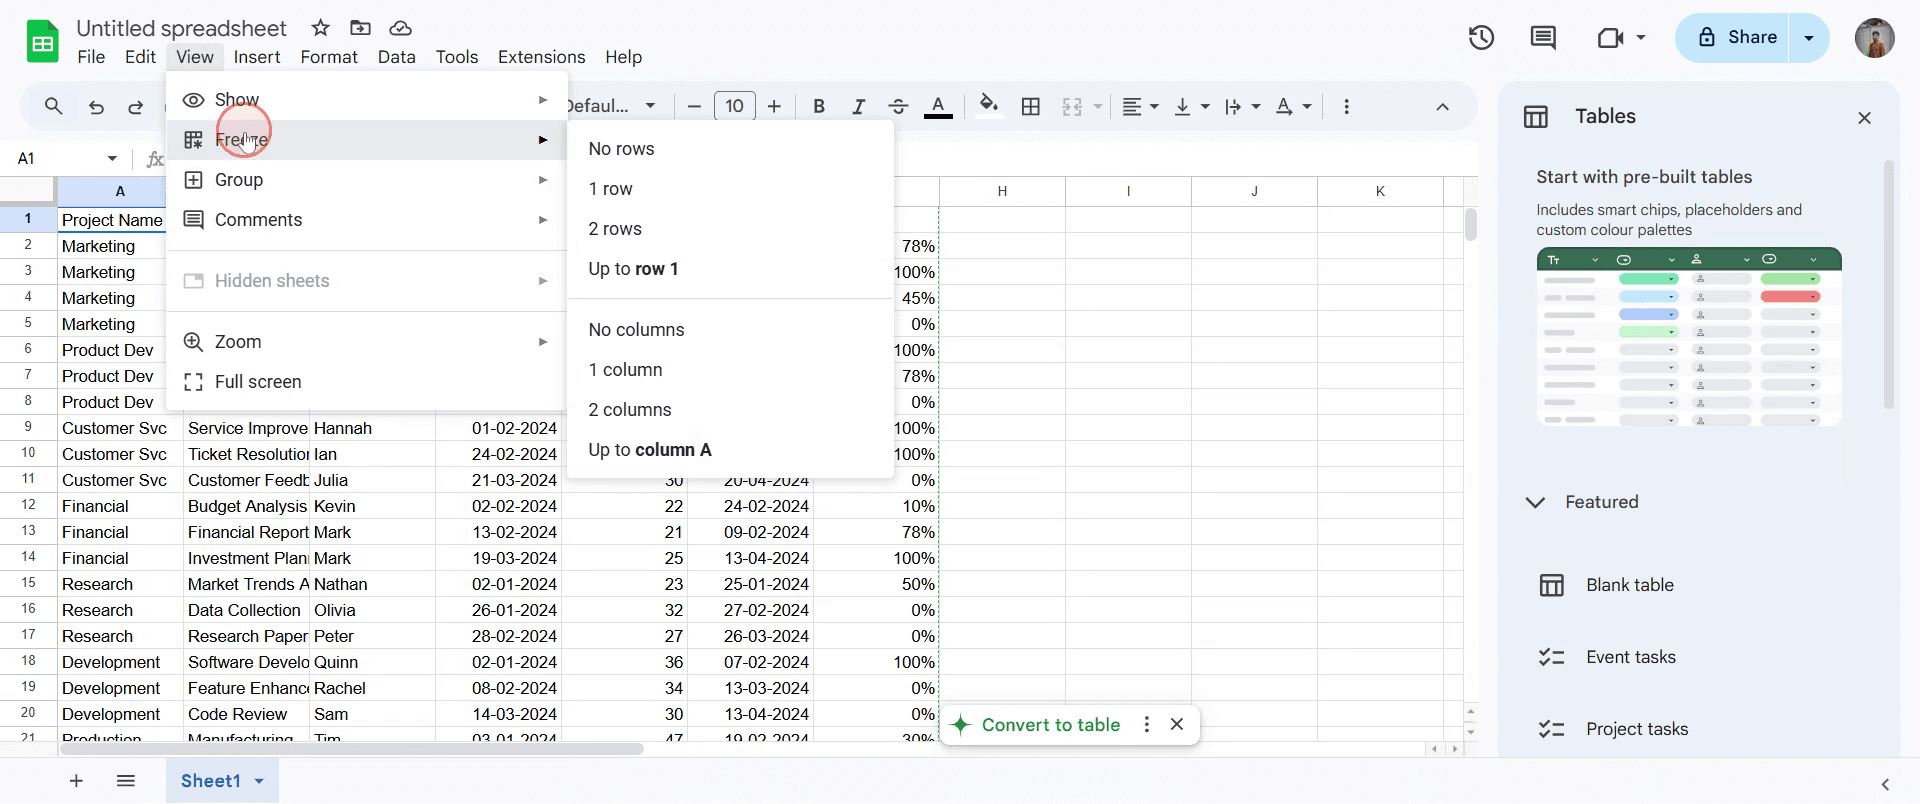
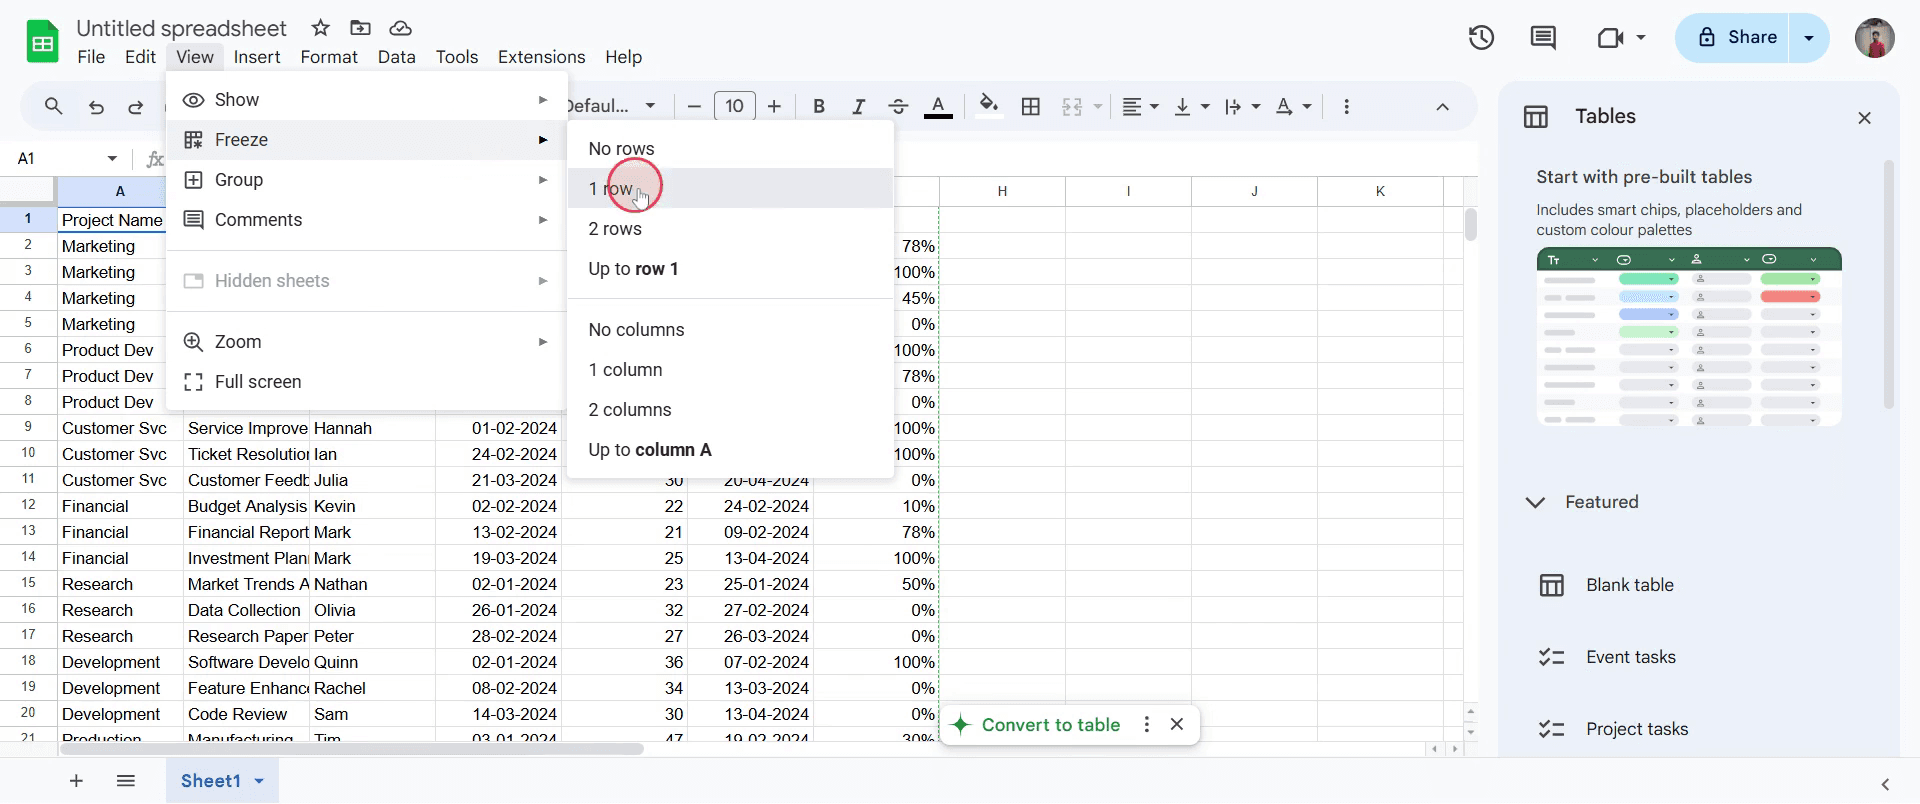
3. 「表示」メニューを開く:
ページ上部で "表示" をクリックしてドロップダウン メニューを開きます。
4. 「固定」をクリックする:
ドロップダウンで "固定" にカーソルを合わせると、固定オプションが表示されます。
5. 固定する行数を選ぶ:
「1 行」など、固定したい行数を選んで、最上部の行だけを固定します。
6. 完了
選択した行は、下にスクロールしてもシートの上部に固定されたままになります。
Google スプレッドシートで行を固定する方法:ステップごとのガイド
手順 1
固定したい行をクリックして選択します。
手順 2
表示 に移動し、固定 オプションを選択します
手順 3
オプションの一覧が表示されます。固定したい行に対応するオプションを選択します。
手順 4
行全体が正常に固定されたことを確認します。これにより、シートをスクロールしても選択した行が表示されたままになります。
シートで行を固定するためのプロのヒント
大きなスプレッドシートをスクロールしてもヘッダーを表示したままにして、移動しやすくするために、最上段の行を固定しましょう。
「ウィンドウ枠の固定」オプションを使って、複数の行を一度に固定しましょう。ヘッダー部分が大きいスプレッドシートに最適です。
シートを効率的に保ち、不要に画面スペースを占有しないよう、必要な行だけを固定するようにしましょう。
シートで行を固定する際によくある落とし穴とその回避方法
不要になったら行の固定を解除し忘れると、表示が煩雑になります。もう必要ない場合は必ず固定を解除しましょう。
行を固定しすぎると混乱を招き、見やすさが下がります。必要な行だけを固定しましょう。
行を固定する前にスプレッドシートのレイアウトを見直さないと、関係ない部分を誤って固定してしまうことがあります。固定する行は必ず再確認しましょう。
シートで行を固定する方法に関するよくある質問
Google スプレッドシートの「固定」オプションは何をしますか?
「固定」オプションは、シートをスクロールしている間も表示されたままになるように、行または列をロックします。Google スプレッドシートで行または列を固定するにはどうすればよいですか?
「表示」>「固定」をクリックし、1 つ以上の行/列を固定するオプションを選択します。固定した後で行や列の固定を解除できますか?
はい。「表示」>「固定」>「行なし」または「列なし」に移動して、固定を解除します。何行または何列まで固定できますか?
シートの上部または左側から、任意の数の行または列を固定できます。「固定」オプションはなぜ便利なのですか?
大きなデータセットを操作している間も、見出しや重要なデータを表示したままにできますMac で画面を録画するにはどうすればよいですか?
Macで画面を録画するには、Trupeer AI を使用できます。これを使うと、画面全体をキャプチャでき、AI アバターの追加、ナレーションの追加、動画内のズームイン/ズームアウトなどの AI 機能を利用できます。trupeer の AI 動画翻訳機能を使えば、動画を 30 以上の言語に翻訳できます。画面録画に AI アバターを追加するにはどうすればよいですか?
画面録画に AI アバターを追加するには、AI 画面録画ツールを使用する必要があります。Trupeer AI は AI 画面録画ツールで、複数のアバターを使った動画の作成を支援し、さらに動画用の自分のアバター作成もサポートします。Windows で画面を録画するにはどうすればよいですか?
Windows で画面を録画するには、組み込みの Game Bar(Windows + G)を使用するか、Trupeer AI のような高度な AI ツールを使って、AI アバター、ナレーション、翻訳などのより高度な機能を利用できます。動画にナレーションを追加するにはどうすればよいですか?
動画にナレーションを追加するには、Trupeer AI の Chrome 拡張機能をダウンロードしてください。サインアップ後、音声付きの動画をアップロードし、Trupeer から希望のナレーションを選択して、編集済みの動画を書き出します。画面録画でズームインするにはどうすればよいですか?
画面録画中にズームインするには、Trupeer AI のズーム効果を使用します。これにより、特定のタイミングでズームイン/ズームアウトでき、動画コンテンツの視覚的なインパクトを高められます。
おすすめ記事
関連チュートリアル

