
Come rimuovere la musica da un video Canva
Scopri come rimuovere musica o audio dai tuoi progetti video Canva. Guida passo passo per eliminare le tracce di sottofondo o disattivare l'audio dei clip video con facilità.
Guida passo passo: come aggiungere una casella di testo in Canva
Passo 1
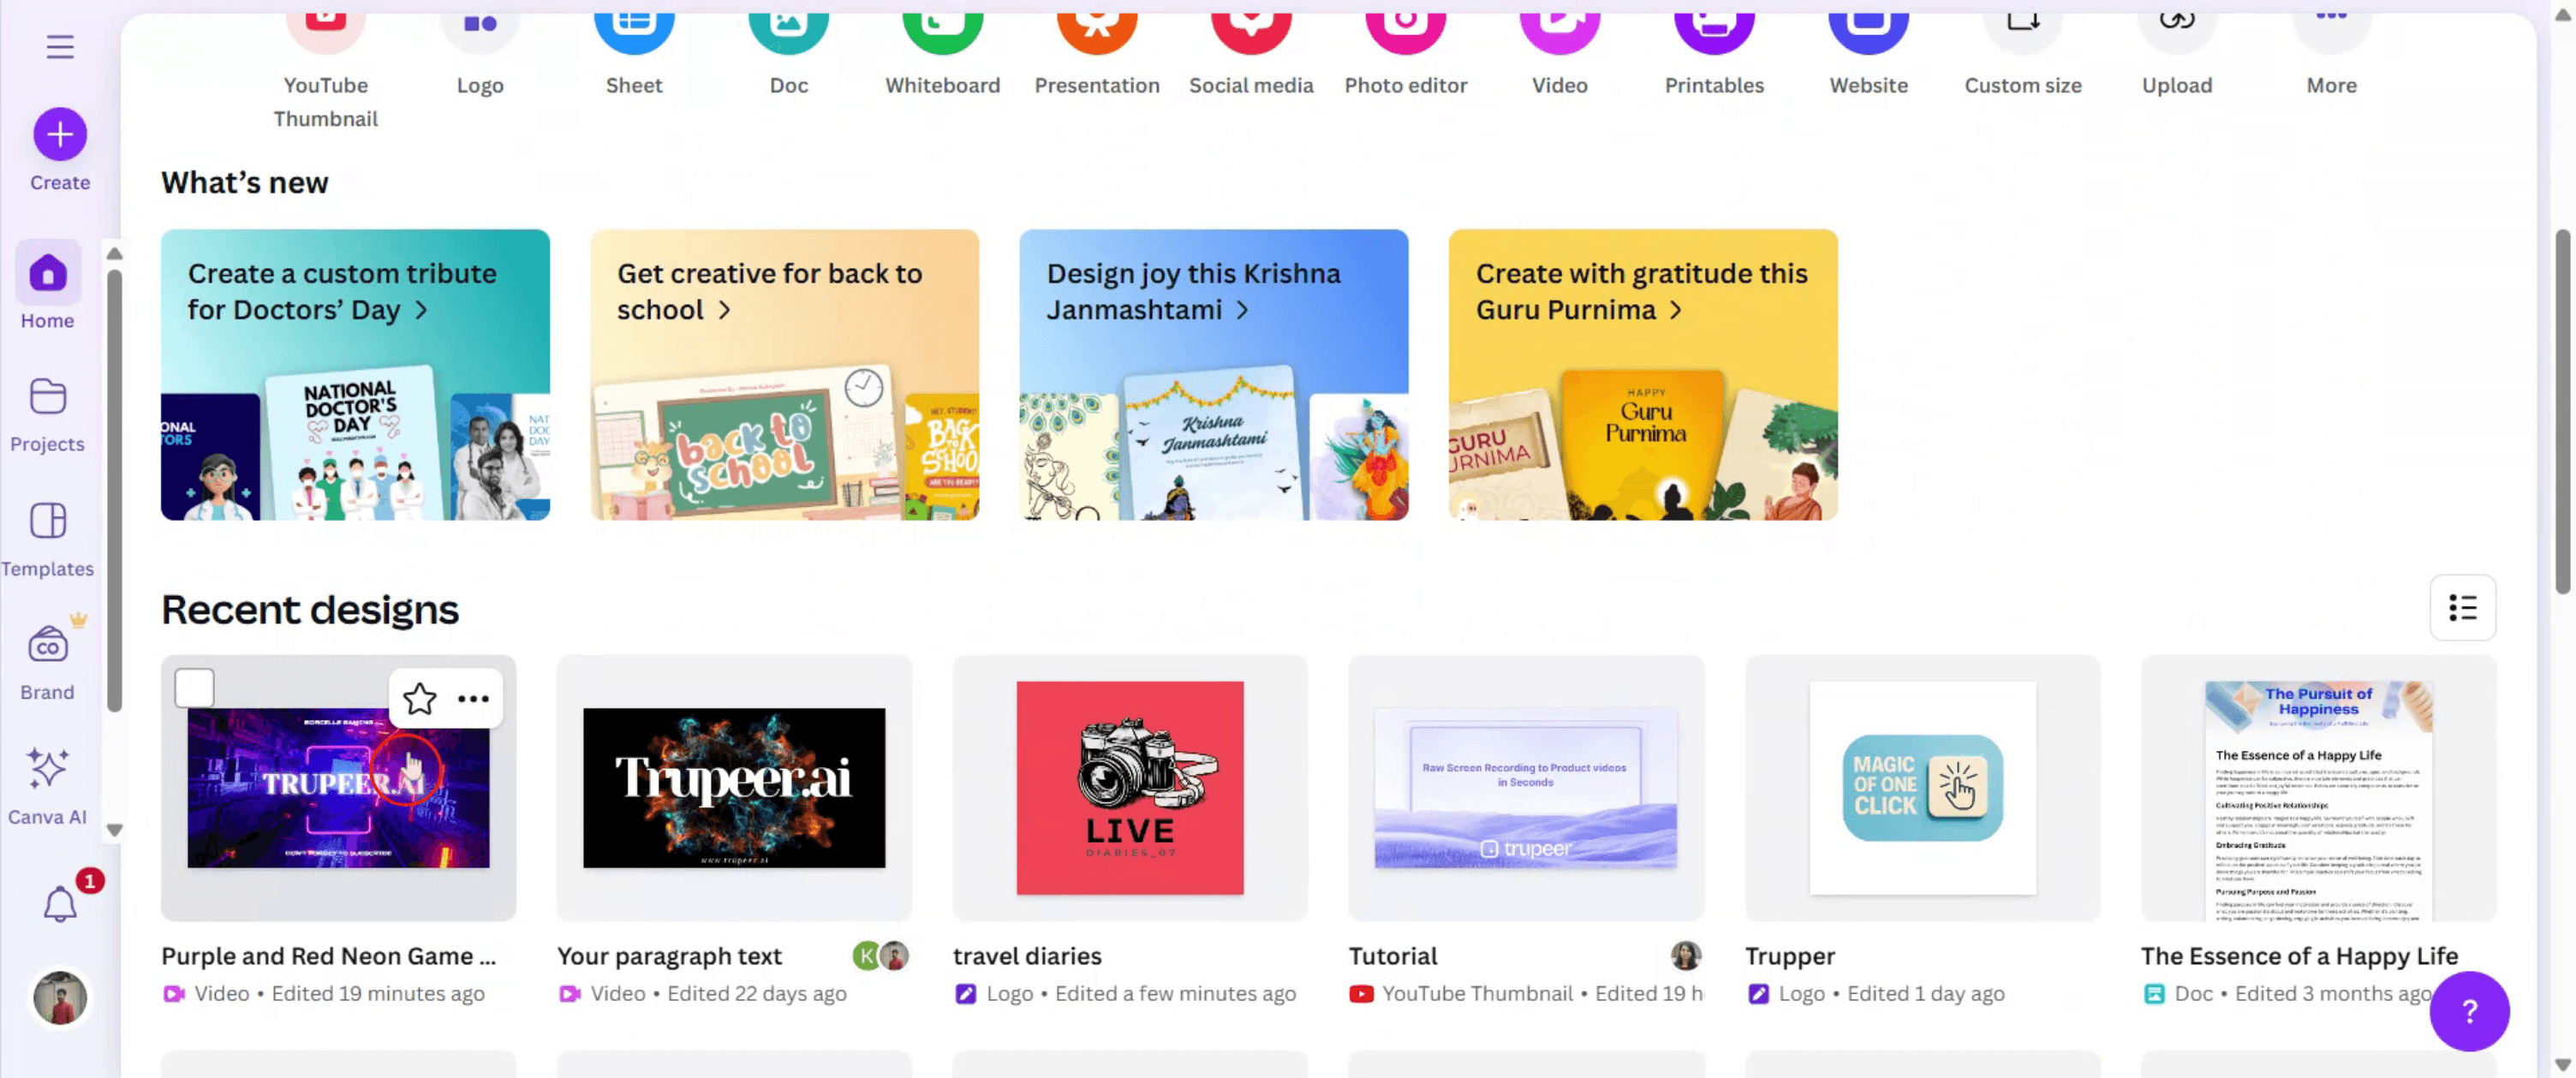
Per iniziare, apri il tuo progetto video di Canva selezionandolo dalla dashboard.
Passo 2
Quindi, fai clic sul video per visualizzare le opzioni associate, dove troverai la traccia audio.
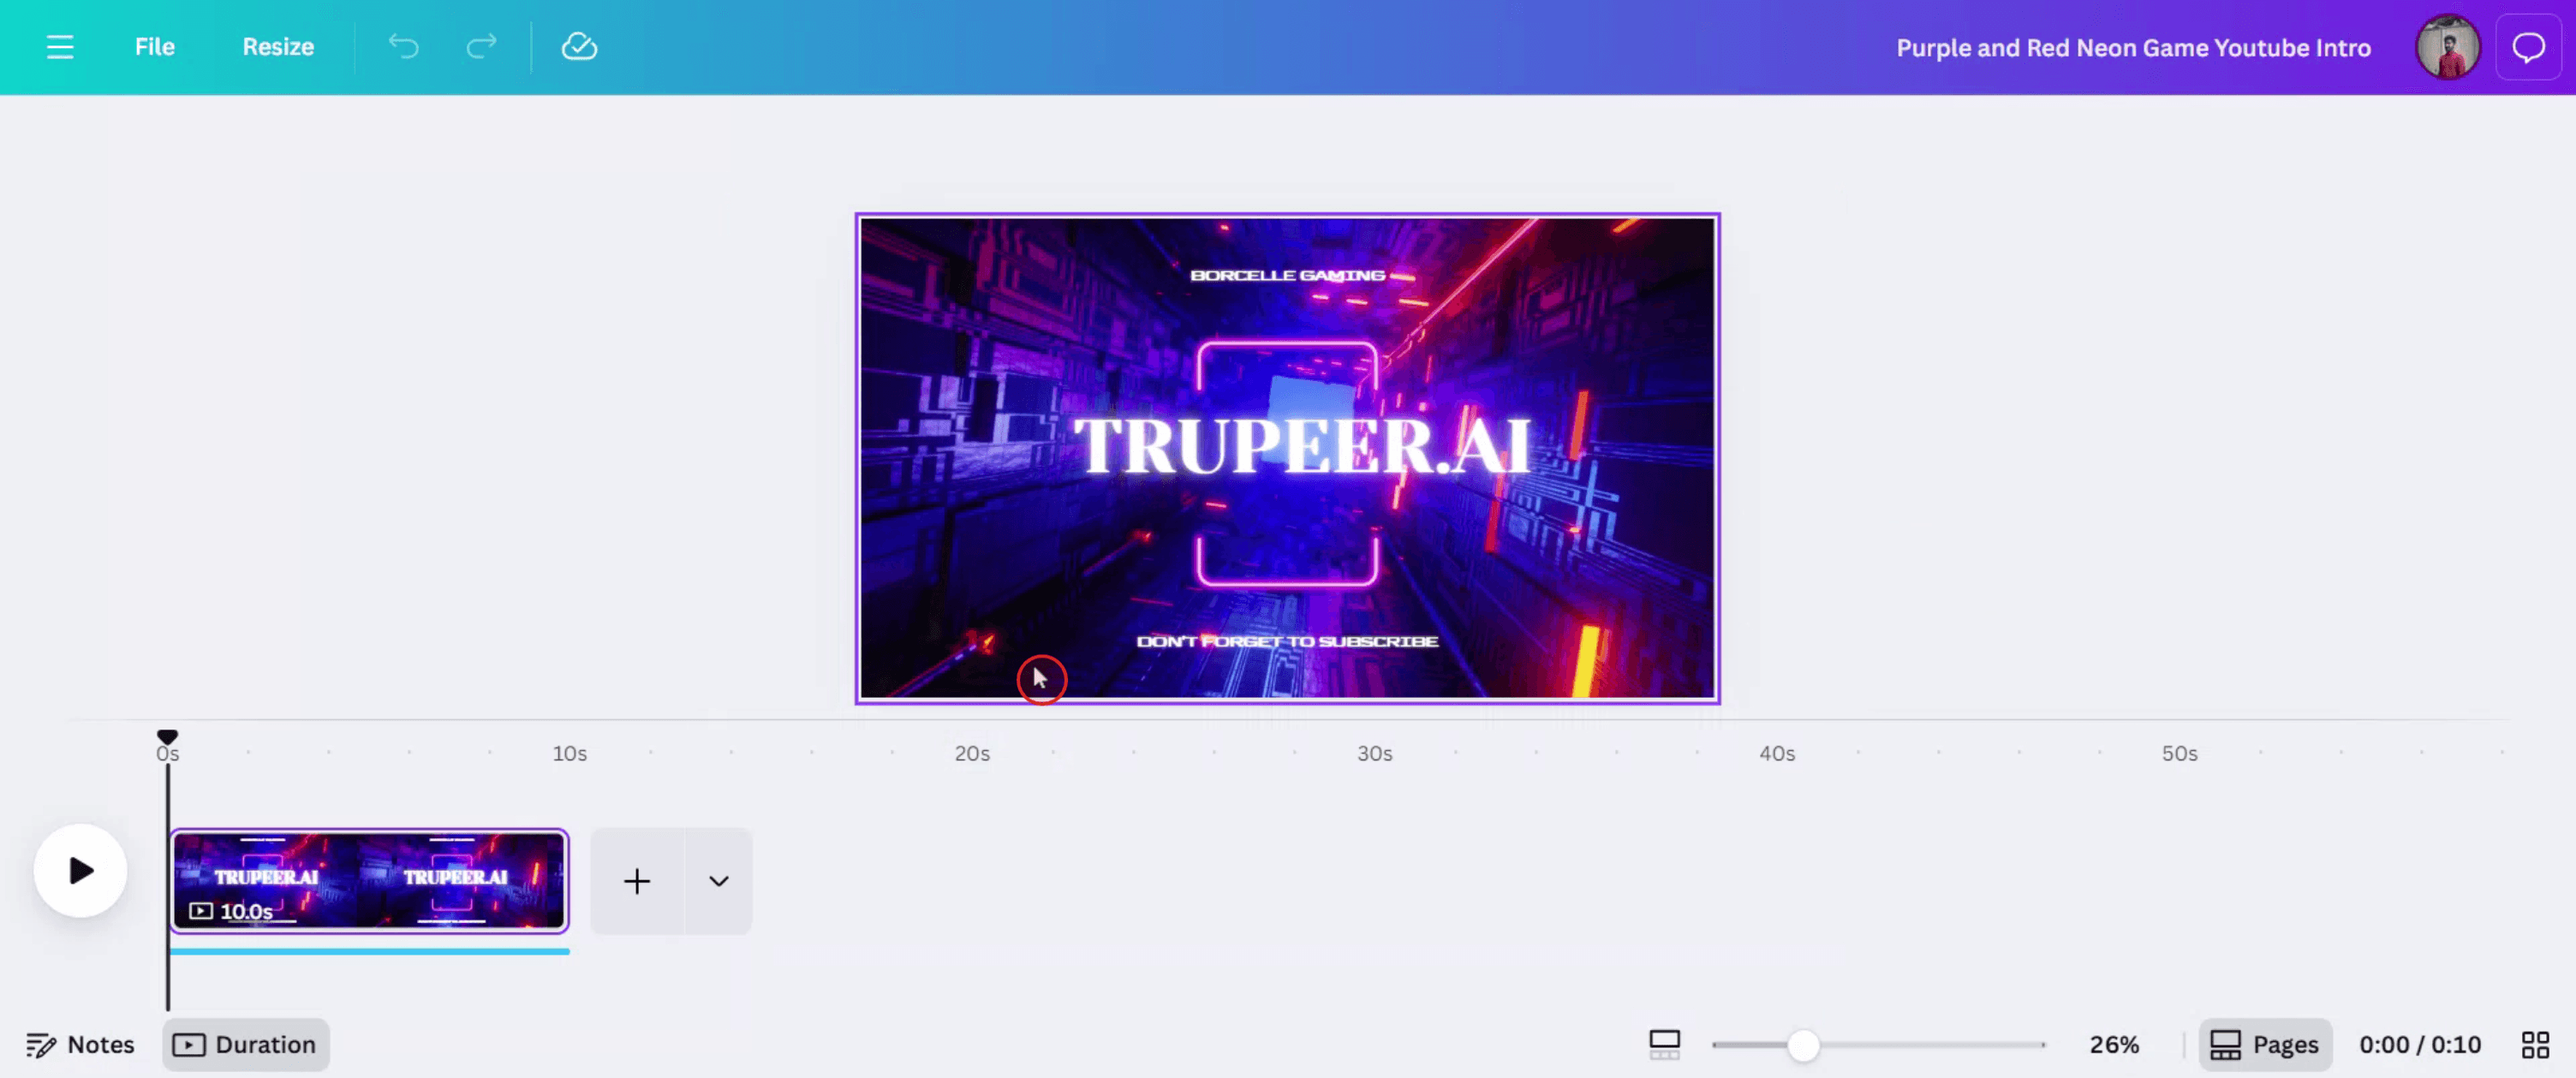
Passo 3
Fai clic sulla traccia audio per accedere ad altre opzioni.

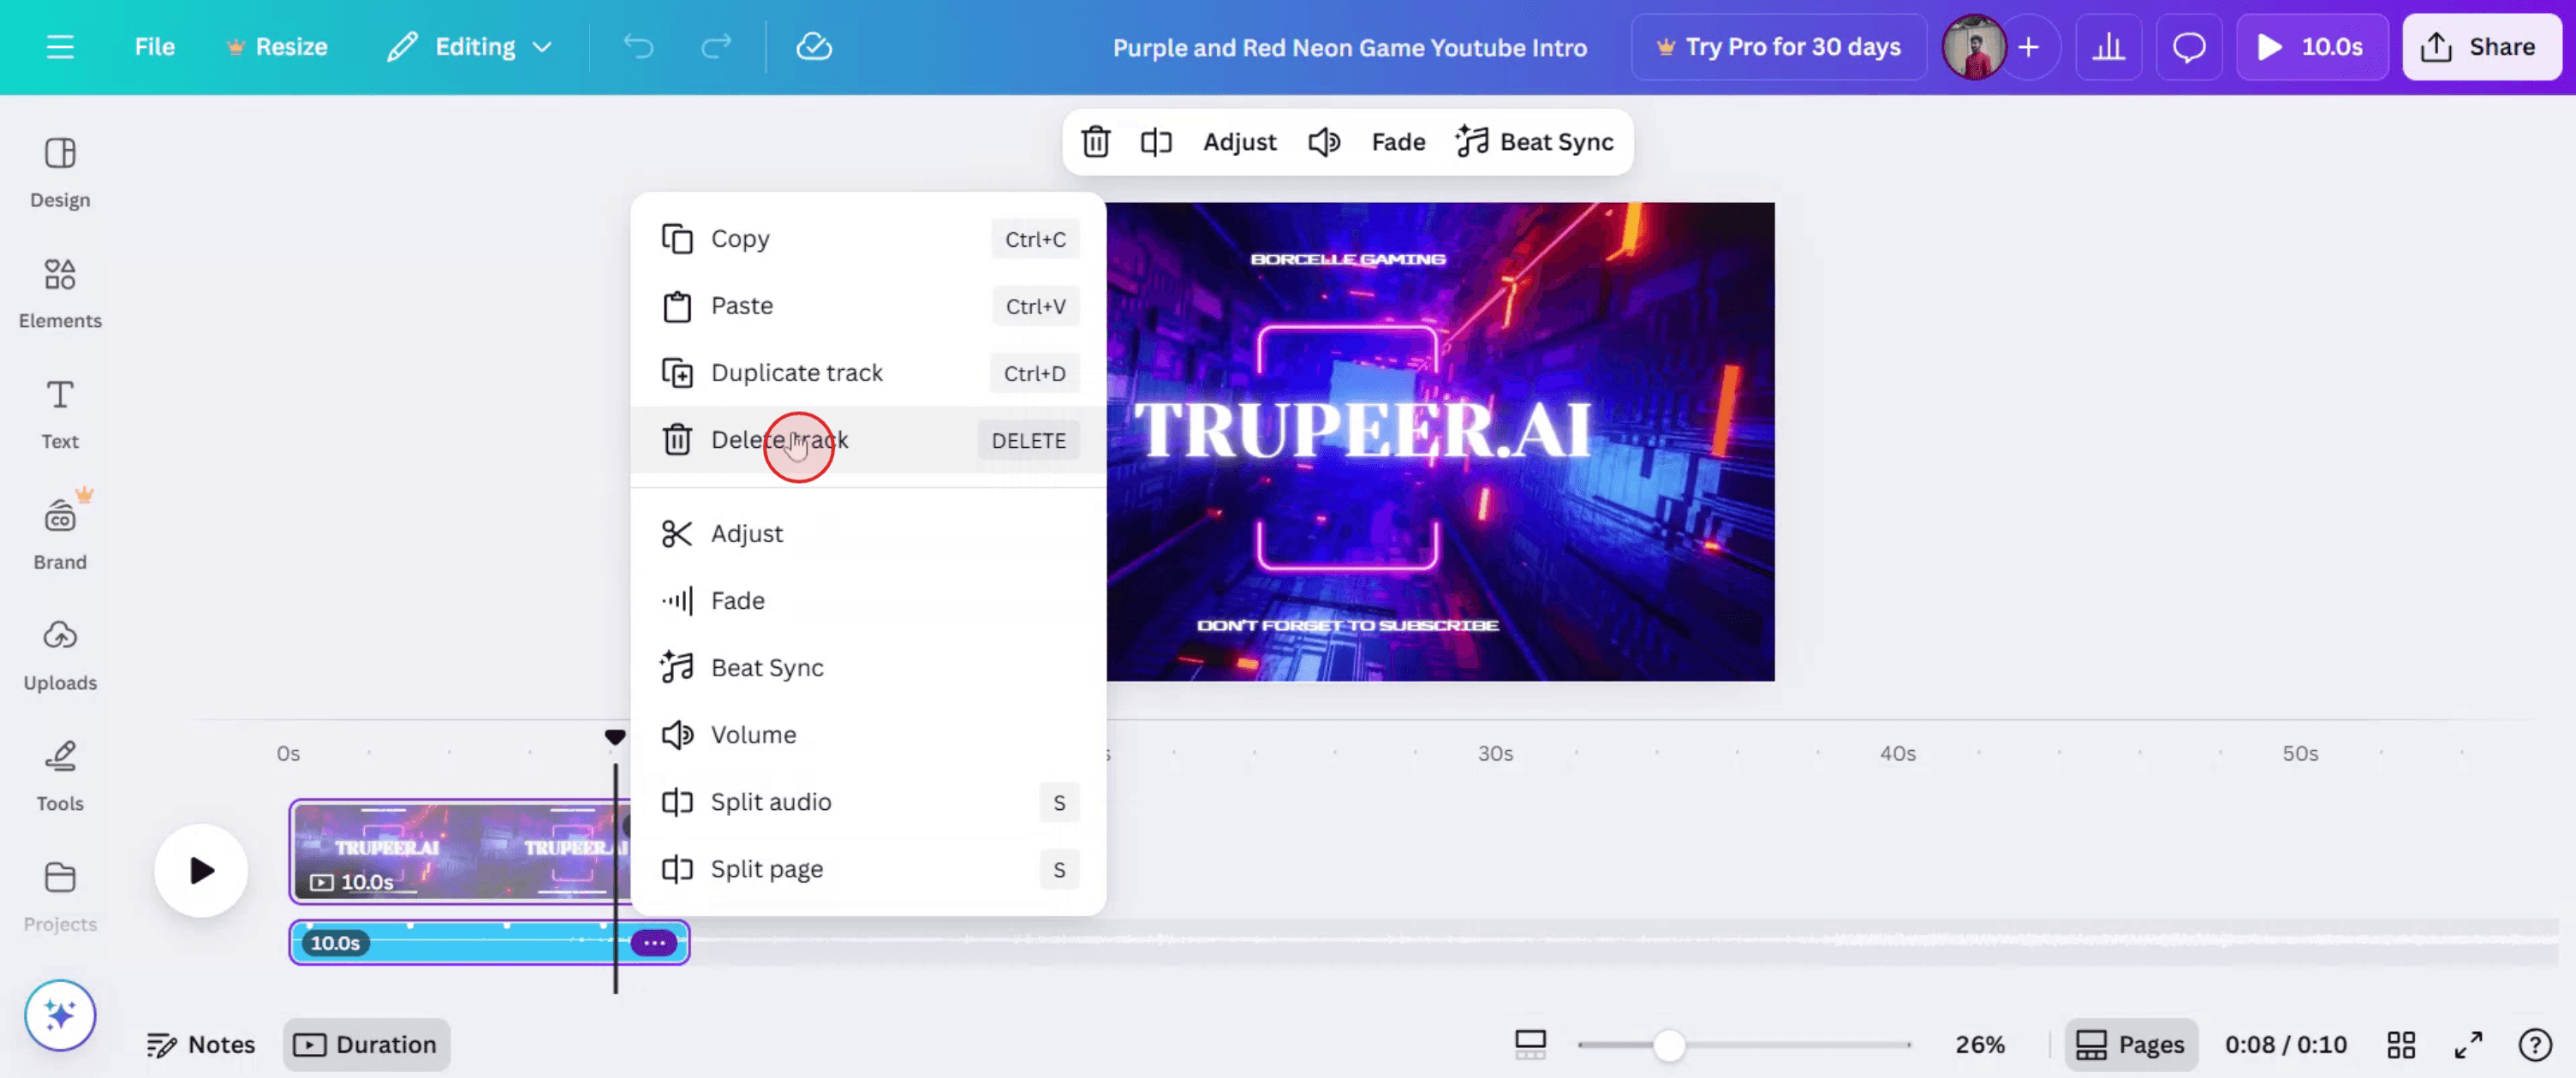
Passo 4
Nelle opzioni, fai clic sull'icona con i tre puntini e poi seleziona "Elimina traccia" per rimuovere la musica.
Passo 5
La traccia audio verrà ora rimossa dal tuo video. Se desideri condividere il video modificato, fai semplicemente clic sul pulsante "Condividi".

Consigli professionali per rimuovere la musica da un video Canva
Apri il tuo progetto video in Canva
Accedi a Canva e apri il progetto che contiene il video con la musica.Seleziona la traccia musicale
Fai clic sulla barra audio nella parte inferiore della timeline dell'editor. Questa rappresenta la musica di sottofondo.Premi Delete o l'icona del cestino
Una volta selezionata, premi il tastoDeletesulla tastiera oppure fai clic sull'icona del cestino nell'angolo in alto a destra.Verifica che l'audio sia stato rimosso
Riproduci il video dall'inizio per assicurarti che la musica sia stata rimossa completamente.Regola gli altri suoni se necessario
Se ci sono effetti sonori aggiuntivi o doppiaggi, puoi anche selezionarli ed eliminarli allo stesso modo.
Errori comuni e come evitarli
Non riesci a trovare la traccia musicale
Assicurati di essere nella pagina corretta della timeline. Se necessario, ingrandisci per vedere l'intera traccia audio.Eliminazione accidentale dell'elemento sbagliato
Assicurati di selezionare la traccia audio, non il video o un'animazione. Controlla l'anteprima della barra degli strumenti prima di eliminare.Senti ancora l'audio dopo l'eliminazione
Ricontrolla tutte le pagine del tuo video — la musica potrebbe essere associata a un'altra diapositiva o livello.Disattivato vs eliminato
Disattivare l'audio della traccia non rimuove il file audio; lo silenzia solo temporaneamente. Eliminalo per rimuoverlo completamente.Livello audio nascosto
Se la timeline è compressa, espandila per mostrare tutti i livelli, incluso l'audio.
Domande frequenti comuni sulla rimozione della musica in Canva
Come rimuovo la musica di sottofondo da un video Canva
Seleziona la barra audio nella timeline ed eliminala usando l'icona del cestino o il tasto Canc.Posso rimuovere la musica dai video Canva su mobile
Sì, tocca la traccia musicale nella timeline e usa l'opzione di eliminazione che appare.Posso silenziare la musica invece di eliminarla
Sì, ma il silenziamento mantiene il file audio nel tuo progetto. Eliminalo se vuoi rimuoverlo del tutto.L'eliminazione della musica influenzerà il contenuto del mio video
No, l'eliminazione della musica rimuove solo l'audio. Il video e le immagini restano invariati.Posso aggiungere musica diversa dopo averne rimossa una
Sì, vai alla scheda “Audio”, seleziona una nuova traccia e trascinala nella timeline.Come registrare lo schermo su mac?
Per registrare lo schermo su un Mac, puoi usare Trupeer AI. Ti consente di catturare l'intero schermo e offre funzionalità di IA come l'aggiunta di avatar IA, l'aggiunta di una voce narrante, l'aggiunta di zoom avanti e indietro nel video. Con la funzionalità di traduzione video IA di trupeer, puoi tradurre il video in oltre 30 lingue.Come aggiungere un avatar IA a una registrazione dello schermo?
Per aggiungere un avatar IA a una registrazione dello schermo, dovrai utilizzare uno strumento di registrazione dello schermo con IA. Trupeer AI è uno strumento di registrazione dello schermo con IA, che ti aiuta a creare video con più avatar e ti aiuta anche a creare il tuo avatar per il video.Come registrare lo schermo su windows?
Per registrare lo schermo su Windows, puoi usare la Game Bar integrata (Windows + G) oppure uno strumento IA avanzato come Trupeer AI per funzionalità più avanzate come avatar IA, voce narrante, traduzione, ecc.Come aggiungere una voce narrante al video?
Per aggiungere una voce narrante ai video, scarica l'estensione Chrome di trupeer ai. Una volta registrato, carica il tuo video con voce, scegli la voce narrante desiderata da trupeer ed esporta il video modificato.Come posso ingrandire in una registrazione dello schermo?
Per ingrandire durante una registrazione dello schermo, usa gli effetti di zoom in Trupeer AI, che ti consentono di ingrandire e rimpicciolire in momenti specifici, migliorando l'impatto visivo dei contenuti video.
Letture suggerite
Generatore di documentazione tecnica
Software per la knowledge base
Come creare un diario in Canva
Come stampare fronte-retro su Canva
Come allungare il testo in Canva
Tutorial correlati

