

Cómo consultar el historial en Google Sheets
Aprende a consultar el historial de versiones en Google Sheets para ver ediciones anteriores, hacer seguimiento de los cambios y restaurar versiones previas. Una guía sencilla para gestionar la colaboración.
Este documento proporciona una guía completa sobre cómo seguir y gestionar el historial de edición de un documento de Google Sheets.
Aprende a navegar por el historial de versiones, identificar ediciones anteriores y restaurar versiones previas de forma eficiente.
Si necesitas hacer un seguimiento de los cambios o restaurar una versión anterior de tu hoja de cálculo, Google Sheets te lo pone fácil con su función integrada de historial de versiones.
1. Abrir el historial de versiones:
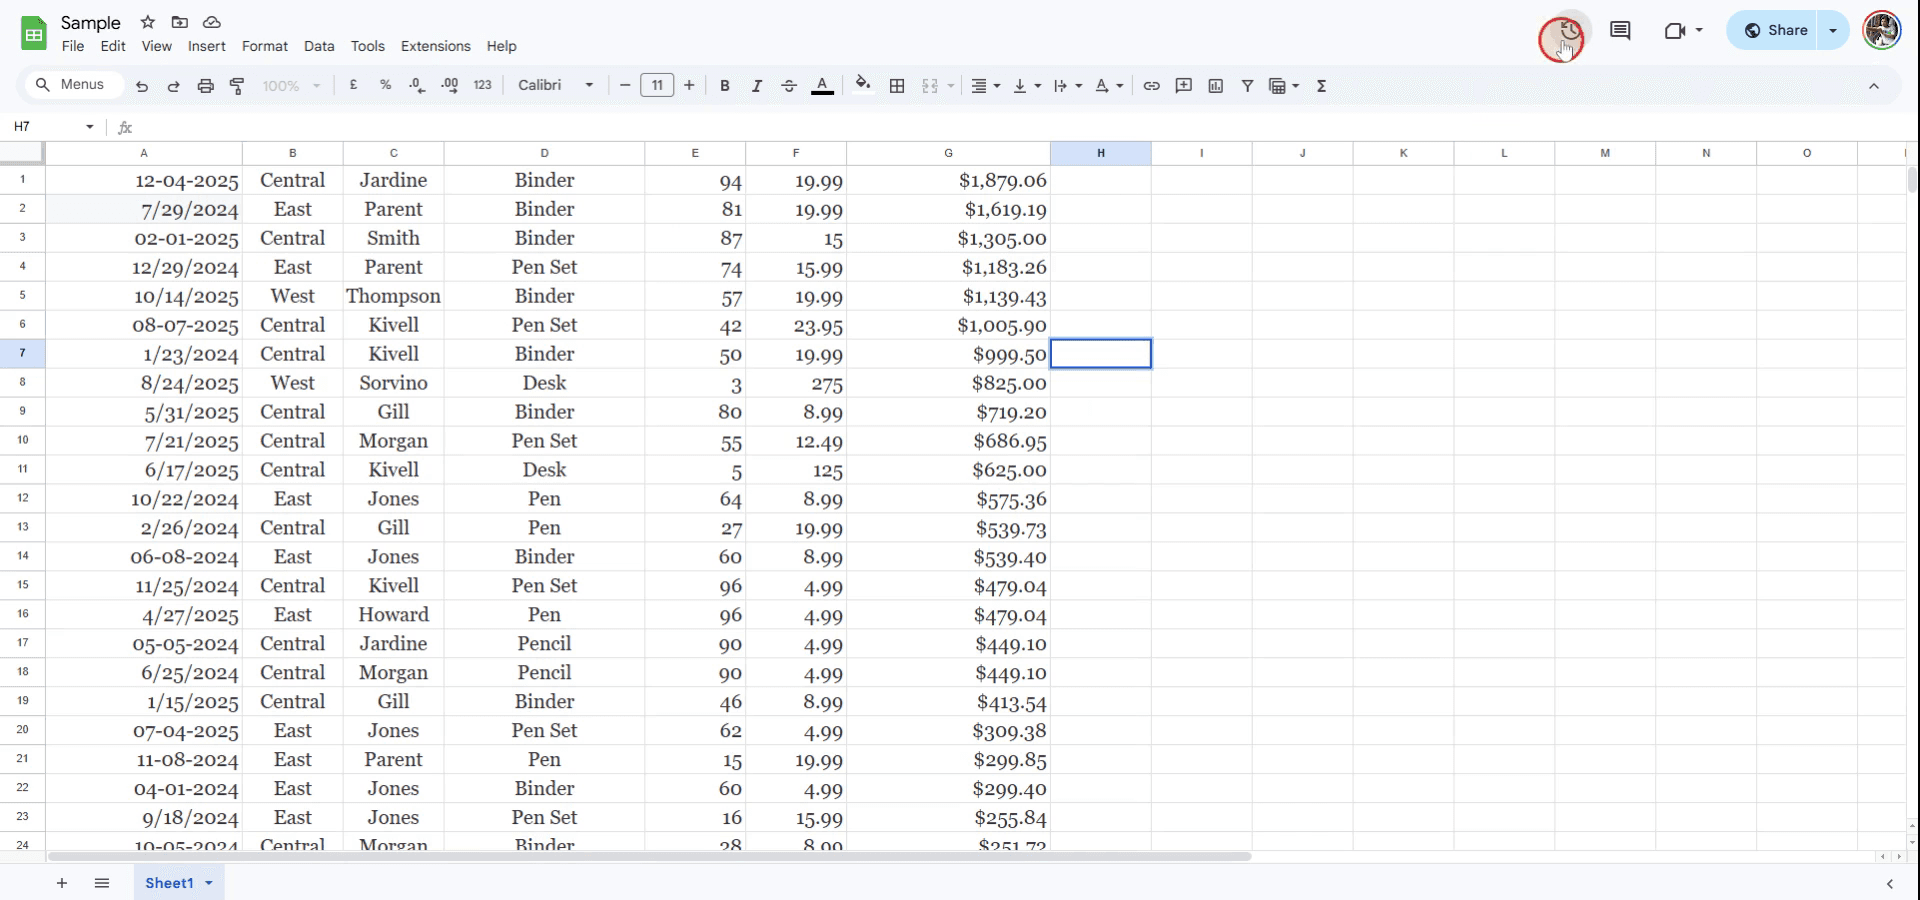
Empieza abriendo la hoja de cálculo que quieres comprobar.
Haz clic en Archivo > Historial de versiones > Ver historial de versiones.
También puedes hacer clic en el enlace “Última edición fue…” en la parte superior de tu hoja, o usar el atajo:
Windows: Ctrl + Alt + Shift + H
Mac: Cmd + Option + Shift + H
2. Examinar versiones anteriores:
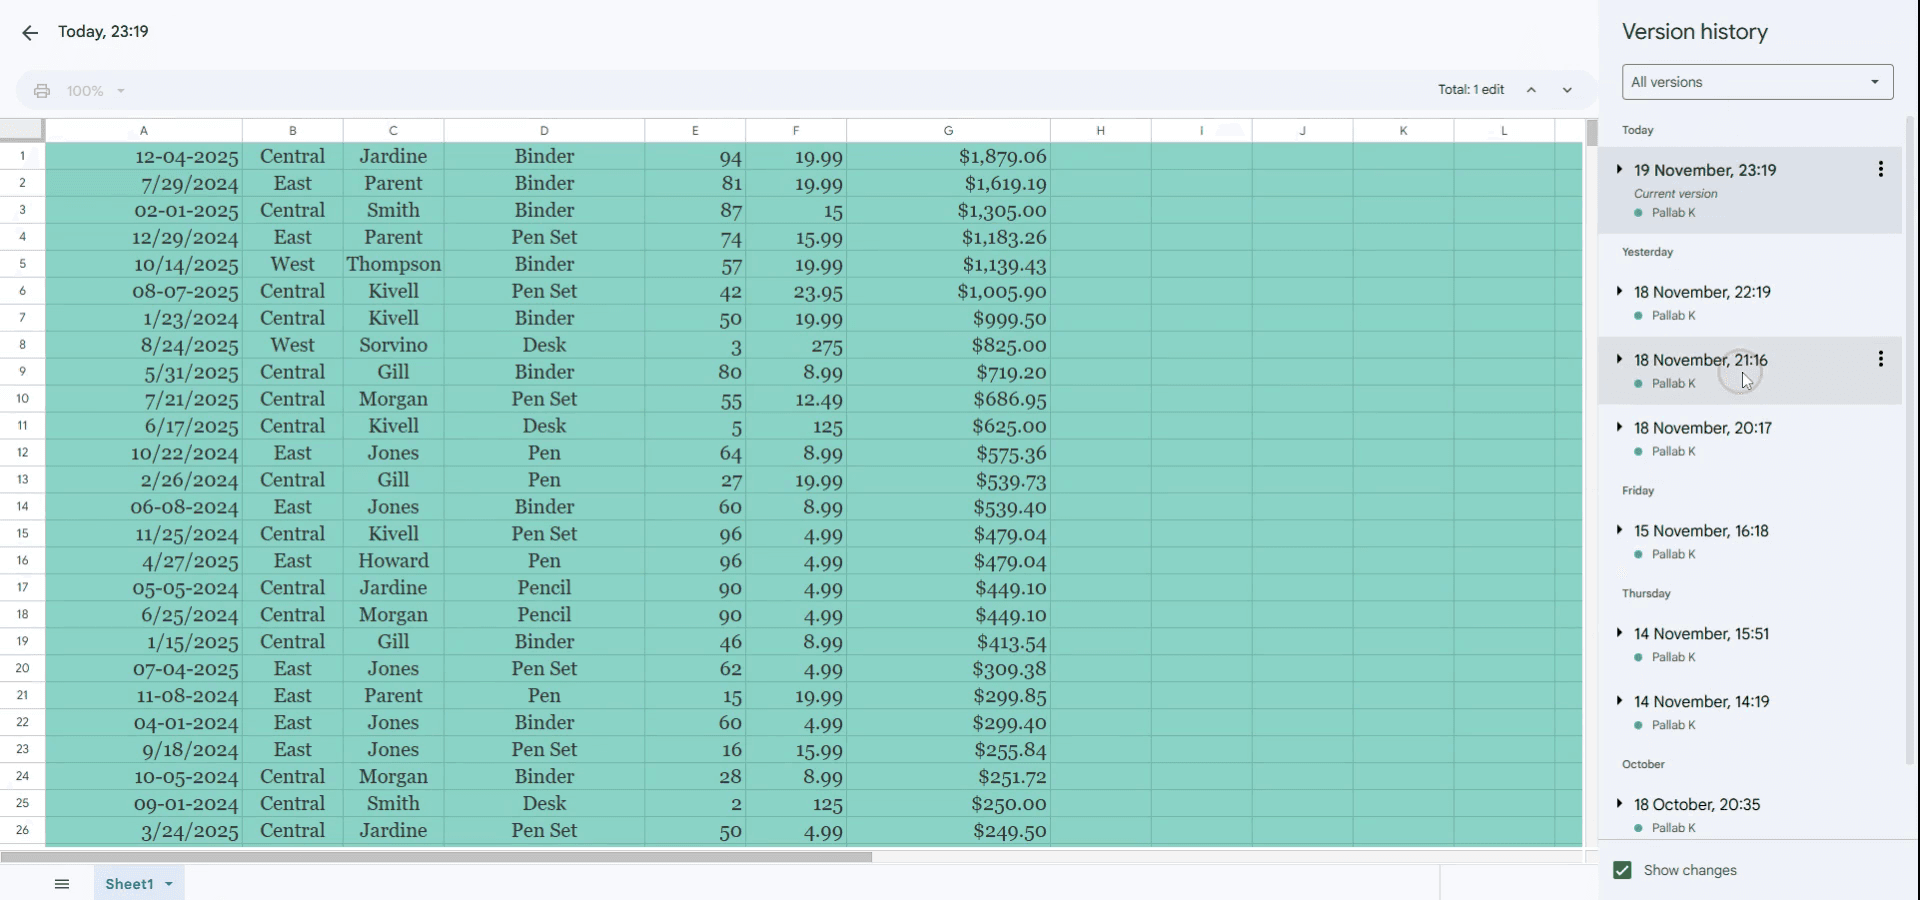
Aparecerá un panel a la derecha, mostrando todas las versiones guardadas de tu archivo.
Se agrupan por fecha y hora, y si otras personas hicieron ediciones, sus nombres también aparecerán.
Haz clic en una versión para previsualizar cómo se veía la hoja en ese momento.
También puedes expandir grupos para ver cambios más detallados realizados en un día o una hora.
3. Restaurar una versión anterior:
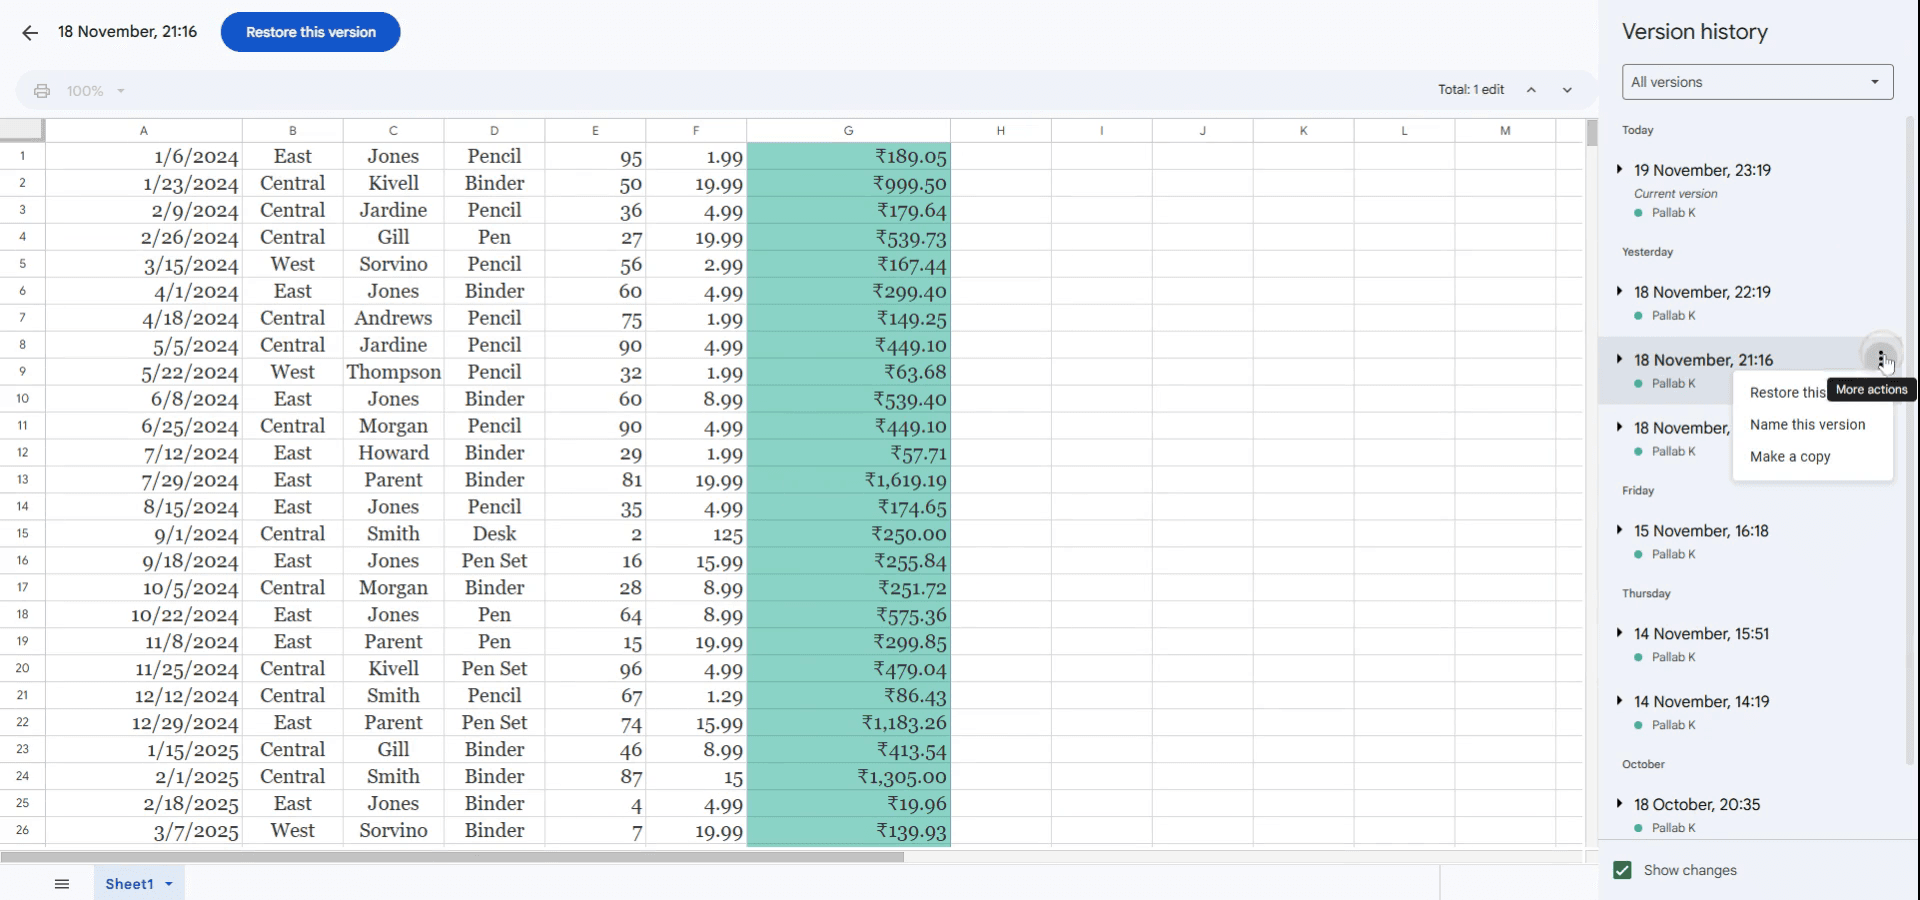
Si quieres volver a una versión anterior, selecciónala y haz clic en "Restaurar esta versión" en la parte superior del panel.
Esto reemplazará tu hoja actual con la versión elegida—no te preocupes, siempre podrás volver atrás.
4. Consejos útiles:
Nombra las versiones clave: Haz clic en los tres puntos junto a una versión para darle un nombre. Esto ayuda a seguir actualizaciones importantes o hitos.
Seguimiento de la colaboración: El historial de versiones muestra quién hizo cada cambio, lo cual es ideal para proyectos en grupo.
Corregir errores: Úsalo para solucionar errores identificando cuándo y dónde algo salió mal.
Guía paso a paso: cómo comprobar el historial en Google Sheets
Paso 1
Para revisar el historial de edición en Google Sheets, ve a la opción "Historial" situada en el menú superior. Esto te dará acceso al historial de versiones del documento.
Paso 2
Aquí puedes ver las ediciones realizadas junto con sus marcas de tiempo correspondientes.
Paso 3
Si deseas volver a una versión específica, haz clic en "Más acciones" junto a la marca de tiempo deseada. Luego, selecciona "Restaurar esta versión.
Consejos profesionales para comprobar el historial en Google Sheets
Usa el historial de versiones: Para ver el historial de edición de tu hoja, ve a "Archivo" > "Historial de versiones" > "Ver historial de versiones" para acceder a todos los cambios anteriores realizados en tu documento.
Restaura versiones anteriores: Si necesitas volver a una versión anterior, puedes restaurar cualquier versión del historial seleccionando la marca de tiempo de la versión y haciendo clic en "Restaurar esta versión".
Nombra las versiones: Para facilitar el seguimiento, puedes poner nombre a las versiones importantes haciendo clic en los tres puntos junto a una versión y seleccionando "Nombrar esta versión".
Errores comunes y cómo evitarlos al comprobar el historial en Google Sheets
No nombrar las versiones importantes: Sin poner nombre a las versiones clave, puede ser difícil encontrar rápidamente los cambios importantes. Solución: Nombra las versiones significativas para que puedas identificarlas y restaurarlas fácilmente cuando sea necesario.
Pasar por alto los cambios en hojas no visibles: Si tu hoja tiene varias pestañas, asegúrate de comprobar el historial de todas las pestañas, no solo la activa. Solución: Comprueba el historial de todo el documento seleccionando distintas pestañas según sea necesario.
No guardar versiones antes de ediciones importantes: Si haces cambios significativos, es útil guardar primero una versión para evitar perder tu trabajo. Solución: Guarda versiones regularmente poniendo nombre a las versiones antes de realizar cambios grandes.
Preguntas frecuentes comunes para comprobar el historial en Google Sheets
¿Puedo ver el historial de una celda específica en Sheets? Puedes ver el historial de cambios de una hoja completa, pero no de celdas individuales. Sin embargo, al revisar el historial de versiones, puedes ver qué cambios se hicieron en un período de tiempo específico.
¿Hasta dónde puedo ver el historial en Sheets? Google Sheets conserva el historial de versiones indefinidamente, a menos que el archivo se elimine o se mueva a la papelera.
¿Puedo seguir los cambios realizados por usuarios específicos? Sí, en el historial de versiones puedes ver quién hizo cada cambio y cuándo. Esto es útil para seguir las contribuciones de los colaboradores.
¿Cómo grabar la pantalla en Mac?
Para grabar la pantalla en una Mac, puedes usar Trupeer AI. Te permite capturar toda la pantalla y ofrece funciones de IA como añadir avatares de IA, añadir voz en off y hacer zoom de entrada y salida en el video. Con la función de traducción de video con IA de trupeer, puedes traducir el video a más de 30 idiomas.¿Cómo añadir un avatar de IA a una grabación de pantalla?
Para añadir un avatar de IA a una grabación de pantalla, necesitarás usar una herramienta de grabación de pantalla con IA. Trupeer AI es una herramienta de grabación de pantalla con IA, que te ayuda a crear videos con múltiples avatares, y también te ayuda a crear tu propio avatar para el video.¿Cómo grabar la pantalla en Windows?
Para grabar la pantalla en Windows, puedes usar la barra de juegos integrada (Windows + G) o una herramienta avanzada de IA como Trupeer AI para funciones más avanzadas como avatares de IA, voz en off, traducción, etc.¿Cómo añadir voz en off a un video?
Para añadir voz en off a los videos, descarga la extensión de Chrome de trupeer ai. Una vez registrado, sube tu video con voz, elige la voz en off deseada de trupeer y exporta tu video editado.¿Cómo hago zoom en una grabación de pantalla?
Para hacer zoom durante una grabación de pantalla, usa los efectos de zoom en Trupeer AI, que te permiten acercar y alejar en momentos específicos, mejorando el impacto visual de tu contenido de video.
La gente también pregunta
Generador de documentación técnica
Software de base de conocimientos
Cómo añadir el símbolo de rupia en Google Sheets
Cómo cambiar el formato de moneda en Google Sheets
Cómo añadir viñetas en Google Sheets
Tutoriales relacionados

