

如何在 Canva 中创建 AI 演示文稿
了解如何使用 Magic Design 在 Canva 中创建 AI 驱动的演示文稿。让 Canva AI 在几秒钟内为你的主题生成幻灯片、版式和视觉内容。
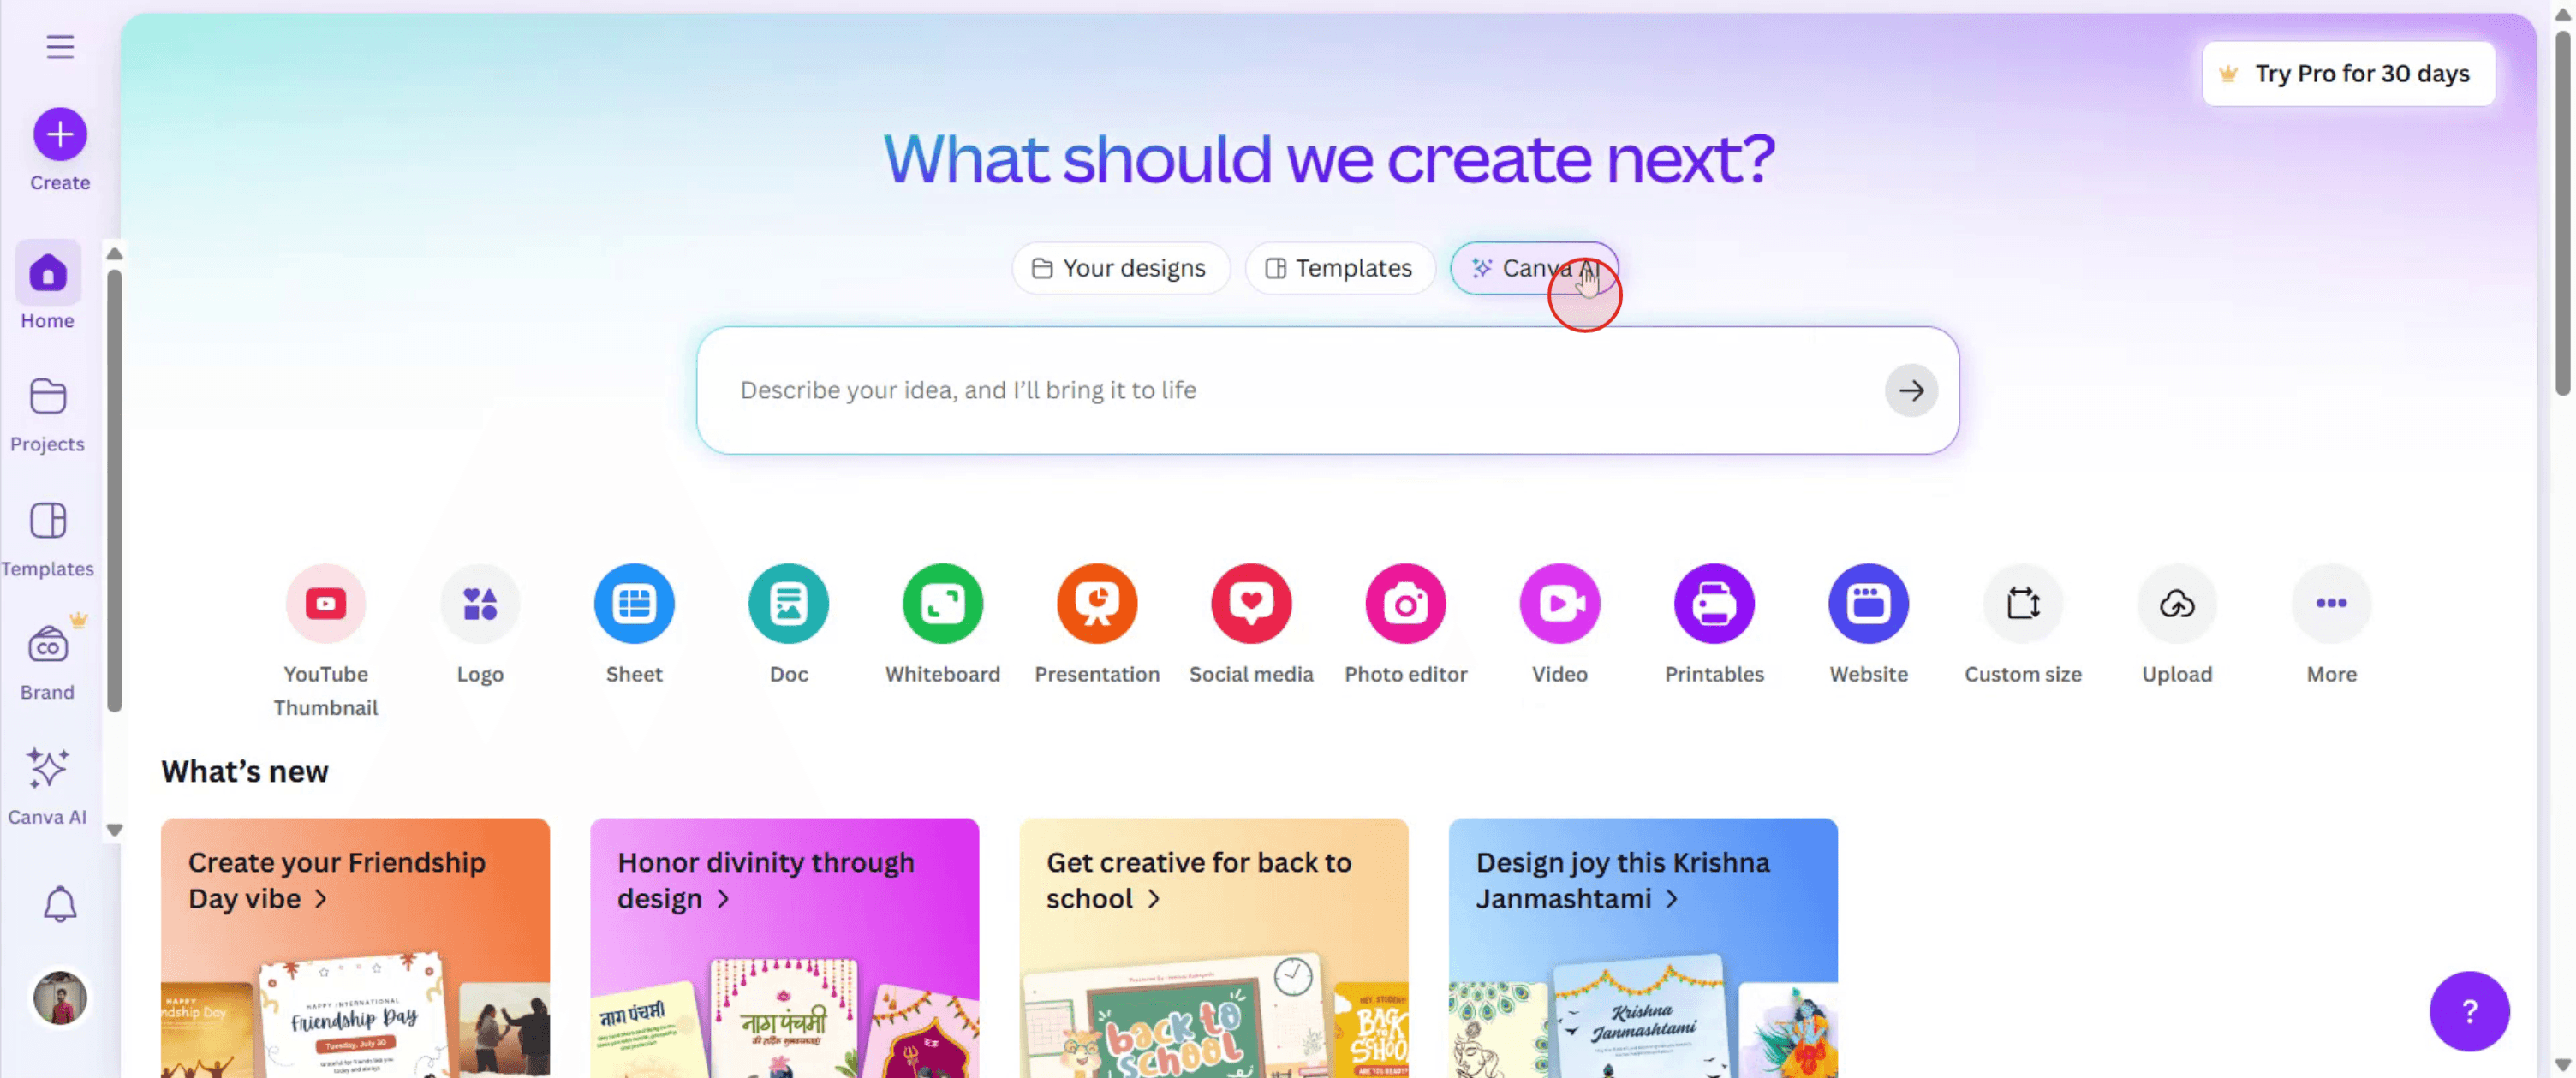
要在 Canva 中创建 AI 演示文稿,首先选择“演示文稿”作为设计类型。然后,使用“Magic Design”功能(或搜索“text to image”),并在提示词中描述你想要的演示文稿。Canva 的 AI 会根据你的描述生成模板选项,之后你还可以进一步自定义。
以下是更详细的步骤说明:
启动 Canva:在电脑或移动设备上打开 Canva。
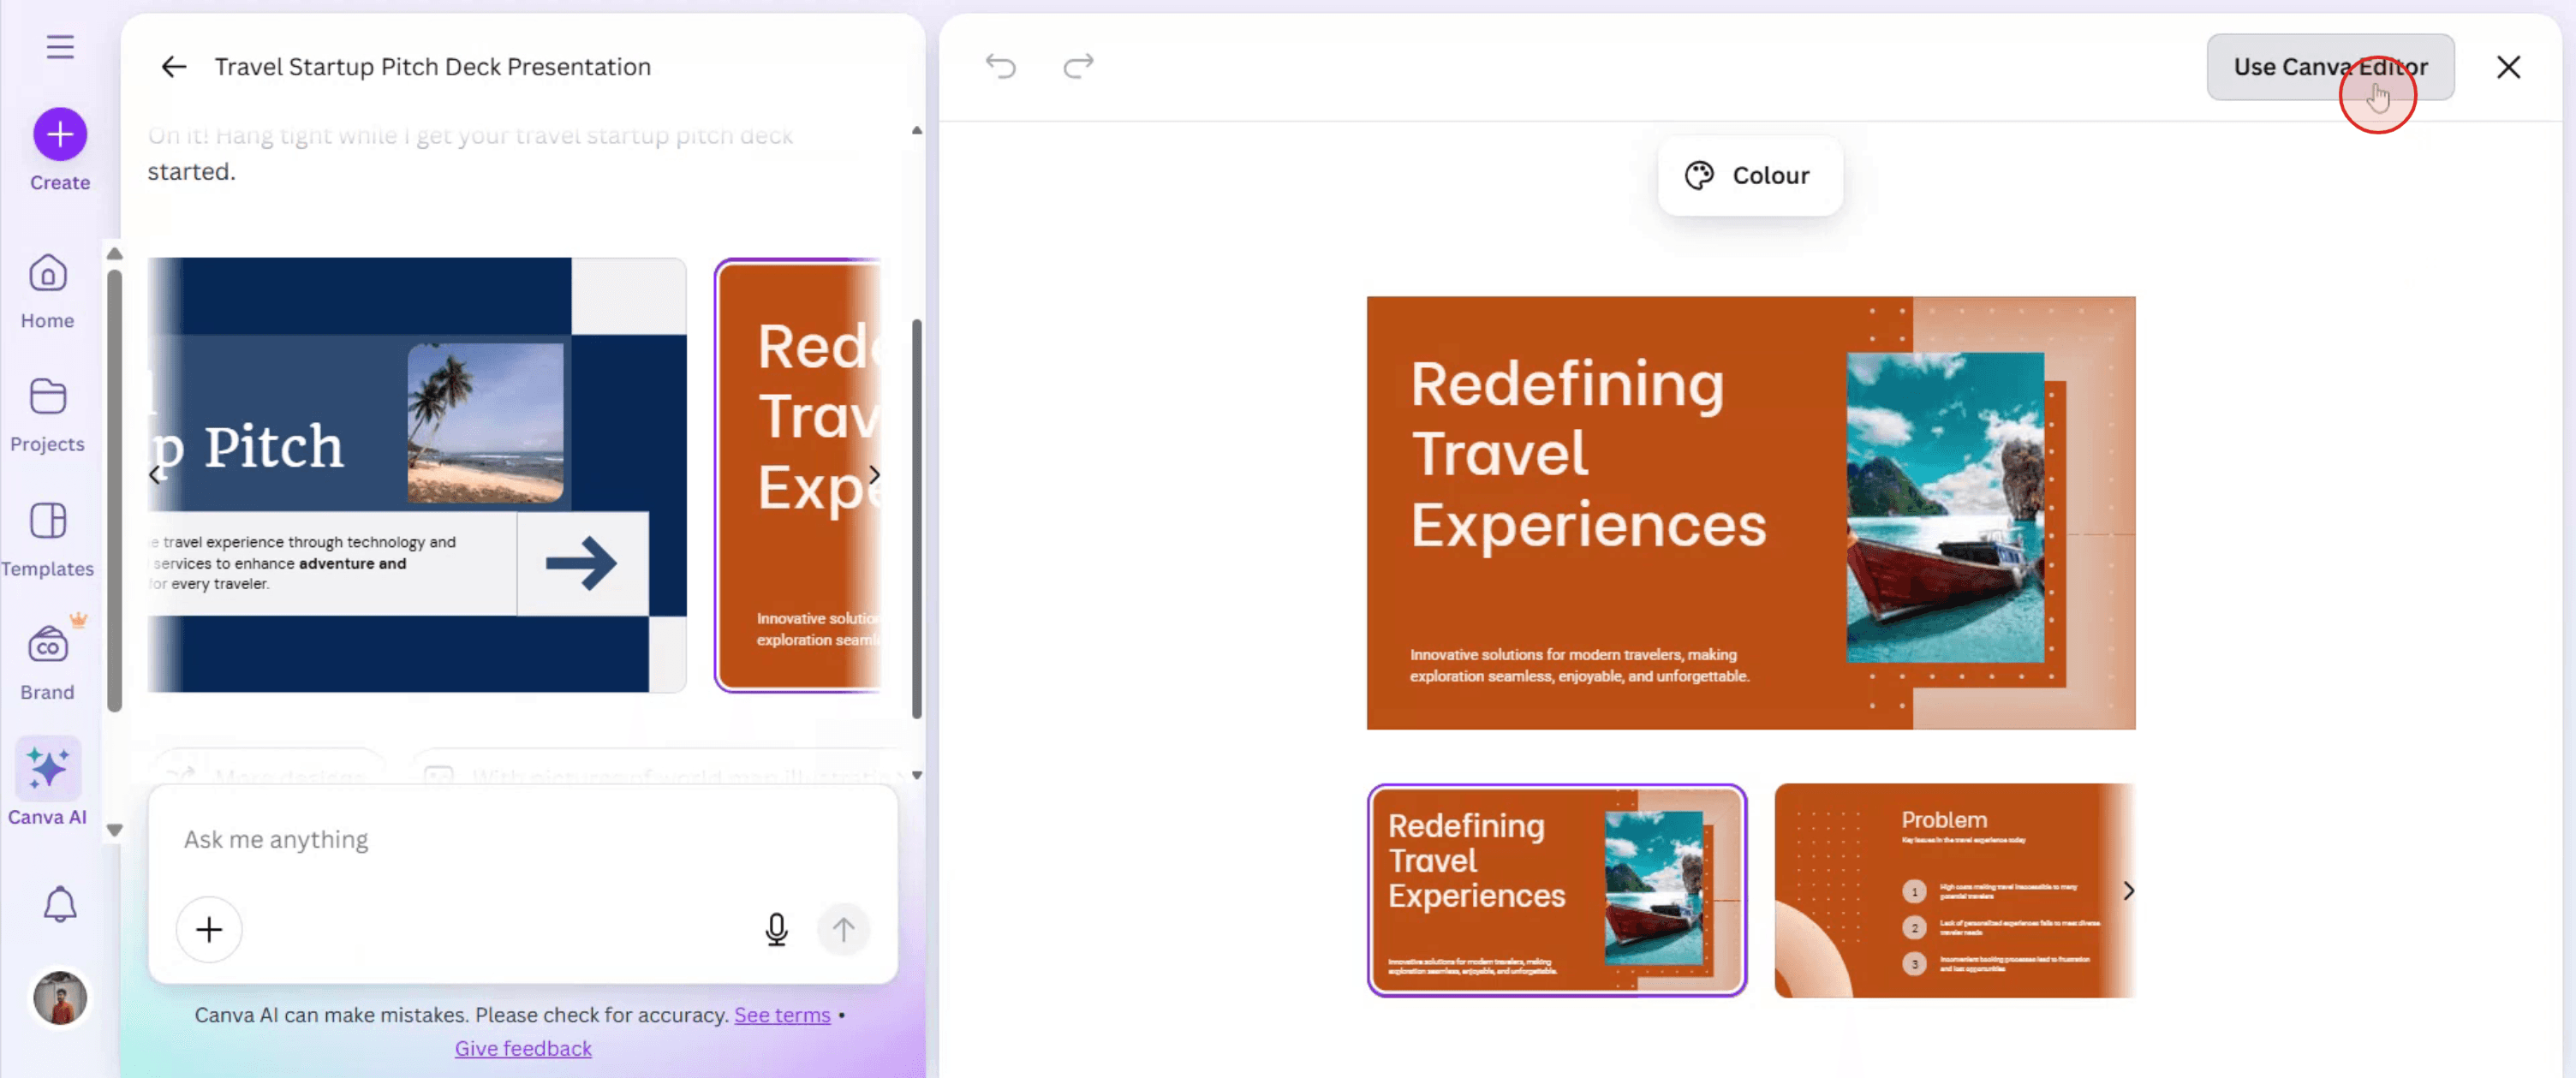
选择演示文稿:点击“创建设计”,然后选择“演示文稿”。
访问 Magic Design:在 Canva 应用中查找“Magic Design”功能,或搜索“text to image”。
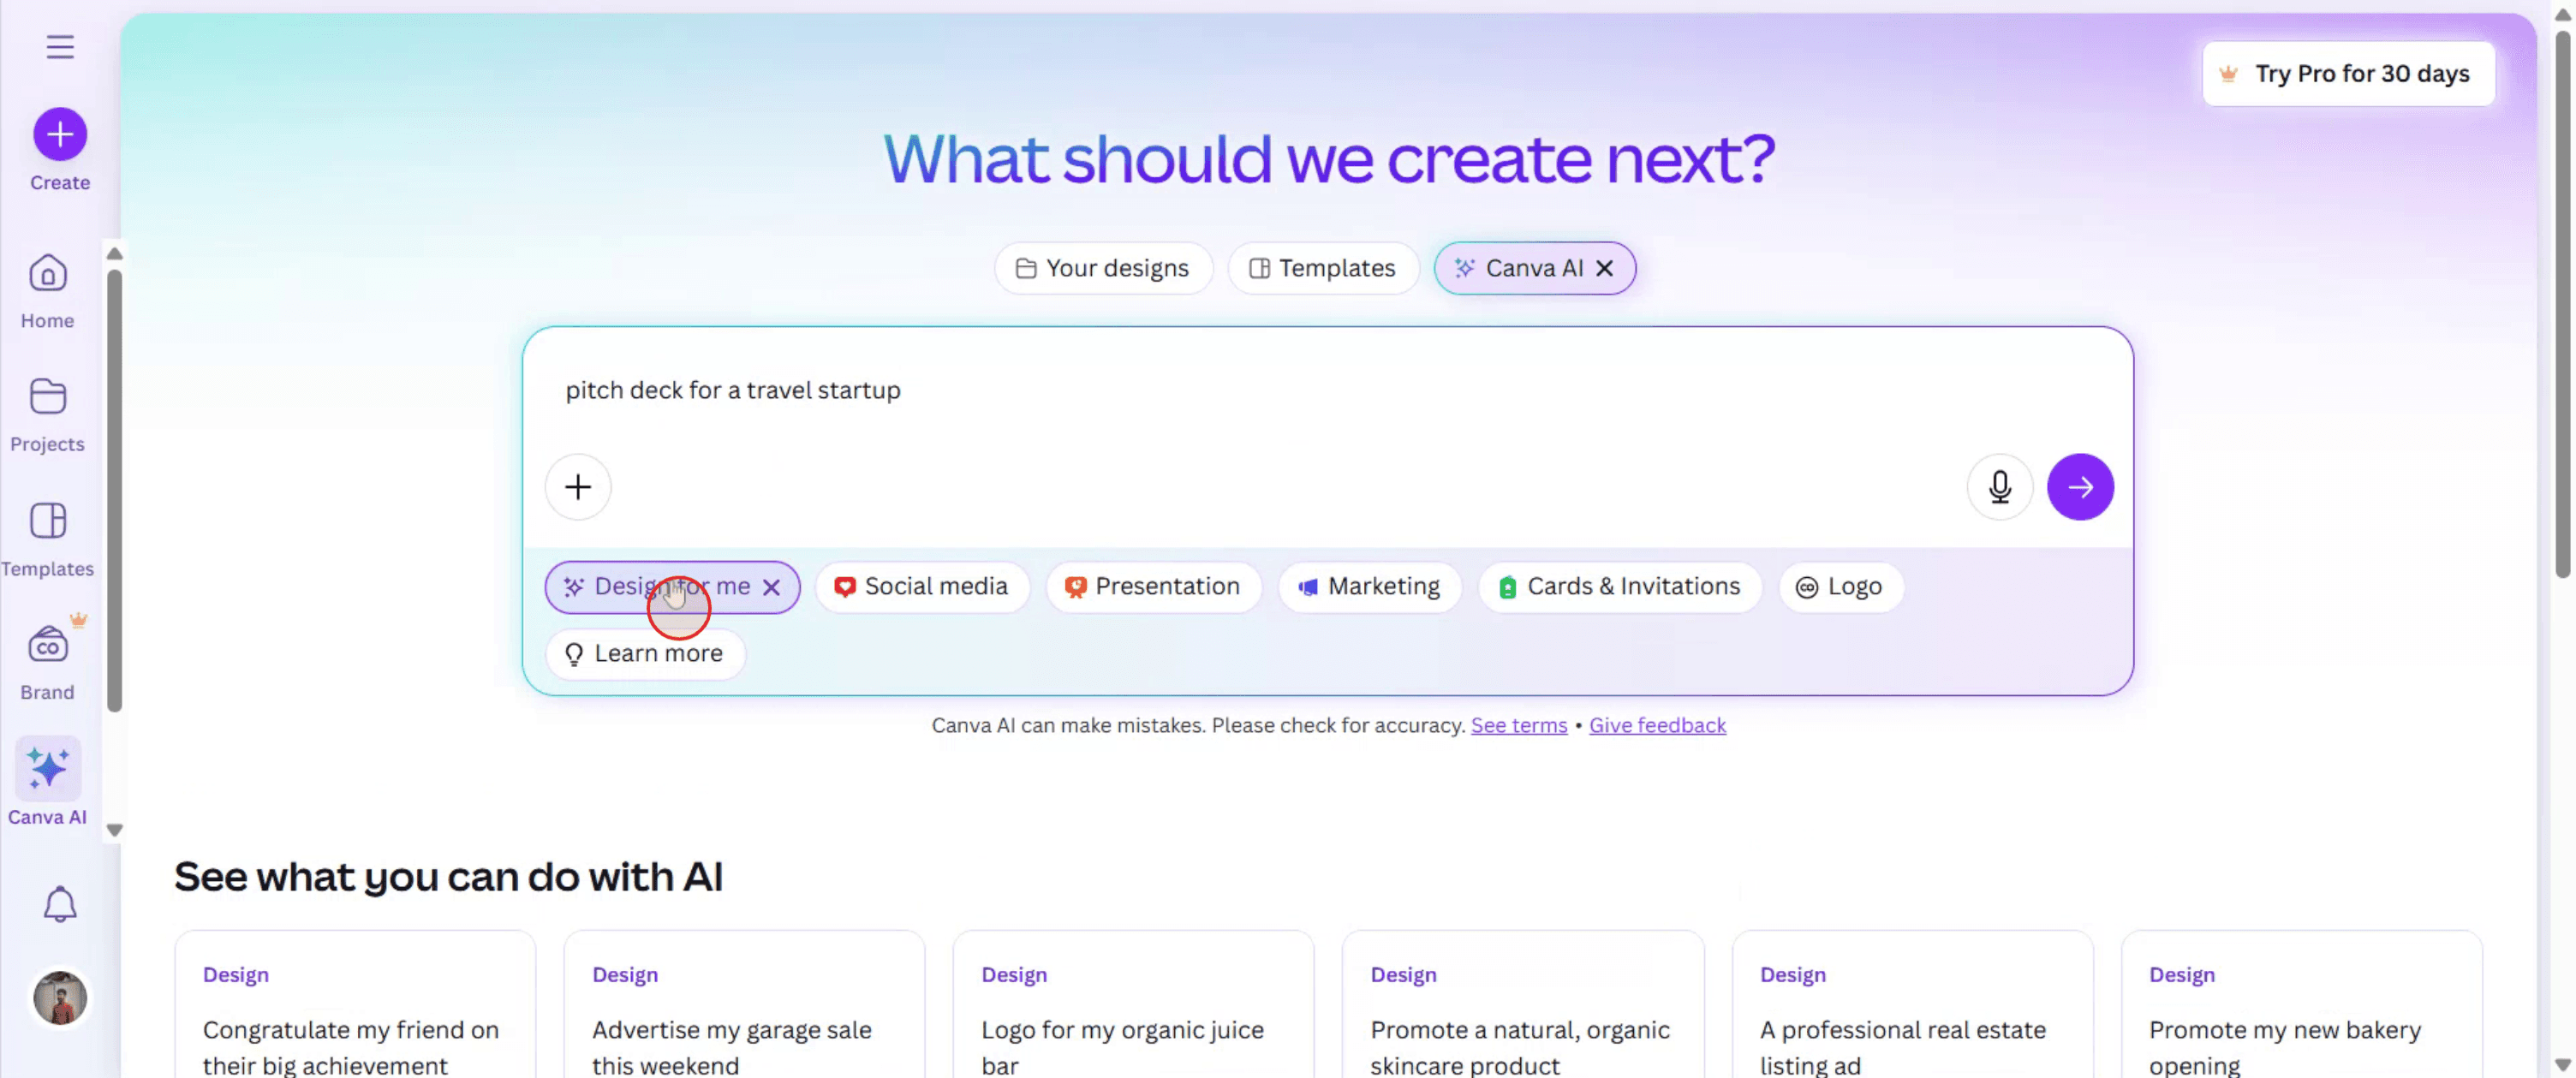
输入你的提示词:在搜索栏中描述演示文稿的主题、风格以及你希望包含的任何具体元素(例如,“一份关于面向教育工作者的 AI 未来的演示文稿”)。
查看模板:Canva 会生成一系列模板选项。浏览这些选项并选择最符合你设想的一个。
自定义并润色:使用 Canva 编辑器,通过添加或修改文本、图片和其他元素来个性化所选模板。
下载或分享:当你对演示文稿满意后,将其下载,或直接从 Canva 中分享。
分步指南:如何在 Canva 中创建 AI 演示文稿
步骤 1
首先,进入 Canva AI,并点击相应选项开始创建演示文稿。
步骤 2
接下来,为你的演示文稿提供描述。完成后,选择“为我设计”并点击继续。
步骤 3
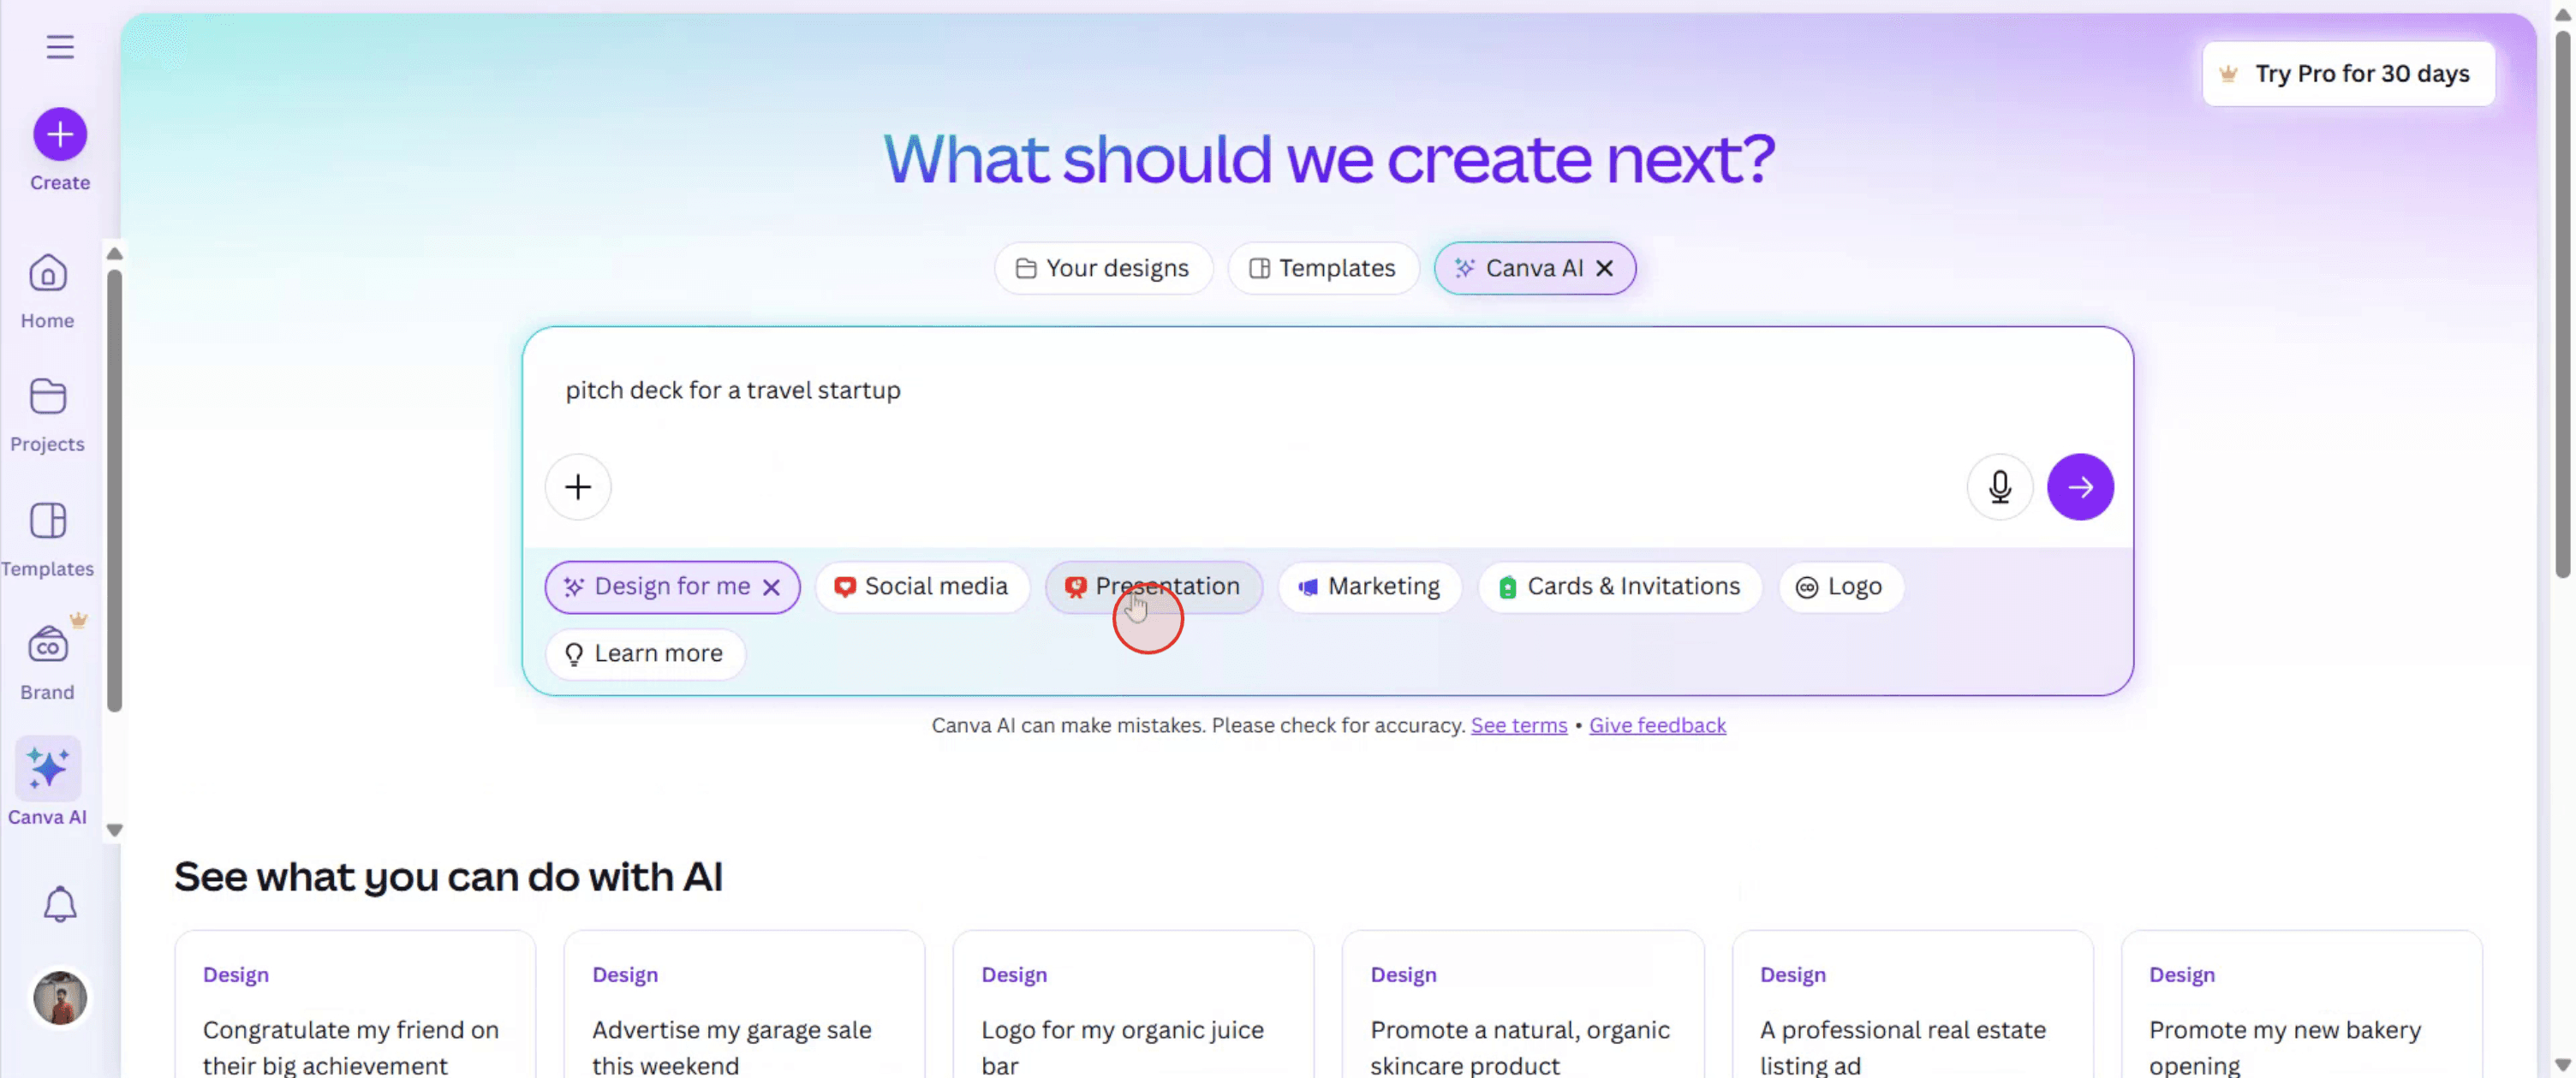
在显示的选项中,选择“演示文稿”。
步骤 4
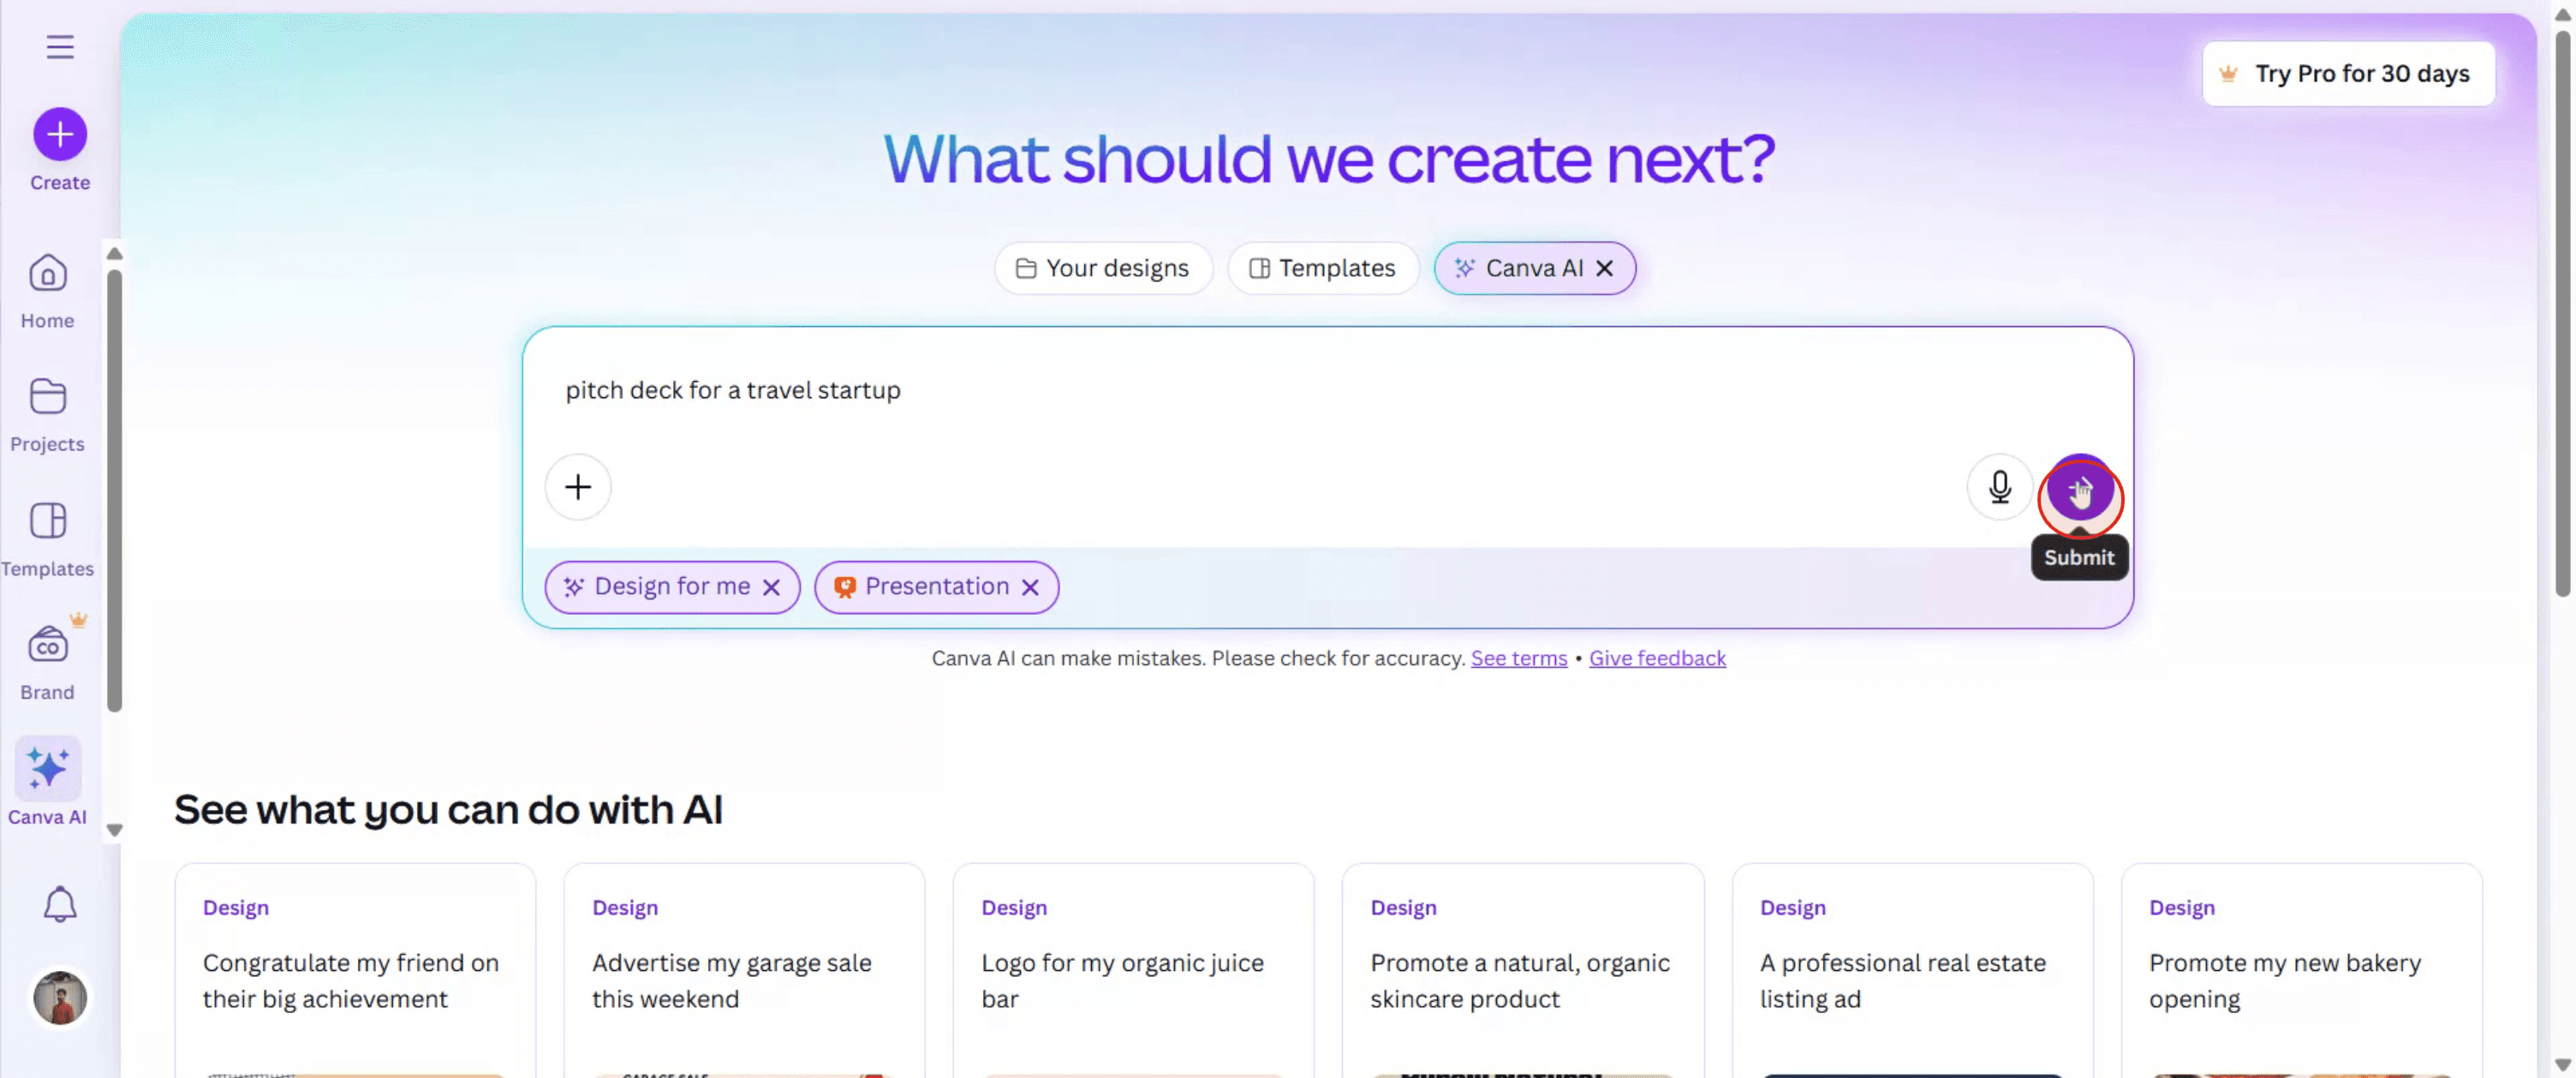
然后点击“生成”来创建你的演示文稿。
步骤 5
演示文稿生成后,查看可用的设计。选择你喜欢的一个,并使用 Canva 编辑器进行所需修改。
步骤 6
如果你对最终版本满意,点击“分享”将其分享给他人。

在 Canva 中创建 AI 演示文稿的专业技巧
登录你的 Canva 账户
访问 canva.com,使用你的凭据登录;如果还没有账户,请创建一个新账户。访问 AI 驱动的演示文稿功能
在主页上,前往搜索栏并输入“AI Presentation”,或者点击“Docs”,然后根据你的 Canva 版本选择“Magic Design”或“Magic Write”。创建一个新的 Canva 文档
选择使用 Canva Docs 创建新文档。AI 演示文稿功能通常集成在这里。使用 Magic Write 生成内容
在文档中,点击加号(+)图标并选择“Magic Write”。输入你的主题或提示(例如,“创建一个关于气候变化的演示文稿”),然后让 Canva 为你生成基于文本的幻灯片。转换为演示文稿格式
内容生成后,点击“Convert to Presentation”按钮。Canva 会自动将文档转换为演示幻灯片。自定义演示文稿设计
浏览可用的演示文稿模板或主题。选择一个适合你主题的模板并将其应用到幻灯片中。编辑并添加视觉元素
根据需要用你的编辑内容替换 AI 生成的文本。可从 Canva 内置媒体库添加图片、图标、动画或视频。直接保存或演示
演示文稿准备就绪后,你可以将其下载为 PDF 或 PPT,或者使用“Present”按钮直接在 Canva 中演示。
常见误区及避免方法
找不到 AI 功能
确保你使用的是 Canva Docs,并查找“Magic Write”或“Magic Design”。这些工具可能在旧版本中或没有 Pro 账户时不可用。完全依赖 AI 文本
AI 生成的内容很有帮助,但可能需要润色。编辑文本,使其更符合你的风格和受众。忽视幻灯片布局
糟糕的幻灯片结构会让观众感到困惑。使用 Canva 的布局建议,保持清晰且吸引人的设计。幻灯片内容过于拥挤
保持文字简洁。避免在一张幻灯片上放入过多内容,以确保可读性。不预览最终幻灯片
始终在“Present”模式下预览你的演示文稿,以检查过渡效果、可读性以及在不同设备上的布局。
关于在 Canva 中创建 AI 演示文稿的常见问题
免费 Canva 账号是否提供 AI 演示文稿功能?
Magic Write 和 Magic Design 可在免费套餐中使用,但每天的使用次数有限。Pro 用户可获得更多使用权限。我可以编辑 AI 生成的幻灯片吗?
可以,你可以完全自定义 AI 生成演示文稿的每个部分,包括文本、颜色、布局和媒体。我可以为 AI 生成的幻灯片添加动画吗?
可以,即使使用 AI 生成基础内容后,Canva 仍允许你为元素和整个幻灯片添加动画。Magic Write 可用于哪些类型的主题?
你可以将 Magic Write 用于任何主题——教育、商业、创意或技术类演示文稿。我可以下载 AI 演示文稿吗?
可以,定稿后你可以将演示文稿下载为 PDF、PNG 或 PowerPoint 文件。Mac 上如何录屏?
要 在 Mac 上录屏,你可以使用 Trupeer AI。它允许你捕获整个屏幕,并提供诸如添加 AI 虚拟形象、添加配音、在视频中放大和缩小等 AI 功能。借助 trupeer 的 AI 视频翻译功能,你可以将视频翻译成 30 多种语言。如何为录屏添加 AI 虚拟形象?
要为录屏添加 AI 虚拟形象,你需要使用一个 AI 录屏工具。 Trupeer AI 是一款 AI 录屏工具,可帮助你创建带有多个虚拟形象的视频,也能帮助你为视频创建自己的虚拟形象。如何在 Windows 上录屏?
要在 Windows 上录屏,你可以使用内置的 Game Bar(Windows + G),或者像 Trupeer AI 这样的高级 AI 工具,以获得更多高级功能,例如 AI 虚拟形象、配音、翻译等。如何为视频添加配音?
要为视频添加配音,请下载 trupeer ai Chrome 扩展。注册后,上传带有声音的视频,从 trupeer 中选择所需的配音,然后导出你编辑后的视频。如何在录屏中放大?
在录屏过程中放大时,使用 Trupeer AI 中的缩放效果,它允许你在特定时刻放大和缩小,从而增强视频内容的视觉效果。

