

كيفية التراجع عن التغييرات في Figma
هل ارتكبت خطأ أثناء التصميم في Figma؟ تعرّف على كيفية التراجع عن التغييرات فورًا باستخدام الاختصارات أو شريط القوائم. دليل سريع لإجراء التعديلات بسهولة
إليك تفصيلًا أكثر:
1. استخدام اختصارات لوحة المفاتيح:
تراجع: اضغط Ctrl + Z (Windows) أو Cmd + Z (Mac) لـتراجع عن آخر إجراء. إعادة: اضغط Ctrl + Shift + Z (Windows) أو Cmd + Shift + Z (Mac) لإعادة إجراء قمتَ بالتراجع عنه للتو.
2. استخدام قائمة التحرير:
انقر على "تحرير" في شريط القوائم العلوي. حدِّد "تراجع" لعكس آخر إجراء. حدِّد "إعادة" لإعادة إجراء سبق لك التراجع عنه.
3. استخدام سجل الإصدارات:
إذا كنت بحاجة إلى الرجوع إلى إصدار أقدم من ملفك، يمكنك استخدام ميزة "عرض سجل الإصدارات". انقر على اسم الملف في أعلى واجهة Figma. حدِّد "عرض سجل الإصدارات" لعرض قائمة بالإصدارات السابقة. اختر الإصدار الذي تريد استعادته وانقر على "استعادة هذا الإصدار".
دليل خطوة بخطوة: كيفية التراجع عن التغييرات في Figma
الخطوة 1
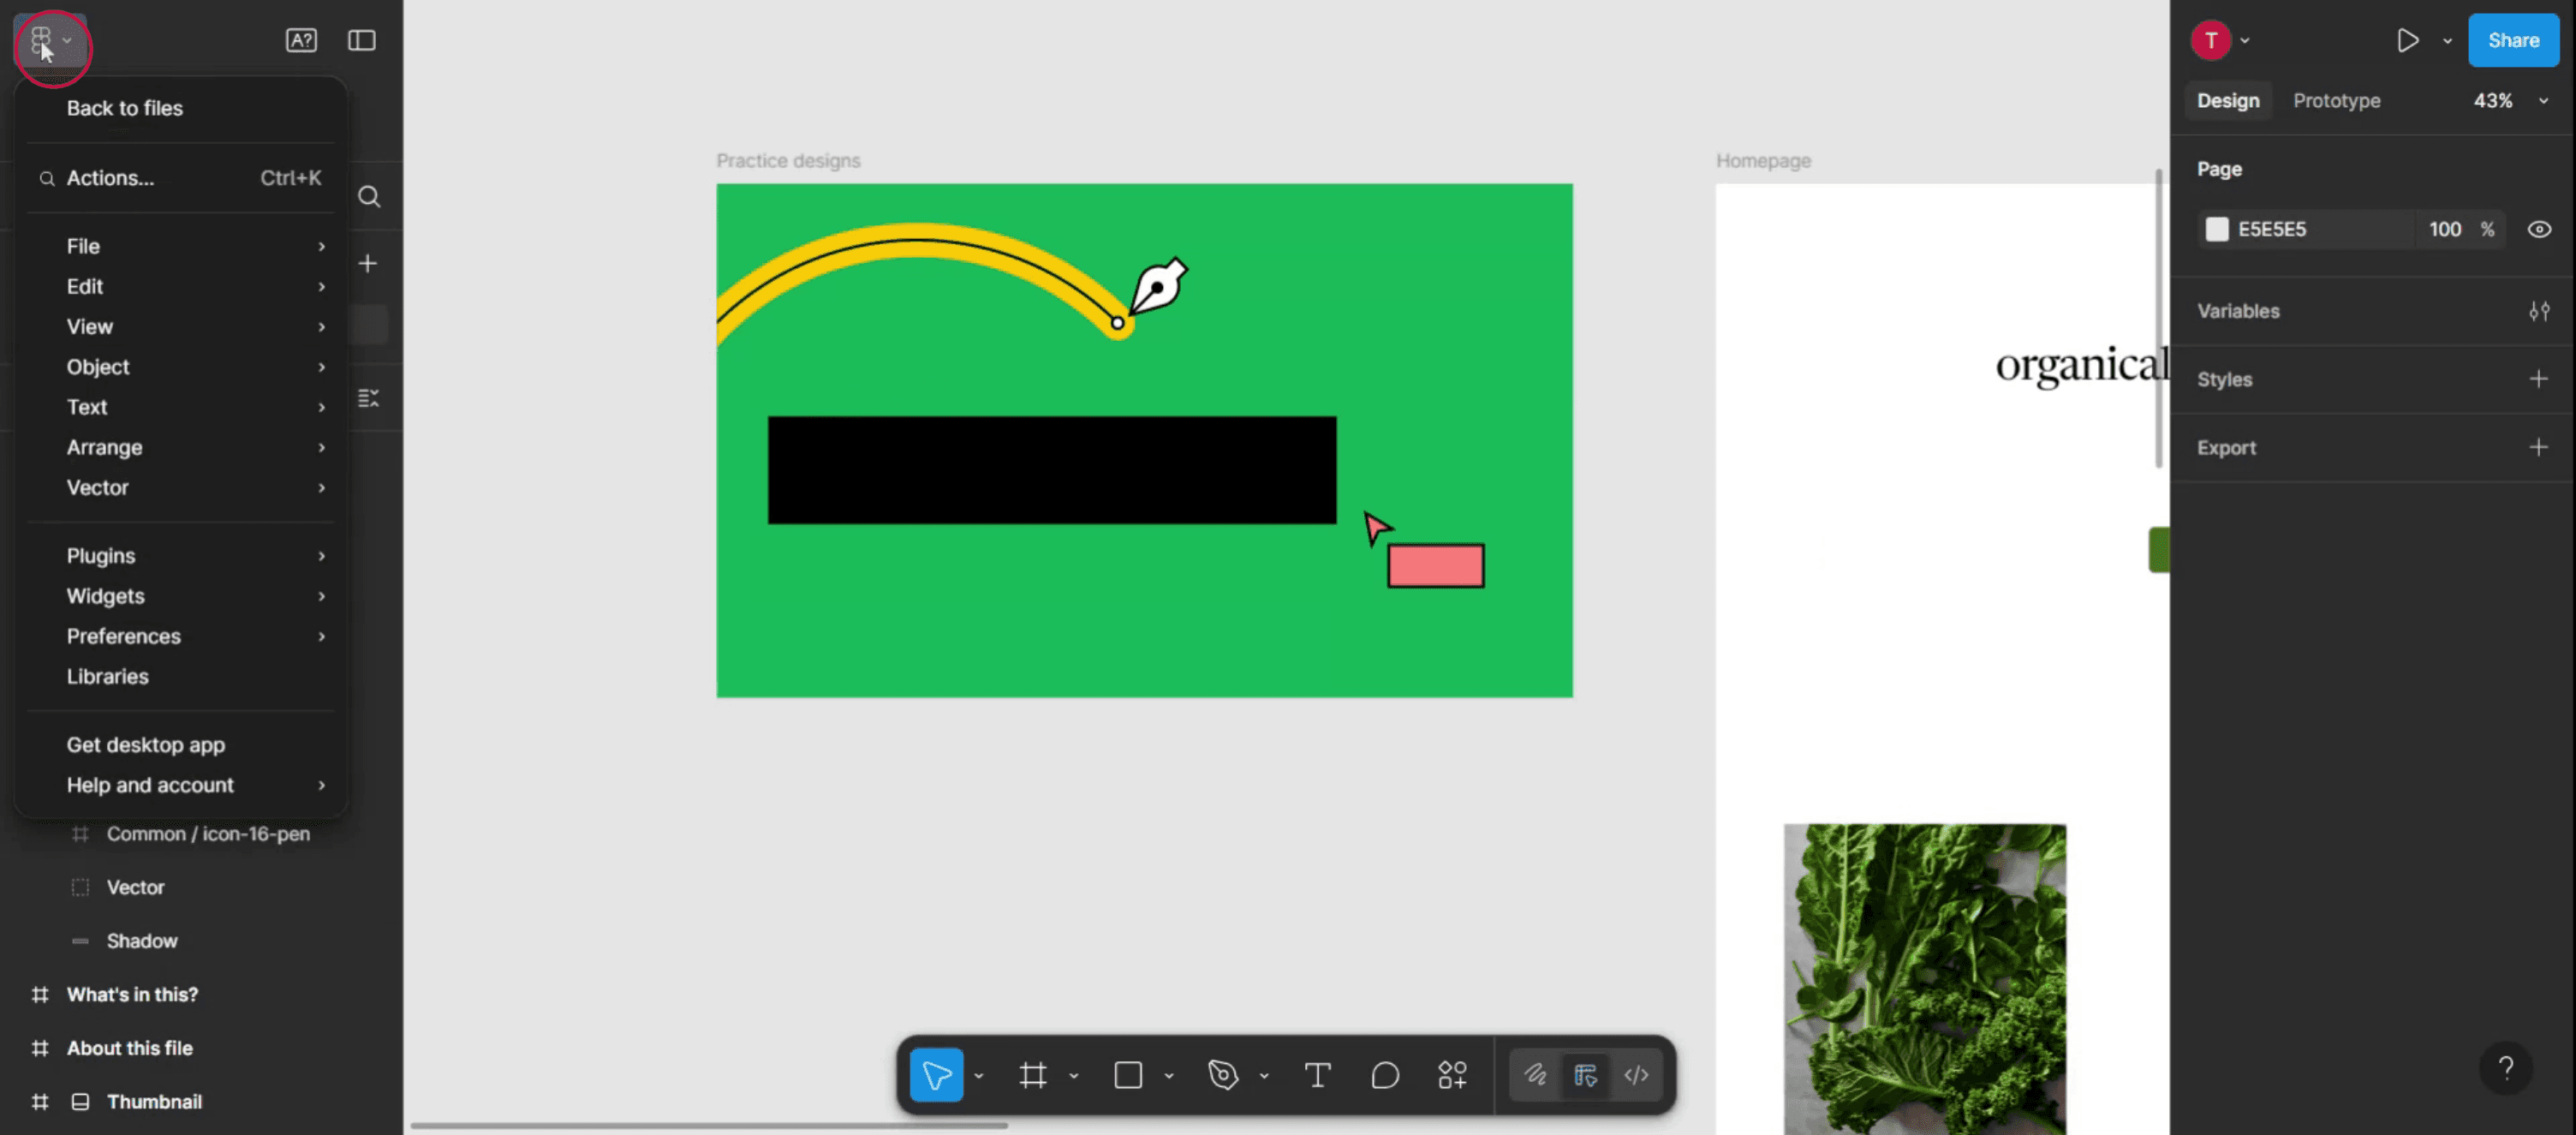
انقر على أيقونة القائمة الرئيسية في واجهة Figma.
الخطوة 2
ضمن القائمة، حدِّد خيار التحرير.

الخطوة 3
انتقل للعثور على خيار "تراجع" في القائمة،

الخطوة 4
وبالتالي، سيظهر النص أو التصميم الذي تم حذفه سابقًا مرة أخرى في القالب.
نصائح احترافية للتراجع عن التغييرات في فيجما
استخدم اختصار لوحة المفاتيح للتراجع السريع
اضغط Ctrl + Z (Windows) أو Cmd + Z (Mac) للتراجع فورًا عن أحدث إجراء قمت به. هذه أسرع طريقة لإرجاع التغييرات أثناء التصميم.أعد التغييرات إذا لزم الأمر
إذا تراجعت عن شيء بالخطأ، فاضغط Ctrl + Shift + Z (Windows) أو Cmd + Shift + Z (Mac) لإعادة آخر إجراء تم التراجع عنه.استخدم قائمة التحرير
انتقل إلى شريط القوائم العلوي، وانقر على تحرير، ثم اختر تراجع من القائمة المنسدلة. هذا مفيد إذا كنت تفضل استخدام القوائم بدلًا من الاختصارات.اعرض سجل الإصدارات
انقر على اسم الملف في شريط الأدوات العلوي، ثم اختر سجل الإصدارات → عرض سجل الإصدارات. ستظهر لك سلسلة زمنية للتغييرات التي أُجريت على الملف.استعد إصدارًا سابقًا
في لوحة سجل الإصدارات، انقر على إصدار يحتوي على طابع زمني لمعاينته. إذا لزم الأمر، انقر استعادة هذا الإصدار لإرجاع الملف إلى تلك النقطة.
المشكلات الشائعة وكيفية تجنبها
عدم عمل التراجع في وضع العرض فقط
لا يعمل التراجع إلا إذا كانت لديك صلاحية التعديل على الملف. إذا كنت في وضع العرض فقط، فلن تتمكن من التراجع عن أي شيء.التراجع عن تغييرات مستخدم آخر
يمكنك فقط التراجع عن إجراءاتك أنت في الوقت الفعلي. لعكس تعديلات الآخرين، استعد إصدارًا أقدم من سجل الإصدارات.فقدان تتبع ما تراجعت عنه
إذا لم تكن متأكدًا مما غيّرته، فاستخدم سجل الإصدارات لمقارنة حالات الملف وتحديد ما الذي حُذف أو أُضيف.تعارضات اختصار التراجع
قد تتجاوز بعض إضافات المتصفح أو أنظمة التشغيل الاختصار الافتراضي. إذا لم يكن التراجع يعمل، فجرّب قائمة التحرير بدلًا من ذلك.لا يوجد تحكم في الحفظ التلقائي
يحفظ فيجما التغييرات تلقائيًا باستمرار. إذا ارتكبت خطأ وأغلقت الملف، فقد لا يتوفر التراجع عند إعادة فتحه—استخدم الإصدارات للحماية.
الأسئلة الشائعة حول التراجع في Figma
كيف أتراجع عن إجراء في Figma?
اضغط Ctrl + Z (Windows) أو Cmd + Z (Mac)، أو انتقل إلى تحرير → تراجع من القائمة العلوية.هل يمكنني التراجع عن التغييرات بعد إغلاق الملف؟
لا، بمجرد إغلاق الملف وإعادة فتحه، تتم إعادة تعيين التراجع الفوري. استخدم سجل الإصدارات للرجوع إلى إصدار أقدم.كيف أعيد تنفيذ شيء تراجعت عنه للتو؟
اضغط Ctrl + Shift + Z (Windows) أو Cmd + Shift + Z (Mac)، أو انتقل إلى تحرير → إعادة.هل يوجد حد لعدد الإجراءات التي يمكنني التراجع عنها؟
لا يوجد حد محدد، ولكن يتم إعادة تعيين سجل التراجع عند إغلاق الملف وإعادة فتحه.هل يمكنني التراجع عن التغييرات التي أجراها الآخرون؟
لا، لا يمكنك التراجع عن الإجراءات الفورية لمستخدم آخر. استخدم سجل الإصدارات للرجوع إلى الملف إذا لزم الأمر.كيف تسجل الشاشة على ماك؟
لتسجيل الشاشة على جهاز Mac، يمكنك استخدام Trupeer AI. فهو يتيح لك التقاط الشاشة بالكامل ويوفر إمكانات ذكاء اصطناعي مثل إضافة صور رمزية بالذكاء الاصطناعي، وإضافة تعليق صوتي، وإضافة تكبير وتصغير في الفيديو. باستخدام ميزة ترجمة الفيديو بالذكاء الاصطناعي من trupeer، يمكنك ترجمة الفيديو إلى أكثر من 30 لغة.كيف تضيف صورة رمزية بالذكاء الاصطناعي إلى تسجيل الشاشة؟
لإضافة صورة رمزية بالذكاء الاصطناعي إلى تسجيل الشاشة، ستحتاج إلى استخدام أداة تسجيل شاشة بالذكاء الاصطناعي. Trupeer AI هي أداة تسجيل شاشة بالذكاء الاصطناعي، تساعدك على إنشاء مقاطع فيديو بعدة صور رمزية، كما تساعدك على إنشاء صورتك الرمزية الخاصة للفيديو.كيف تسجل الشاشة على ويندوز؟
لتسجيل الشاشة على Windows، يمكنك استخدام Game Bar المدمجة (Windows + G) أو أداة ذكاء اصطناعي متقدمة مثل Trupeer AI للحصول على ميزات أكثر تقدمًا مثل الصور الرمزية بالذكاء الاصطناعي، والتعليق الصوتي، والترجمة، إلخ.كيف تضيف تعليقًا صوتيًا إلى الفيديو؟
لإضافة تعليق صوتي إلى مقاطع الفيديو، حمّل إضافة Chrome الخاصة بـ trupeer ai. بعد التسجيل، ارفع الفيديو الخاص بك مع الصوت، واختر التعليق الصوتي المطلوب من trupeer ثم صدّر الفيديو المعدل.كيف أعمل تكبيرًا في تسجيل شاشة؟
لتكبير العرض أثناء تسجيل الشاشة، استخدم تأثيرات التكبير في Trupeer AI التي تتيح لك التكبير والتصغير في لحظات محددة، مما يعزز التأثير البصري لمحتوى الفيديو الخاص بك.
قراءات مقترحة
دروس ذات صلة

