
كيفية توقيت الرسوم المتحركة في Canva – تعيين مدد مخصصة
تعرّف على كيفية ضبط توقيت الرسوم المتحركة في Canva من خلال تعديل وقت البدء والمدة والتسلسل باستخدام محرر المخطط الزمني. اتبع هذا الدليل البسيط وأنشئ أدلة باستخدام Trupeer.
يوفر هذا المستند دليلاً شاملاً حول إنشاء الرسوم المتحركة وتوقيتها في Canva.
اتبع هذه الخطوات البسيطة لتطبيق الرسوم المتحركة على النصوص بفعالية، وتخصيص أنماط الرسوم المتحركة، وضبط سرعة الرسوم المتحركة، مما يرتقي بمشاريع التصميم الخاصة بك بعناصر مرئية ديناميكية.
إذا كنت تريد مزيدًا من التحكم في كيفية تشغيل الرسوم المتحركة في Canva، فيمكنك تخصيص التوقيت للعناصر الفردية وانتقالات الصفحات. يتيح لك Canva ضبط وقت بدء الرسوم المتحركة ومدة استمرارها باستخدام ميزة "إظهار التوقيت".
دليل خطوة بخطوة:
افتح تصميمك
ابدأ بفتح مشروع Canva الذي يحتوي على الرسوم المتحركة التي تريد تعديلها.حدد العنصر المتحرك
انقر على النص أو الصورة أو العنصر الذي تم تطبيق رسوم متحركة عليه بالفعل.الوصول إلى لوحة التوقيت
انقر على النقاط الثلاث (المزيد) أو انقر بزر الماوس الأيمن على العنصر.
حدد “إظهار التوقيت” من القائمة.
سيظهر شريط زمني في أسفل شاشتك.
ضبط توقيت الرسوم المتحركة
سترى مقابض قص بيضاء على جانبي شريط العنصر المتحرك في المخطط الزمني.
اسحب المقابض لتعيين وقت بدء الرسوم المتحركة ووقت انتهائها.
يتيح لك ذلك التحكم في مدى سرعة ظهور الرسوم المتحركة ومدة استمرارها.
ضبط توقيت انتقال الصفحة (اختياري)
انقر على رقم الصفحة في الأسفل.
اختر “الانتقال”، ثم اضبط شريط تمرير المدة للتحكم في مدى سرعة أو بطء انتقال الصفحة إلى الصفحة التالية.
إعادة ترتيب الرسوم المتحركة (اختياري)
إذا كانت هناك عدة عناصر متحركة، فيمكنك سحب أشرطةها وإعادة ترتيبها في المخطط الزمني لتغيير التسلسل.
المعاينة والتطبيق
انقر على زر التشغيل لمعاينة توقيت الرسوم المتحركة.
بمجرد أن تكون راضيًا، سيتم حفظ التغييرات تلقائيًا، أو يمكنك النقر على تم لتطبيقها.
دليل خطوة بخطوة: كيفية توقيت الرسوم المتحركة في Canva
الخطوة 1
حدد التصميم الذي تريد تحريكه.
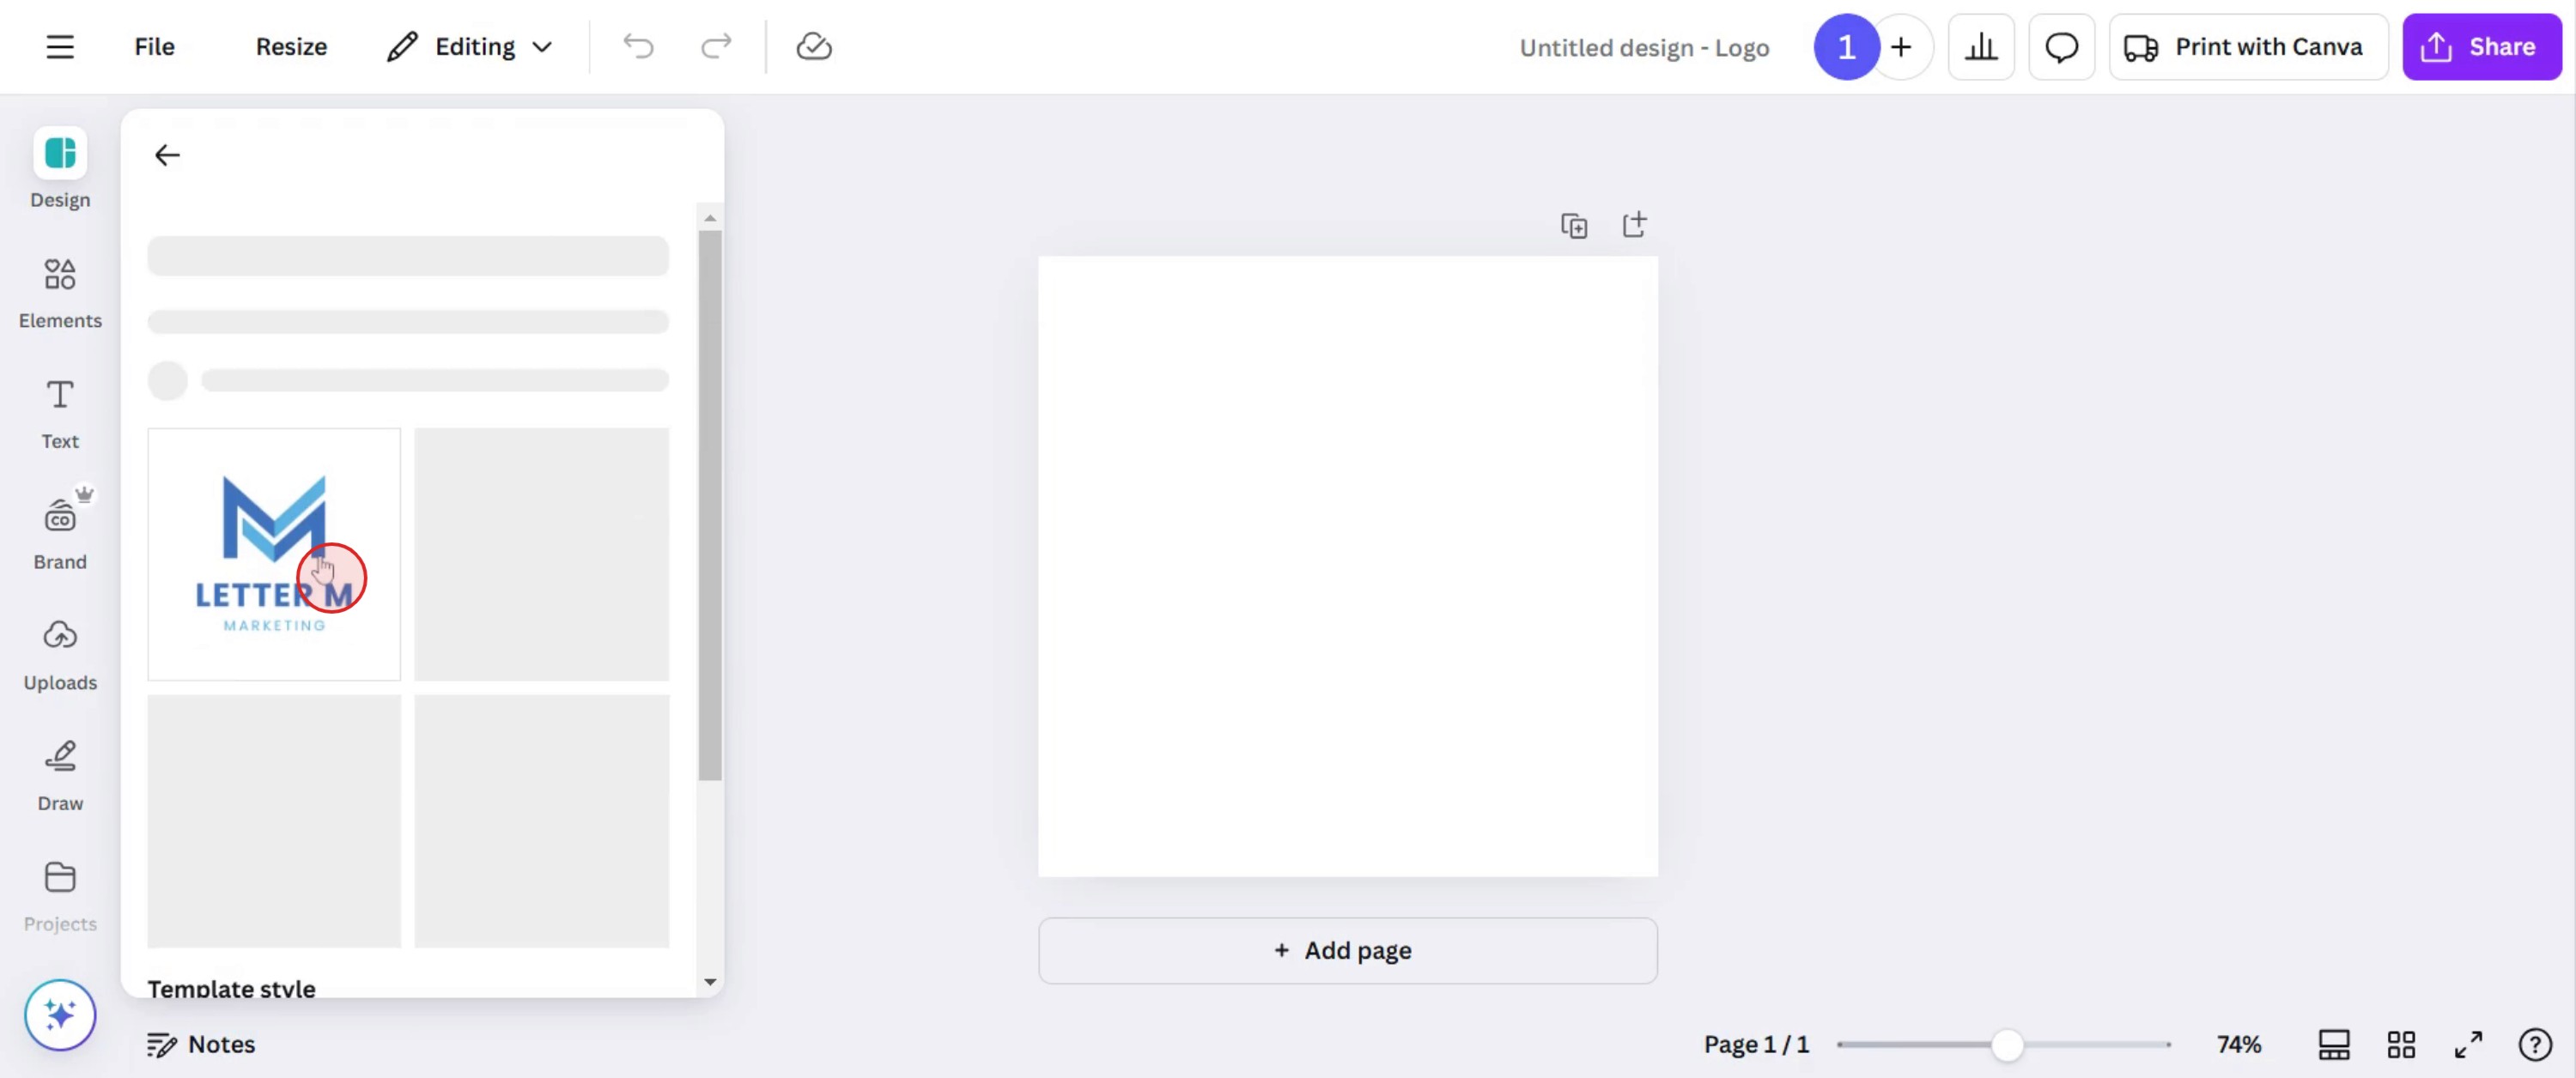
الخطوة 2
انقر أو حدد الجزء من التصميم الذي تريد تحريكه.
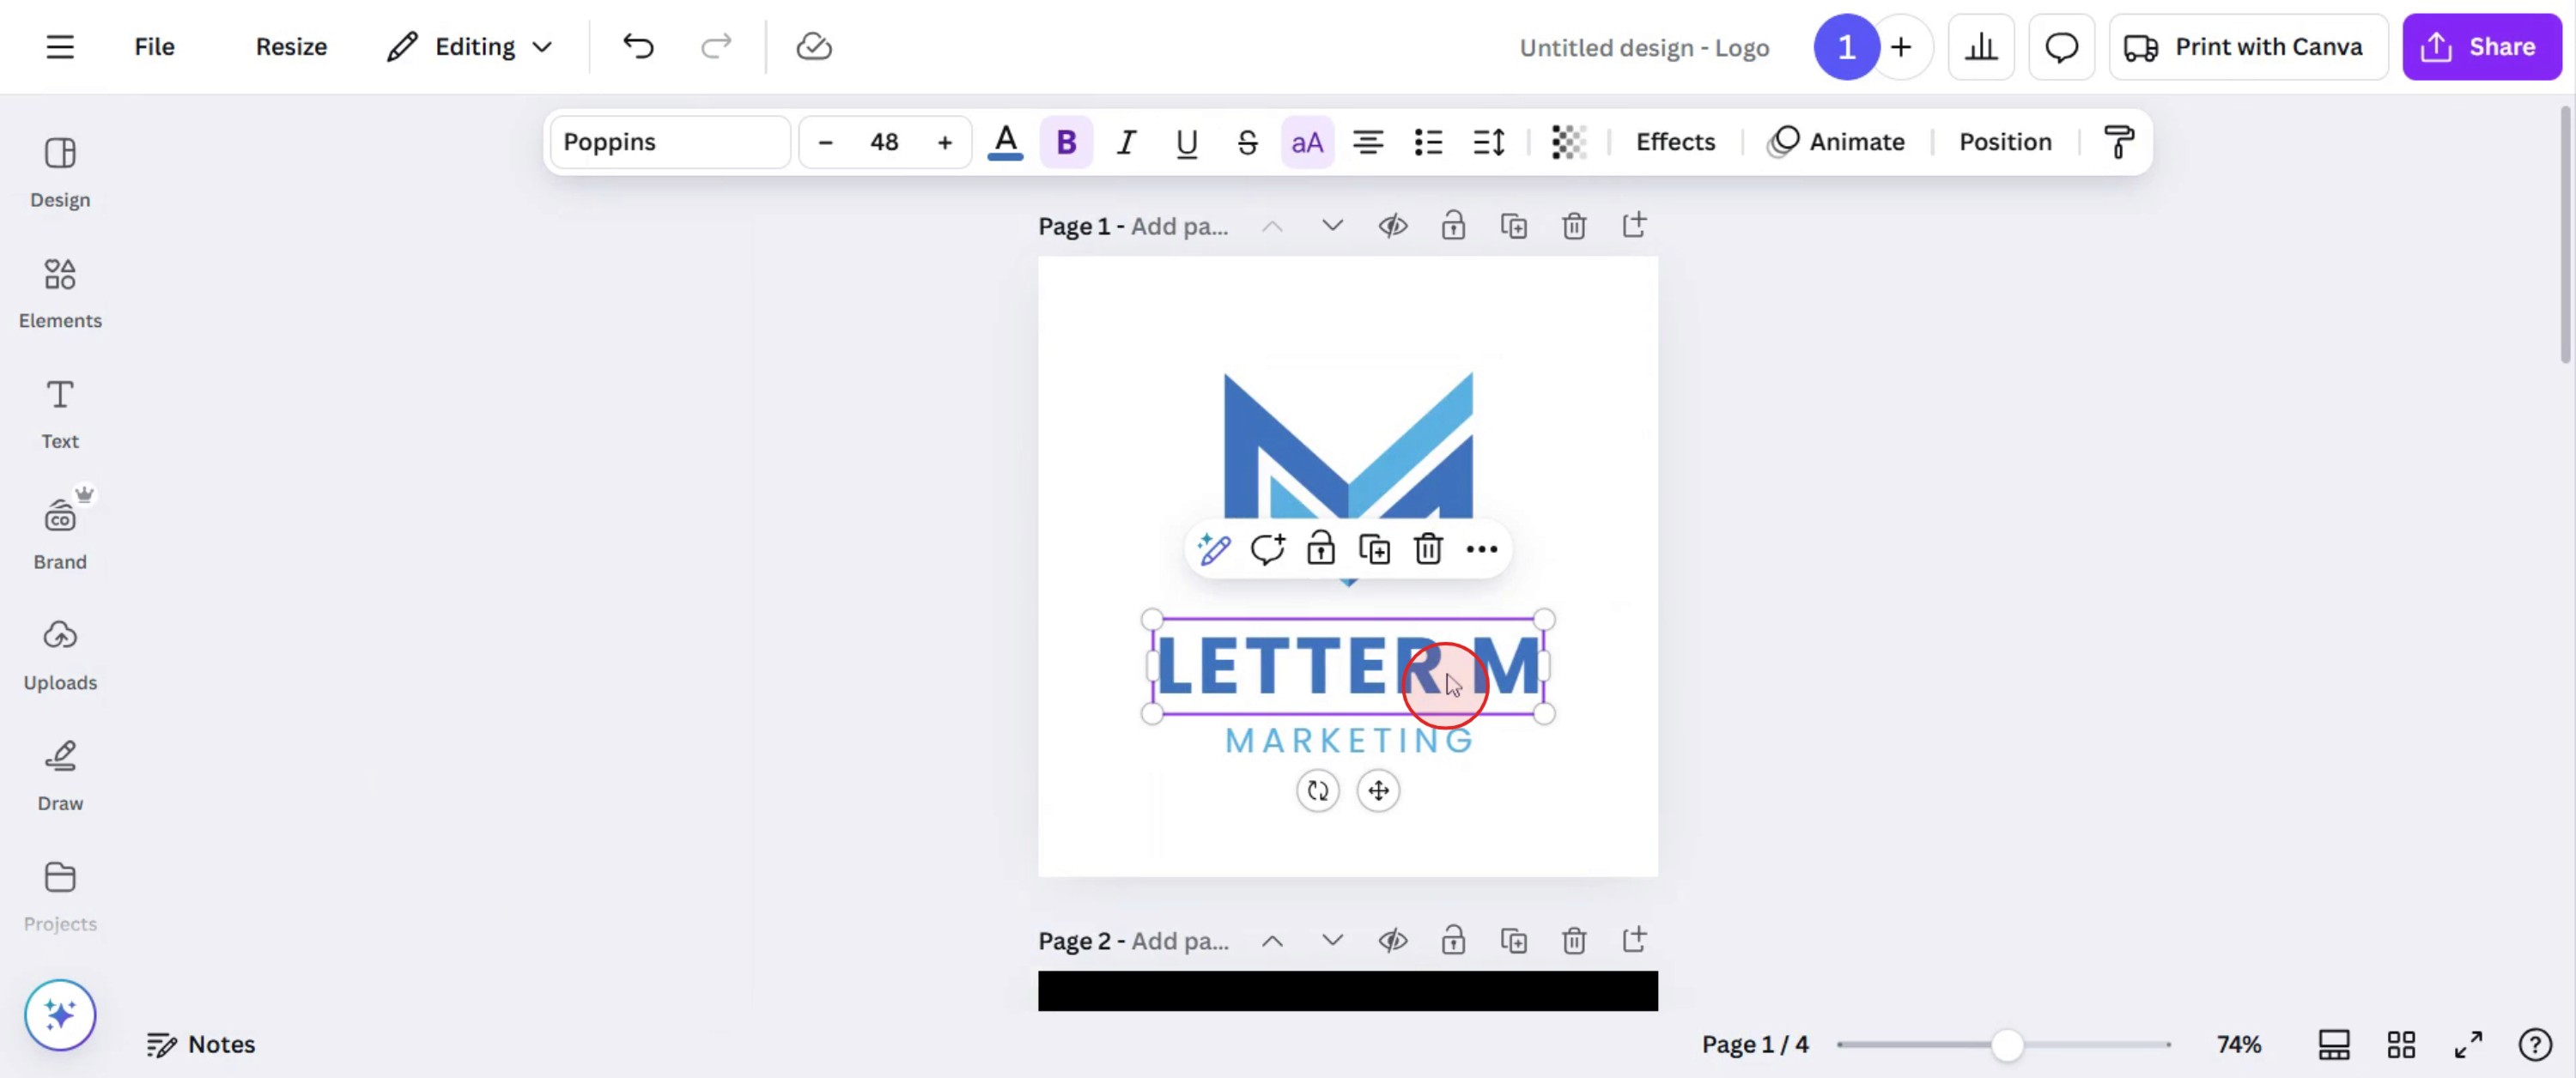
الخطوة 3
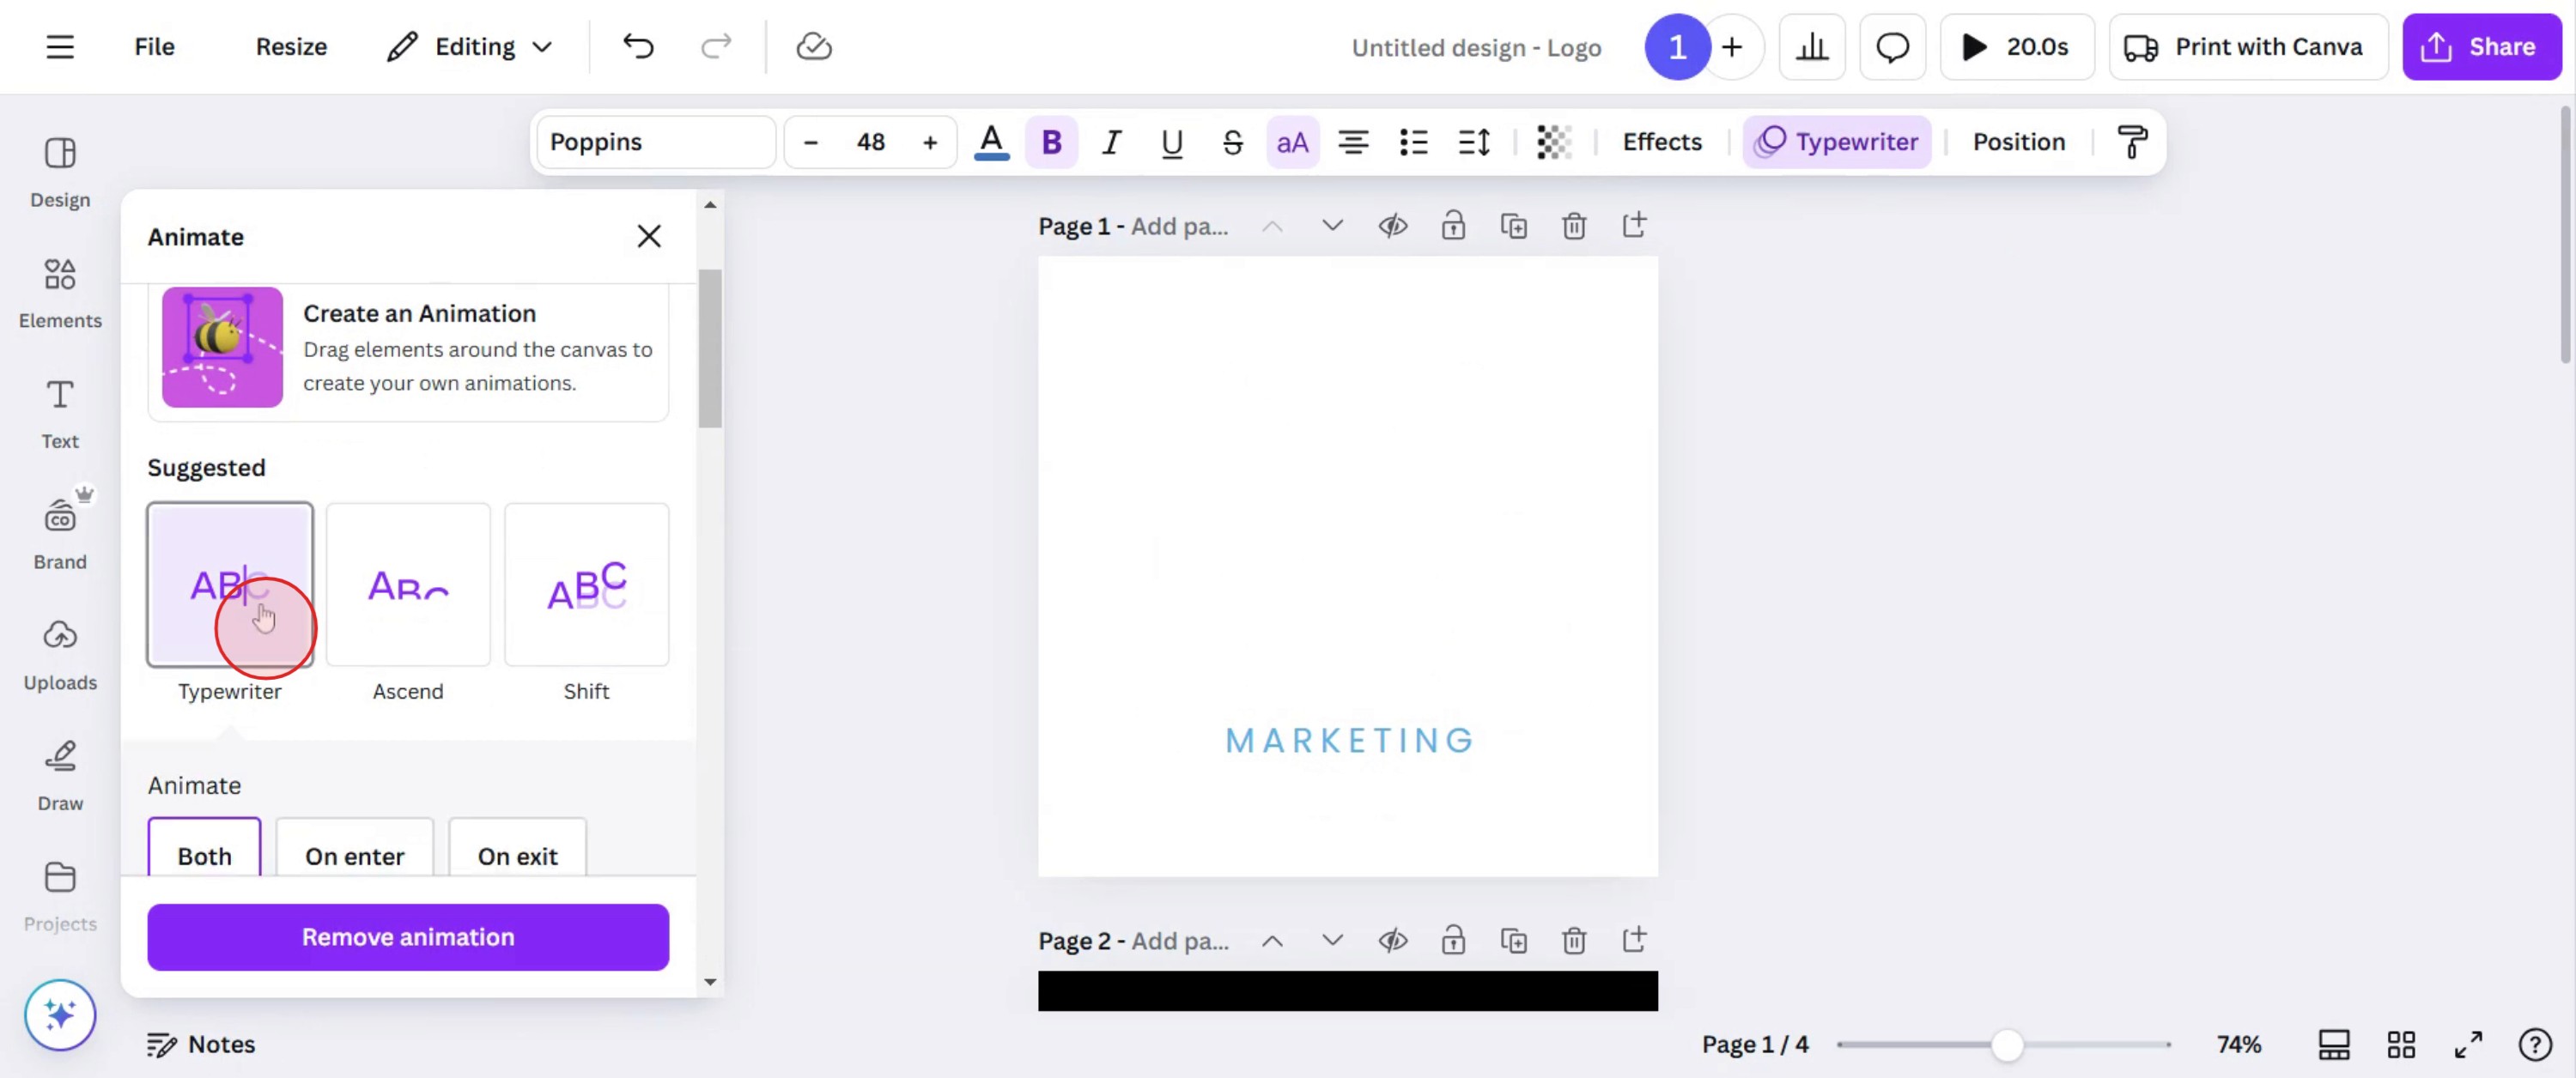
انقر على خيار الرسوم المتحركة واستكشف أنماط وتأثيرات الرسوم المتحركة
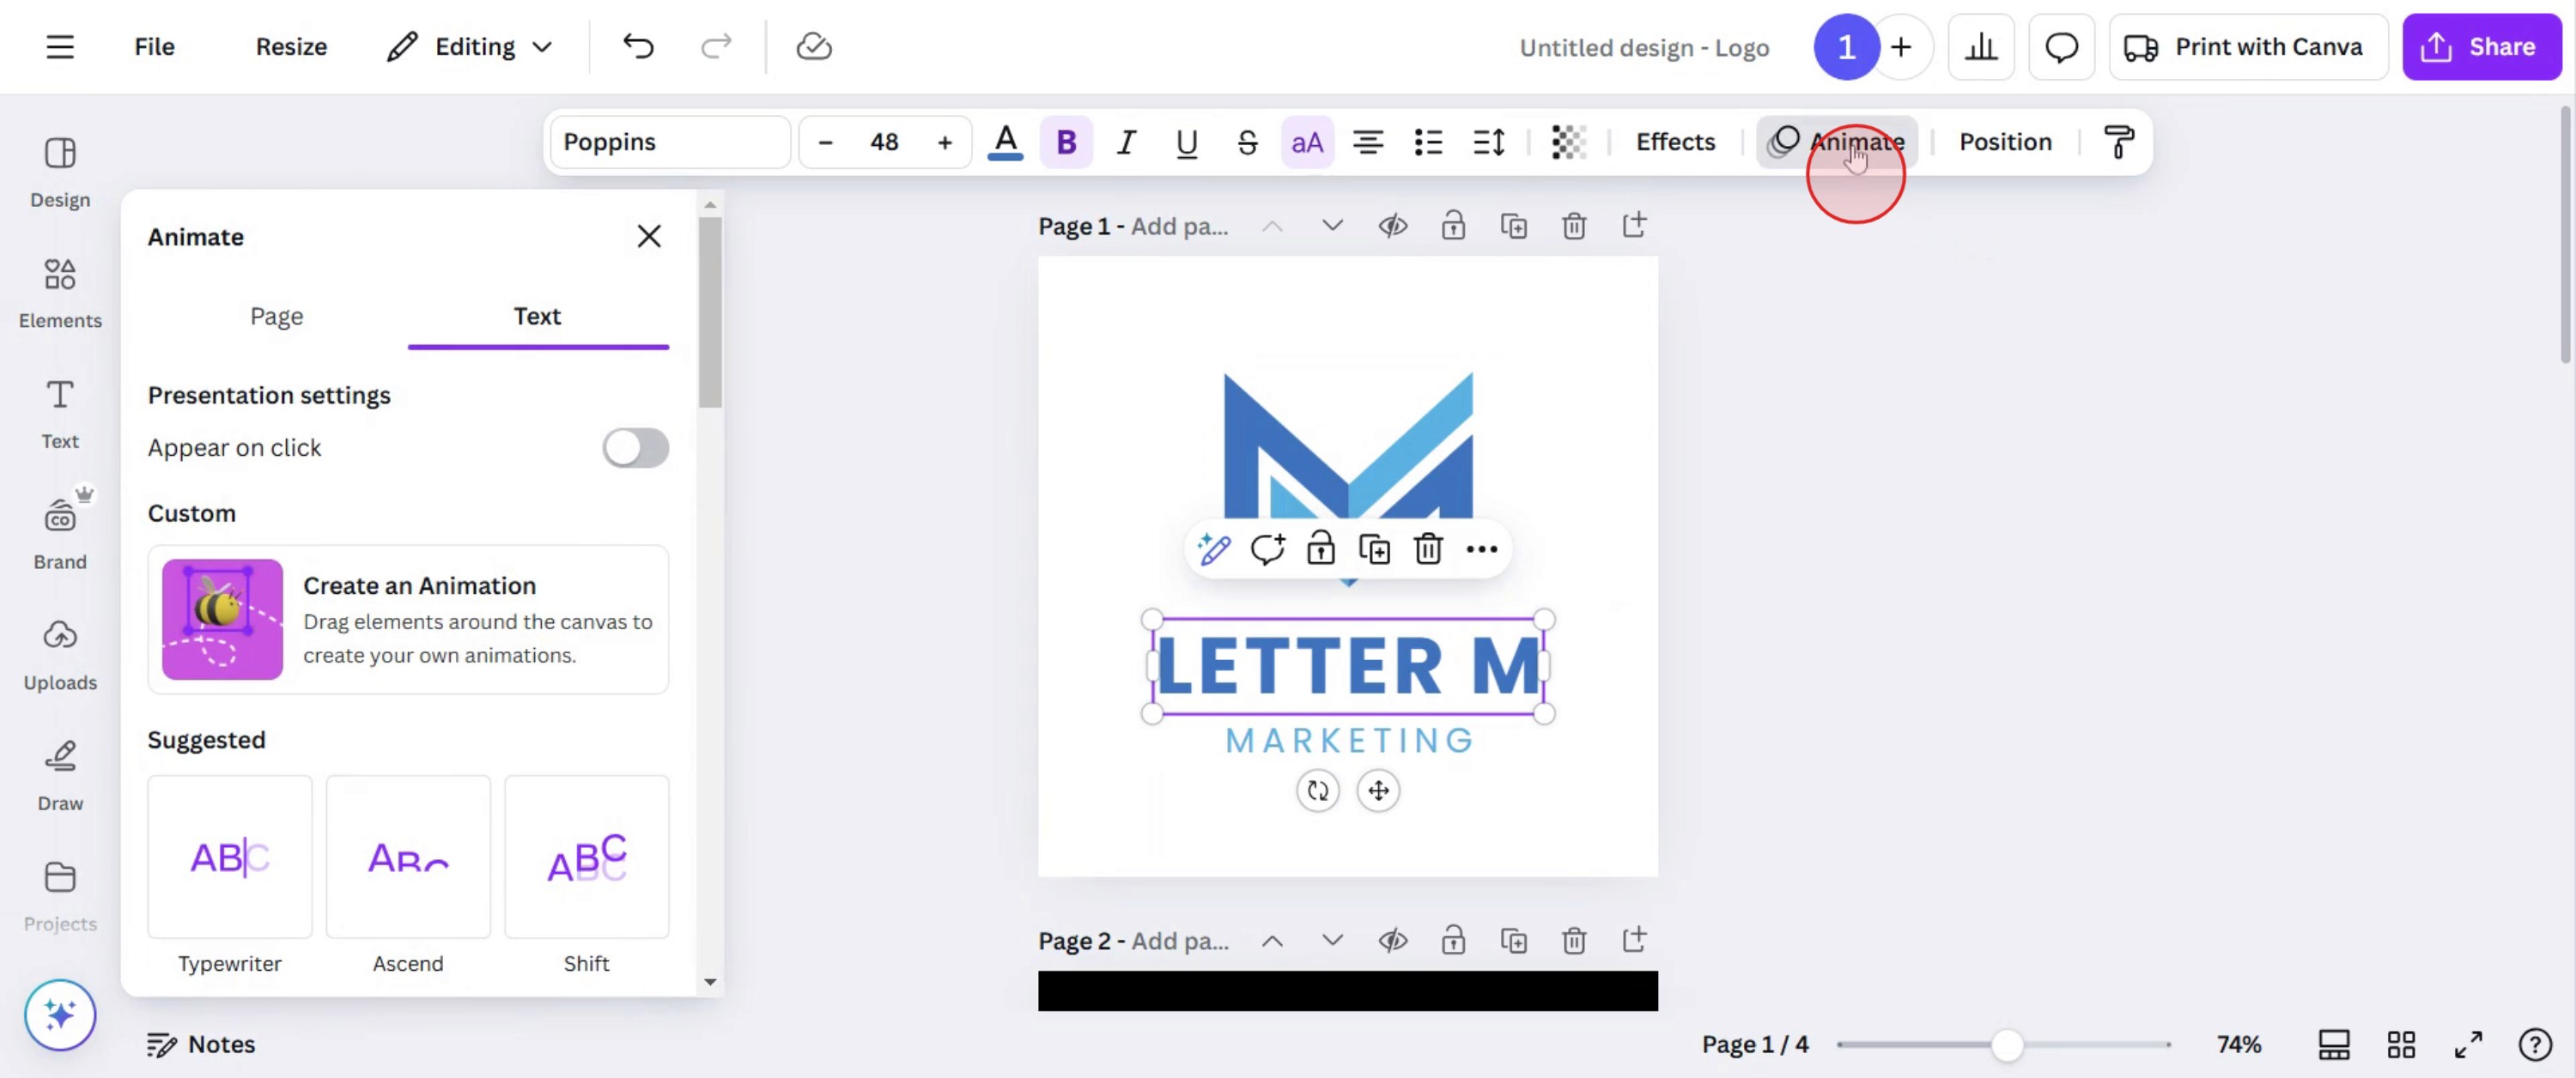
الخطوة 4
حدد النمط المطلوب الذي يناسب احتياجاتك وانقر عليه.
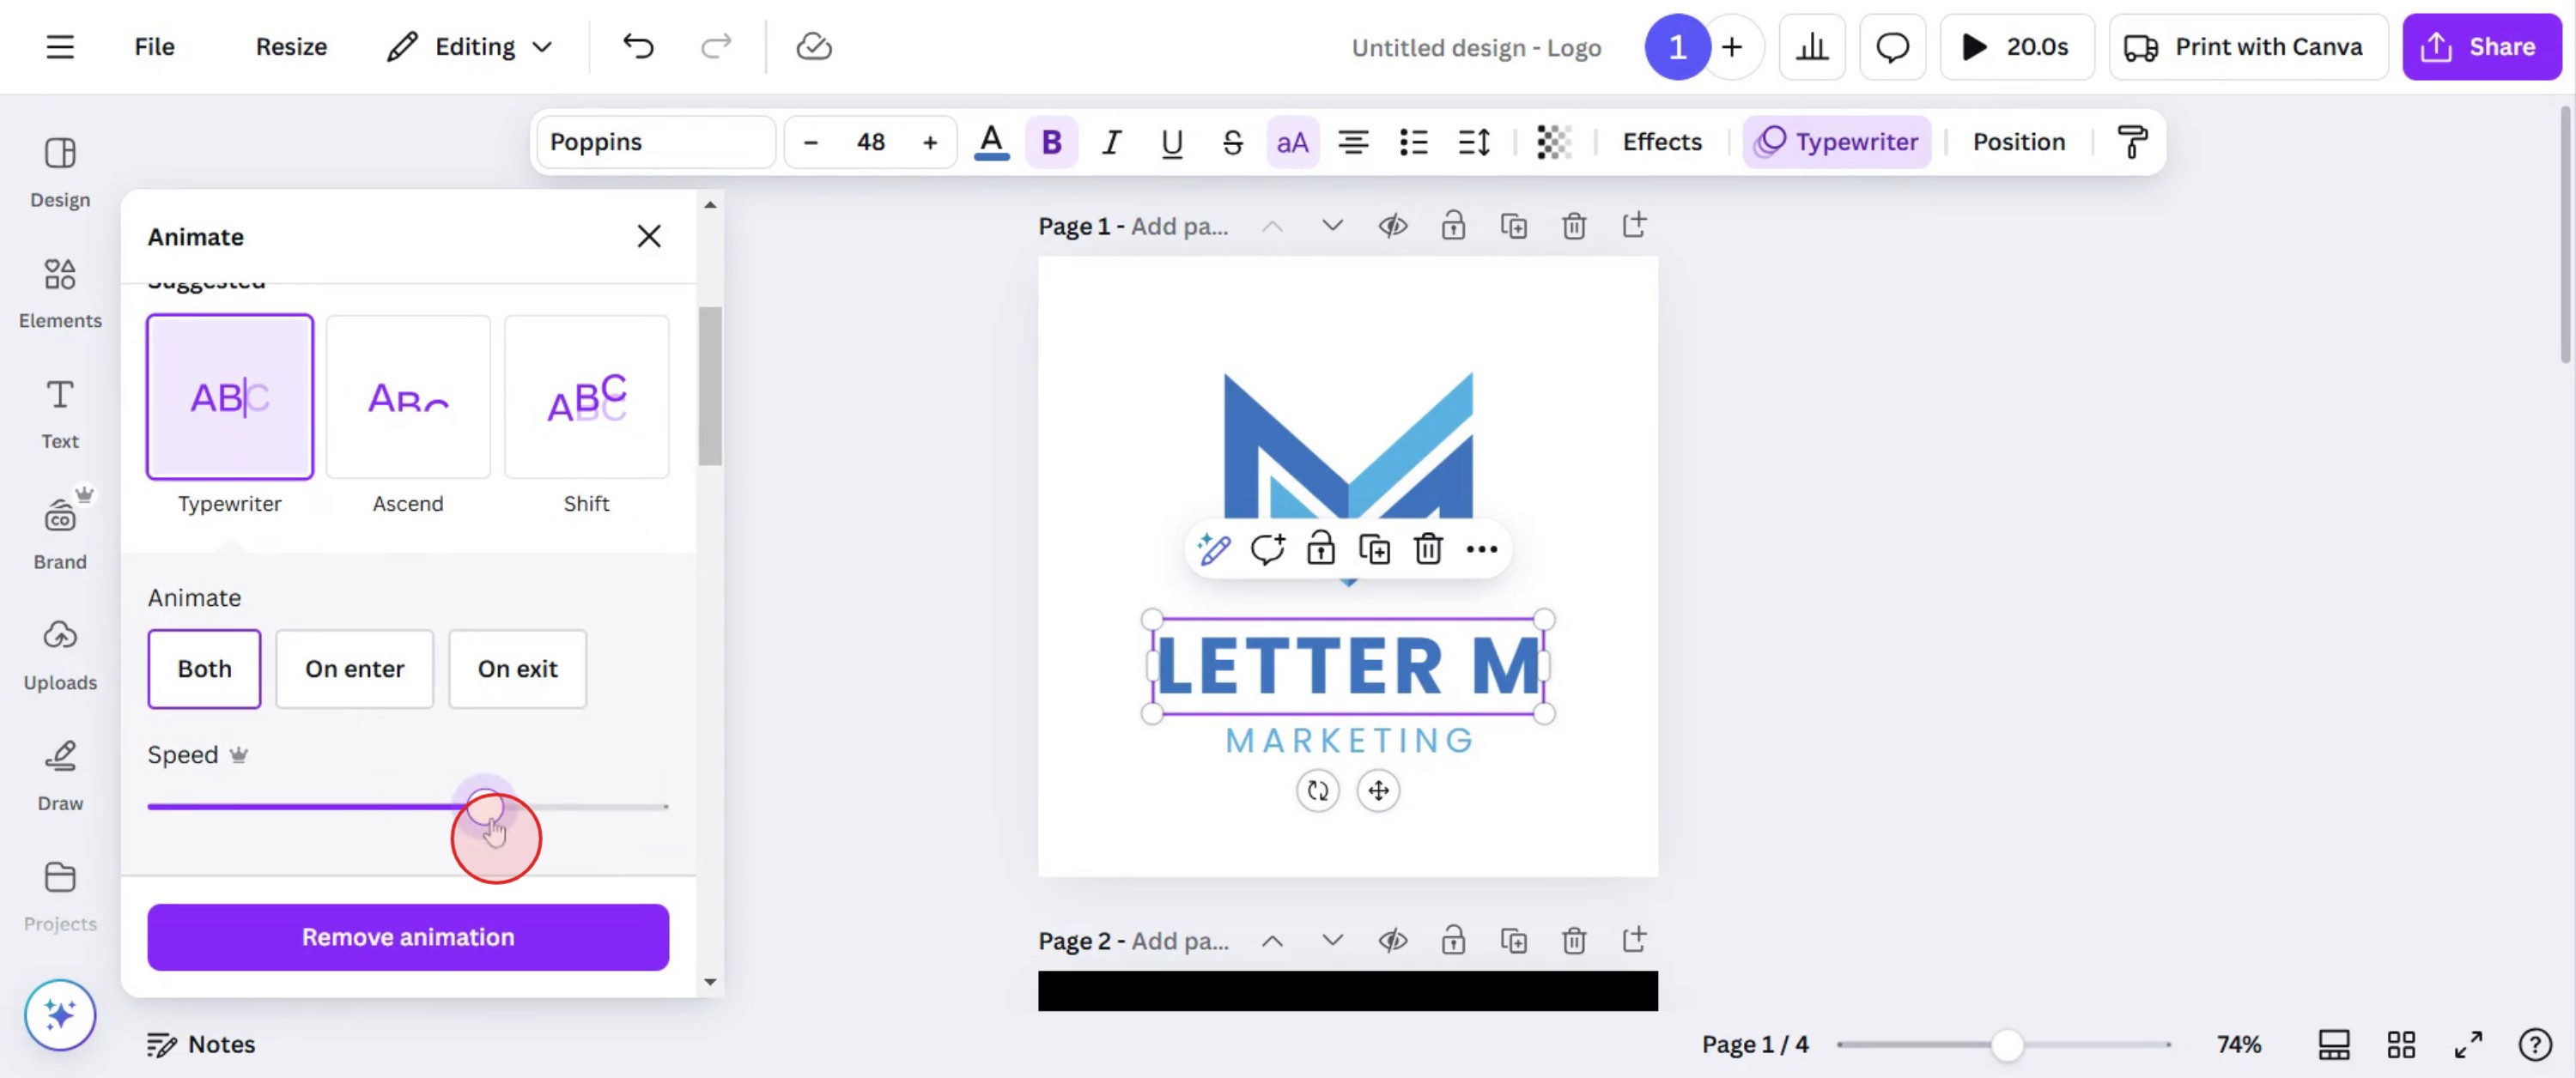
الخطوة 5
اضبط سرعة الرسوم المتحركة بزيادتها أو تقليلها بما يناسب تفضيلاتك.
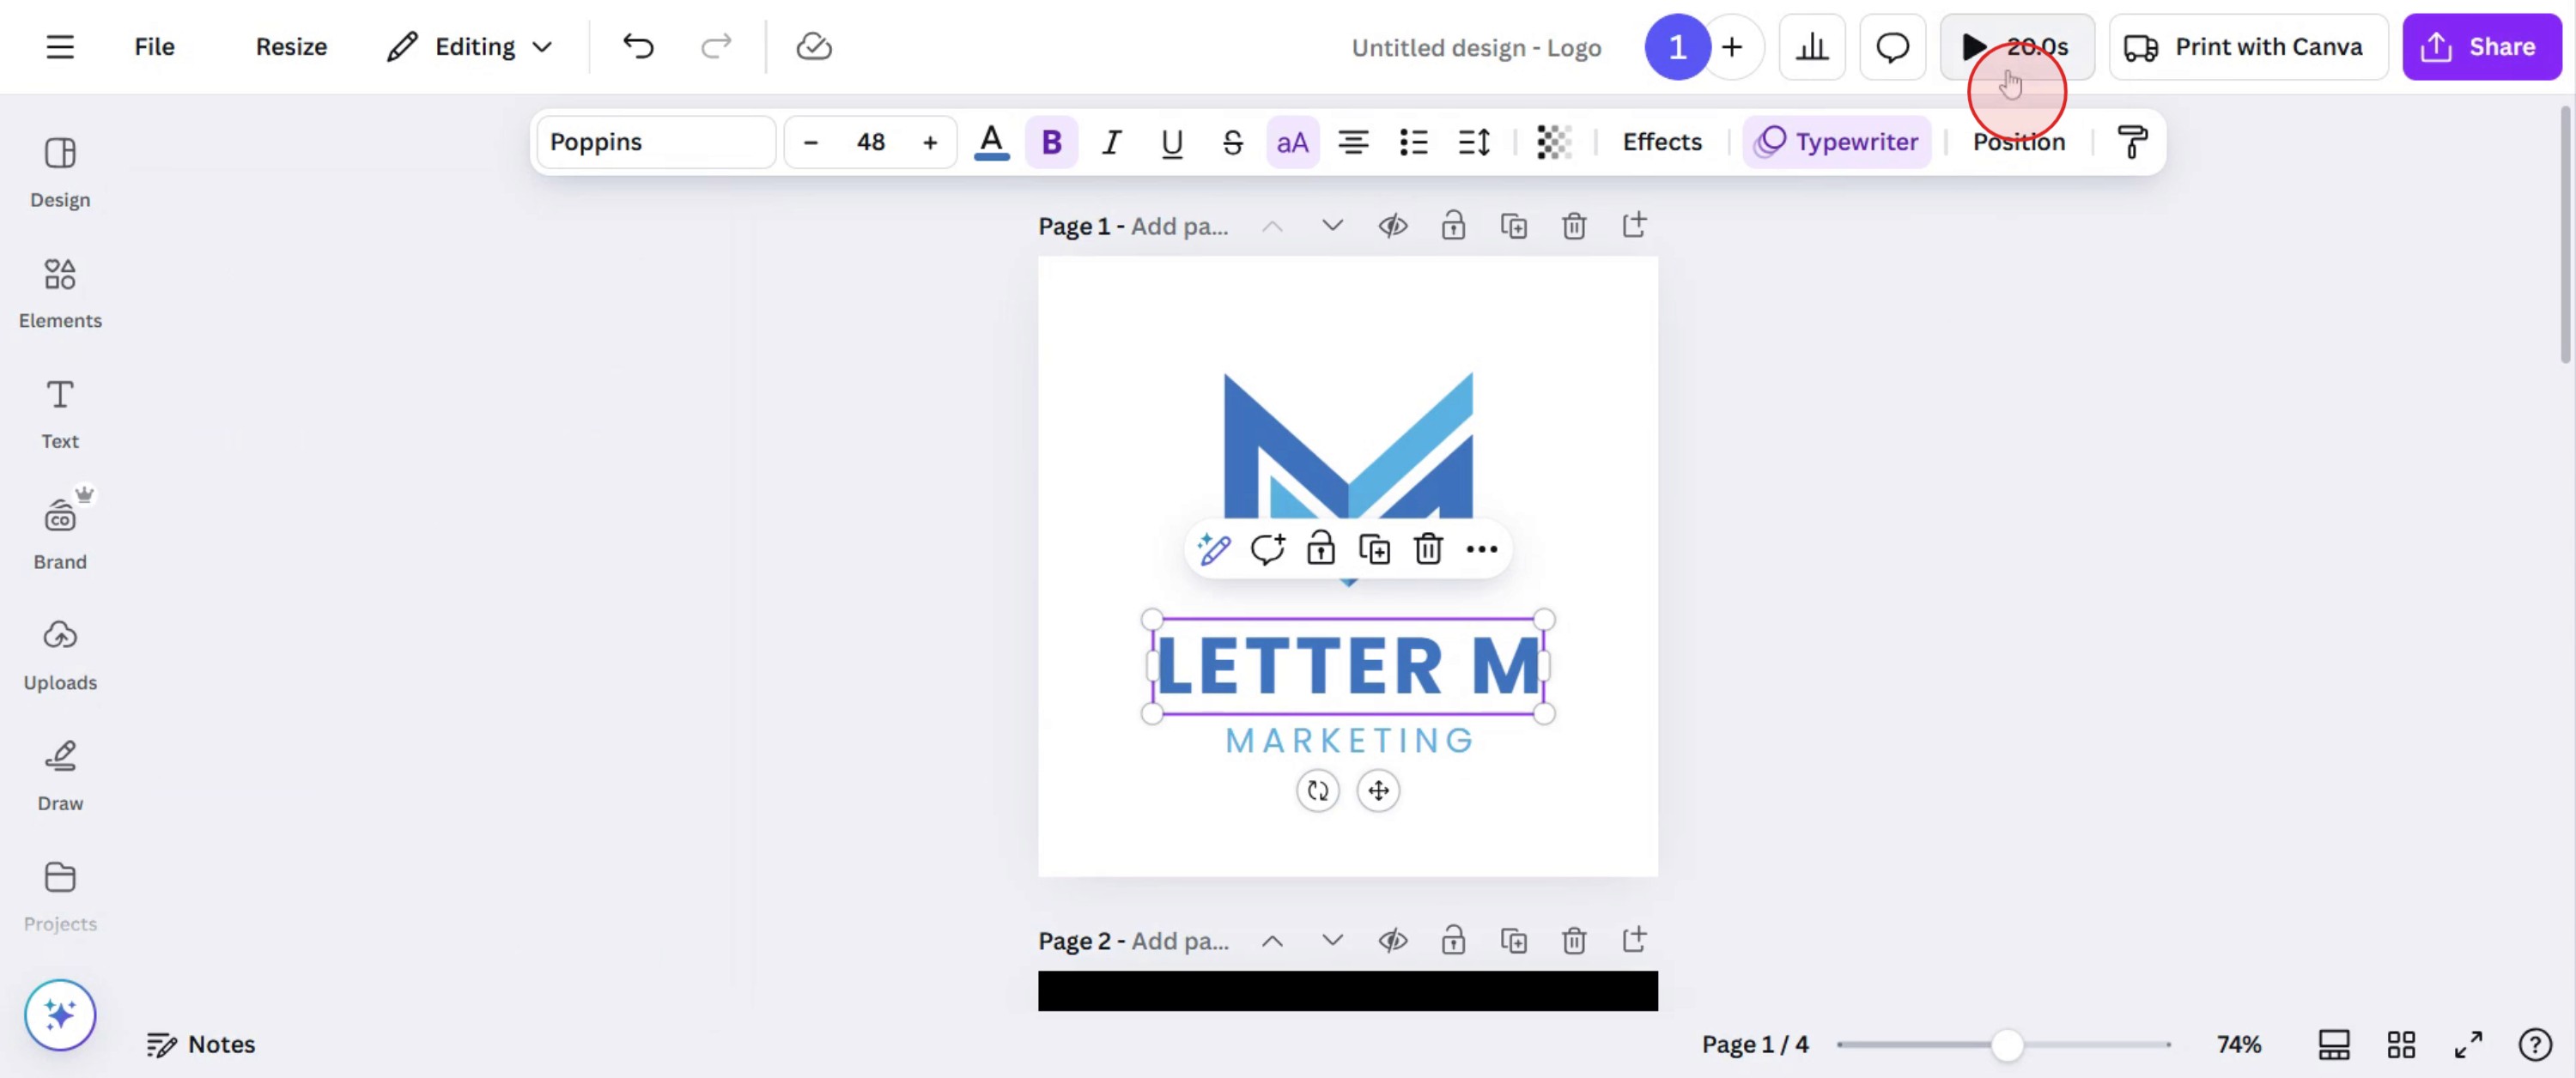
الخطوة 6
بمجرد رضاك عن إعدادات الرسوم المتحركة، عاين الرسوم المتحركة للتأكد من أنها تلبي توقعاتك.
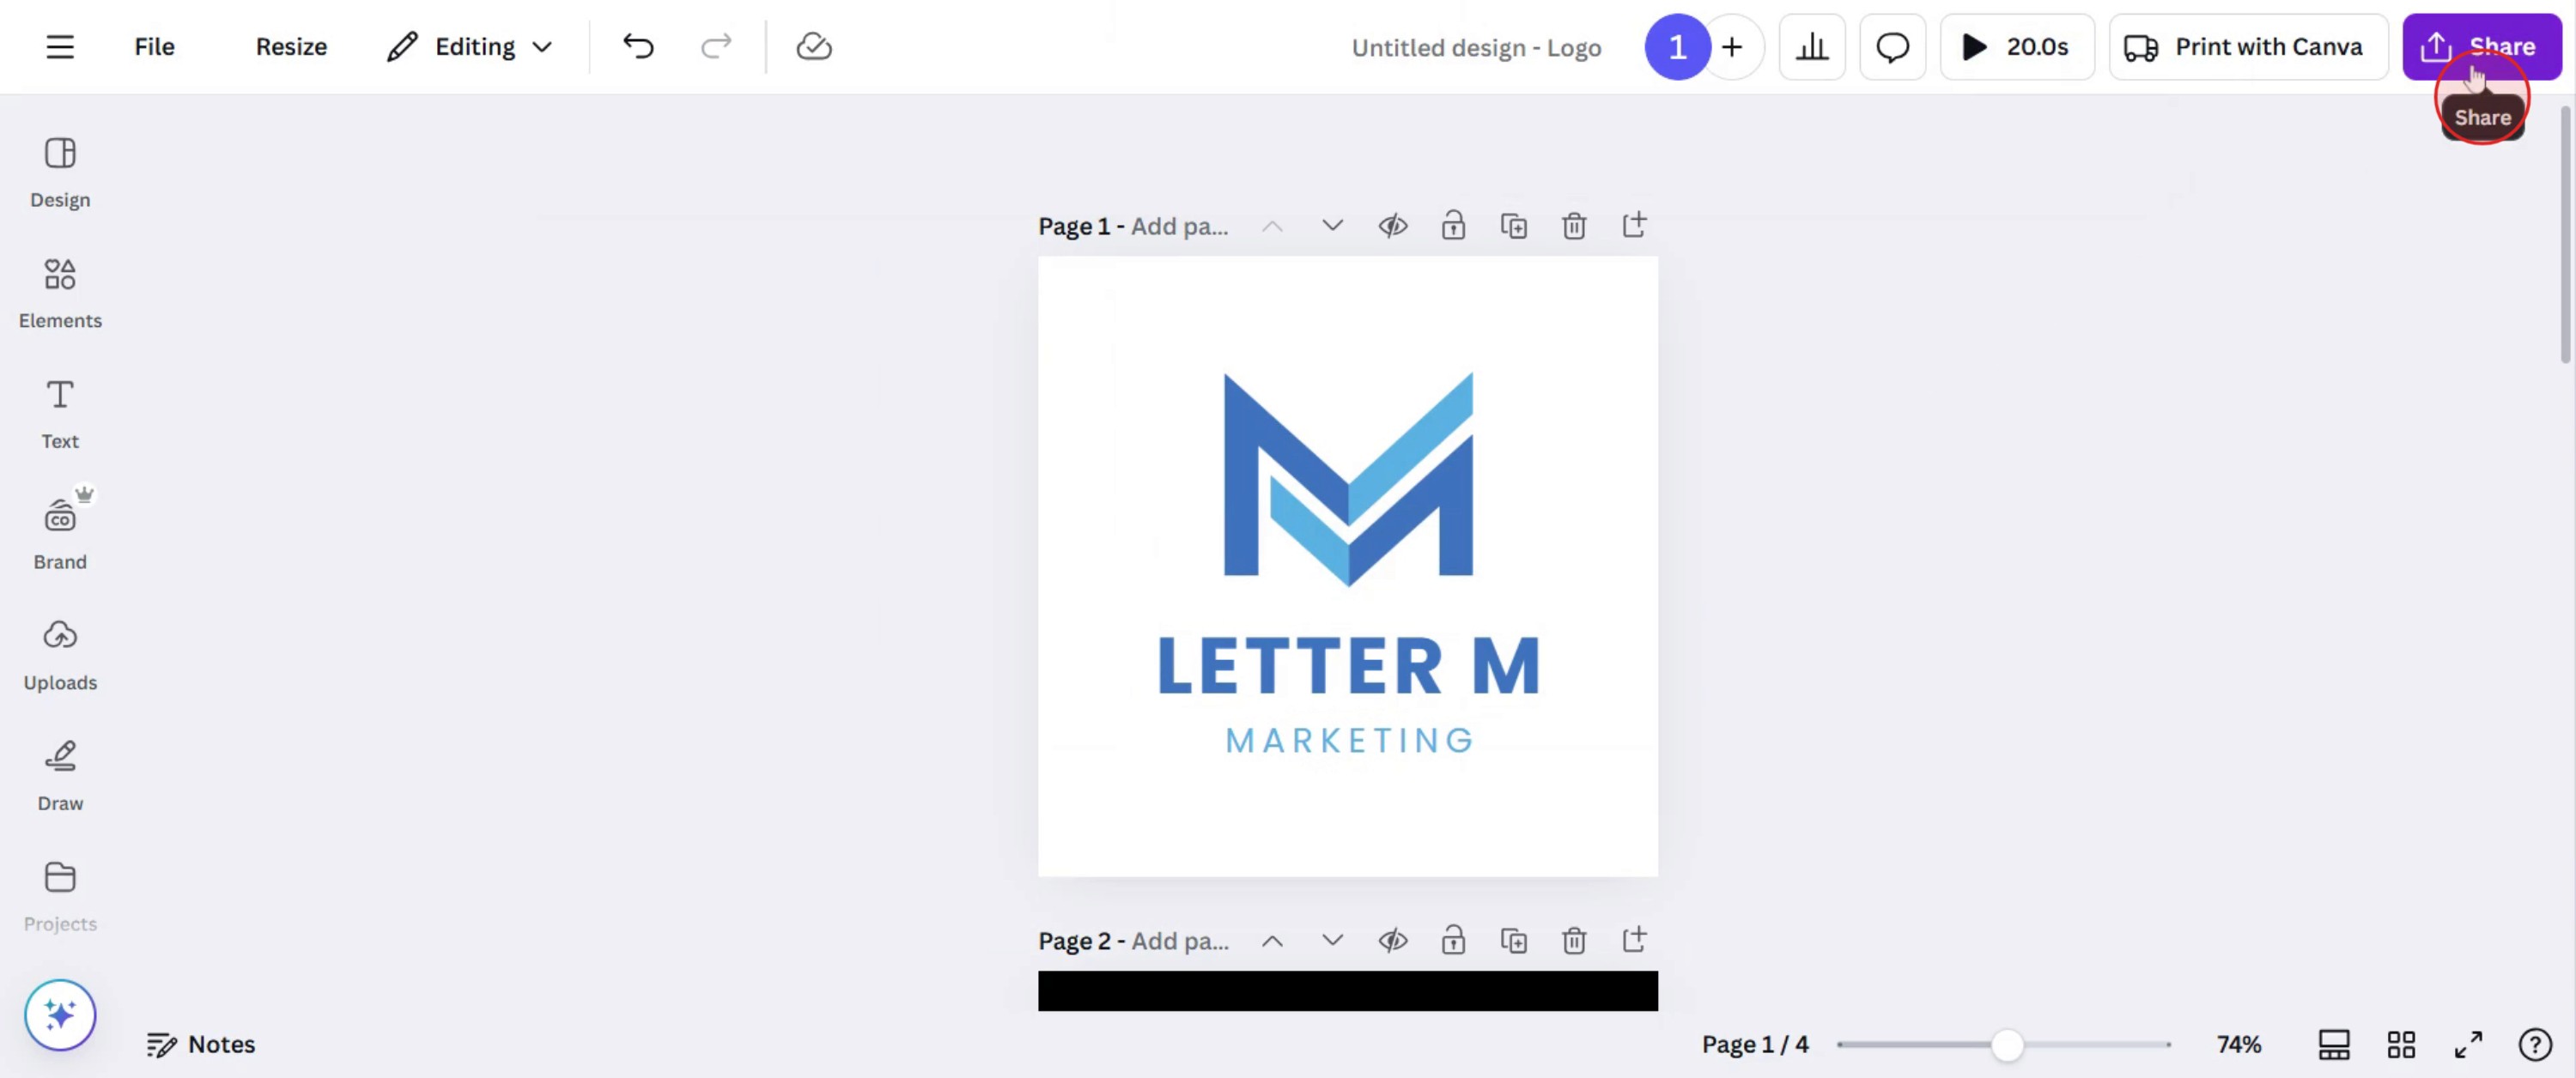
الخطوة 7
إذا كان كل شيء مرضيًا، فانقر على زر المشاركة لمشاركة تصميمك النهائي.
نصائح احترافية لتوقيت الرسوم المتحركة في كانفا
استخدم محرر الخط الزمني لضبط مدة كل حركة لضمان انتقالات سلسة.
اجعل الحركات قصيرة وهادئة للحفاظ على مظهر احترافي وتجنب التشتيت.
استخدم ميزة التأخير لتنسيق الحركات على فترات وإنشاء تأثيرات حركة جذابة.
الأخطاء الشائعة & كيفية تجنبها عند توقيت الرسوم المتحركة في كانفا
يمكن أن يؤدي ضبط الحركات لمدة طويلة جدًا إلى جعل التصميم يبدو بطيئًا؛ اجعل المدد بين 0.5 و3 ثوانٍ.
قد يؤدي تراكب عدد كبير جدًا من الحركات إلى إنشاء تأثير مزدحم؛ استخدم التراكب الطبقي بشكل استراتيجي.
قد يؤدي نسيان معاينة الحركة النهائية إلى مشكلات غير مقصودة في التوقيت؛ اختبر دائمًا قبل التصدير.
الأسئلة الشائعة حول توقيت الرسوم المتحركة في Canva
هل يمكنني تخصيص مدة الرسوم المتحركة في Canva؟
نعم، يمكنك ضبط التوقيت باستخدام محرر المخطط الزمني بسحب شريط الحركة لتغيير مدته.كيف أؤخر حركة في Canva؟
استخدم خيار التأخير في إعدادات الحركة لتنسيق الحركات وإنشاء تسلسل سلس.هل يمكنني تطبيق أوقات مختلفة على عدة حركات في تصميم واحد؟
نعم، يمكن لكل عنصر متحرك أن يملك توقيته ومدته الخاصة، ما يتيح تأثيرات حركة فريدة.كيف أسجل الشاشة على ماك؟
لتسجيل الشاشة على جهاز Mac، يمكنك استخدام Trupeer AI. يتيح لك التقاط الشاشة بالكامل ويوفر قدرات ذكاء اصطناعي مثل إضافة شخصيات افتراضية بالذكاء الاصطناعي، وإضافة تعليق صوتي، وإضافة تكبير وتصغير في الفيديو. مع ميزة ترجمة الفيديو بالذكاء الاصطناعي من trupeer، يمكنك ترجمة الفيديو إلى أكثر من 30 لغة.كيف أضيف شخصية افتراضية بالذكاء الاصطناعي إلى تسجيل الشاشة؟
لإضافة شخصية افتراضية بالذكاء الاصطناعي إلى تسجيل الشاشة، ستحتاج إلى استخدام أداة لتسجيل الشاشة بالذكاء الاصطناعي. Trupeer AI هي أداة لتسجيل الشاشة بالذكاء الاصطناعي، وتساعدك على إنشاء مقاطع فيديو متعددة الشخصيات، كما تساعدك في إنشاء شخصيتك الخاصة للفيديو.كيف أسجل الشاشة على Windows؟
لتسجيل الشاشة على Windows، يمكنك استخدام Game Bar المدمجة (Windows + G) أو أداة ذكاء اصطناعي متقدمة مثل Trupeer AI لمزايا أكثر تقدمًا مثل الشخصيات الافتراضية بالذكاء الاصطناعي، والتعليق الصوتي، والترجمة، إلخ.كيف أضيف تعليقًا صوتيًا إلى الفيديو؟
لإضافة تعليق صوتي إلى مقاطع الفيديو، نزّل إضافة Chrome الخاصة بـ trupeer ai. بعد إنشاء حساب، ارفع الفيديو مع الصوت، واختر التعليق الصوتي المطلوب من trupeer ثم صدّر الفيديو المعدّل.كيف يمكنني التكبير في تسجيل الشاشة؟
لتكبير الصورة أثناء تسجيل الشاشة، استخدم تأثيرات التكبير في Trupeer AI التي تتيح لك التكبير والتصغير في لحظات محددة، مما يعزز التأثير البصري لمحتوى الفيديو.
قراءات مقترحة
كيفية تحويل صورة إلى صفحة تلوين في Canva
دروس ذات صلة

