
كيفية إزالة الموسيقى من فيديو Canva
تعرّف على كيفية إزالة الموسيقى أو الصوت من مشاريع الفيديو في Canva. دليل خطوة بخطوة لحذف المقاطع الصوتية الخلفية أو كتم صوت مقاطع الفيديو بسهولة.
دليل خطوة بخطوة: كيفية إضافة مربع نص في Canva
الخطوة 1
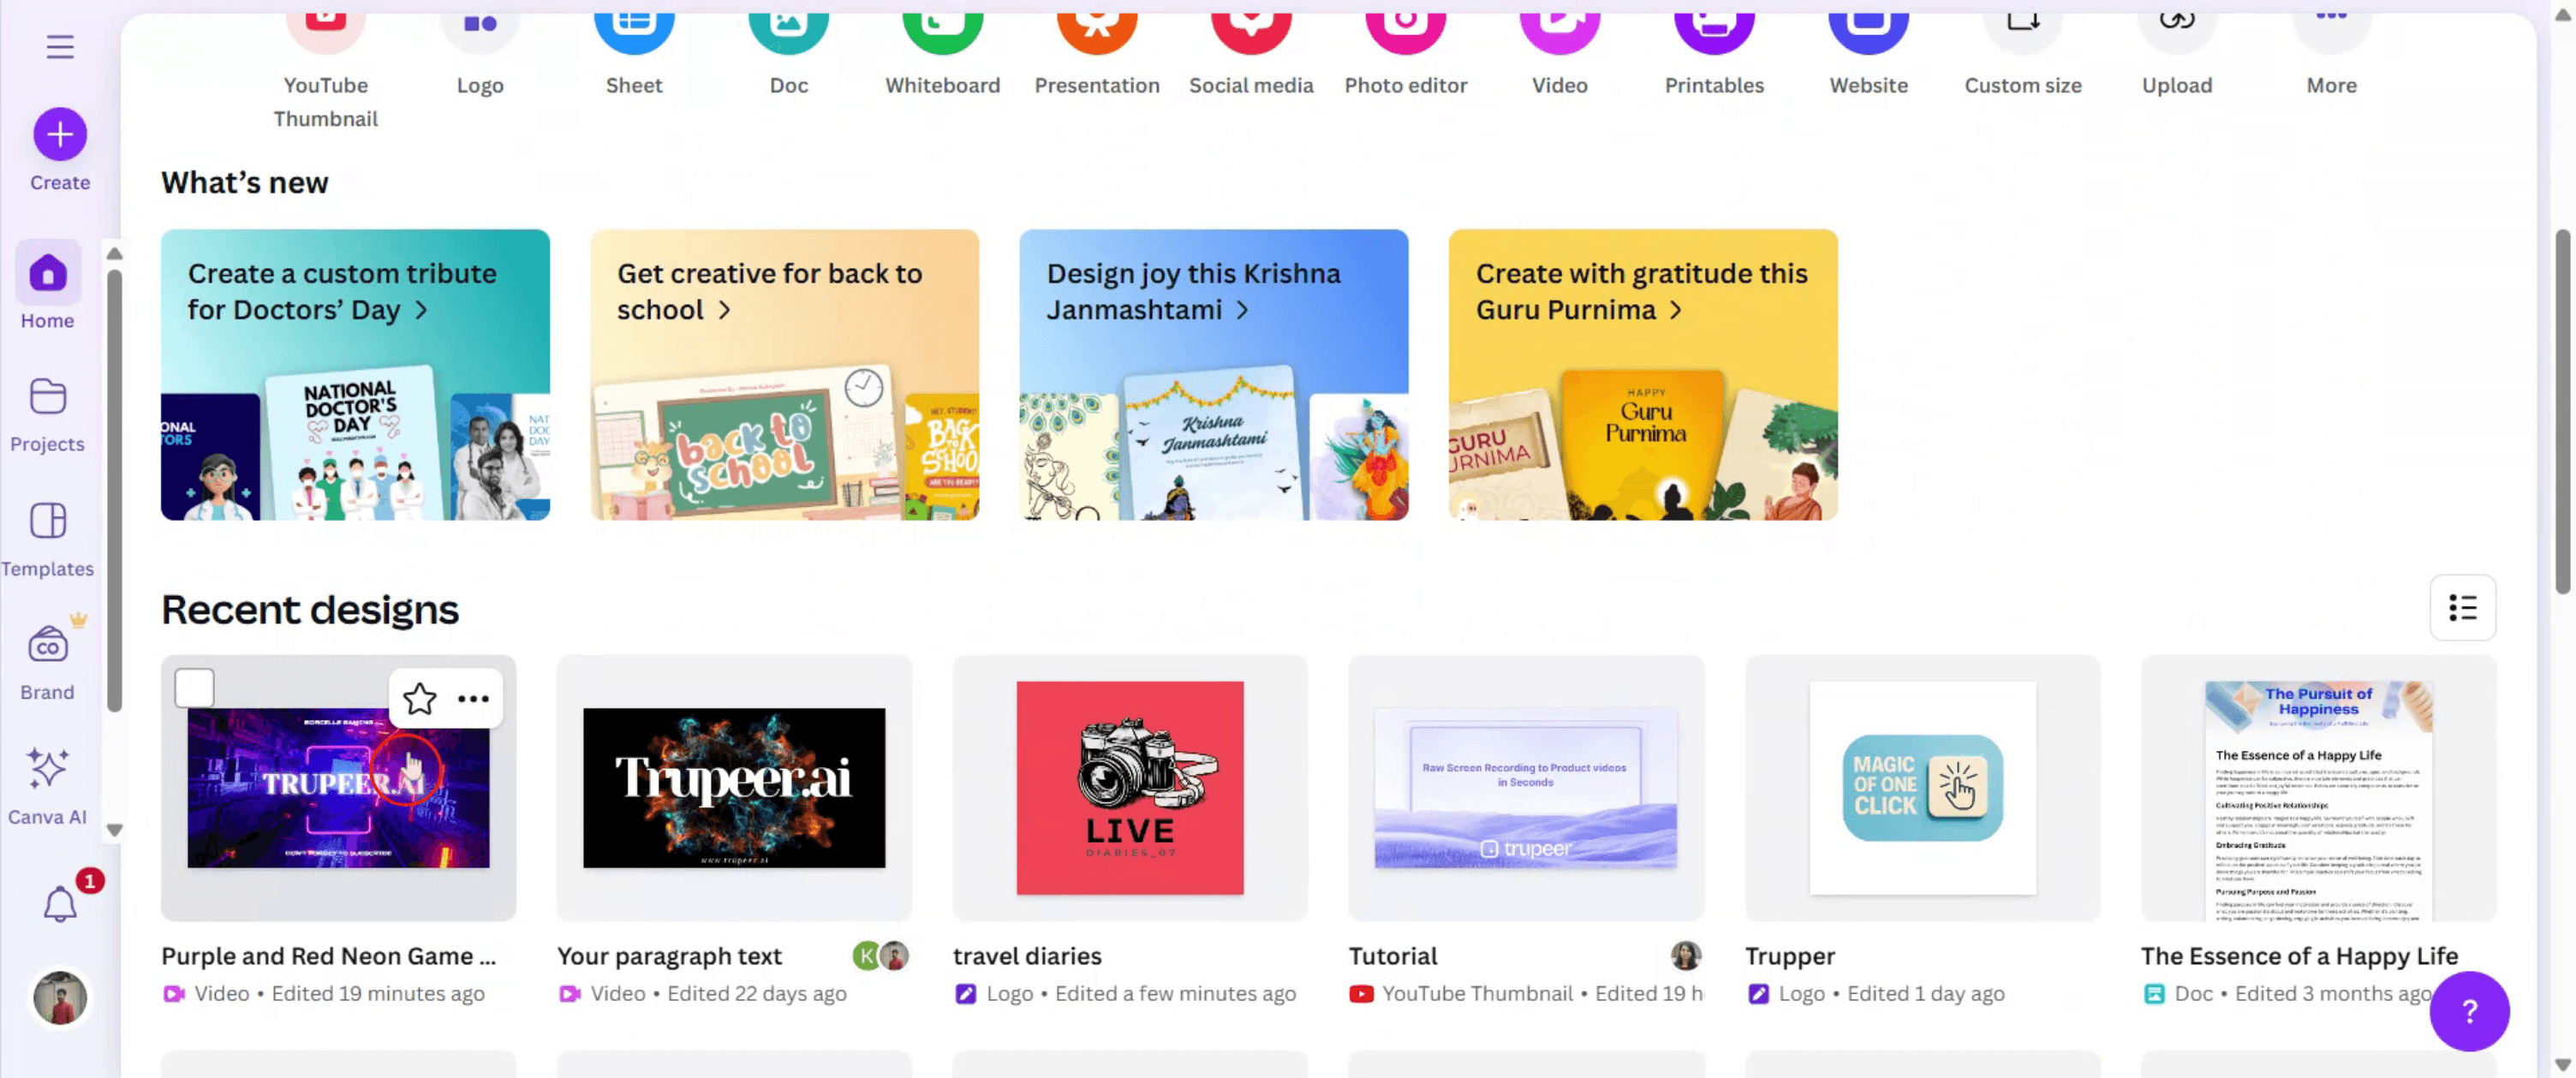
للبدء، افتح تصميم الفيديو الخاص بك في Canva عن طريق تحديده من لوحة التحكم.
الخطوة 2
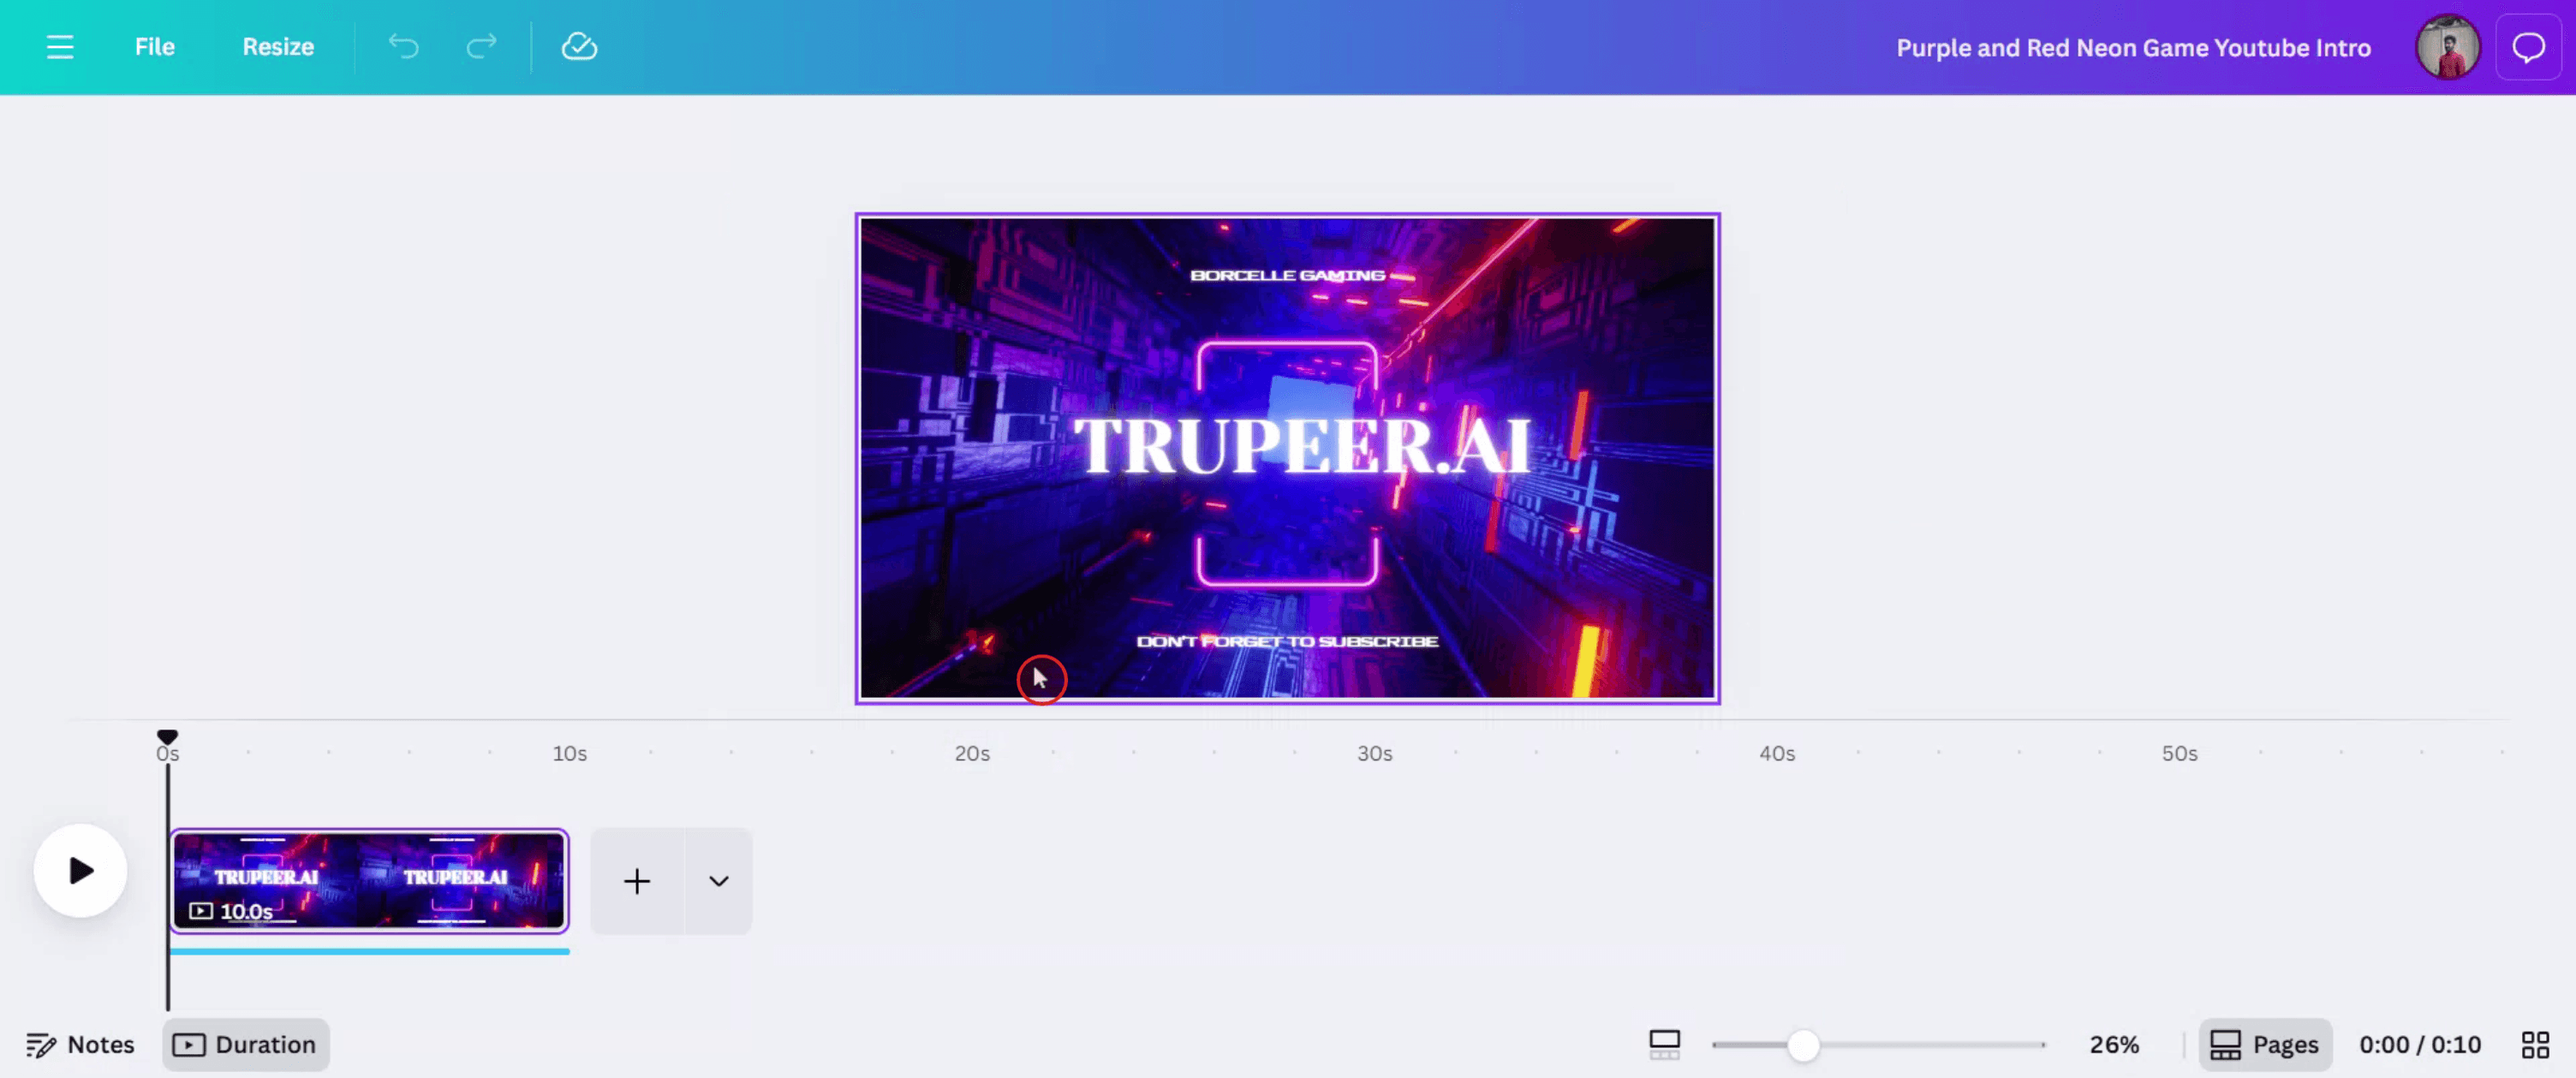
بعد ذلك، انقر على الفيديو لعرض الخيارات المرتبطة به، حيث ستجد المقطع الموسيقي.
الخطوة 3
انقر على المقطع الموسيقي للوصول إلى خيارات إضافية.

الخطوة 4
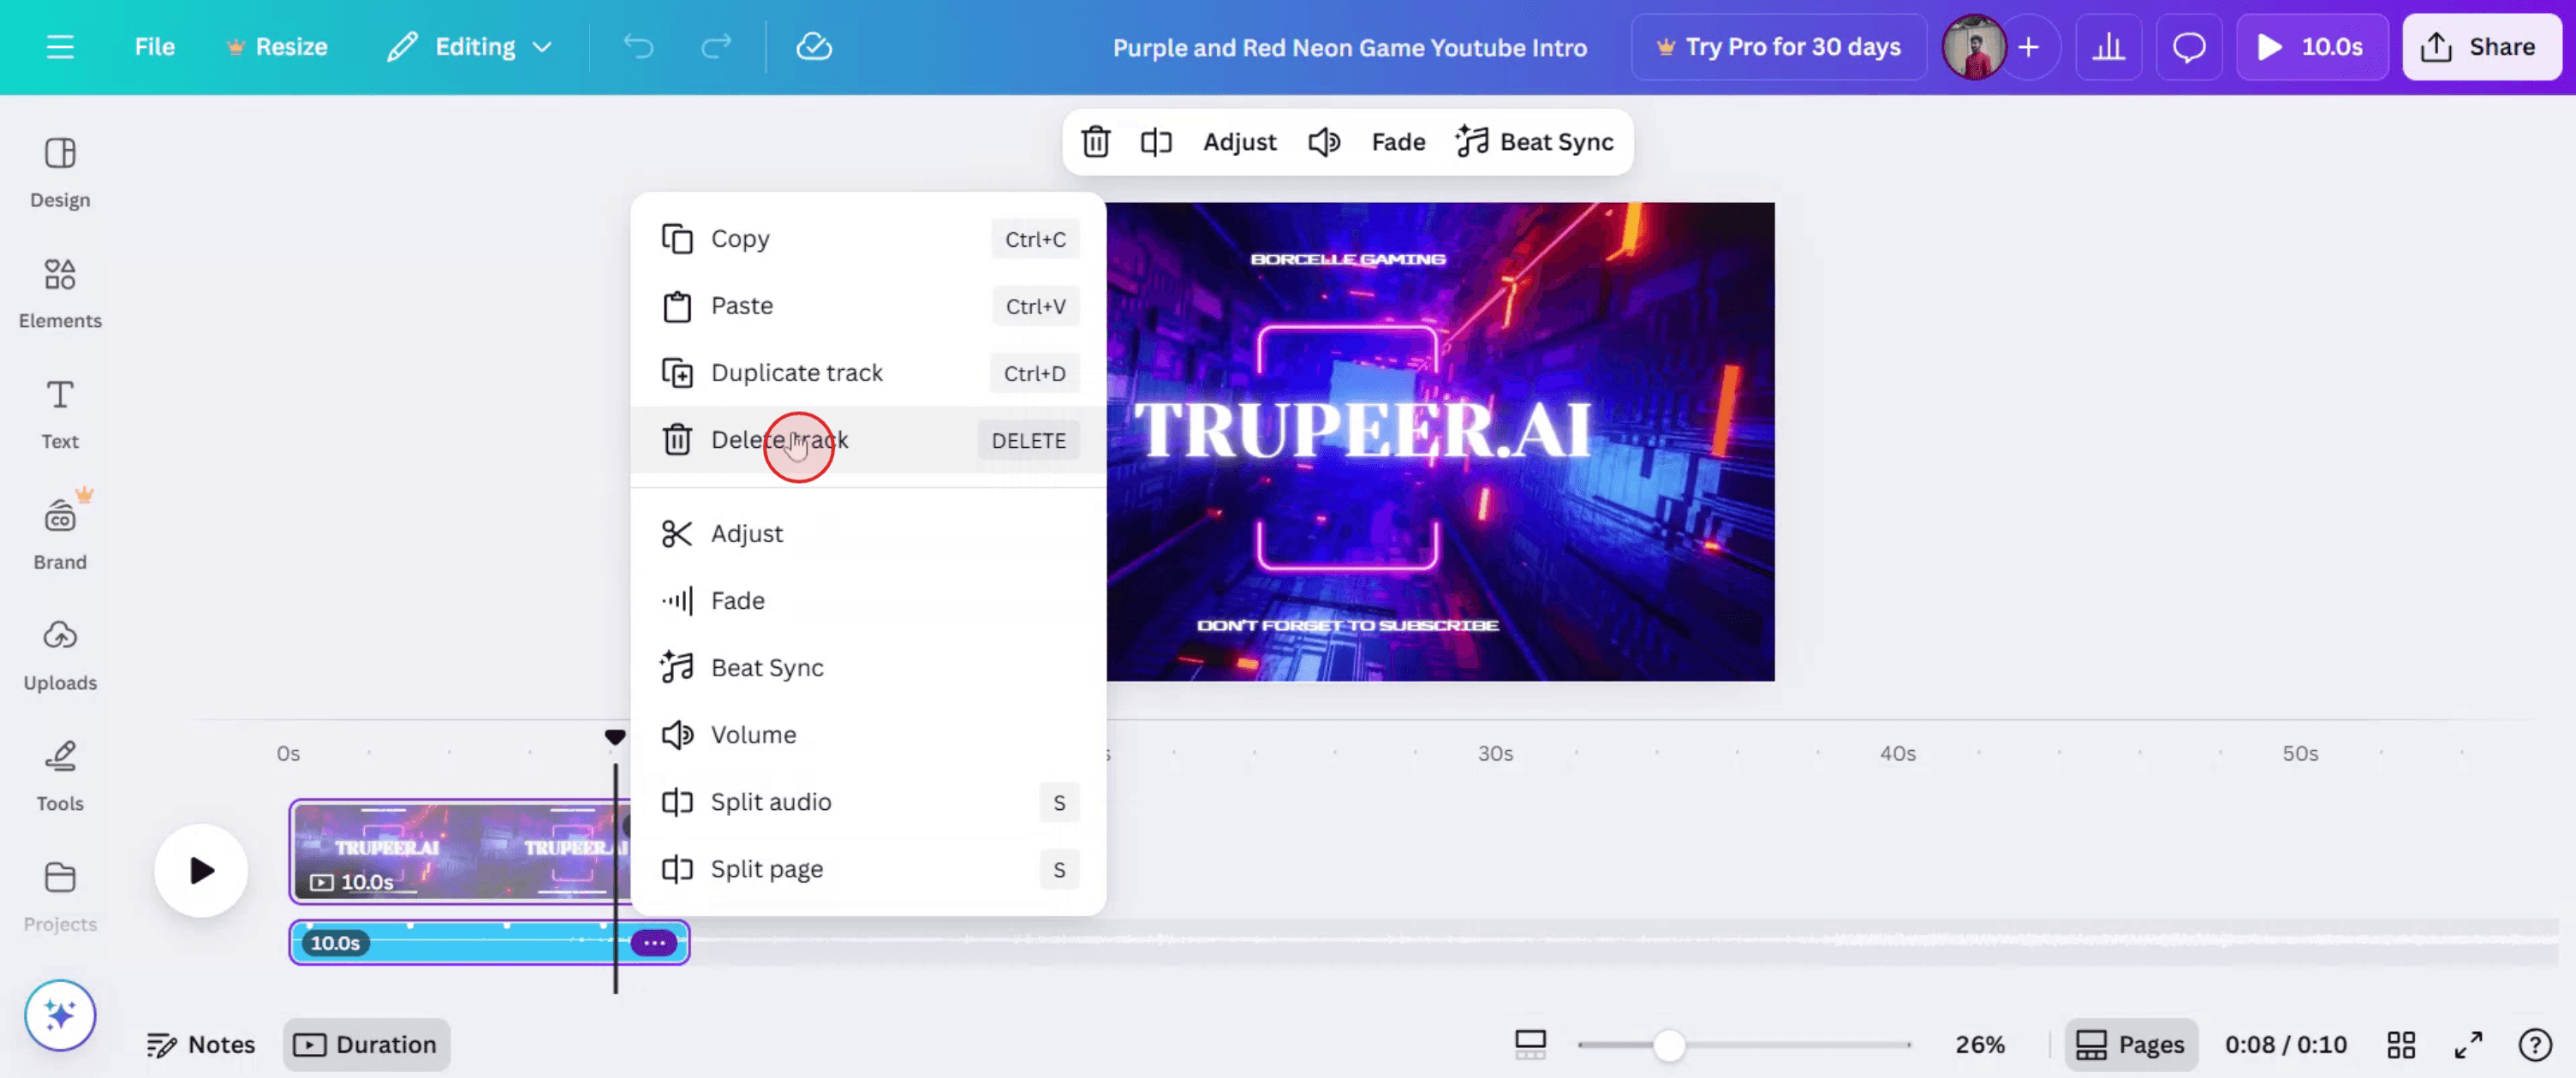
ضمن الخيارات، انقر على رمز النقاط الثلاث ثم اختر "حذف المقطع" لإزالة الموسيقى.
الخطوة 5
ستتم الآن إزالة المقطع الموسيقي من الفيديو الخاص بك. إذا كنت ترغب في مشاركة الفيديو المعدل، فما عليك سوى النقر على زر "مشاركة".

نصائح احترافية لإزالة الموسيقى من فيديو في كانفا
افتح مشروع الفيديو في كانفا
سجّل الدخول إلى كانفا وافتح التصميم الذي يحتوي على الفيديو الذي به موسيقى.حدّد مسار الموسيقى
انقر على شريط الصوت في أسفل الخط الزمني للمحرر. هذا يمثل موسيقى الخلفية.اضغط على Delete أو أيقونة سلة المهملات
بعد التحديد، اضغط إما على مفتاحDeleteفي لوحة المفاتيح أو انقر على أيقونة سلة المهملات في الزاوية العلوية اليمنى.تأكد من إزالة الصوت
شغّل الفيديو من البداية للتأكد من أن الموسيقى قد أزيلت بالكامل.اضبط الأصوات الأخرى إذا لزم الأمر
إذا كانت هناك مؤثرات صوتية إضافية أو تعليقات صوتية، فيمكنك أيضًا تحديدها وحذفها بالطريقة نفسها.
الأخطاء الشائعة وكيفية تجنبها
لا أستطيع العثور على مسار الموسيقى
تأكد من أنك على الصفحة الصحيحة في الخط الزمني. قرّب العرض إذا لزم الأمر لرؤية مسار الصوت بالكامل.حذف العنصر الخطأ بالخطأ
تأكد من أنك تحدد مسار الصوت، وليس الفيديو أو أحد الرسوم المتحركة. راجع المعاينة في شريط الأدوات قبل الحذف.لا يزال الصوت يُسمع بعد الحذف
أعد التحقق من جميع صفحات الفيديو — فقد تكون الموسيقى مرتبطة بشريحة أو طبقة أخرى.كتم الصوت مقابل الحذف
كتم المسار لن يزيل ملف الصوت؛ بل سيجعله صامتًا مؤقتًا فقط. احذفه لإزالته بالكامل.طبقة الصوت مخفية
إذا كان الخط الزمني مطويًا، فقم بتوسيعه لإظهار جميع الطبقات، بما في ذلك الصوت.
الأسئلة الشائعة حول إزالة الموسيقى في Canva
كيف أزيل موسيقى الخلفية من فيديو Canva؟
حدّد شريط الصوت في المخطط الزمني واحذفه باستخدام رمز سلة المهملات أو مفتاح Delete.هل يمكنني إزالة الموسيقى من فيديوهات Canva على الهاتف المحمول؟
نعم، انقر على مسار الموسيقى في المخطط الزمني واستخدم خيار الحذف الذي يظهر.هل يمكنني كتم الموسيقى بدلًا من حذفها؟
نعم، لكن الكتم يُبقي ملف الصوت في مشروعك. احذفه إذا أردت إزالته بالكامل.هل سيؤثر حذف الموسيقى في محتوى الفيديو؟
لا، حذف الموسيقى يزيل الصوت فقط. يبقى الفيديو والمرئيات دون تغيير.هل يمكنني إضافة موسيقى مختلفة بعد إزالة واحدة؟
نعم، انتقل إلى علامة تبويب “الصوت”، واختر مسارًا جديدًا، ثم اسحبه إلى المخطط الزمني.كيفية تسجيل الشاشة على جهاز Mac؟
لـ تسجيل الشاشة على جهاز Mac، يمكنك استخدام Trupeer AI. يتيح لك التقاط الشاشة بالكامل ويوفر إمكانيات ذكاء اصطناعي مثل إضافة صور رمزية بالذكاء الاصطناعي، وإضافة تعليق صوتي، وإضافة تكبير وتصغير في الفيديو. ومع ميزة ترجمة الفيديو بالذكاء الاصطناعي من trupeer، يمكنك ترجمة الفيديو إلى أكثر من 30 لغة.كيفية إضافة صورة رمزية بالذكاء الاصطناعي إلى تسجيل الشاشة؟
لإضافة صورة رمزية بالذكاء الاصطناعي إلى تسجيل الشاشة، ستحتاج إلى استخدام أداة تسجيل شاشة بالذكاء الاصطناعي. Trupeer AI هي أداة تسجيل شاشة بالذكاء الاصطناعي، تساعدك على إنشاء مقاطع فيديو بعدة صور رمزية، كما تساعدك في إنشاء صورتك الرمزية الخاصة للفيديو.كيفية تسجيل الشاشة على Windows؟
لتسجيل الشاشة على Windows، يمكنك استخدام Game Bar المدمج (Windows + G) أو أداة ذكاء اصطناعي متقدمة مثل Trupeer AI للحصول على ميزات أكثر تقدمًا مثل الصور الرمزية بالذكاء الاصطناعي، والتعليق الصوتي، والترجمة، إلخ.كيفية إضافة تعليق صوتي إلى الفيديو؟
لإضافة تعليق صوتي إلى مقاطع الفيديو، نزّل امتداد Chrome لـ trupeer ai. بعد التسجيل، ارفع الفيديو الخاص بك مع الصوت، واختر التعليق الصوتي المطلوب من Trupeer، ثم صدّر الفيديو المعدّل.كيف أُكبّر في تسجيل الشاشة؟
للتكبير أثناء تسجيل الشاشة، استخدم تأثيرات التكبير في Trupeer AI التي تتيح لك التكبير والتصغير في لحظات محددة، مما يعزز التأثير البصري لمحتوى الفيديو الخاص بك.
قراءات مقترحة
كيفية إنشاء دفتر يوميات في Canva
كيفية الطباعة على الوجهين في Canva
دروس ذات صلة

