

كيفية الطباعة على الوجهين في Canva
تعرّف على كيفية الطباعة على الوجهين في Canva من خلال تصميم الصفحات الأمامية والخلفية واستخدام إعدادات الطباعة المزدوجة. اتبع هذا الشرح السريع وأنشئ أدلة واضحة مع Trupeer.
يوفر هذا الدليل تعليمات مفصلة لطباعة تصميم من الأمام إلى الخلف باستخدام كانفا.
اتبع هذه الخطوات للتأكد من أن تصميمك يُطبع تمامًا كما تتخيله، مع خيارات لتخصيص نوع الورق والكمية.
إذا كنت تريد طباعة شيء على الوجهين باستخدام كانفا، فالأمر بسيط جدًا؛ كل ما عليك هو تصميم الجهة الأمامية والخلفية من مستندك، ثم اختيار الإعدادات المناسبة عند طلب الطباعة.
إليك كيفية القيام بذلك خطوة بخطوة:
صمّم الجهة الأمامية والخلفية
ابدأ بإنشاء تصميمك في كانفا. استخدم صفحة واحدة للجهة الأمامية وأضف صفحة ثانية للجهة الخلفية من مستندك.اذهب إلى قسم الطباعة
بعد أن يصبح تصميمك جاهزًا، انقر على خيار الطباعة في كانفا.إعداد خيارات الطباعة
ابحث عن إعداد مثل الطباعة كمجموعات أو ما شابه ذلك. هذا يخبر كانفا بربط صفحتيك وطباعة الوجهين على الورقة نفسها.اختر الطباعة على الوجهين
تأكد من تحديد خيار الطباعة على الوجهين أو على الجهتين عند الطلب.المعاينة وإتمام الشراء
راجع تصميمك، وتحقق من المعاينة للتأكد من أن كل شيء يبدو جيدًا، ثم تابع عملية إتمام الشراء.
دليل خطوة بخطوة: كيفية طباعة تصميم على الوجهين في كانفا
الخطوة 1
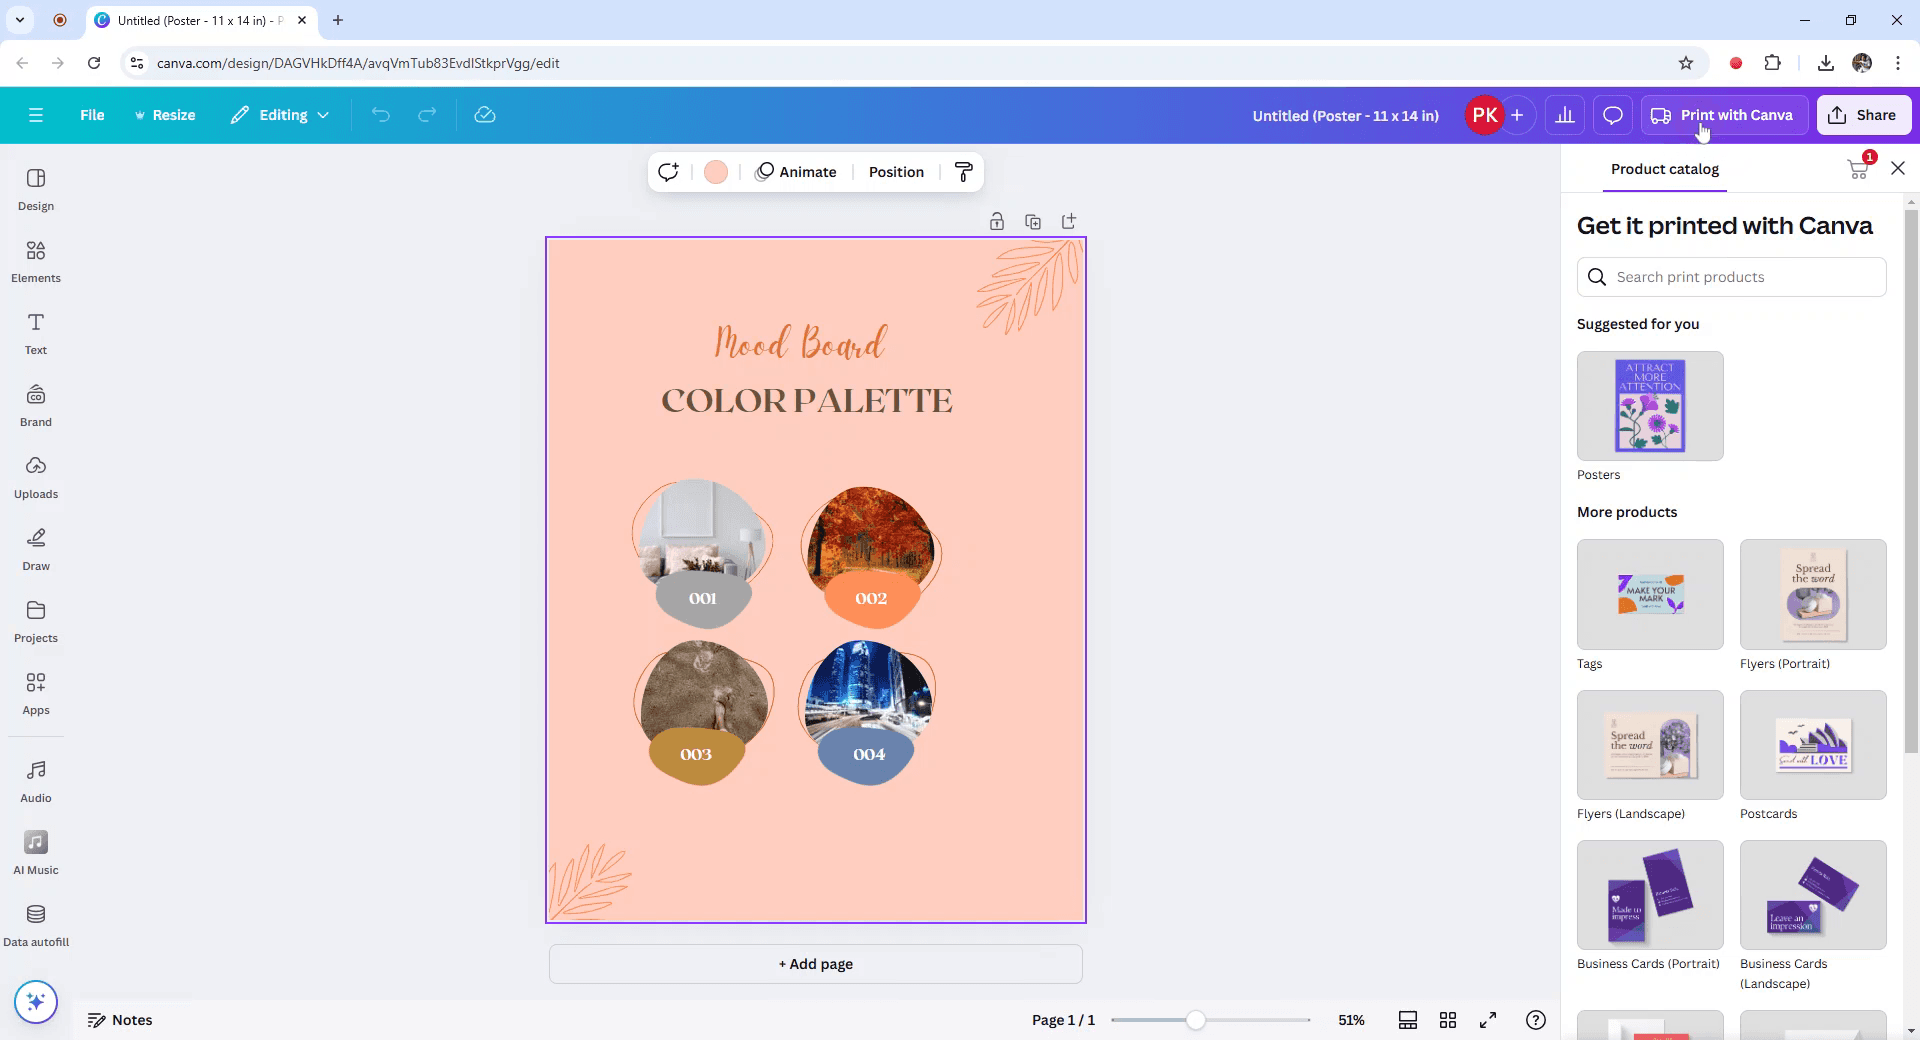
لبدء عملية طباعة تصميم من الأمام إلى الخلف في كانفا، ابدأ باختيار التصميم الذي ترغب في طباعته.

الخطوة 2
بعد ذلك، ابحث عن خيار "الطباعة باستخدام كانفا" وانقر عليه، وهو موجود في الزاوية العلوية اليمنى.
الخطوة 3
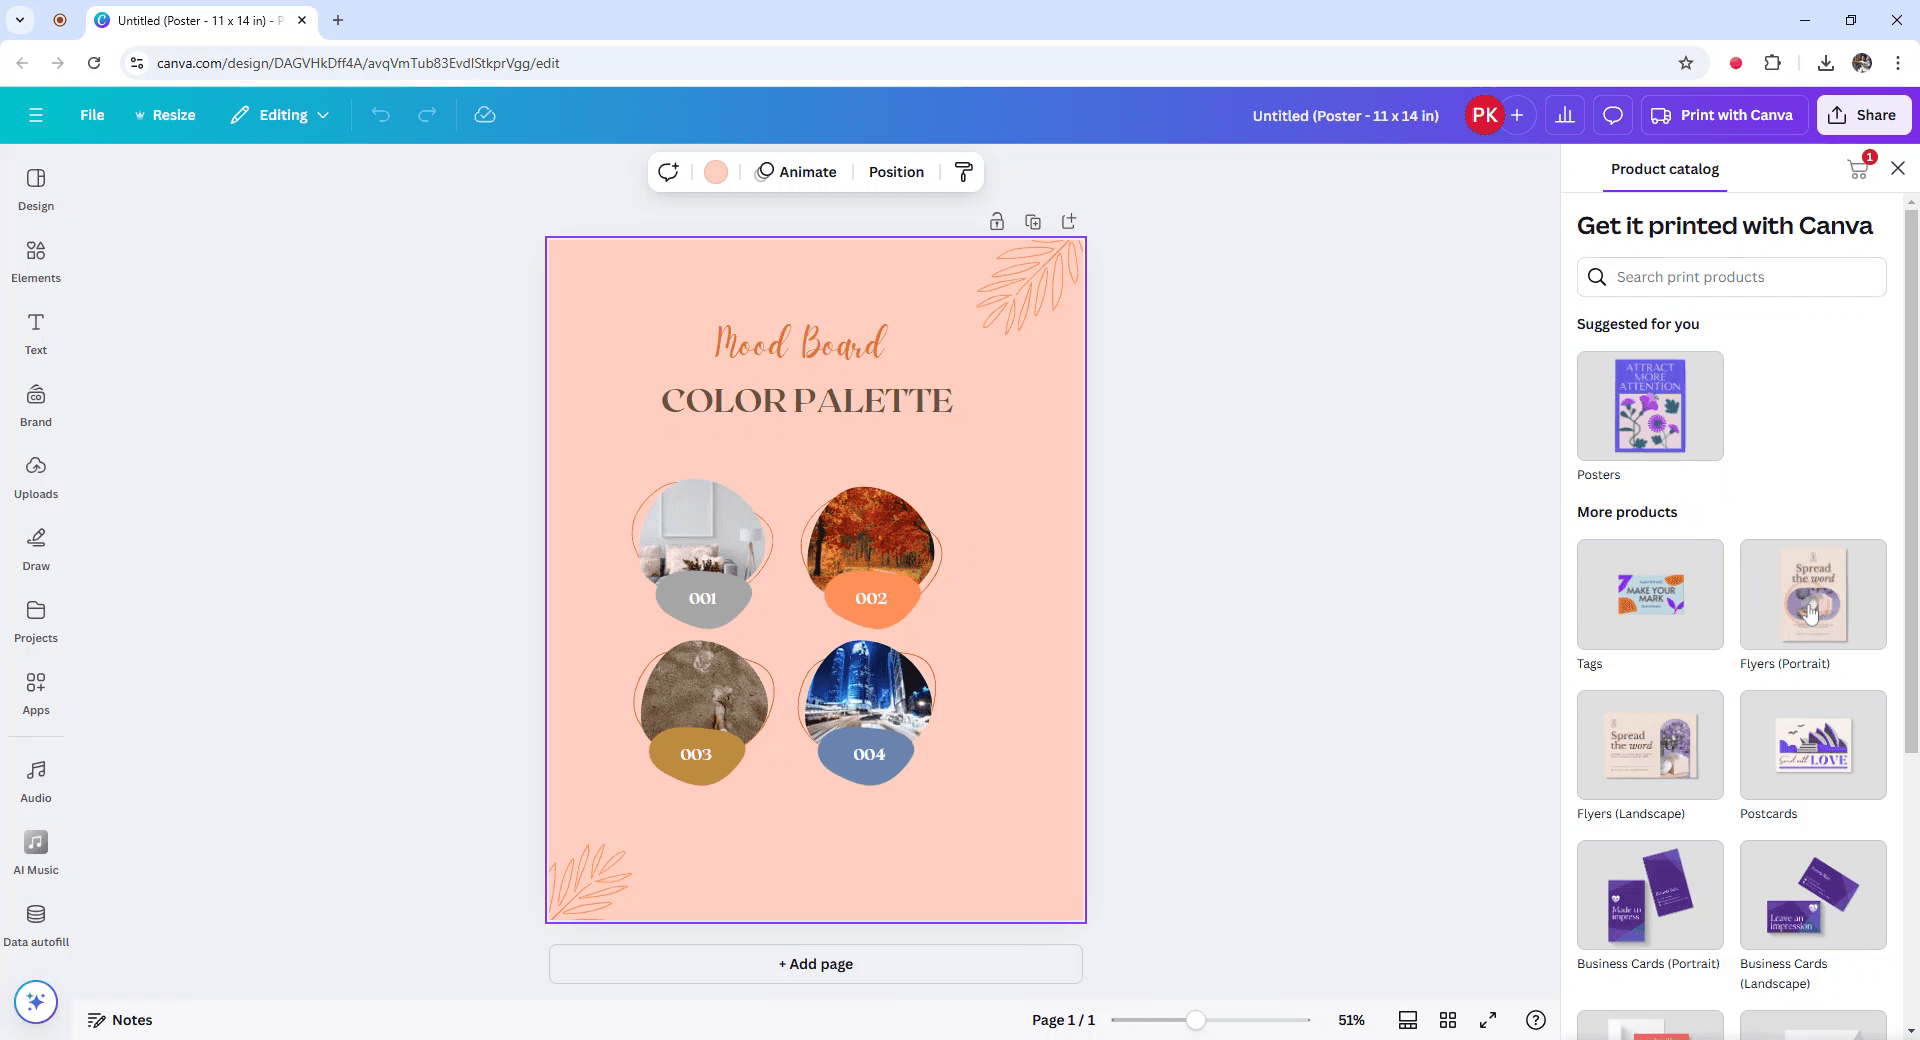
في قائمة المنتجات المحددة، اختر خيار النشرات الإعلانية.
الخطوة 4
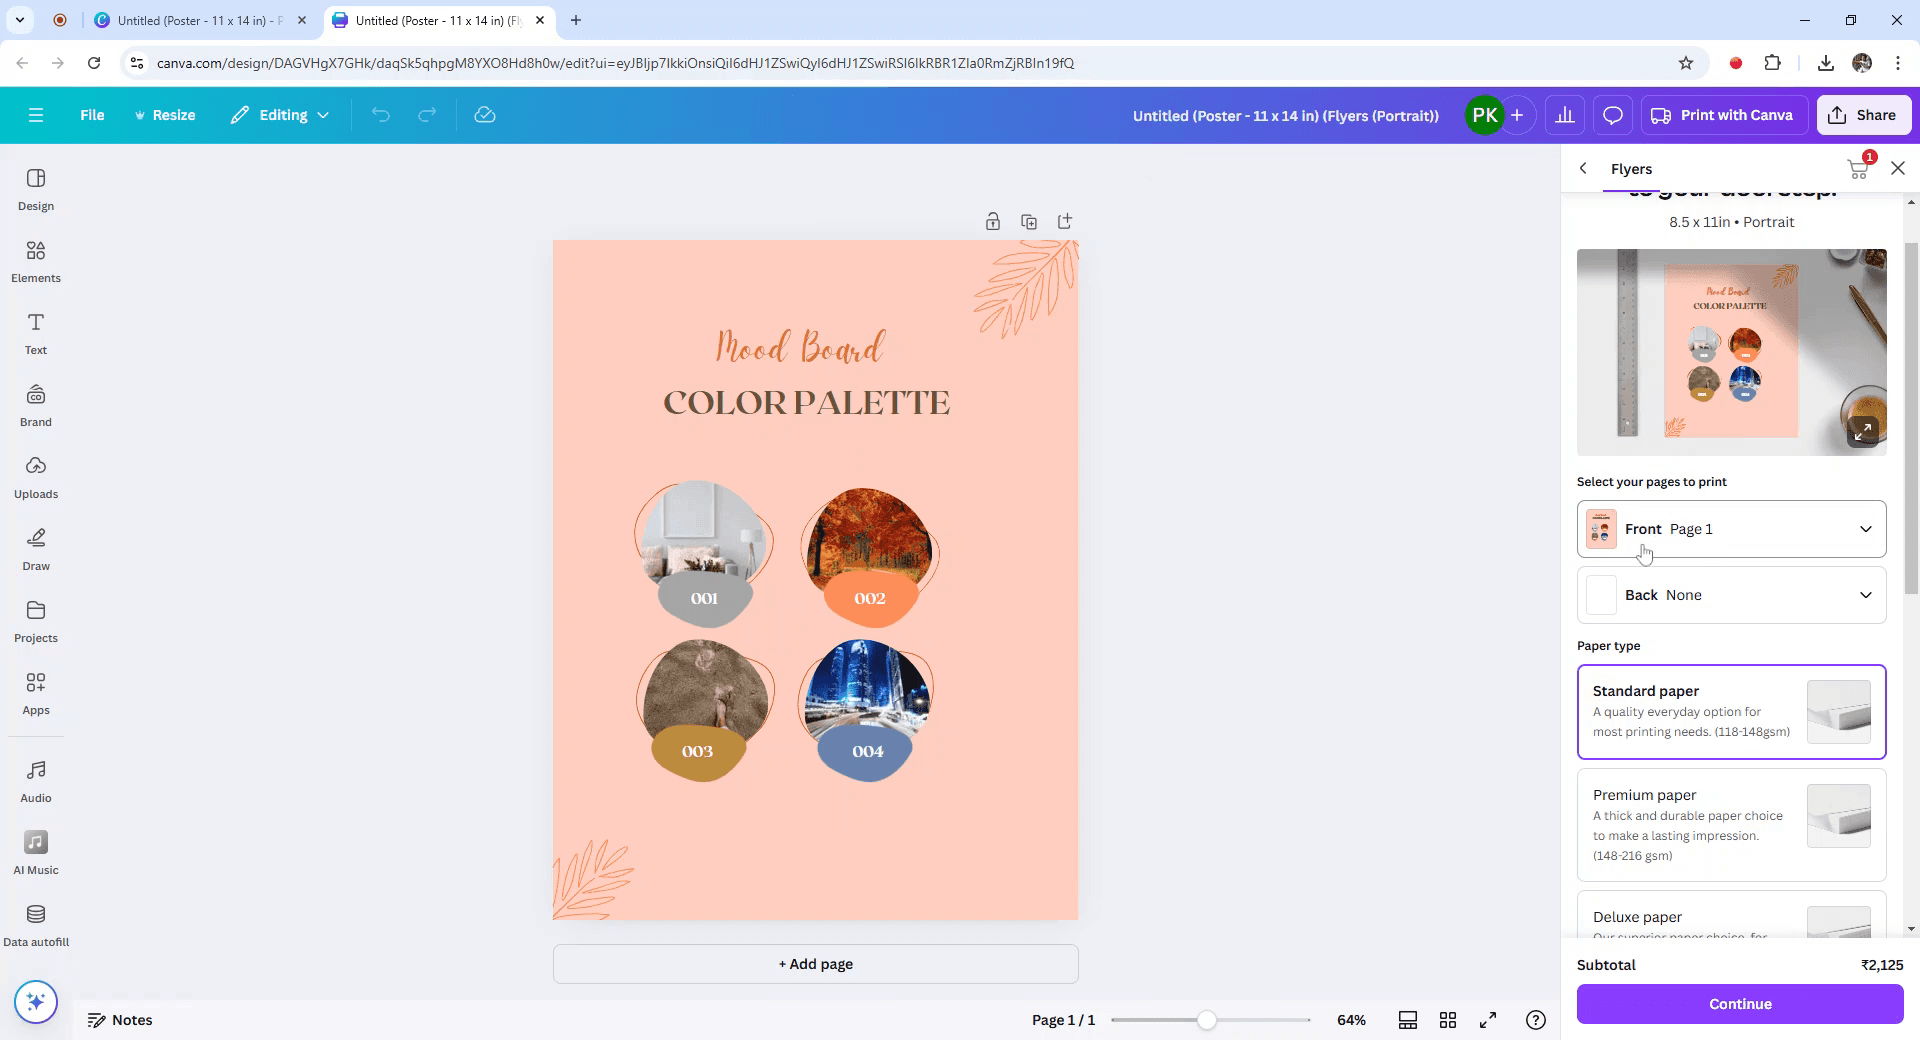
ستفتح علامة تبويب جديدة، مما يتيح لك ضبط حجم المنتج. تأكد من تحديد الصفحات التي تريد طباعتها، بدءًا من الصفحة الأمامية.
الخطوة 5
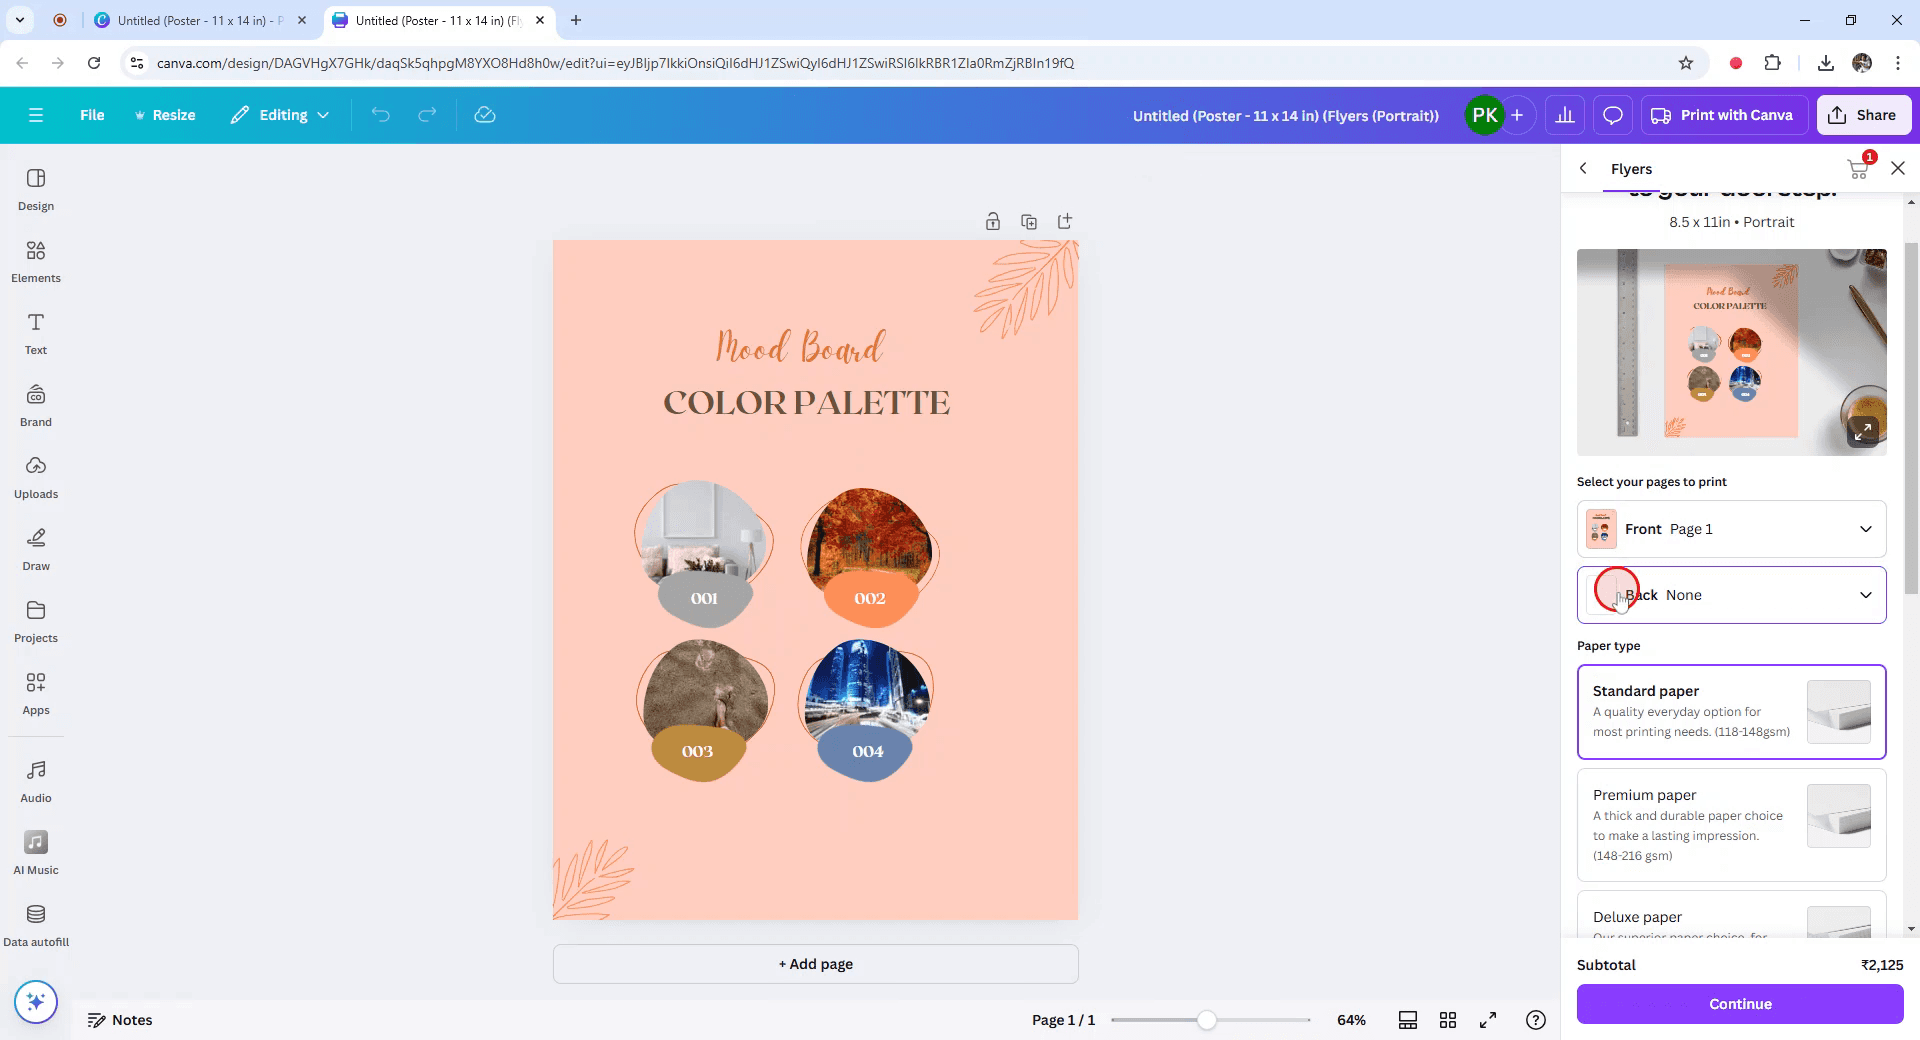
ولنفس التصميم على الجهة الخلفية، انتقل إلى قسم الخلف وحدد الصفحة 1 مرة أخرى.
الخطوة 6
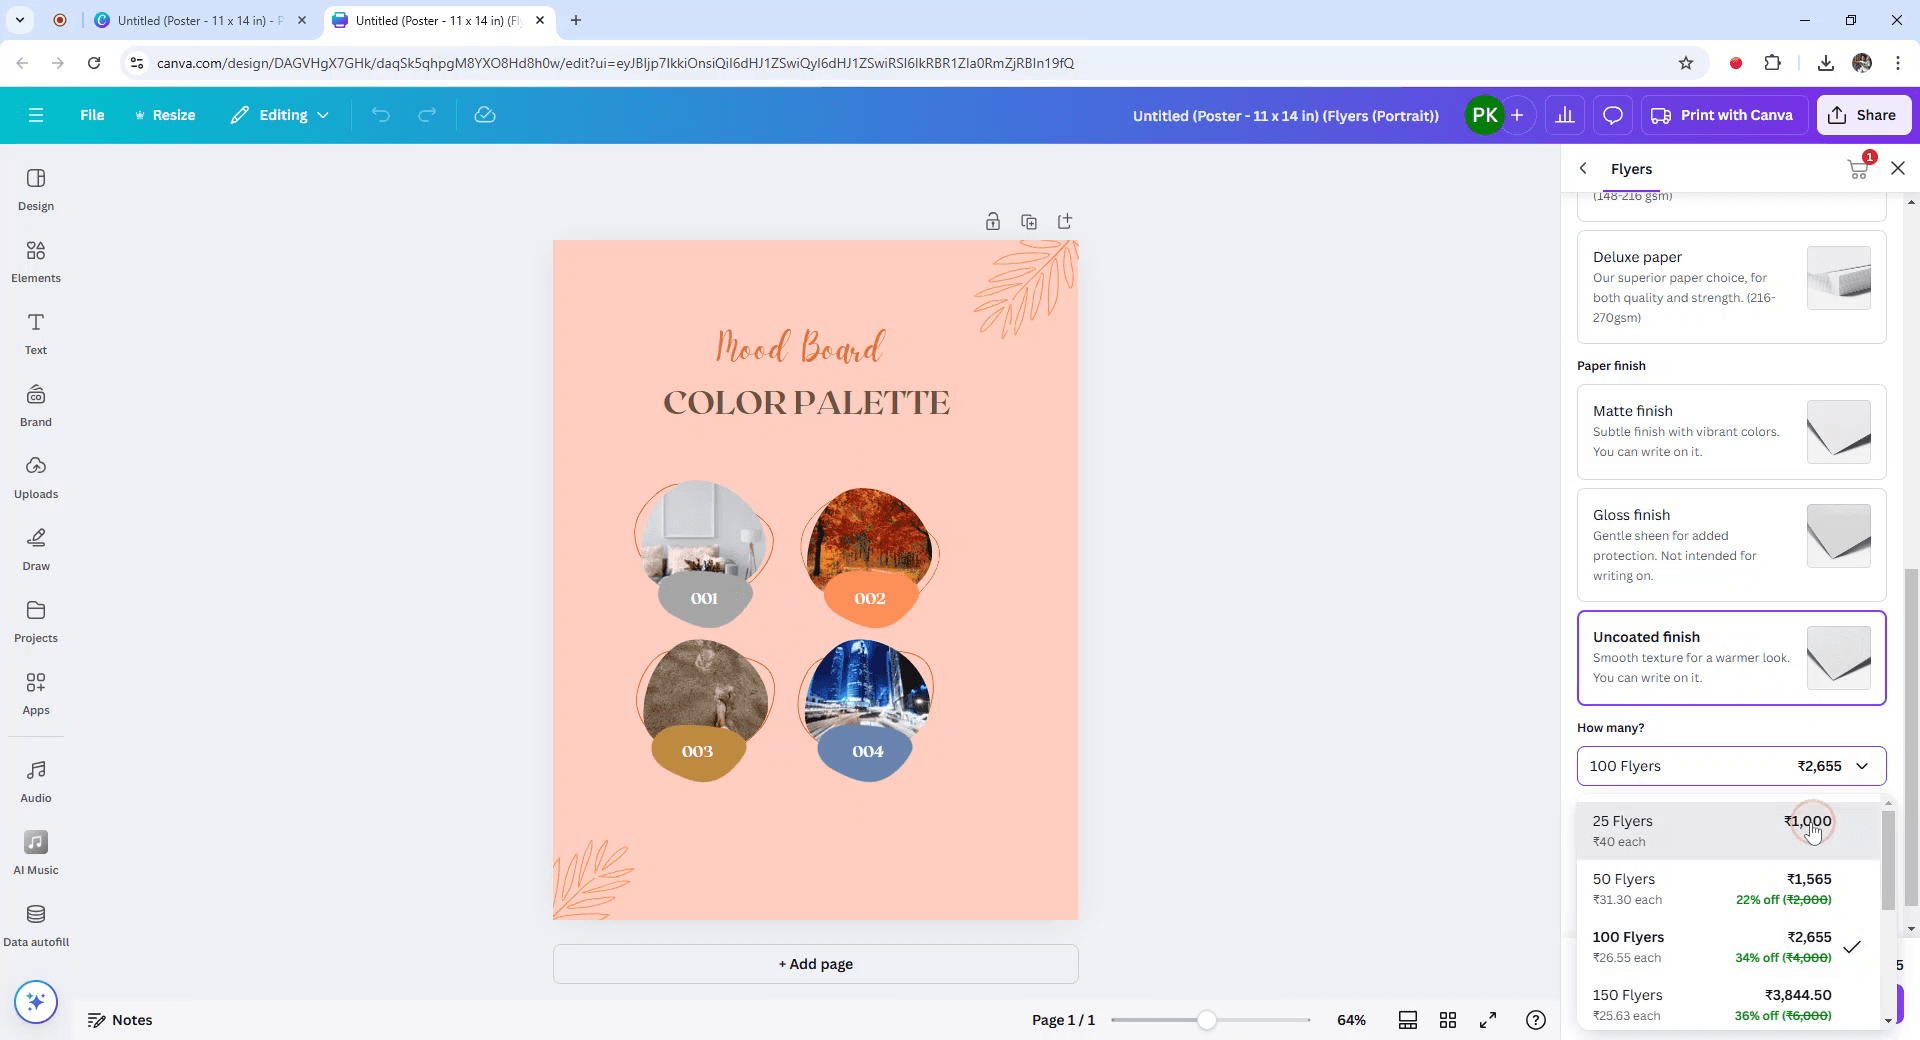
تابع باختيار نوع الورق والتشطيب الذي تفضله.

الخطوة 7
حدّد الكمية التي تحتاجها من المنتجات، ثم انقر على متابعة.
الخطوة 8
أخيرًا، أضف العناصر إلى سلة التسوق ورتّب للشحن مباشرةً إلى منزلك.

نصائح احترافية للطباعة على الوجهين في Canva
صمّم الواجهة الأمامية والخلفية بشكل منفصل:
أنشئ الوجه الأمامي لتصميمك في صفحة، والوجه الخلفي في صفحة أخرى. في Canva، يمكنك تصميم عدة صفحات داخل مشروع واحد.اختر التنزيل وحدد PDF للطباعة:
بمجرد أن يصبح تصميمك جاهزًا، انقر على "Download" في الزاوية العلوية اليمنى واختر "PDF Print" كنوع الملف للحصول على طباعة عالية الجودة.نزّل الصفحتين كلتيهما:
تأكّد من تحديد تصميمي الواجهة الأمامية والخلفية معًا (يمكنك اختيار صفحات محددة عند التنزيل) ثم نزلهما كملف PDF.استعد للطباعة على الوجهين:
بعد تنزيل ملف PDF، افتحه في عارض PDF. تأكّد من ضبط الطابعة للطباعة على جانبي الورقة (الطباعة على الوجهين). معظم الطابعات الحديثة توفر هذه الميزة.تحقق من إعدادات الطابعة:
قبل الطباعة، تأكّد من أن إعدادات الطابعة مضبوطة على الطباعة على الوجهين. وغالبًا ما يوجد هذا الخيار ضمن “إعدادات الطباعة” أو “الإعدادات المتقدمة” في الطابعة.
الأخطاء الشائعة وكيف تتجنبها عند الطباعة على الوجهين في Canva
عدم محاذاة التصاميم بعد الطباعة:
تأكّد من أن تصاميم الواجهة الأمامية والخلفية بمحاذاة صحيحة من خلال التحقق من معاينة الطباعة في عارض PDF قبل الطباعة.اتجاه الطباعة غير صحيح:
تحقق مرة أخرى من اتجاه الصفحة (أفقي أو عمودي) في إعدادات الطابعة ليطابق تصميمك.إعدادات الطباعة ليست مضبوطة على الوجهين:
تأكّد من اختيار خيار الطباعة على الوجهين (ويُعرف أيضًا باسم "Duplex Printing") في إعدادات الطابعة.عدم تضمين النزف:
إذا كان تصميمك يمتد حتى الحافة، فتأكّد من تفعيل خيار النزف عند تنزيل تصميمك كملف PDF. وهذا يضمن عدم بقاء أي حدود بيضاء عند الطباعة.انخفاض الجودة عند الطباعة:
استخدم صورًا عالية الدقة (بحد أدنى 300 DPI) لضمان طباعة بجودة جيدة. اختر "PDF Print" للحصول على أفضل جودة عند التنزيل.
الأسئلة الشائعة حول الطباعة على الوجهين في Canva
هل يمكنني طباعة تصميمي الوجه الأمامي والخلفي من Canva؟
نعم، أنشئ صفحتين في تصميمك على Canva: واحدة للوجه الأمامي وأخرى للوجه الخلفي. نزّل التصميم بصيغة PDF Print واطبع على الوجهين باستخدام ميزة الطباعة على الوجهين في الطابعة.كيف أطبع على الوجهين من Canva؟
لا يتعامل Canva مباشرةً مع الطباعة على الوجهين. نزّل تصميمك بصيغة PDF واستخدم خيار الطباعة على الوجهين في الطابعة.ماذا لو كانت الطابعة لا تدعم الطباعة على الوجهين؟
إذا كانت الطابعة لا تدعم الطباعة على الوجهين، يمكنك طباعة الوجه الأمامي يدويًا، ثم قلب الورقة وطباعة الوجه الخلفي.هل يمكنني استخدام Canva لإنشاء بطاقات عمل أو منشورات مع الطباعة على الوجهين؟
نعم، يمكنك تصميم الجانبين في Canva، ثم تنزيلهما بصيغة PDF، وطباعة الوجه الأمامي والخلفي لبطاقات العمل أو المنشورات باستخدام طابعة متوافقة.كيف أتحقق من محاذاة الوجه الأمامي والخلفي لتصميمي؟
تحقق من المحاذاة من خلال مراجعة معاينة الطباعة في عارض PDF والتأكد من تطابق الجانبين كما هو مقصود.كيف أسجل الشاشة على Mac؟
لتسجيل الشاشة على Mac، يمكنك استخدام Trupeer AI. يتيح لك التقاط الشاشة بالكامل ويوفر إمكانات ذكاء اصطناعي مثل إضافة صور رمزية بالذكاء الاصطناعي، وإضافة تعليق صوتي، وإضافة التكبير والتصغير في الفيديو. ومع ميزة ترجمة الفيديو بالذكاء الاصطناعي من Trupeer، يمكنك ترجمة الفيديو إلى أكثر من 30 لغة.كيف أضيف صورة رمزية بالذكاء الاصطناعي إلى تسجيل الشاشة؟
لإضافة صورة رمزية بالذكاء الاصطناعي إلى تسجيل الشاشة، ستحتاج إلى استخدام أداة تسجيل شاشة بالذكاء الاصطناعي. Trupeer AI هي أداة تسجيل شاشة بالذكاء الاصطناعي، وتساعدك في إنشاء مقاطع فيديو بعدة صور رمزية، كما تساعدك في إنشاء صورتك الرمزية الخاصة للفيديو.كيف أسجل الشاشة على Windows؟
لتسجيل الشاشة على Windows، يمكنك استخدام Game Bar المدمج (Windows + G) أو أداة ذكاء اصطناعي متقدمة مثل Trupeer AI للحصول على مزيد من الميزات المتقدمة مثل الصور الرمزية بالذكاء الاصطناعي، والتعليق الصوتي، والترجمة، وغيرها.كيف أضيف تعليقًا صوتيًا إلى الفيديو؟
لإضافة تعليق صوتي إلى مقاطع الفيديو، حمّل إضافة Chrome الخاصة بـ trupeer ai. بعد التسجيل، ارفع الفيديو الذي يحتوي على الصوت، واختر التعليق الصوتي المطلوب من trupeer، ثم صدّر الفيديو المعدّل.كيف أستخدم التكبير في تسجيل الشاشة؟
لتكبير الصورة أثناء تسجيل الشاشة، استخدم تأثيرات التكبير في Trupeer AI التي تتيح لك التكبير والتصغير في لحظات محددة، مما يعزز التأثير البصري لمحتوى الفيديو الخاص بك.
قراءات مقترحة
كيفية تحويل صورة إلى صفحة تلوين في Canva
دروس ذات صلة

