

Como adicionar ícones no Figma
Aprenda a adicionar ícones no Figma usando plugins, carregamentos de SVG e bibliotecas de design. Um guia passo a passo para melhorar os seus designs de UI com ícones personalizados e pré-criados.
A utilizar plugins de ícones:
Instalar um plugin: Vá a "Plugins" no menu do Figma,
selecione "Browse all plugins...", e procure o plugin de ícones pretendido (por exemplo, Iconify, Material Design Icons, Font Awesome).
Instalar o plugin: Clique em "Install" para o adicionar ao seu ficheiro Figma.
Procurar e adicionar: Execute o plugin (clique com o botão direito -> Plugins -> [Nome do Plugin]), navegue pela biblioteca de ícones e clique para importar ou arraste e largue o ícone para o seu canvas.
Personalizar: Tal como os SVGs importados, pode personalizar os ícones do plugin conforme necessário.
Exemplo: A utilizar Material Design Icons: Abra o plugin Material Design Icons, procure um ícone (por exemplo, "home"), e clique para o adicionar ao seu design.
Guia passo a passo: Como adicionar ícones no Figma
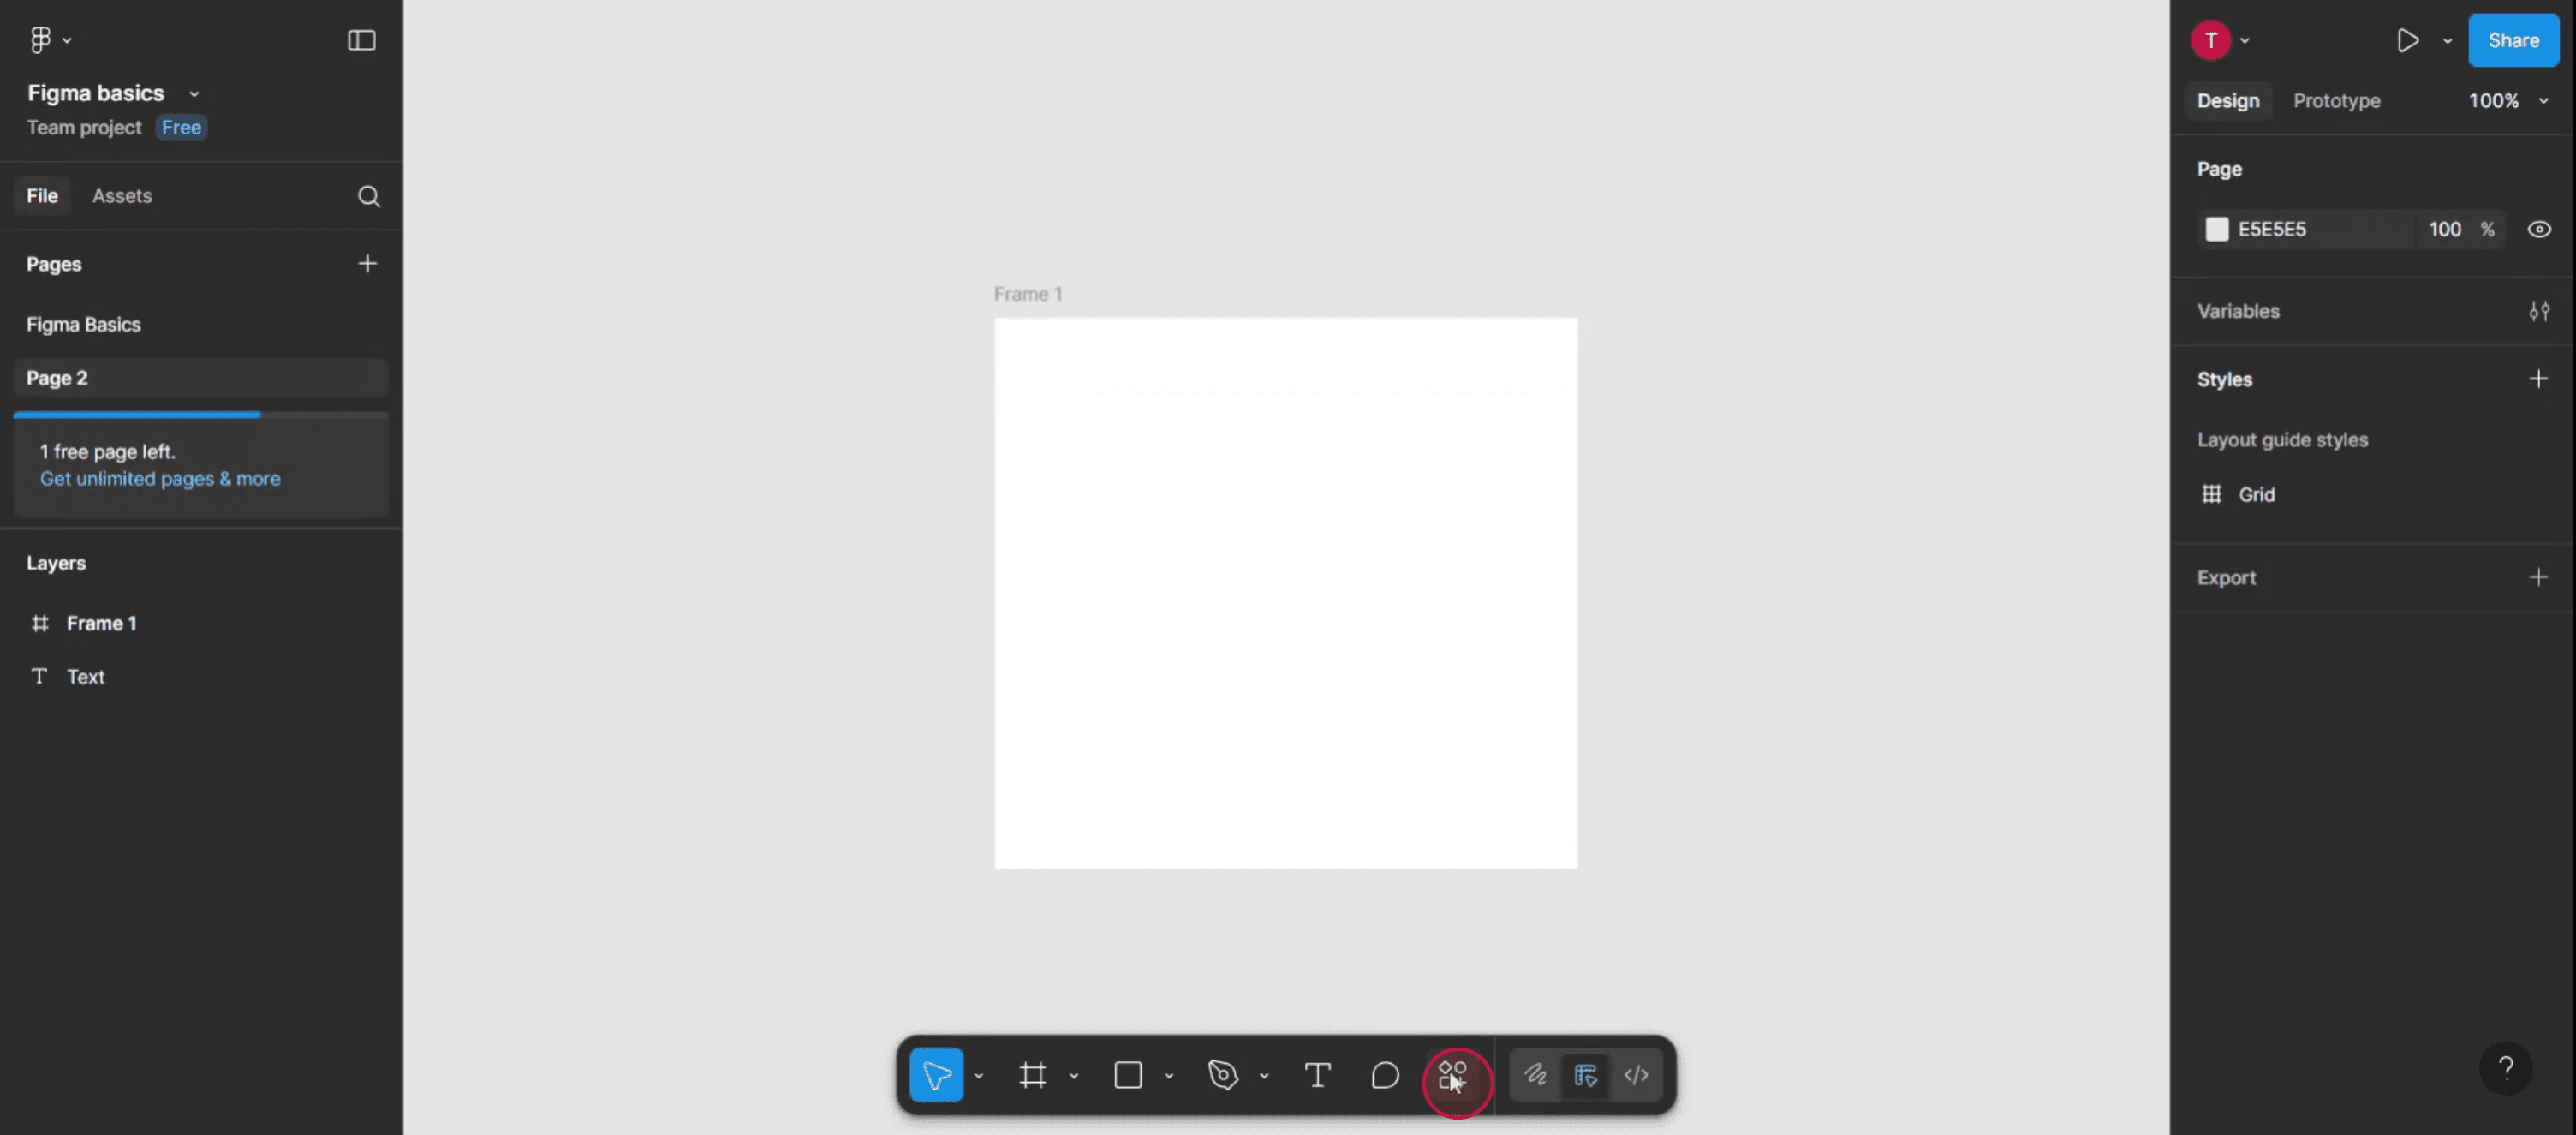
Passo 1
Selecione a opção "Actions".
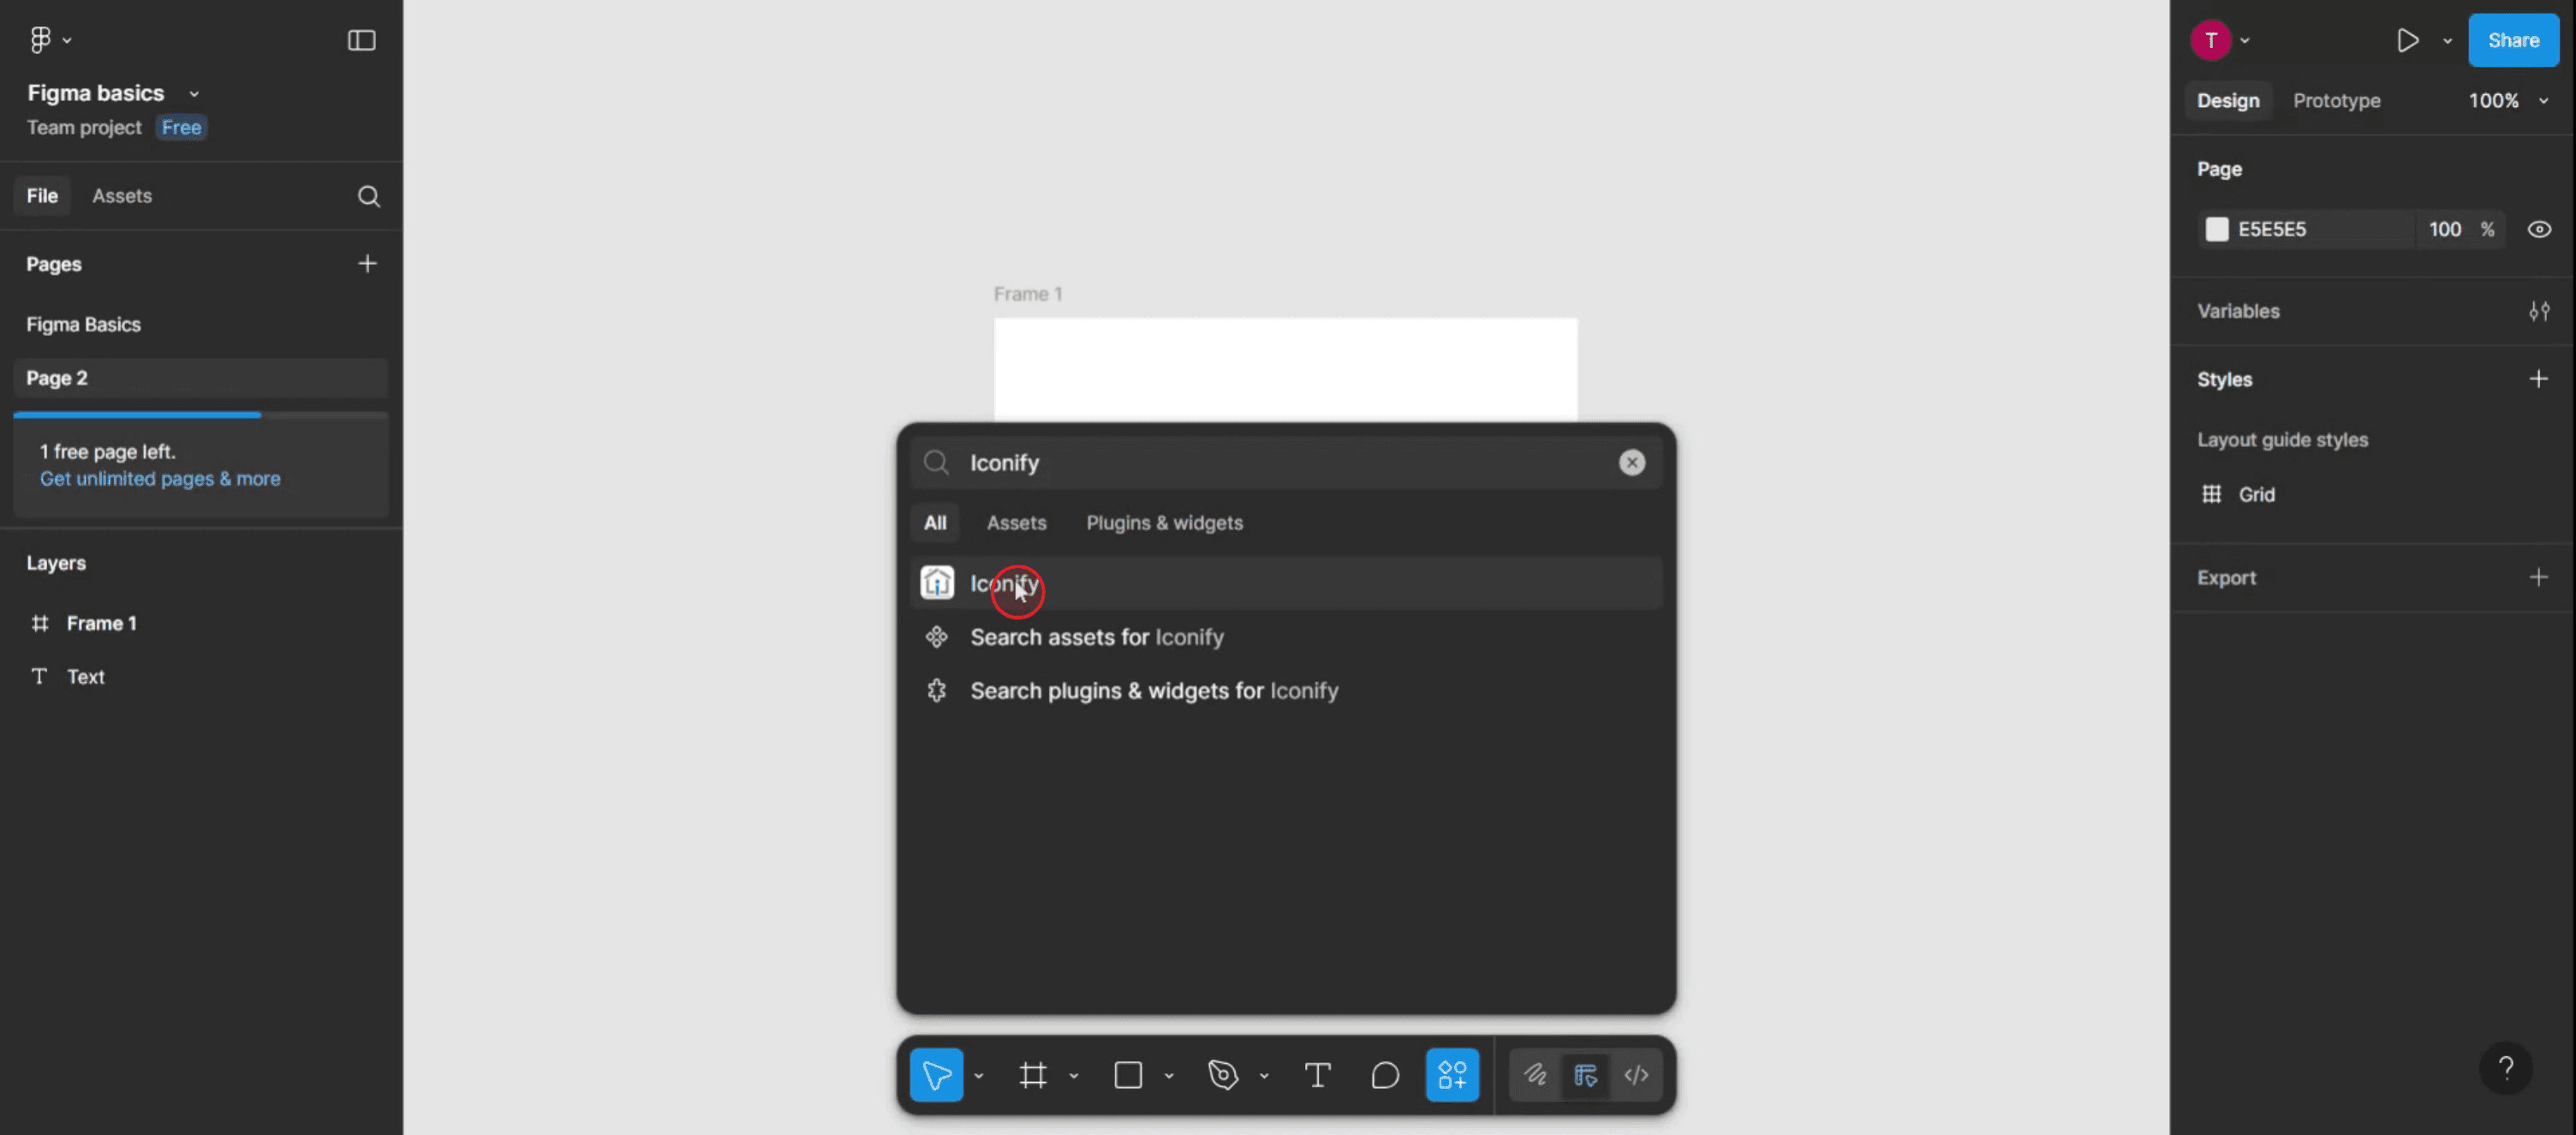
Passo 2
Na consola de pesquisa, introduza "Iconify" para encontrar o plugin necessário.

Passo 3
Depois de aparecerem os resultados da pesquisa, clique na opção "Iconify".
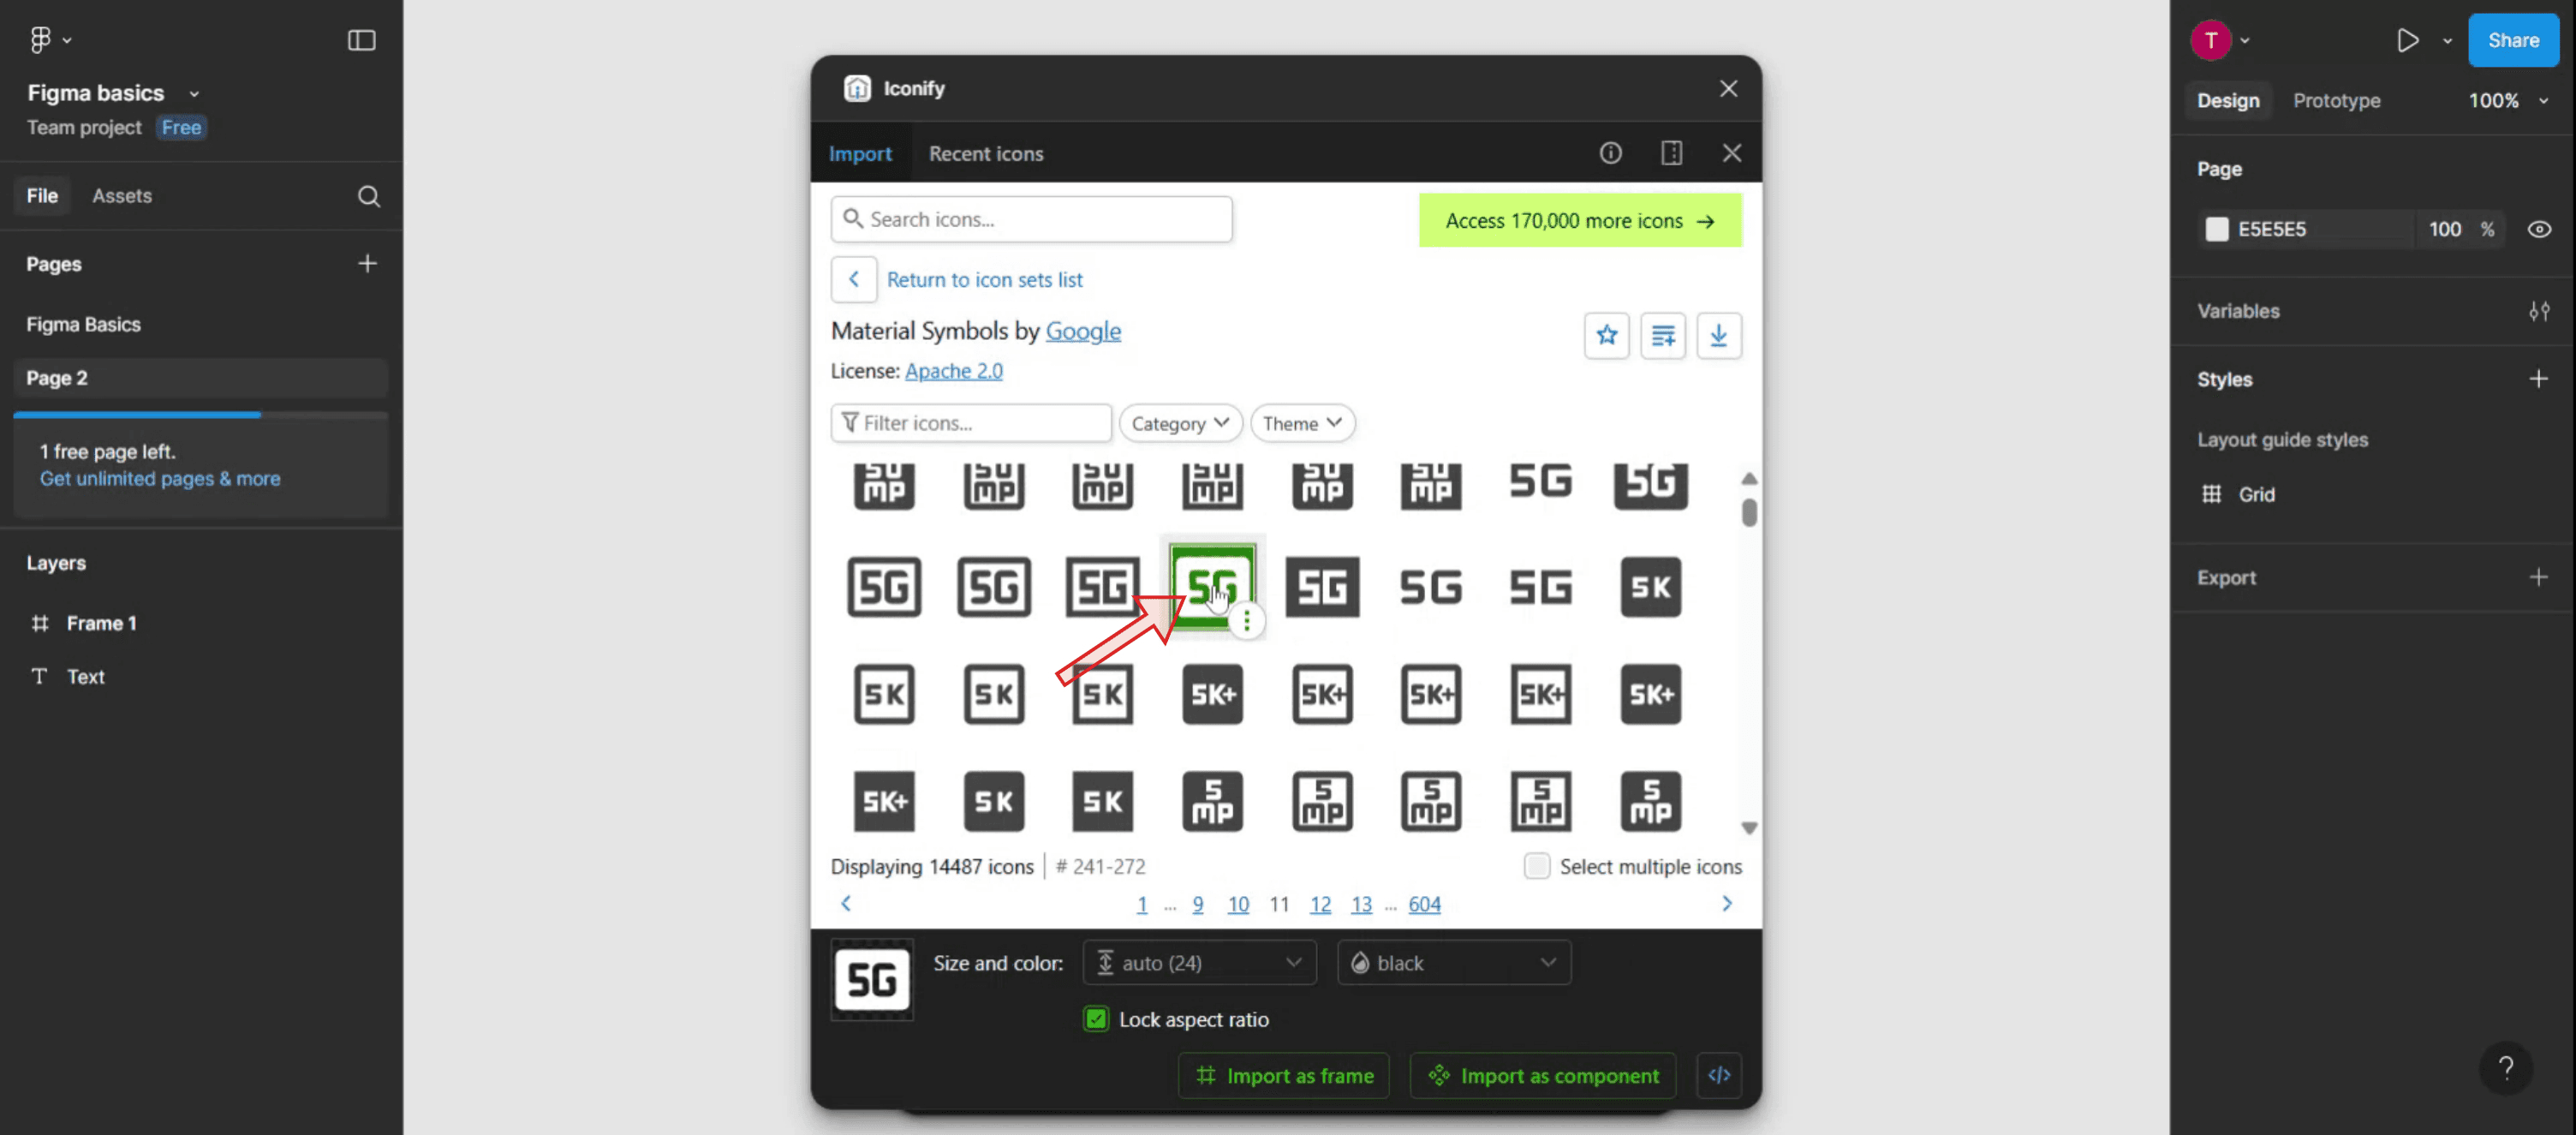
Passo 4
Depois, selecione o ícone,
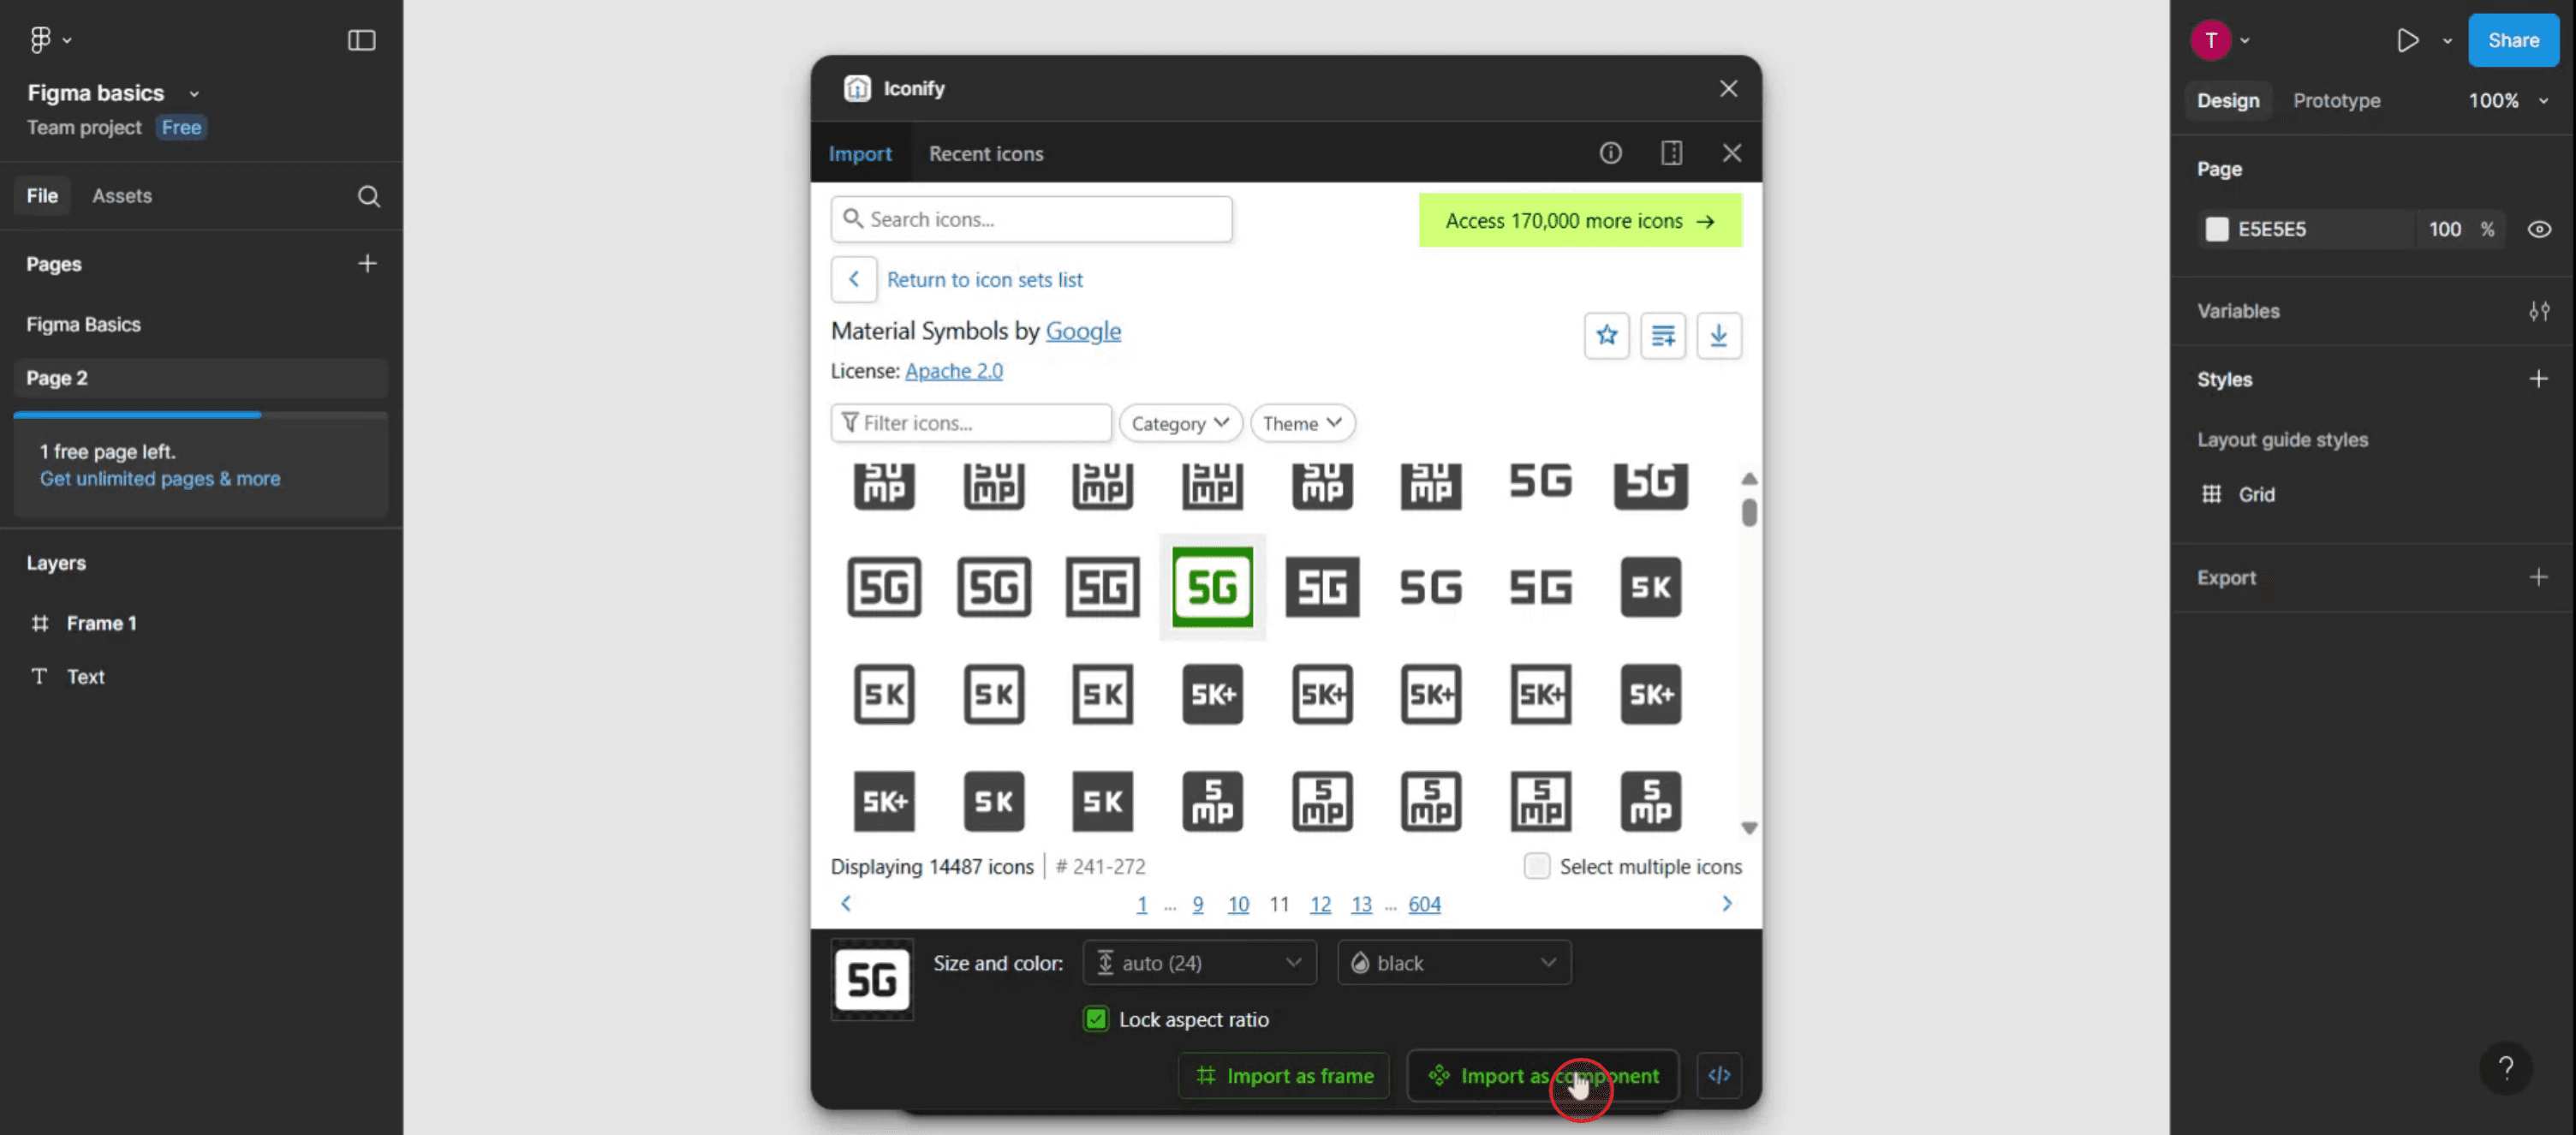
Passo 5
Clique na opção "Import as a component".
Passo 6
Agora verá o ícone adicionado à sua frame. Ajuste o ícone conforme necessário para cumprir as especificações do seu projeto.

Dicas Profissionais para Adicionar Ícones no Figma
Use os Plugins de Ícones Integrados
O Figma tem vários plugins gratuitos como “Iconify”, “Feather Icons” e “Material Design Icons.” Para os usar, vá à barra de menus, clique em “Resources”, selecione o separador “Plugins” e procure pelo plugin de ícones pretendido. Depois de instalado, pode arrastar e largar ícones diretamente para o seu design.Copiar Ícones de Bibliotecas Externas
Pode visitar bibliotecas gratuitas de ícones como o Font Awesome ou o Google Material Icons, depois copiar versões SVG dos ícones e colá-las no seu ficheiro do Figma. Isto é útil quando precisa de ícones específicos de uma marca ou universalmente reconhecidos.Importar Ficheiros SVG
Se tiver ícones guardados como ficheiros SVG no seu computador, pode importá-los para o Figma simplesmente arrastando-os para a tela. O Figma preservará a qualidade vetorial e permitirá redimensionamento e ajustes de cor fáceis.Use Componentes para Consistência
Converta ícones usados com frequência em componentes. Desta forma, se alguma vez precisar de atualizar um, ele será atualizado automaticamente em todas as instâncias do seu design.Organize Ícones numa Biblioteca
Crie uma biblioteca partilhada de componentes de ícones para a sua equipa. Isto promove a consistência e poupa tempo, ao tornar os ícones mais usados acessíveis a partir de um único local central.
Armadilhas Comuns e Como Evitá-las
Não Converter em Contornos
Alguns ícones colados de fontes externas podem não ser editáveis. Clique com o botão direito no ícone e selecione “Outline Stroke” ou “Flatten” para os converter em formas editáveis.Usar Demasiados Estilos
Evite misturar estilos diferentes de ícones (por exemplo, preenchido, contorno, duotone) num único design. Mantenha um único estilo ao longo de todo o design para garantir consistência visual.Importar Imagens de Baixa Qualidade
Use sempre formatos SVG ou vetoriais em vez de PNGs ou JPGs para manter a nitidez em qualquer tamanho.Redimensionar Sem Manter Shift
Ao redimensionar ícones, mantenha premida a tecla Shift para preservar as proporções e evitar distorção.Esquecer-se de Dar Nome às Camadas
Dê sempre nomes claros às camadas ou componentes dos seus ícones. Isso ajuda na organização e facilita a pesquisa, especialmente em ficheiros de design maiores.
Perguntas frequentes comuns sobre adicionar ícones no Figma
Posso personalizar a cor dos ícones no Figma?
Sim, se o ícone for um vetor (SVG), pode alterar facilmente a sua cor de preenchimento e de contorno no painel de propriedades à direita.Os plugins custam dinheiro?
A maioria dos plugins de ícones, como o Iconify, é gratuita. Alguns plugins avançados podem ter funcionalidades pagas, mas as bibliotecas básicas de ícones costumam estar disponíveis sem custos.Posso usar os meus próprios ícones personalizados?
Sim, pode importar os seus próprios designs de ícones para o Figma carregando-os ou arrastando-os para o seu ficheiro.Como mantenho a consistência dos ícones num projeto?
Use componentes e estilos. Crie um sistema de design em que todos os ícones se baseiem nas mesmas regras de tamanho, espessura e cor.Posso animar ícones no Figma?
Pode aplicar transições básicas usando as funcionalidades de prototipagem do Figma, mas, para animações avançadas, talvez precise de ferramentas como o Figmotion ou exportar ícones para usar em aplicações externas.Como gravar o ecrã num Mac?
Para gravar o ecrã num Mac, pode usar o Trupeer AI. Permite-lhe capturar o ecrã inteiro e disponibiliza capacidades de IA, como adicionar avatares de IA, adicionar narração, ampliar e reduzir o zoom no vídeo. Com a funcionalidade de tradução de vídeo por IA do trupeer, pode traduzir o vídeo para mais de 30 idiomas.Como adicionar um avatar de IA a uma gravação de ecrã?
Para adicionar um avatar de IA a uma gravação de ecrã, terá de usar uma ferramenta de gravação de ecrã com IA. O Trupeer AI é uma ferramenta de gravação de ecrã com IA, que o ajuda a criar vídeos com vários avatares e também o ajuda a criar o seu próprio avatar para o vídeo.Como gravar o ecrã no Windows?
Para gravar o ecrã no Windows, pode usar a Barra de Jogo integrada (Windows + G) ou uma ferramenta avançada de IA como o Trupeer AI para funcionalidades mais avançadas, como avatares de IA, narração, tradução, etc.Como adicionar narração a um vídeo?
Para adicionar narração a vídeos, descarregue a extensão do Chrome da trupeer ai. Depois de se registar, carregue o seu vídeo com voz, escolha a narração desejada no trupeer e exporte o seu vídeo editado.Como faço zoom numa gravação de ecrã?
Para fazer zoom durante uma gravação de ecrã, use os efeitos de zoom no Trupeer AI, que lhe permitem ampliar e reduzir o zoom em momentos específicos, melhorando o impacto visual do conteúdo do seu vídeo.
Leituras sugeridas
Gerador de documentação técnica
Software de base de conhecimento
Como ocultar nomes de frames no Figma
Como guardar um ficheiro do Figma
Como criar uma grelha no Figma
Tutoriais relacionados

