

Figmaでスライスツールを使う方法
FigmaのSliceツールを使って、アイコン、UI要素、セクションなど、デザインの特定部分を書き出す方法を学びましょう。この簡単なチュートリアルに従って、Trupeerでガイドを作成してください。
FigmaでSliceツールを使う方法:ステップごとのガイド
ステップ1
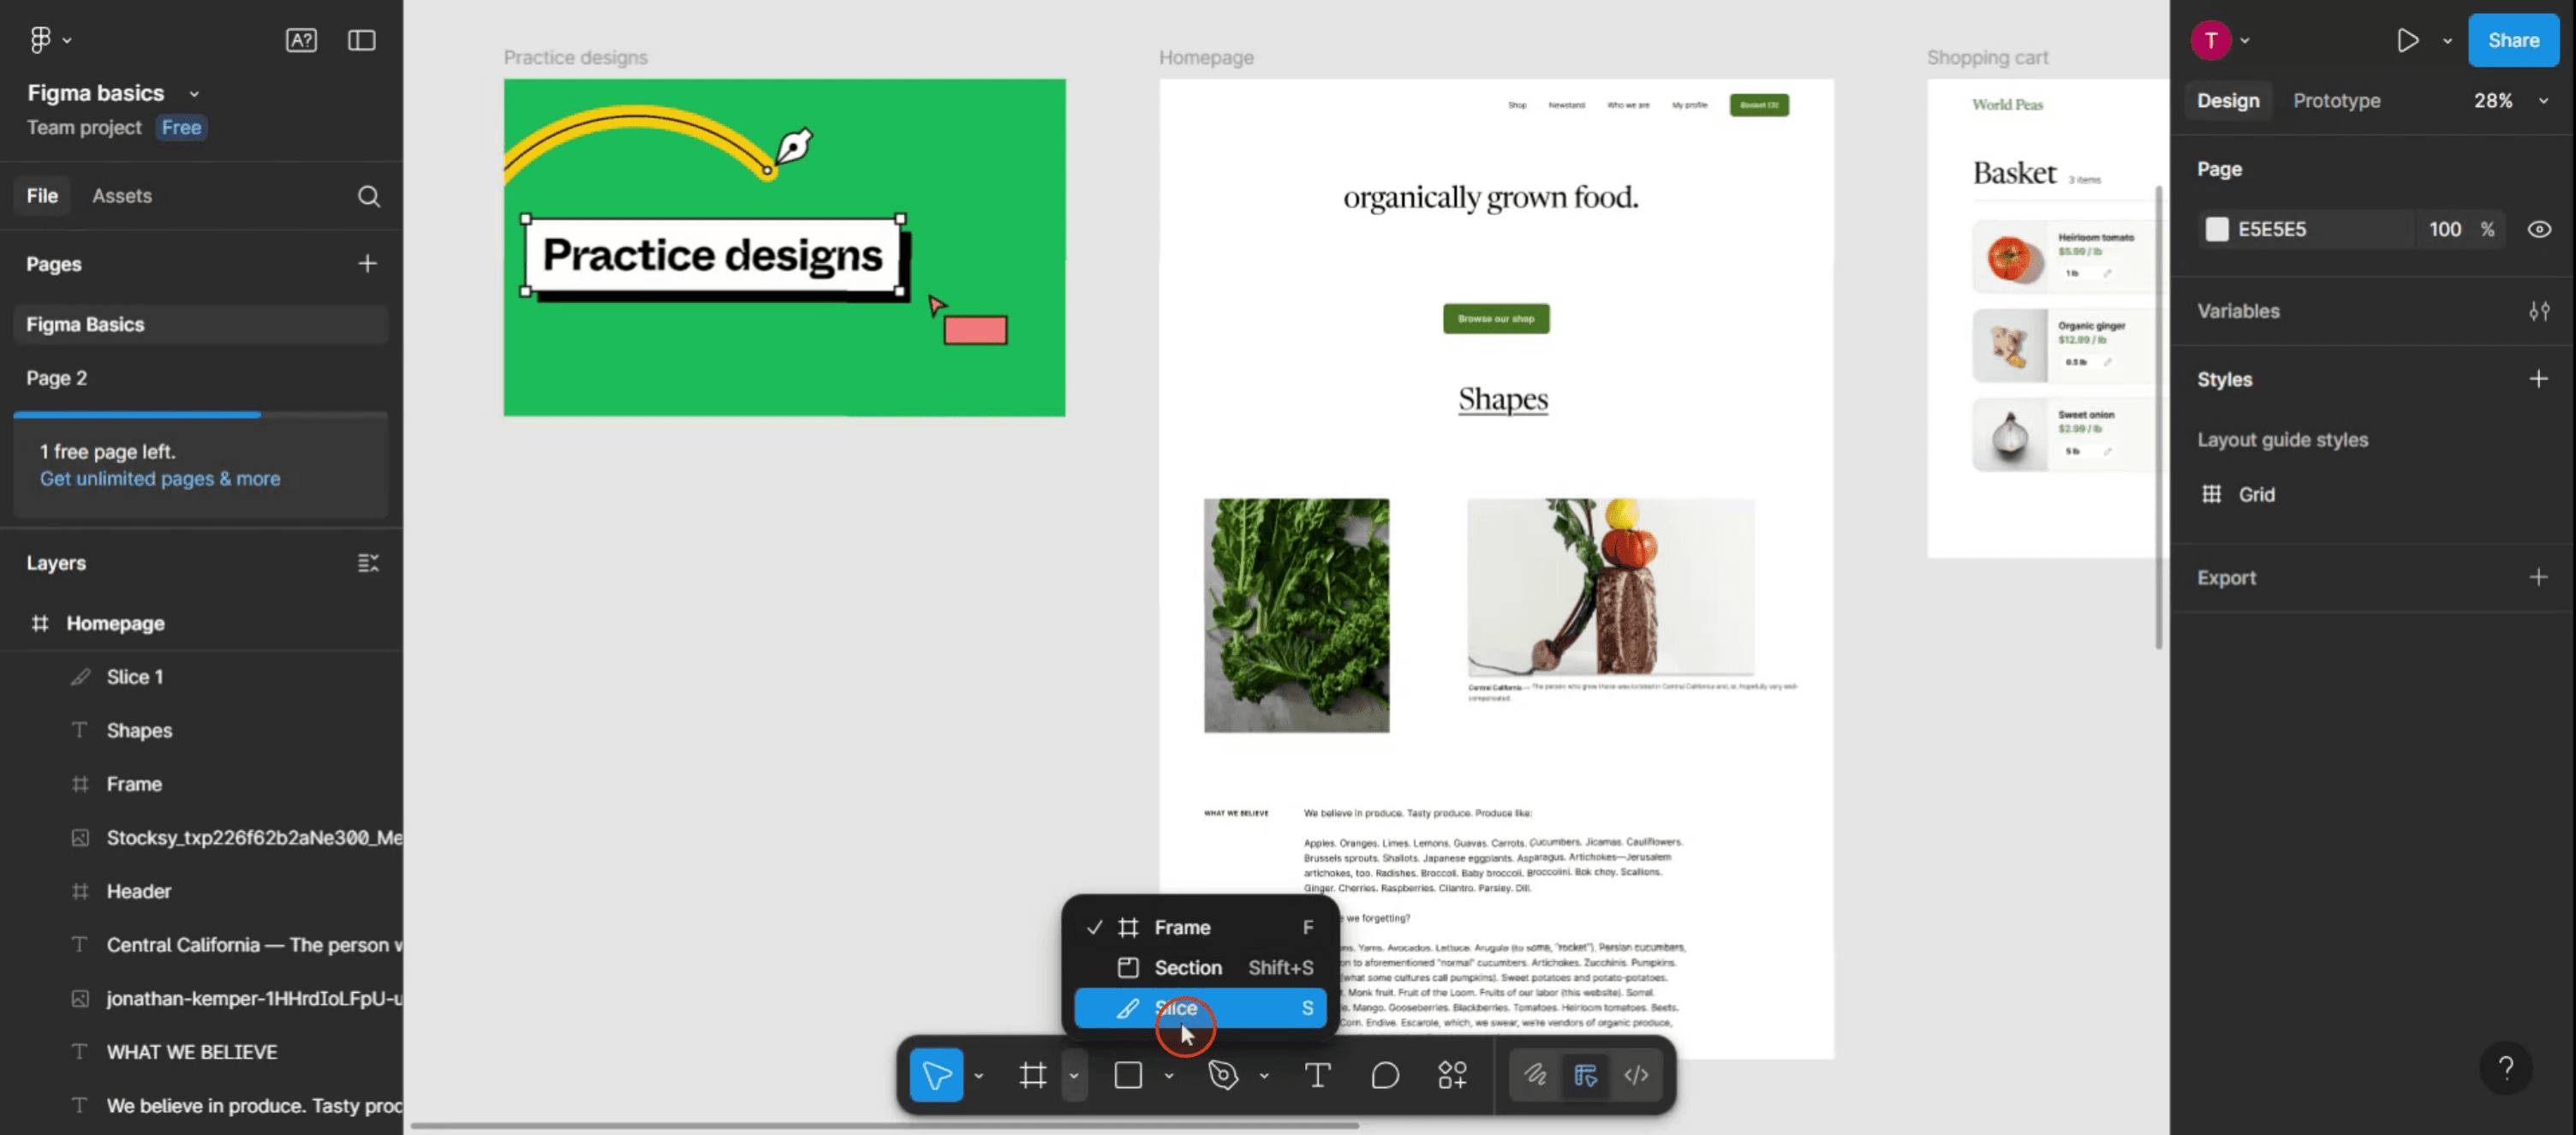
まず、Figmaの書式設定メニューに移動し、地域ツールのオプションをクリックします。

ステップ2
利用可能なオプションの中から、Sliceオプションを選択してツールを有効にします。
ステップ3
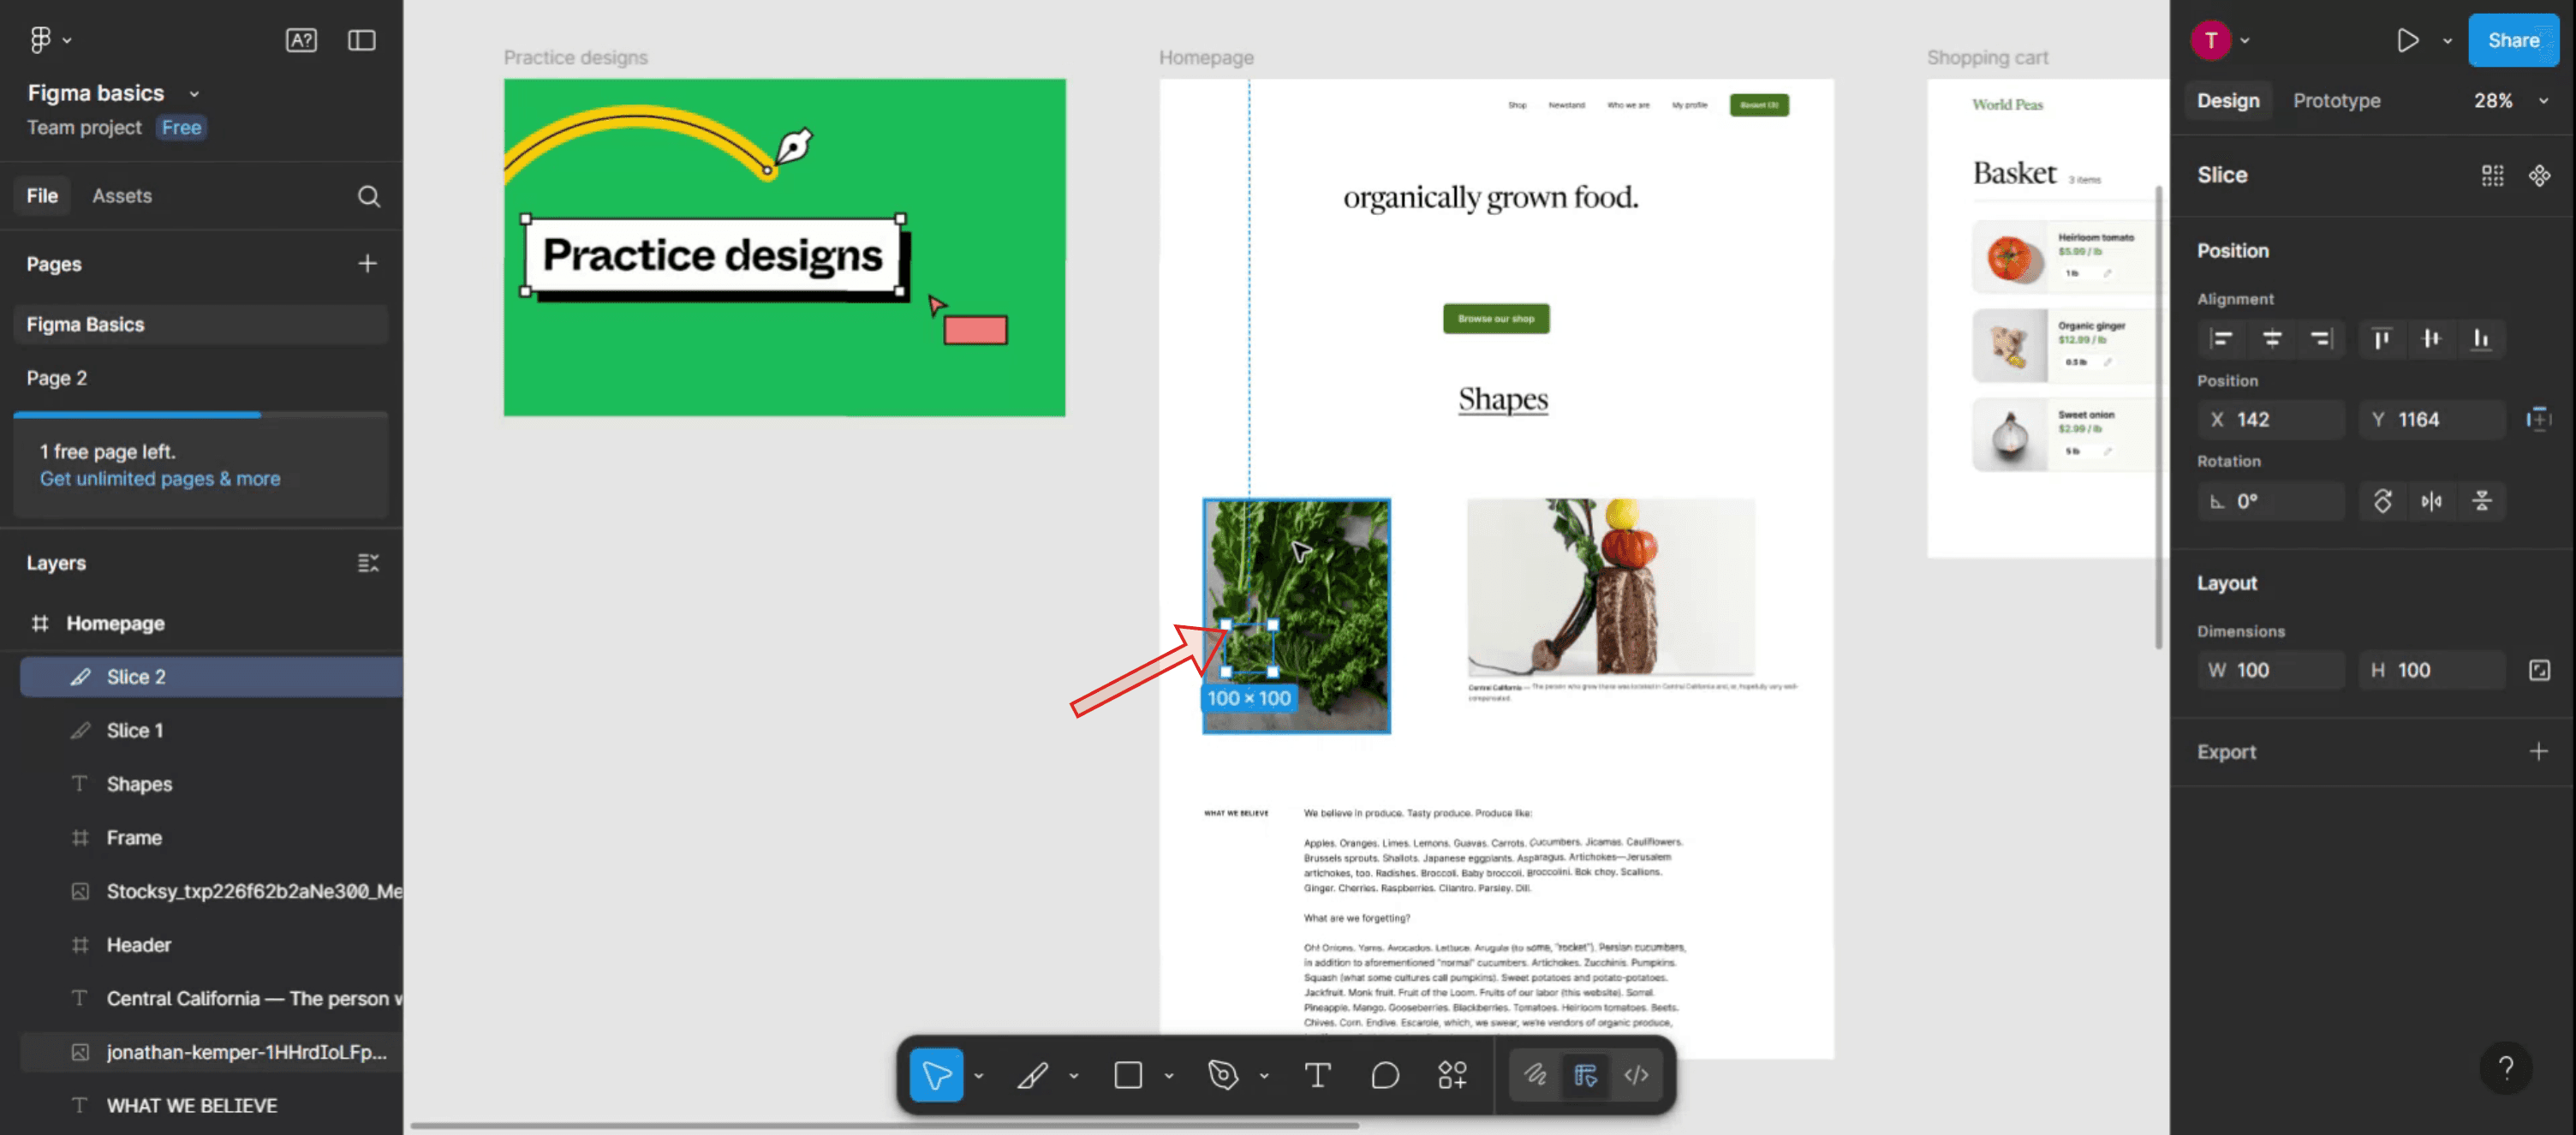
マウスを使って、切り抜きたいオブジェクトを選択します。
ステップ4
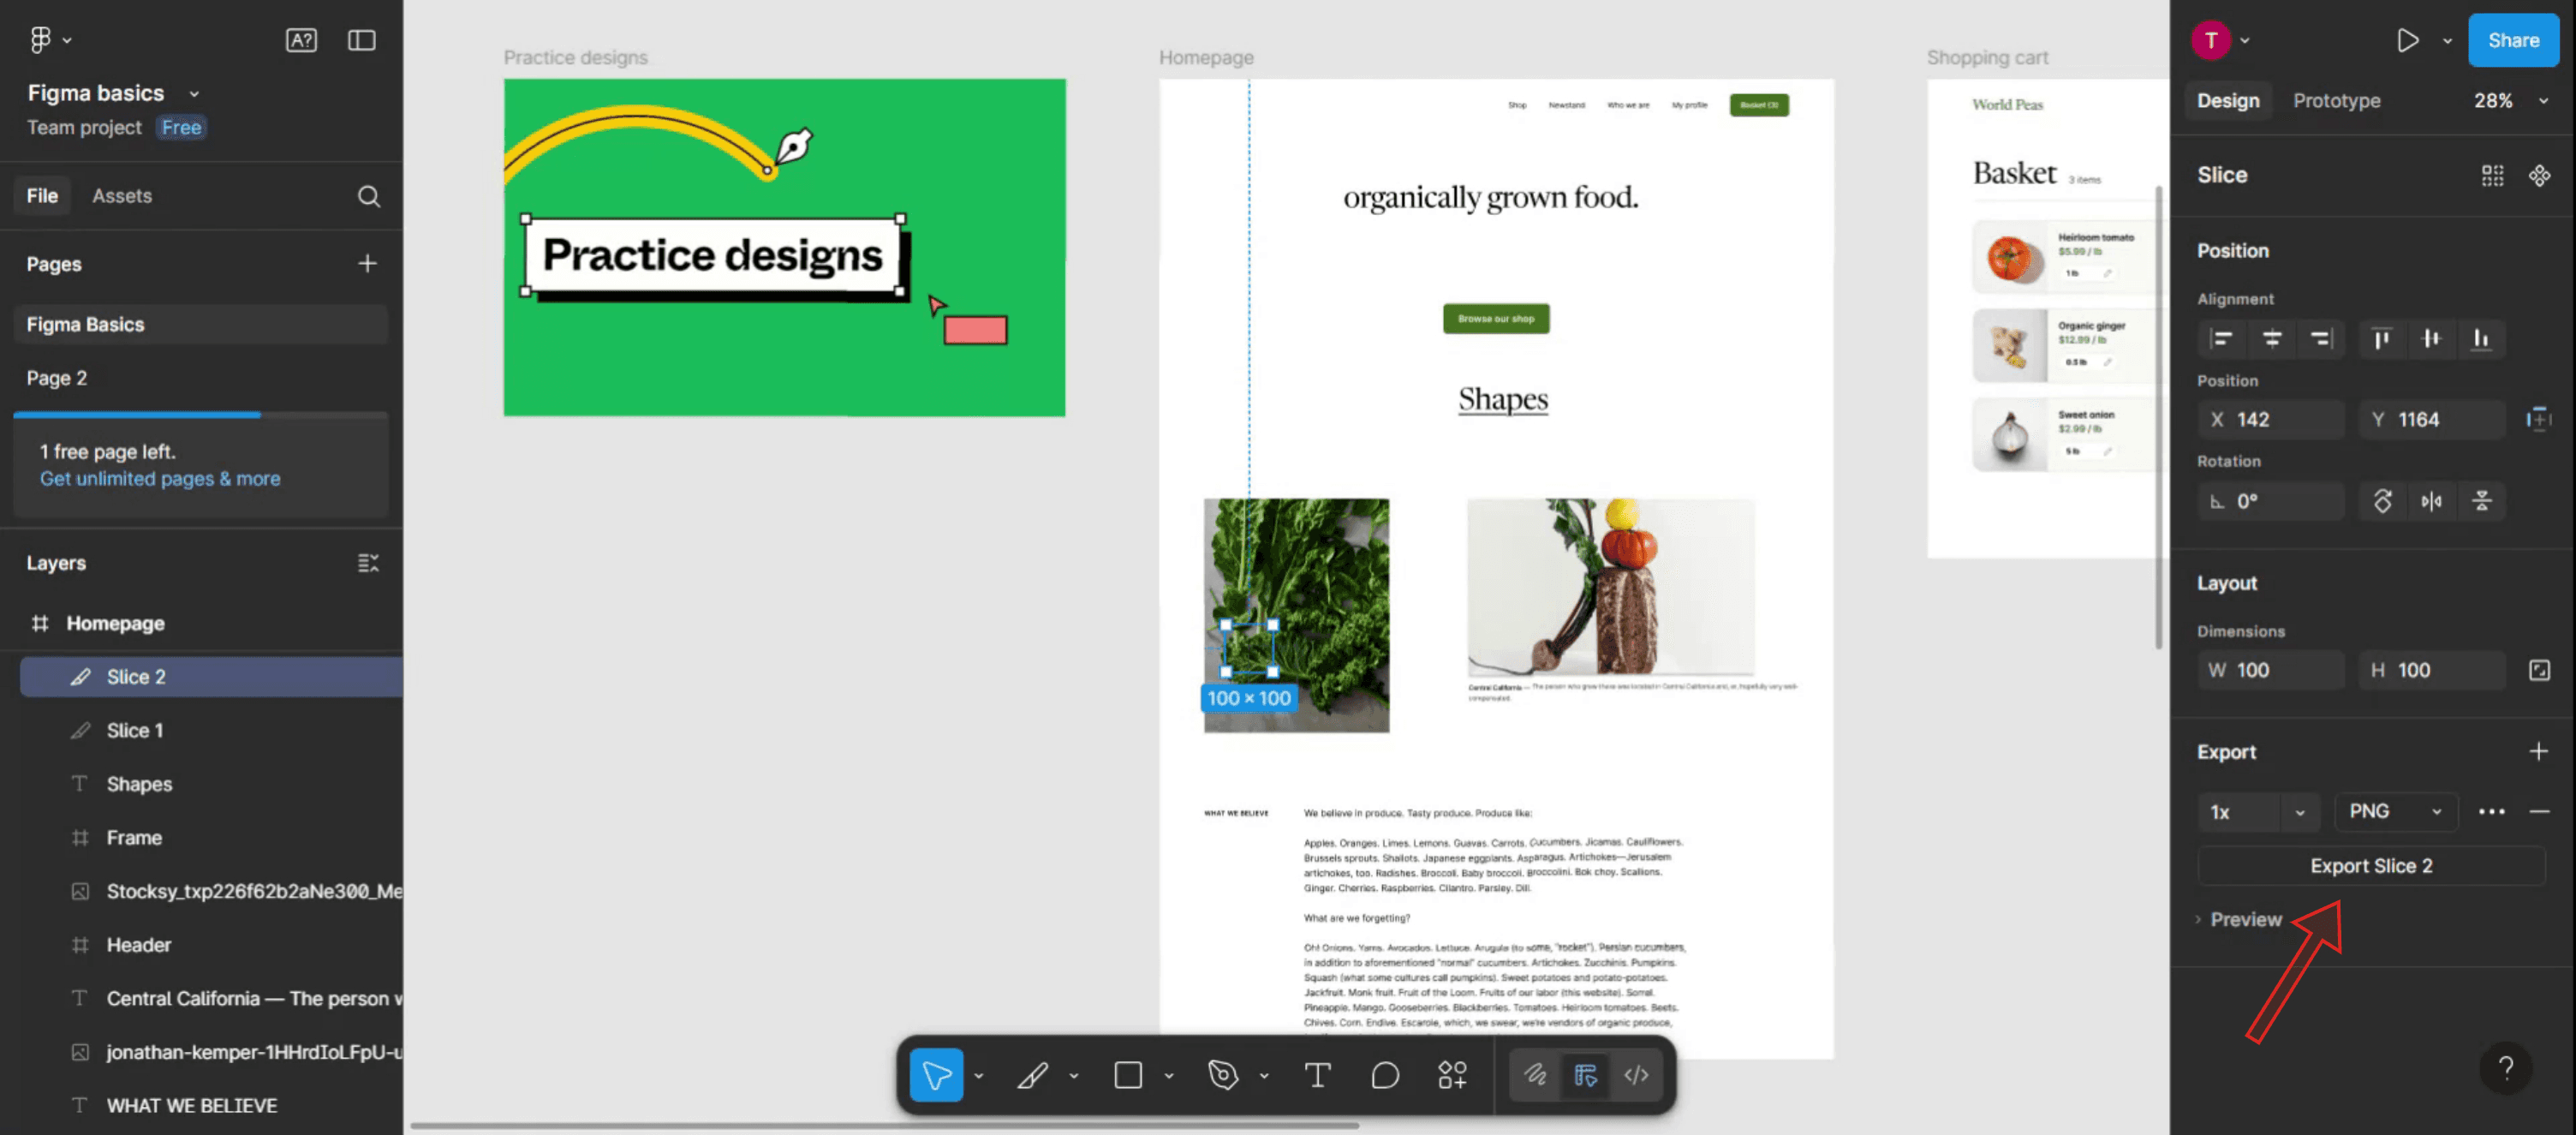
さらに進むには、エクスポートオプションをクリックします。

ステップ5
Sliceをエクスポートするためのオプションが表示されます。
FigmaのSliceツールを使うためのプロのコツ
ショートカットですばやく起動する
キーボードのSキーを押すだけで、メニューをたどらずにSliceツールをすぐに起動できます。Sliceにわかりやすい名前を付ける
書き出す前に、レイヤーパネルで各Sliceに説明的な名前を付けましょう。これにより、書き出したファイルを整理しやすくなります。一括書き出しにSliceを使う
デザインの異なる部分に複数のSliceを配置してから、まとめて書き出せば、アセット作成をより速く行えます。Sliceをピクセルグリッドに揃える
シャープに書き出すには、Sliceの境界が整数ピクセルに揃っていることを確認してください。ピクセルグリッド(Ctrl + ‘ / Cmd + ‘)で整列を確認できます。書き出しプリセットと組み合わせる
Slice用に書き出しプリセット(例: PNG @2x、JPG)を設定しておけば、毎回調整しなくても設定を再利用できます。
よくある落とし穴と回避方法
画面全体の書き出しにSliceを不用意に使う
フレーム全体を書き出すのにSliceは不要です。時間を節約するため、フレームに直接ある書き出しオプションを使いましょう。Sliceの境界がずれている
Sliceがピクセルグリッドから外れていると、書き出しがぼやけて見えることがあります。書き出す前に必ずグリッドへの整列を確認してください。Sliceレイヤーの選択を忘れる
Sliceレイヤーを選択せずに書き出そうとしても機能しません。レイヤーパネルでSlice自体がハイライトされていることを確認してください。誤ってSliceが重なる
重なりがあると、重複したり分かりにくい書き出しになったりします。意図がない限り、Sliceは分けて配置しましょう。背景を確認せずに書き出す
Sliceはその下にあるものをそのまま取得します。背景が選択範囲に含まれていない場合、書き出したファイルが不完全になることがあります。
Figmaでスライスツールを使う際によくある質問
スライスツールは何に使うのですか?
レイアウトに影響を与えずに、デザイン内の特定の書き出し範囲を定義できます。アイコン、ボタン、カスタムセクションの書き出しに最適です。スライスは作成後にサイズ変更できますか?
はい、スライスは図形と同じように編集できます。角をドラッグするか、プロパティパネルで寸法を調整してください。スライスはデザインに影響しますか?
いいえ、スライスは書き出し用のマーカーにすぎず、最終デザインには表示されません。複数のスライスを一度に書き出せますか?
はい、レイヤーパネルで複数のスライスを選択して、一緒に書き出せます。Figmaのブラウザ版でスライスはサポートされていますか?
はい、Figmaのデスクトップ版とブラウザ版の両方でスライスを作成・書き出しできます。Macで画面録画するには?
Macで画面録画するには、Trupeer AIを使用できます。画面全体をキャプチャでき、AIアバターの追加、ナレーションの追加、動画内でのズームイン・ズームアウトなどのAI機能を提供します。trupeerのAI動画翻訳機能を使えば、動画を30以上の言語に翻訳できます。画面録画にAIアバターを追加するには?
画面録画にAIアバターを追加するには、AI画面録画ツールを使用する必要があります。Trupeer AIはAI画面録画ツールで、複数のアバターを使った動画作成を支援し、動画用の自分専用アバターの作成もサポートします。Windowsで画面録画するには?
Windowsで画面録画するには、標準搭載のGame Bar(Windows + G)や、AIアバター、ナレーション、翻訳などのより高度な機能を備えたTrupeer AIのような高度なAIツールを使用できます。動画にナレーションを追加するには?
動画にナレーションを追加するには、trupeer ai chrome拡張機能をダウンロードしてください。サインアップ後、音声付きの動画をアップロードし、trupeerから希望のナレーションを選んで、編集済み動画を書き出します。画面録画でズームインするには?
画面録画中にズームインするには、Trupeer AIのズーム効果を使用します。これにより、特定の瞬間にズームイン・ズームアウトでき、動画コンテンツの視覚的なインパクトを高められます。
おすすめ記事
関連チュートリアル

