
Figmaでファイルを複製する方法
Figmaファイルをコピーしたいですか? どんなFigmaデザインファイルでも数秒で複製して、編集をスピードアップしたりバックアップを作成したりする方法をご紹介します。
方法 1
手順 1
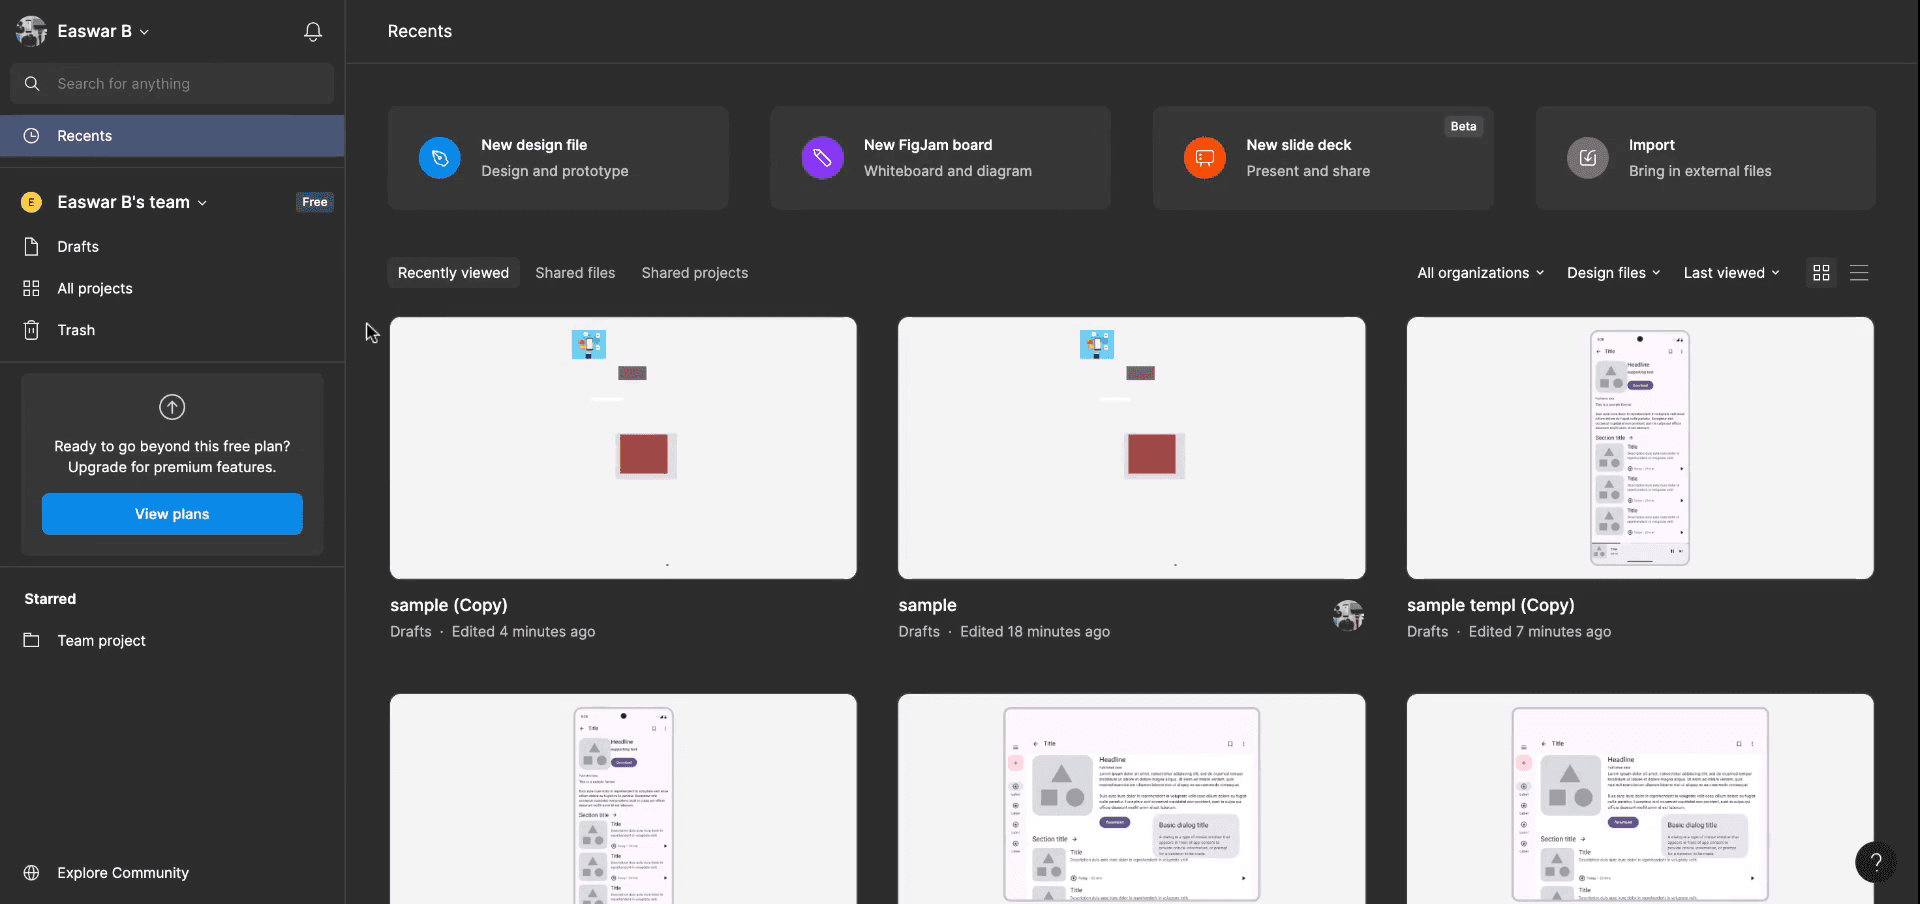
まず、Figma のホーム画面/ダッシュボードを開きます。
手順 2
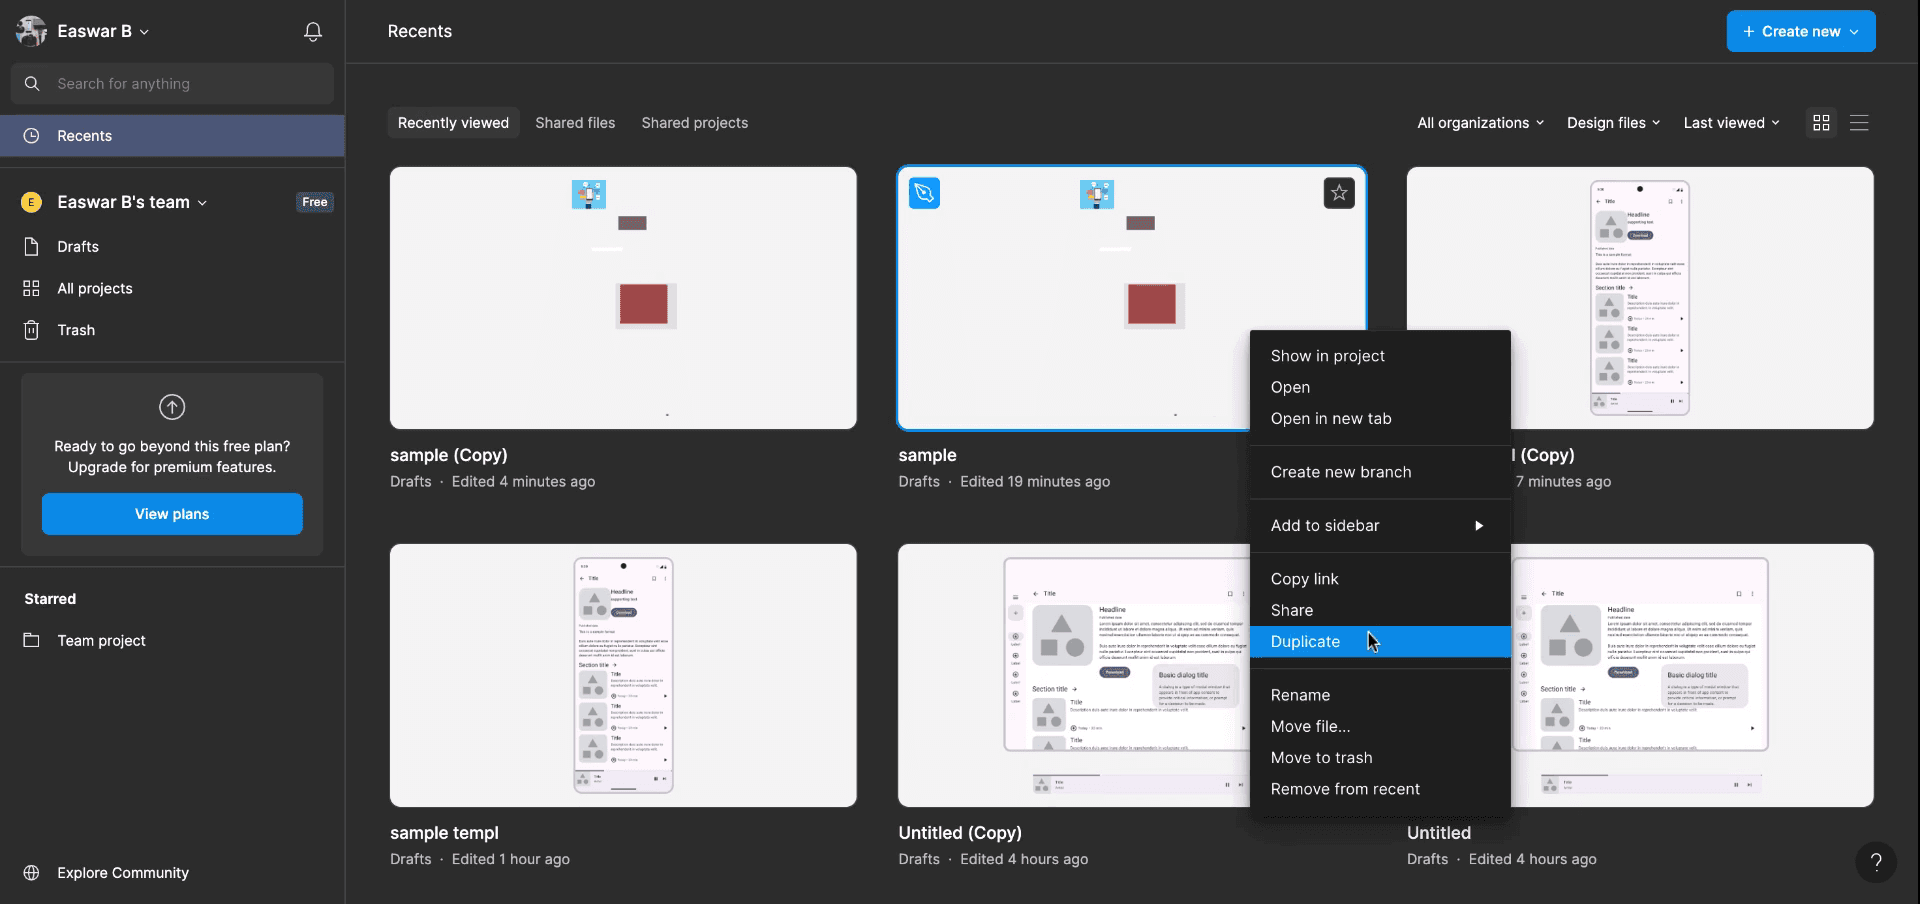
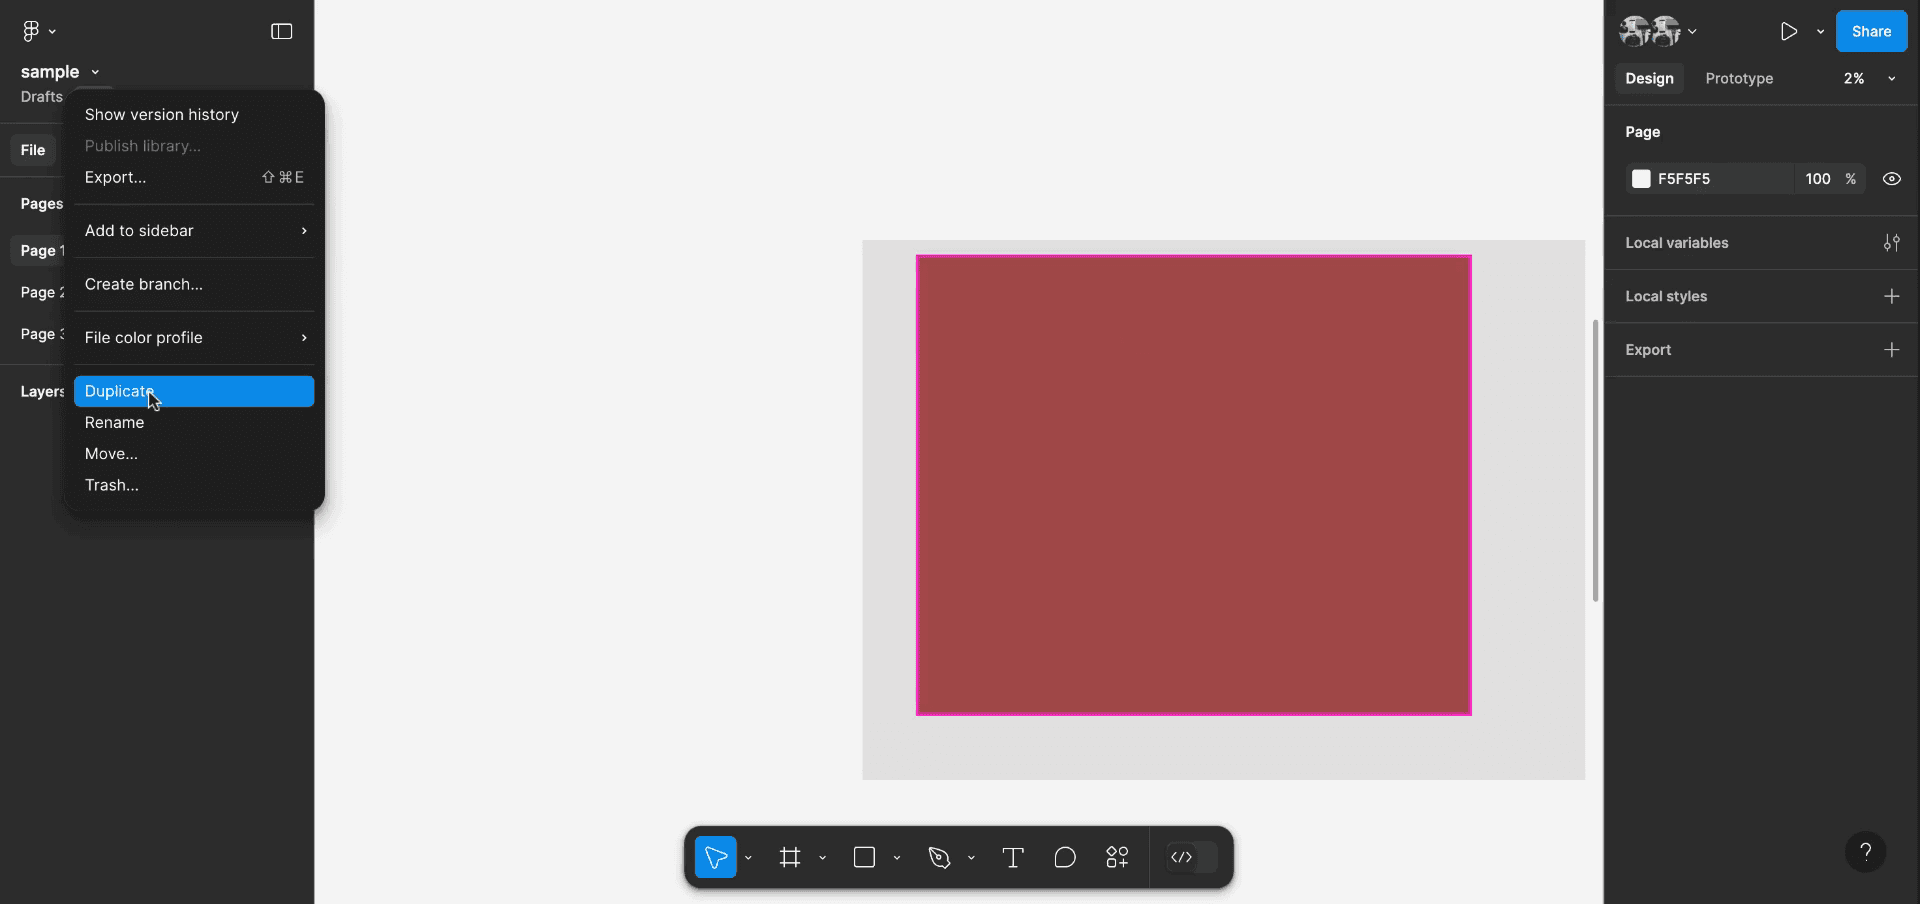
ホーム画面で、任意のファイルまたはドラフトを選択します。複製したいファイルを選び、右クリックします。
手順 3
選択したファイルを右クリックしたら、「Duplicate」オプションを選択します。この操作により、同じ名前の新しいファイルが作成されます。
方法 2
手順 1
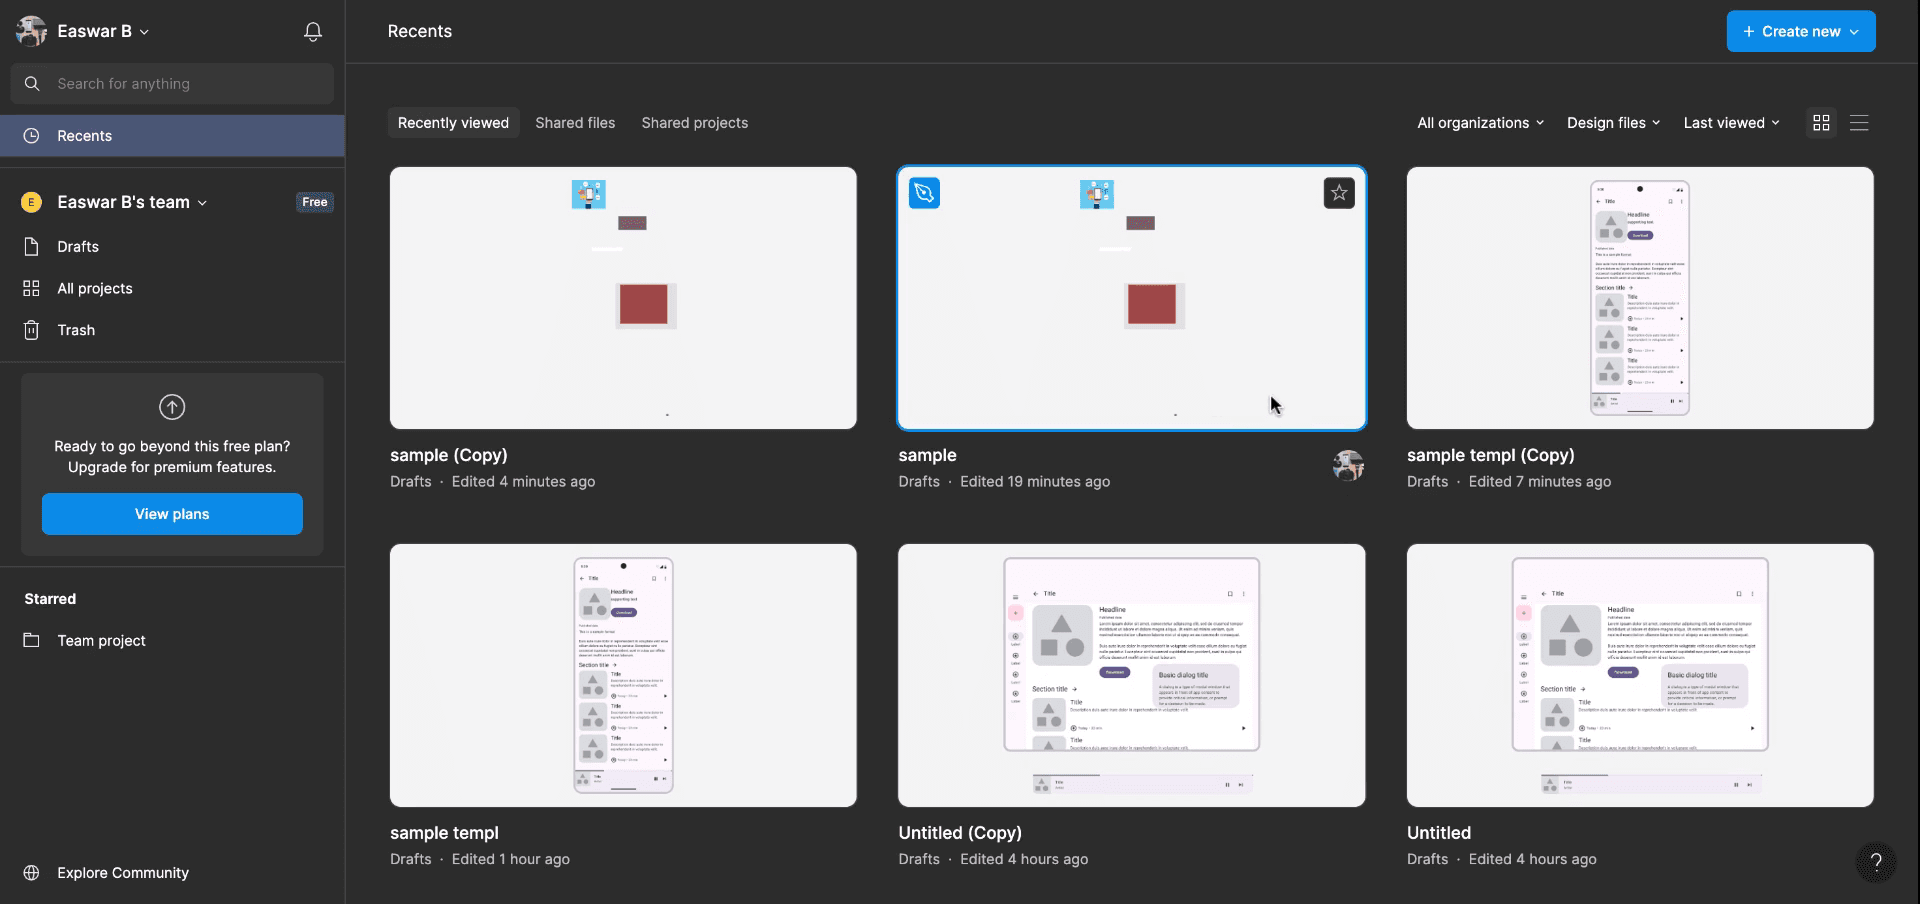
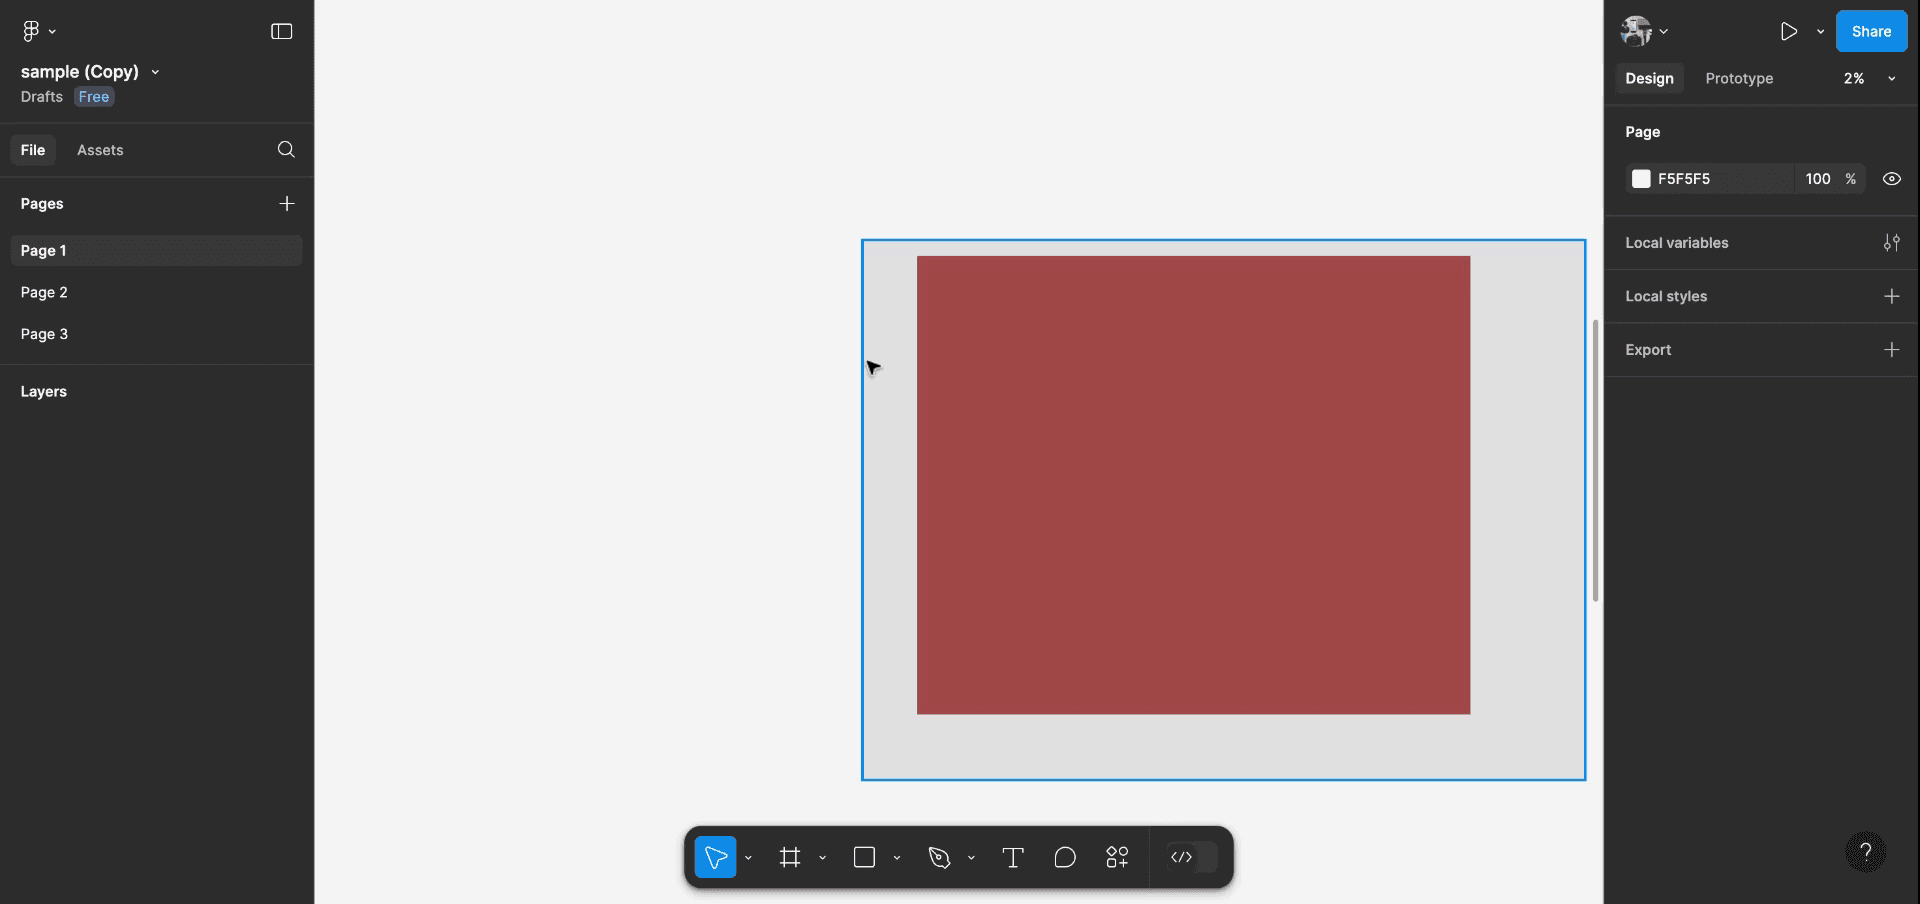
目的のファイルを選択し、もう一度右クリックして、「Duplicate」を選択します。これにより、複製されたファイルが別のタブで開き、作業できるようになります。
手順 2
複製ファイルはダッシュボードから表示・アクセスできます。これが Figma でファイルを複製する手順です。
Figmaでファイルを複製するためのプロのコツ
ファイルメニューを使う:
Figmaの左上にあるファイルメニューを開き、ファイル > 複製を選択します。これにより、Figmaのワークスペースにあるファイルの正確なコピーが作成されます。右クリックで複製する:
ファイルブラウザまたはチームプロジェクト内で、複製したいファイルを右クリックし、複製を選択します。コピーは同じプロジェクトまたはチーム内に表示されます。キーボードショートカット:
ファイルブラウザで選択したファイルをすばやく複製するには、Cmd + D(Mac)またはCtrl + D(Windows)を使用します。複製したファイルの名前を変更する:
複製したら、異なるバージョンを把握しやすいようにファイル名を変更しましょう。複製したファイルを右クリックして名前を変更を選択するか、ファイル名を直接クリックして編集できます。複製をフォルダに整理する:
複数のバージョンや関連するデザインがある場合は、ファイルブラウザ内でフォルダに整理して、すべてをきれいに保ち、簡単にアクセスできるようにすることを検討してください。
Figmaでファイルを複製する際によくある落とし穴とその回避方法
元ファイルと複製ファイルを混同する:
対処法: 複製後すぐにファイル名を変更して、元のバージョンと混同しないようにしましょう。適切な整理をせずにファイルを複製する:
対処法: Figmaのフォルダ機能を使ってファイルをグループ化し、ワークスペースを整理された状態に保ちましょう。特に同じプロジェクトの複数バージョンを扱う場合に有効です。複製したファイル内のリンクを更新しない:
対処法: ファイルに他のファイルへリンクされたコンポーネントやスタイルがある場合は、複製後もリンクが保持されているか必ず確認してください。そうしないと、接続を手動で再設定する必要があります。ファイルの上限を超える:
対処法: 大きなファイルを何度も複製する場合は、Figmaのストレージ容量やファイルサイズの制限に注意してください。特に制約のあるチームアカウントでは重要です。
Figmaでファイルを複製する際によくある質問
チーム間やプロジェクト間でファイルを複製できますか?
はい、ファイルを選択して右クリックし、複製を選ぶことで、チームやプロジェクト間でファイルを複製できます。その後、複製したファイルを目的のプロジェクトに移動してください。複製したファイルには元のすべてのアセットが保持されますか?
はい、複製には元のファイルのすべての要素、レイヤー、コンポーネントが保持されます。Figmaのデザイン全体を複製できますか、それとも特定のフレームだけですか?
ファイルを複製すると、デザイン全体が複製されます。ただし、特定のフレームを複製したい場合は、代わりにコピー&ペースト機能を使用できます。Figmaデスクトップアプリでファイルを複製できますか?
はい、デスクトップアプリでの複製手順はWeb版と同じです。右クリックするか、ファイルメニューを使用してください。複製したファイルをチームと共有するにはどうすればよいですか?
ファイルを複製した後、ファイルにチームメンバーを追加するか、リンクを直接共有することでチームと共有できます。Macで画面収録するには?
Macで画面収録するには、Trupeer AIを使用できます。画面全体をキャプチャできるほか、AIアバターの追加、音声ナレーションの追加、動画の拡大・縮小などのAI機能も利用できます。trupeerのAI動画翻訳機能を使えば、動画を30以上の言語に翻訳できます。画面録画にAIアバターを追加するには?
画面録画にAIアバターを追加するには、AI画面録画ツールを使用する必要があります。Trupeer AIはAI画面録画ツールで、複数のアバターを使った動画の作成を支援し、動画用の独自アバターの作成にも役立ちます。Windowsで画面収録するには?
Windowsで画面収録するには、標準搭載のGame Bar(Windows + G)や、AIアバター、音声ナレーション、翻訳などのより高度な機能を備えたTrupeer AIのような高度なAIツールを使用できます。動画に音声ナレーションを追加するには?
動画に音声ナレーションを追加するには、trupeer aiのChrome拡張機能をダウンロードしてください。サインアップ後、音声付きの動画をアップロードし、trupeerから希望の音声ナレーションを選択して、編集した動画を書き出します。画面録画でズームインするには?
画面録画中にズームインするには、Trupeer AIのズーム効果を使用します。これにより、特定のタイミングでズームイン・ズームアウトでき、動画コンテンツの視覚的なインパクトを高められます。
おすすめの読み物
関連チュートリアル

