

GitHubでブランチを削除する方法
GitHub でブランチを削除する方法を、Web サイトと Git コマンドラインの両方から学びましょう。このステップごとのガイドで、ローカルおよびリモートのブランチを安全に削除できます。
Zoom Meeting ID を見つけるには、Zoomアプリ、会議の招待状、または会議リンク内で確認できます。あなたがホストの場合は、ZoomデスクトップアプリまたはWebポータルの「ミーティング」タブで確認できます。参加者の場合、IDは会議リンクまたは招待状に埋め込まれています。また、会議ウィンドウ内の「情報」アイコンをクリックして確認することもできます。
ホストとしてミーティングIDを見つける方法:
Zoomデスクトップアプリで:Zoomアプリを開き、「ミーティング」タブに移動します。 予定されているミーティングを見つけてクリックし、ミーティングIDを含む詳細を表示します。 Zoom Webポータルで:Zoom Webポータルにログインします。 「ミーティング」→「今後のミーティング」に移動します。 ミーティングを選択して、IDを含む詳細を表示します。 ミーティング中:会議ウィンドウの左上隅にある「情報」アイコン(通常は円の中の「i」)をクリックします。 ミーティングIDが表示されます
参加者としてミーティングIDを見つける方法:
会議リンクから:ミーティングIDは通常、ZoomミーティングURLの /j/ の後に含まれています。たとえば、https://zoom.us/j/1234567890 では、ミーティングIDは 1234567890 です。会議の招待状から:メールまたはカレンダーで送信された会議の招待状には、通常ミーティングIDが含まれています。ミーティング中:会議ウィンドウの左上隅にある「情報」アイコン(通常は円の中の「i」)をクリックします。ミーティングIDが表示されます。
個人ミーティングID(PMI)を見つける方法:
Zoomデスクトップアプリで:「ミーティング」タブをクリックします。 右上隅の「個人ミーティングID」をクリックします。 PMI と招待リンクが表示されます。 Zoom Webポータルで:Zoom Webポータルにログインします。 「ミーティング」に移動し、次に「個人用ミーティングルーム」に進みます。 PMI と招待リンクが表示されます。 ミーティング中:会議ウィンドウの左上にある「情報」アイコンをクリックします。 PMI が表示されます。
ステップバイステップガイド: GitHub でブランチを削除する方法
ステップ 1
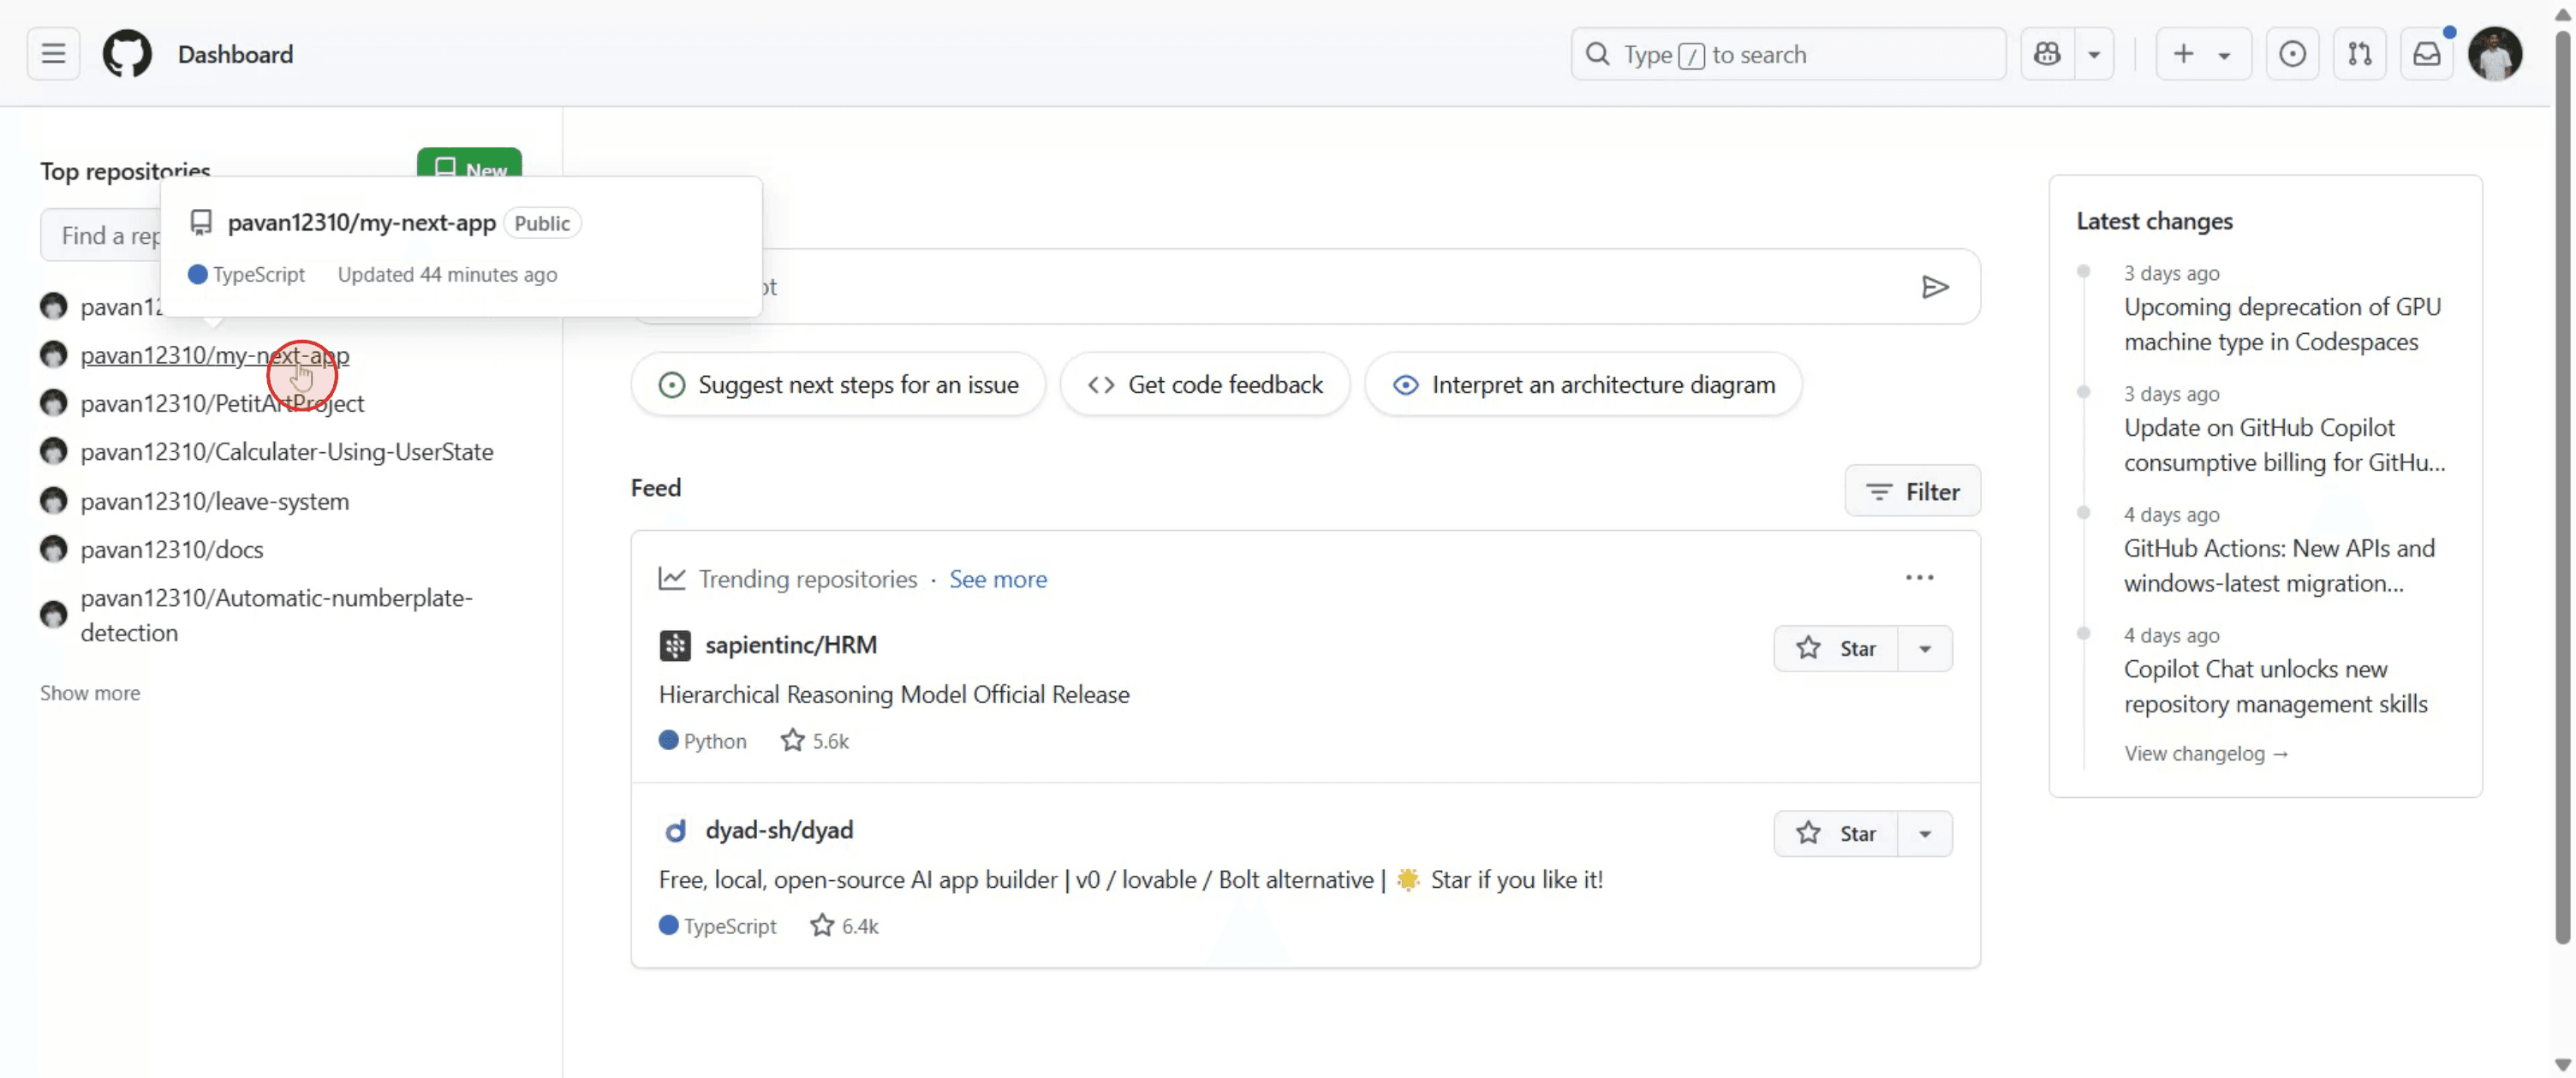
開きたいリポジトリに移動します。
ステップ 2
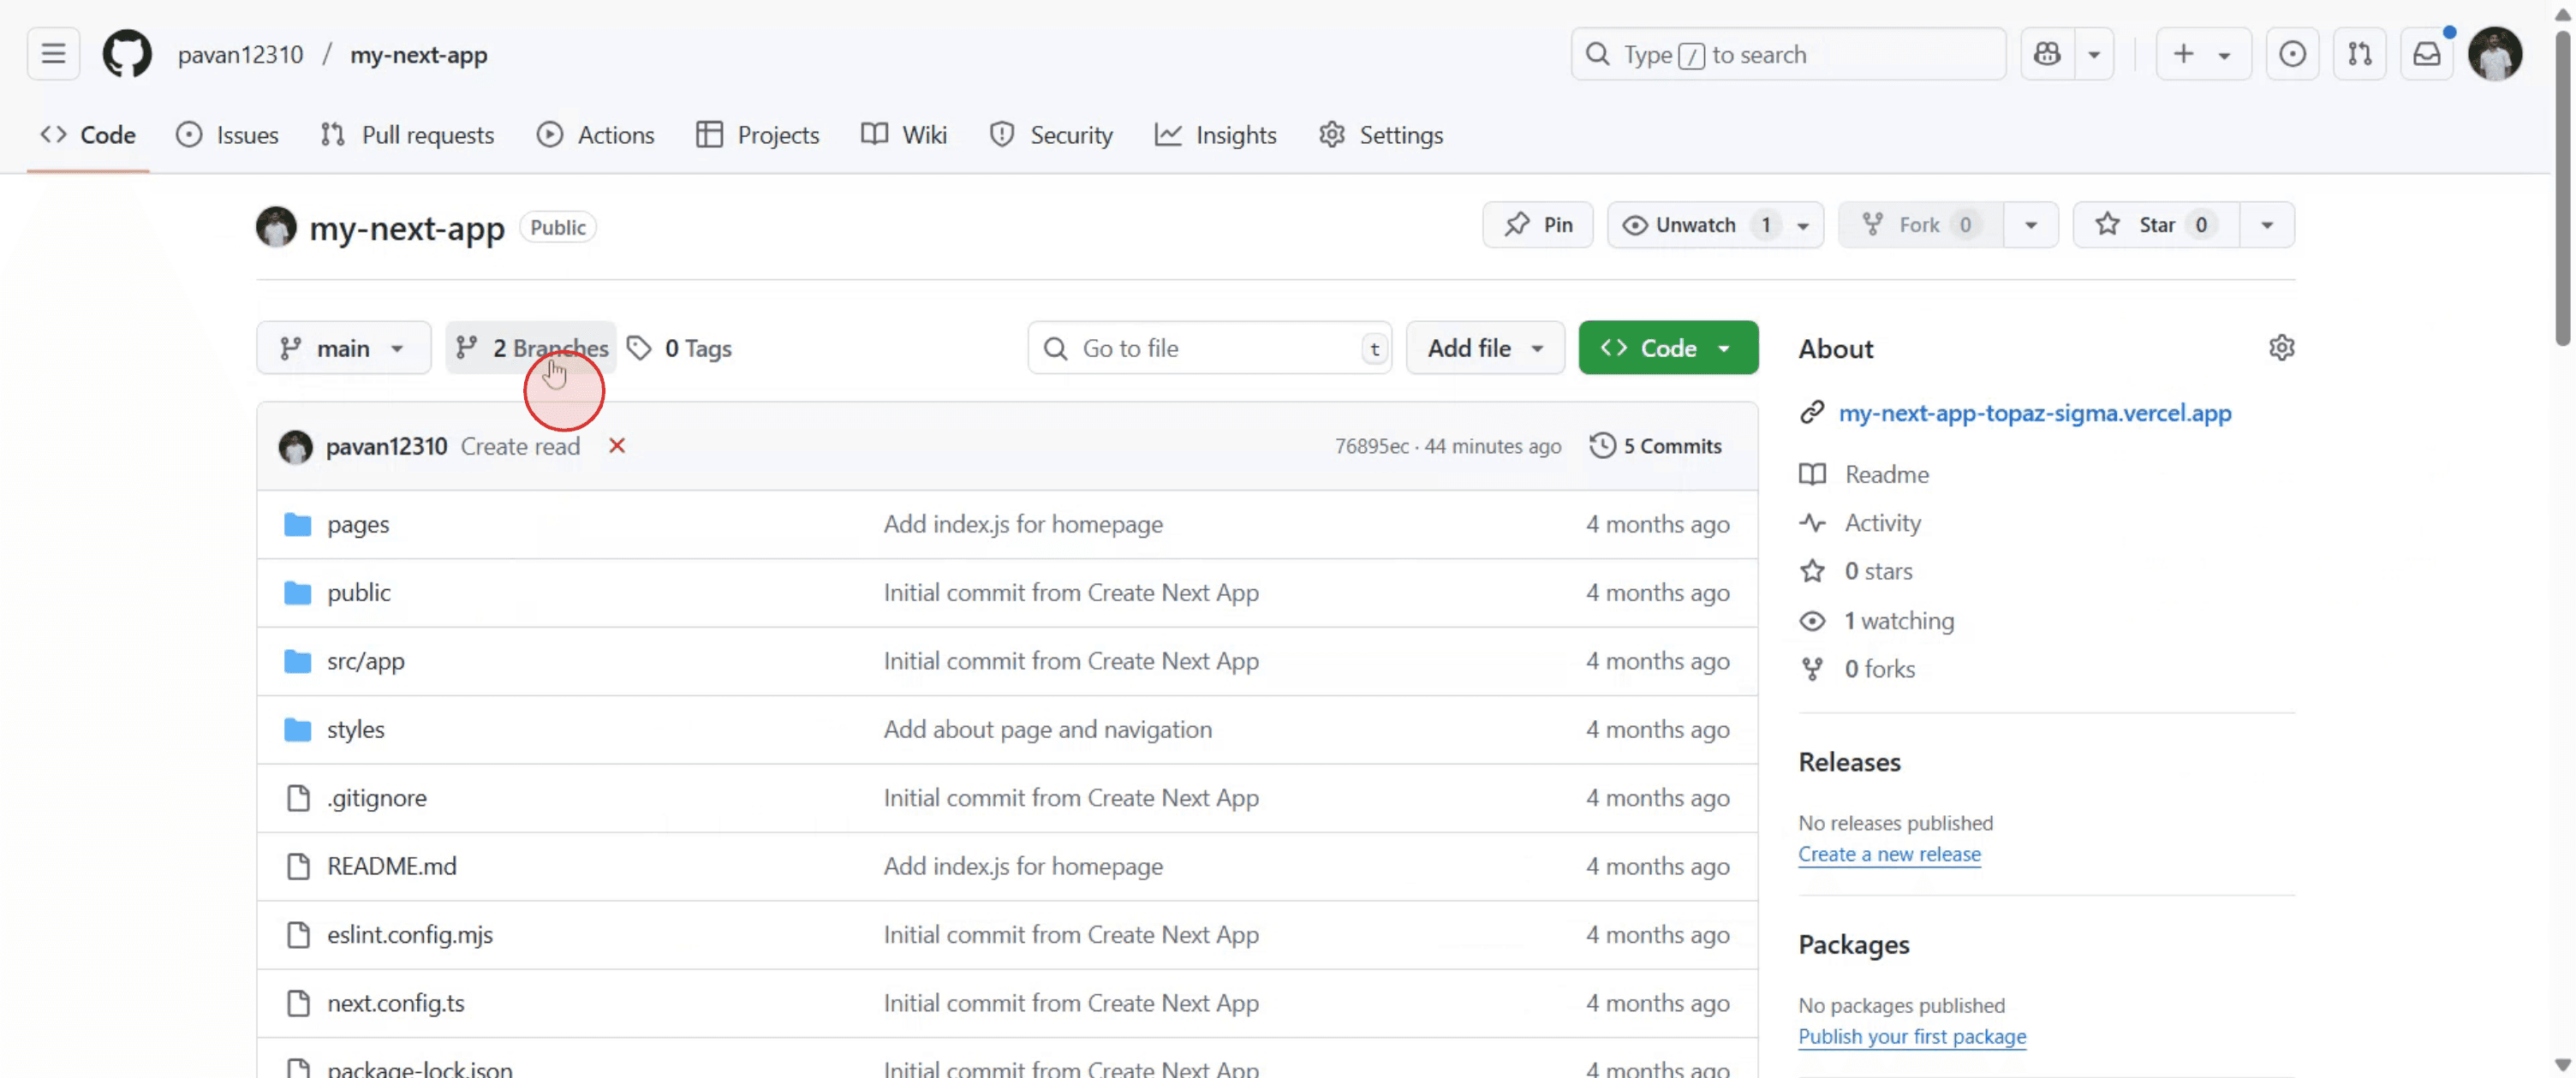
「Branches」を選択して開きます。
ステップ 3
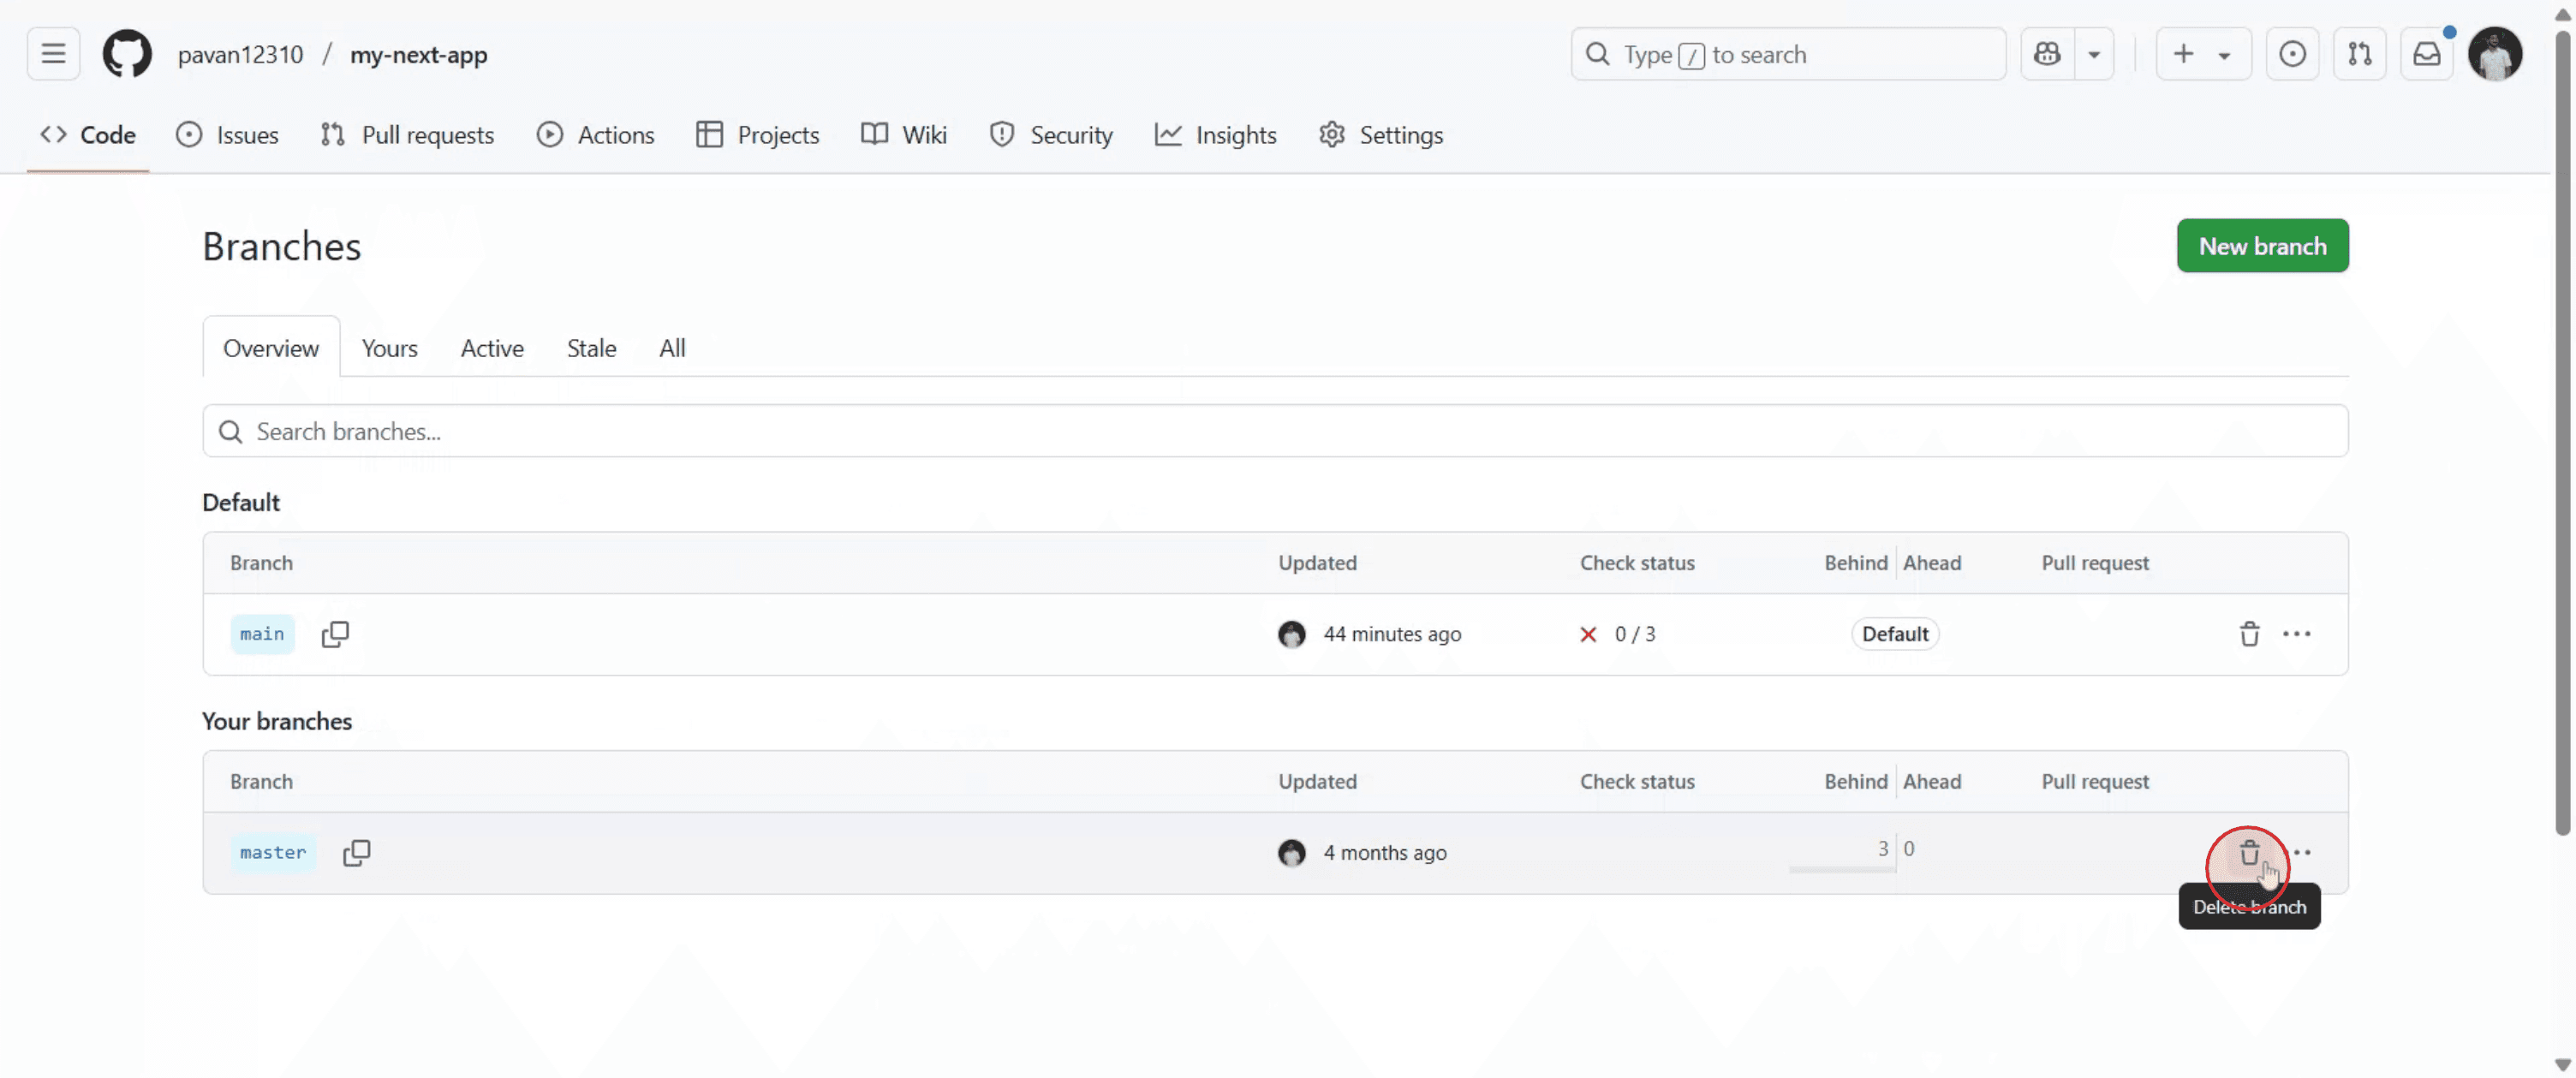
削除したいブランチに移動し、ゴミ箱アイコンをクリックします。
ステップ 4
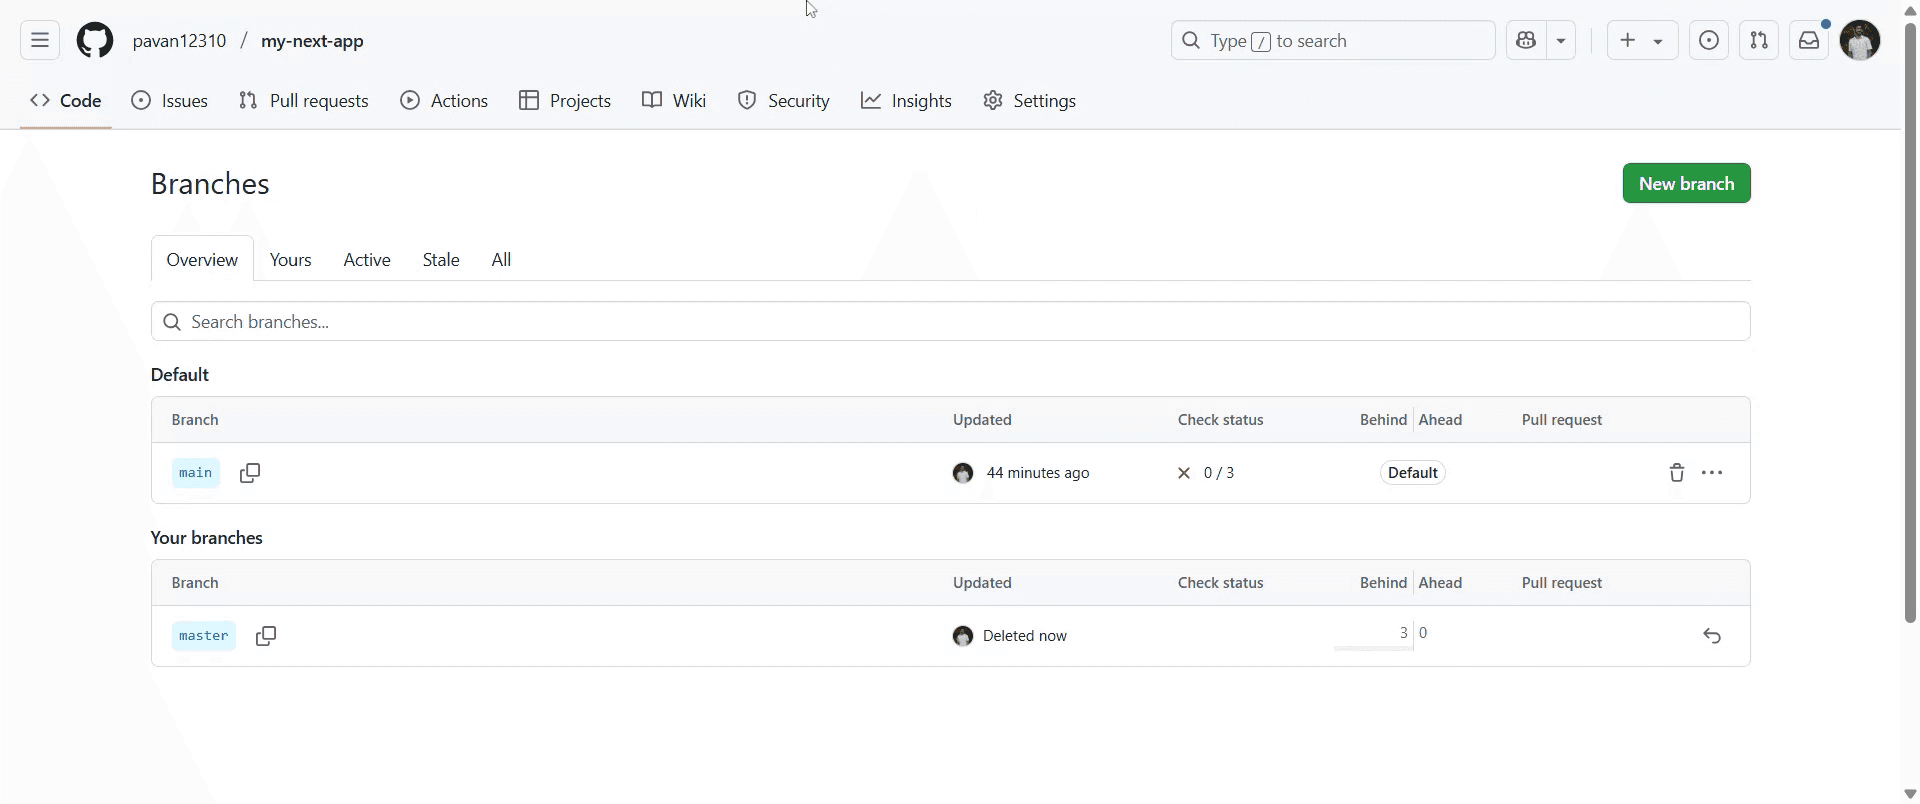
ブランチを削除すると、自動的に更新されます。
GitHubでブランチを削除するためのプロのヒント
GitHubにログインする
github.comにアクセスし、資格情報でログインします。リポジトリに移動する
削除したいブランチが含まれているリポジトリを開きます。「Branches」セクションへ移動する
「Branches」タブをクリックします。リポジトリの上部、リポジトリ名とナビゲーションメニューのすぐ下にあります。削除したいブランチを見つける
「Active branches」セクションの下から、削除したいブランチを見つけます。デフォルトブランチでないことを確認してください。ゴミ箱アイコンをクリックする
ブランチ名の右側にあるゴミ箱アイコンをクリックして、ブランチを削除します。削除を確認する
確認プロンプトが表示されます。「Delete」をクリックして、リポジトリからブランチを完全に削除します。
よくある落とし穴とその回避方法
デフォルトブランチを削除しようとする
デフォルトブランチは削除できません。必要であれば、まず Settings > Branches でデフォルトブランチを変更してください。アクティブまたは必要なブランチを削除する
貴重な作業を失わないよう、削除する前にブランチの内容を再確認し、もはや不要であることを確認してください。必要な権限がない
ブランチを削除するには書き込み権限または管理者権限が必要です。ゴミ箱アイコンが表示されない場合は、アクセス権限を確認してください。ローカルでブランチを削除し忘れる
GitHub上でブランチを削除しても、ローカルマシンからは削除されません。ローカルでgit branch -d branch-nameを実行して整理してください。誤って別のブランチを削除する
特に共有プロジェクトでは、削除を確定する前に必ずブランチ名を確認してください。
GitHub のブランチ削除に関するよくある質問
デフォルトブランチを削除できますか?
いいえ、GitHubではデフォルトブランチの削除はできません。削除が必要な場合は、先にデフォルトブランチを変更してください。ブランチを削除するとコードも消えますか?
はい、事前に別のブランチへマージしていない限り、そのブランチとコミットにはアクセスできなくなります。削除したブランチは復元できますか?
直接はできません。コミットハッシュが分かっていればそれを使って復元できる場合がありますが、GitHubには「ごみ箱」機能はありません。ローカルでブランチを削除するにはどうすればよいですか?
ターミナルでgit branch -d branch-nameまたはgit branch -D branch-nameコマンドを使ってください。プルリクエストからブランチを削除できますか?
はい、ブランチが不要になった場合、GitHubではプルリクエストをマージした後に削除するオプションが表示されます。Macで画面収録するには?
Macで画面収録するには、Trupeer AIを使用できます。画面全体をキャプチャでき、AIアバターの追加、ナレーションの追加、動画内の拡大・縮小などのAI機能を備えています。trupeerのAI動画翻訳機能を使えば、動画を30以上の言語に翻訳できます。画面収録にAIアバターを追加するには?
画面収録にAIアバターを追加するには、AI画面収録ツールを使用する必要があります。Trupeer AIはAI画面収録ツールで、複数のアバターを使った動画の作成を支援し、動画用の自分専用アバターの作成もサポートします。Windowsで画面収録するには?
Windowsで画面収録するには、標準搭載のGame Bar(Windows + G)を使うか、AIアバター、ナレーション、翻訳などの高度な機能を備えたTrupeer AIのような高度なAIツールを使えます。動画にナレーションを追加するには?
動画にナレーションを追加するには、trupeer aiのChrome拡張機能をダウンロードしてください。登録後、音声付きの動画をアップロードし、trupeerから希望のナレーションを選択して、編集済みの動画をエクスポートします。画面収録でズームインするには?
画面収録中にズームインするには、Trupeer AIのズーム効果を使うと、特定のタイミングで拡大・縮小でき、動画コンテンツの視覚的な印象を高められます。
他の人はこちらも質問
関連チュートリアル

