
Come bloccare una riga in Google Sheets
Scopri come bloccare una riga in Google Sheets per mantenere visibili le intestazioni أثناء lo scorrimento. Segui questa semplice guida per migliorare la navigazione e la leggibilità del foglio di calcolo.
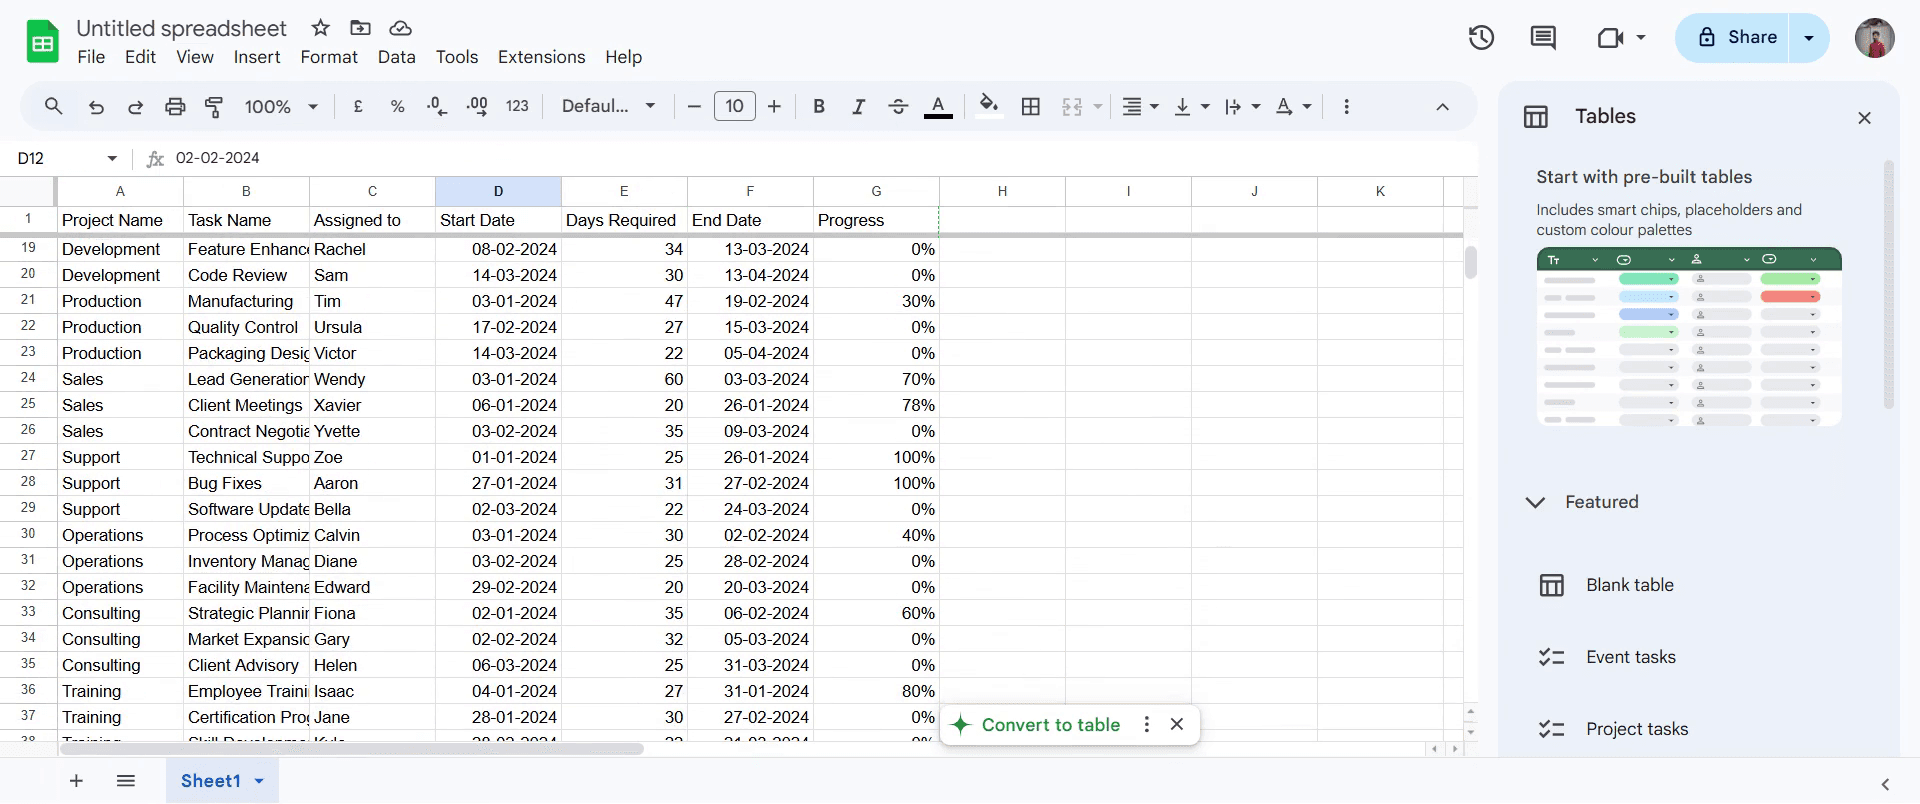
Questo documento fornisce una guida concisa su come bloccare le righe in Google Sheets. Bloccare le righe è utile per mantenere visibili determinate righe mentre scorri i tuoi dati.
Se desideri mantenere visibili alcune righe mentre scorri il tuo foglio di calcolo, puoi bloccarle usando il menu "Visualizza". Questo è particolarmente utile per mantenere le intestazioni al loro posto mentre navighi verso il basso nella pagina.
Istruzioni passo passo:
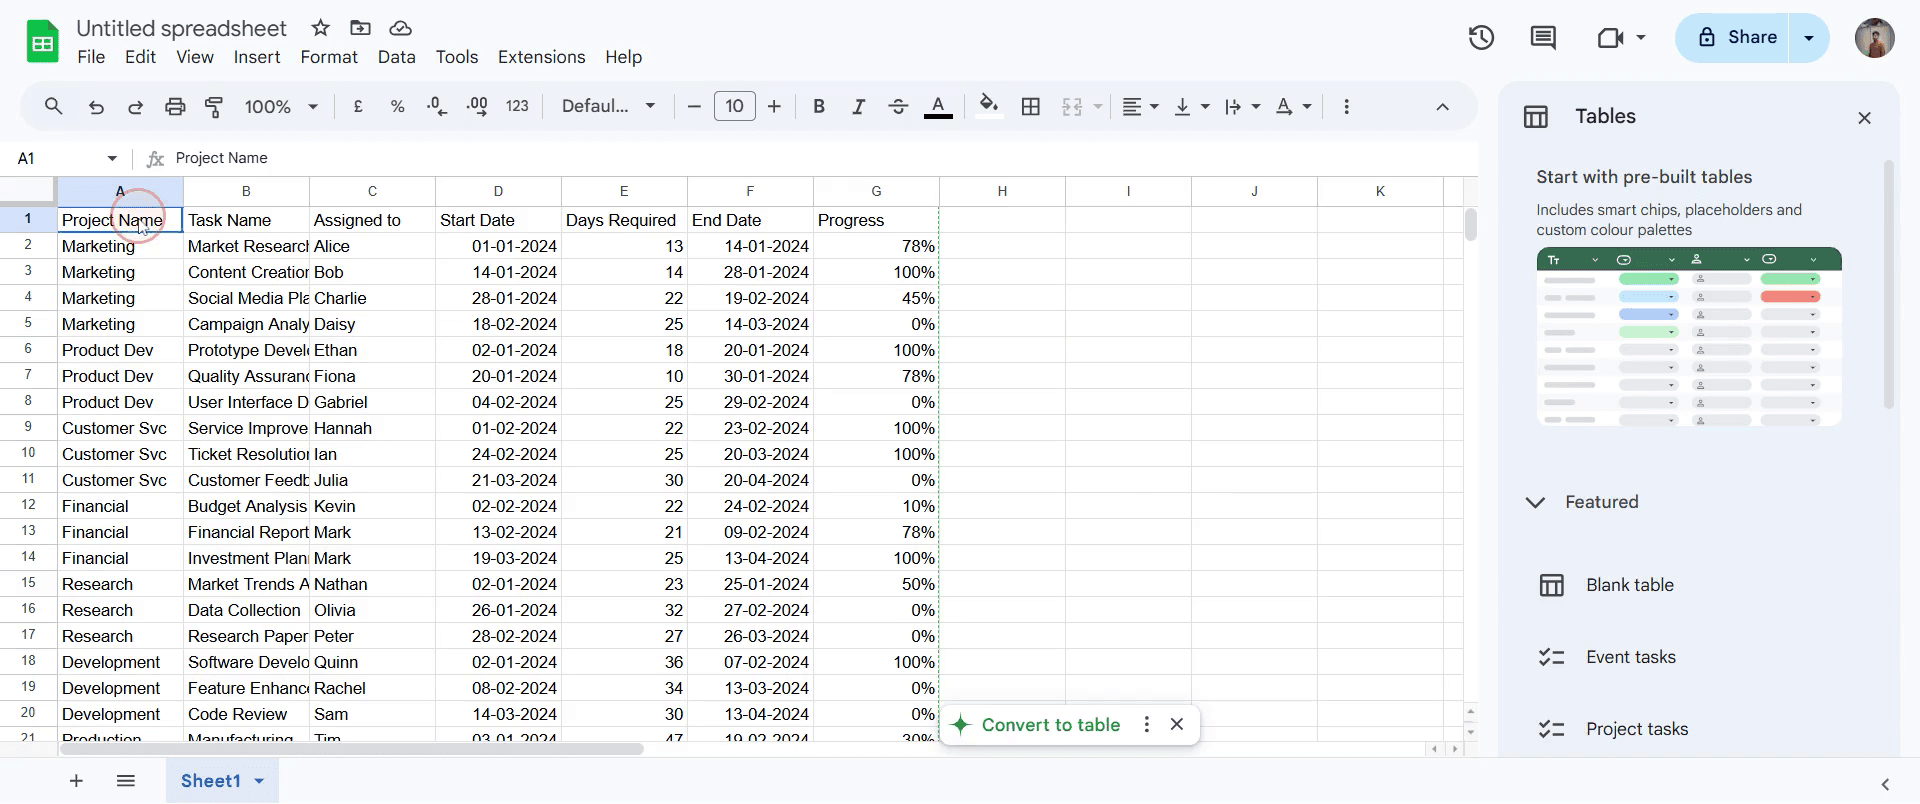
1. Apri il tuo foglio Google:
Inizia aprendo il foglio di calcolo in cui desideri bloccare le righe.
2. Seleziona la/le riga/he:
Fai clic sul numero della riga sul lato sinistro per selezionare la riga che desideri bloccare. Se necessario, puoi selezionare più di una riga.
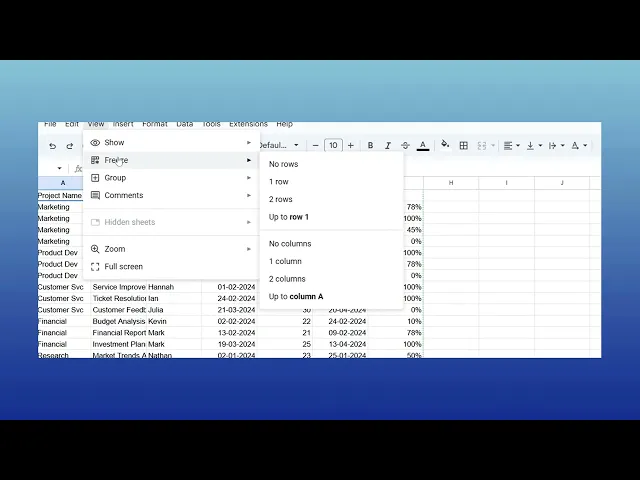
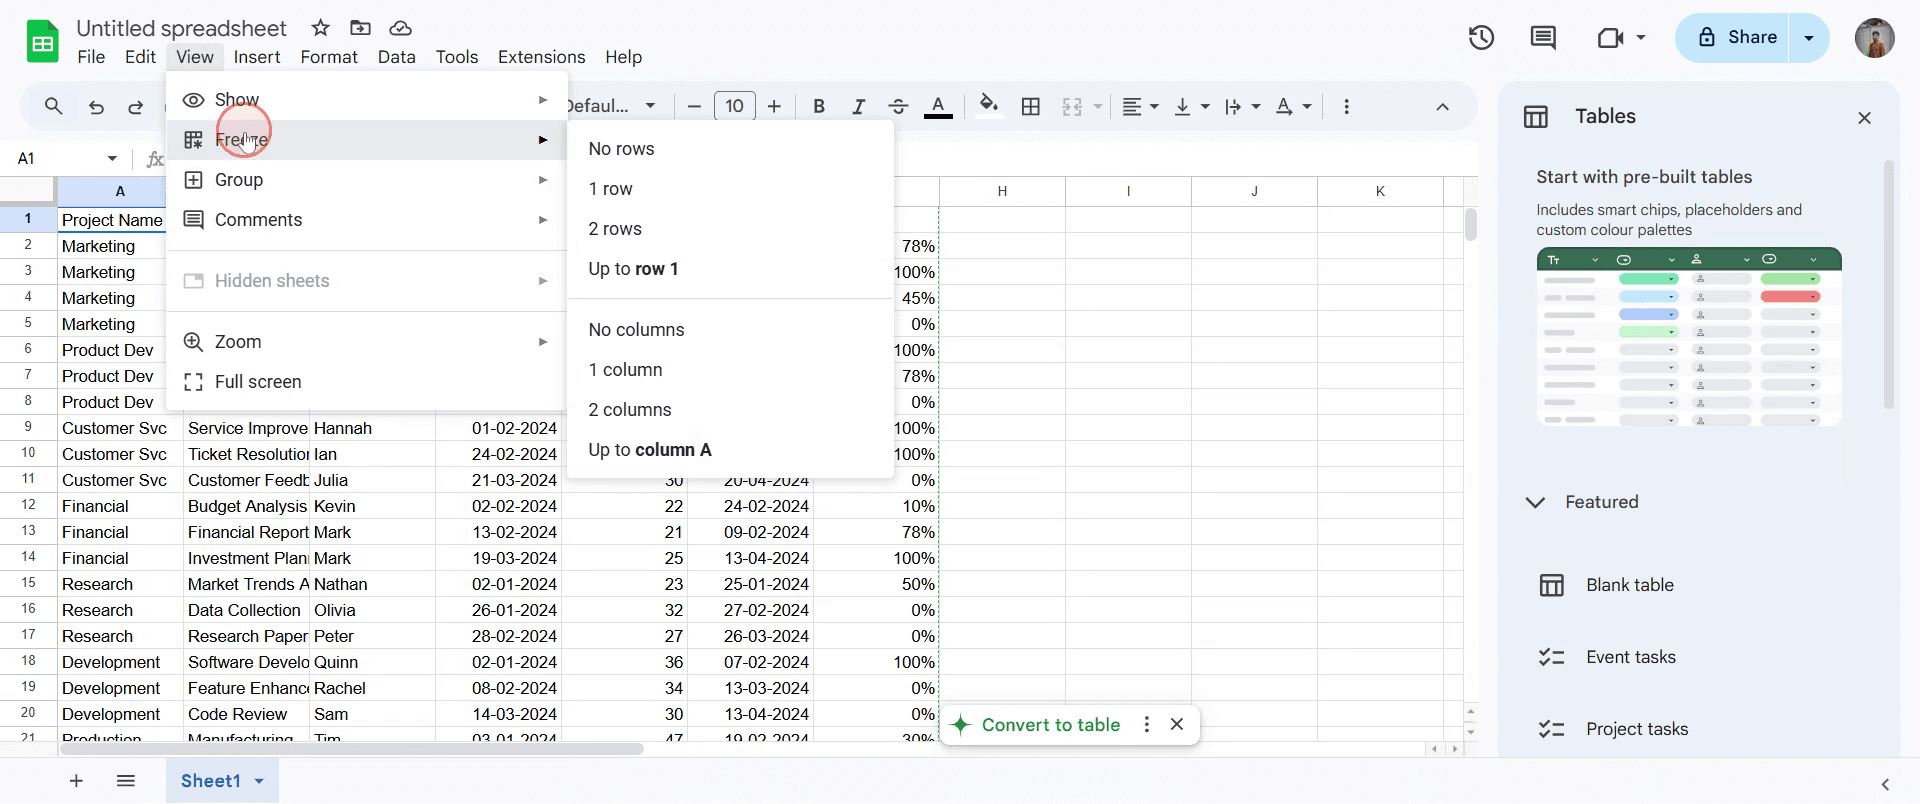
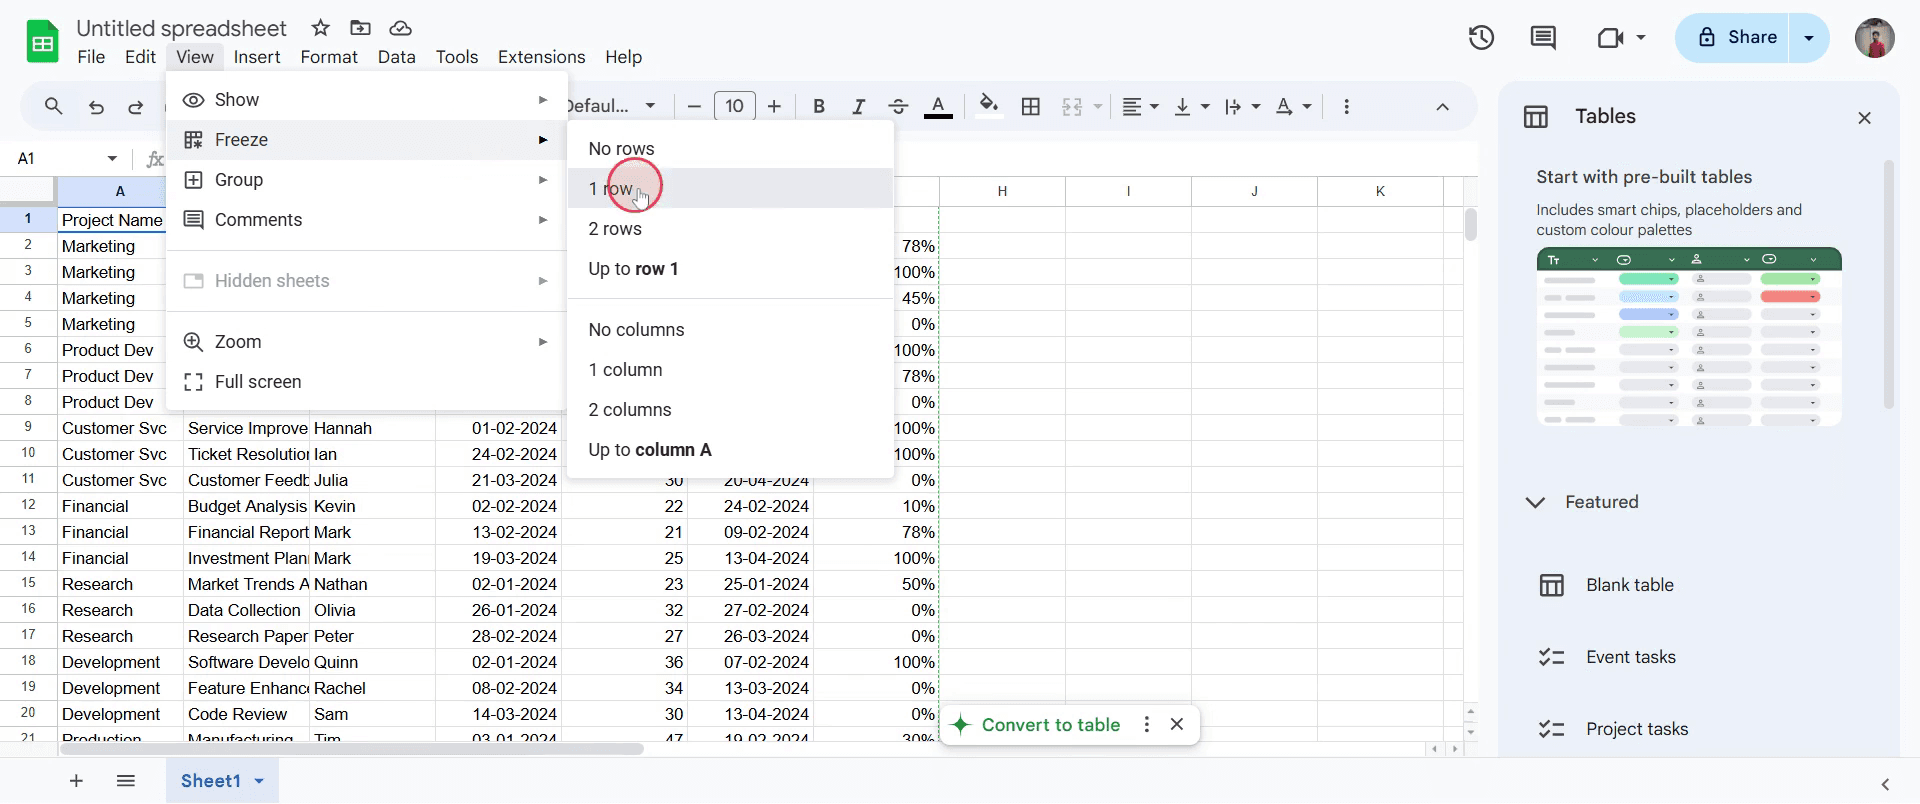
3. Apri il menu “Visualizza”:
Nella parte superiore della pagina, fai clic su "Visualizza" per aprire il menu a discesa.
4. Fai clic su “Blocca”:
Nel menu a discesa, passa il mouse su "Blocca" per visualizzare le opzioni di blocco.
5. Scegli quante righe bloccare:
Scegli il numero di righe che desideri bloccare, ad esempio “1 riga”, per bloccare solo la riga superiore.
6. Fatto
Le righe selezionate rimarranno ora fisse nella parte superiore del foglio, anche quando scorri verso il basso.
Guida passo passo: come bloccare una riga in Google Sheets
Passaggio 1
Fai clic sulla riga desiderata per selezionarla.
Passaggio 2
Vai su Visualizza, seleziona l'opzione Blocca
Passaggio 3
Apparirà un elenco di opzioni. Seleziona l'opzione corrispondente alla riga che desideri bloccare.
Passaggio 4
Verifica che l'intera riga sia stata bloccata con successo. Questo assicura che la riga selezionata rimanga visibile mentre scorri il tuo foglio.
Consigli utili per bloccare una riga in un foglio di calcolo
Blocca la riga superiore per mantenere visibili le intestazioni mentre scorri fogli di calcolo di grandi dimensioni, così da facilitare la navigazione.
Usa l'opzione "Blocca riquadri" per bloccare più righe contemporaneamente, perfetta per fogli di calcolo con un'ampia sezione di intestazione.
Assicurati di bloccare solo le righe necessarie per mantenere efficiente il foglio ed evitare che venga occupato spazio sullo schermo inutilmente.
Errori comuni & come evitarli durante il blocco delle righe nei fogli di calcolo
Dimenticare di sbloccare le righe quando non servono più può appesantire la visualizzazione: ricordati di sbloccarle se non sono più necessarie.
Bloccare troppe righe può creare confusione e ridurre la visibilità: blocca solo le righe di cui hai bisogno.
Non controllare il layout del foglio di calcolo prima di bloccare le righe può portare al blocco accidentale di sezioni irrilevanti: verifica sempre due volte le righe che stai per bloccare.
Domande frequenti comuni sul blocco di una riga in un foglio
Cosa fa l'opzione Blocca in Google Sheets?
L'opzione Blocca blocca righe o colonne in modo che rimangano visibili أثناء lo scorrimento del foglio.Come faccio a bloccare una riga o una colonna in Google Sheets?
Fai clic su Visualizza > Blocca, quindi scegli di bloccare una o più righe/colonne.Posso sbloccare righe o colonne dopo averle bloccate?
Sì, vai su Visualizza > Blocca > Nessuna riga o Nessuna colonna per rimuovere il blocco.Quante righe o colonne posso bloccare?
Puoi bloccare qualsiasi numero di righe o colonne dalla parte superiore o sinistra del foglio.Perché l'opzione Blocca è utile?
Aiuta a mantenere visibili le intestazioni o i dati importanti durante la navigazione di grandi set di datiCome registrare lo schermo su Mac?
Per registrare lo schermo su un Mac, puoi usare Trupeer AI. Ti consente di catturare l'intero schermo e offre funzionalità di intelligenza artificiale come l'aggiunta di avatar AI, l'aggiunta di una voce fuori campo, l'aggiunta di zoom avanti e indietro nel video. Con la funzione di traduzione video AI di Trupeer, puoi tradurre il video in oltre 30 lingue.Come aggiungere un avatar AI a una registrazione dello schermo?
Per aggiungere un avatar AI a una registrazione dello schermo, devi usare uno strumento di registrazione dello schermo con AI. Trupeer AI è uno strumento di registrazione dello schermo con AI, che ti aiuta a creare video con più avatar e ti aiuta anche a creare il tuo avatar per il video.Come registrare lo schermo su Windows?
Per registrare lo schermo su Windows, puoi usare la Game Bar integrata (Windows + G) oppure uno strumento AI avanzato come Trupeer AI per funzionalità più avanzate come avatar AI, voce fuori campo, traduzione ecc.Come aggiungere una voce fuori campo al video?
Per aggiungere una voce fuori campo ai video, scarica l'estensione Chrome di Trupeer AI. Dopo la registrazione, carica il tuo video con voce, scegli la voce fuori campo desiderata da Trupeer ed esporta il video modificato.Come faccio a ingrandire in una registrazione dello schermo?
Per ingrandire durante una registrazione dello schermo, usa gli effetti di zoom in Trupeer AI che ti consentono di zoomare avanti e indietro in momenti specifici, migliorando l'impatto visivo del contenuto del video.
Letture suggerite
Generatore di documentazione tecnica
Software per basi di conoscenza
Come trasformare un'immagine in una pagina da colorare in Canva
Tutorial correlati

