

Come eliminare un branch su GitHub
Scopri come eliminare un branch su GitHub sia dal sito web che dalla riga di comando di Git. Rimuovi in sicurezza i branch locali e remoti con questa guida passo passo.
Per trovare un ID riunione Zoom, puoi individuarlo all'interno dell'app Zoom, nell'invito alla riunione o dal link della riunione. Se sei l'host, puoi trovarlo nella scheda "Riunioni" dell'app desktop di Zoom o del portale web. Come partecipante, l'ID è incorporato nel link o nell'invito della riunione. Puoi trovarlo anche nella finestra della riunione stessa facendo clic sull'icona "Info".
Come trovare l'ID della riunione come host:
Nell'app desktop di Zoom:Apri l'app Zoom e vai alla scheda "Riunioni". Individua la riunione pianificata e fai clic su di essa per visualizzarne i dettagli, incluso l'ID riunione. Nel portale web di Zoom:Accedi al portale web di Zoom. Vai su "Riunioni" e poi su "Riunioni imminenti". Seleziona la riunione per visualizzarne i dettagli, incluso l'ID. Durante una riunione:Fai clic sull'icona "Info" (di solito una "i" in un cerchio) nell'angolo in alto a sinistra della finestra della riunione. L'ID riunione verrà visualizzato
Come trovare l'ID della riunione come partecipante:
Dal link della riunione:L'ID riunione è di solito incluso dopo /j/ nell'URL della riunione Zoom. Ad esempio, in https://zoom.us/j/1234567890, l'ID riunione è 1234567890.Dall'invito alla riunione:L'invito alla riunione, inviato via email o calendario, di solito include l'ID riunione.Durante una riunione:Fai clic sull'icona "Info" (di solito una "i" in un cerchio) nell'angolo in alto a sinistra della finestra della riunione. L'ID riunione verrà visualizzato.
Come trovare il Personal Meeting ID (PMI):
Nell'app desktop di Zoom:Fai clic sulla scheda "Riunioni". Fai clic su "ID riunione personale" nell'angolo in alto a destra. Il tuo PMI e il link di invito verranno visualizzati. Nel portale web di Zoom:Accedi al portale web di Zoom. Vai su "Riunioni" e poi su "Stanza personale". Il tuo PMI e il link di invito verranno visualizzati. Durante una riunione:Fai clic sull'icona "Info" nell'angolo in alto a sinistra della finestra della riunione. Il PMI verrà visualizzato.
Guida passo passo: come eliminare un branch in GitHub
Passaggio 1
Vai al repository che desideri aprire.
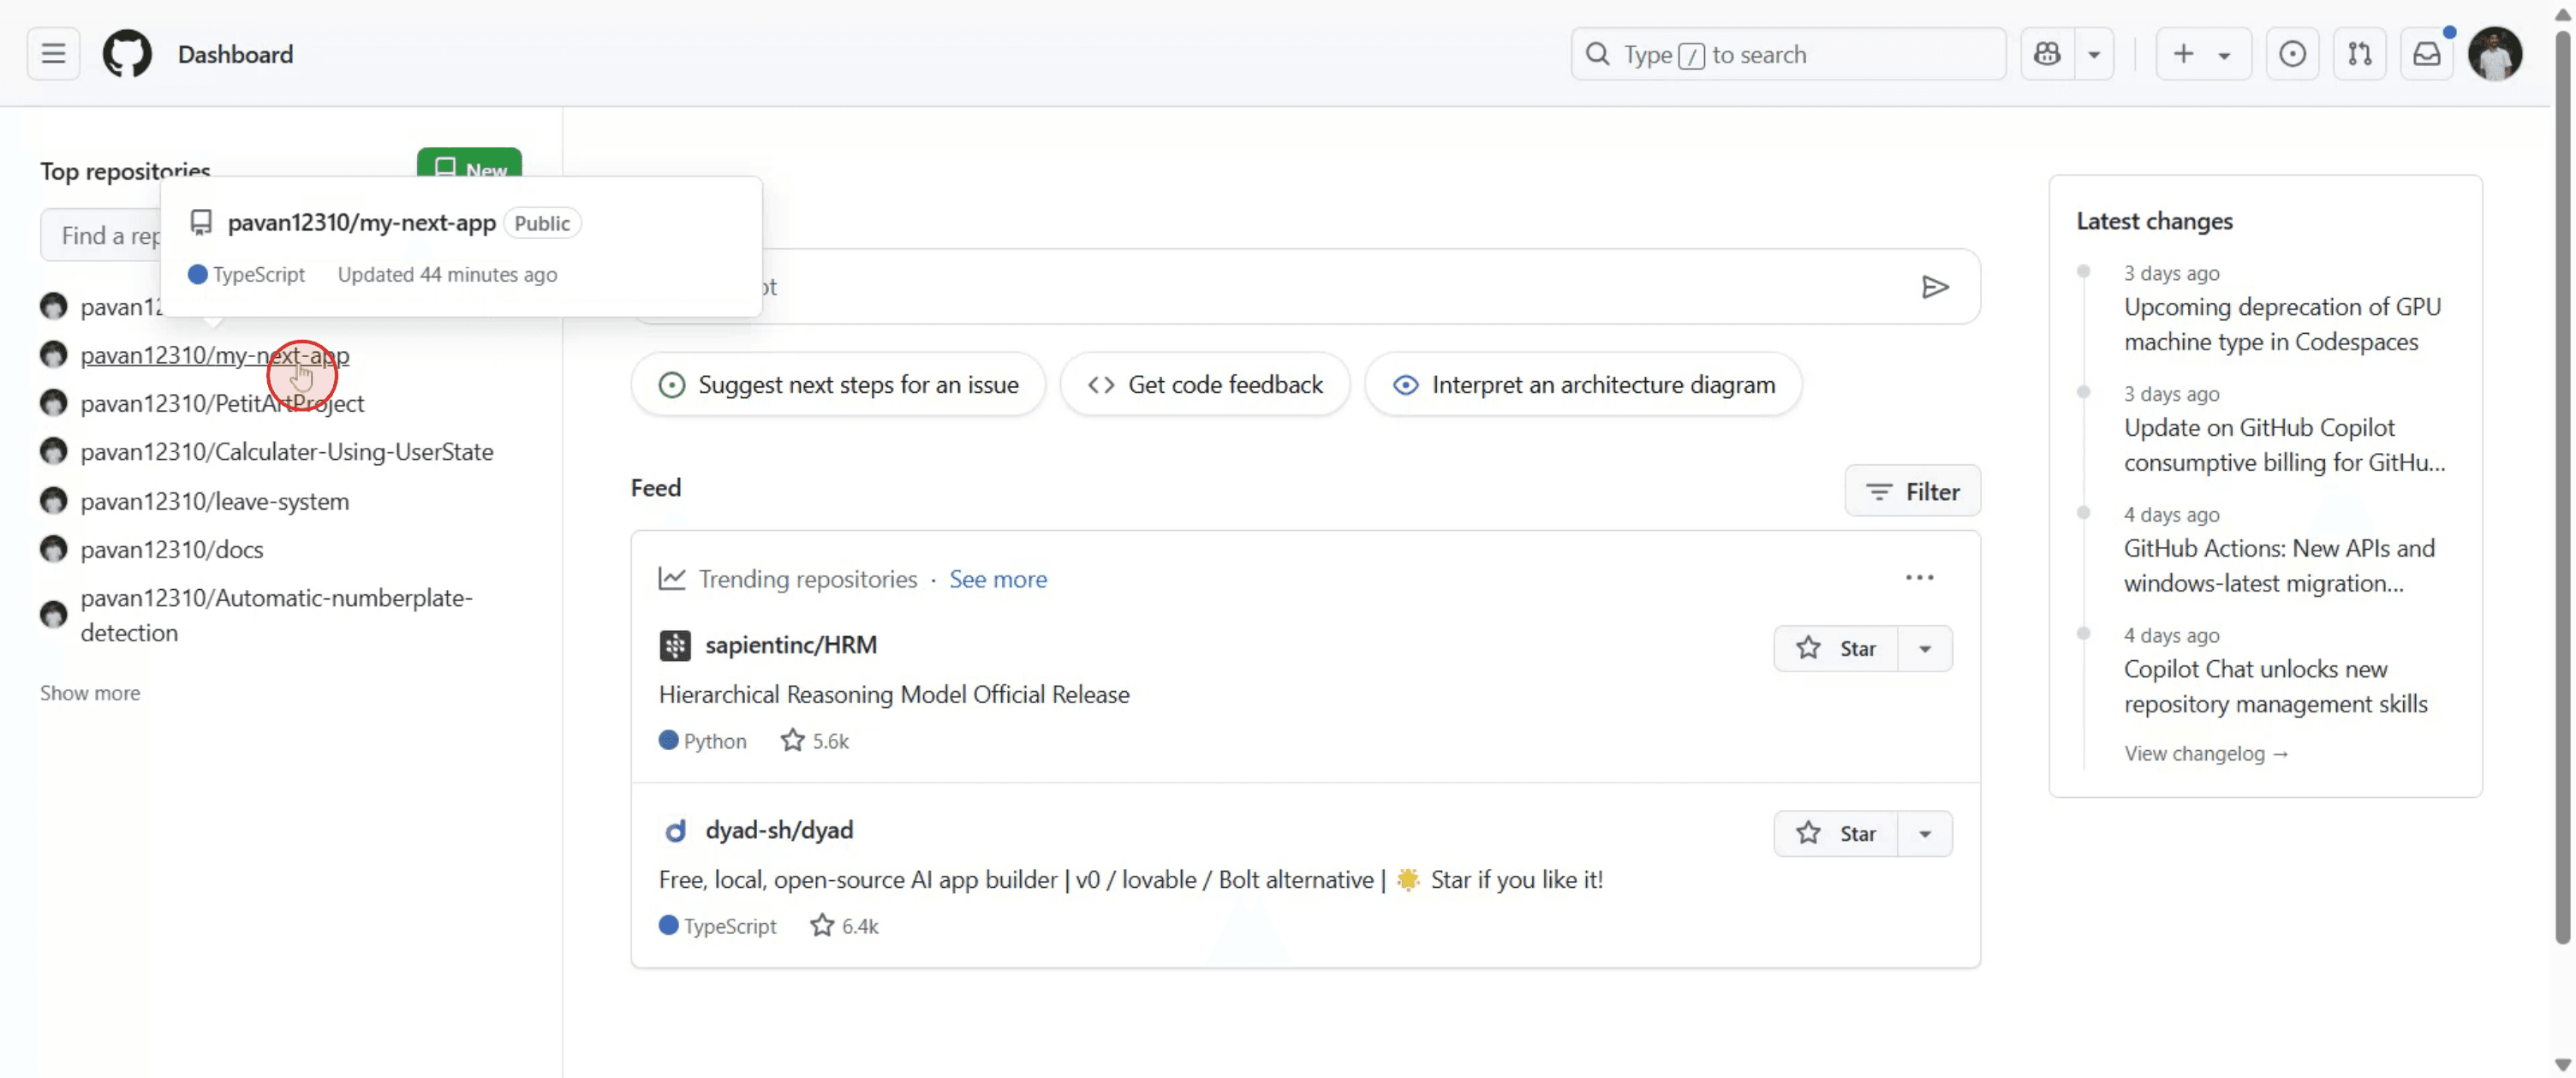
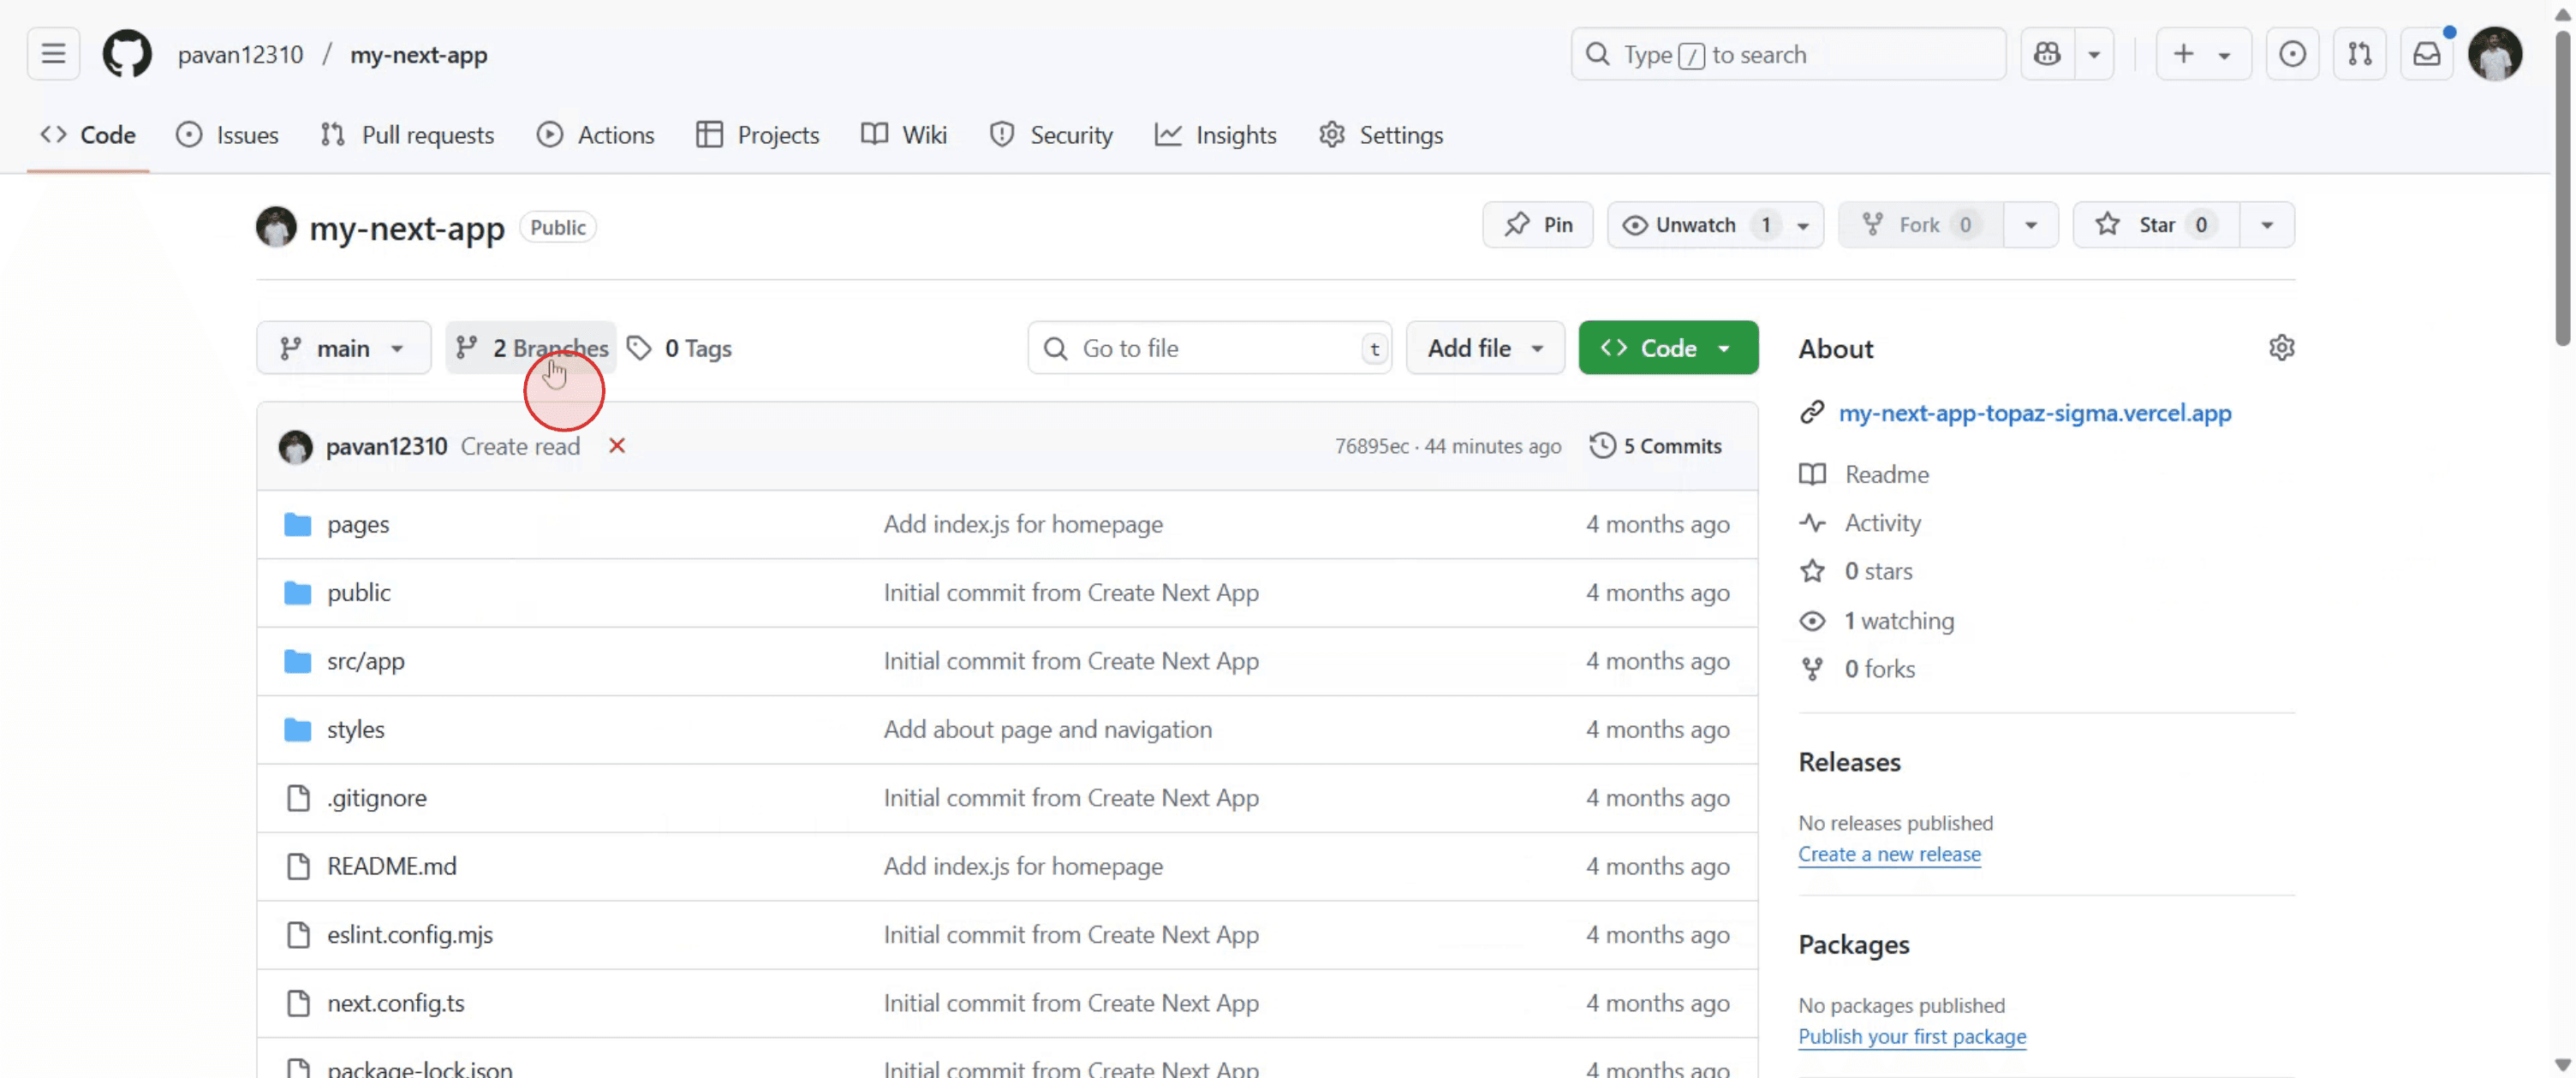
Passaggio 2
Seleziona 'Branches' da aprire.
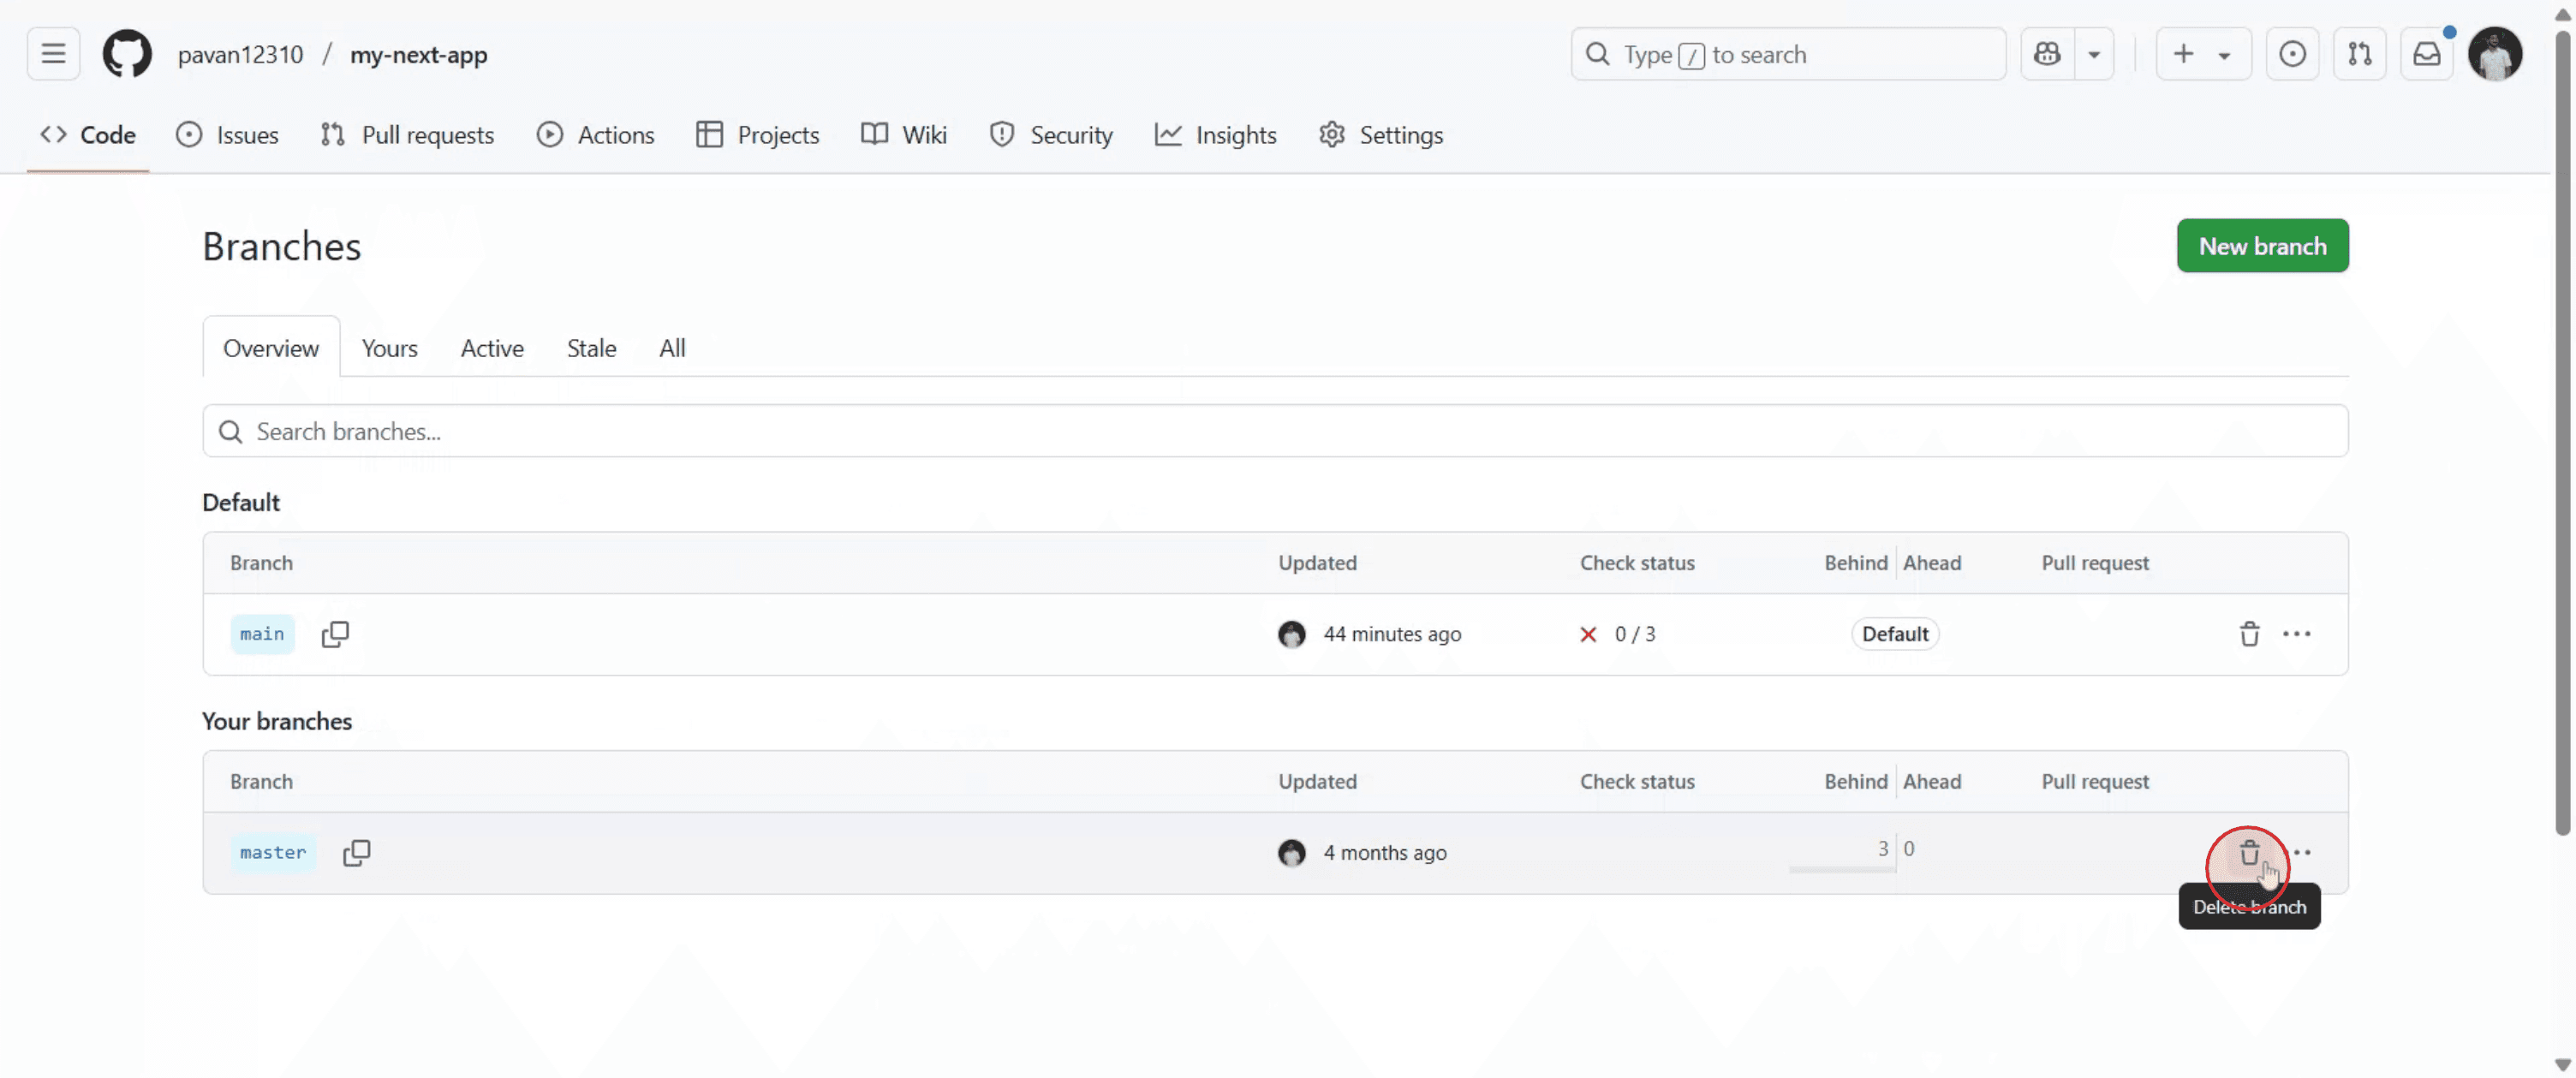
Passaggio 3
Vai al branch che desideri eliminare e fai clic sull'icona del cestino.
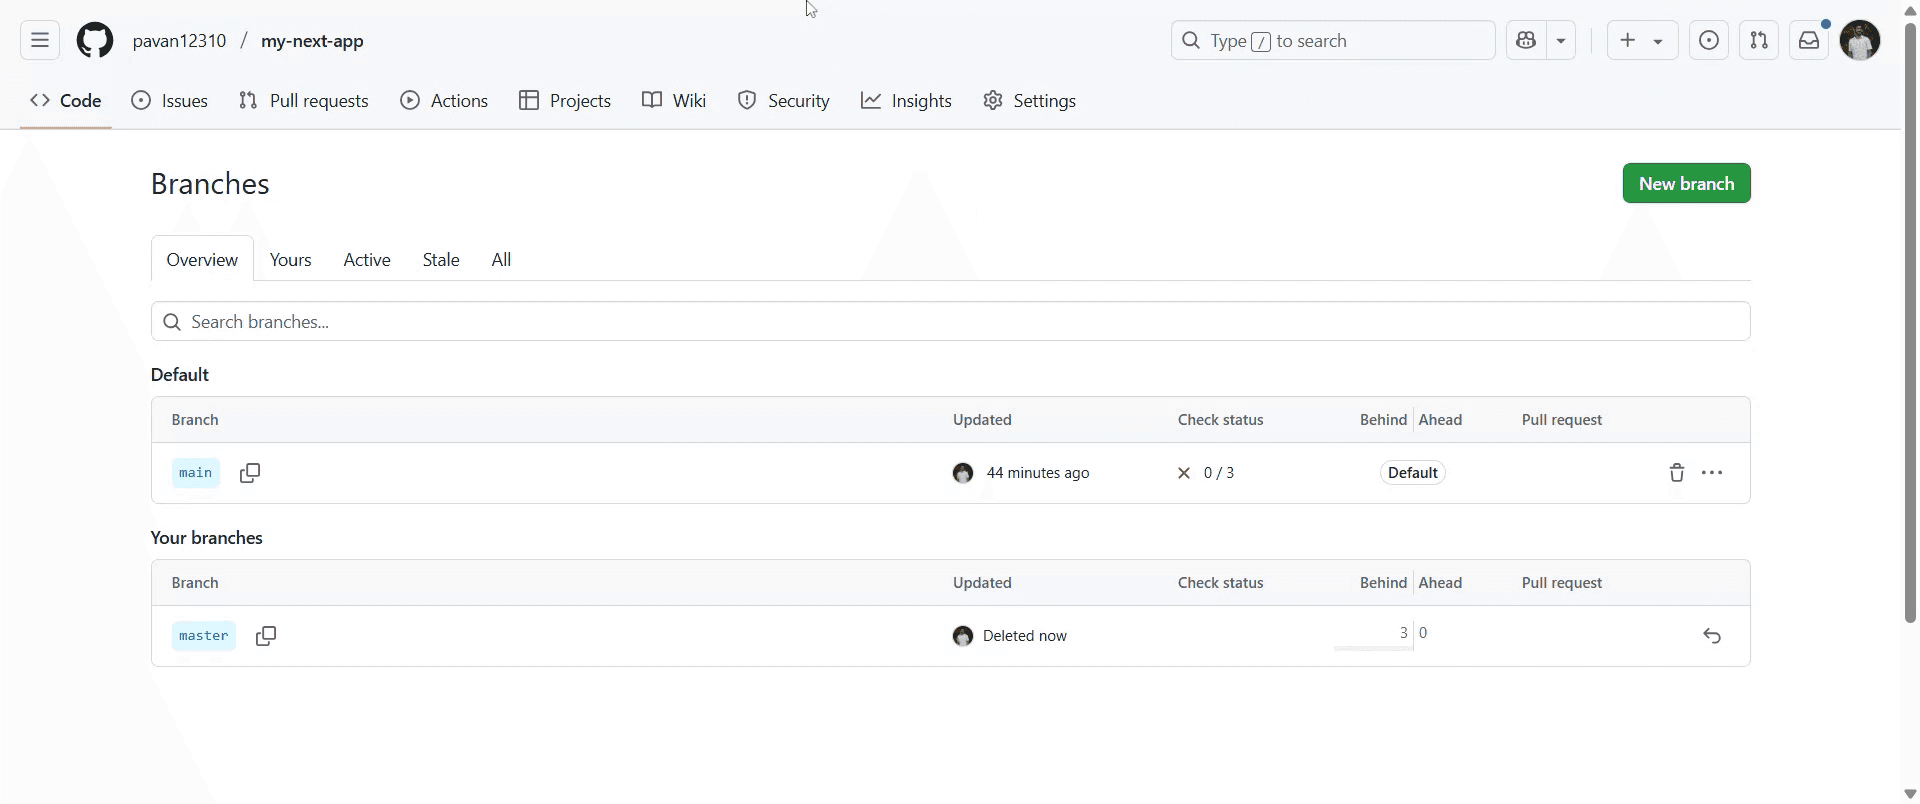
Passaggio 4
Una volta eliminato il branch, verrà aggiornato automaticamente.
Consigli pratici per eliminare un branch su GitHub
Accedi a GitHub
Vai su github.com e accedi con le tue credenziali.Vai al repository
Apri il repository che contiene il branch che vuoi eliminare.Vai alla sezione “Branches”
Fai clic sulla scheda “Branches”. La troverai vicino alla parte superiore del tuo repository, subito sotto il nome del repo e il menu di navigazione.Individua il branch che vuoi eliminare
Trova il branch che vuoi eliminare nella sezione “Active branches”. Assicurati che non sia il branch predefinito.Fai clic sull’icona del cestino
Alla destra del nome del branch, fai clic sull’icona del cestino per eliminare il branch.Conferma l’eliminazione
Apparirà un messaggio di conferma. Fai clic su “Delete” per rimuovere definitivamente il branch dal repository.
Errori comuni e come evitarli
Tentare di eliminare il branch predefinito
Non puoi eliminare il branch predefinito. Se necessario, cambia prima il branch predefinito in Impostazioni > Branches.Eliminare un branch attivo o necessario
Controlla attentamente il contenuto del branch e verifica che non sia più necessario prima di eliminarlo, per evitare di perdere lavoro prezioso.Non avere i permessi necessari
Per eliminare un branch sono necessari i permessi di scrittura o di amministrazione. Se non vedi l’icona del cestino, controlla il tuo livello di accesso.Dimenticare di eliminare il branch in locale
Eliminare un branch su GitHub non lo rimuove dal tuo computer locale. Esegui localmentegit branch -d branch-nameper fare pulizia.Eliminare per errore il branch sbagliato
Verifica sempre il nome del branch prima di confermare l’eliminazione, soprattutto nei progetti condivisi.
Domande frequenti comuni sull'eliminazione di un branch GitHub
Posso eliminare il branch predefinito?
No, GitHub non consente l'eliminazione del branch predefinito. Cambia prima il branch predefinito se devi eliminarlo.L'eliminazione di un branch rimuoverà il suo codice?
Sì, il branch e i suoi commit non saranno più accessibili, a meno che non vengano uniti in un altro branch in precedenza.Posso recuperare un branch eliminato?
Non direttamente. Puoi recuperarlo usando l'hash del commit, se lo conosci, ma GitHub non offre una funzione di “Cestino”.Come elimino un branch localmente?
Usa il comandogit branch -d branch-nameoppuregit branch -D branch-namenel tuo terminale.Posso eliminare un branch da una pull request?
Sì, se il branch non è più necessario, GitHub ti offre l'opzione di eliminarlo dopo aver unito una pull request.Come registrare lo schermo su Mac?
Per registrare lo schermo su un Mac, puoi usare Trupeer AI. Ti consente di acquisire l'intero schermo e offre funzionalità IA come l'aggiunta di avatar IA, l'aggiunta di voiceover, l'aggiunta di zoom avanti e indietro nel video. Con la funzione di traduzione video IA di Trupeer, puoi tradurre il video in oltre 30 lingue.Come aggiungere un avatar IA a una registrazione dello schermo?
Per aggiungere un avatar IA a una registrazione dello schermo, dovrai usare uno strumento di registrazione dello schermo IA. Trupeer AI è uno strumento di registrazione dello schermo IA, che ti aiuta a creare video con più avatar e ti aiuta anche a creare il tuo avatar per il video.Come registrare lo schermo su Windows?
Per registrare lo schermo su Windows, puoi usare la Game Bar integrata (Windows + G) oppure uno strumento IA avanzato come Trupeer AI per funzionalità più avanzate come avatar IA, voiceover, traduzione ecc.Come aggiungere un voiceover a un video?
Per aggiungere un voiceover ai video, scarica l'estensione Chrome di trupeer ai. Una volta registrato, carica il tuo video con audio, scegli il voiceover desiderato da Trupeer ed esporta il video modificato.Come faccio ad ingrandire in una registrazione dello schermo?
Per ingrandire durante una registrazione dello schermo, usa gli effetti zoom in Trupeer AI, che ti consentono di zoomare avanti e indietro in momenti specifici, migliorando l'impatto visivo dei contenuti video.
Le persone chiedono anche
Generatore di documentazione tecnica
Software per base di conoscenza
Come trasformare un'immagine in una pagina da colorare in Canva
Come stampare fronte e retro in Canva
Come distendere il testo in Canva
Tutorial correlati

